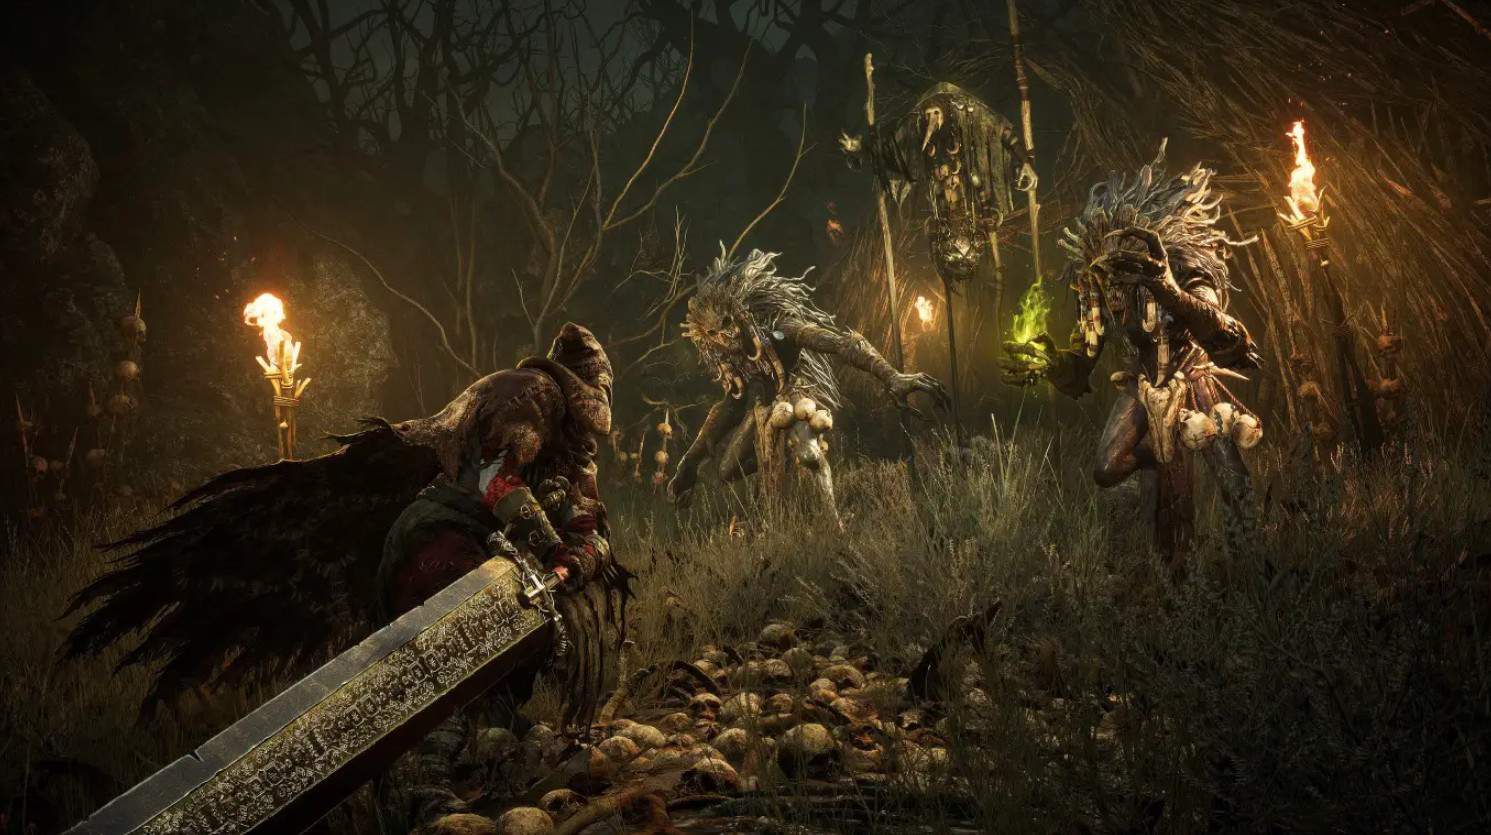
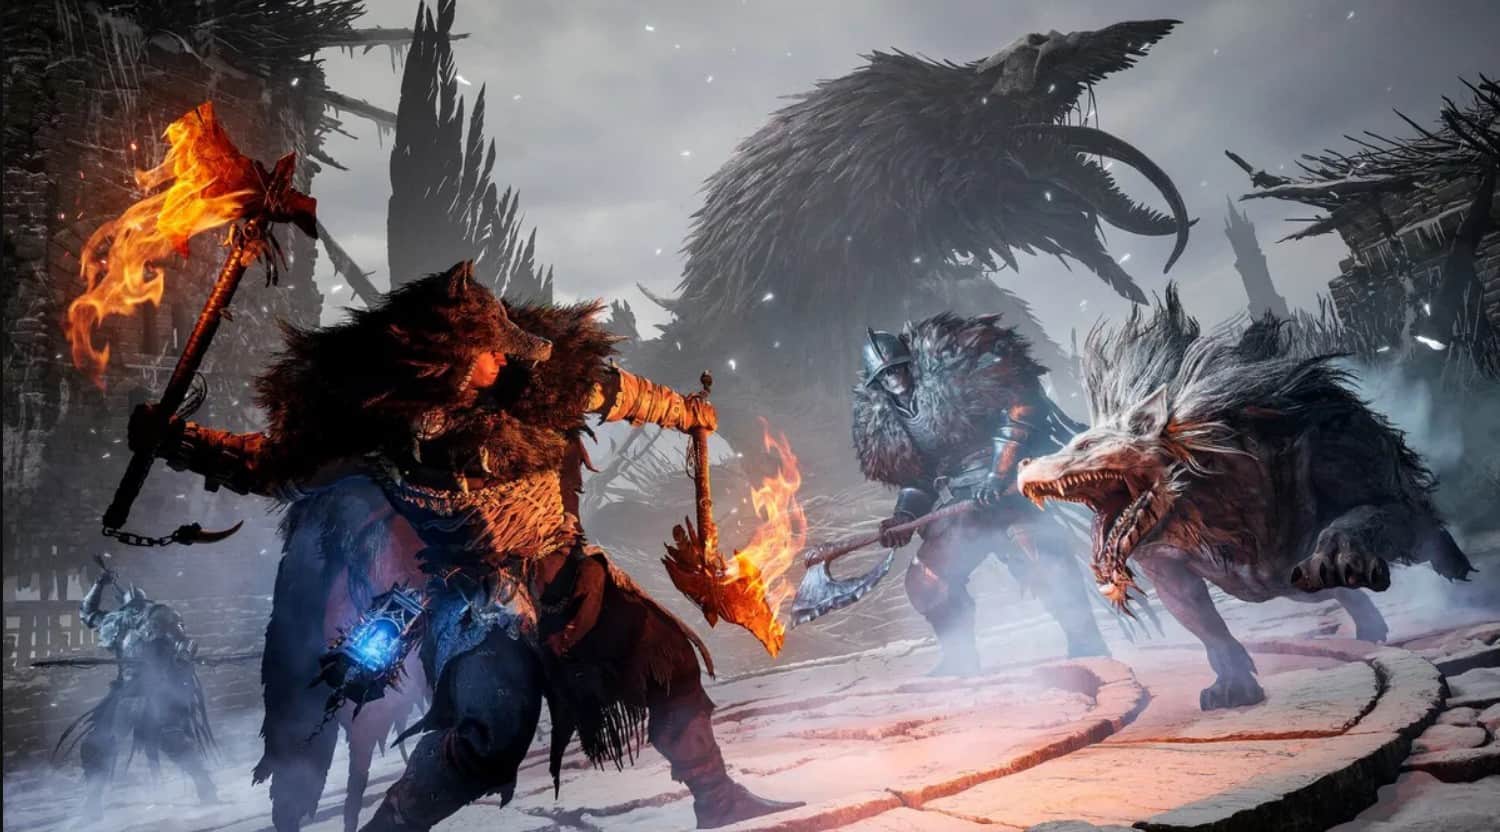
In Lords of the Fallen, there is no specific Progression route or order that you can follow. Instead, you can discover new areas and face different bosses depending on the choices you make. However, there are certain routes that you can take. These will allow you to get the best playthrough experience, and you will be able to finish the game way quicker.
If you are interested in the best progression order, then I have discussed the different paths/areas that you can explore first to get the best possible outcome in LOTF.
Lords of the Fallen Best Progression and Level Order
There are a total of 21 areas that you will need to explore in order to progress in your main questline. The difficulty level will rise with each new area that you explore, and you will have a fair share of enemies and boss fights.
However, you will also be able to acquire unique items while exploring each of these locations, which will be part of different quests and side quests. Below, you will find all areas in the order you should visit them in LOTF.
- Defiled Sepulchre
- Abandoned Redcopse
- Skyrest Bridge
- Pilgrim’s Perch
- Forsaken Fen
- Fitzroy’s Gorge
- Lower Calrath
- Upper Calrath Mining District
- Sunless Skein
- Cistern
- Revelation Depths
- Upper Calrath
- Fief of the Chill Curse
- Pilgrim’s Perch/ Path of Devotion
- Manse of the Hallowed Brothers
- Tower of Penance
- Abbey of the Hallowed Sisters
- Upper Calrath
- Bramis Castle
Defiled Sepulchre
You will need to complete Character creation first and then set out to acquire the Forsworn. The level requirement for this area lies between Levels 5 to 10. You will need to destroy the Umbral Tumor and enter the Umbral.
This way, you can soulflay the umbral body and acquire the Saintly Quintessence. Then, you will need to exit the Umbral. This can be done by using the Emergence Effigy in Lords of the Fallen.
Abandoned Redcopse
After reaching this area, you can proceed to activate the vestige here, which will be called the Vestige of Ranik. The level requirement for this area lies between Levels 5 to 10.
In short, you will come across two major enemy bosses in this particular area, and you will have to defeat each of these enemies in a boss fight.
- Holy Bulwark Otto
- The Lightreaper
You can then travel to the Redcopse Village and, from there, carry on with your main questline progression route in Lords of the Fallen.
Skyrest Bridge
The Skyrest Bridge is one of those areas that you will find yourself traveling quite frequently to in LOTF. The Level requirement for this particular area should be more than Level 10.
This is a vast place to explore, so you will also get to fight two enemy bosses at the Skyrest Area. These will include the following:
- Pieta, She of the Blessed Renewal
- Scourged Sister Delyth’s
Pilgrim’s Perch
You will need to journey to the Pilgrim’s Perch area next. The level requirement for this area lies between Levels 10 to 15.
There will be two boss fights in this particular area, and you will get to face the following opponents in LOTF:
- Gentle Gaverus, Mistress of Hounds
- The Congregator of Flesh
Forsaken Fen
At the Forsaken Fen area, you can activate the Vestige of Olleren. The level requirement for this area lies between Levels 20 to 30. During your exploration, you will also come across a Beacon, which you can cleanse and activate in Lords of the Fallen.
You can also engage in a boss fight with an optional enemy boss called the Mendacious Visage. Apart from that, you will get to fight the following enemy bosses as part of the main game progression. These will include:
- The Hushed Saint
- Shuja Hamlet
Fitzroy’s Gorge
The next area that you will need to venture to will be the Fitzroy’s Gorge. Once you get here, you can use the Umbral Flowerbed and explore this area to acquire other items, such as the Map of Fitzroy’s Gorge, Piercing Light, etc.
Similarly, you can unlock a shortcut in the form of an optional elevator to reach the Skyrest Bridge area in Lords of the Fallen.
The level requirement for this area lies between Levels 30 to 35. Keeping that in mind, you will be facing a total of three bosses, and one of these will be an optional boss fight in Fitzroy’s Gorge area. These will include:
- The Crimson Rector Percival
- Ruiner boss fight
- The Lightreaper (Optional boss fight)
Lower Calrath
The next place that you will need to visit in terms of your progression order in Lords of the Fallen will be the Lower Calrath area. The level requirement for this area lies between Levels 40 to 45. You can activate the Vestige of Sebastion in this area to fast travel here at any point in the game. Moreover, you can also acquire items such as the Map of Lower Calrath, Infernal Enchantress Flail, Infernal Enchantress Helm, Vestige Seed, etc.
In terms of Boss fights, you will be facing a powerful enemy boss at the Lower Calrath area in Lords of the Fallen. The boss is Infernal Enchantress, whom you will need to defeat to continue onwards with the events of the main questline.
Moreover, you can also acquire items such as the Map of Lower Calrath, Infernal Enchantress Flail, Infernal Enchantress Helm, Vestige Seed, etc., while exploring this area.
Upper Calrath Mining District
Moving onto the next area, this will happen to be the Upper Calrath (A) area in LOTF. The level requirement for this area is Level 55. You will be facing the enemy boss called the Spurned Progeny at this location.
After defeating this enemy boss, you will be able to acquire items such as Giant Eyeball, Spurned Progeny Flesh Vestige seed, etc. Similarly, you can explore the area and collect other items such as the Scornful Effigy, Pledge to Adyr, Vessel Root, Regular Deralium Nuggets, Lump Hammer, Umbral Tome, Map of the Sunless Skein, etc.
After that, you can continue the progression through the tunnels to reach the next area in Lords of the Fallen.
Sunless Skein
You will be able to enter the inner section of the cave, which will indicate that you have reached the Sunless Skein area. The level requirement for this area is Level 50 in Lords of the Fallen. You can activate the Vestige of Hooded Antuli at this location and acquire various items such as the Ring of the First of the Beasts, Fulvirano Shield, etc.
During your exploration of this area, you will also get to engage in a boss fight with an enemy called the Skinstealer. Moreover, depending on the choices you make in this area, you might also have to fight another optional enemy boss known as the Bringer Trio.
Cistern
During your main game progression, you will need to go to the flooded section of Cistern and get the Nohuta Effigy from that place. The level requirements in this area are similar to the ones you will have at the Sunless Skein, which means above Level 50.
Here, you will also face enemies such as the Bringer of Silence, the Bringer of Nullity, and the Bringer of Stillness. This area is also filled with a lot of hidden items that you can collect during your exploration, which will include Large Deralium Nuggets, Animated Vigor Skull, Pertiax, Miner’s Desperation, etc.
Revelation Depths
This location is situated beneath the Sunless Skein area in Lords of the Fallen. You will need to go through this place if you want to reach the Upper Calrath (B) area. The enemy bosses that you will get to engage here will include:
- Harrower Dervla, the Pledged knight
- The Unbroken Promise
Once you defeat these enemy bosses, you can use the elevator to reach the Upper Calrath (B) area next in LOTF.
Upper Calrath
After reaching the Upper Calrath (B), the first thing that you need to do is to activate the Vestige of the Forgotten Guardian in this area. Then, you can explore this portion to collect different items such as the Blacksmith’s Pride, Queen Verena II’s Ring, etc.
The level requirement for the Upper Calrath (B) area is Level 55 in Lords of the Fallen. You will also discover the Radiant Beacon during your exploration, so you will need to purify it by cleansing it first and then activating it.
After that, you will need to unlock the shortcut doors, which will lead you back to the Skyrest Bridge as well.
You will also come across other items such as the Melted Dark Crusader Sword, Graveyard Frog, Moth Ring, etc. Similarly, you will also need to collect the Fief Key, and then you can fast travel to the Vestige of Marco the Axe in Lords of the Fallen.
Fief of the Chill Curse
If you have the Fief Key in your possession, then you can travel to the Redcopse Village first and then proceed to unlock the large frozen Bell Door there. However, you need to keep in mind that the level required for this area is above Level 55, as the enemies you will encounter here will be challenging.
That being said, you will face the following enemy bosses at the Fief of the Chill Curse area in Lords of the Fallen. These will include:
- Kinrangr Guardian Folard
- Griefbound Rowena (Optional Boss fight)
- The Hollow Crow boss fight
You will also find a Beacon at the Fief of the Chill Curse area so you can cleanse it and activate it in LOTF.
Pilgrim’s Perch/ Path of Devotion
You will need to make your way to the Pilgrim’s Perch area next in the Lords of the Fallen progression, and there, you will need to find two essential items. The first one will be the Pilgrim’s Perch Key, and the second one will be the Map of the Belled Rise.
You can obtain other items such as the Brawn Ring, Hammer of Holy Agony, Umbral Eye of Lorelo, the Cursed Knight, the Dark Crusader’s Convalescence, Anvil Hammer, Diminishing Missile, Saintly Quintessence, Hungering Knot, etc.
After you complete the Path of Devotion in LOTF, you will have to face any enemy boss called the Sacred Resonance of Tenacity. Similarly, if you go with optional choices during your exploration, you will also have to engage in an optional boss fight with the Paladin’s Burden.
Lastly, you can also open the Skyrest Bridge shortcut from the Path of Devotion memorial through the Vestige of Blind Agatha in Lords of the Fallen.
Once you are done exploring this place, you can take the elevator, and it will bring you directly to the Manse of the Hallowed Brothers area.
Manse of the Hallowed Brothers
In order to follow the best LOTF progression route, your next stop needs to be at the Manse of the Hallowed Brothers area. To explore this particular area, you will need to have a level requirement that lies between Levels 55 to 60.
You can collect items such as the Dark Crusader’s Convalescence, Anvil Hammer, Diminishing Missile, Saintly Quintessence, Hungering Knot, etc.
Apart from that, you will also have to come face to face with an enemy boss called the Abiding Defender Kyra or the Abiding Defender Lirenne. You will have to take part in this optional boss fight and defeat either one of these enemy bosses to progress forward in Lords of the Fallen.
Tower of Penance
The difficulty level will increase with the areas you discover in Lords of the Fallen. After you reach the Tower of Penance area, you can explore it and collect items like the Braided Ring, Jeffery’s Dagger, Deralium Chunk, Rebirth Chrysalis, etc. The level requirement for this area lies between Levels 60 to 65.
You will also have to fight enemy bosses, which will include:
- Blessed Carrion Knight Sanisho
- Tancred, Master of Castigations, and Reinhold the Immured
Once you defeat both of these enemy bosses, you can also search for the Beacon in this specific area. After finding it, you can cleanse it first, activate it, and continue your search for other items such as the Rune Tablet, Bramble Ring, Tancrid’s Key, etc.
Then, you can return to the Manse of the Hallowed Brothers area and continue your journey forward to reach the Abbey of the Hallowed Sisters in Lords of the Fallen.
Abbey of the Hallowed Sisters
At the Abbey of the Hallowed Sisters area, you will need to Soulflay the stigma first. Keep in mind that the level requirement for this area lies between Levels 70 to 75.
You will also have to face powerful enemies, such as
- the Abbess Ursula’s
- Rapturous Huntress Lirenne
- Judge Cleric, The Radiant Sentinel
Apart from that, you can acquire various items at the Abbey of the Hallowed Sisters area, which will include the Abbes Staff, Weeping Abbess Mitre, Enhanced Poison Javelin, Umbral Eye of Blind Agatha, Rapturous Huntress of the Dusk, Saintly Quintessence, Vestige Seed, etc.
If you look hard enough, you will also discover a Beacon here, which you can cleanse and re-ignite in Lords of the Fallen.
Upper Calrath
After you are done exploring the Abbey of the Hallowed Sisters area, you can progress to the Upper Calrath area through the Skyrest Bridge shortcut. First, you will need to reach the Empyrean area and explore that area to your heart’s content.
The level requirement when you return to this area through the Skyrest Bridge should be at least Level 80 in Lords of the Fallen. You will find different items such as the Bountiful Ring, Umbral Eye of Doln, Putrid Child Catalyst, Empyrean Church Key, Lucent Sword Shield, etc.
In order to access the Upper Calrath in Lords of the Fallen, you can go back to the Hub area. Then, you will need to cross the place where you previously encountered the Pieta boss. After that, you will need to head upstairs, and along the way, you will eventually discover a way back to the ruins through the shortcut you unlocked before.
Lastly, you will have to face the following enemies at this specific location:
- The Lightreaper
- The Iron Wayfarer
Bramis Castle
The last part of the progression route will involve you navigating through the Bramis Castle in Lords of the Fallen. However, you need to be above Level 90 to explore this area.
Once you have prepared yourself for the final events of the progression, you can fast-travel to the Vestige of the Forgotten Guardian. Then, you can head in the right direction from that area and follow the path that will lead you straight to Bramis Castle.
You will have to fight three enemy bosses each at different locations in this area, and these will include:
- Damarose The Marked
- The Sundered Monarch
- Adyr, the Bereft Exile
Once you have defeated all the enemy bosses, you can collect the rewards and explore the area to discover other unique and special items.
Lord of the Fallen Gameplay tips

Certain gameplay tips can make your playthrough experience more enticing. These will include the following.
- Explore all the areas thoroughly and make sure to acquire all the Resources (items) that you find during your playthrough.
- It would be best if you always considered investing in your stats.
- Upgrading your Combat Skills is essential if you want to compete with enemies at higher levels.
- Defeating Enemy Bosses will allow you to earn unique rewards
- Following the Main quest and also the side quests, as these can also be rewarding, and you will unlock certain trophies/ achievements in LOTF.
- Leveling up your gear is the most important aspect of your gameplay, as it will allow you to enhance your build and dominate your battles.
- Lastly, you should never forget to save your progress in various areas so that you don’t lose any optional scenario or gameplay progress.
You can follow all of these tips during your Lords of the Fallen progression route. This way, you will also end up acquiring those items that you might have missed out on earlier.