Sifumim Shrine in Zelda: Tears of the Kingdom is about surviving against all odds. This shrine is a proving ground and pits you against some of the most challenging enemies of the game without any proper gear or weapons.
While locating Sifumim Shrine in Zelda: Tears of the Kingdom is relatively easy, surviving the onslaught of constructs inside it is not. You will face a lot of enemies with some overpowered weapons and a terrain that only hinders your progress.
Let us help you find this shrine and use its terrain to our advantage in this detailed step-by-step guide. Make sure to check out our other shrine location guides to get overpowered early in the game.
Sifumim Shrine Location in Zelda: TotK
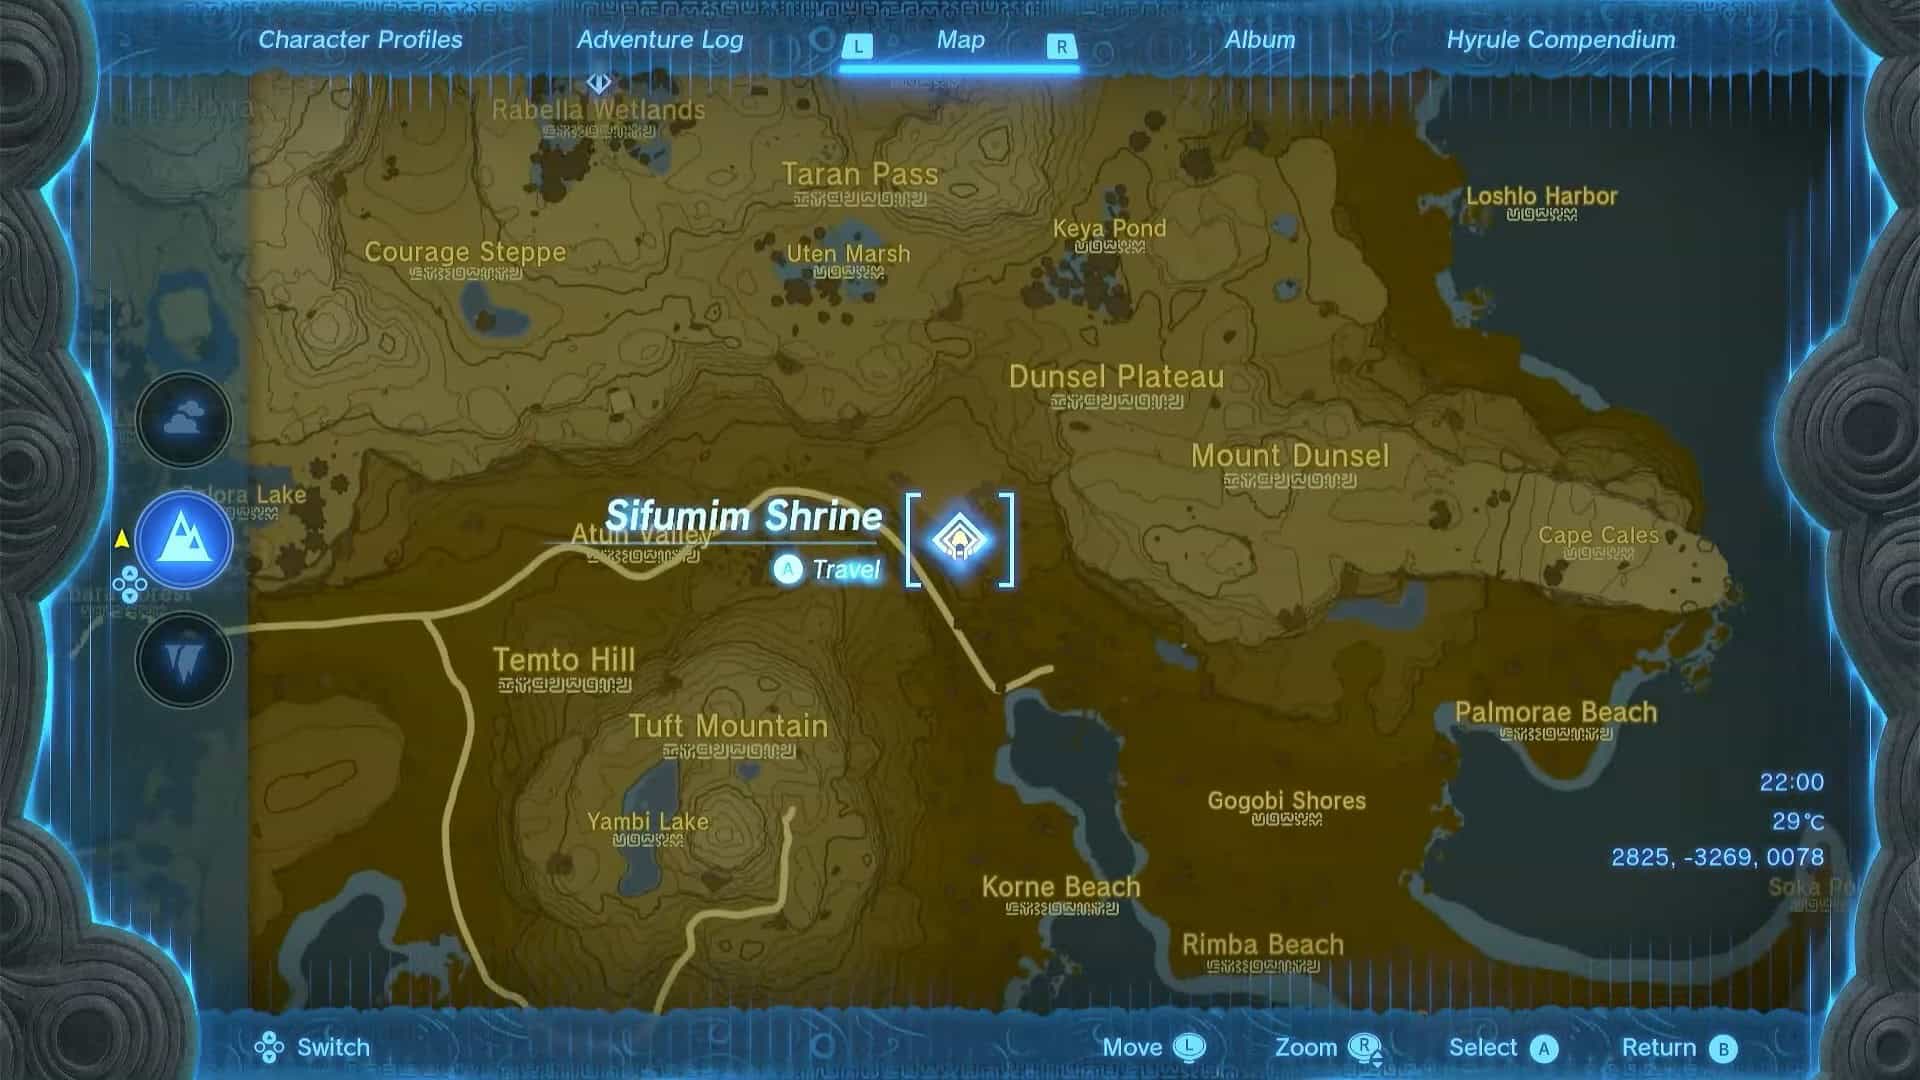
Sifumim Shrine is in the southern part of East Necluda, northwest of Lurelin Village. It is near the southeast end of Hyrule’s map, and the nearest Skyview Tower to this shrine is Rabella Wetlands Skyview Tower.
The exact coordinates for the Sifumim Shrine in Zelda: Tears of the Kingdom are (2825, -3269, 0078). It is to the Northwest of Mount Dunsel and Dunsel Plateau.
From the Dunsel Plateau, make your way to the south and reach the plateau that oversees the Ruined Village. That’s where you will find the shrine in front of you.
Sifumim Shrine Walkthrough
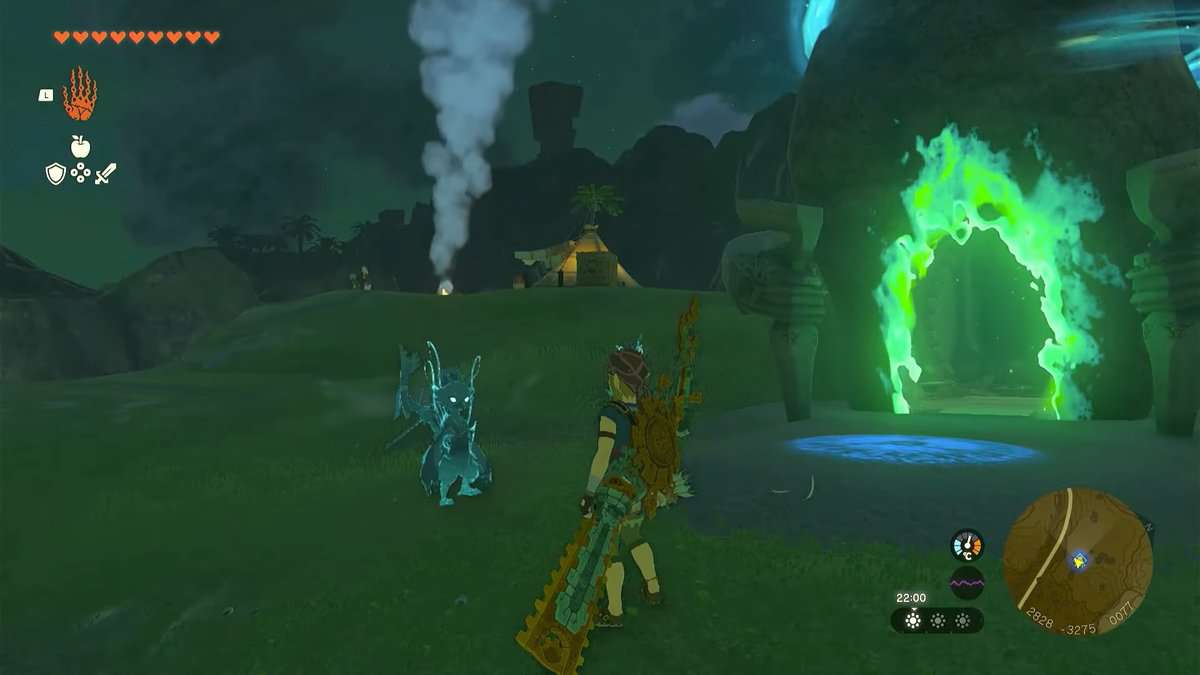
As the Sifumim Shrine in Zelda: Tears of the Kingdom is a combat shrine, you are not allowed to use your weapons, armor, shields, or any zonai devices inside it. You need to make do with what the shrine provides.

The trial presented by the Sifumim Shrine is called Proving Grounds: Flow. The objective of this trial is to destroy all the construct enemies in the shrine with limited resources available.
1. From the start of the shrine, go straight and pick up some weapons from the left.

2. Stand near the edge of the flowing water and pick up a boat with the Ultrahand. Shake it to drop the construct enemy standing on it into the water, instantly killing it.

3. Dive into the water and pick up the enemy parts to fuse them with your weapons. This will exponentially increase their attack power and durability.

4. Go with the flow of water to the left and climb the stairs to reach the middle platform.
5. The enemies here have shock arrows that can seriously hurt you and make you drop your weapons.

6. Repeat the same process with all the constructs on moving ships in the area. Pick up the ships with Ultrahand and shake them to make the enemies fall into the water.
7. Once you are done, climb the stairs to reach the top of the Sifumim Shrine in Zelda: Tears of the Kingdom.

8. There is a Captain Construct at top of the shrine. It uses Ice Arrows to deaf massive damage and freeze you for a few seconds. Defeat this enemy to complete the trial.
9. Once all the enemies are defeated, your gear will be returned and the door to the inner sanctum will open.

10. Enter the altar room and open the treasure chest to obtain Captain II Reaper.
11. Interact with Rauru and Sonia’s statues to complete Sifumim Shrine in Zelda: Tears of the Kingdom and earn a Light of Blessing as a reward.