In Lords of the Fallen, the Bramis Castle will be the final area of your playthrough. In this Castle, you will be able to test your mettle against different enemies and salvage a lot of precious items.
The thing that makes Bramis Castle unique is the fact that it is interconnected with many areas, and you will discover a lot of hidden rooms here. You will also find a lot of chest and enemy bosses at this specific castle, including the likes of Damarose the Marked, The Sundered Monarch, and Adyr.
For this Bramis Castle Walkthrough, I will be going over the Radiance Ending, so read on to learn all the shortcuts and items you can find at this Castle in LOTF.
Where to find the Bramis Castle in Lords of the Fallen
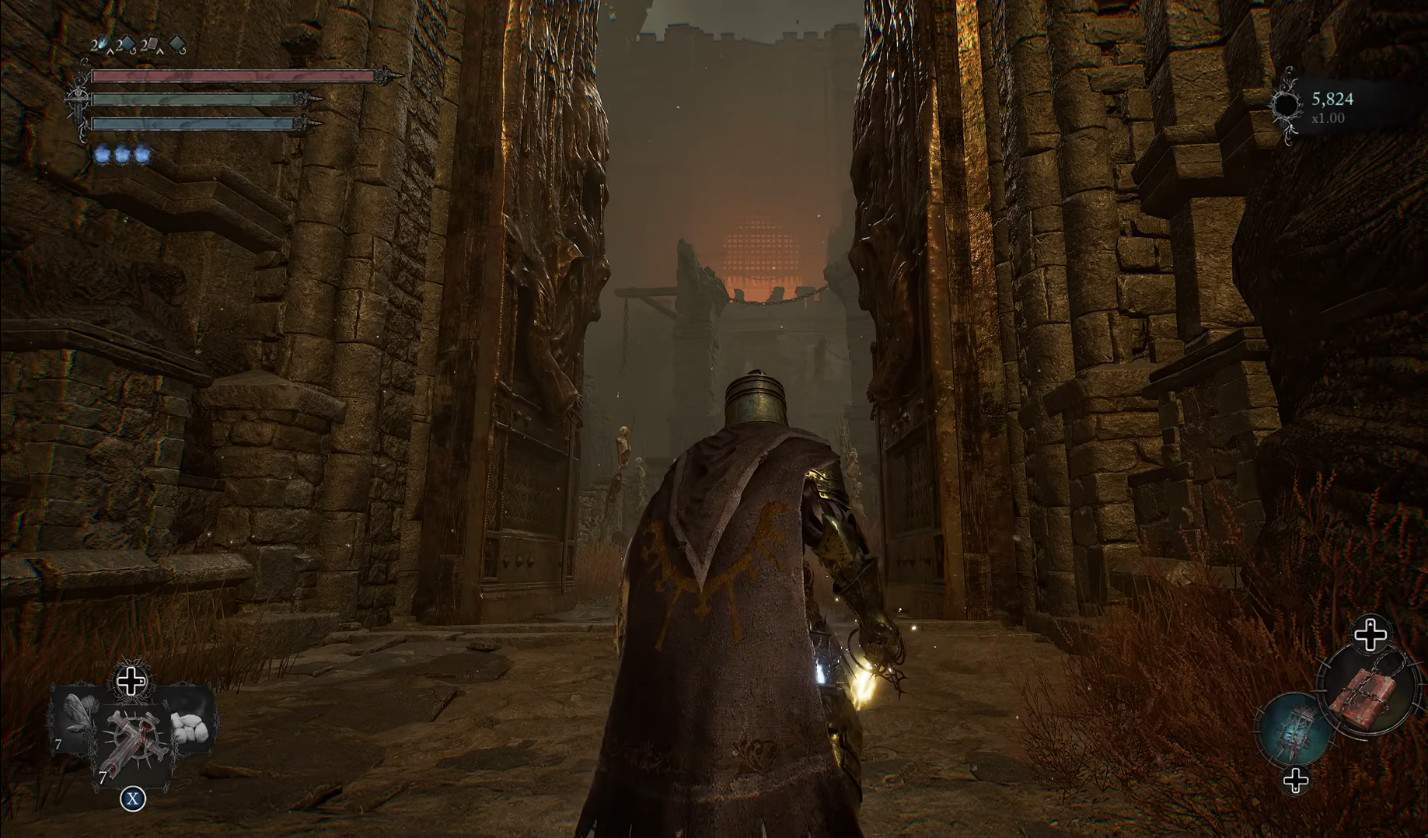
You will need to make your way near the Skyrest Bridge. You will face a large, gloomy castle before reaching this bridge. This castle will happen to be the Bramis Castle, which will be filled to the brim with all sorts of living and undead enemies inside.
You cannot get to the Bramis Castle if you are going from the Vestige of the Forgotten Guardian, as the door leading to that place will be locked in LOTF. Instead, you must go from the Vestige of the Ethryg first and then head over to where you previously engaged the enemy boss, Pieta, She of Blessed Renewal.
There will be a previously locked door; this time, it will be unlocked for you to reach the Bramis Castle in Lords of the Fallen.
Bramis Castle Walkthrough
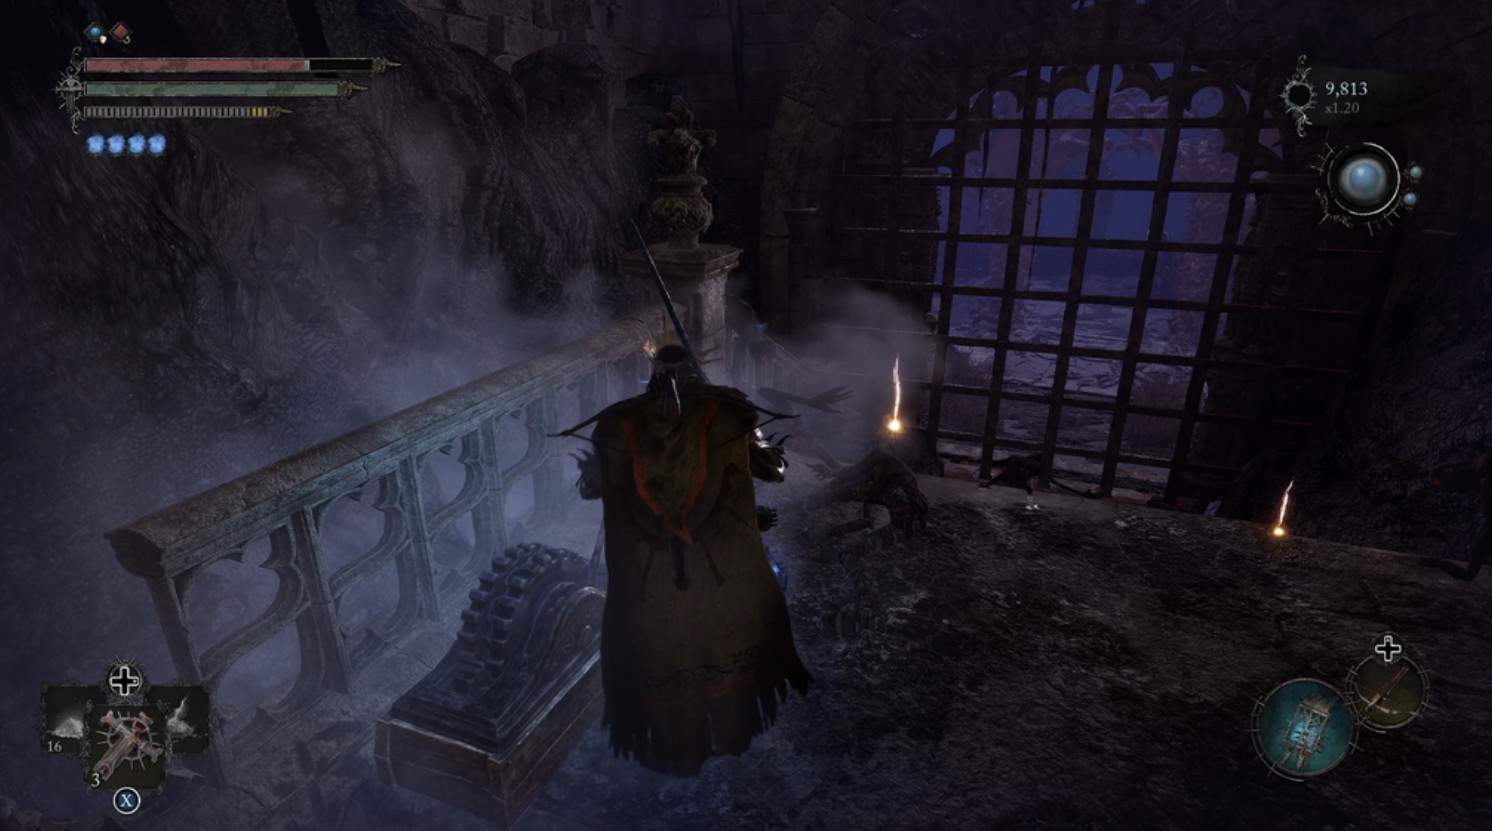
Bramis Castle is a large place to discover in LOTF, and you must come prepared if you want to get into the inner section. Starting with the entrance, you must access the Upper Calrath first.

From there, you must follow the spiral staircase to reach the upper part of the castle. Along the way, you will encounter some enemies, so take your time and deal with them before proceeding.
You will encounter a Fire Knight on your way up, so kill him. Then, you will need to go ahead and pop Umbral and then target the enemy fairy underneath. Then, you can Soulflay a hidden platform and use the iron door to reach the spiral staircase again.
Along the way, a reaper will appear so you can run past it and cross the bridge you just constructed. Then you can pick up the Smite Salts x3 on your left side and then go straight and take an immediate right.
Get the Executioner’s Axe
You will find a chest, so open it up and pick up the Executioner’s Axe in Lords of the Fallen. Afterward, you can go left and lick down the ladder to get a shortcut to reach the place below.
Instead of taking the ladder, you can proceed inside the Bramis Castle, and along the way, you will have to engage enemies, including the Rhogar Hounds, Infernal Enchantress, etc. Remember that the Infernal Enchantress will be a pain since she can target you precisely with those ranged fire attacks.
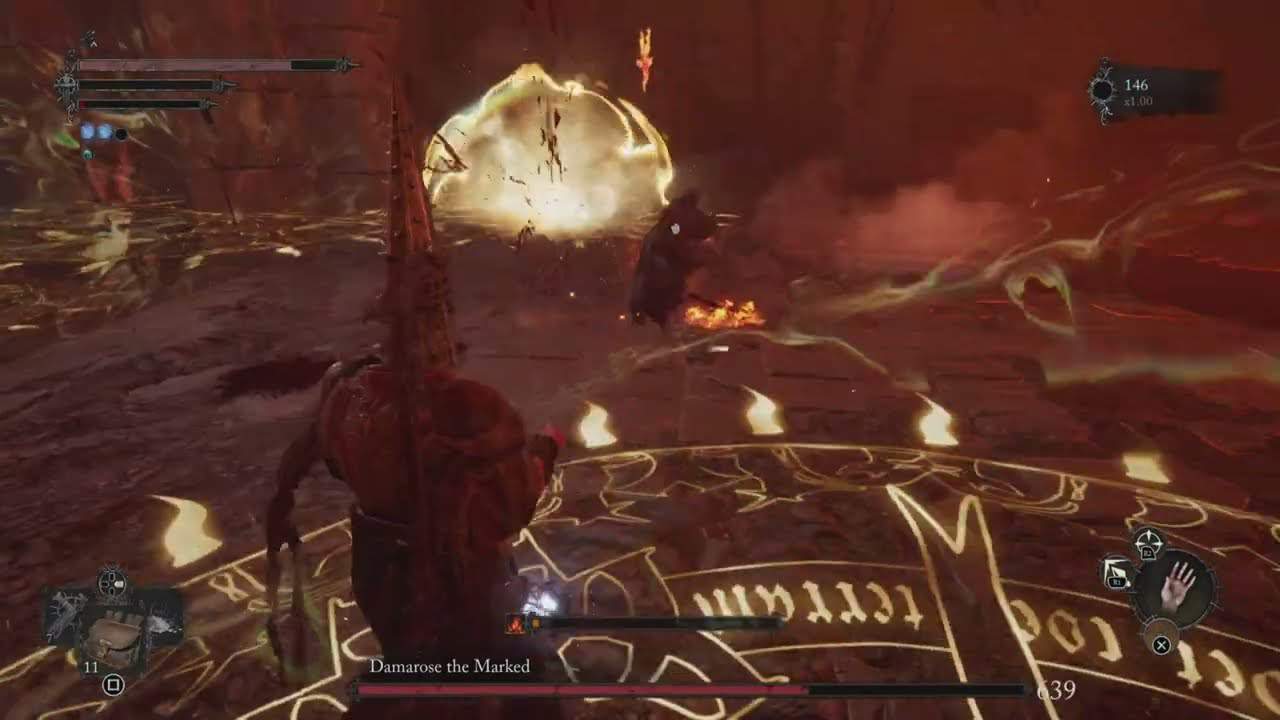
You will also encounter an NPC mini-boss named Damarose, the Marked in LOTF. Her main attacks include summoning runes to inflict fire magic projectiles and close-range melee attacks. She is slow, so you can take your time and kill her.
However, this scenario’s outcome can also differ if you follow the Inferno ending in Lords of the Fallen. If you follow that ending, Damarose will give you her weapon, the Damarose’s Cleaver, and then shift to another location.
Following the radiance ending, she will fight you, and in doing so, you will receive the Damarose Cleaver and the Vestige Seed in Lords of the Fallen.
Get the Saintly Quintessence
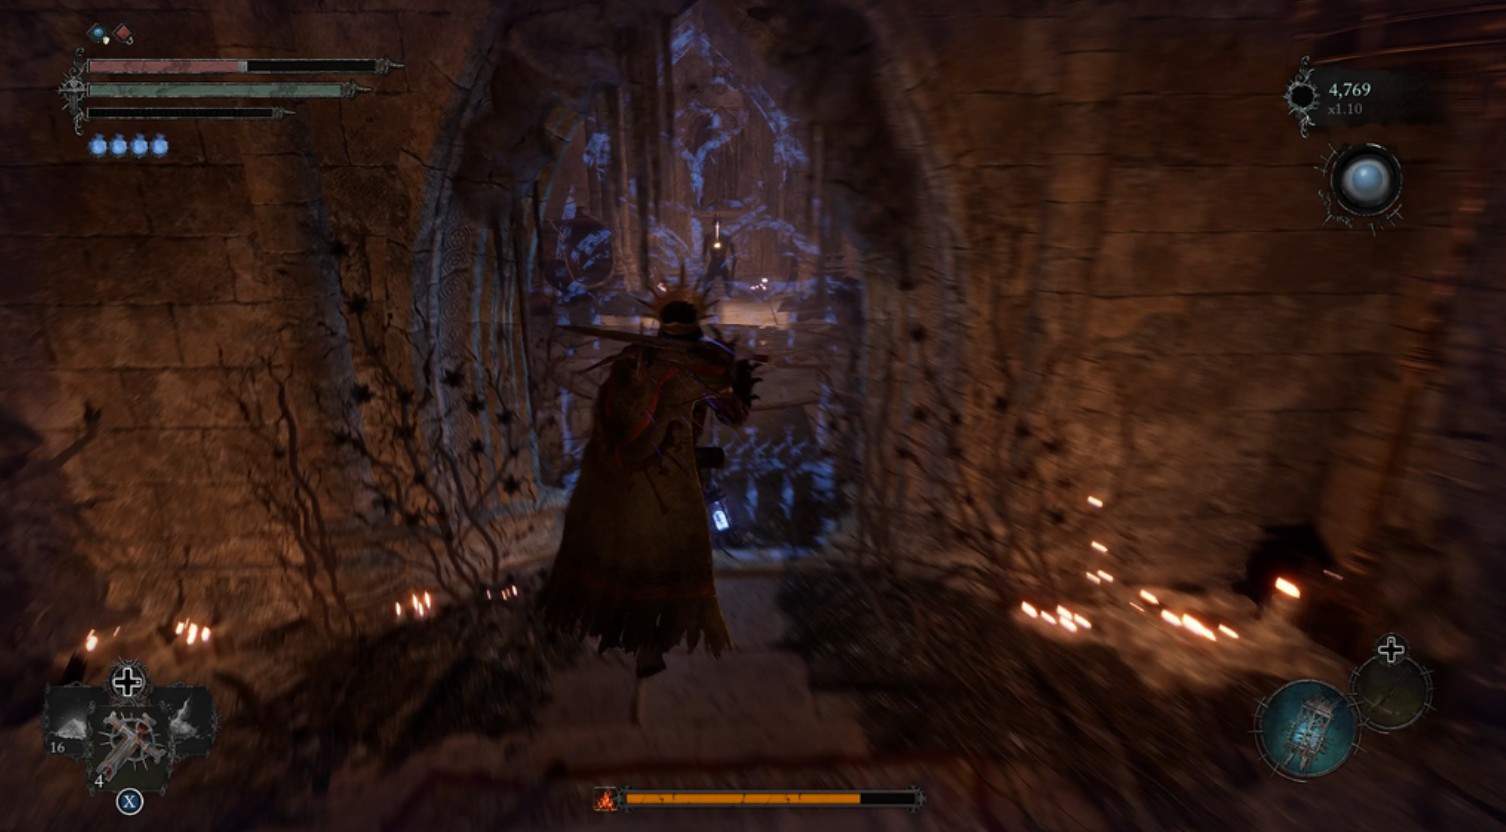
You can then head to the inner section of the castle and then access the Umbral Rifting. After that, climb the Umbral Ladder, and you will face enemies, including the Mendacious Visage. Once you deal with these enemies, you can Soulflay the Umbral Belly.
This way, you will end up receiving the Saintly Quintessence. You must return to where you fought Damarose and climb the debris on your right.
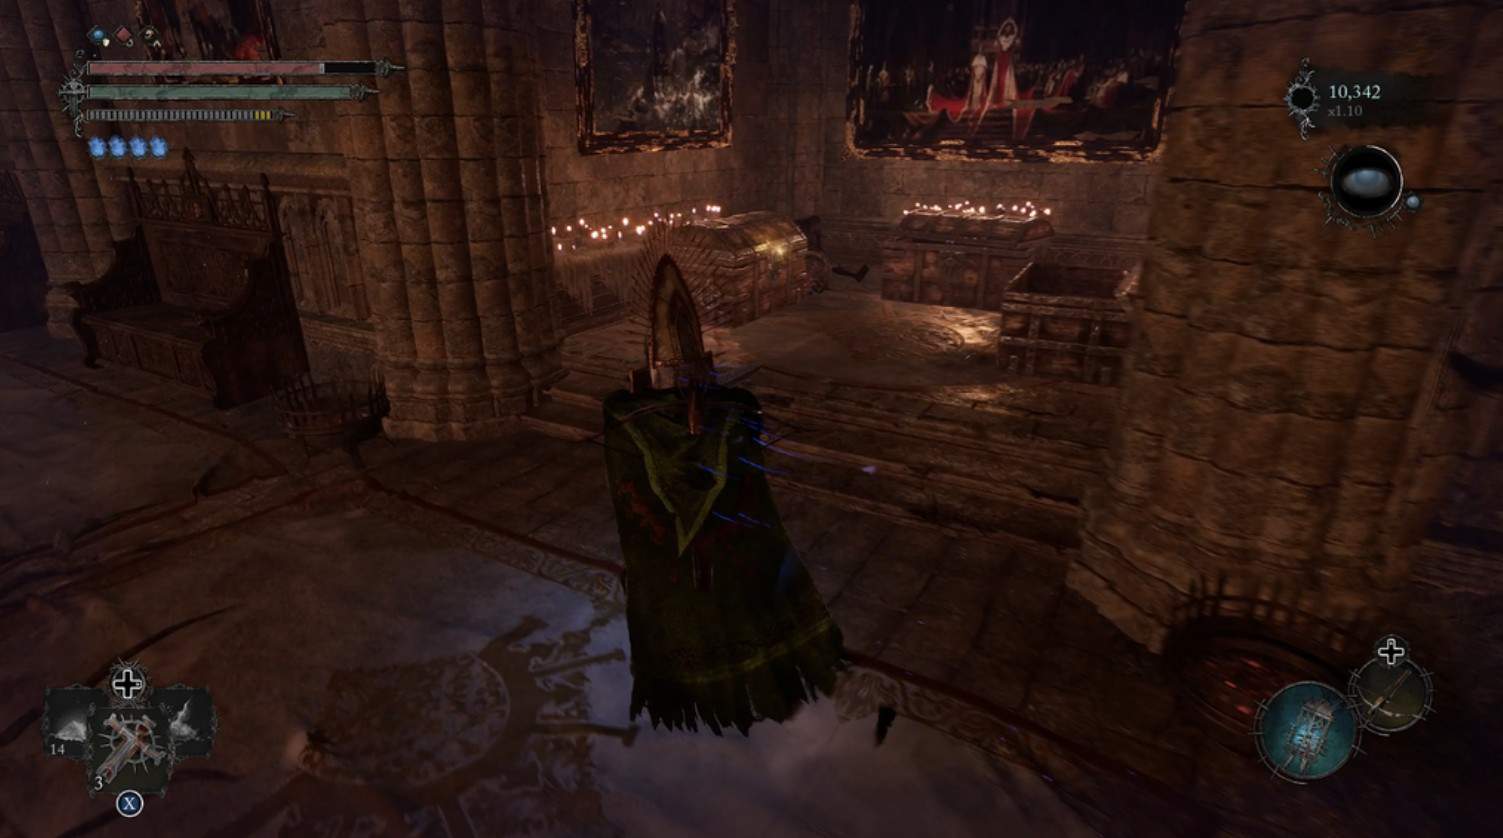
Move to the upper area, and along the way, you can salvage the Map of Bramis Castle in Lords of the Fallen. After attaining the castle map, you can climb the stairs below and continue until you reach the wooden planks in the Painting Room.
On the right side, you can salvage the Ignite Salts, Burn Salts, etc., and behind these planks, you will observe a hidden entrance, so clear these out.
Find the Eviscerating Spear
A Ruiner will be present guarding that place, so kill him and make sure to clear the area of remnants in LOTF. You will also find the Eviscerating Spear on a dead body, so salvage that.
You will find multiple paths leading out of that room, so you can head right and find the Queen’s Stigma, which you can Soulflay to receive the Umbral Scouring. Then, you can release the ladder and climb down to get back to the spiral stairs.
Instead of taking the stairs, you can go to the grand hall of Bramis Castle. This way, you will also come across items such as the Briostone Trio (x3), and if you continue down the hallway, you will find a Ruiner chest. You can open this particular chest to salvage items such as Large Deralium Shards (x2), Small Deralium Fragment (x8), and Regular Deralium Nuggets (x3) in LotF.
Hidden Lever to enter the next area
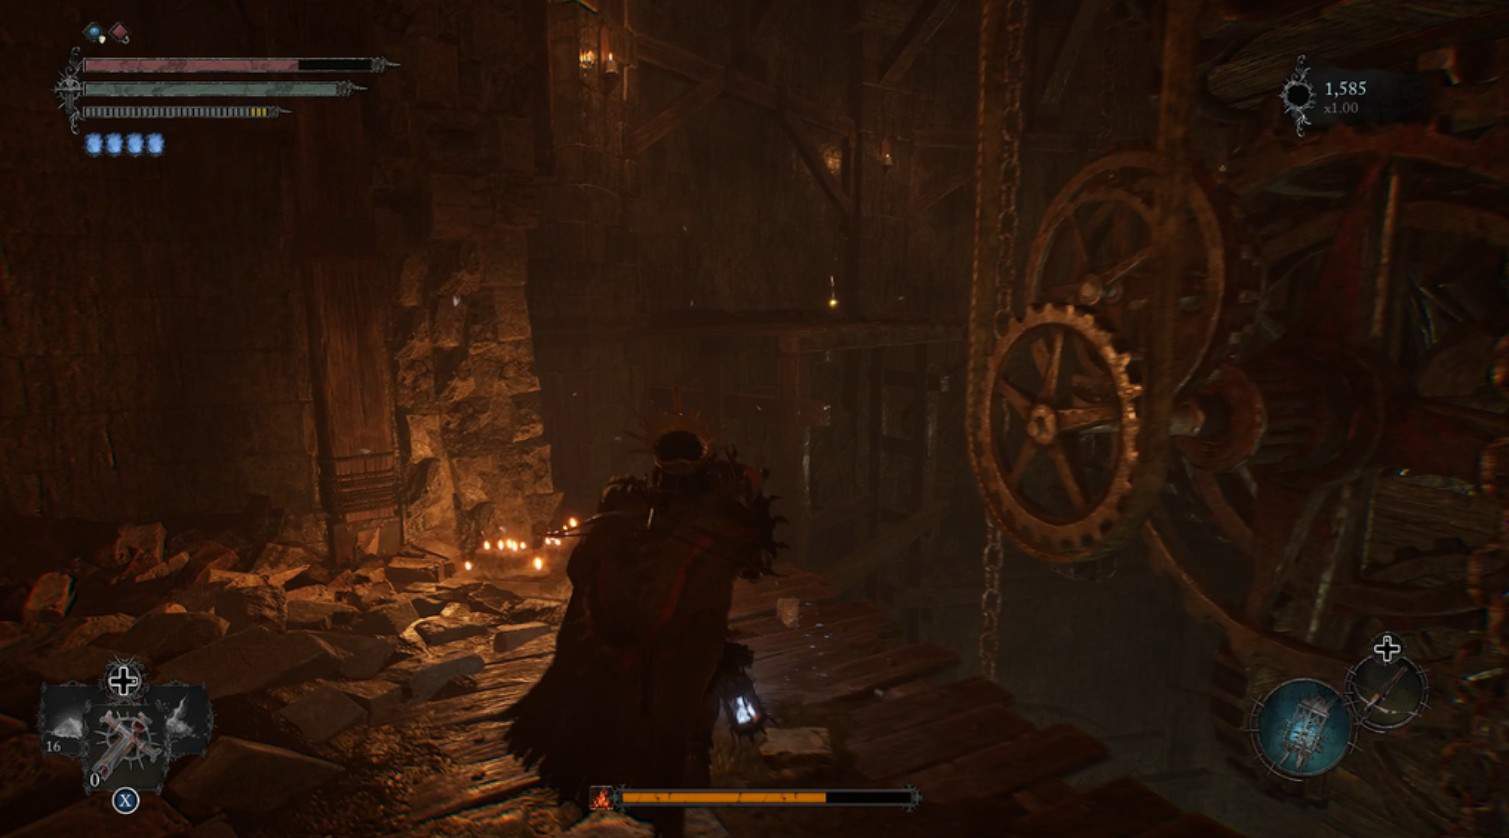
Next, you can use the Umbral Lamp to get past the gates and find another dead body. This time, you will be able to find the Smouldering Ring of it in Lords of the Fallen. Once you exit the room, you can go in the left direction and take your time dealing with the Conflagrant. After you kill it, the shards in that area will explode and reveal the hidden lever for you to operate.
You can also find some wooden boards on your right to break those to discover a hidden door. Open that, and inside, you will see a Fire Mangler strolling in the corridor. Kill this enemy and collect the Seething Vigor Skull. This item can be located on the bookshelf, so after ordering it, you can return it to the lever and pull it to unlock the gate.
Then, you can drop down through the hole and land in the middle of the room, where many enemies will greet you. These include the Fire Hounds accompanied by the Fire Manglers and the troublesome Infernal Enchantress in Lords of the Fallen.
You can deal with these enemies and then use the Umbral Lamp to get the platform on your left side and find another body there. You can collect the Lord’s Bite from that particular body this time. Going to the Effigy in LotF would be best, so go up the stairs and head to the alcove. There, you will be able to collect the Holy Saints (x2), and then you will need to go to the second floor.
Open Chest to get the Lord Set
Once you reach this floor, you can move right and find another chest. Open it, and you will be able to receive the Lord set, which will include the Lord Gauntlets, Lord Leggings, and the Lord Armor in Lords of the Fallen.
Along the way, you will also be able to get your hands on the Royal Key. Once you have the key in your possession, you need to make your way back to the grand hall, and there, you can unlock a door with this royal key. Upon unlocking that door, you will find a wooden ladder you can push down.
To acquire the Pendant of Infernal Oblivion, you can emerge from the Umbral while accessing the Effigy in LOTF. This way, you will face the enemy, the Skinstealer. Kill him, and the pendant will be yours for the taking.
Similarly, you will also find some treasure chests in the dining hall. You can open these to receive the Lord Catalyst, Minor Wither Salts, Manastone Cluster, Shield of the First of the Beasts, Hilvit, Etc.
Lord Mask in Lords of the Fallen
Moreover, you will find the Lord Mask if you venture to the bedroom area. You can also check on the right side of that room to discover the Swaddling Cloth in LotF.
After that, you can head downstairs, and you will come across a body from there. You can salvage Briostone Trio (x3) from it. Make your way towards the right end and enter Umbral. Once you do that, you can Soulflay towards the other side to create a platform for you to get across the lava. You will notice a red crystal, so make your way towards it, and you will get Fire Ward (x5).
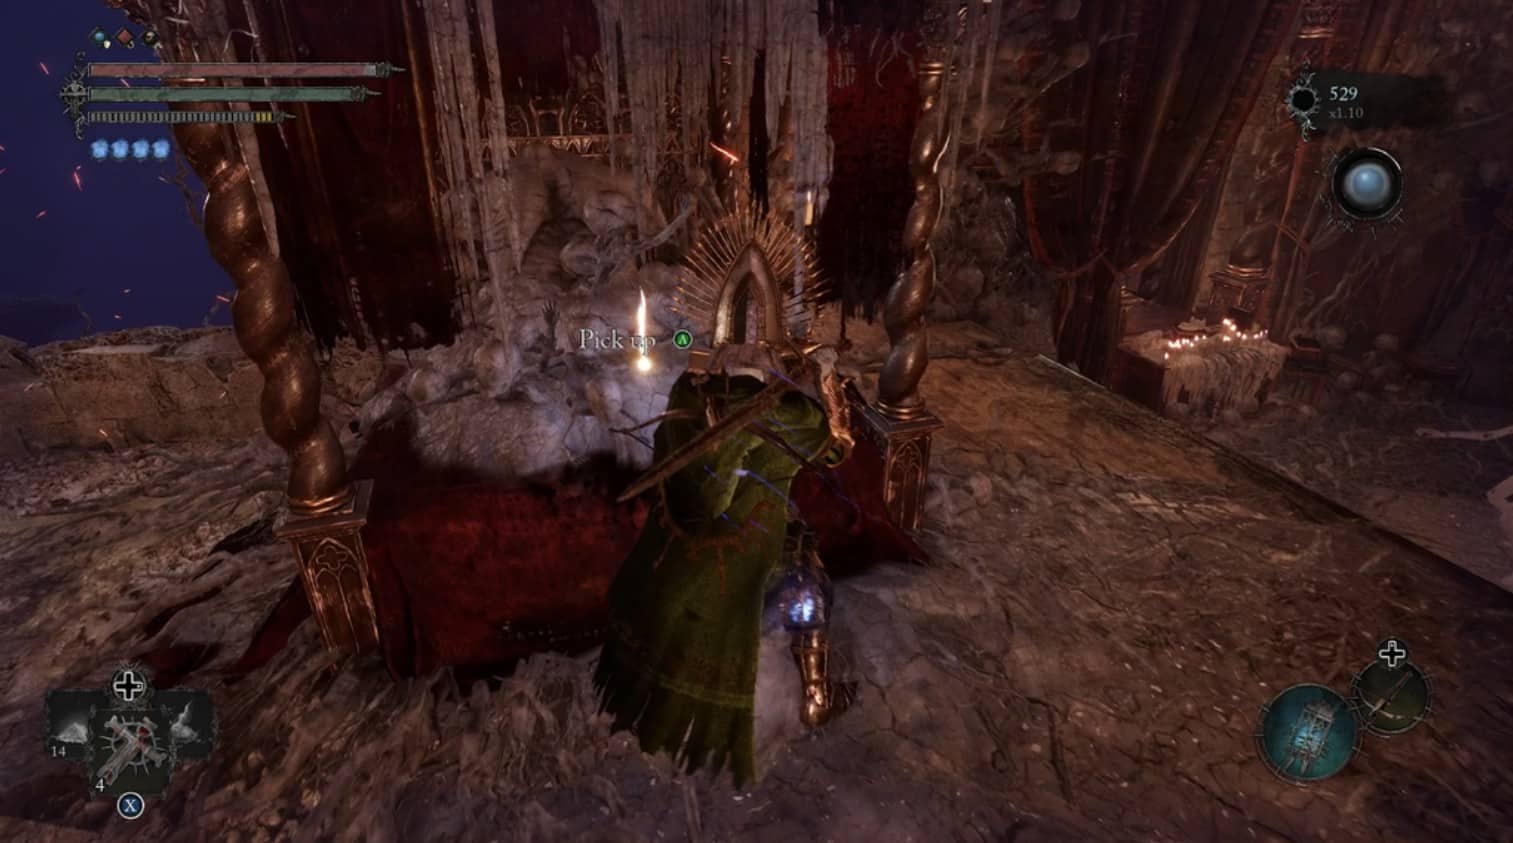
You can continue and follow the path straight to the King’s Throne. It will be in the lower area of the Bramis Castle, and you will need to look out for hanging items. If you spot any near the support pillars, you can bring these down.
By doing that, you will receive items such as the Grace of Adyr Scalp, Grace of Adyr Loiccloth, and Grace of Adyr Mask in Lords of the Fallen.
Once you have dealt with enemies like the Conflagrant and the Ruiner, you can find a place to plant the Vestige Seedling in LotF. Then, you can proceed to face the enemy bosses at Bramis Castle.
The Sundered Monarch boss fight

During the first phase, the Sundered Monarch will be stationed at one position and use ranged attacks on you. His arm movement will instigate these attacks, and as soon as he flings his head, it will indicate that he is about to attack you with projectiles.
You can dodge these attacks and use fire with ranged attacks on the Sundered Monarch to lower his health. After some time, the Sundered Monarch will cut off his arms, grow a demonic one, and then break the large statue.
Now, you must evade those slam attacks at all costs. Furthermore, the Sundered Monarch will also swing his demonic arm with the boulder to land a close-range attack on you. This attack will be repeated three times, so you should dodge it and then use your powerful attacks to bring down the health of the enemy boss during this boss fight in LotF.
Once you get the Sundered Monarch’s health down to 50 percent, this enemy boss will go into a frenzy, and the second phase of this boss fight will begin. Sundered Monarch will levitate into the air and produce a powerful slam attack, causing a large explosion of Rhogar.
You can move back during this attack and avoid falling into its radius. Moreover, the slam attack of the Sundered Monarch will also be followed up by a sword attack that will fall in the radius of this attack. You will need to wait for the right moment to strike, and as soon as you close the distance on this enemy boss, you should hit it with your powerful attacks.
Keep up with this strategy, and eventually, you will be able to defeat him successfully in this boss fight at Bramis Castle.
Confronting Adyr at the Rhogar Realm in LOTF

You will also face another enemy boss at the Bramis Castle in Lords of the Fallen. This will happen to be Adyr, the Bereft Exile. You will encounter this particular enemy boss in the Rhogar Realm. He is an optional boss that you will come across if you are following the Radiance Ending.
This boss fight is relatively easier than the Sundered Monarch fight in LotF. During the boss battle with Adyr, you will notice a lot of undead guys standing in the arena. Looking at Adyr, you will notice two projectiles leaving his body, directed toward those undead followers.
Once the projectile comes in contact with one of these followers, they will get imbued with a large fiery symbol.
It would be best to immediately target those followers with your sword attacks as soon as you see them. Once you bring down these followers, you will notice that Adyr’s health will start to go down with them.
In short, you will need to stay mobile during this boss fight. Moreover, as the fight progresses, you will find that the amount of undead followers will increase, and they will start throwing projectiles at you from different directions.
You must evade their attacks and use your ranged attacks, such as the bloody hatchets, to target these followers. This boss fight will take a while, so dodging the projectiles and throwing the hatchets at the followers should win this fight for you.
If you want the Radiant Ending in LOTF, you must have cleansed all five beacons. Similarly, if you aim for the Inferno ending in Lords of the Fallen, you must approach the Bramis Castle gate, lit with no beacons.