The Githyanki Warrior is a companion quest that allows you to help Lae’zel and complete her story in Baldur’s Gate 3. Lae’zel is one of the earliest companions you will meet on Nautiloid. She has been infected and wants to get off the Mindflayer tadpole. Her whole journey revolves around this objective, and being another true soul, she is not hesitant to ally with you.
Due to its branching and overlapping narrative, you may encounter situations where the Githyanki Warrior quest conflicts with other objectives. Before proceeding further, we would like to make sure that this quest will be our primary focus. We will be discussing other outcomes but stick with the path that ensures its completion.
Recruit Lae’zel during Act 1
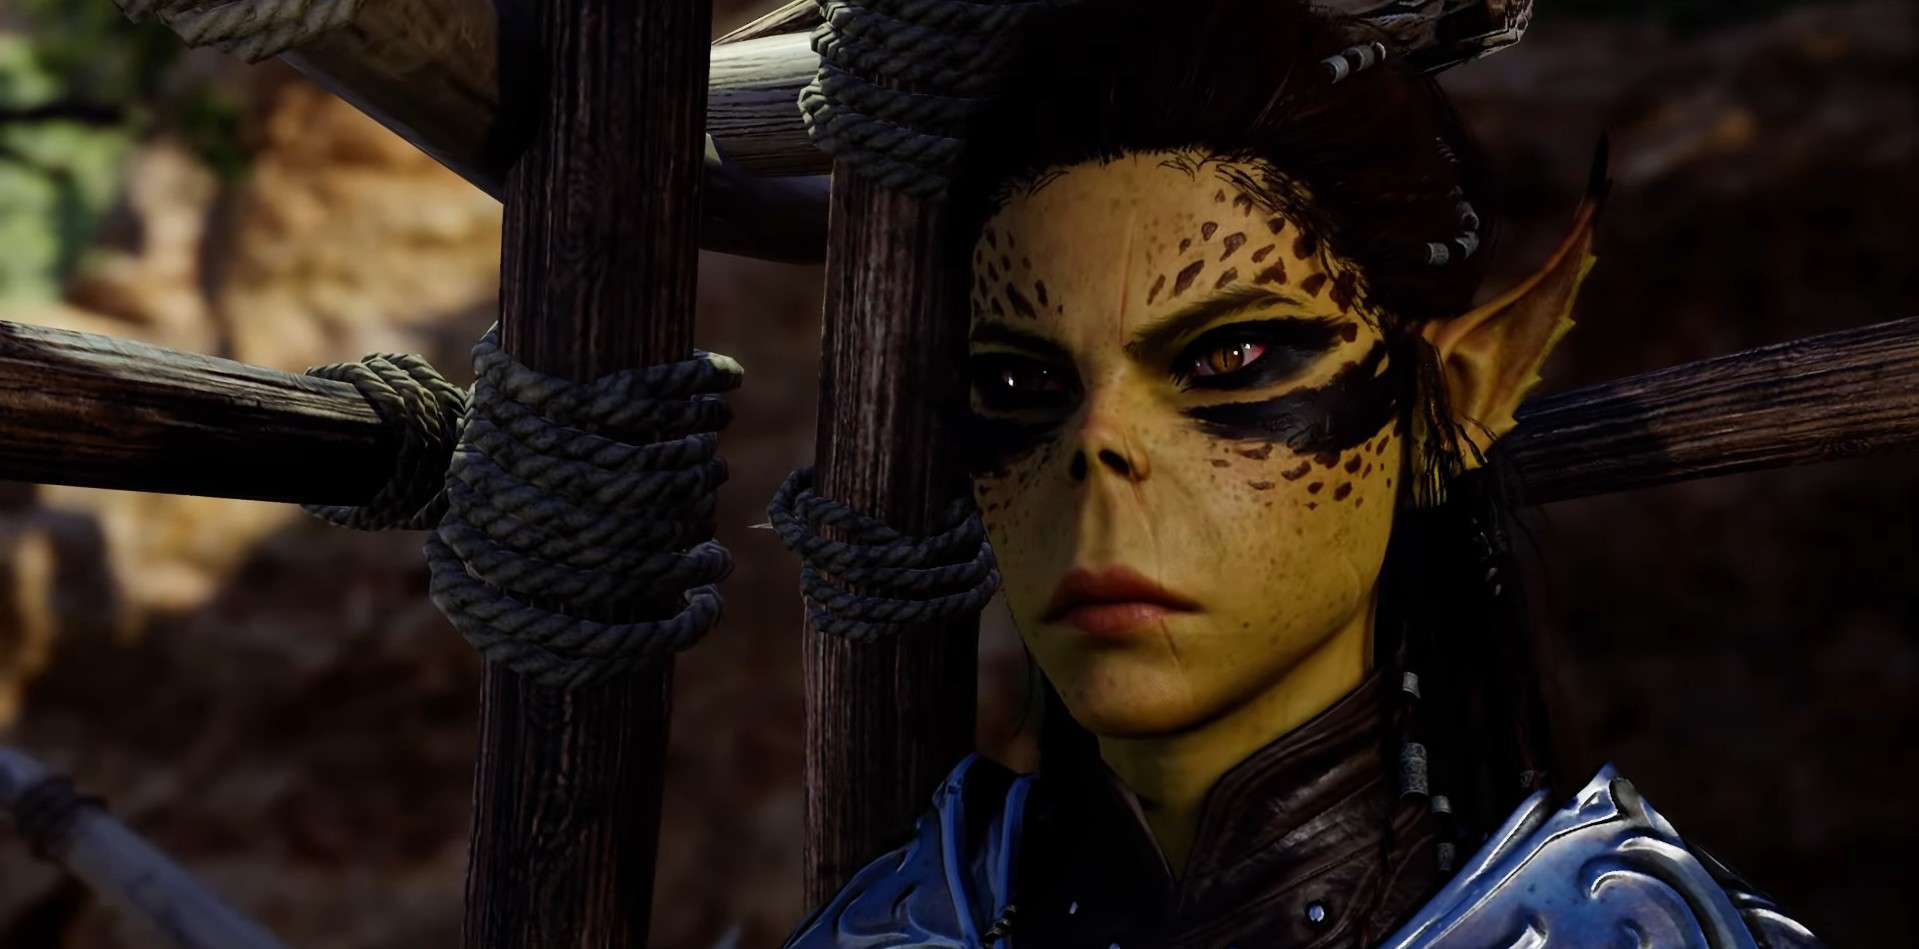
To begin ‘The Githyanki Warrior’ quest in Baldur’s Gate 3, you first need to meet Lae’zel and add her to your party. In the prologue, you will see her on the Mind Flayer ship, Nautiloid, with you. After the ship crashes, you will find her imprisoned by two Tieflings just north of the crash site at the Ravaged Beach (X: 240, Y: 354).
At this point, you must free Lae’zel from her captors. There are a couple of ways to do so. You can either initiate a battle or persuade them to leave. Either way, get Lae’zel down from her cage and ask her to join your party. She will gladly do so. In case you messed up, you can still find her inside Druid Grove, making it a bit difficult to recruit her this time.
Look for Zorru inside Druid Grove
When you talk to Lae’zel, she will reveal that she wants to cure the mind-flayer tadpole inside her head. She believes that her people inside Githyanki Creche have developed a method to cure people with tadpoles.
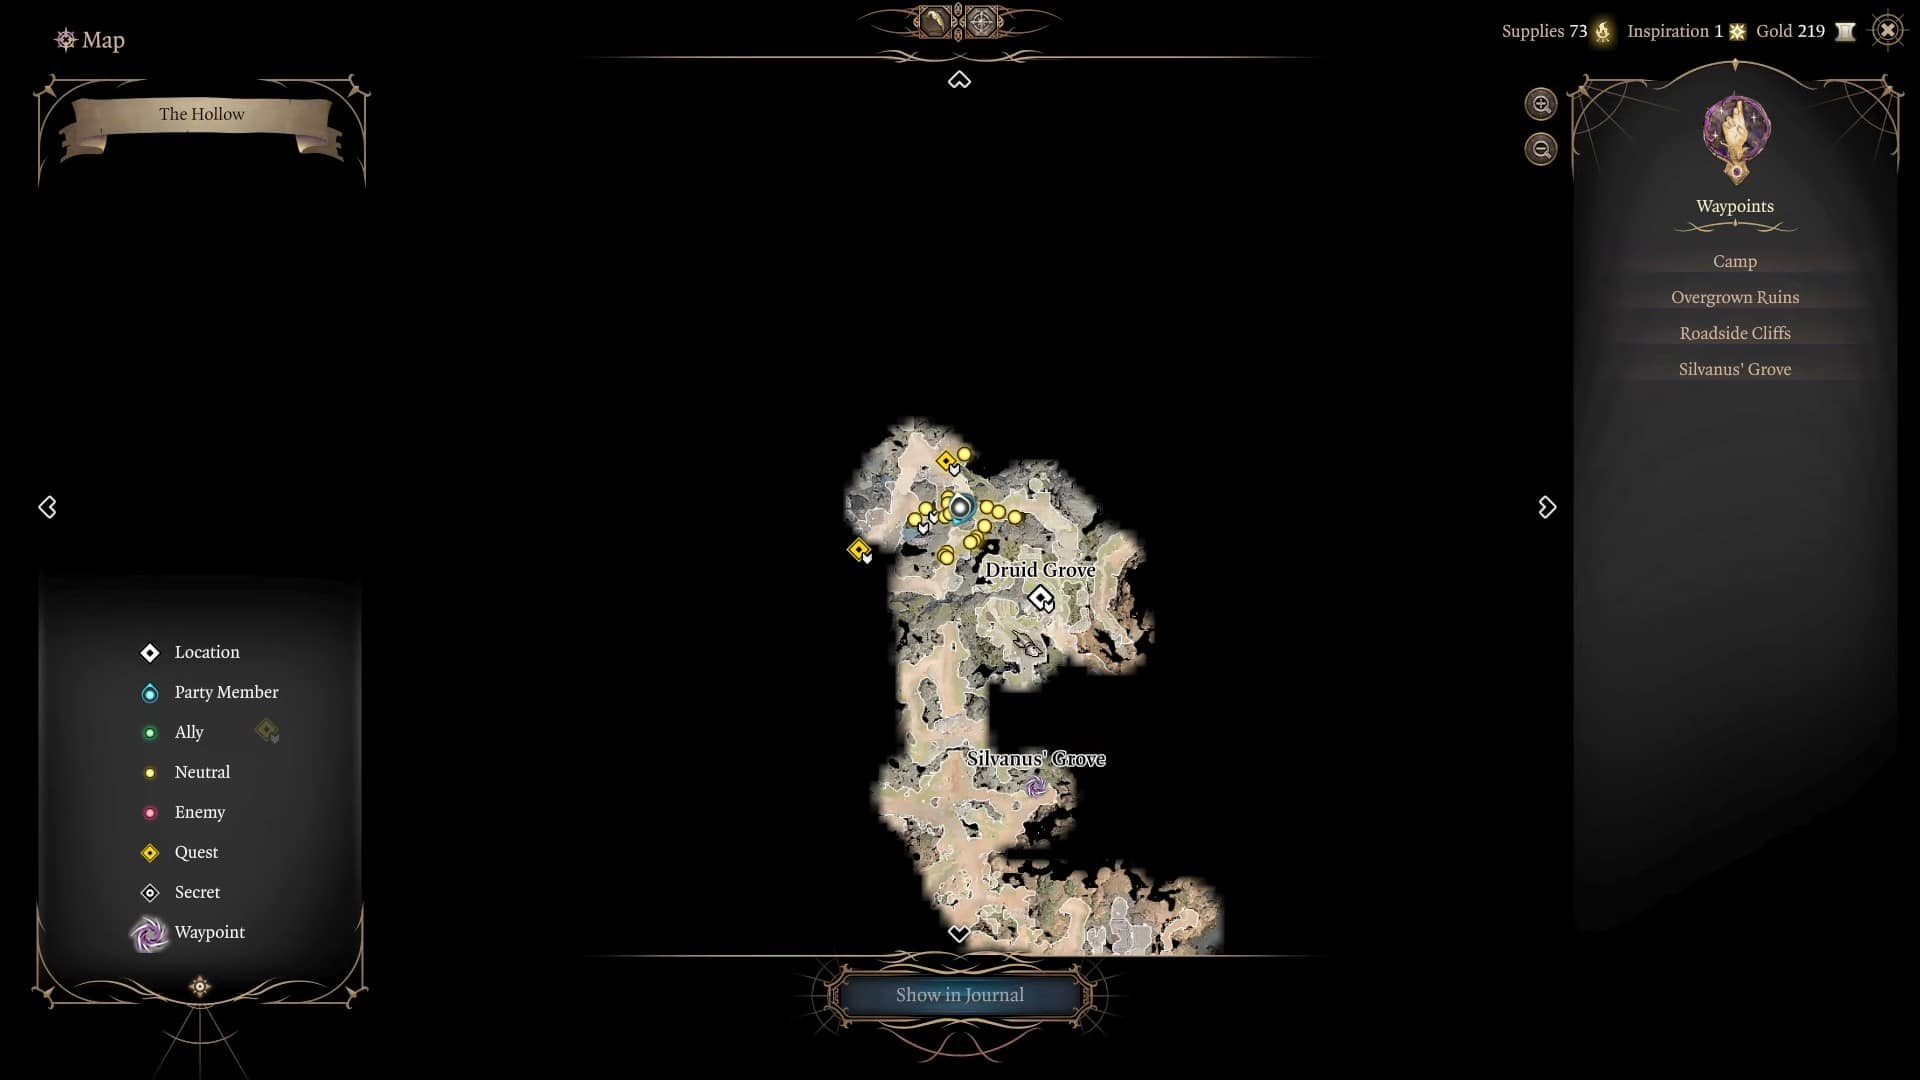
Lae’zel heard her captors talk about a Tiefling named Zorru who knows the location of Githyanki Creche. Head towards the Druid Grove and find the leader of Tieflings, Zevlor. He will guide you to the location of Zorru, which is in the hollow region of Druid Grove. Once you find Zorru by following the quest marker, you can ask him about Githyanki Creche or let Lae’zel do the investigation.
The former one is a better option, and Zorru will easily spill out the beans. Zorru doesn’t know about the Creche, but he last saw a Githyanki Patrol on a bridge near the mountain pass. Your next objective is to find the Githyanki Patrol and see how the interaction goes.
Confront Githyanki Patrol
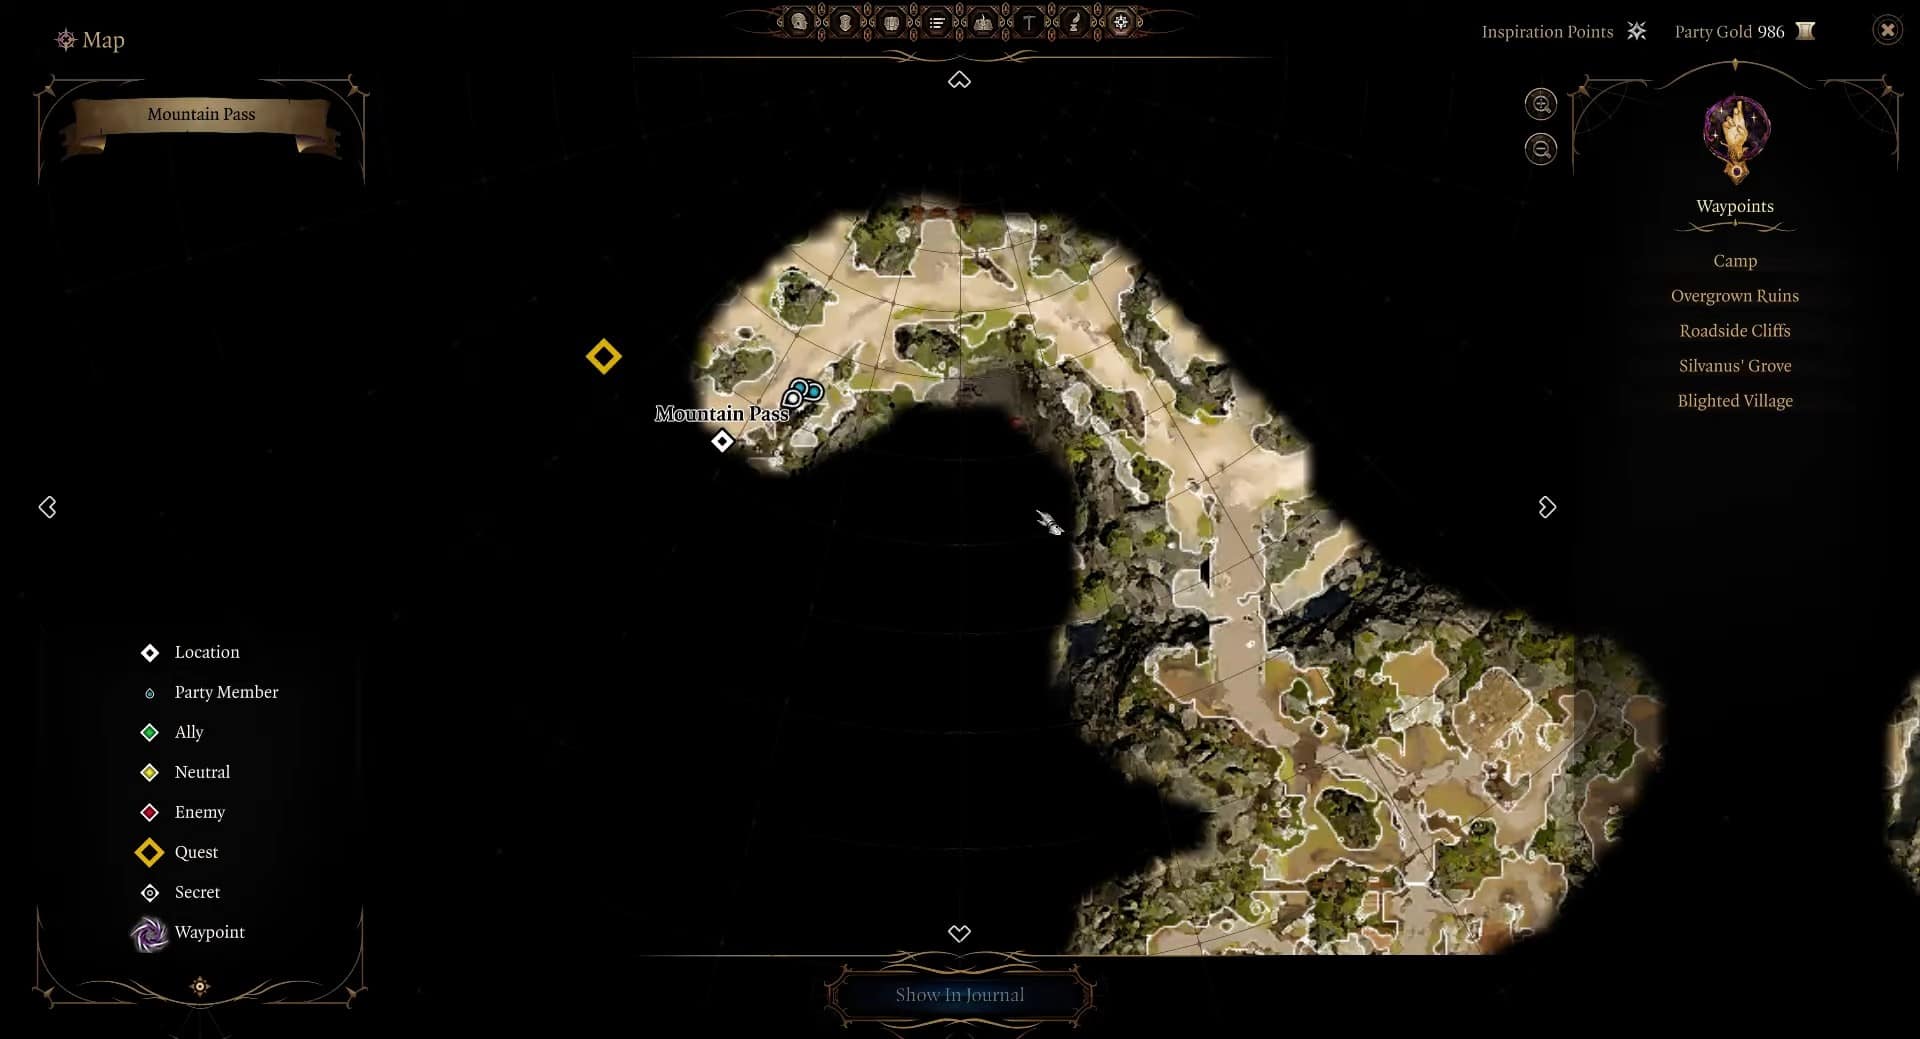
Travel Northwest of your current location until you reach a village, and then continue west again. This is where you will find the bridge with the Githyanki patrol, and a cut scene will trigger between them and Warrior Lae’zel. You can approach them without Lae’zel, but Lae’zel missing from her quest makes no sense.
The gith are looking for the Artefact Shadowheart is wearing. You get two options here. Either disclose the truth to Gith or ask Lae’zel to trust you and hide the truth. In the case of the former option, Githyanki warriors will attack you immediately. This is an extremely tough early-game fight. The only way to survive is by focusing on the Gith warriors with lesser HP and praying to eldritch gods that you survive the turn.
If you lie to them, Githyanki Patrol will fly away. No matter your choice, Lae’zel will be furious at their behavior. She will become more determined to locate Githyanki Creche and remove the Mind Flayer tadpole.
Path to Githyanki Creche
Continue your journey through the treacherous Mountain Pass. Once you travel a bit, Lae’zel will find Gith tracks. She believes that they will lead you to Githyanki Creche. Follow the quest marker North to arrive at Rosymorn Monastery by cable car. Githyanki Creche is hidden below the monastery, and you can access it through the basement.

Entering Rosymorn Monastery is not that easy, and you will need to find an alternate route. You can enter it through a broken window to the left. Be prepared for a couple of fights here while making your way forward. Soon, you will come across a large wooden door leading to the hidden Githyanki Creche.
Let the people inside Githyanki Creche help you
As an outsider, you are not welcome inside Githyanki Creche. However, with Lae’zel leading the party, the whole creche will welcome you with open arms. Upon talking to their lead scientist, Ghustil Stornugoss, in the Northernmost part of the creche, you will know they have a machine that can remove the illithid parasite from your brain.
However, this is far from the truth. The machine is only made to kill infected people and preserve their thoughts. You can force to go first yourself, but Lae’zel won’t be convinced. She will take the spot. Upon realizing something is fishy, try to stop the machine, or it will explode. This will make Lae’zel furious, and thinking the machine was sabotaged, she will ask to meet the Githyanki Inquisitor.
Meet the Githyanki Inquisitor and defeat him
Follow the quest marker to reach the Inquisitor’s chamber to the North. Show the Artefact to the guard at the door, and she will allow you to enter. Once inside the chamber, talk to the Githyanki Inquisitor Ch’r’ai W’wargaz. He will ask you to enter the Astral Plane through the Shadowheart’s Artifact and kill the dream visitor/emperor. Whether you accept his request or not, he will end up attacking you with his minions as you will fail to kill the dream visitor.
This is an extremely tough boss fight. We recommend that you defeat Ch’r’ai minions as fast as possible. Having both Shadowheart and Lae’zel in your party helps a lot to win this fight. Once you are done, talk to Lae’zel, who will be angry at Githyanki Queen Vlaakith for betraying her and a lot of other Gith.
Enter the Astral Plane during Act 2
During the next long rest, a peculiar githyanki warrior will visit the camp. His name is Kith’rak Voss, and he promises Lae’zel all the answers she seeks. He will tell you about the nature of Shadowheart’s Artefact and why you need to visit it once more.
As Act 2 climaxes, you will again enter the Astral Plane as a part of the main story quest. The Dream Visitor will ask you to defend his place from the attacking gith. At this point, you will realize that the Artefact houses a secret that can shake the foundations of the Githyanki empire. The Dream Visitor has captured githyanki prince Orpheus and channeled his energy to fend off the Elder Brain.
If Prince Orpheus gets free, he will reveal Vlaakith’s lie to the gith people. She has told them he died, and now she is their undisputed leader. That is why Vlaakith wants her dead, which can only be achieved using Shadowheart’s Artefact.
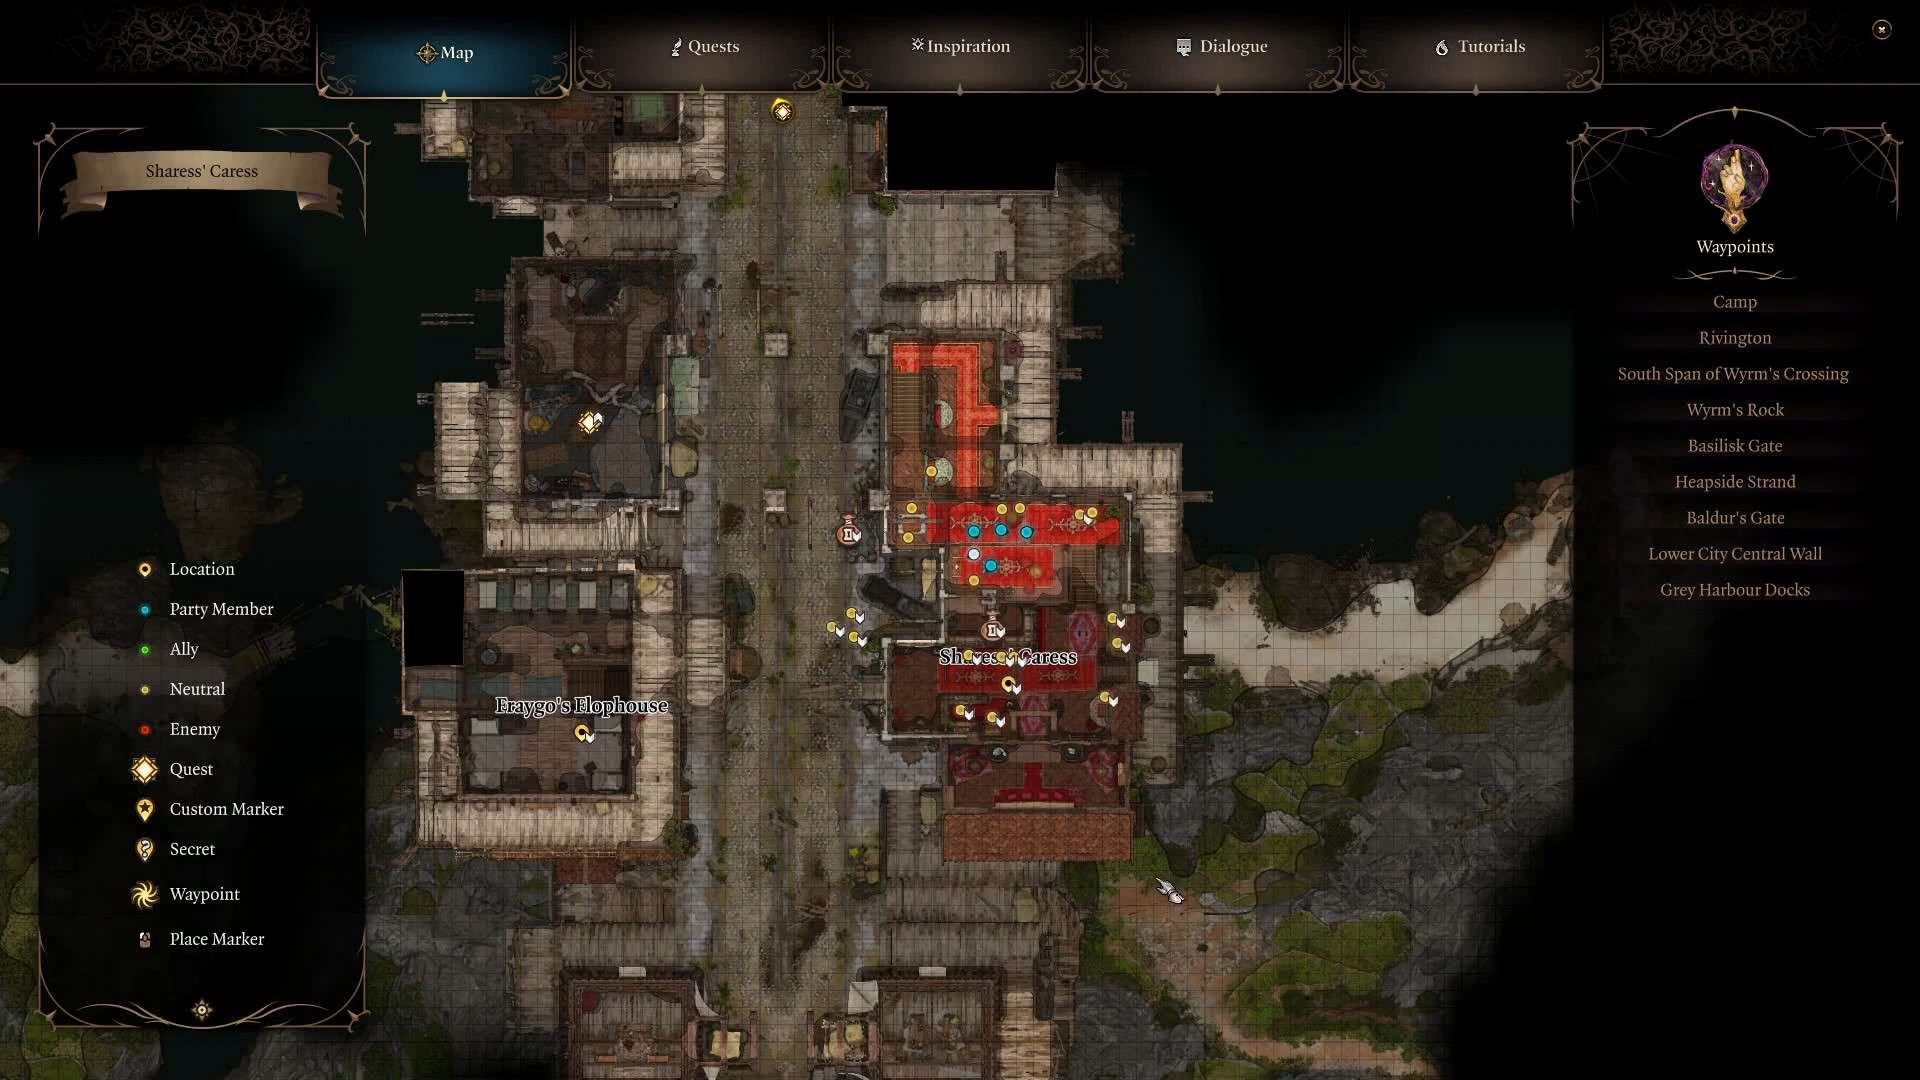
Meet Kith’rak Voss at Sharess’ Caress during Act 3
Once you reach the Lower City during Act 3, go to Sharess’ Caress brothel. It is to the extreme North of the South Span checkpoint. Go to the top floor to find both Raphael and Kith’rak Voss. Talk to Kith’rak Voss, and he will tell you of a plan to free Prince Orpheus from prison.
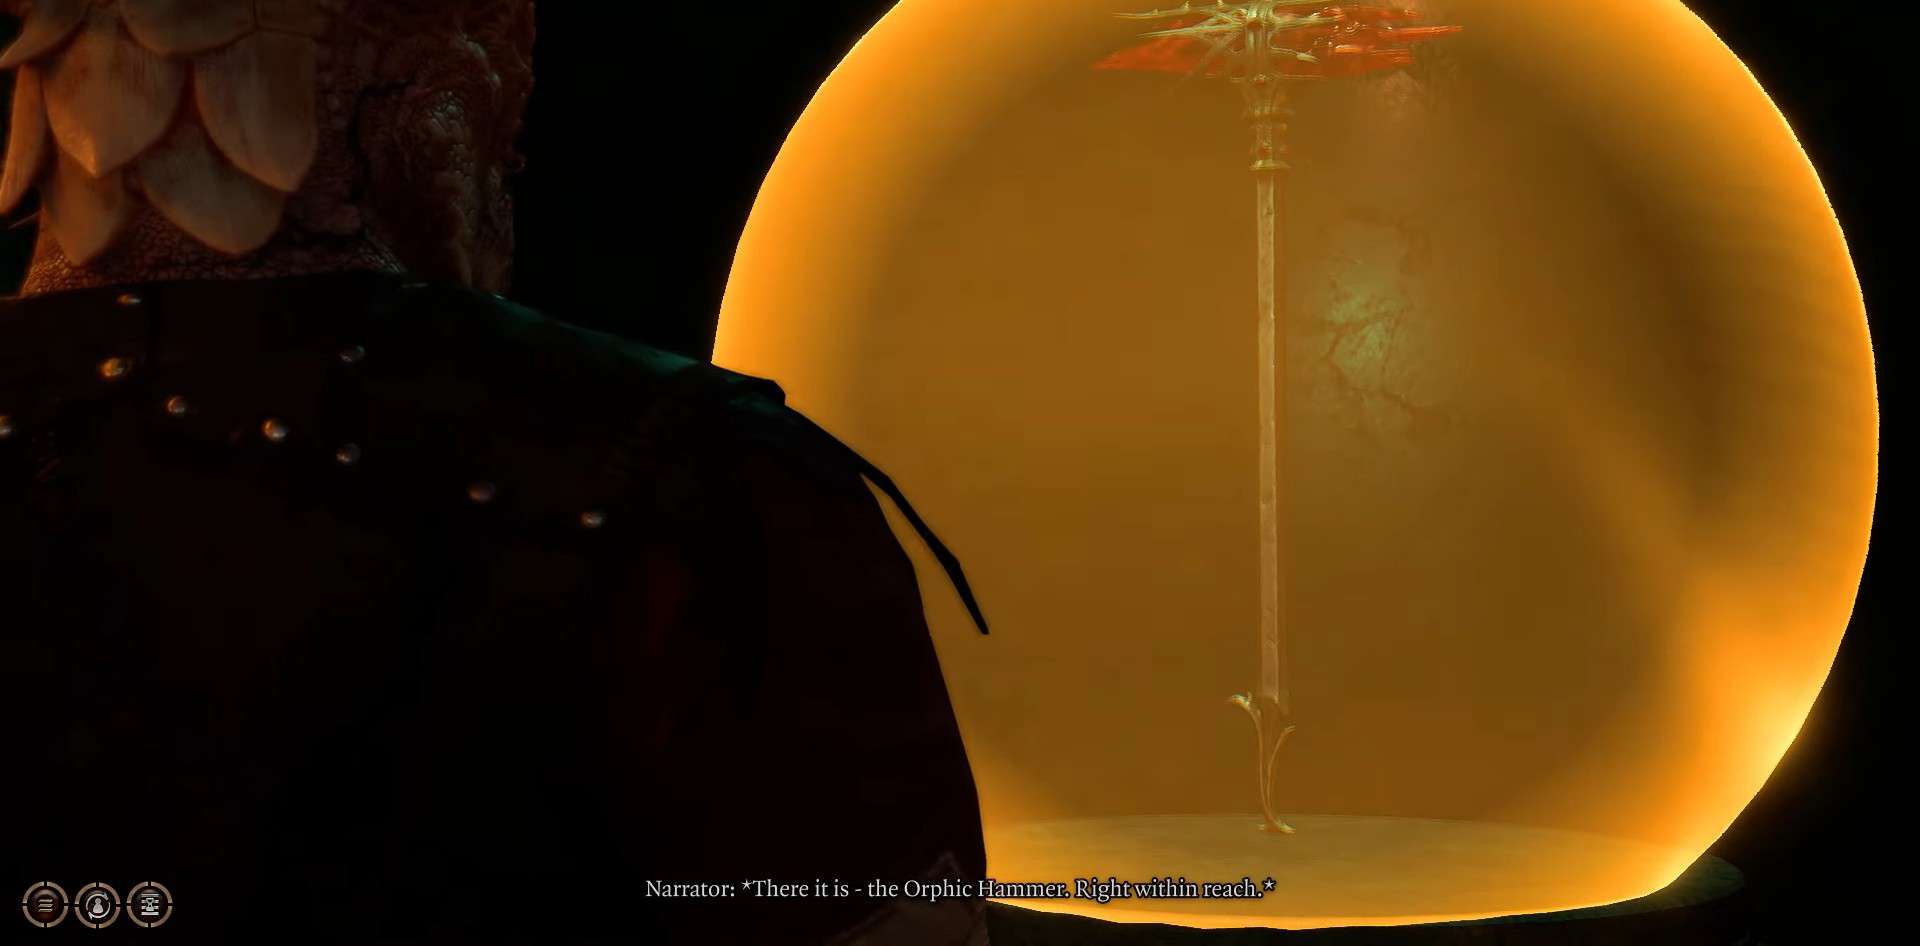
The only way to free him is by acquiring the Orphic hammer. You can either make a deal with the devil, Raphael or steal it from the House of Hope. The first method requires you to talk to Raphael, who will gladly hand over the hammer to you. However, he will ask for the Crown of Karsus in return once you defeat the Elder Brain. We strongly recommend against this deal if you want a good ending.
Talk to Kith’rak Voss once more and he will give you a plan of stealing the Orphic Hammer.
Go to Devil’s Fee and open the portal
Make your way to Devil’s Fee shop, which is to the west of Elfsong Tavern. Talk to the shopkeeper, Helsik, and she will agree to open a portal to House of Hope for 20,000 gold. You can persuade her to do it for 10,000 gold, but it is still very steep. Promise to hand over Gauntlets of Giant Hill Strength to her after stealing them from the House of Hope. This will make her give you a pouch with five items.
Go to the top floor and complete Helsik’s ritual puzzle to open the path.
Steal Orphic Hammer from the House of Hope
Once inside the House of Hope, go to Raphael’s room and attack his doppelganger there. Kill her to obtain the key and open the safe beneath Raphael’s portrait to obtain a note. It contains the keyphrase to unlock and obtain the Orphic Hammer from the Archive. On your way out, promise to Save Hope and grab a few other things, including Gauntlets of Giant Hill Strength.
Don’t attack anyone else, and use persuasion to calm them. Otherwise, the whole house will turn hostile, making the quest practically impossible. On your way out with Hope and Orphic Hammer, Raphael will confront you. This is one of the most difficult boss fights in Baldur’s Gate 3, and you need to follow our guide to defeat the devil himself.
Meet Kith’rak Voss and enter the Astral Plane
Go to the lower City and meet Kith’rak Voss there once more. He will ask you to enter the Astral Plane once more and free Prince Orpheus. We recommend that you wait as the opportunity will present itself. At the end of Act 3, The Emperor will take you back to Astral Prism. At this point, you will get two options. Either free Prince Orpheus or take sides with The Emperor.
If you decide to free Orpheus, The Emperor will leave your side and attack you alongside Elder Brain. You will get the opportunity to become the Mind Flayer or allow Prince Orpheus to do the honor. Lae’zel will stay by your side, and you can pursue a romance with her. If you turn into a mind flayer, she will take Orpheus to the Creche to confront Vlaakith.
If you side with The Emperor, he will kill Prince Orpheus and use his powers to stop the Elder Brain. This will make Lae’zel angry to the point of leaving your party. You can convince her to stay for now, but she will leave once you defeat Elder Brain. She will leave to help her people, making her unavailable as a potential romance option.
Baldur’s Gate 3: The Githyanki Warrior rewards
You will earn the following rewards from completing the Githyanki Warrior companion quest in Baldur’s Gate 3.
- Lae’zel approval
- Experience