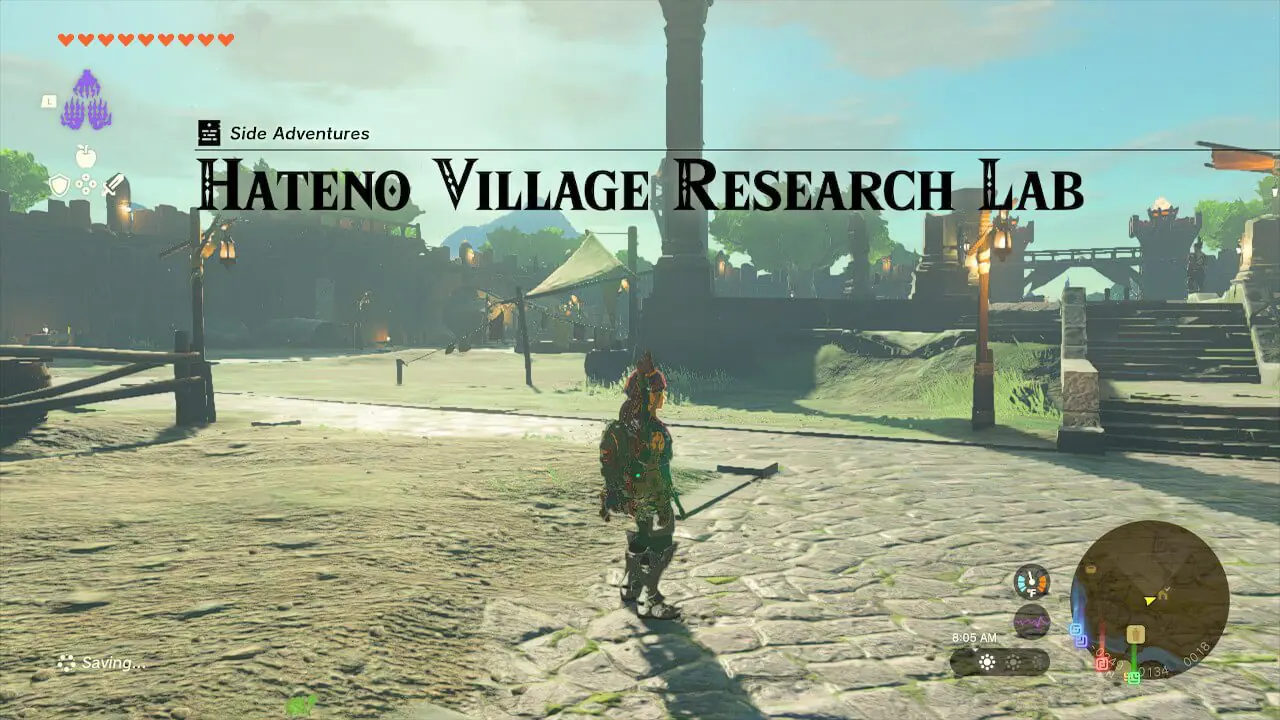
Hateno Village Research Lab is both a location of interest and a side quest to complete to unlock new abilities for Purah Pad in Zelda: Tears of the Kingdom.
You meet up with Robbie, who will take you to his laboratory to test a new Shrine Sensor for your Purah Pad. This sensor, obviously, lets you detect all nearby Shrines.
So, to add this cool sensor to your Purah Pad and never miss a shrine, we first have to find the location of the side adventure.
Help Robbie at the Lookout Landing
You need to complete two quests before unlocking the Hateno Village Research Lab quest in Tears of the Kingdom.

You need to first complete A Camera Work in the Depths which is part of the main storyline. This quest will take you to depths to take a picture of a strange statue to unlock your Autobuild ability, which you will need to help fix Robbie’s Hot Air Balloon.

After A camera Works in the Depths, things will stop until you start and progress The Regional Phenomena Main quest. Complete at least one part of it. We recommend visiting the Hebra Region and completing the Tulin of Rito’s main quest first.
After this, you can attempt A Mystery in the Depths’ main quest, which will allow you to fix Robbie’s hot-air Balloon so he can return to his old lab in Hateno Village.
Once ready, make your way to Lookout Landing to find Robbie to get an invitation to his lab. Head over to the location marked on the map below south of the Hyrule Castle Town Ruins. The coordinates are (-0247, 0134, 0019).
After meeting Robbie, he will ask you to follow him to his lab so that he can upgrade your Purah Pad at the Hateno Village Research Lab. Therefore, you must follow these steps in Tears of the Kingdom.
1. Find the Research Lab in Hateno Village

Hateno Village is in the southeast corner of Hyrule, in Necluda Region. The nearest shrine is the Zanmik shrine, and it is to the south of Mount Lanayru Skyview Tower.

Hateno Village Research Lab is on top of a hill, east of Hateno Village and Zanmik Shrine. This is a long trek, but once you reach there, a fast travel point will unlock.

Strike up a conversation with Robbie at the lab, and he will reward you with the Shrine Sensor. He will tell you that this sensor will make a sound when you move toward a shrine.
Robbie will ask you to test the Shrine Sensor, so now you will have to move around the lab and locate the point where the sensor goes off.

Instead of wandering around the room and letting Robbie get mad at you, simply go directly opposite Robbie near the table, and the sensor will start ringing.
2. Look for the shrine

Now that the sensor has detected a shrine nearby, you need to go and look for it. Exit the lab and drop down after crossing the apple tree to locate some breakable boulders blocking a path in the wall of the cliff.

Destroy the wall with either Bomb Arrows or Rock Hammer. You can also use Yunobo’s Charge ability to save your resources. This is the entrance to Rastam Forest Cave.

You will find the Mayahisik Shrine of East Necluda here with the characteristic glowing green sigil that indicates each shrine in the game.
Interact with the shrine and open the chest to get a magical rod. Unlike most shrines in the game, this shrine does not have a puzzle inside, and it belongs to Rauru’s Blessing.
3. Go back to Robbie
Now that you have made sure that Robbie’s shrine sensor is working and discovered a shrine, you need to go back to Robbie and tell him that.

He will hand you the operational instructions for the shrine sensor and will tell you that he is working on further upgrades for the sensor.
The ‘Hateno Village Research Lab’ side adventure will end with this conversation in Zelda: Tears of the Kingdom. Now, you can visit Robbie again to upgrade your Purah Pad to get Hero’s Path Mode, Travel Medallion, and Sensor+.
