After defeating Champion Victor at the end of the Grand Exhibition in Lies of P, the next place you are headed to is the Barren Swamp. According to Venigni, Golden Ergo might be able to cure the certification disease, and to find that, you need to defeat the monster in the Barren Swamp area of Lies of P.
Barren Swamp is an extremely dangerous place because of the enemies and the poisonous pools you will have to cross through. Make sure to visit Hotel Krat and level up before going to Barren Swamp in Lies of P.
How to complete Lies of P Barren Swamp
From the Champion Victor boss room, continue ahead and keep following the straightforward path. At the end, you will exit the gallery and see a tram to Barren Swamp in Lies of P parked nearby. Before entering that though, talk to Red Fox and Black Cat standing nearby. They will request a Gold Coin Fruit. Hand it over to receive the ‘Quixotic’ Record and the ‘Beg’ gesture.
Move on ahead and after a brief dialogue with Venigni, you can board the tram to get to the Barren Swamp Tram Station.
Barren Swamp Entrance
Walk down the stairs to the bottom and take the door to the left. Inside you will find a Resplendent Ergo Fragment near the boxes in front of you. Turn left now and in the next room, you can pick up Venigni’s Krat Landmark Guide IV from the first operating table to the left.
Exit this room and in the open area, you can activate the Barren Swamp Entrance Stargazer. Move down the path and Gemini will start commenting on the area. In the rubble on the path, you can pick up Gemini’s Iron Protection. Keep going forward and turn left, where you’ll encounter an elite Slag Puppet. Time your parries and stick to the side, racking up stagger damage to hopefully kill it quickly. It will drop a Star Fragment when defeated.
Keep moving forward and dispatch the few puppets you encounter along the way, ranging from standard human types to dog types. As you follow the path, you will eventually see a cliff opening to the right which leads to a poison swamp pool and a roaming dog puppet. Drop down and kill it then make your way to the land to the right where a dog puppet is sleeping and kill it.
Move forward down this path until you see a fire burning to the left. Step forward but be careful since a puppet ball will roll down the cliff from the right so step back quickly to avoid it. Now go up the right path and you will encounter an Elite Fat Clown Puppet. This enemy can be quite annoying.
The ideal strategy is to maintain a distance which forces him to use his long-ranged wind-up chain punch. Dodging this is simple and while he’s stuck in the animation, you can run up to him and go for an attack. Rinse and repeat till he dies but be careful of his belly slam attack. It’s quick and does a lot of damage. Killing it will give you the Legion Caliber item.
Now move up the hill past where the clown enemy was and take the first right where two gunmen are standing. Kill them and pick up the Legion Magazine near where they were standing. Now go back and take the left path instead. In the distance, you can see a lone sword puppet blocking the path on a narrow bridge. Use a throwing weapon or anything to draw aggro and force the puppet to you in an open area.
After killing it, cross the bridge and enter the tower. To the left, a puppet will be coming towards you. Avoid dodging haphazardly and stand your ground. Kill the puppet and move on upwards. You will see a small plank protruding to the right, walk on it, and pick up the Half Moonstone at the end.
Go back to the path up above and after killing the puppets, pick up the Special Resistance Ampoule. Take the plank that leads out from the tower, go straight into the shack and pick up the Chain item behind the boxes. Then leave the shack and pull the lever next to the minecart to the left.
A small cutscene will play out and the cart will crash into a gate, opening a shortcut back to the Stargazer near the Barren Swamp entrance in Lies of P. Rest up if you need to.
In any event, go back up where the minecart was and this time keep going straight till you see the ladder. Take this ladder up and into the top of the tower where you will find an Elite Flaming Sword Puppet guarding a Chest. Kill it to obtain a Star Fragment and then open the Chest to obtain the Recharged Amulet. Go back and rest at the Stargazer again if need be and then go back to the tower one final time. This time go all the way to the bottom, past the breakable boxes blocking your path to the Ladder that leads downwards.
Be ready to fight the Elite Slag Puppet at the bottom. Killing it will grant you a Star Fragment and a Special Purification Ampoule. Be sure to also pick up the Radiant Ergo Fragment on the ground and the Throwing Cell a little off to the side. Now go back to the Stargazer and rest up.
After that, go back through the gate the minecart busted open but instead of going up straight, take the first right from this path. A little ahead you will find Alidoro the hound who trades in boss weapons and equipment. After talking with him, move on ahead past the bridge and pick up the Electric Blitz Canister to the right.
Go down the path and kill the Pitchfork Puppet you see. Make sure to look back though since an Explosive Dog Puppet will immediately jump at you in a suicide attack. After that, keep moving forward. Kill the resting puppet on the side and the Dog and Worker puppets near the bottom of the path. Pick up the Crescent Moonstone lying on the ground near the bottom.
Keep going forward until you see a tree to the side, which will have a Vivid Ergo Fragment at the base. A wide-open area stretches out before you now. Take the path down and be wary of Large Metal Spears being shot at you from a distance. These spears also damage enemies so make use of that information as you will.
Go to the left and stick to the wall side to pick up a Radiant Ergo Fragment in the swamp. Kill the two legless puppets here, but also be wary of the big box nearby since a puppet will burst out from inside when you get close.
After dispatching them, move along this small poison pool to the opposite end of where you picked up the Radiant Ergo Fragment. As you move forward from here, you can take a right turn into a small cave where an Elite Police Puppet with an Electric Baton awaits. The moveset is similar to typical Police mob puppets you’ve fought before so be patient and take your hits when the opportunity presents itself.
Kill it to acquire a Star Fragment and some extra loot. Also, make sure to pick up Gemini’s Emergency Protection near the burning bonfire. Go further into the cave and take a right when the cave expands to pick up a Dark Moon Moonstone of the Covenant.
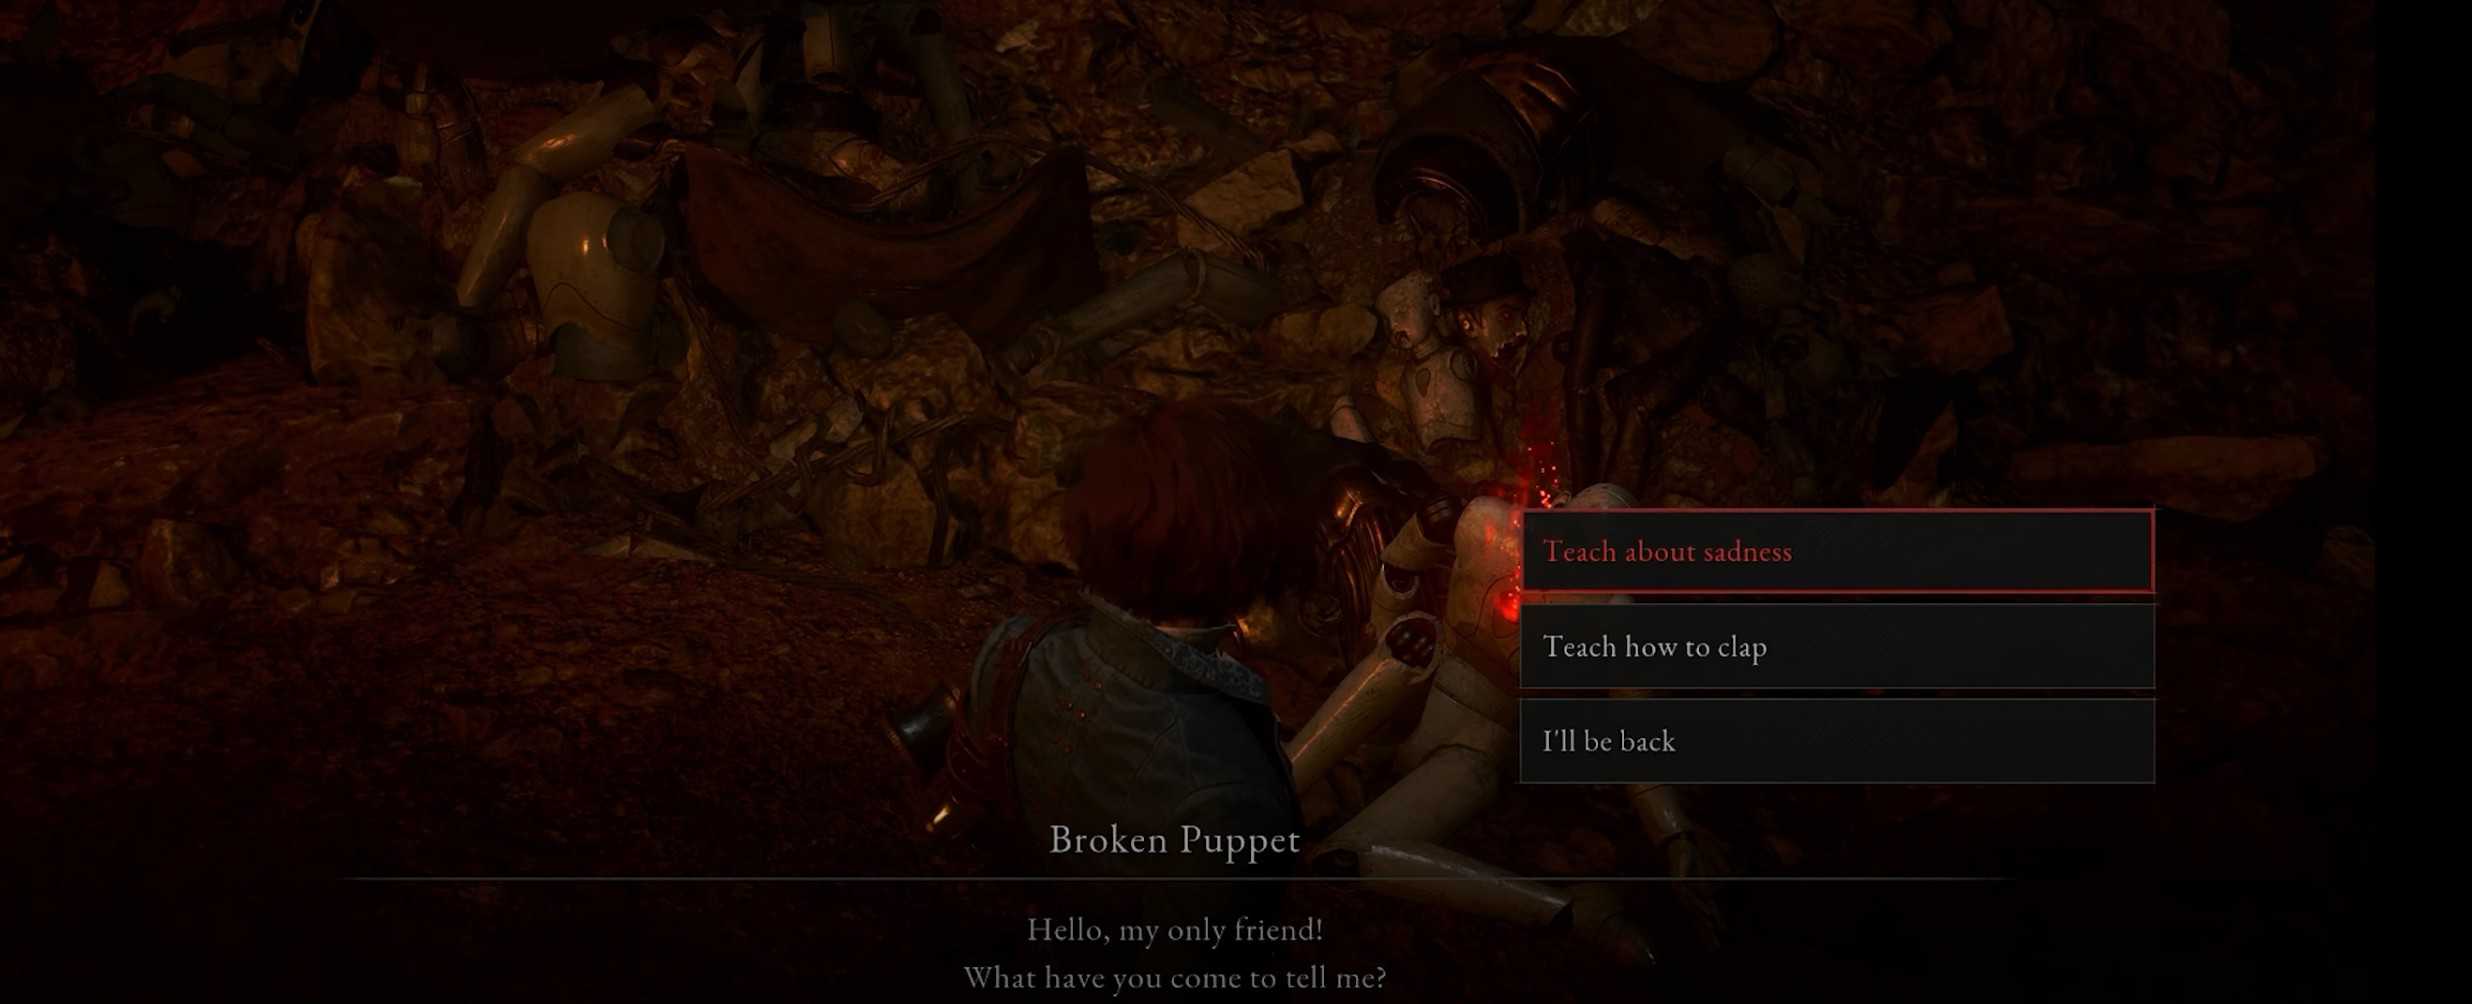
Now go further ahead and activate the Stargazer. You will also find a Broken Puppet NPC who you can talk to and teach him about various emotions. When you teach him about sadness, he will give you an Attribute Resistance Ampoule. After teaching him how to clap, he will give you a Radiant Ergo Fragment.
Once done here, backtrack and enter the actual Barren Swamp area.
Barren Swamp
Once you are in the swamp, keep hugging the left side until you go up the small hill where you can pick up a Dim Ergo Fragment. Now turn around from here and go straight in the opposite direction where you will see a small open gap next to a tree. Go in there and kill the puppet, making sure to pick up the Attribute Purification Ampoule from the dead end.
Exit this path and go to the right. Get to the lone puppet standing on a pile of dismantled puppets and pick up the Half Moonstone lying around. Kill the nearby puppets and proceed to the tower in front, picking up the Steel pipe to the left of the path leading to it.
An Elite Police Puppet will be further ahead. You can run past it straight in the tower. Quickly pick up the Radiant Ergo Fragment lying on the ground then quickly take the ladder up. Up ahead you will find the puppet operating a spear gun. Kill it and destroy the machine too.
Next to that, you will see a Treasure Chest that you can open to acquire the Live Puppet’s Axe Blade and Live Puppet’s Axe Handle. After that, make your way back to the Stargazer in the cave and rest up.
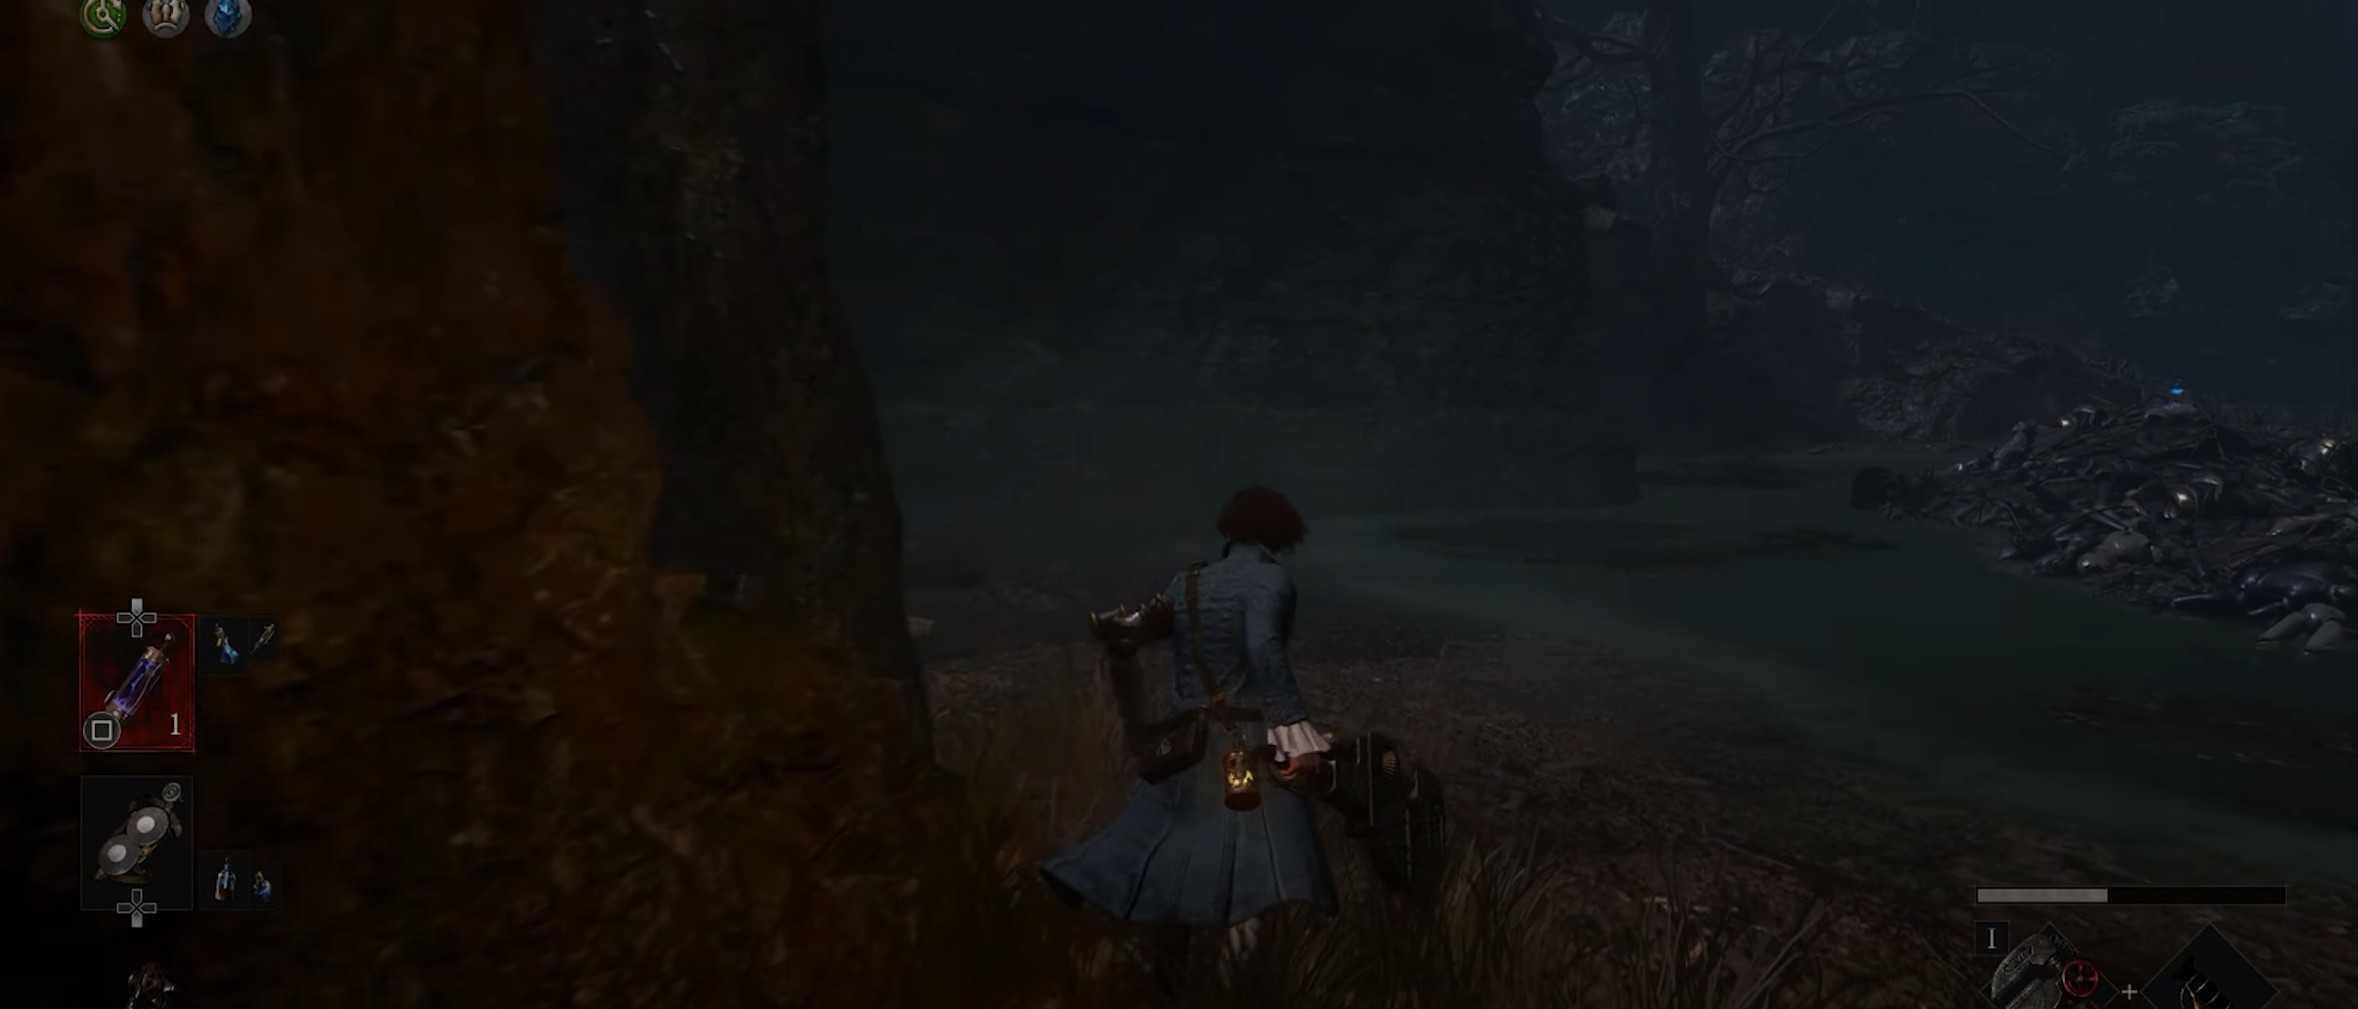
Moving straight forward from the Stargazer you will enter another big expanse with many poison pools and a different spear shooting machine.
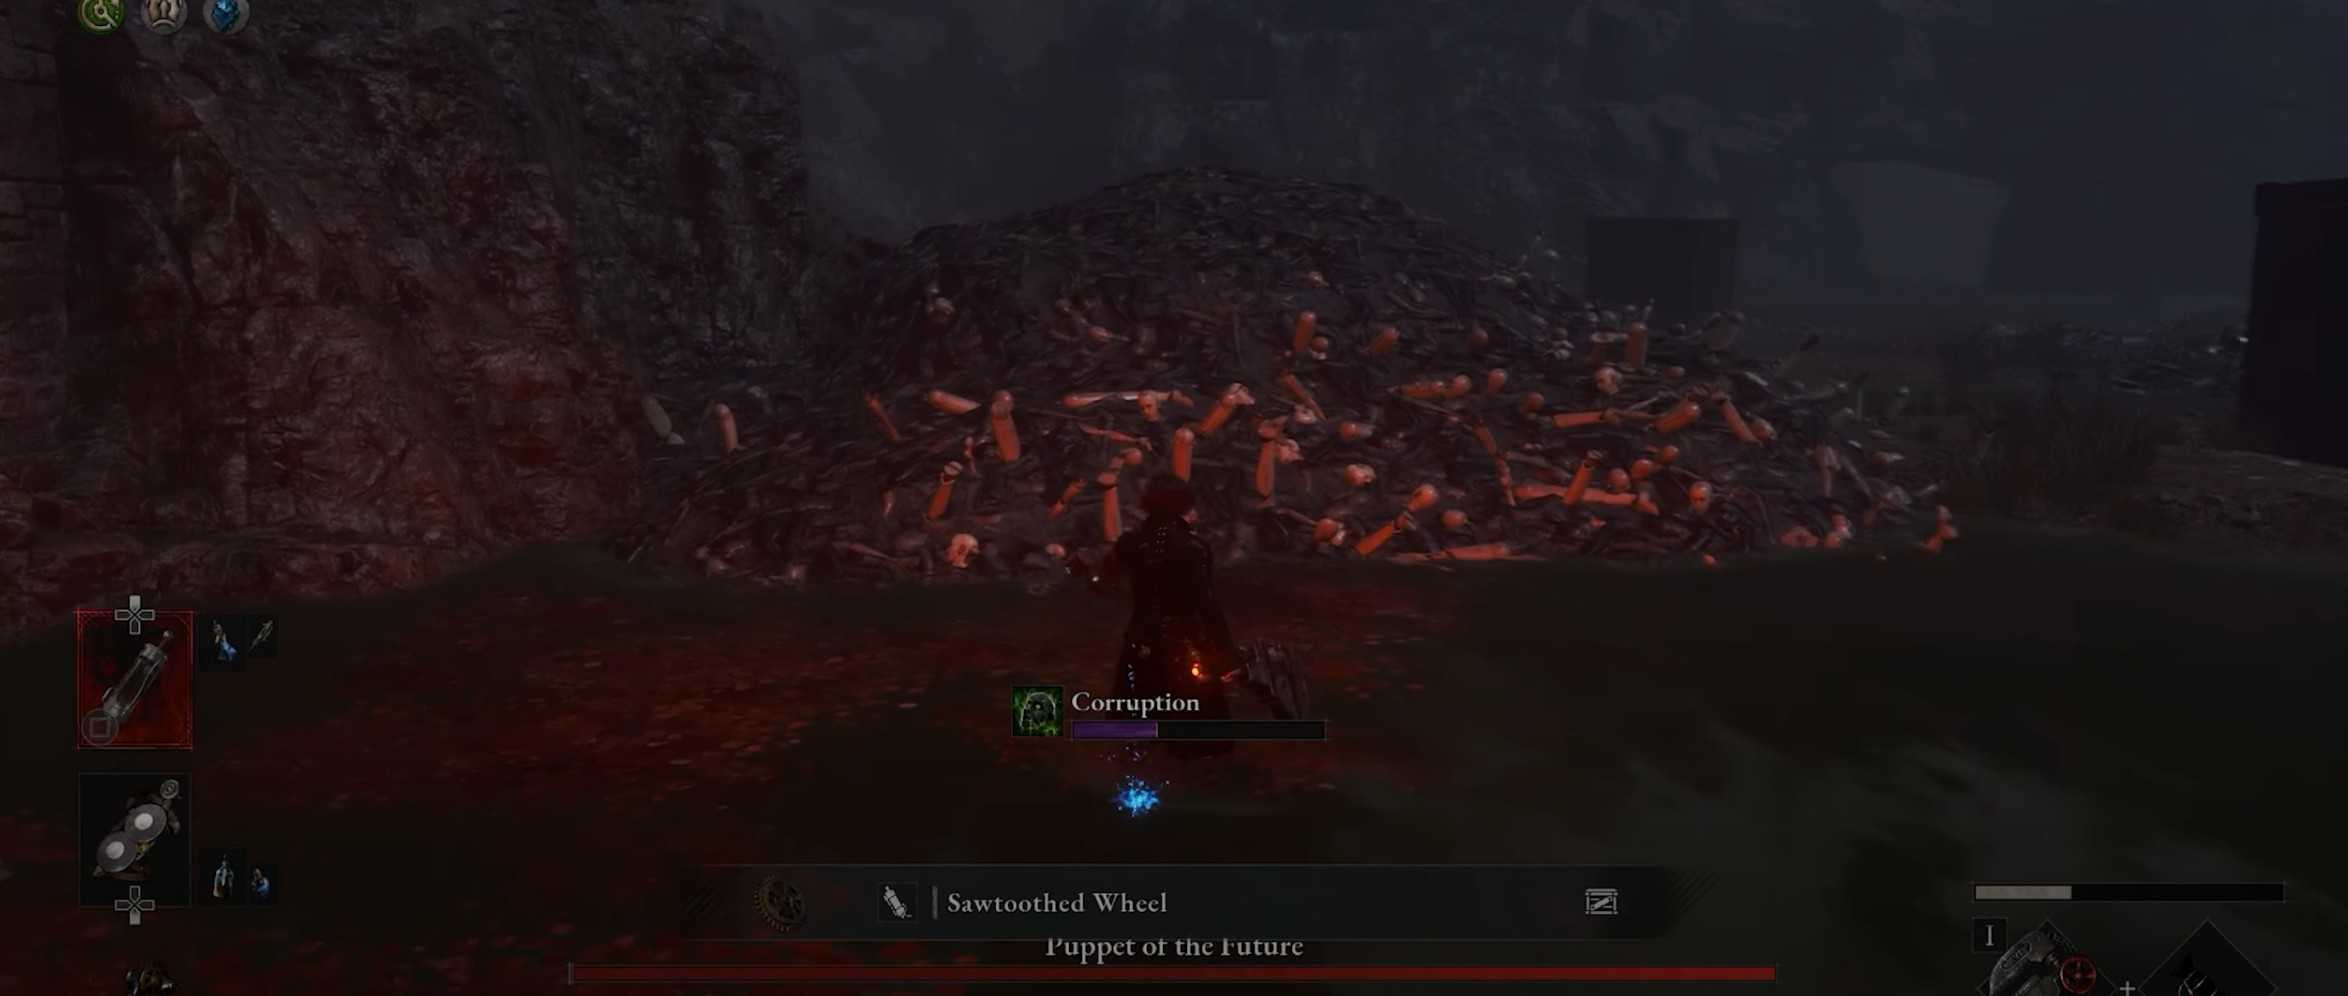
Two Puppet of the Future bosses will be roaming this swamp immediately as you enter. Killing them is simple and you can take them on one at a time. Just beware of the attack where they spin their arms in a circle around themselves and the slam attack when you are standing point blank.
The rest of the moveset is relatively straightforward and you can also make use of the spear environmental hazard to dispatch them quicker. Ideally, lure them out of the poison swamp pools before committing to the battle. Upon death, they will grant you one Quartz each.
After killing them, look around for the small island with two carriages to the side and a barrel with a burning piece of wood in between them. Go near that barrel and a Purple Dimensional Butterfly in Lies of P will spawn. Kill it to get some loot.
After that take the path right from where you initially entered the expanse. Go to the big box near the carriage and burning barrel to trigger the puppet inside to break it. Once it does, you can loot an Attribute Resistance Ampoule from the ground nearby.
Now move a little forward past the carriage and keep your sights on the raised platform to the right. Go to it and you’ll find two Puppets playing dead near a Sharp Pipe item ripe for picking. Kill them and pick up the Sharp Pipe, then drop down and move forward to the right end of the puppet pile where you can pick up a Vivid Ergo Fragment. You will also spawn another Purple Dimensional Butterfly here and killing it will give you a Balance Crank.
Move further into the path to the right till you see a Treasure Chest near the wall to the left. Be careful since some puppet mobs will emerge from the toxic pool. After dispatching them, open the Chest to obtain the Fancy Venigni Collection.
Now backtrack to the other side of the swamp while sticking to the wall to the right. You will find a Sawtoothed Wheel lying on the swamp ahead on this path. Pick it up and adjust your view slightly to the left and move straight, up the rising pathway in the distance.
Following this path, you will see a dilapidated settlement system, with a wooden ramp leading to it on the right. Follow that path and be prepared to deal with Carcass mobs from hereon. Two will attack you the moment you take the ramp. Kill them and take the ramp that leads further down. From here, walk on the small lone plank and follow the path forward till you reach a Crescent Moonstone item that you can pick.
From there, turn right and jump onto the suspended plank, where you can pick up a Fire Canister. Turn around to the side opposite where the Fire Canister was and jump onto this platform. Turn left and kill the two Carcasses, then move forward and kill the lone Carcass standing in the corner so you can pick up the Star Fragment next to it. Now backtrack a bit and take the ladder that leads down from the platform that you jumped onto after picking up the Fire Canister.
From here, take a right past the bridge and be ready to fight two a Dual Wielding Carcass and a Regular Carcass. Kill them and move into the hut on the left to grab a Radiant Ergo Fragment. Take the right doorway out of this hut and hug the side to your right. You will see a ladder to the side of this hut so climb it and talk to the Stalker ahead of you. This will trigger the Owl Doctor boss fight. Like other stalkers, Owl Doctor can be quite troublesome due to their speed. Once the boss is dead, you can activate the Stargazer for the area.
Barren Swamp Ravine
After you activate the stargazer in the Barren Swamp area of Lies of P, backtrack to the Carcass you killed. Make sure to jump in the middle of the ramp since the other planks will break apart as soon as you land. Move forward carefully to obtain Gemini’s Emergency Protection. Then roll to P’s left / the side which is close enough for a roll to cover the gap and backtrack to where you jumped from.
Now go to the ramp that leads to the Stargazer, only this time, roll to the right to reach the platform where you can pick up a Special Resistance Ampoule. Now, climb down the ladder and walk to the bridge nearby to your left, the one with some exploding barrels on it.
Be careful since some Carcasses are leaning to the sides waiting to pounce, as well as a higher level Carcass mob that roams the bridge. After killing them all, follow this bridge to the end and then take a left to open the Chest and pick up a Legion Caliber.
Now, backtrack from the bridge and once you cross to the other side, take a left towards the little fire burning. From there, take a right into the narrow pathway. A Puppet Ball will roll in from the right side periodically. Get a hang of the time interval and make your way to the left. At the edge of the Puppet Ball’s path, you will find an Attribute Resistance Ampoule for you to pick up.
Follow the path to where the Ball is rolling from. You’ll encounter a Carcass on the way and a little further, on the path the ball rolls, a Red Dimensional Butterfly will spawn, which drops an Advance Crank. Killing it can be risky so just let it move forward a bit and as for yourself, run forward too and take cover behind an opening to the left which will let you avoid the puppet ball.
The butterfly will also move a little forward out of the puppet ball’s path, allowing you to kill it leisurely. A lone Carcass will attack you here. Past it, just move forward where you’ll see the Puppet Ball begin its rolling campaign. Move straight forward to the edge to pick up a Vivid Ergo Fragment. Now move back and take the right to where the Puppet Ball spawns. Match your timing carefully to run to the path and avoid getting thrown off the ledge due to the ball.
Once you cross over, take a left, and another Red Dimensional Butterfly will spawn, which drops a Half Moonstone. Kill the Carcasses nearby while you’re at it. Take the path forward and up. Hide behind the pillar out of the Puppet Balls’ path and observe the tempo. After finding the gap, quickly run forward and to the right to pick up a Dim Ergo Chunk from the edge.
After that, look to the edge to the right and look at the ball rolling downward. Jump down and a red Dimensional Butterfly will spawn, which will grant a Half Moonstone upon death. Also pick up the Fire Abrasive to the side here. Move forward where the Puppet Ball spawns from and take a right. Here you’ll find a room full of carcasses. Kill them all and walk straight to pick up an Attribute Purification Ampoule.
Take a left past the beartraps here but be ready since an Elite Animal Mask Carcass will attack you. Its Tempo is slow but awkward so ideally get the parry timing down and use up your Fable Guage to take it down quickly. After killing it, go into the room it emerged from and open the Chest nearby to get the Arch Disruption Cartridge.
Now go to the right of the open room and press the button on the nearby switch. Take the ladder downstairs and to your right is the Stargazer of the area. Rest up if need be. After that, go back up the ladder, turn right and follow this path. Turn right towards the house but be ready for a Carcass to break through the door.
Kill it and inside there will be a Treasure Chest to the left and an Elite Flame Lamp Carcass to the right. Kill this Elite first then open the chest to receive the City Longspear Blade and City Longspear Handle. Now exit this house and take the left path to the end, where you can pick up a Vivid Ergo Fragment.
Now go back to the main path and go straight. Be ready since an Elite Cone Hat Puppet will drop from above. Watch out when it runs to you with open arms since that is a very damaging grab attack. In any case, you want to aim for stagger damage and Fable Art expenditure as soon as possible to quickly get rid of this enemy.
Killing it will give you the Leaping Amulet and Dark Moon Moonstone of the Covenant. Move into the campfire near where the puppet landed to pick up the Carcass Body Fluid Bottle.
Follow the path to the end and you will see a ramp to the right and an open doorway to the left. Enter the left doorway and kill the Carcass to the right of the entrance. After that, pick up the Dim Ergo Fragment lying near the edge.
Now exit and take the ramp upwards where you can kill the Spear Throwing Machine and the puppet next to it. Now walk in the direction opposite to the Spear Throwing Machine, down the ladder at the end. Stick to the left and drop down onto the staircase, following the end of the path where you will find a mob of puppets amid explosive barrels. Kill them all and loot the Dim Ergo Fragment nearby on the ground. After that, open the gate to open the shortcut to the start of the Barren Swamp Ravine in Lies of P.
Now backtrack to the top of the tower with the Spear Throwing Machine and take the ladder down. Take the doorway out and follow the bridge path until an earthquake occurs with Gemini commenting. Keep going straight until you see a Stargazer you can activate. From here, keep moving forward and prepare for a boss battle.
How to defeat Green Monster of the Swamp in Lies of P
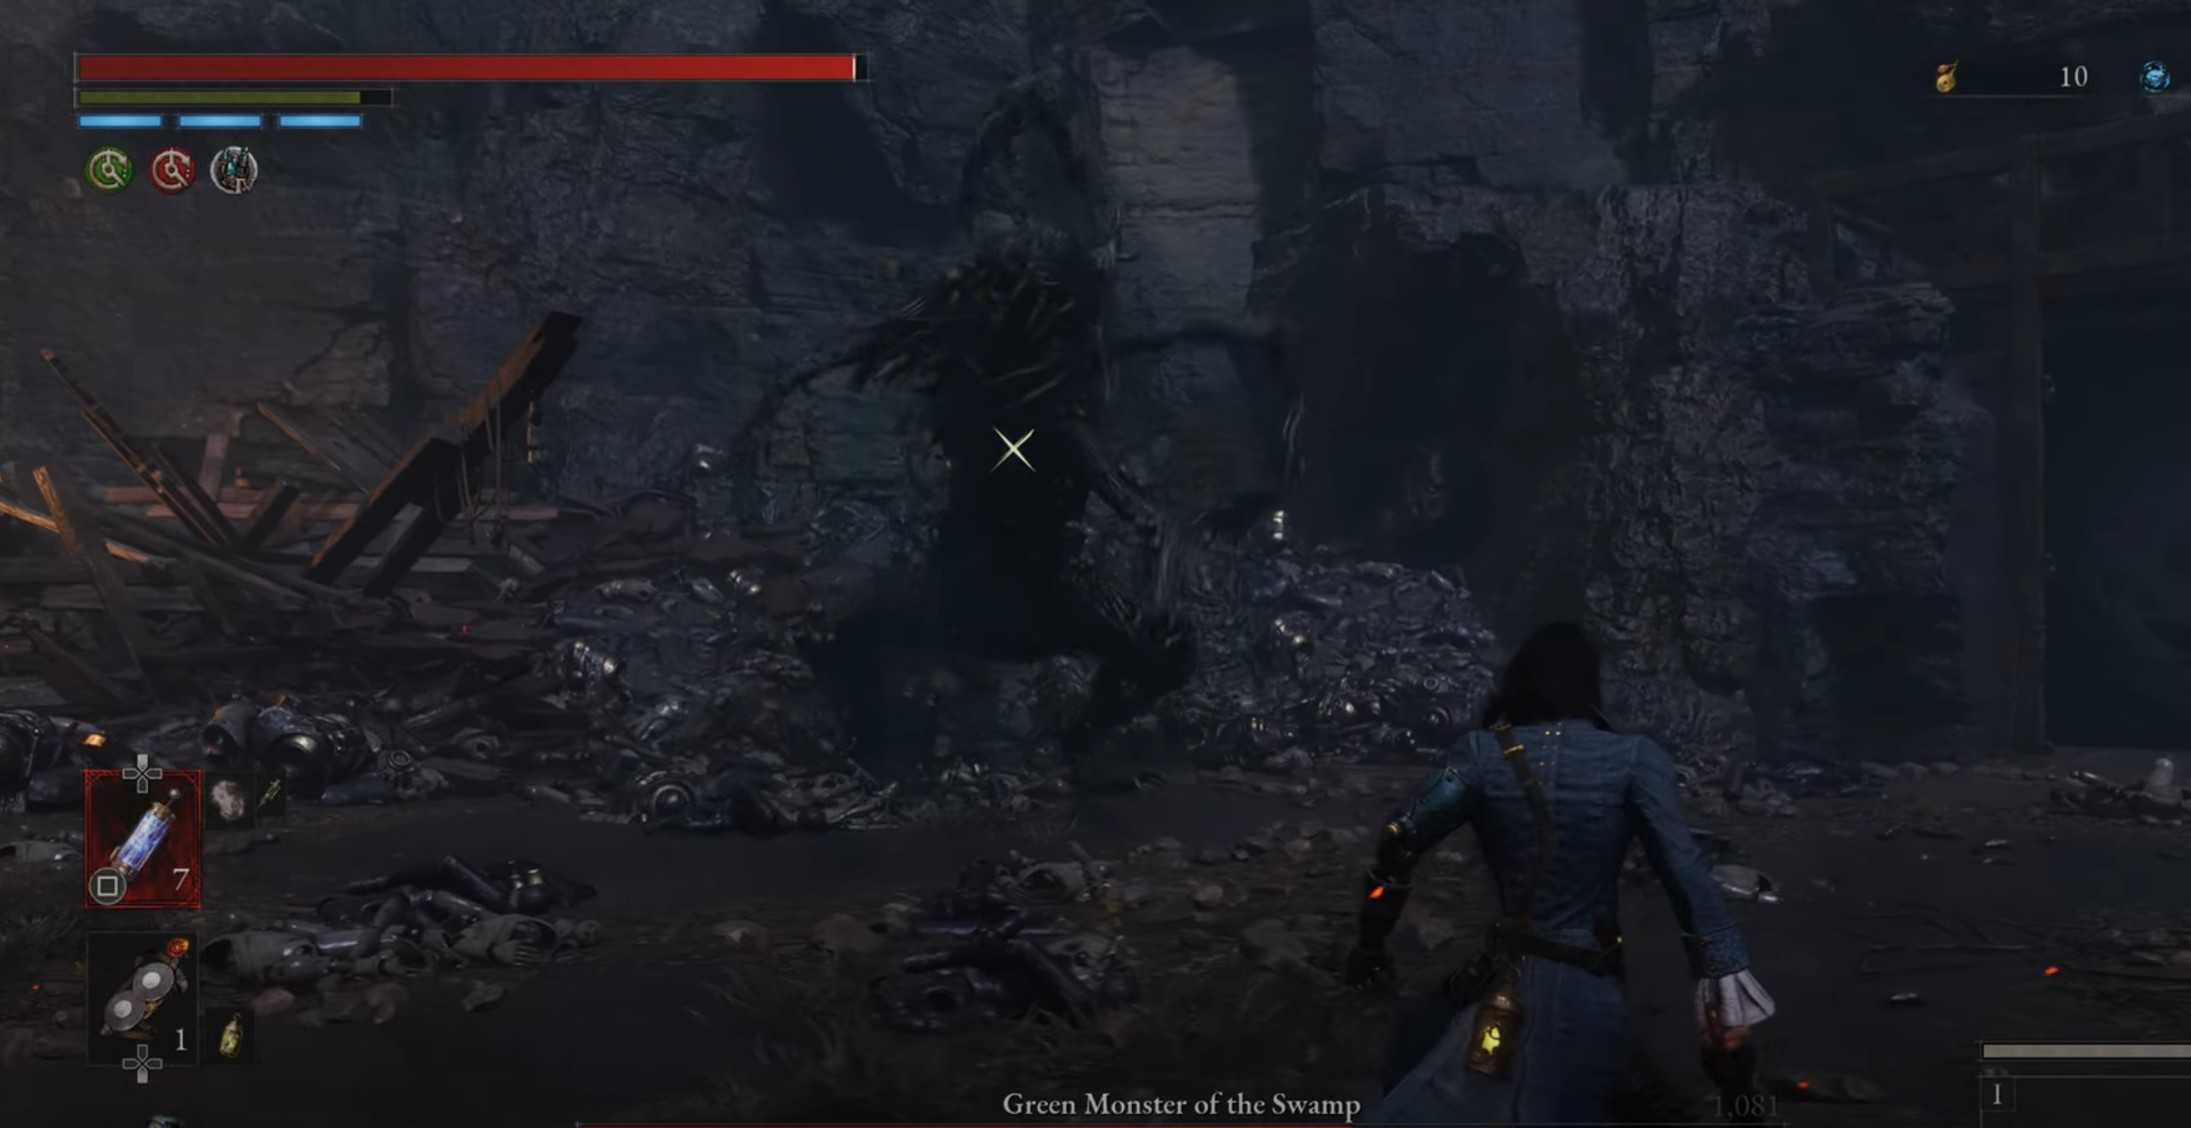
The first phase of the Green Monster of the Swamp is rather straightforward. Watch out for the unblockable charge attack and land a perfect guard against it. Green Monster of the Swamp tends to resort to claw attacks either while on all-fours or stands up and goes through with it. Just stick to the side of the swamp monster and poke when opportunities present themselves, also making sure to dodge forward or sideways when it stands up to perform claw attacks.
The second phase of the Swamp monster boss fight is a different matter. Now you will be fighting the Puppet-Devouring Green Monster in Lies of P. The boss will take over a Scrapped Watchman body, augmenting its abilities with its own, while adding a few new ones with much higher aggression. The general rule here is to dodge and stay behind the Puppet Devouring monster in Lies of P to damage it since its offense on the front is very dangerous.
There are some signature Scrapped Watchman moves like where it raises its arm and twitches before running to you to slam it down, or its unblockable slam attack after spinning its arms for a bit. Keep an eye out for the tells and react accordingly. Eventually, the Puppet Devouring Green Monster of the Swamp will be defeated and you are free to proceed to the next stage of Lies of P where you see all the previously visited locations collapsing, starting with the collapsed Krat Central Station.