Selune’s Spear of Night is an all-round Legendary weapon in Baldur’s Gate 3. This weapon can deal Piercing damage while being wielded as both single and dual-handed. The Selune’s Spear of Night is considered a Versatile spear to add to its legendary status. It is one of the easiest weapons to wield to it being a simple weapon in BG3.
The reason why it has such a legendary status is because it provides an advantage on Wisdom Throws as well as Perception Check. These advantages allow you to defend yourself from the enemy’s attacks that require these. Using its Darkvision spell, you will be able to get a glimpse at what danger lies ahead.
Selune’s Spear of Night location in BG3
You will find Selune’s Spear of Night in Baldur’s Gate 3 as a part of the Chosen of Shar quest. During this quest, you must first save Isobel, and when the choice regarding Nightsong in BG3.
Visit the Goblin Camp
You can start off by heading over to the Goblin Camp at the X: -75 Y: 445 coordinates. You can use the Goblin Camp waypoint to reach the location. Simply head over to the western part of the area to find the Goblin Camp.
Make your way to the Underdark
Once the given coordinates, make your way north and into the Shattered Sanctum. Your main task is to go to the Underdark through the Goblin Camp. The easiest way is to head inside the Shattered Sanctum. Once inside, head south from the main hall and head up the stairs.
Enter through the door in the room and use the eastern door to reach the Defiled Temple. Make your way south of the area to see a locked door ahead and a Stone Dise at the center. To unlock the door, you must solve the Defiled Temple Moon Puzzle in Baldur’s Gate 3.
Reach the Underdark Breach
After you have solved the puzzle, head over to the area behind the door. There is a ladder at the end that leads you down to Baldur’s Gate 3 Selunite Outpost, which is in the Underdark area in BG3 (coordinates X: 154 Y:253).
Sail to the Underground Grymforge
However, you must continue your journey to find Selune’s Spear of Night in Baldur’s Gate 3 by going to the Underdark Breach. It is an area northwest of the Underdark Selunite Outpost. Reach the area and come across Gekh Coal, Duergar Slave Hunter at the Decrept Village.
You will find him sitting atop the platform to the village’s right. Talk to him and move to the dockside on the left. Talk to Novice Garmor and sail the ship to the Underground Grymforge.
Enter the Shadow-Cursed Lands
You will find an elevator at Grymforge, situated south of the dock. Use it to reach the upper level of the area. Head east and cross the opening in the hallway to enter the Shadow-Cursed Lands in Baldur’s Gate 3 (coordinates X:14 Y:-1166).
Save Isobel from the enemies
Your next stop is going to be the Last Light Inn. Therefore, travel across the Shadow-Cursed Lands and to the Last Light Inn and talk to Jaheira, who does not necessarily welcome you with a friendly gesture. Politely talk to her without attacking, and she will direct you to Isobel’s Room. Soon after, some enemies will show up and attempt to abduct her. Save her and then continue with the story.
Head over to the Grant Mausoleum
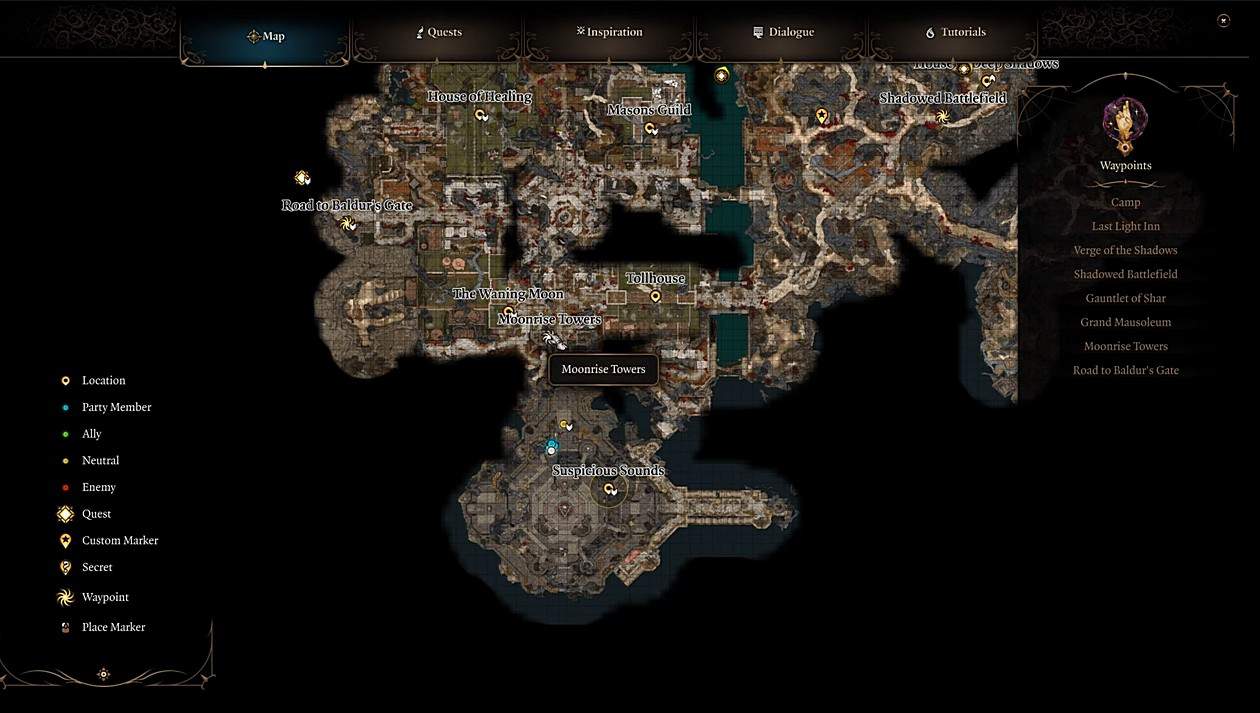
Once you have saved her, she will grant you her Blessings, allowing you to venture deeper into the Shadow Cursed Lands in Baldur’s Gate 3. You will now be heading over to the Grand Mausoleum, which is an area located southwest of the Last Light Inn in BG3. You can easily reach this location by heading northwest from Mason’s Guild.
Complete the Mausoleum Graveyard Puzzle
Enter the triangular-shaped entrance to the Mausoleum to reach the Reithwin Graveyard. However, the path to the next area is blocked, and solving a puzzle is the only way to head across.
You will come across several vent traps at the Graveyard that deal tons of damage to your party members. Therefore, ensure you do not step on the central part of the area. Use your disarm kit to eliminate the darkness that comes with the trap.
Inside the room, you will come across three murals. Your task is to press the buttons below each mural to open the next area. However, you must perform them in a sequence. Therefore, start by pressing the button to the Moonrise Towers, Grief, and then go for the General to unlock the two doors.
Complete the Trials of Shar
After completing the Mausoleum graveyard puzzle, you can enter through the unlocked doors and use the Traversal Gem to head down the area to the Gauntlet of Shar and participate in the Trials of Shar in Baldur’s Gate 3.
This is the same place where you will find the Balthazar Boss during the Find Ketheric Thorm’s Relic quest. During this puzzle, you must participate in three consecutive trials: The soft-step trial, the Faith-Leap trial, and the Self-Same trial.
Go to the Slient Library
After completing each Trial, you must head over to the Silent Library and defeat each enemy in the room. In addition, you must collect the book Teaching of Loss: The Nightsinger from one of the shelves in the Library and place it on the podium ahead.
This will unlock the door leading to the Spear of Night in Baldur’s Gate 3. However, this is not the Legendary weapon you are looking for.
Enter the Nightsong Prison
To enter the Shadowfell, you must return to the platform with a giant chasm on the other end. Activate the elevator and go down. Proceed further, leading you to the Prison of the Nightsong in Baldur’s Gate 3.
Now you will be presented with the choice. Kill Balthazar and then proceed to talk to the Nightsong. This is where you will be making the most important choice in the game.
Talk to the Nightsong
After saving Nightsong’s life, you must talk to her and choose the dialogue options to prevent Shadowhert from attacking her. Use Persuasion options on Shadowheart and ensure that you succeed here. You will fail the first one but that is fine. Nightsong herself will help you in convincing Shadowheart. There will be two more Persuasion options after this so ensure that you succeed here.
Defeat Ketheric Thorm
After saving Nightsong, head over to the Moonrise Towers. Enter the tower and reach the upper floor. Use the ornate door to trigger a boss fight with Ketheric Thorm. This is one of the most challenging bosses to defeat in Baldur’s Gate 3. However, having Nightsong by your side will make it easy to drain half of his health.
As you drain half of Ketheric Thorm‘s health, he flees from the scene while Nightsong is dragged into the chasm by a large tentacle. Therefore, head down with her and face the boss again. However, this time you must kill him while freeing Nightsong from the chains.
Rest at the camp
After defeating Ketheric Thorm in Baldur’s Gate 3, you must head over to your camp and take a long rest. The Nightsong will speak with Shadowheart and reveal information about her past. You must choose the following options:
- Open your mind to that sensation.
- I’ll help.
- The Spear of Night? I thought that was cast into the Shadowfell
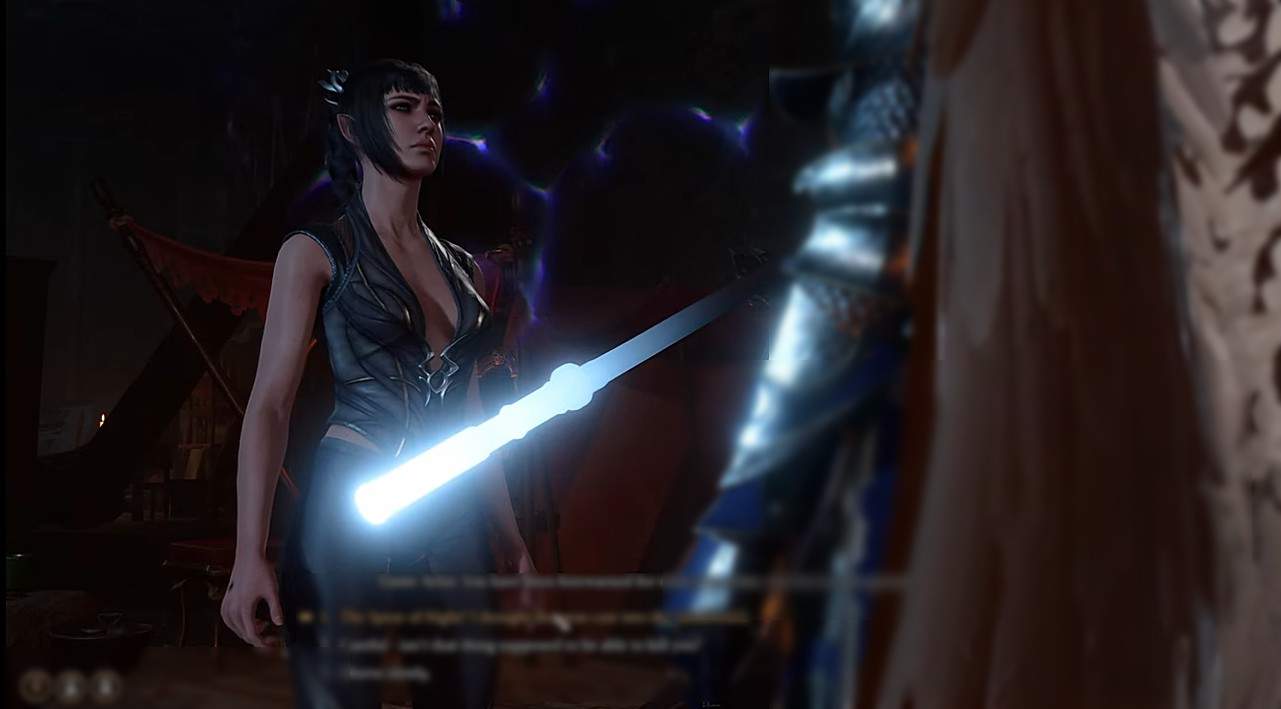
Once you do, the Nightsong or Dame Aylin as she prefers to call herself, will give you Selune’s Spear of Night.
Baldur’s Gate 3 Selune’s Spear of Night stats
After acquiring the Selune’s Spear of Night in Baldur’s Gate 3, you will receive one of the best stats for a Spear. Therefore, below, we have arranged a table dedicated to the weapon’s stats:
| Weapon | Type | Effect | Unlockables |
| Selune’s Spear of Night | Legendary Spear | Selune’s Blessing,Darkvision,Moonbeam, Moonmote | Rush Attack,Maiming Strike |
Selune’s Blessing is an effect of Selune’s Spear of Night that provides you with a Wisdom Saving Throw advantage. Plus, it allows you to see in the dark using Darkvision. Furthermore, Moonbeam and Moonmote, are Level 3 spells and Class Actions, respectively.