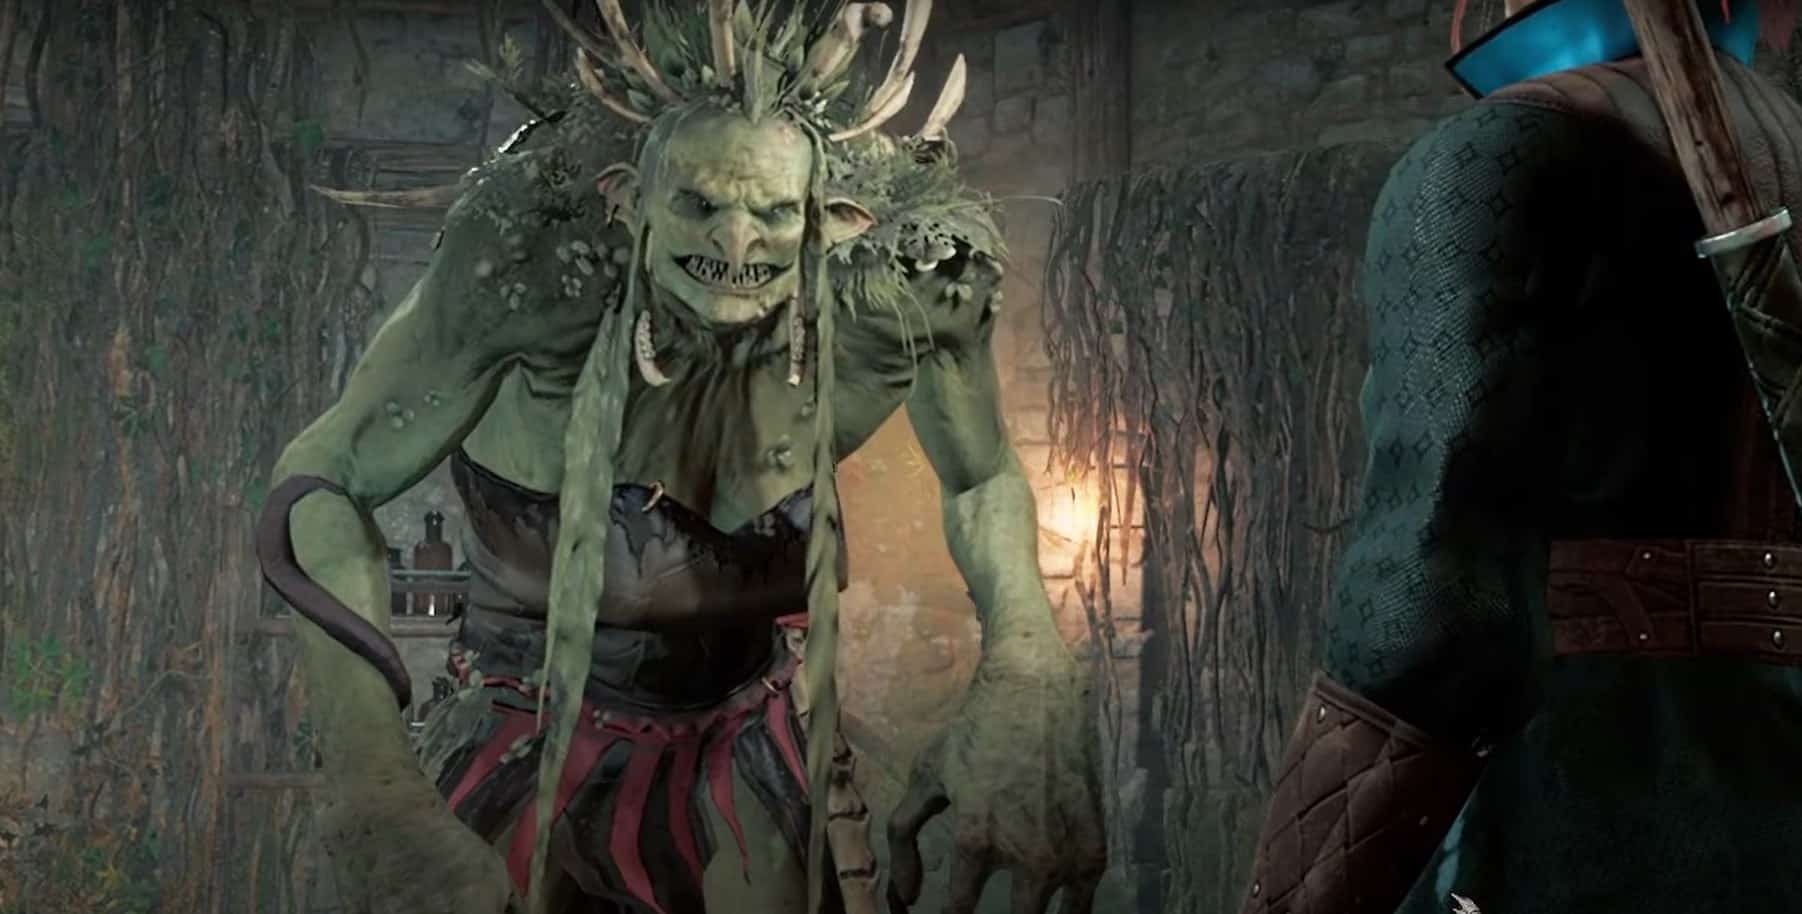
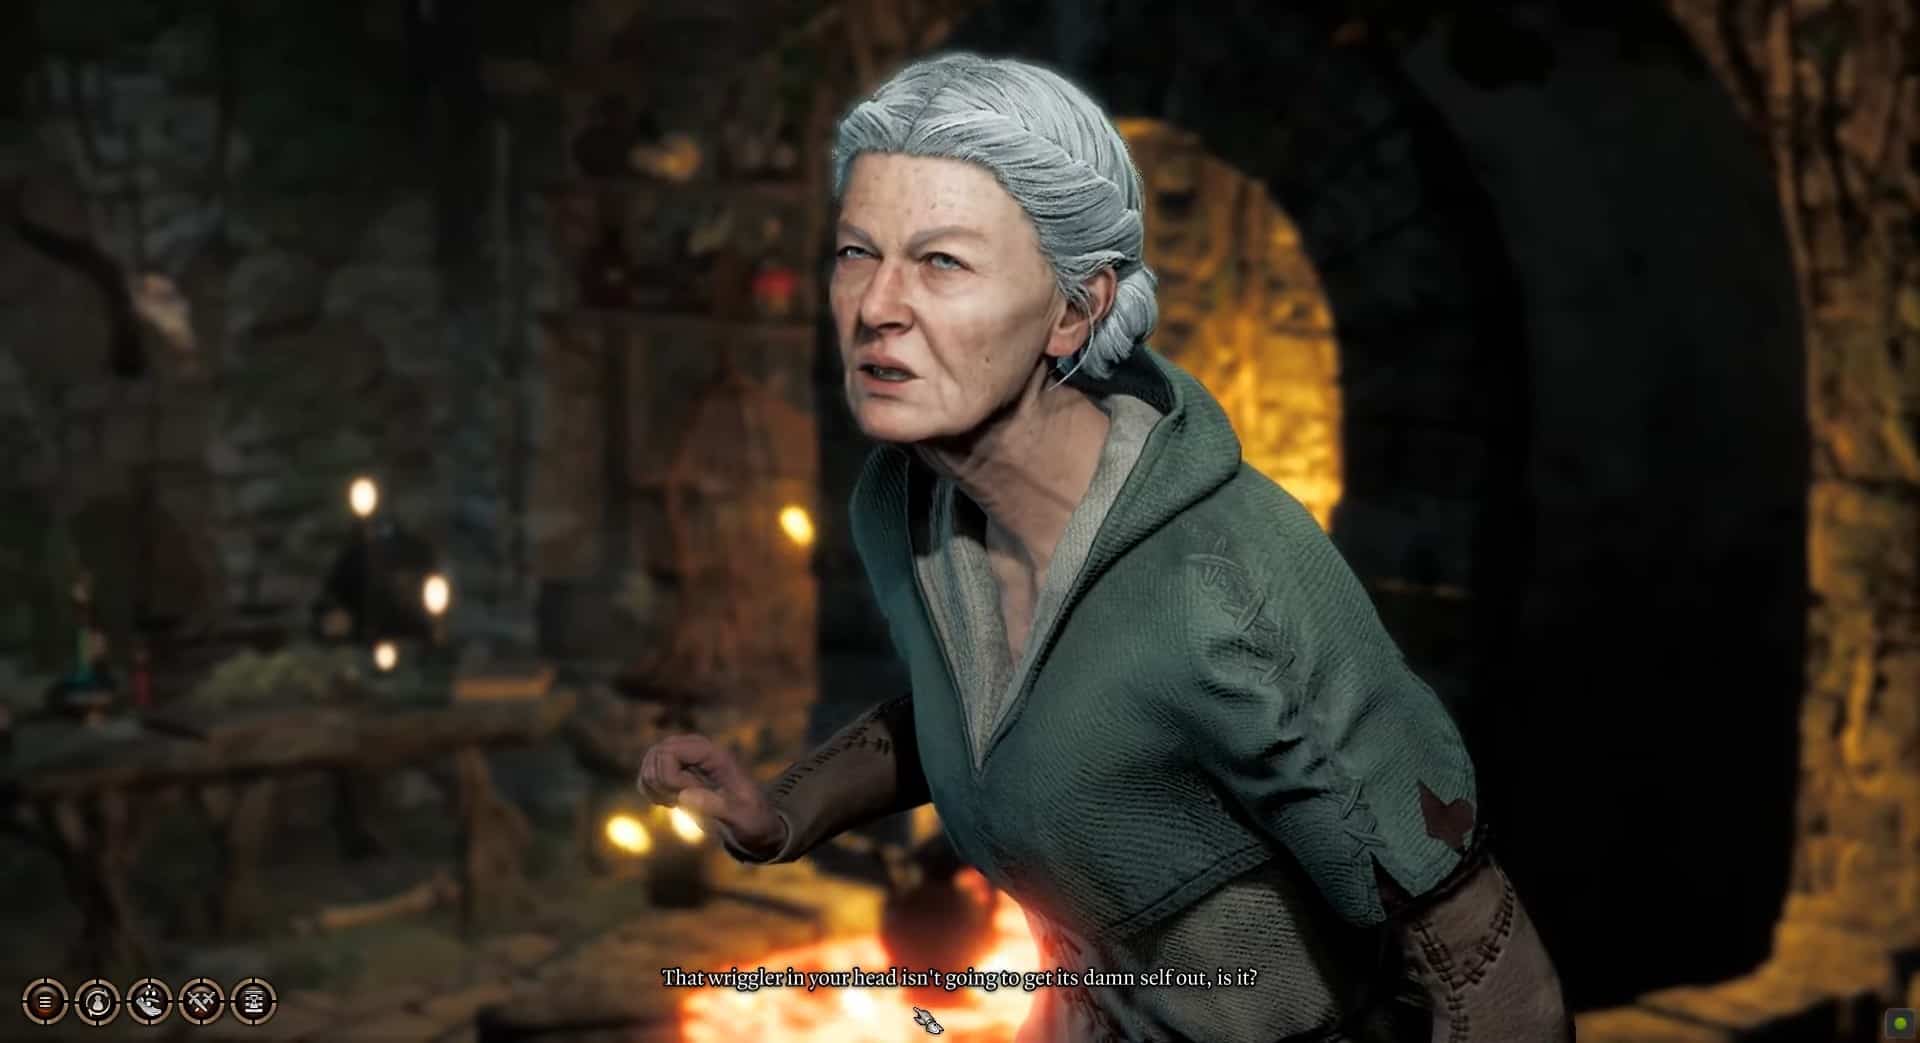
Auntie Ethel, also known as Sister of the Seeing Pearl, is a powerful hag and one of the bosses you need to defeat multiple times in Baldur’s Gate 3. At first, she appears to be a harmless old woman, but underneath all that, she is a hideous witch who has already kidnapped and killed dozens of people.
Over the course of your progression, you will uncover her true identity. Eventually, when you do get to engage her in a boss fight, Auntie Ethel will pull out all her spells to get rid of you in Baldur’s Gate 3. This is not going to be an easy fight to win, but you need to kill her to stop her from preying on the locals.
As this fight takes place multiple times over multiple acts, we will be covering it accordingly.
How to find and kill Auntie Ethel in Act 1
Finding Auntie Ethel and then fighting her is not as simple as other boss fights, as her story entangles into various side quests. If you go unprepared for any fight, there is a chance of losing precious NPCs and accidentally getting locked out of rewards.
Finding Auntie Ethel, the hag in Act 1
Finding Auntie Ethel in Act 1 is simple. You will meet her in Druid Grove, where she sells potions and other stuff. Upon talking to her, she will offer her services to help you. At the behest of angering Shadowheart, you can accept her offer.

She will then move from her shop, and you can find her Southwest of Druid Grove. You can help her by saving her from two trackers, which is the right choice if you want to progress the Get Help from Auntie Ethel side quest.
After that, her residence in the Sunlit Wetlands will be marked on your map. Once you reach her house, Auntie Ethel will offer to remove your eye and fix the parasite problem. If you agree to her offer, you will get a permanent debuff called Paid the Price. This will stop you from landing critical hits throughout the game, and you get a disadvantage on your perception rolls.
We recommend that you refuse. At this point, Auntie Ethel will make Mayrina disappear and move inside her house. You must go through the illusory fireplace and solve the Gnarled Door puzzle. Defeat her masked lackeys to reach the Overgrown Tunnel.
This area is full of poisonous clouds, also known as Noxious Fumes. Once you successfully traverse it, Auntie Ethel will be waiting for you in her abode.
Preparing for the Hag Fight
Before you confront Auntie Ethel, you need to be fully prepared. Your party must be at least level 4 to easily take down the hag. Stock up on water bottles or take someone with the Create Water spell.
Things will go south if you decide to go against the trackers. You will have to fight and kill both brothers. Once you reach the Sunlit Wetlands, you will meet a lot of redcaps. If you decide to side with Mayrina later, they will attack you.
We recommend that you kill all redcaps and sheep in the area. Don’t drink from the well, no matter how enticing it seems. Auntie Ethel’s lackeys are extremely vicious, so have a good, ranged fighter or an evocation Wizard on your team. Make sure to rest long after clearing the Overgrown Tunnel.
Cast a spell that prevents you from poison attacks or use potions that grant poison resistance. This will make the fight a lot easier.
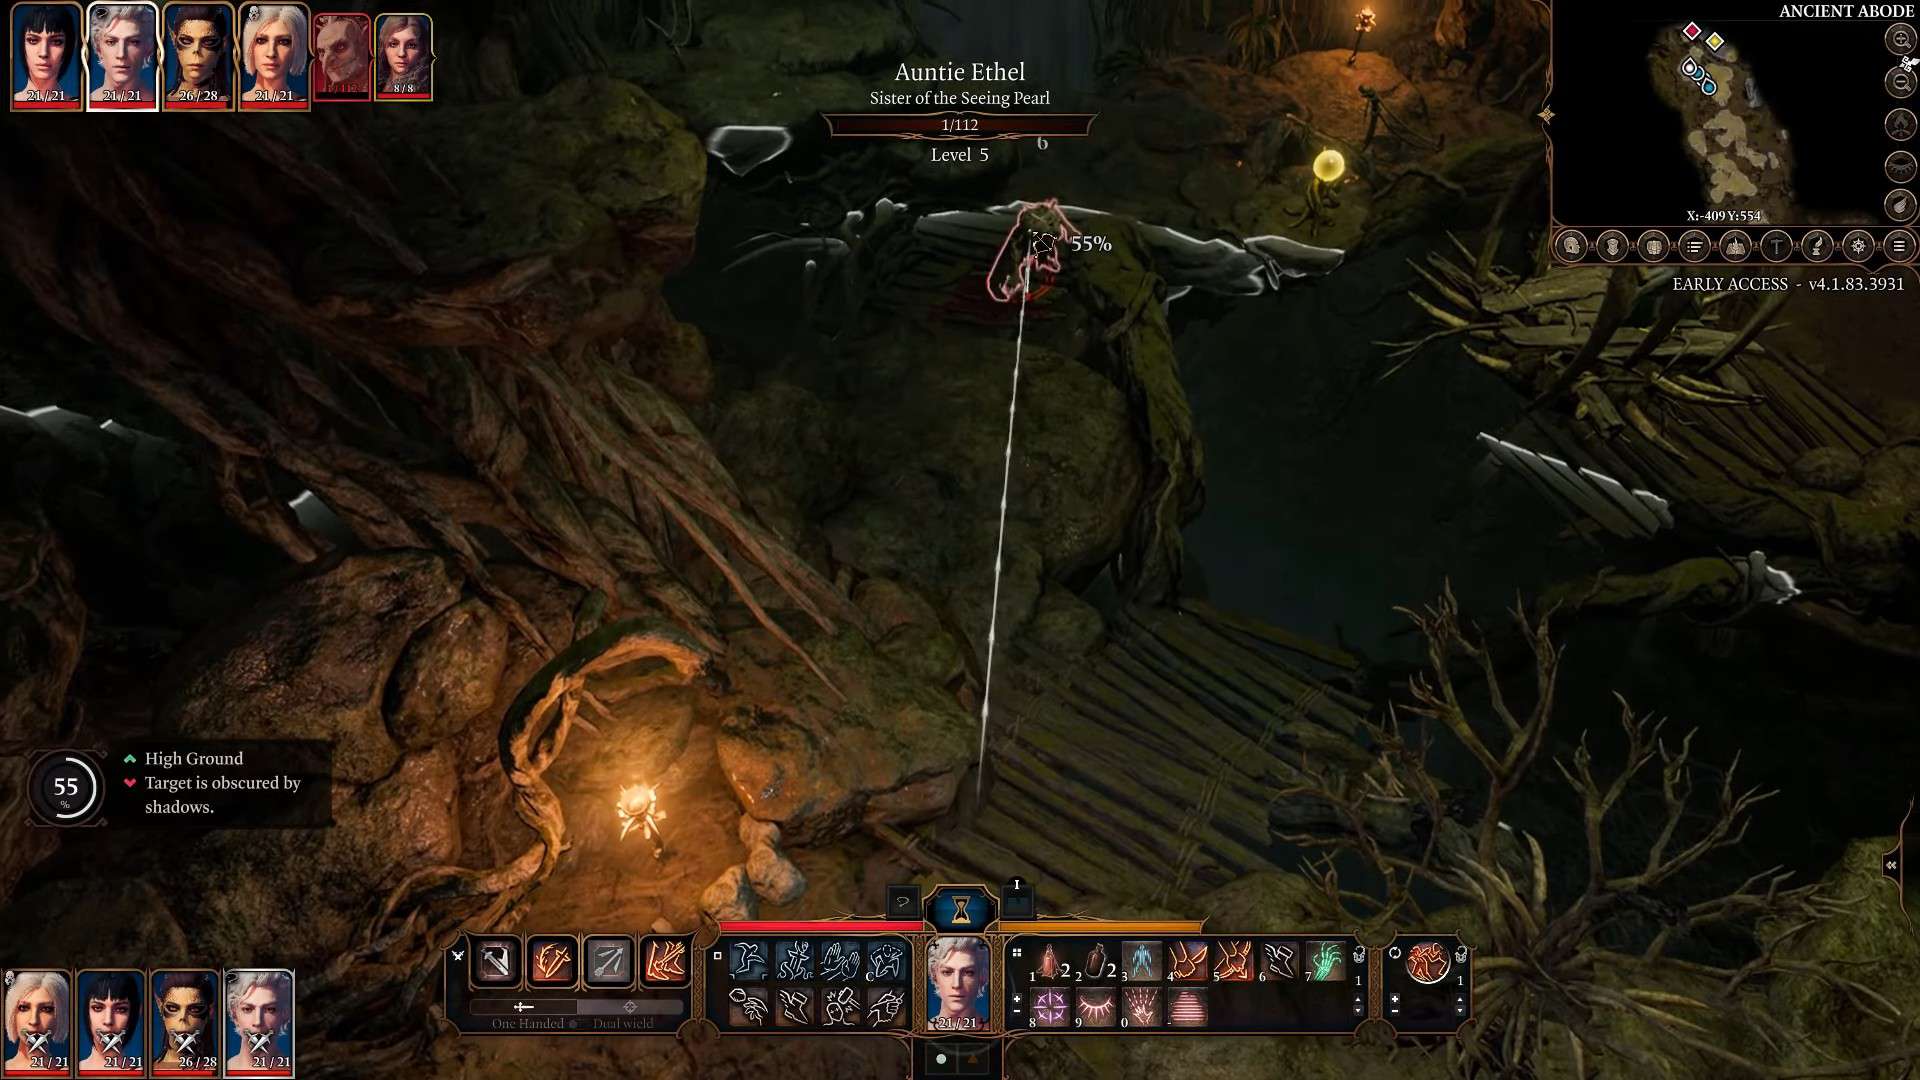
How to defeat Auntie Ethel
If you didn’t side with Mayrina earlier, the quest Save Mayrina will start now. Auntie Ethel will turn into a hag and set her cage on fire. You can douse the flames with water or hit the orange globe to lower and open the cage.
Auntie Ethel starts the fight by creating clones with the same attacking capabilities. With her high Armor Class and great Saving Throws, hitting her with mere arrows is impossible.
You can use Wyll to target multiple copies of her with Eldritch Blast. Fireball seems like a valid option if you can cast it. Don’t use AoE attacks with concentration, as Mayrina will join the fight later. She has low HP and can die instantly by spells like Circle of Daggers.
You can kill Auntie Ethel by chipping down her health while keeping Mayrina alive if possible. With a small amount of her health left, Ethel will offer you a deal: Hag’s Hair in exchange for Mayrina. You can persuade Ethel to give you Hag’s Hair while letting Mayrina go.
If you don’t kill Ethel, you will miss out on a lot of loot, including a Spellthief longbow, Corellon’s Grace quarterstaff, and 3x Potions of Hill Giant’s Strength. Go inside to find the Bitter Divorce wand and use the Circle of Mushrooms to find Mayrina’s Husband’s body. Whatever you do next is totally up to you.
This marks the end of your first detailed encounter with Auntie Ethel in Baldur’s Gate 3. She won’t make another appearance until Act 3.
How to Defeat Auntie Ethel and Save Vanra in Act 3
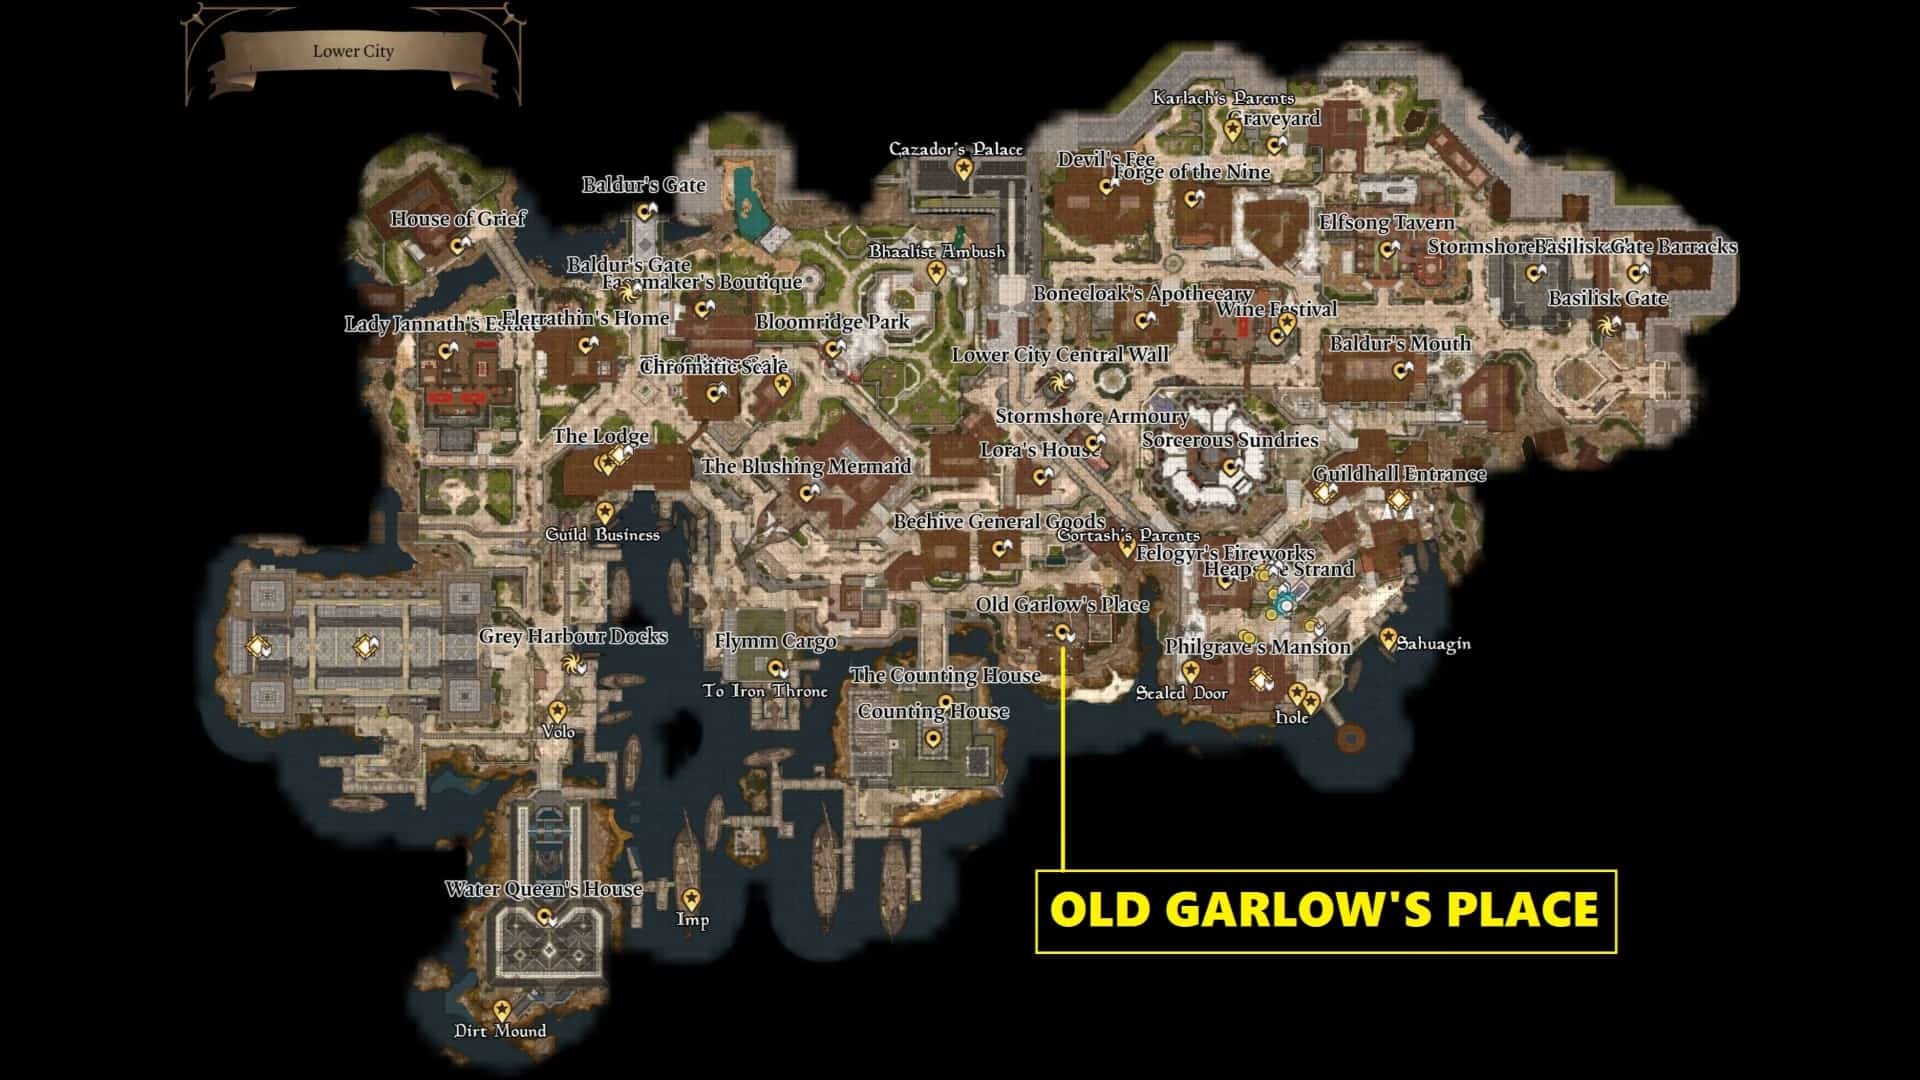
Things will look and remain calm until you reach the Lower City during Act 3. During this time, you will notice many flyers that mention a group of Hag Survivors. They are all at Old Garlow’s Place (X: -52, Y: -148) in the Southwest region of the map.
Once you reach there, you will meet three people and a sheep on the top floor. Destroy the Voodoo doll to turn the sheep back into Mayrina. At this point, one of the survivors will turn into a redcap and summon some allies.
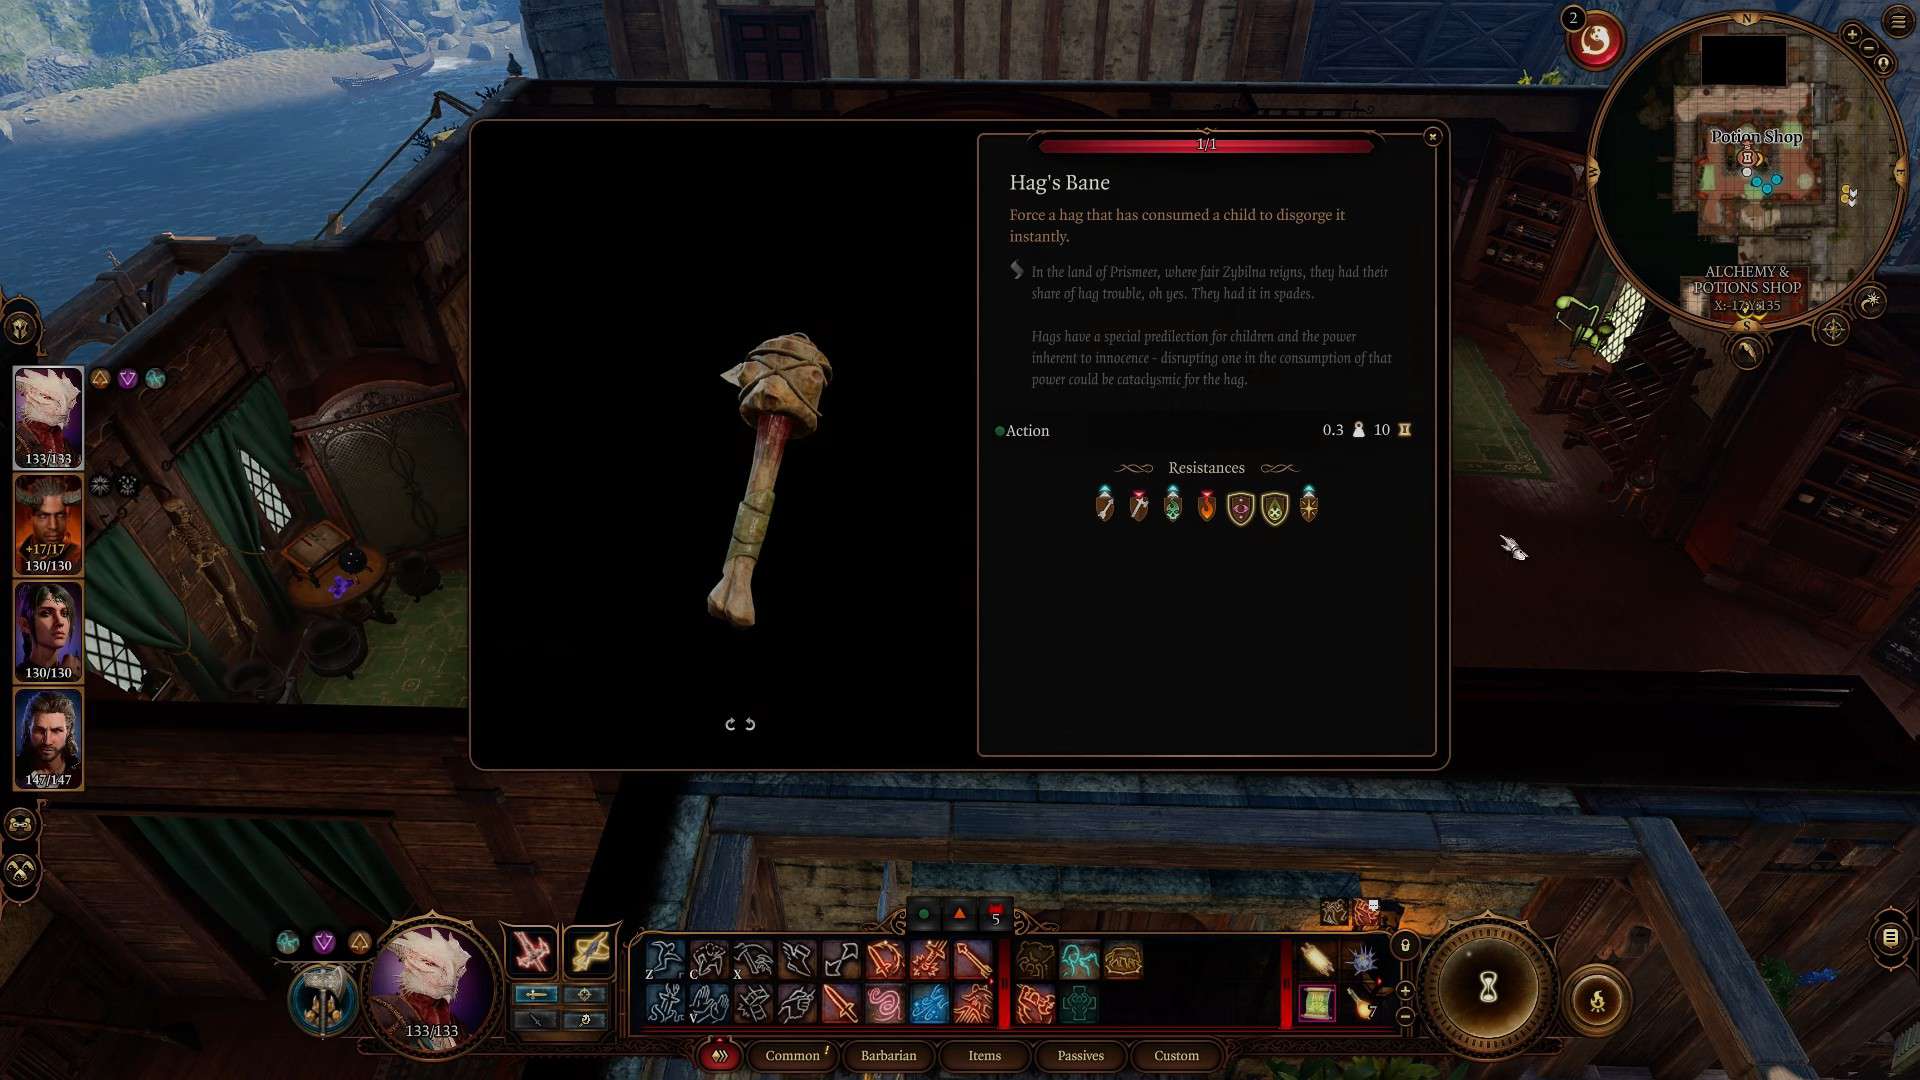
Defeat him and talk to Mayrina about getting Hag’s Bane recipe. Collect the items from the locker and craft Hag’s Bane. Keep it handy.
Auntie Ethel’s Location in Act 3
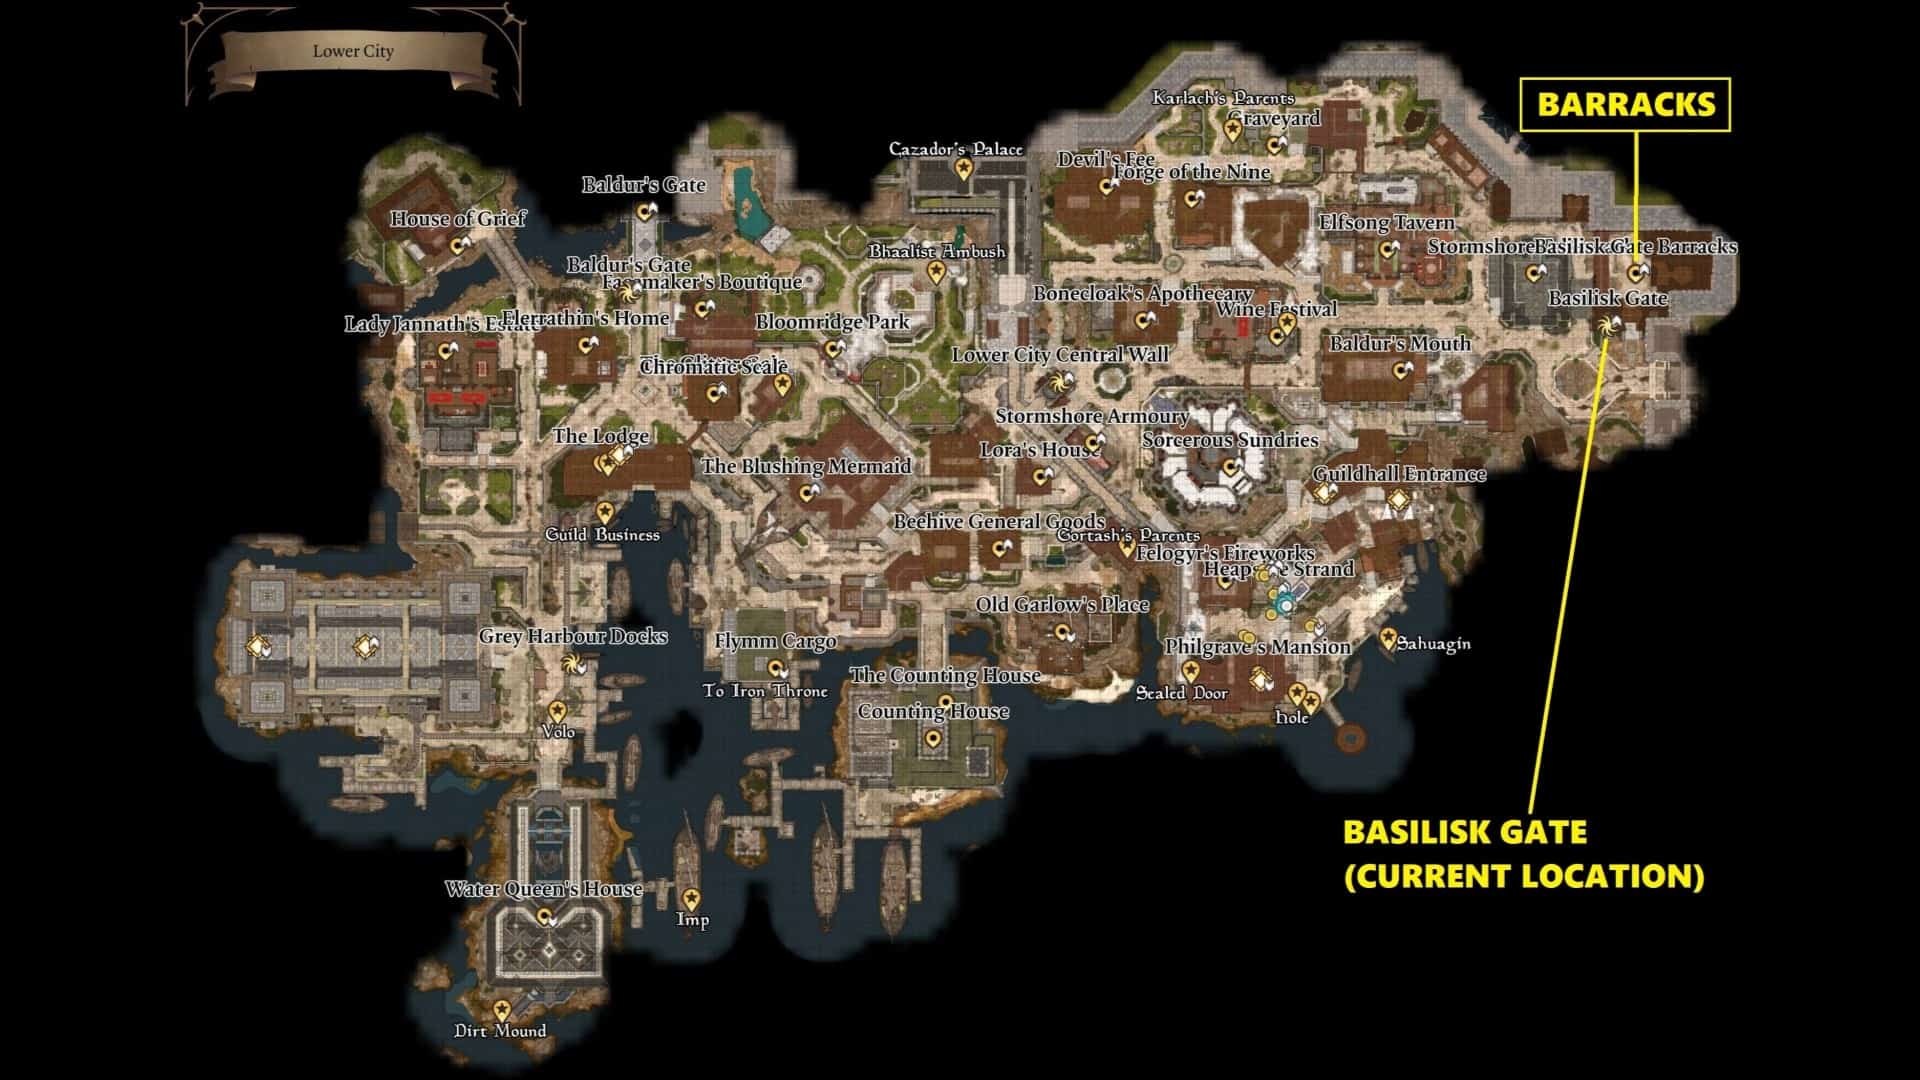
Once you reach Basilisk Gate, enter the barracks to find a distressed lady, Lora. Her daughter Vanra is missing, and she wants her back. Vanra was last seen inside The Blushing Mermaid Inn.
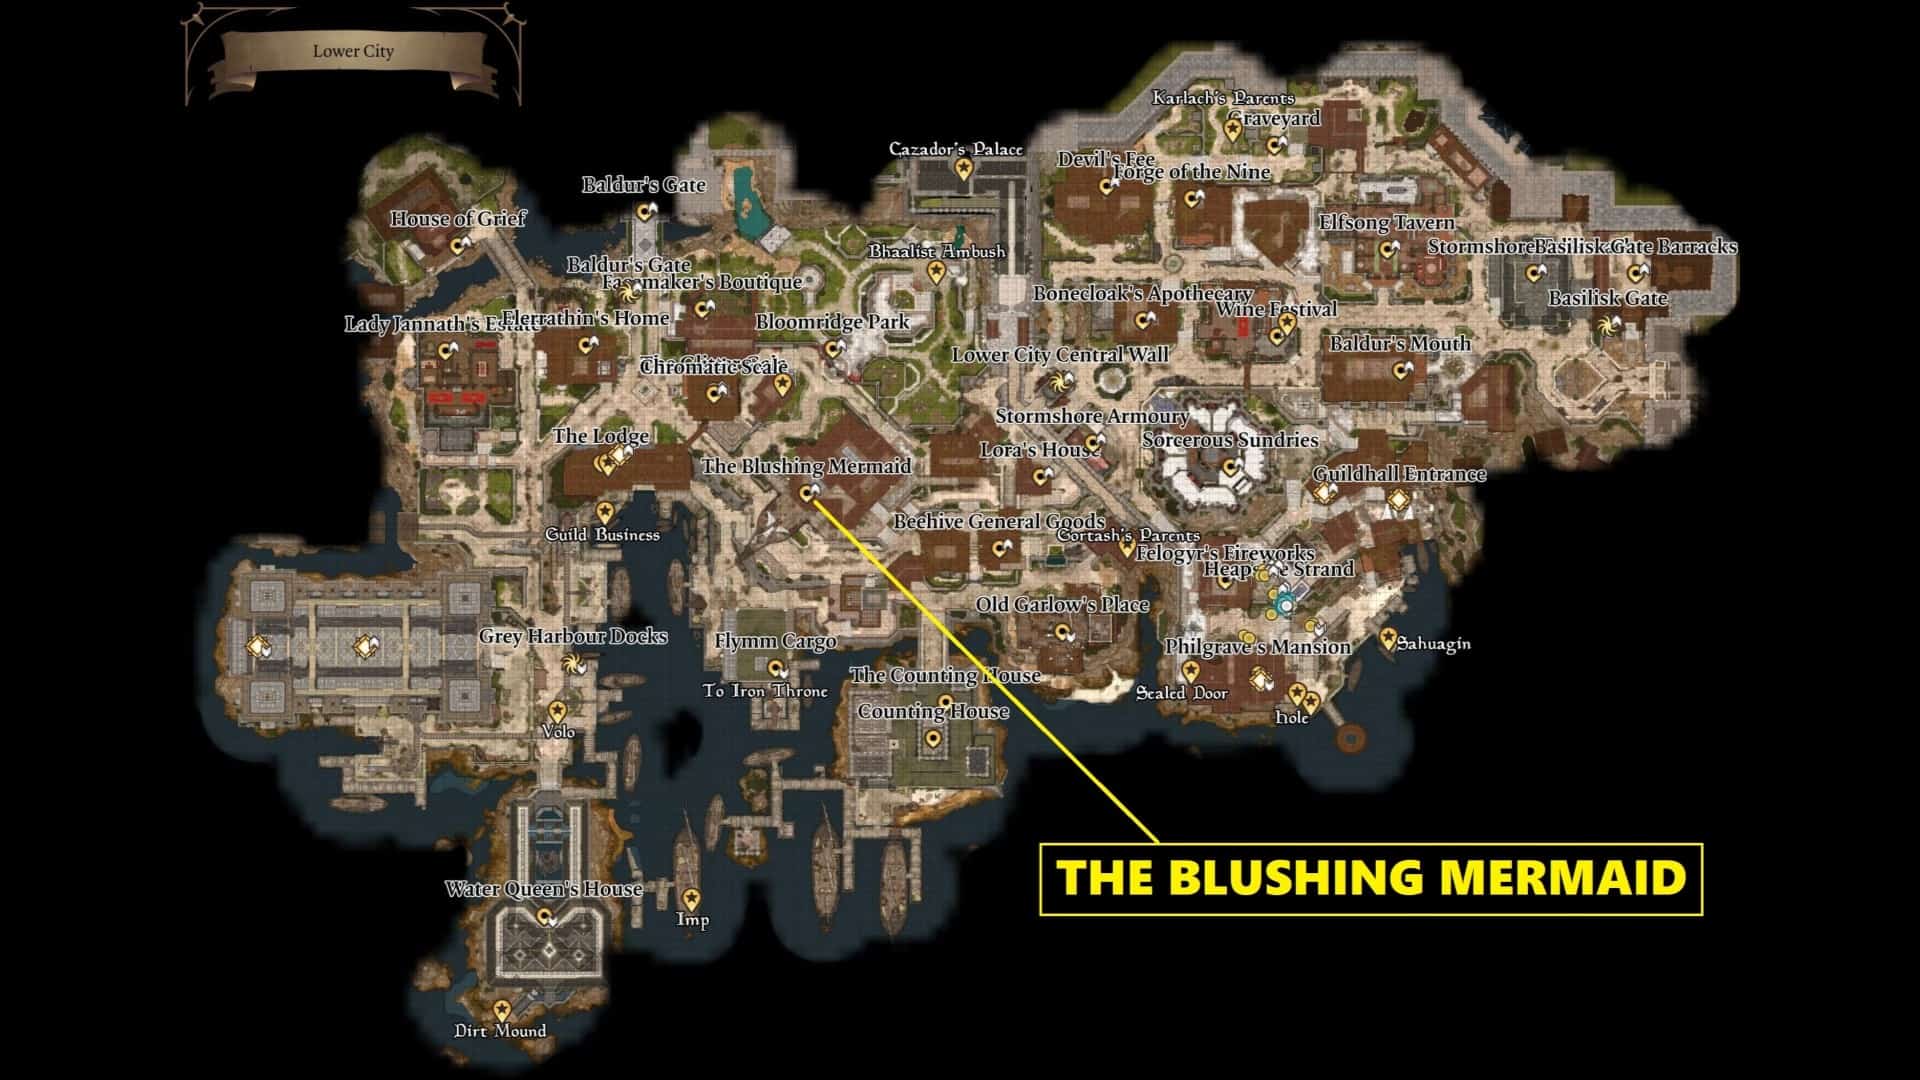
Make your way to the Blushing Mermaid and go to the second floor to find Captain Grisly. She will get angry once you inquire about Vanra and give you a large bounty to kill Lora. If you refuse her offer, she will transform into her true form, Auntie Ethel.
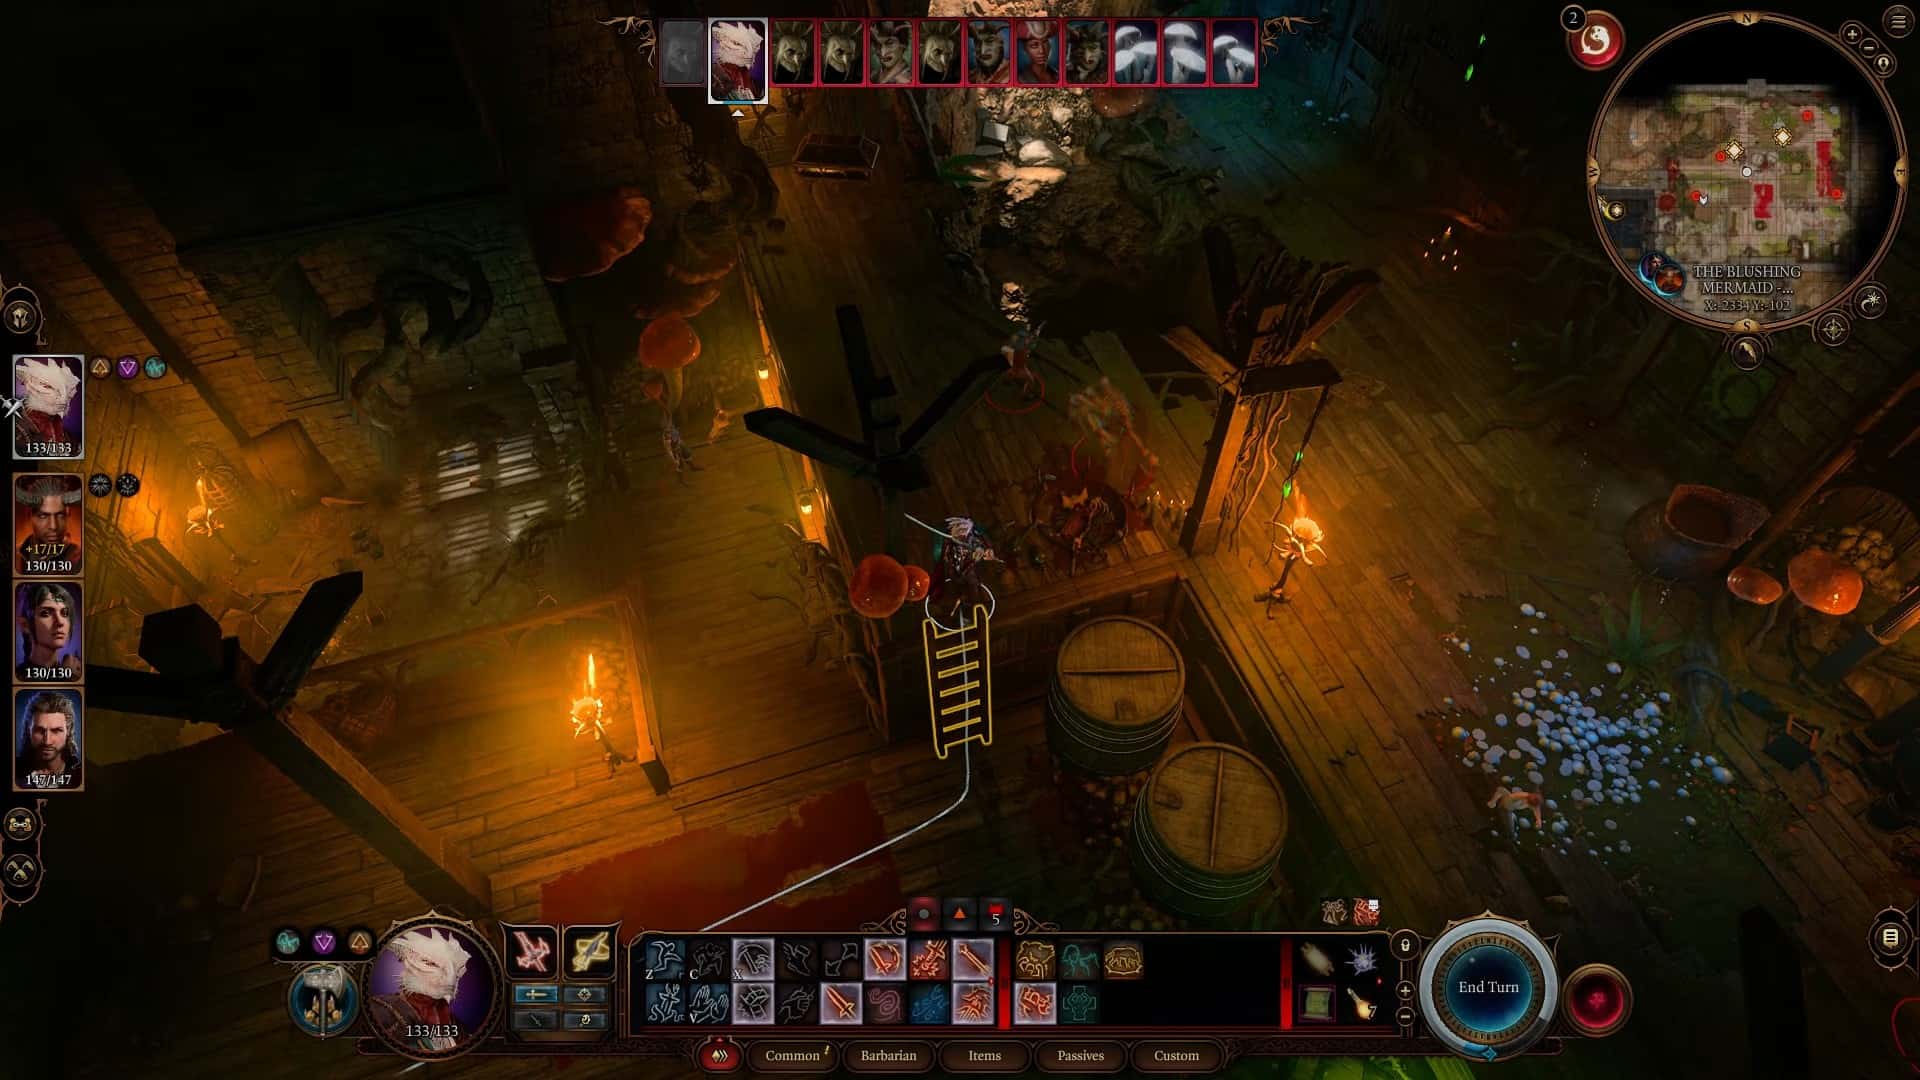
The Hag will run away into the basement, and a fight will start against the Redcaps. Defeat them and loot the treasure chest to obtain Blushing Mermaid’s basement key. This is where Auntie Ethel lives. Go through the basement door and climb the barrels to the left.
You can cross an illusory wall to enter another tunnel with many explosive traps. Four more people wearing Auntie Ethel’s masks will be there. Kill them now, as they will join the fight later, making it almost impossible.
Preparation for Auntie Ethel’s fight
Like before, you must be fully prepared for the fight, or you will lose Vanra. First, one of your tankiest characters must have Hag’s Bane in their inventory to throw it on Auntie Ethel’s real form.
The fight with Redcaps in Blushing Mermaid is difficult if you are below level 11. Our recommended level for this sequence is 12. Make sure to unlock as many Illithid Powers as possible, as you can use them to react to and counter many attacks.
Counterspell is another great choice. Auntie Ethel and her healing flower pads take a lot of damage from fire attacks. In your party, have Gale, Wyll, and Jaheira. Gale can use Fireball, and Wyll can destroy Hag and her minions with Eldritch Blast.
Jaheira gets amazing healing abilities at levels 11 and 12. She can be pivotal in keeping your party alive. This fight can and will go south fast, so you need all the help you can muster.
As always, after defeating the masked minions, take a long rest to regain full health and spell slots. Then, cast spells or drink potions that provide resistance against poison and hexes.
Auntie Ethel’s boss guide
This will be your final showdown with Auntie Ethel. This fight always starts with Auntie Ethel creating her three clones. As she stands in a higher place, jump to reach her with the party member possessing Hag’s Bane. Spread the rest of the party across the room to either near or face the healing pad mushrooms.
There are three glowing mushrooms in the area: one in the Northeast corner (which can only be hit with a ranged attack), one in the Northwest corner (which can be hit directly), and one in the Southwest corner (which can only be hit with a ranged attack).
You can place two characters near you if you are unsure of destroying one mushroom pad with one character in one turn. For now, ignore Auntie Ethel’s clones and use your reactions to counter their attacks. Throw Hag’s Bane at Auntie Ethel to make her vomit Vanra from her stomach.
Once all the healing pads are gone and Vanra is safe, you can go all out with attacks. Don’t stay in one place, as the hag uses a disease AoE spell that also creates difficult terrain. If any of your party members polymorph into sheep, attack Auntie Ethel to break her concentration.
Once the fight is over, talk to Vanra, and she will run away. Tell the Hag Survivors good news to receive a Fey Semblance amulet as a reward. Return to Lora’s house; she will give you the Amulet of Windrider and a legendary weapon, Duellist’s prerogative.
This is the last you will see of Auntie Ethel, the hag, in Baldur’s Gate 3. As a fey creature, we can surely see her return in the next entry.