Siwakama shrine in Zelda: Tears of the Kingdom tests your ingenuity and intelligence to solve its puzzle. While this shrine offers only one treasure chest, the bigger reward is the satisfaction of overcoming the trial to obtain the Light of Blessing.
All Shrines in Zelda: TotK can be completed in multiple ways using Link’s new abilities. You can follow our guide to complete the Siwakama shrine of Zelda: Tears of the Kingdom in no time.
Siwakama Shrine Location in Zelda: TotK
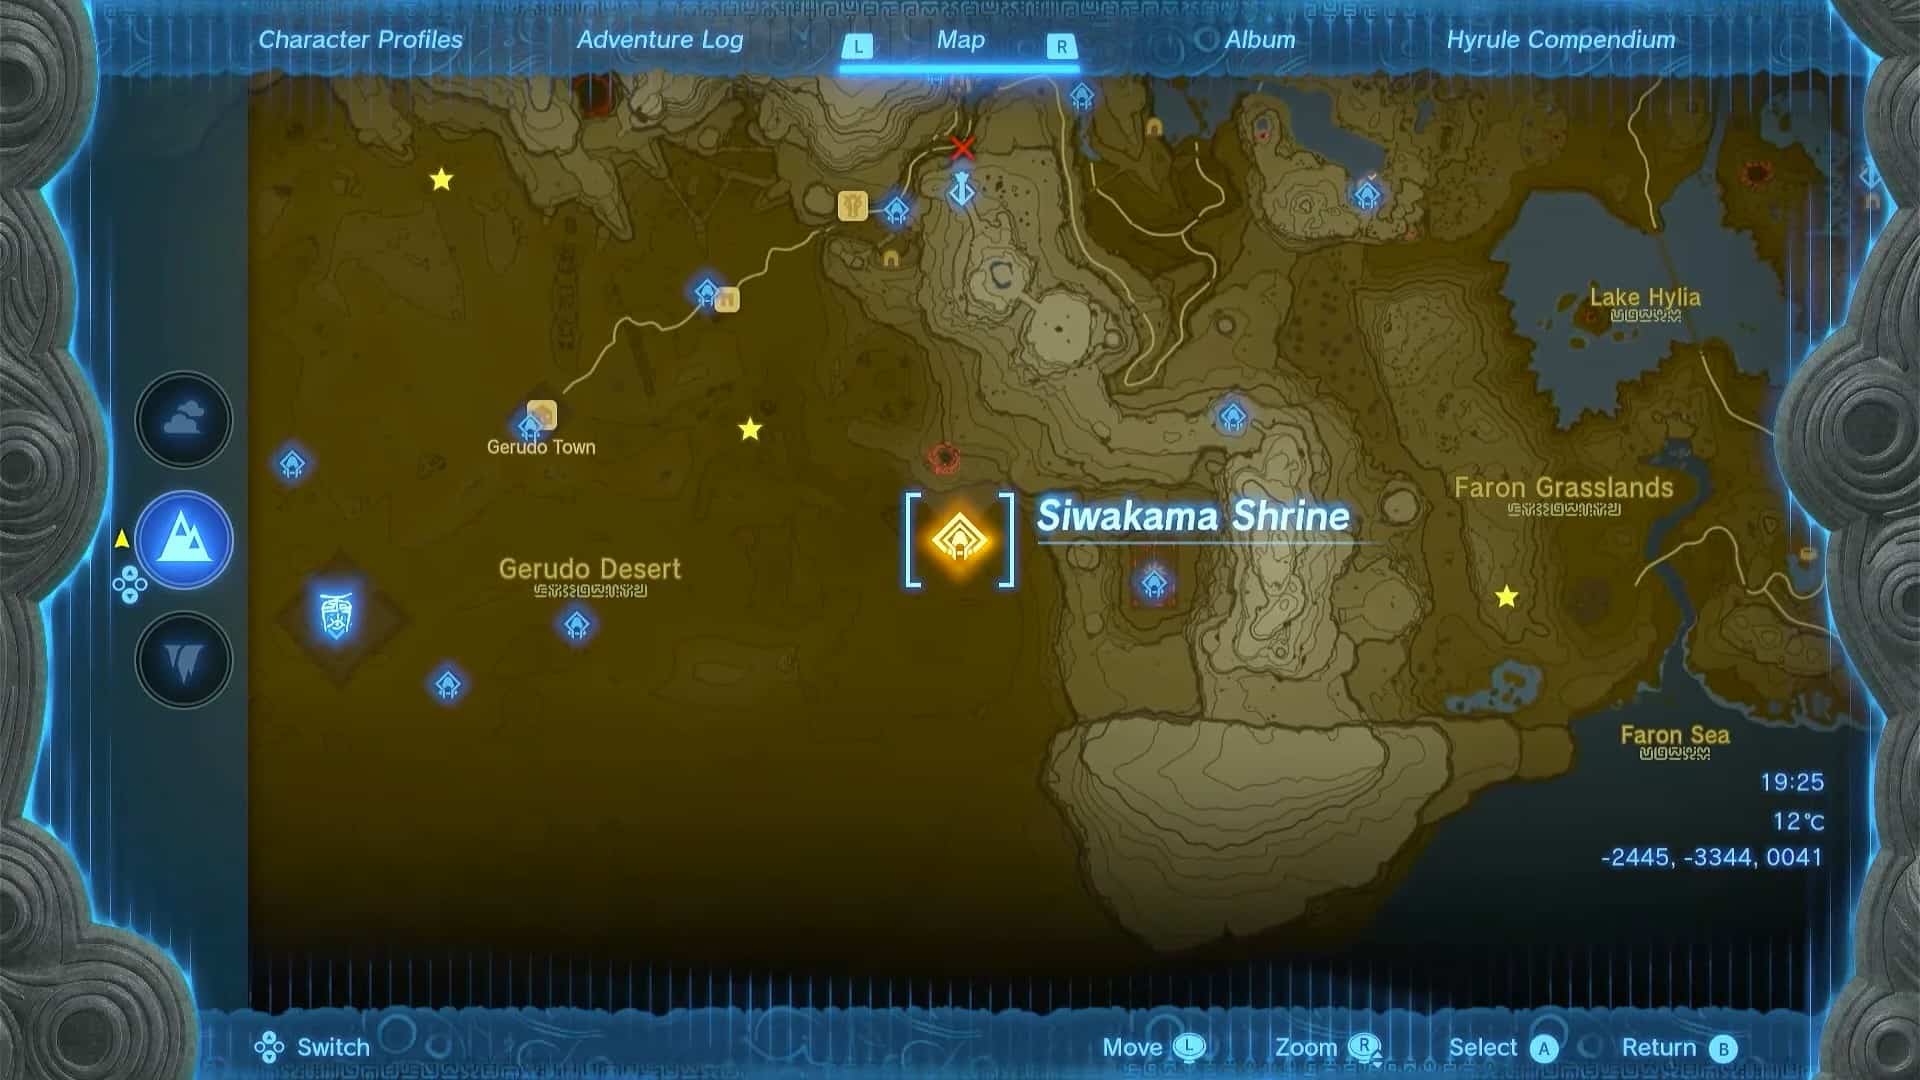
Siwakama Shrine is in the Gerudo Region, located southwest of Central Hyrule. It (-2445, -3344, 0041) is to the East of Gerudo Town and South of Gerudo Canyon Skyview Tower.
Pack a lot of materials with Heat and Cold resistance before venturing into the Gerudo Desert. Reaching the Siwakama shrine is particularly difficult due to extremely hot weather during the day and cold at night.
Siwakama Shrine is located inside Molduga’s Territory, and it doesn’t take kindly to trespassers. A lost Korok marks this area, and you will pass through the shrine on your way to Gerudo Town.
Siwakama Shrine Walkthrough
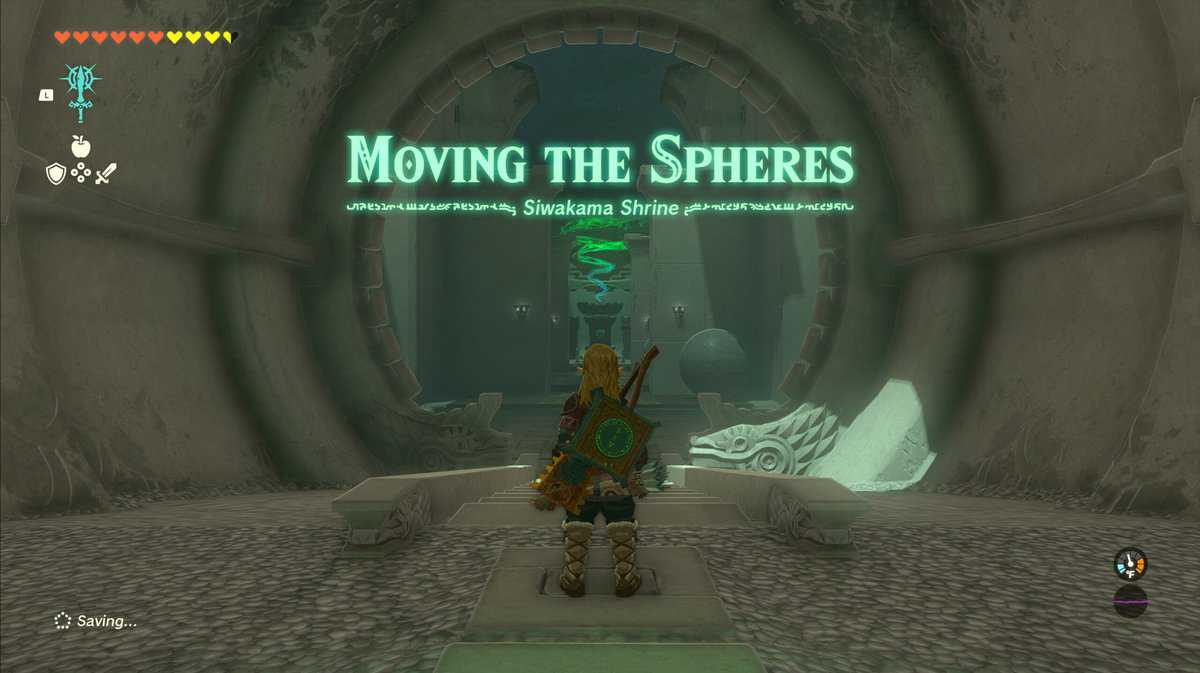
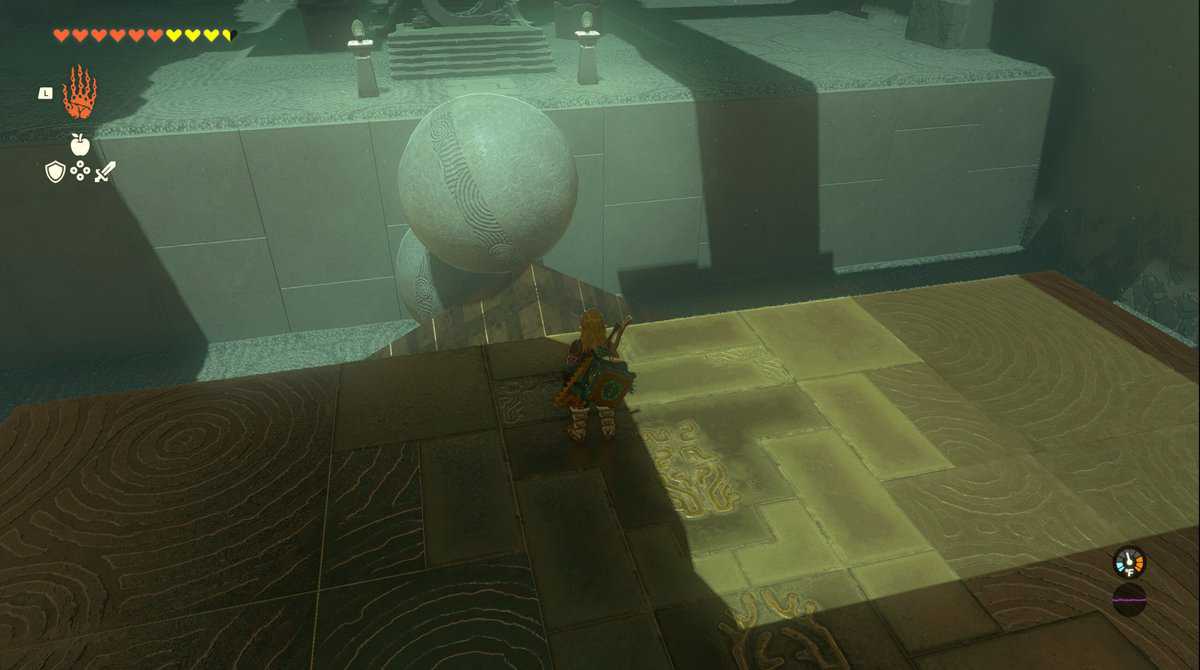
Link is presented with Rauru’s Moving the Spheres challenge as soon as he sets foot in Siwakama Shrine.
The purpose of this trial is to use and move the giant spheres to move forward. This shrine can be completed in many ways, and the easiest method is to use a Spring Shield. Below is the detailed walkthrough of Siwakama Shrine stepwise.

1. Place the giant sphere near the wall in the first room and climb to reach the next area.
2. The next area is a bit tricky. Pick up the giant sphere with Ultrahand and look to the right side of the entrance. There is a slope in front of a breakable wall.
Drop the sphere from the maximum possible height on the ramp. This will cause the sphere to destroy the breakable wall, exposing the only treasure chest of Siwakama Shrine.
Open the treasure chest to obtain 5x Bomb Flowers. You can fuse them with your arrows to create Bomb Arrows.
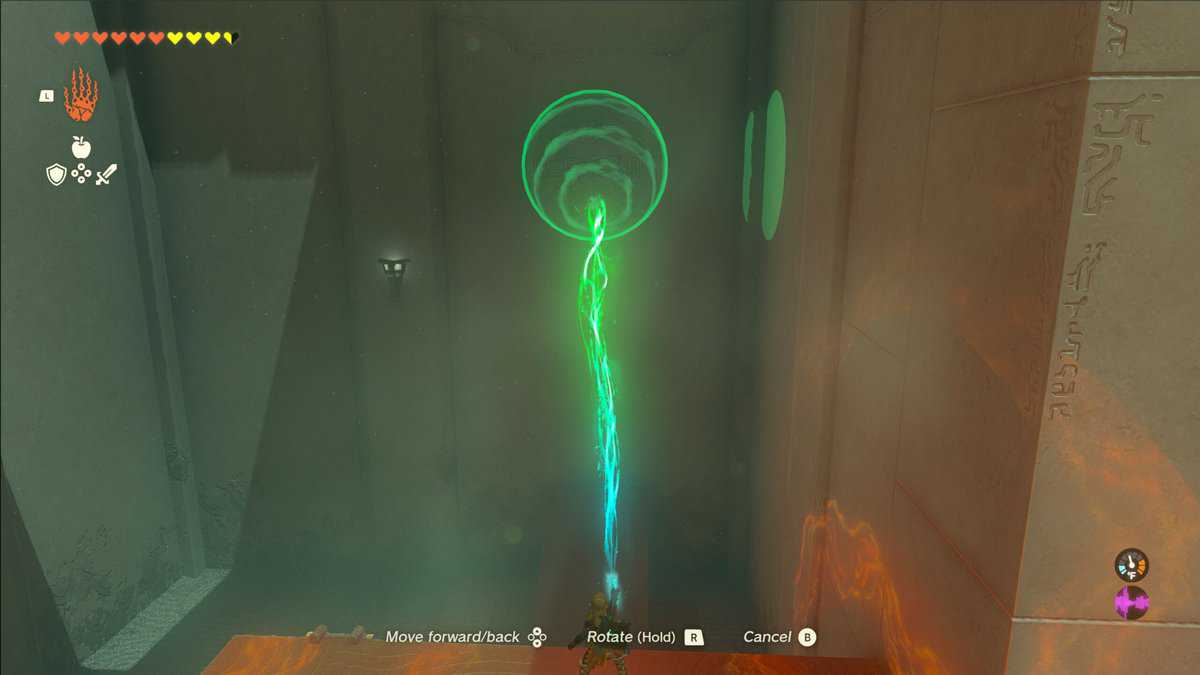
3. Attach both spheres and place them on the ramp before the entrance to reach the next area.
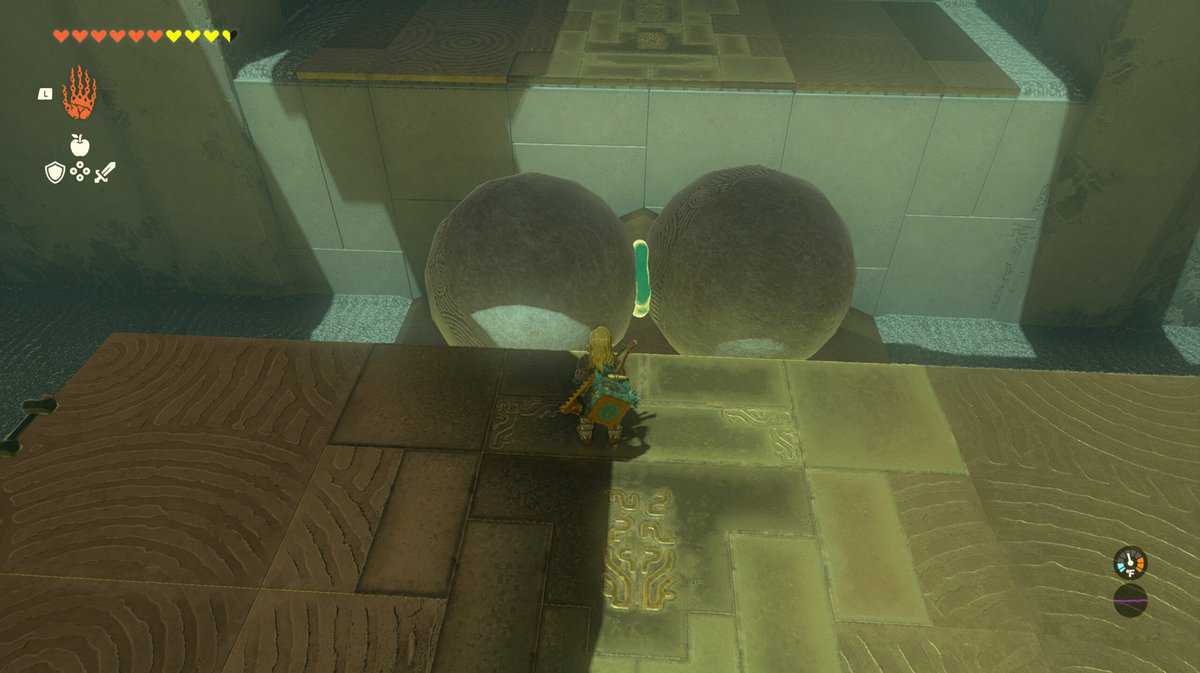
4. The slope in the final room has a sharp edge, and placing both spheres horizontally will make them stay on the ramp. Jump on the connected spheres and use them as a bridge to reach the next area.
Don’t be alarmed by the ramp’s shape. Simply place both connected spheres vertically behind it.
Make sure the sphere on top is a bit inclined toward you. Run and jump on the top sphere. Simply move on to the altar room with the help of this awkward-looking bridge.
5. Interact with the statue of Rauru and his wife to finish the “Moving the Spheres” trial in Zelda: TotK. Obtain the Light of Blessing, which can be used to increase stamina and health as your reward. This marks the end of Siwakama Shrine.