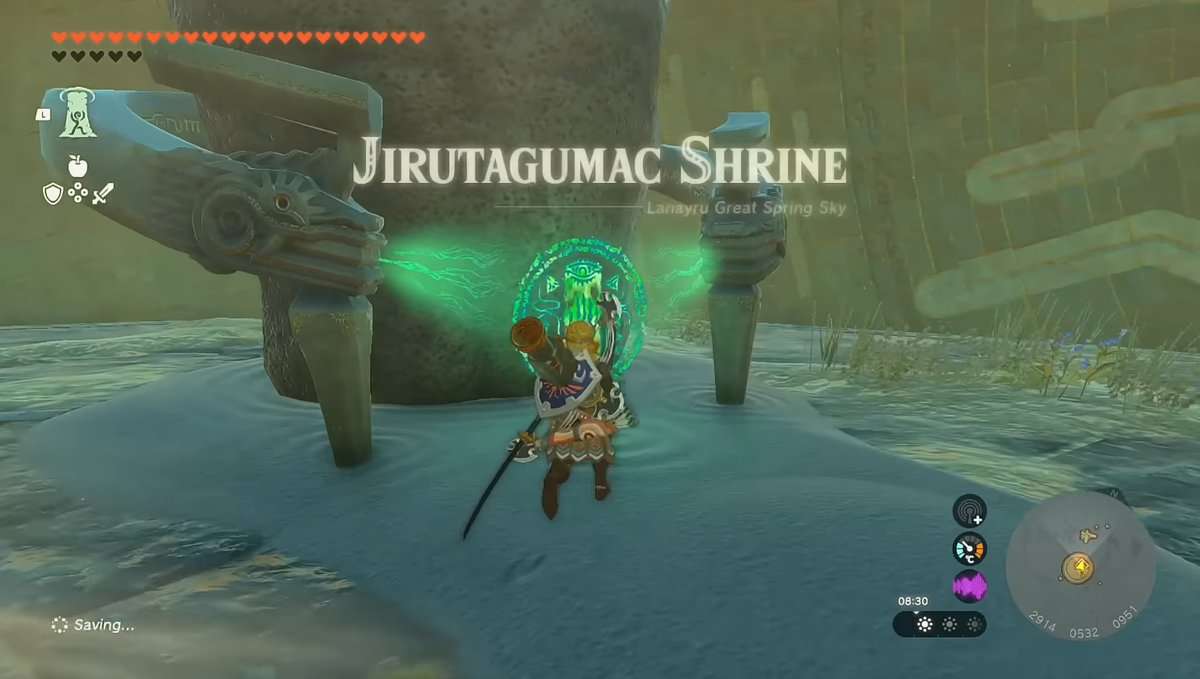
Jirutagumac Shrine in Zelda: Tears of the Kingdom is among the Sky Island Shrines near Water Temple. Do note that the Shrine locations in Sky Island are trickier than those on the surface.
Jirutagumac Shrine in Zelda: Tears of the Kingdom teaches you how to build a Flying Device with the right equipment. To complete this shrine, you must build a flying device inside the Shrine and fly all the to Rauru’s statue to collect the Light of Blessing.
Jirutagumac Shrine Location in Zelda: TotK
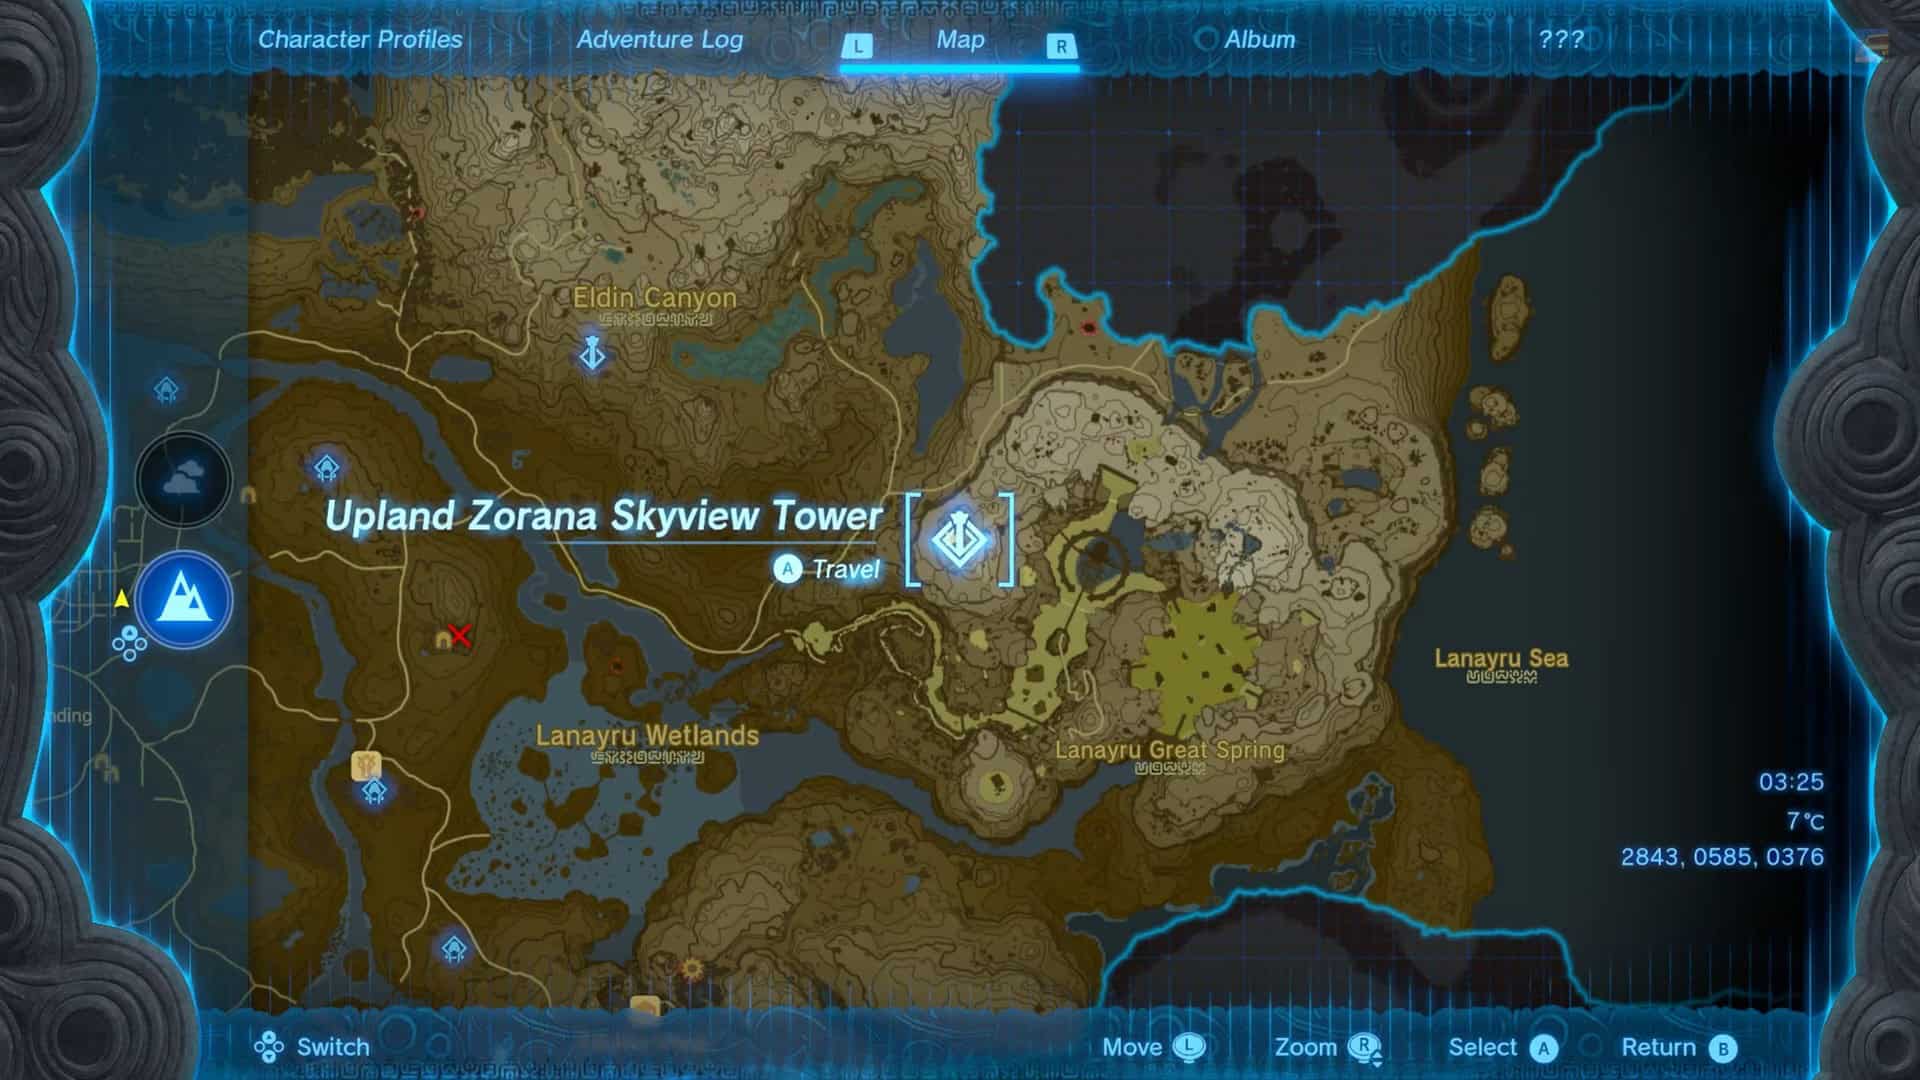
Jirutagumac Shrine is in the Lanayru Great Sky Archipelago, right above the Upland Zorana Skyview Tower (2843, 0585, 0376).
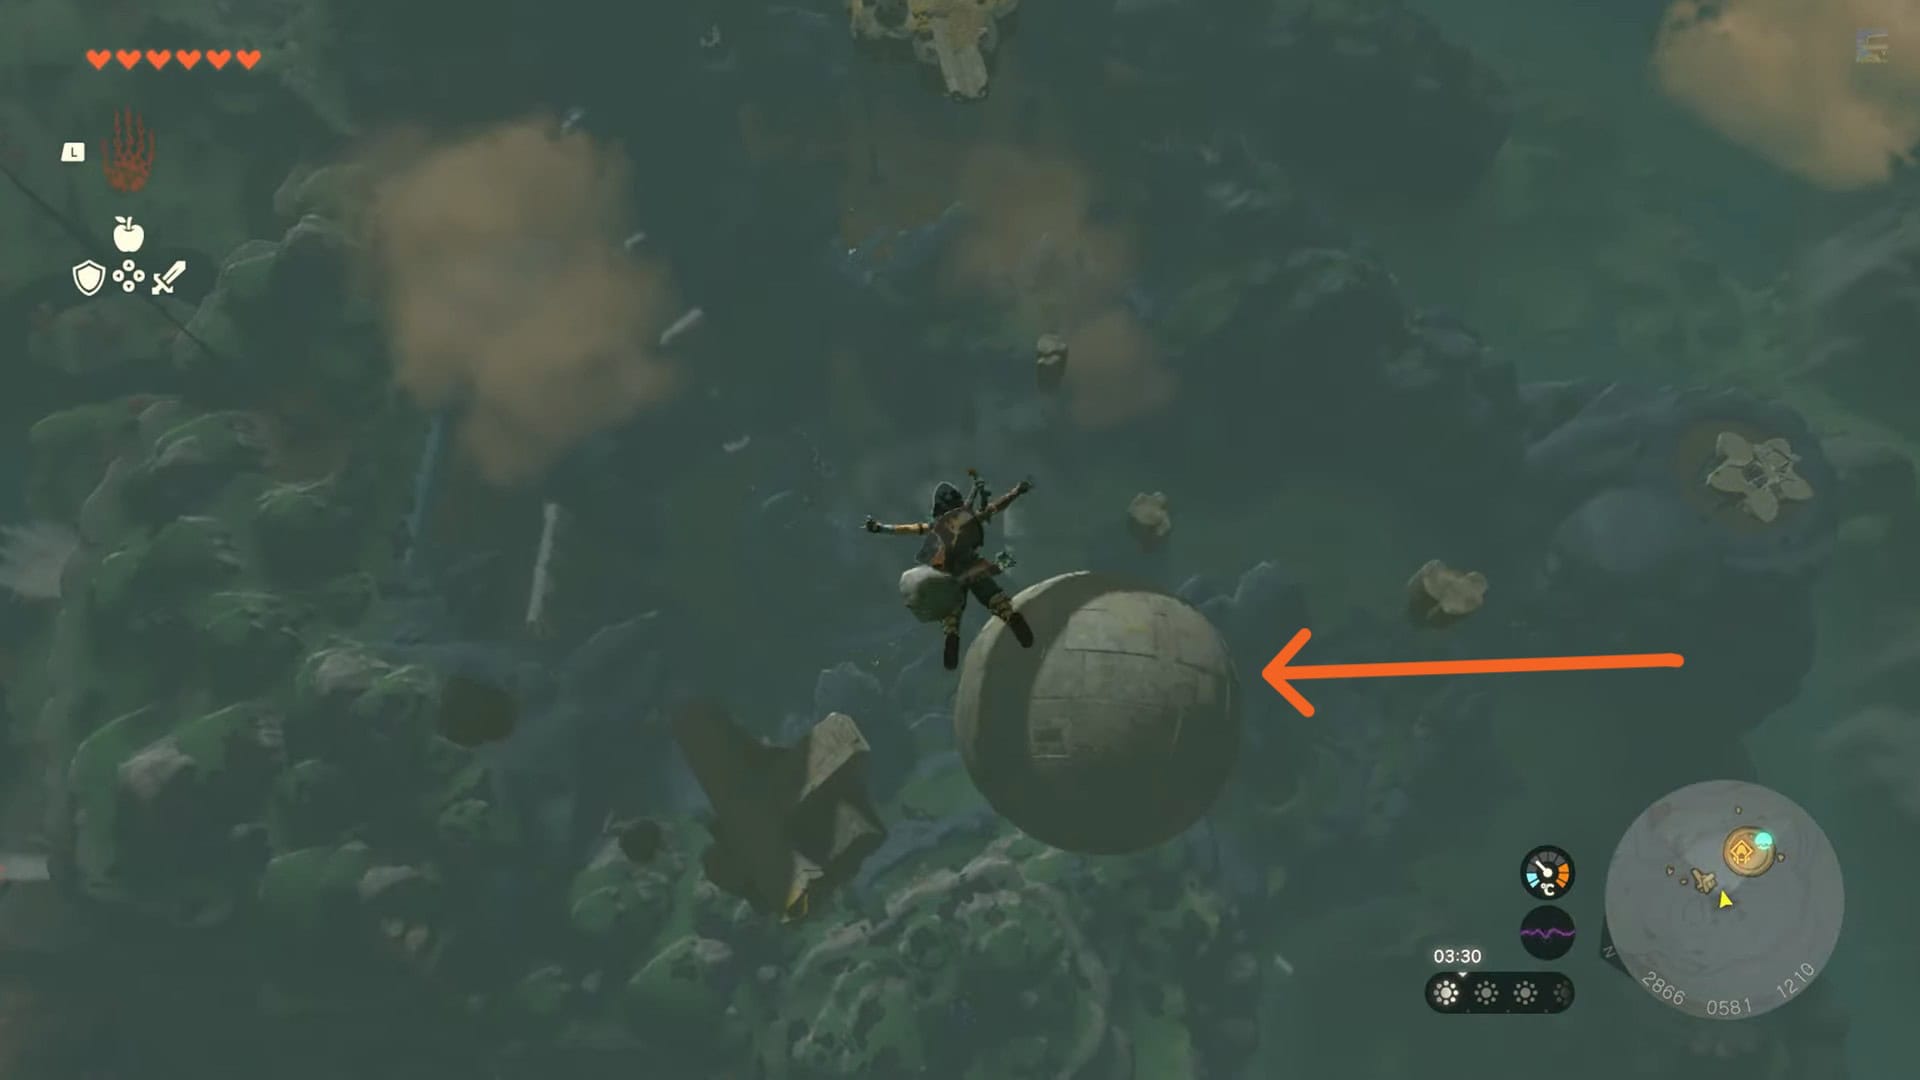
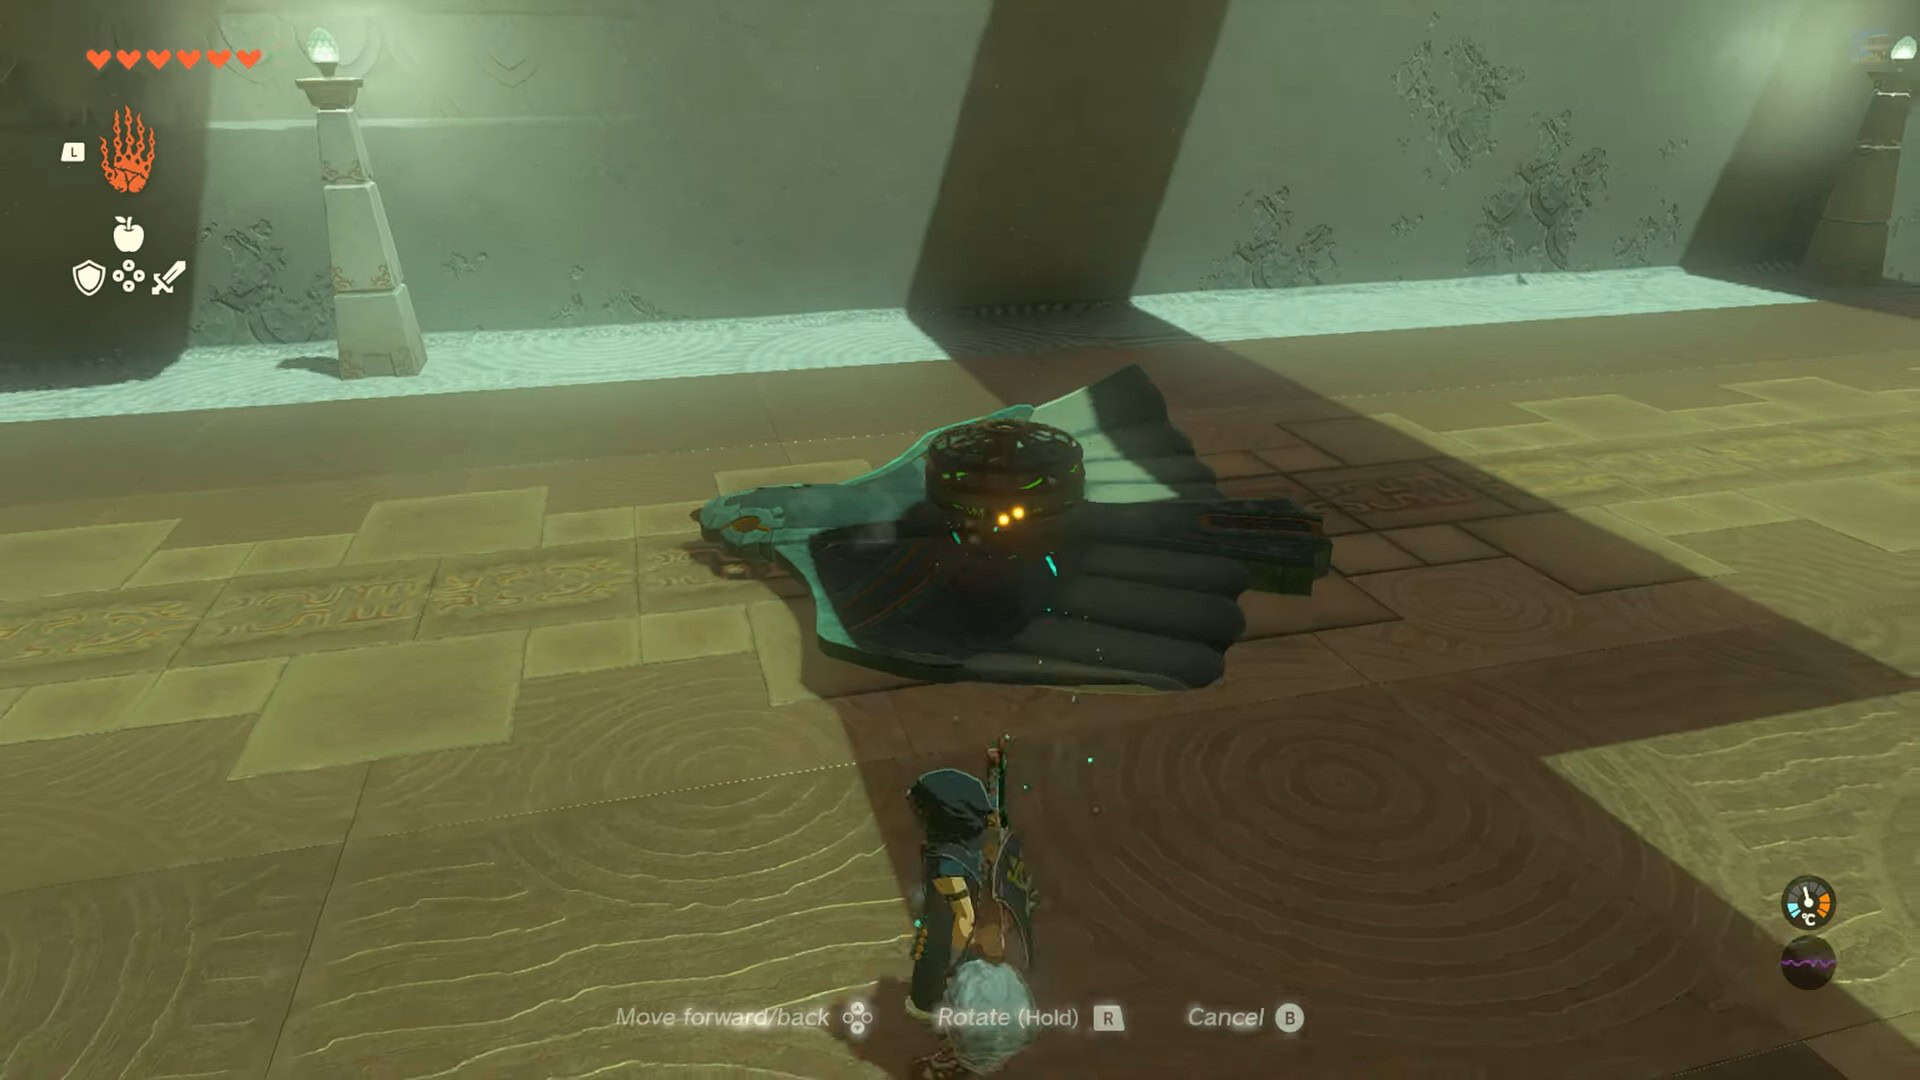
Use the Skyview Tower to get airborne. Dive from there to locate a planet-shaped body. This sphere rotates at a massive speed due to its controls being attached to a zonai fan.
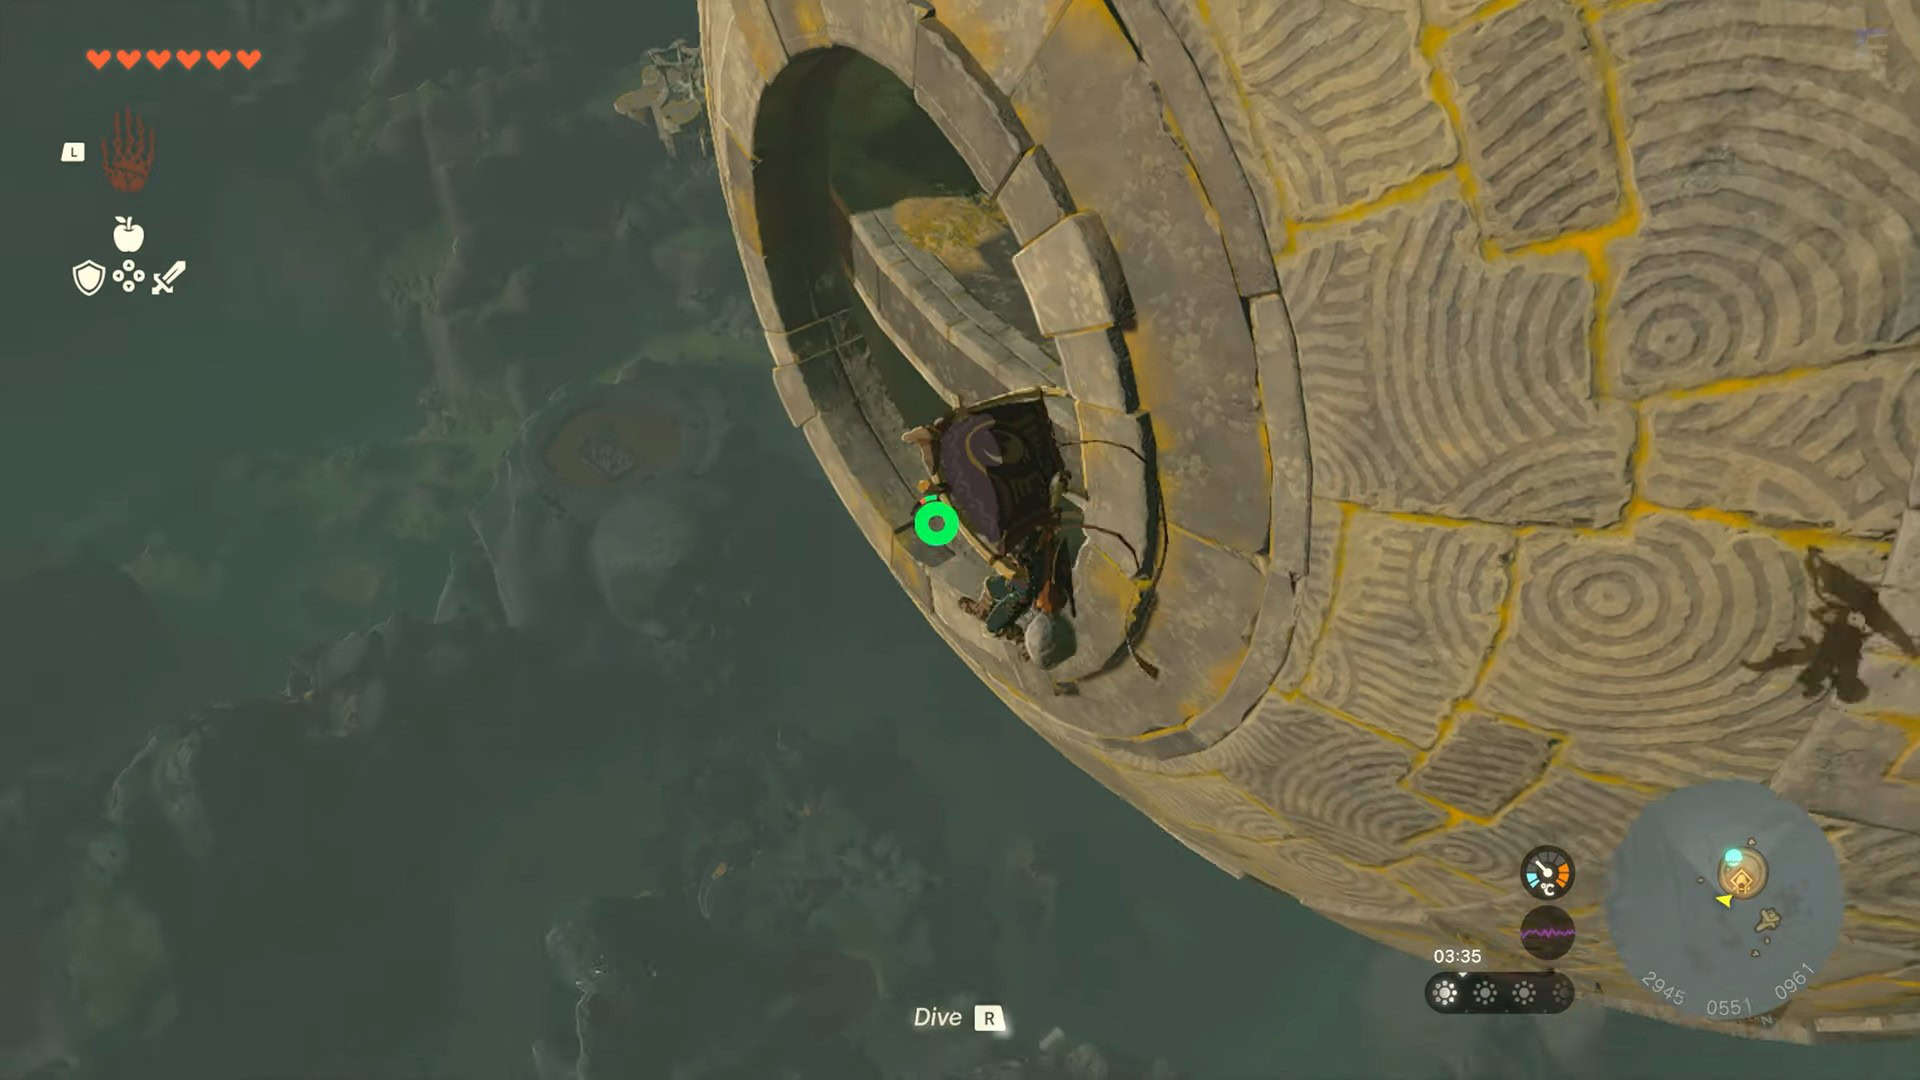
Slow your descent with the help of Paraglider and enter the planetary body from the opening (marked grey on the minimap). Interact with Jirutagumac Shrine’s entrance (2915, 0534, 0951) to unlock a fast travel point.
Jirutagumac Shrine Walkthrough
The trial presented by Jirutagumac Shrine in Zelda: Tears of the Kingdom is known as A Flying Device. The objective of this puzzle is to use zonai Wing devices to reach the altar room.
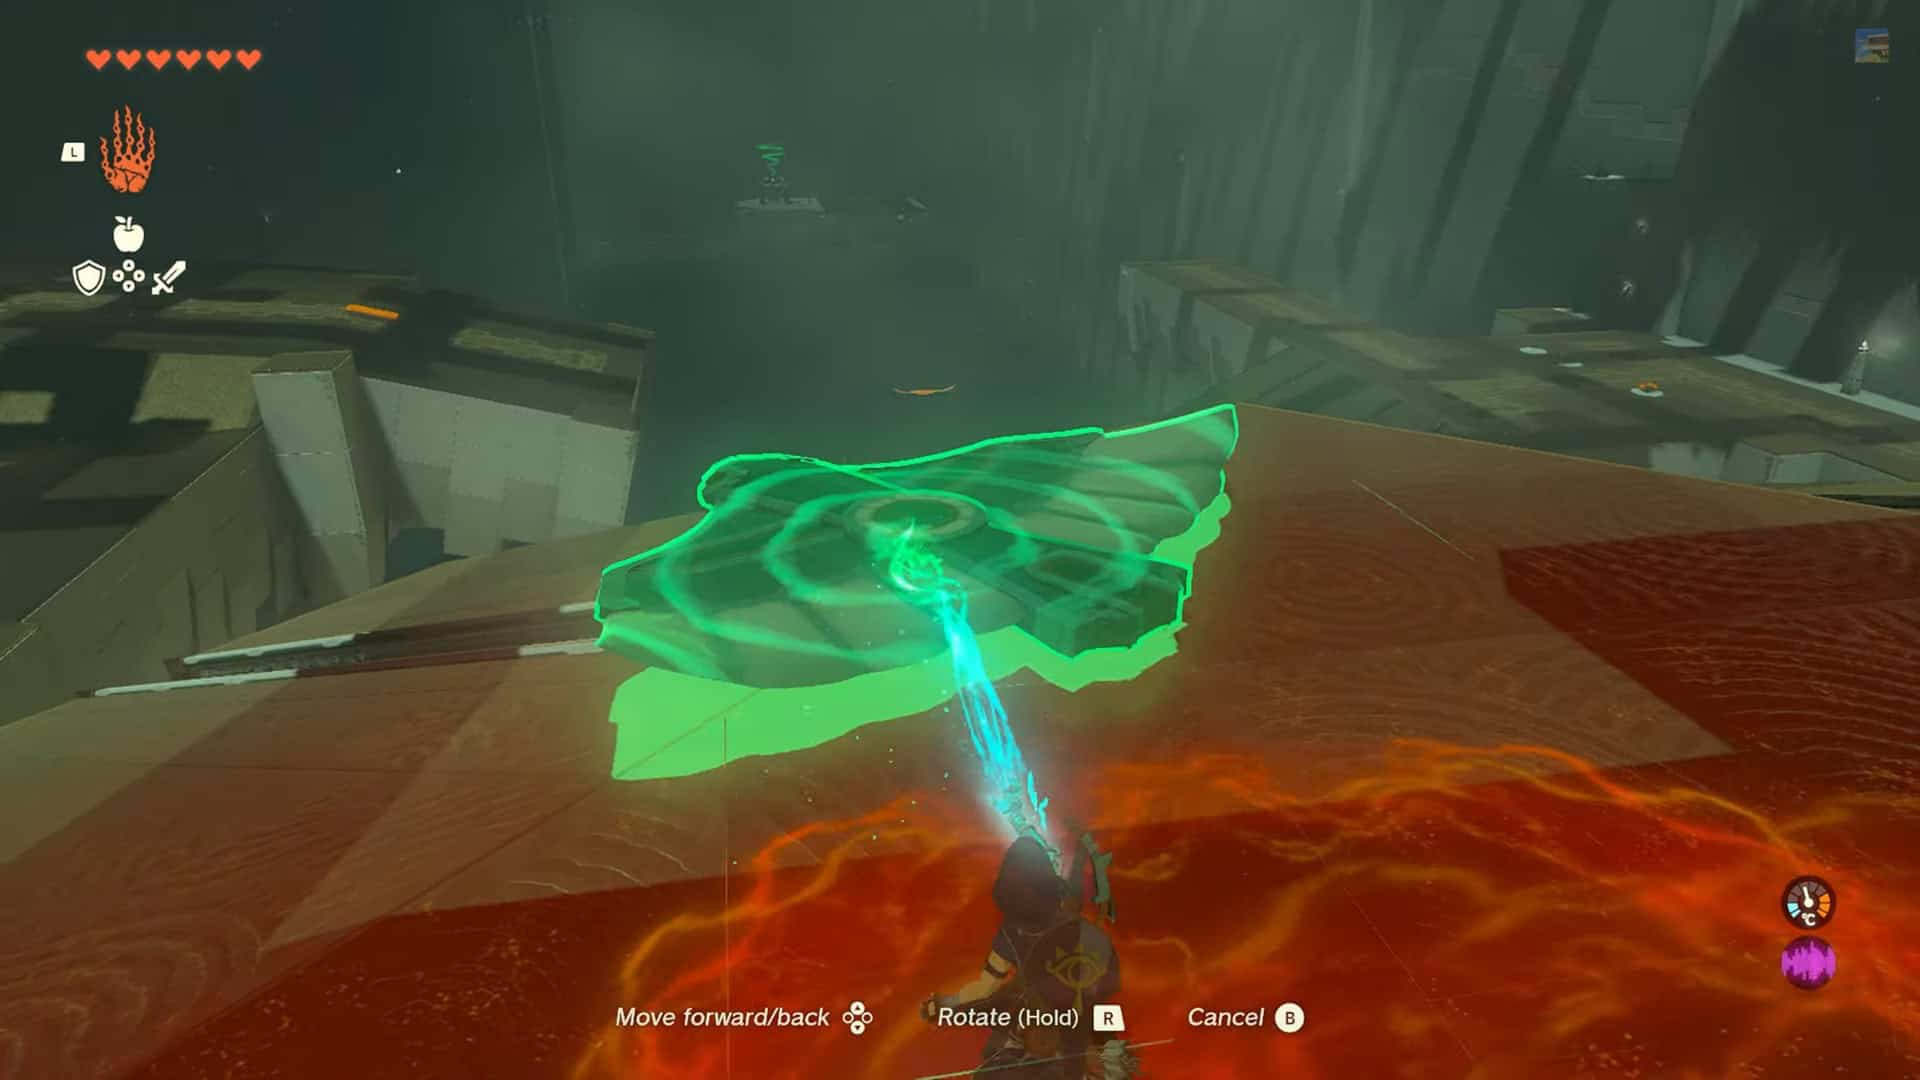
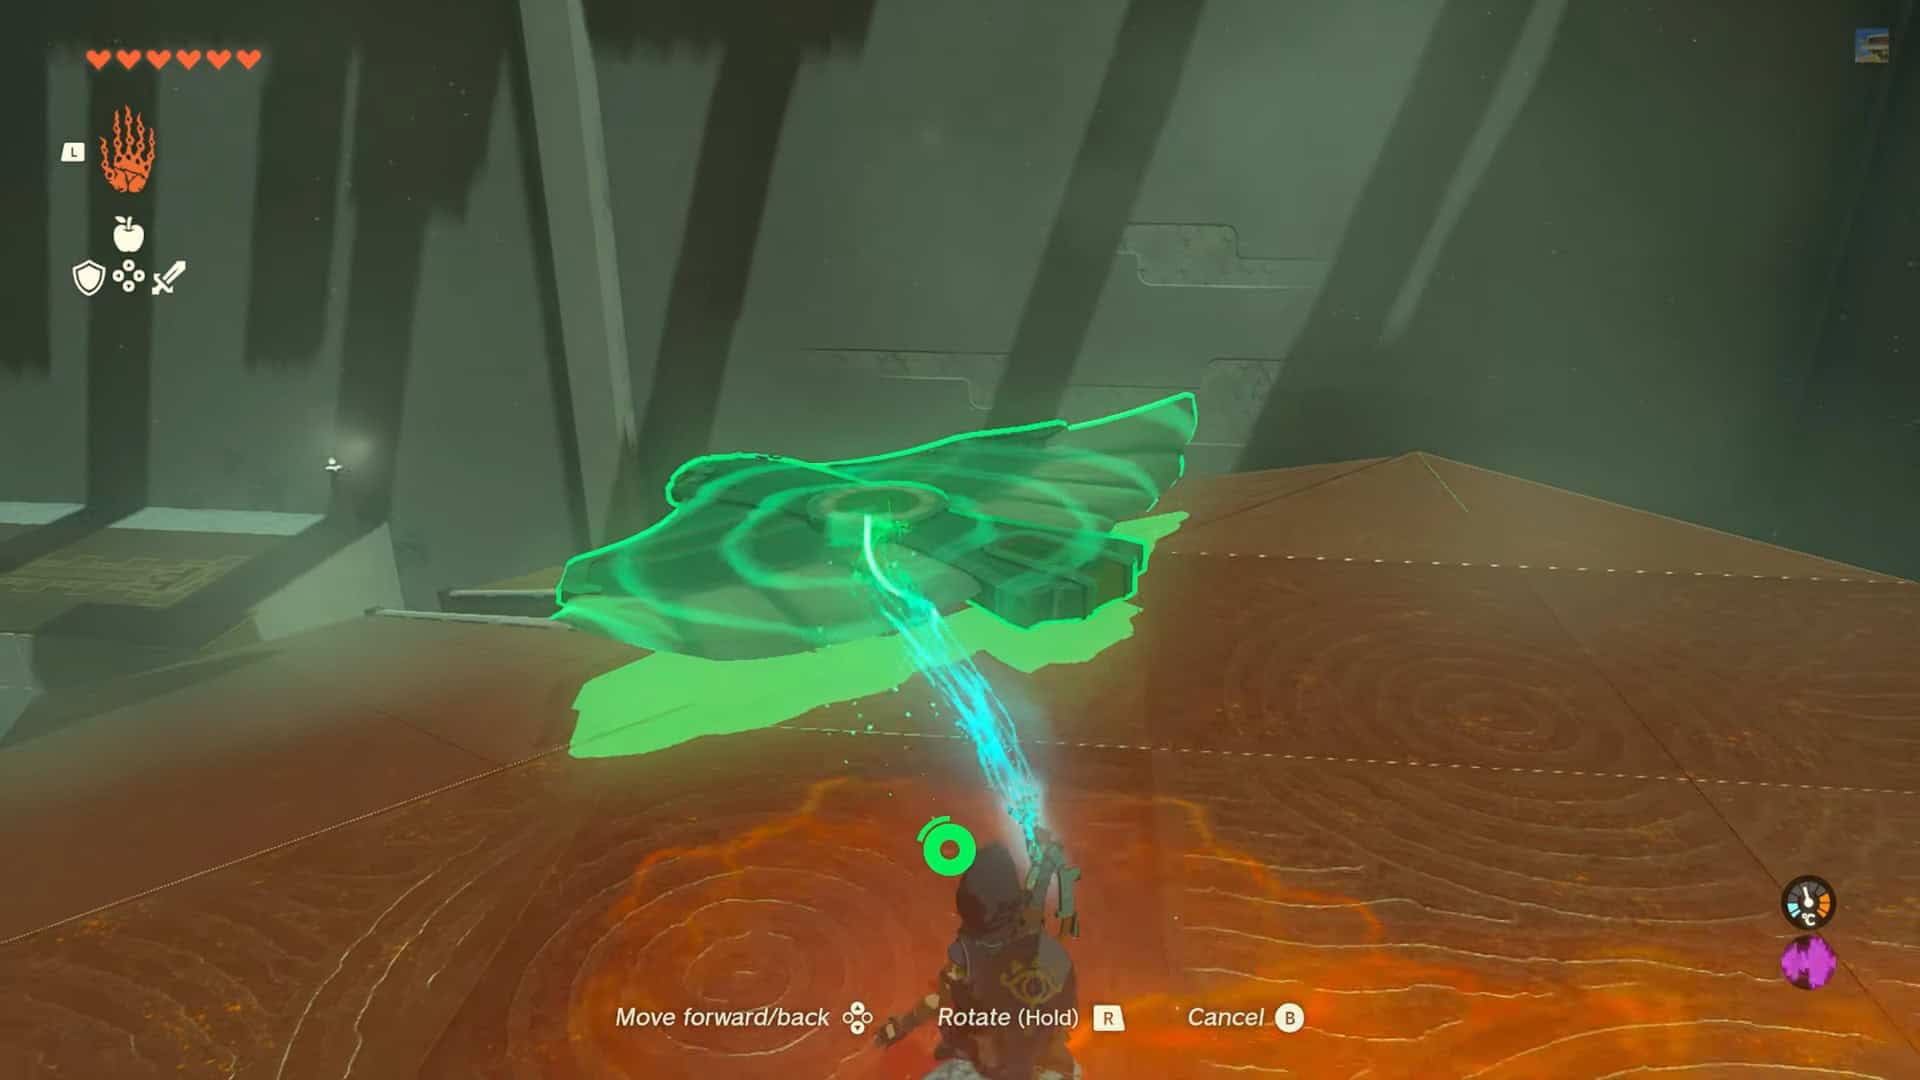
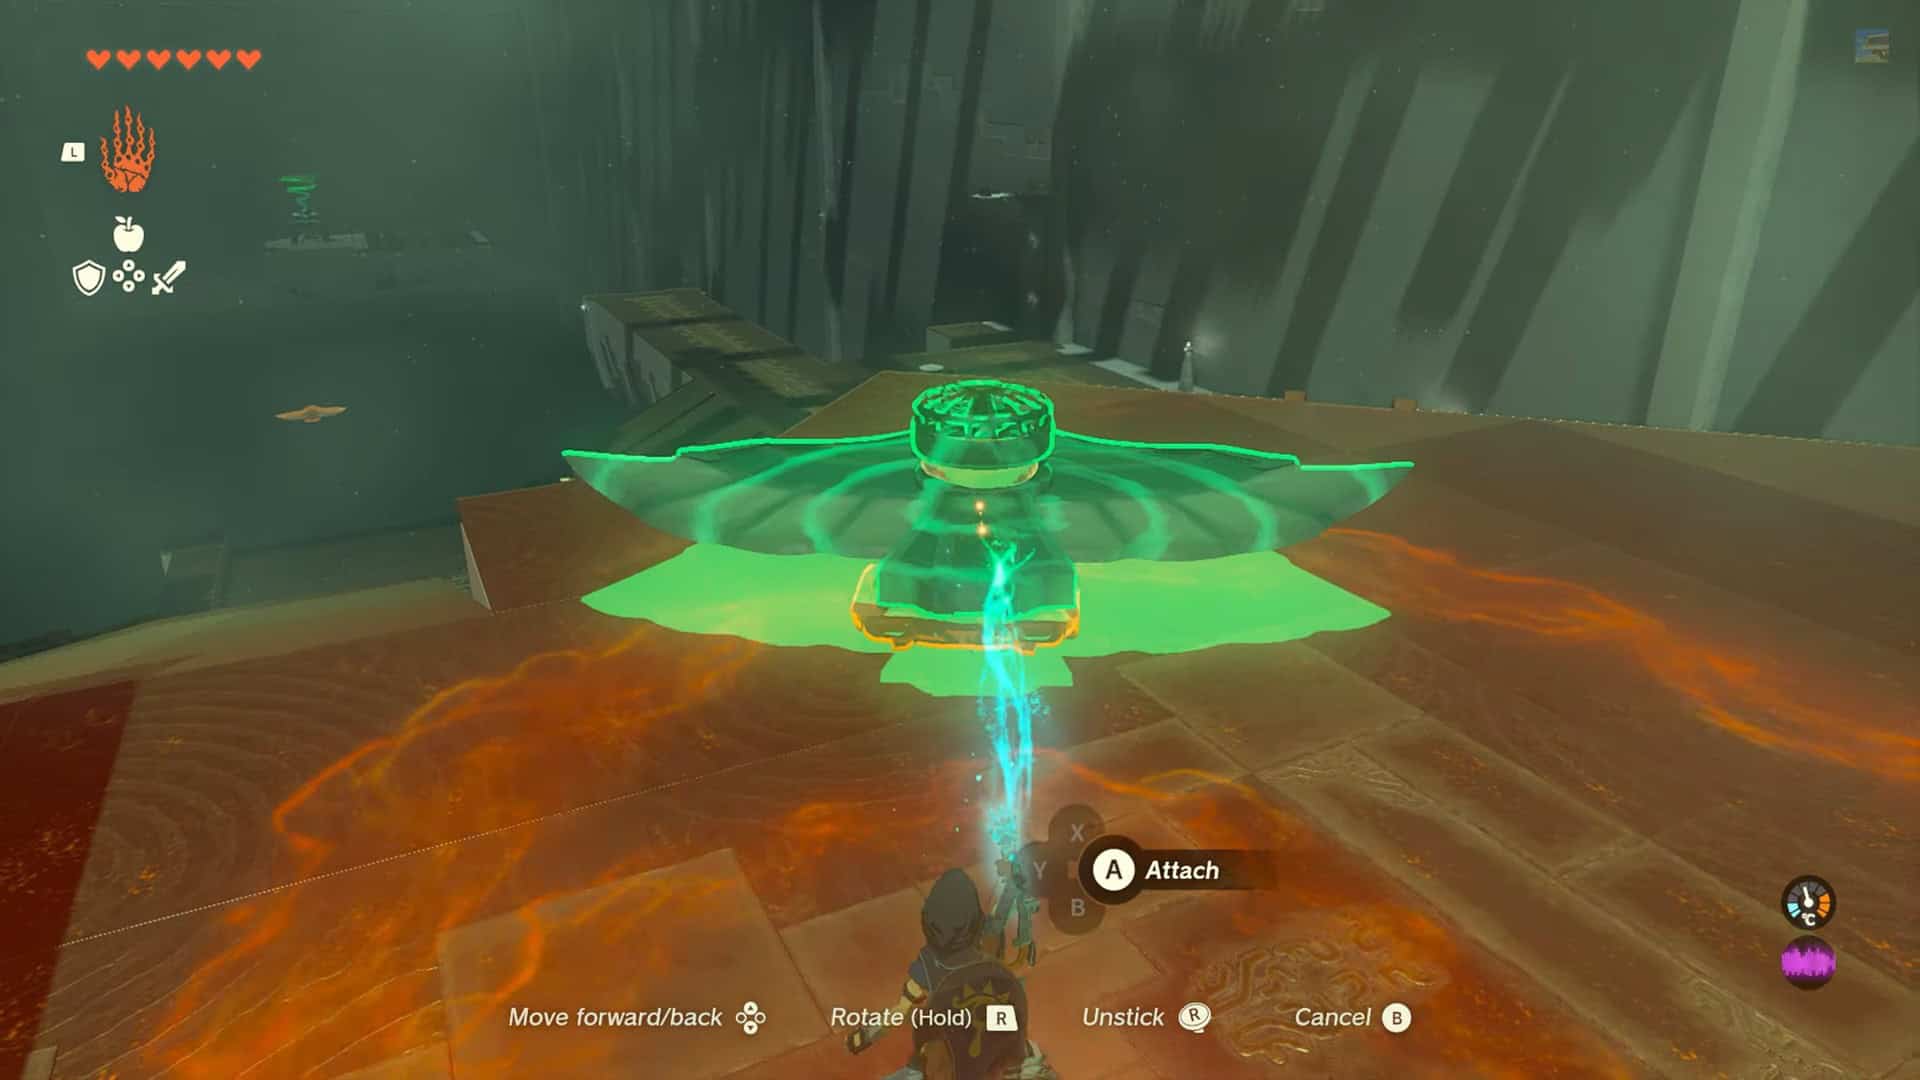
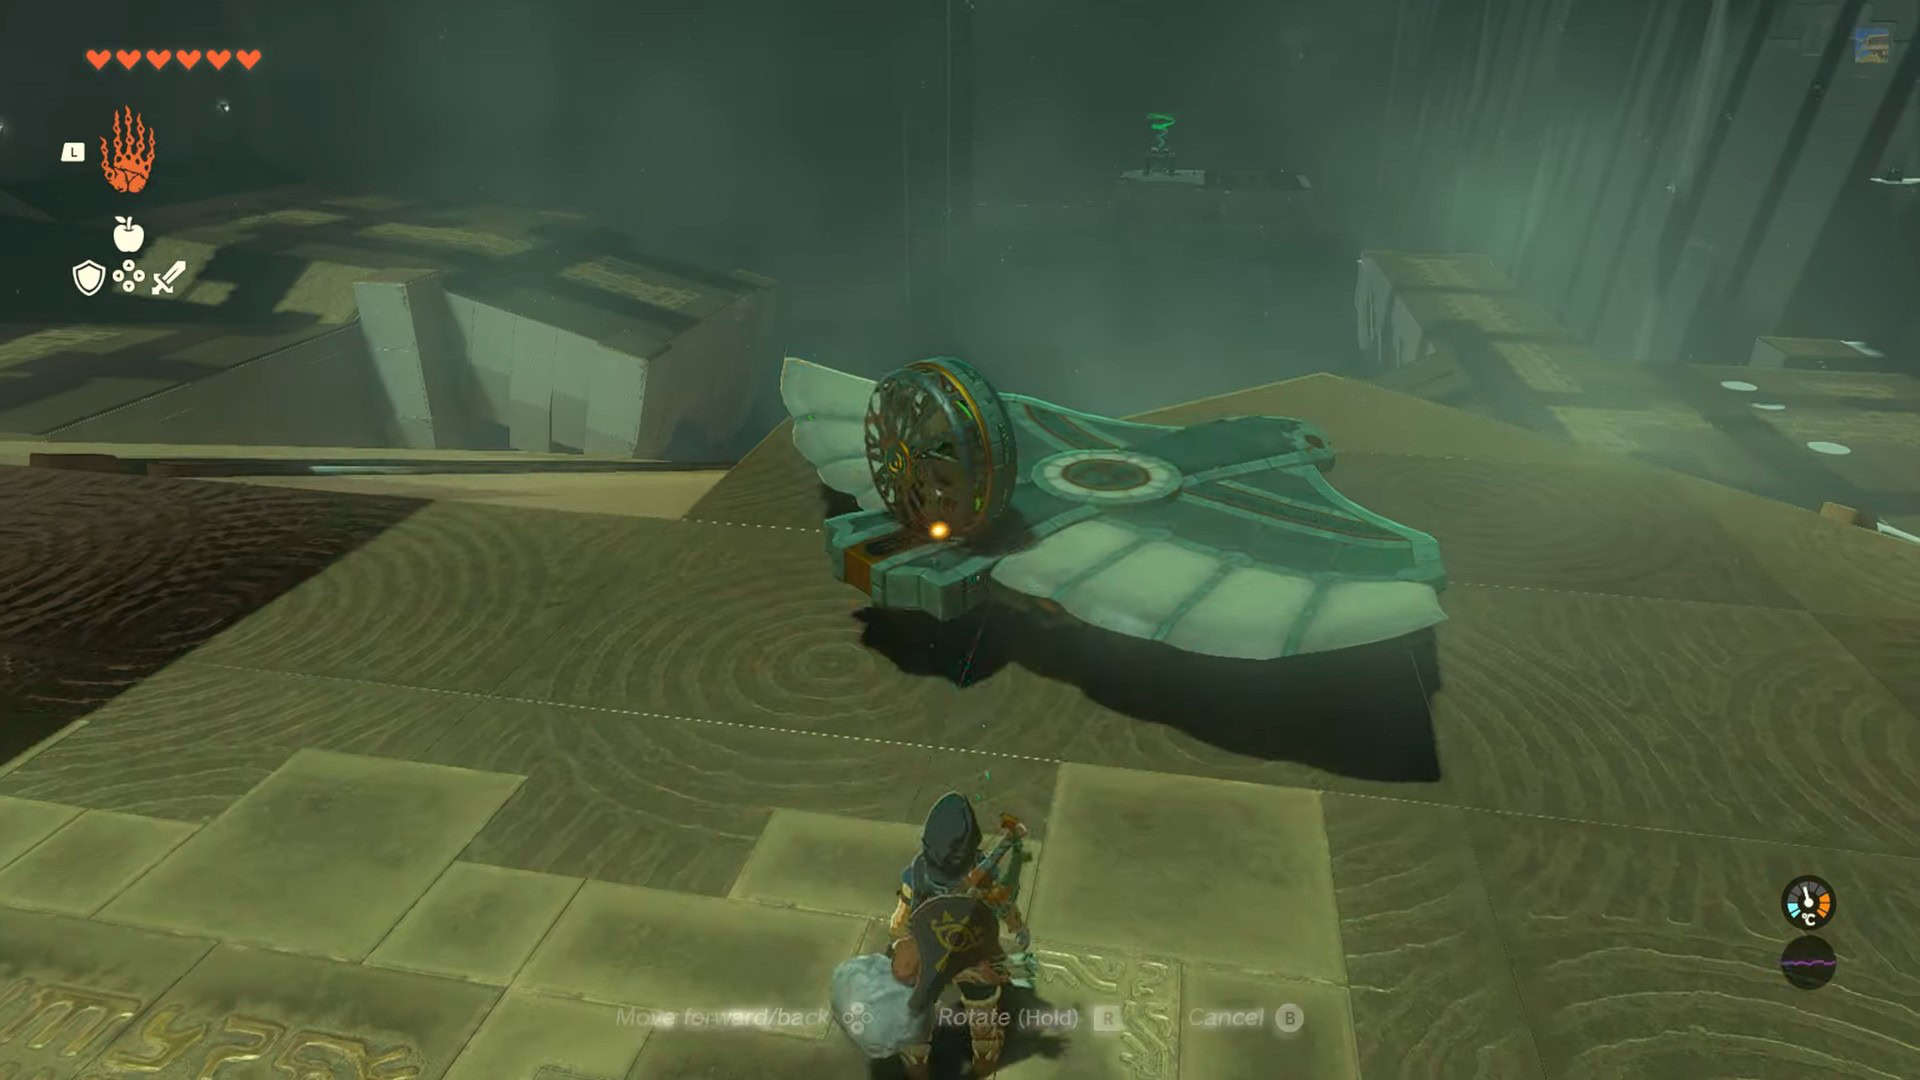
1. Pick up the zonai Wing device with Ultrahand and place it on a rail to the left.
2. Climb the device and glide all the way to the left platform.
3. Pick up a skateboard device from this platform and attach it to the wing device.
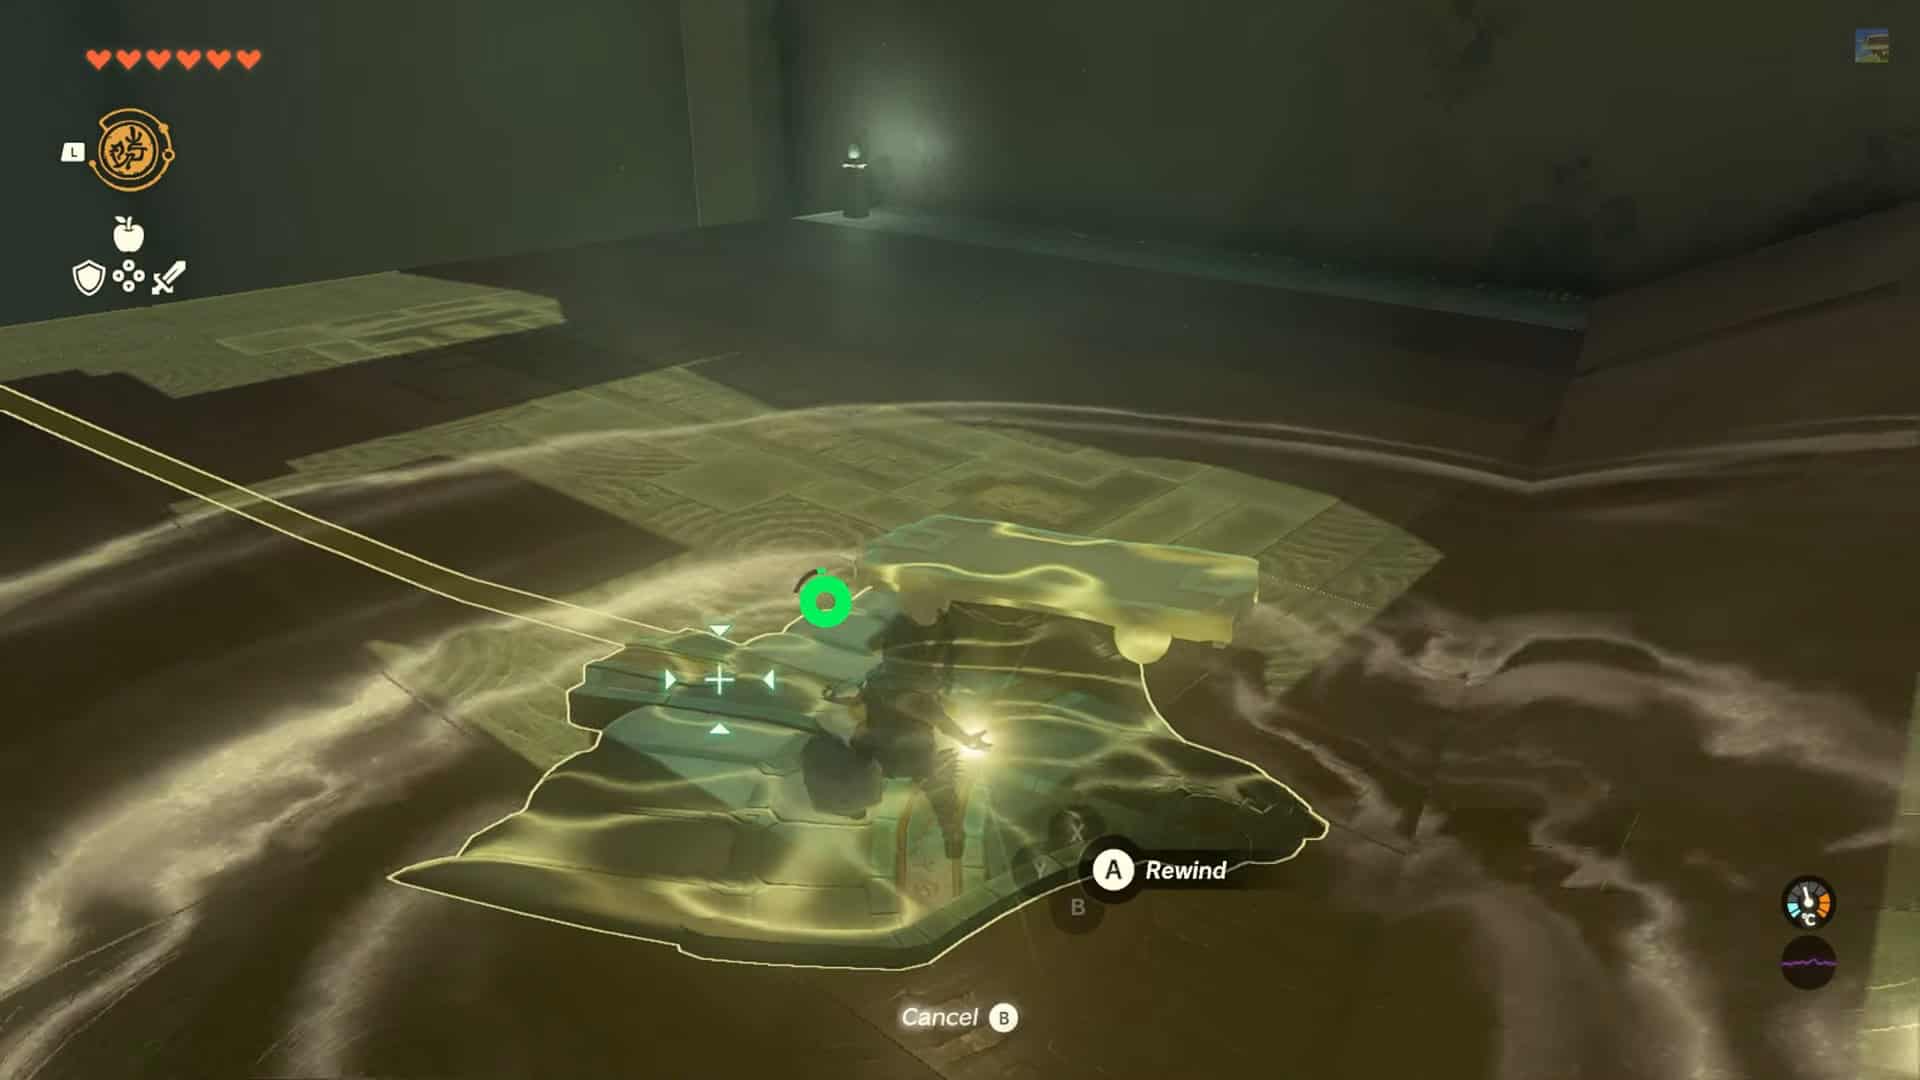

4. Climb on the wing device and use the Recall ability on it to go to the starting position.
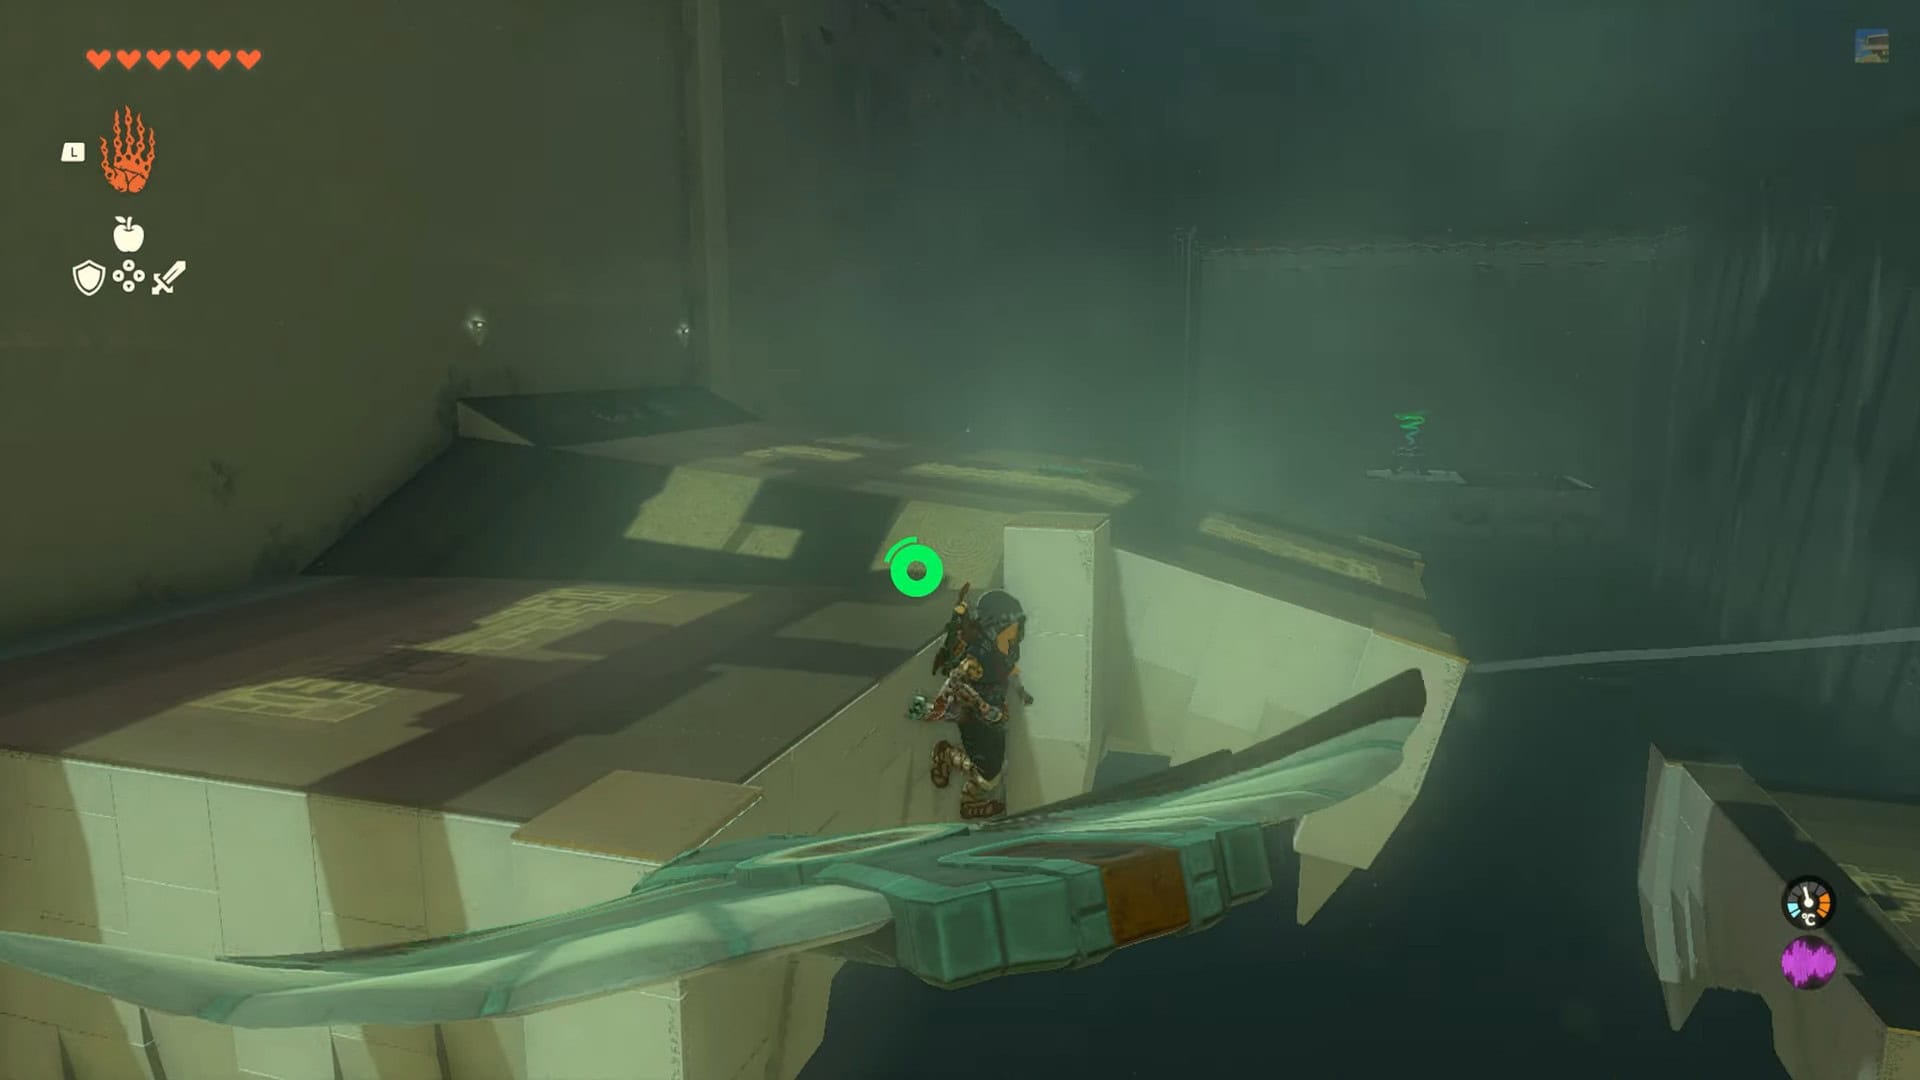
5. Now go to the right side and place another wing device on the rail. Climb it and glide to the platform on the right.
6. Pick up a fan and attach it to the wing device.
7. Climb the wing device and use Recall on it once more to return to the starting point.
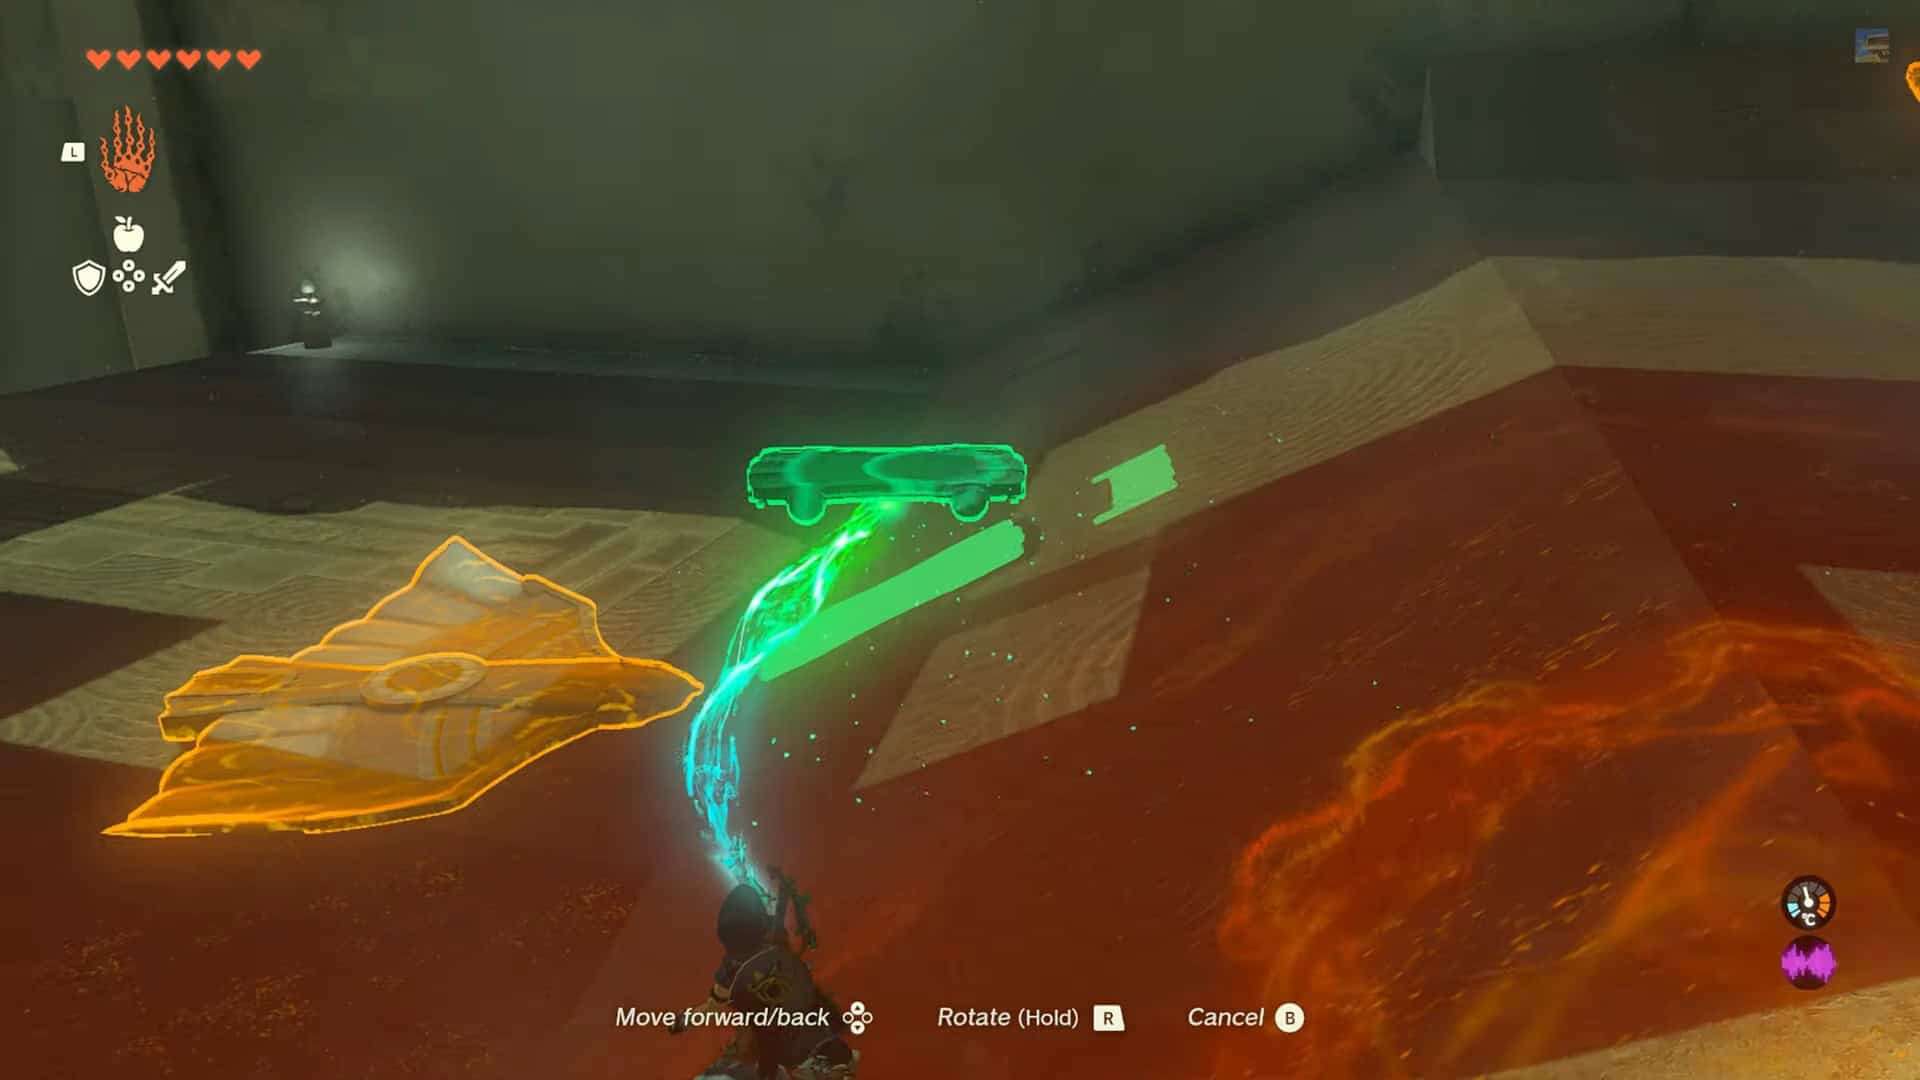
8. Remove the skateboard from the first wing device. Now, attach a wing device on its top.
9. Remove the fan and attach it once more in a way that it should face backward.
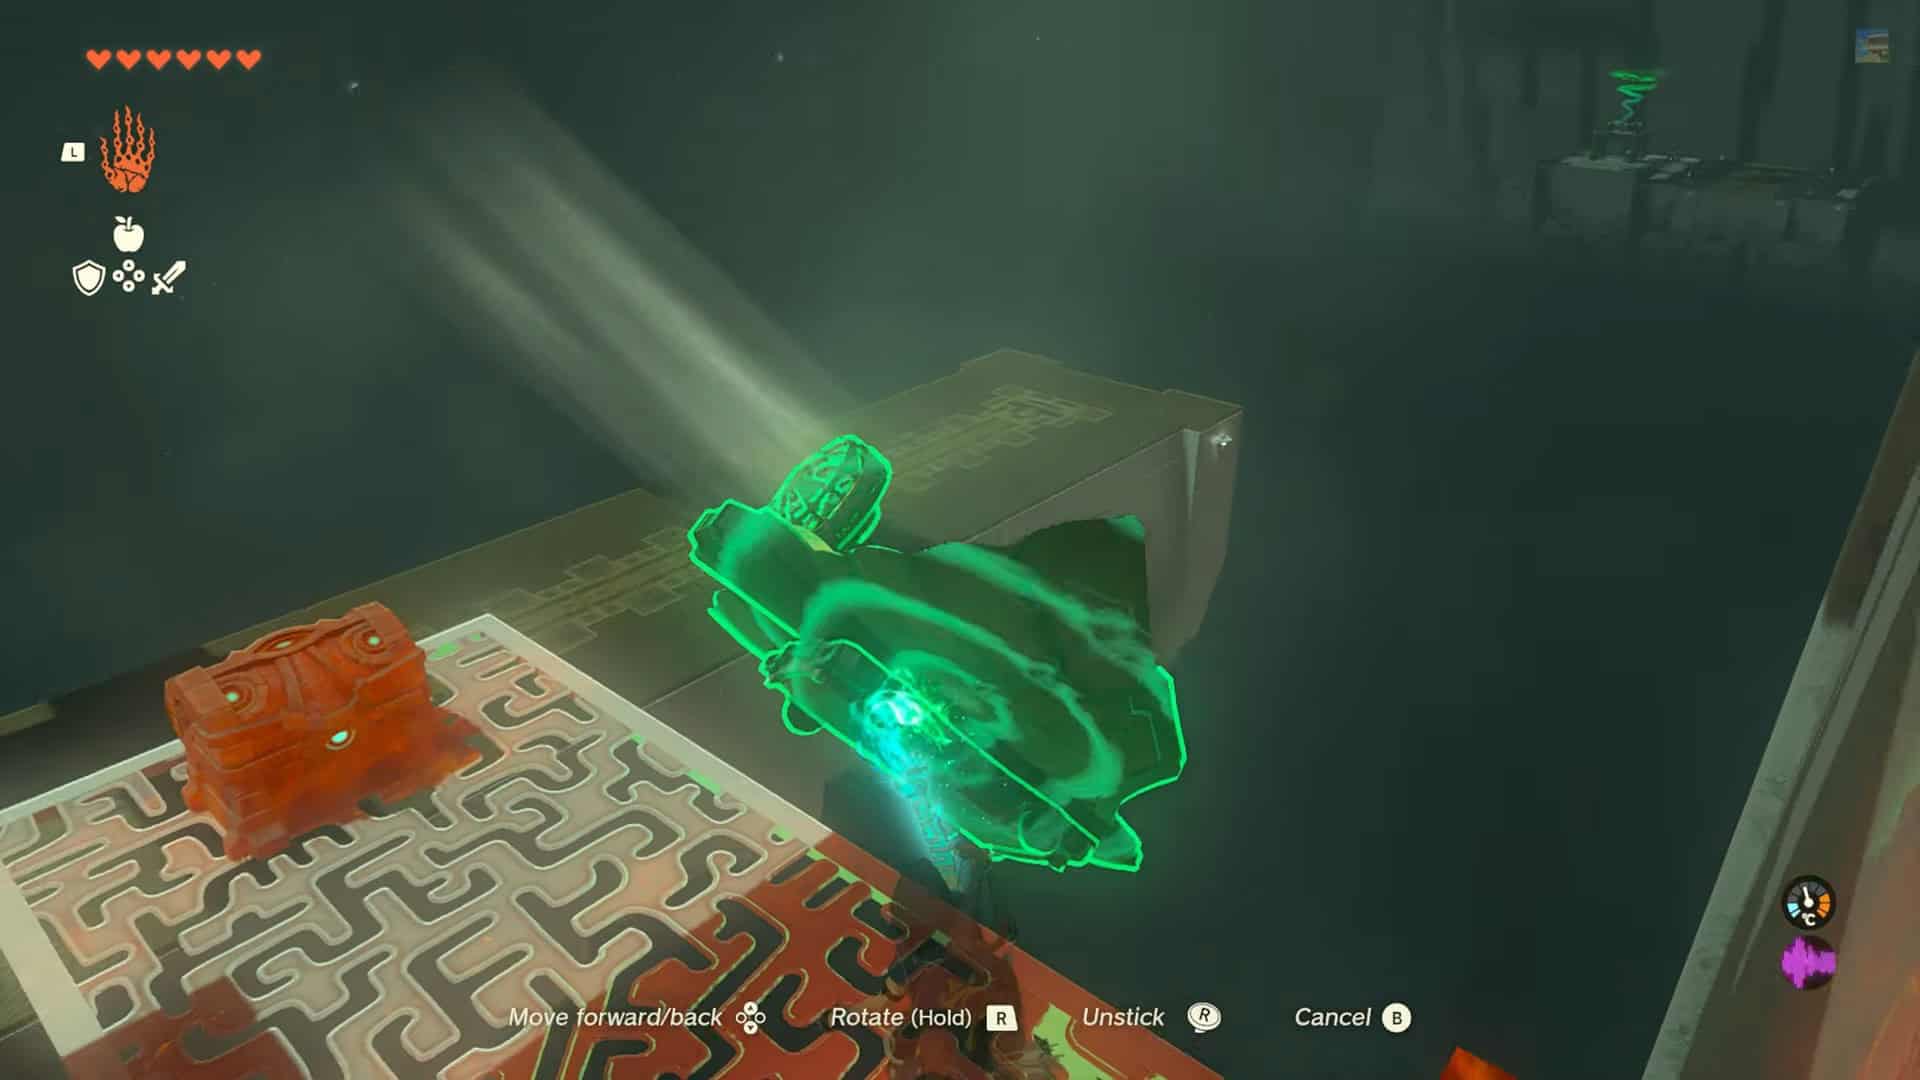
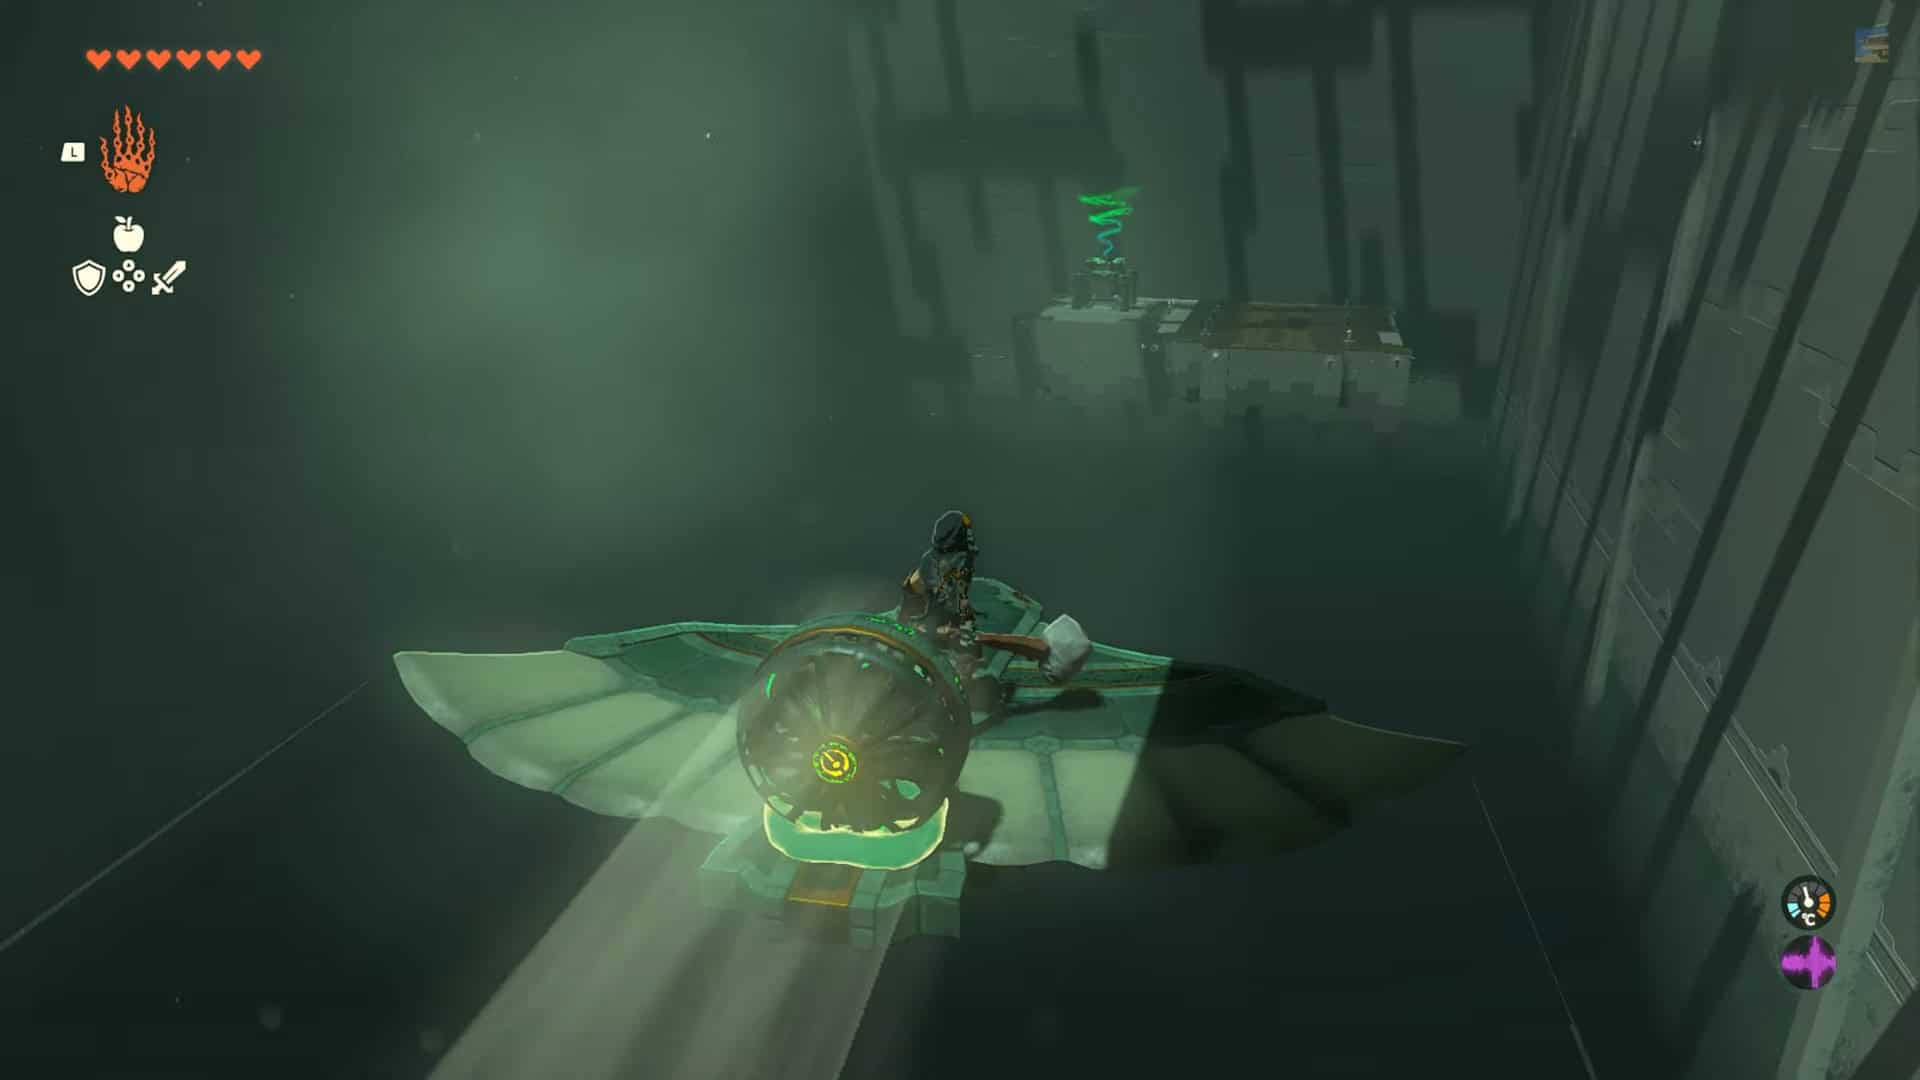
10. Place the vehicle on the central rail and use it to glide right.
11. Reach the treasure chest to the right and get away from the vehicle.
12. Catch the vehicle you created, or you will have to repeat it.
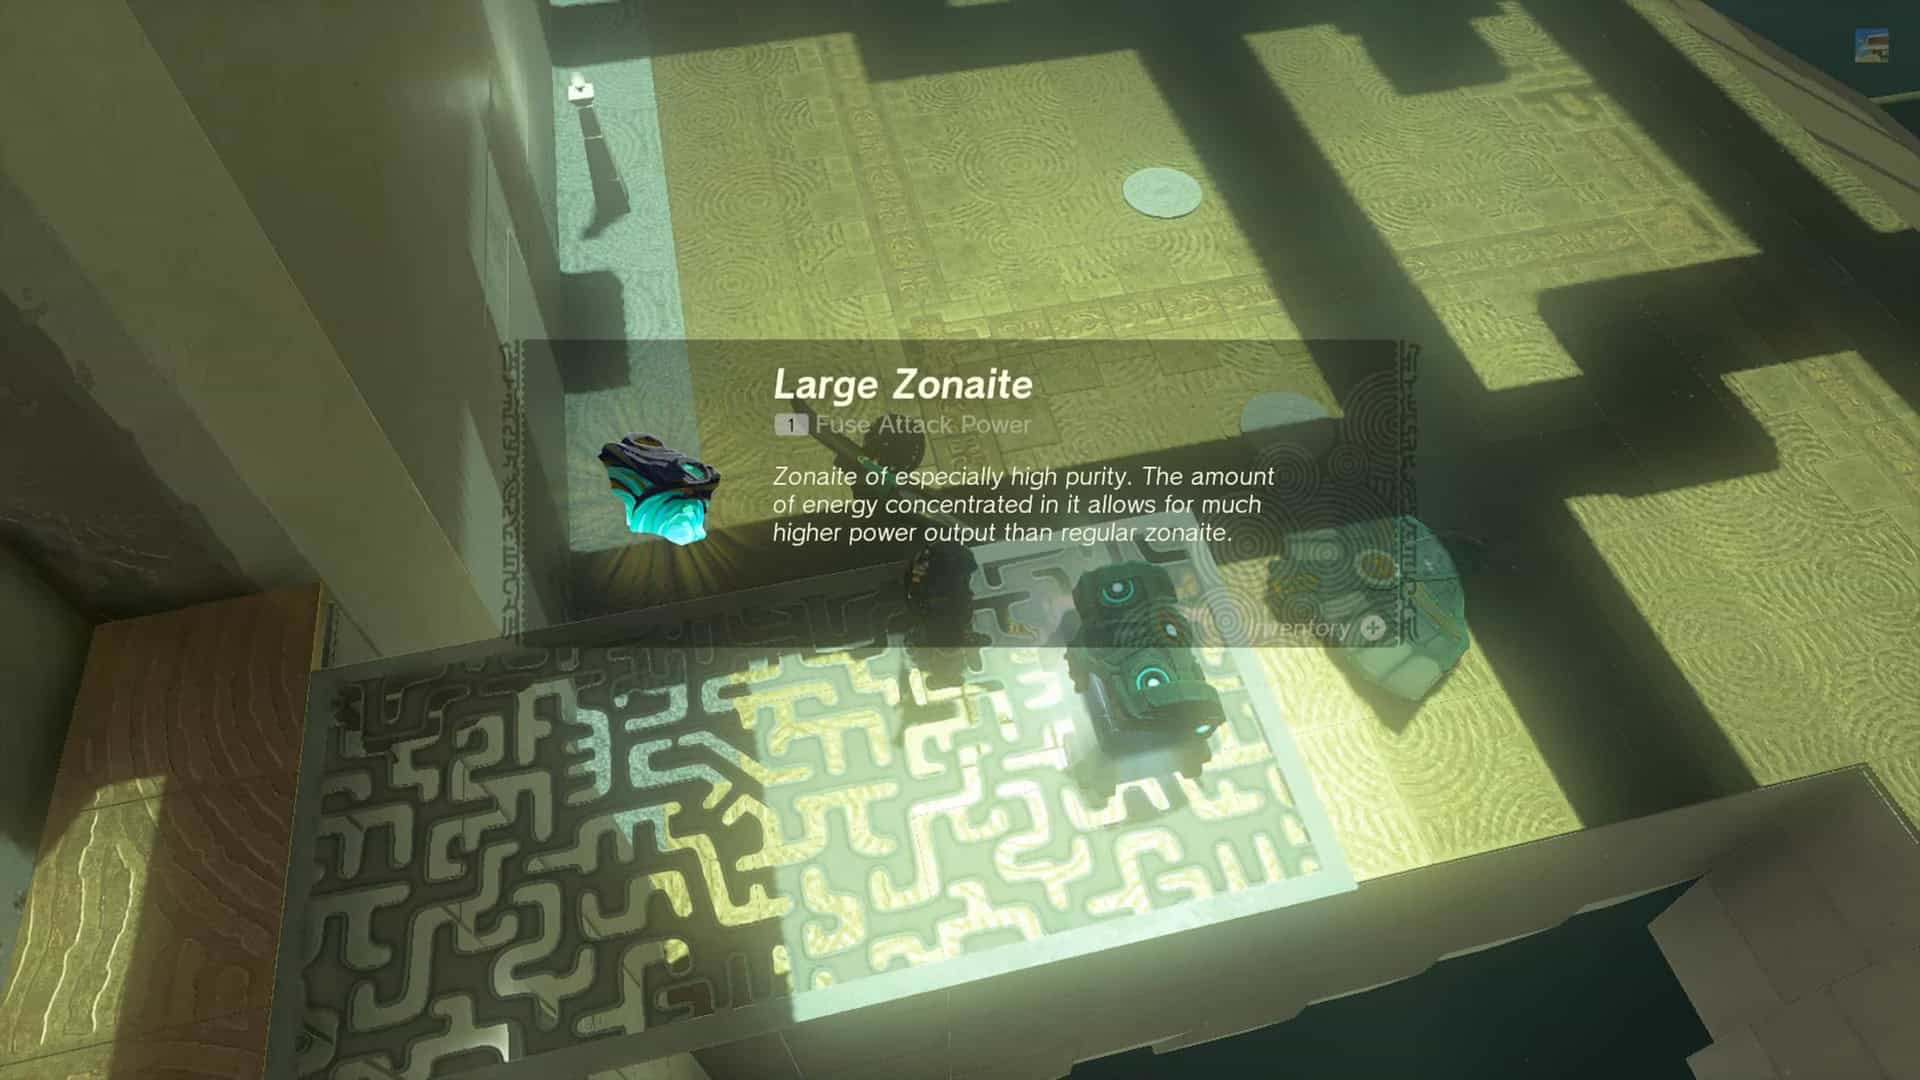
13. Open the treasure chest to get a Large Zonaite.
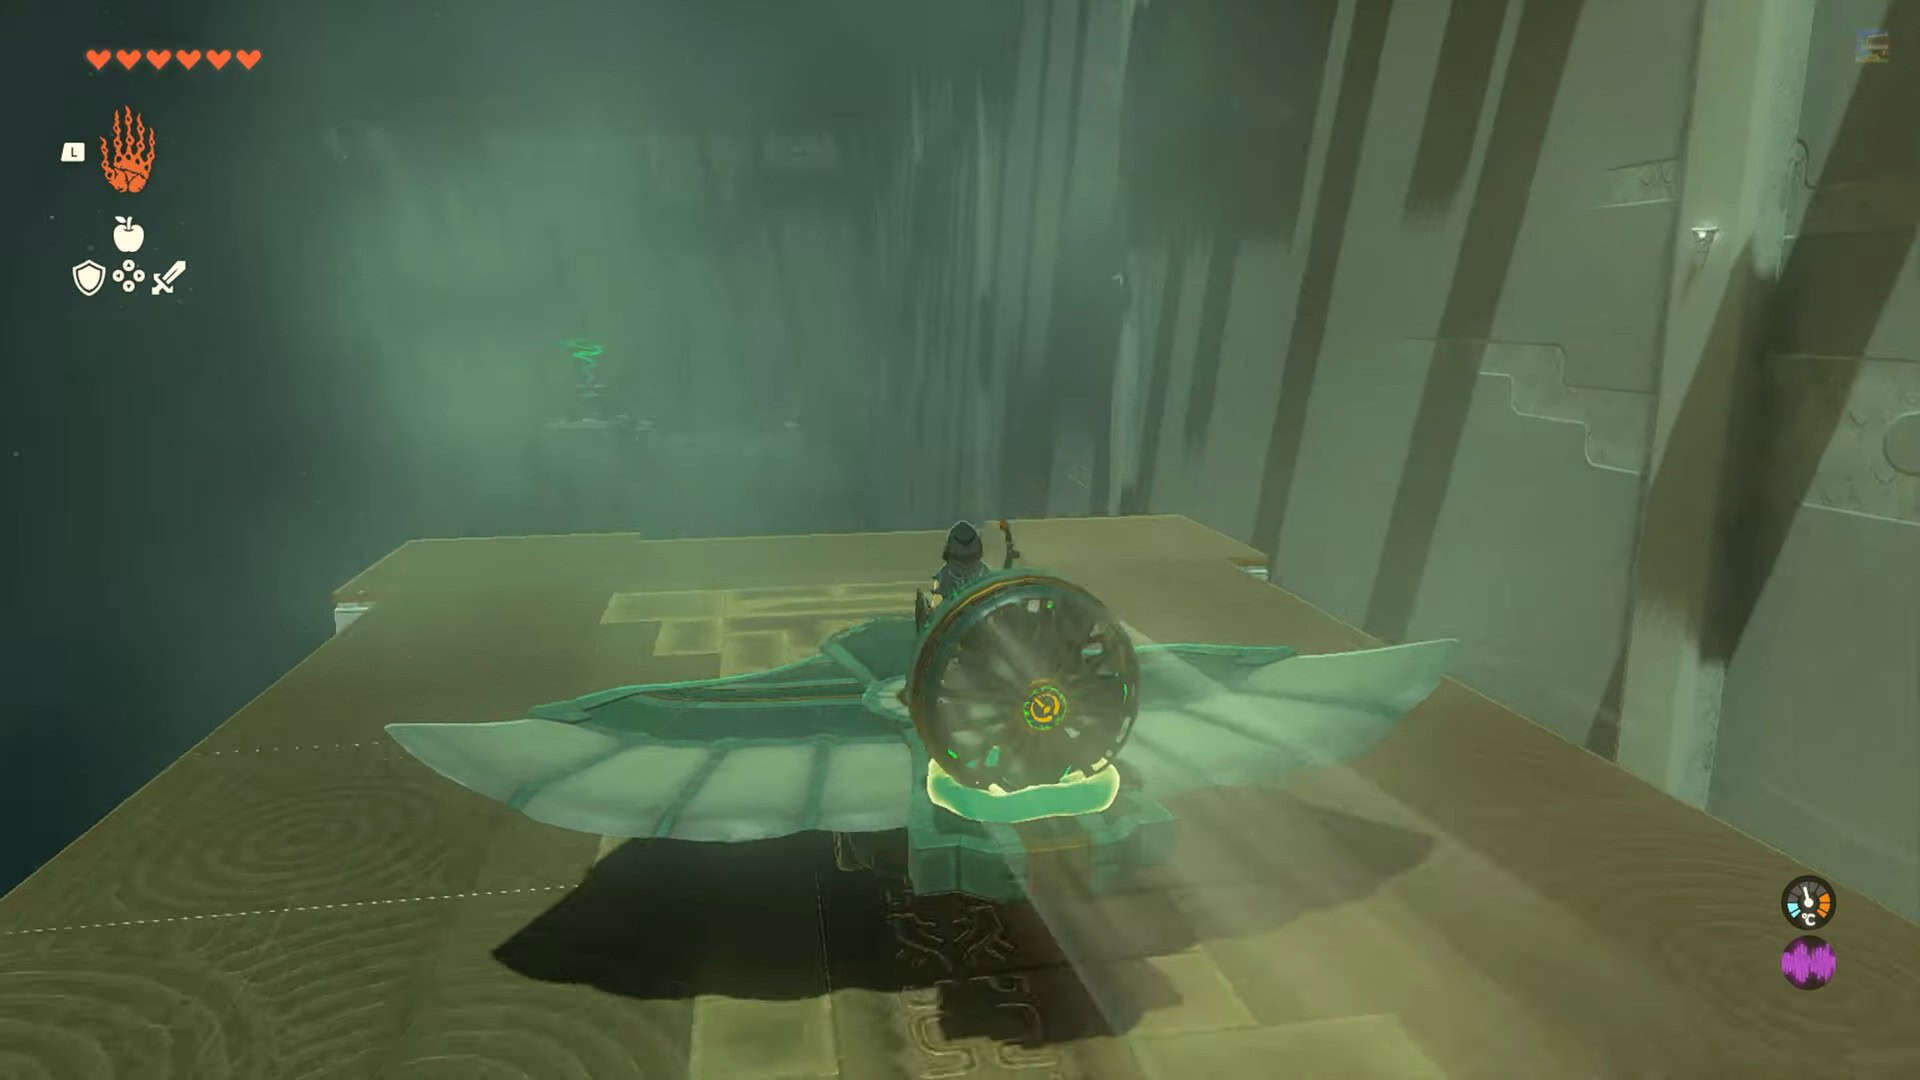
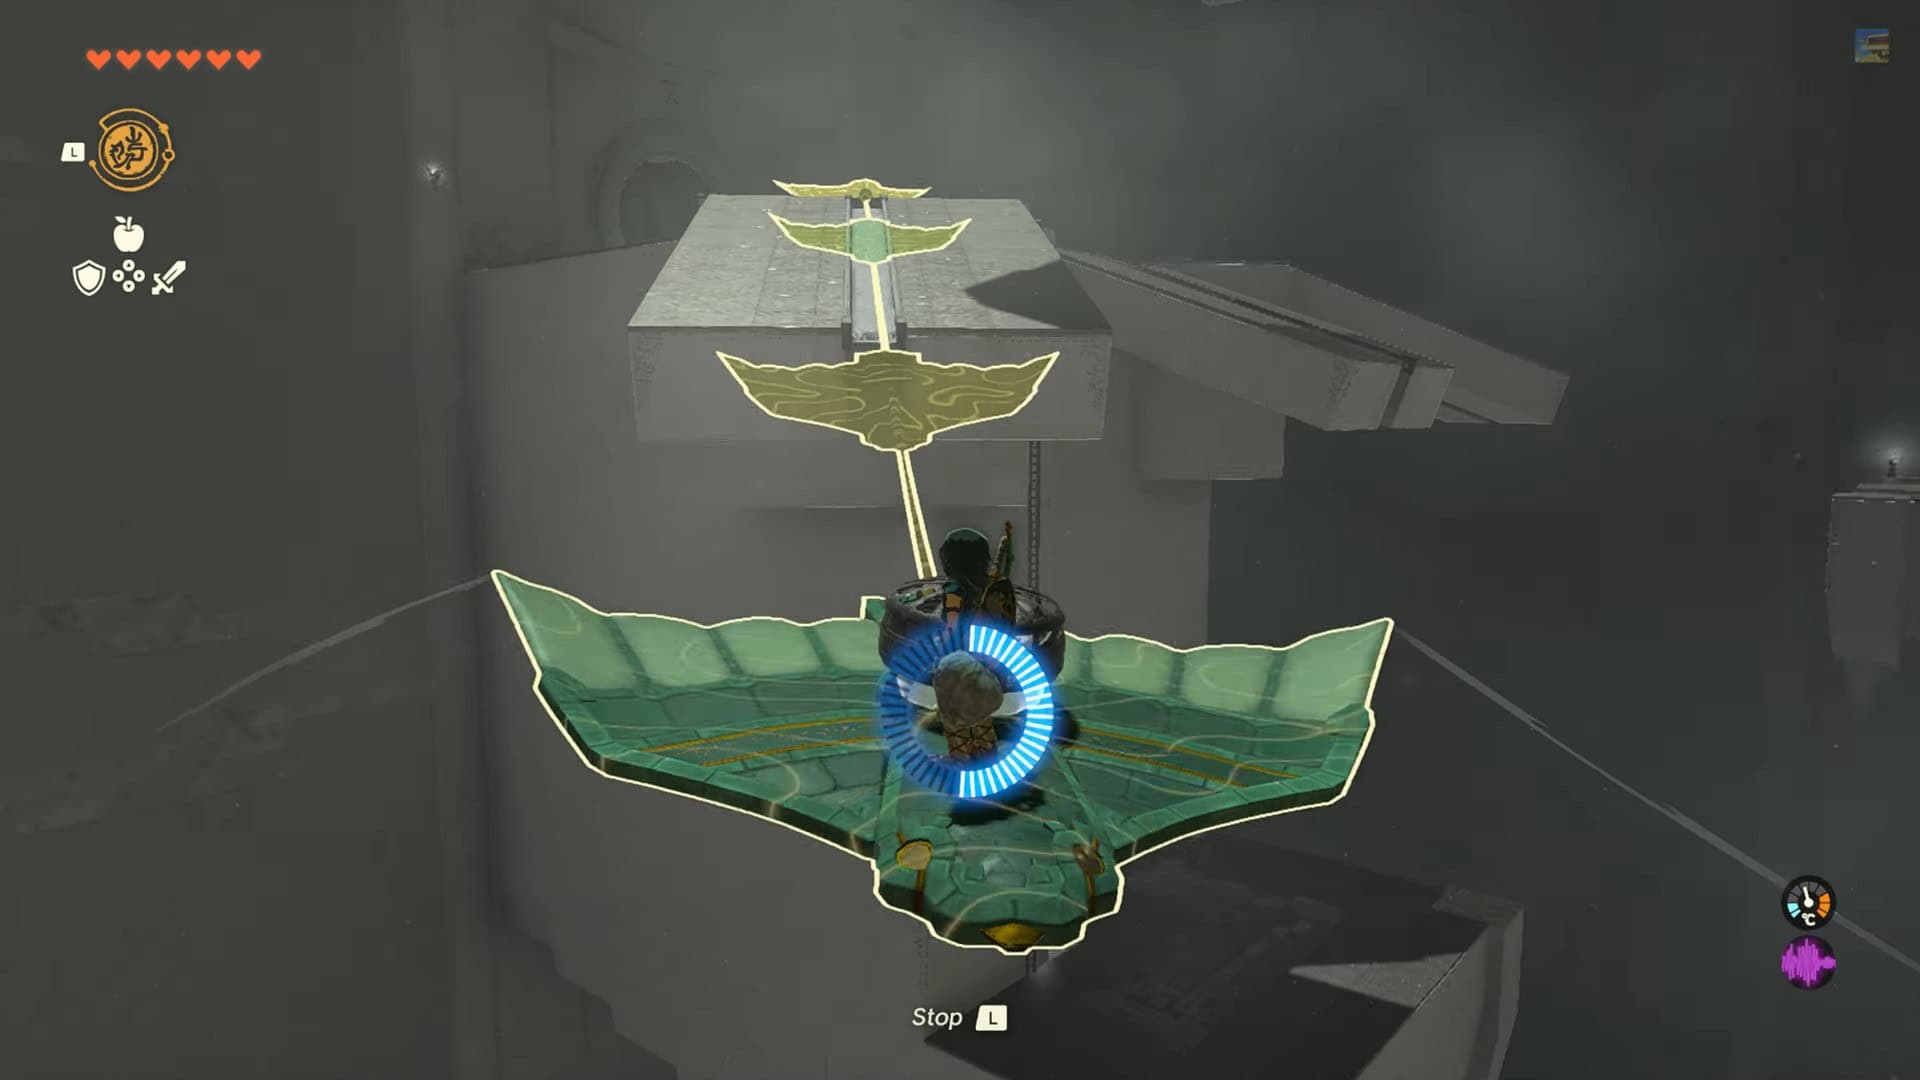
14. Place the device on the central lower platform to take off.
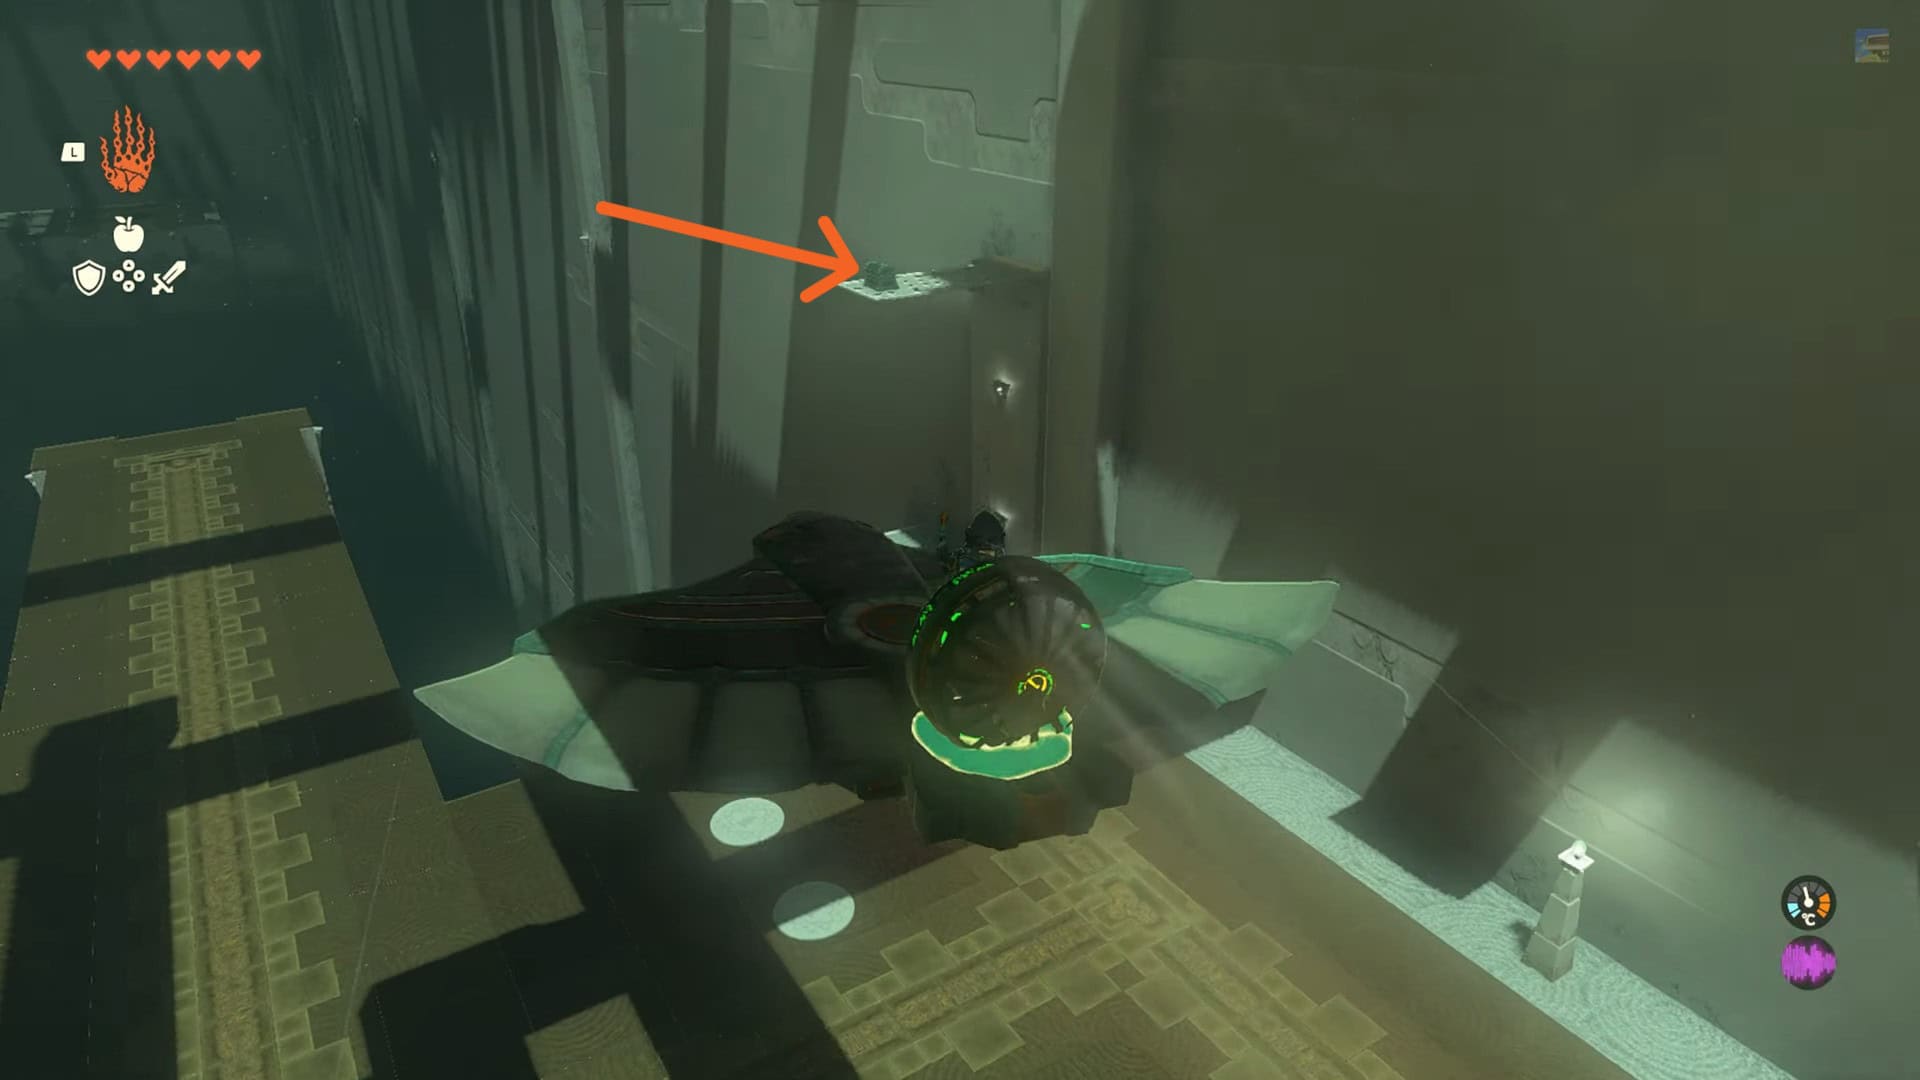
15. All you need to do is sit tight and allow the vehicle to cross the massive gap to reach the altar room.
16. Interact with Rauru and Sonia’s statues to complete the puzzle and obtain a Light of Blessing as a reward.