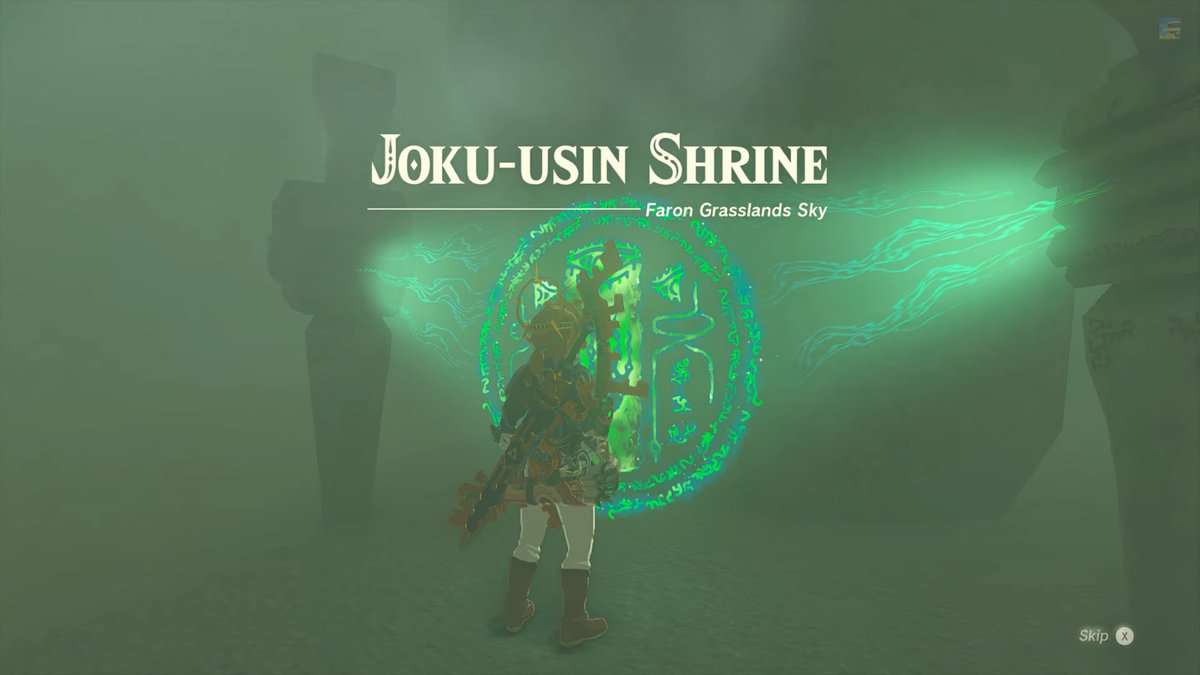
Joku-usin Shrine in Zelda: Tears of the Kingdom is all about determination and forcing your way forward against difficult odds. It is one of the most difficult shrines to locate due to the harsh environment and everything around trying to kill you, including the weather.
This shrine finds its home in the Thunderhead Isles (Faron Grasslands Sky) and teaches you how to deal with lightning-powered enemies. Our guide below will help you find and solve the Joku-usin shrine in Zelda: Tears of the Kingdom to get the rewards at the end.
Joku-usin Shrine Location in Zelda: TotK
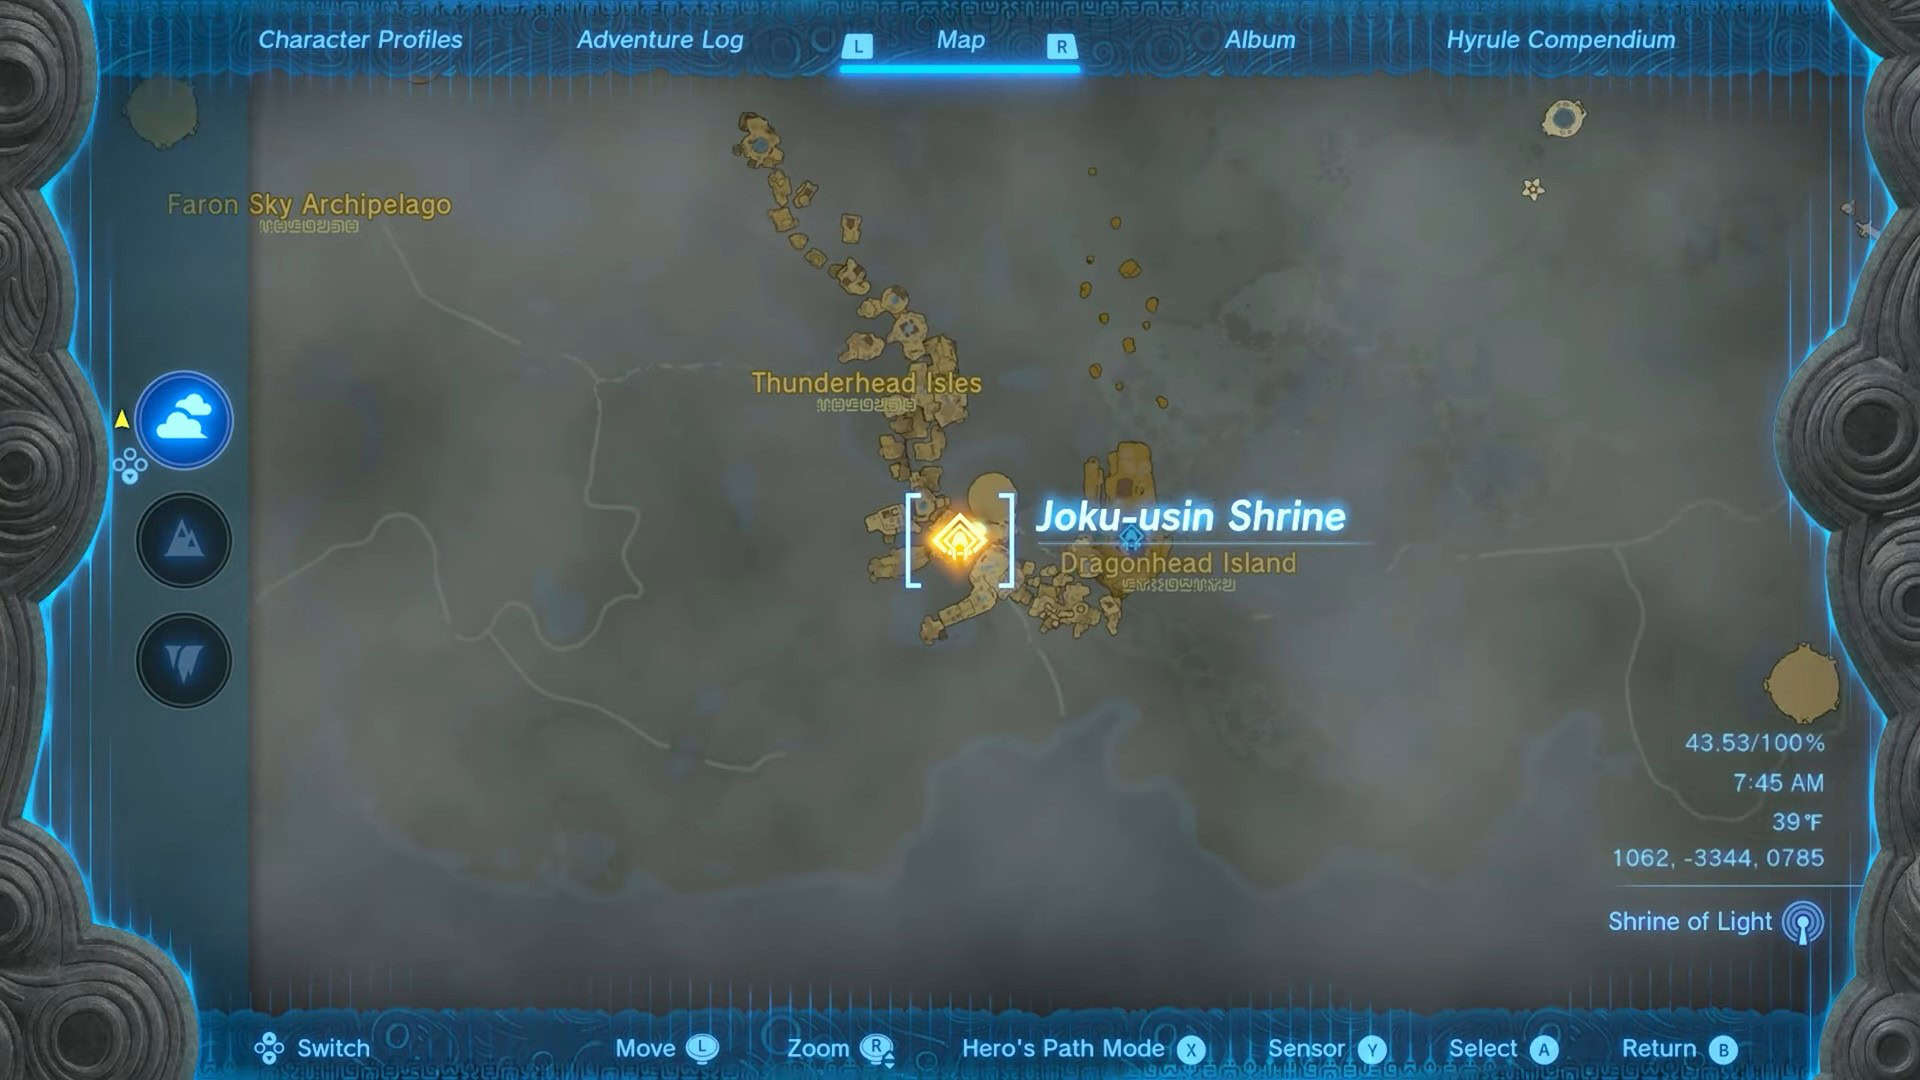
Joku-usin Shrine is on Thunderhead Isles in Faron Grasslands Sky. Its exact coordinates are (1062, -3344, 0785).
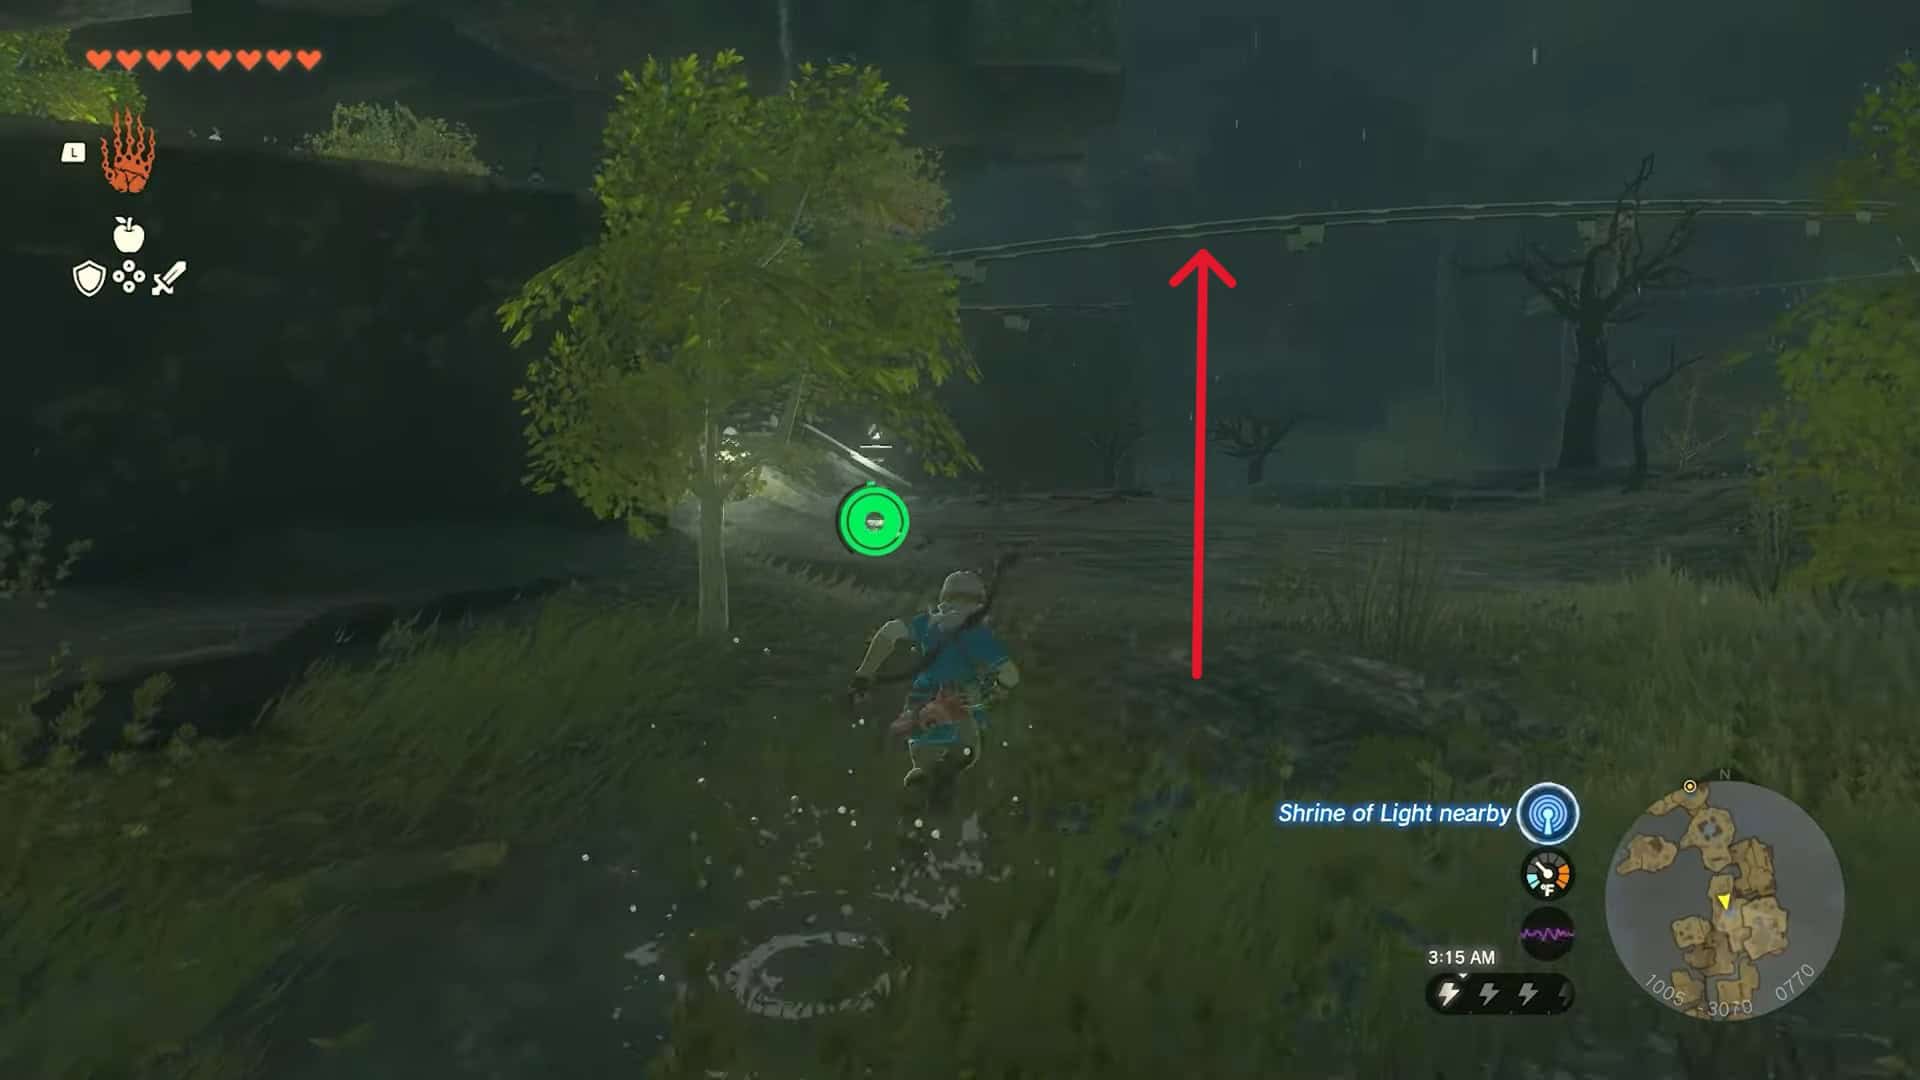
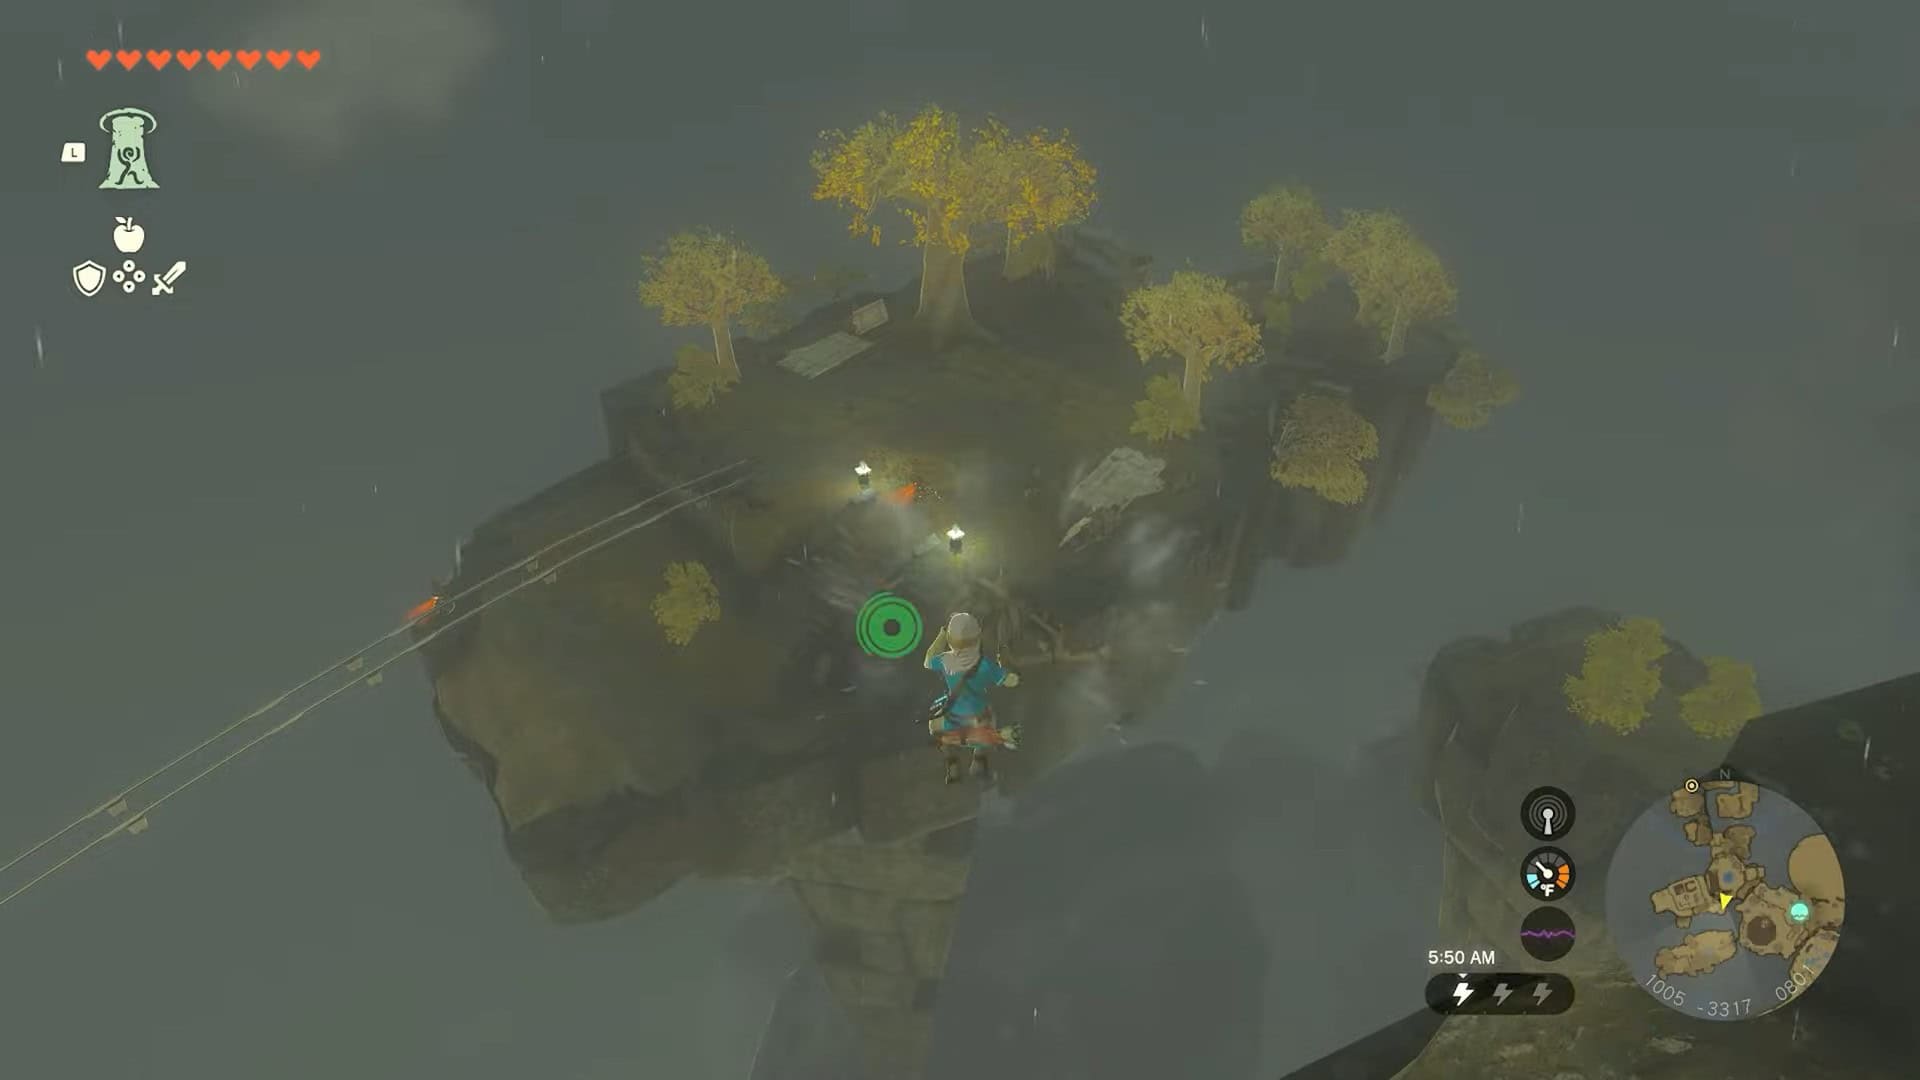
Finding and reaching the Joku-usin shrine in Zelda: Tears of the Kingdom is a much bigger challenge than solving the shrine itself. The whole island is covered in storms, making it impossible to approach or see anything on it.
Before starting your journey, we recommend that you complete the main quest for the Secret of Ring Ruins and obtain Tulin’s Gust. The latter can be done by completing Tulin of Rito’s main quest.

1. Fast travel to the Room of Awakening on Great Sky Island. Use the Ascend ability to get out of it and make your way to its Southern edge.
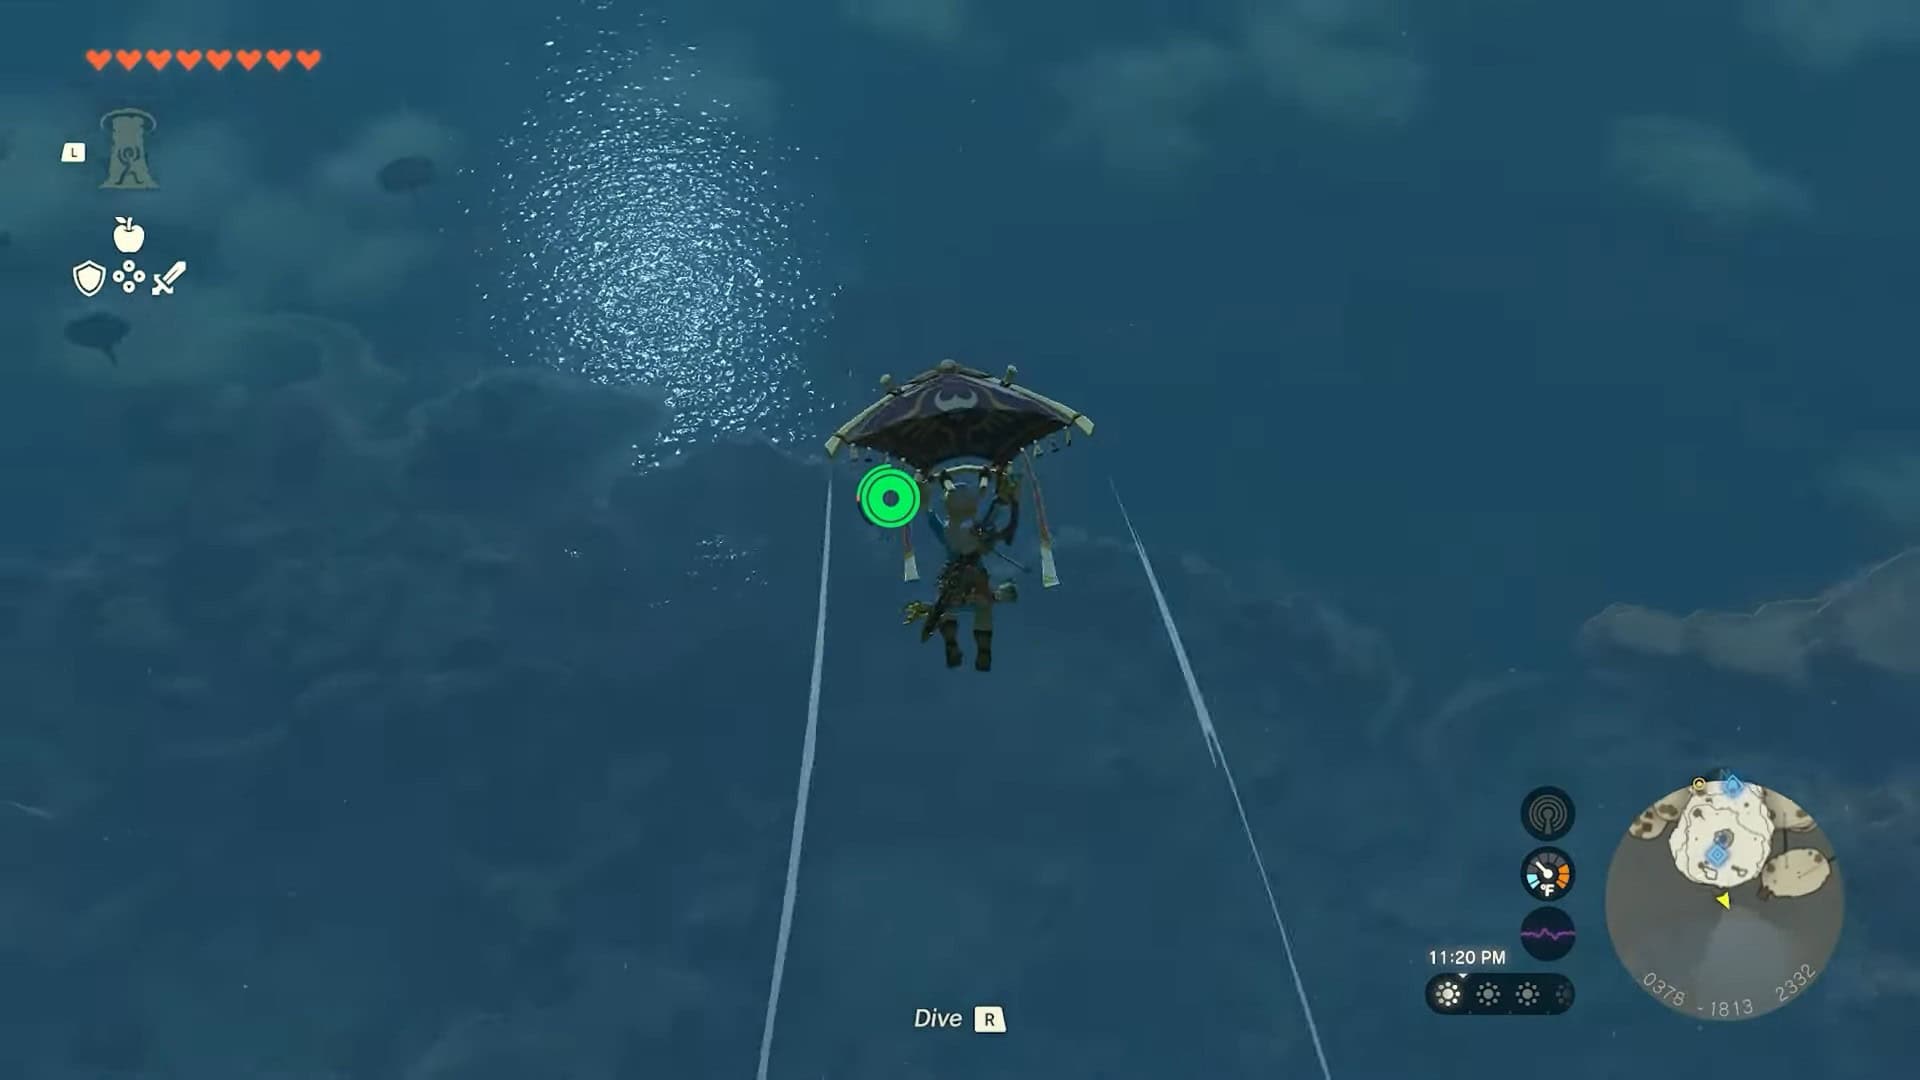
2. Jump and use your paraglider to travel south to where Thunderhead Isles are. Use Tulin’s Gust to cover a massive number of distances in one go. Don’t stop on any other sky island.
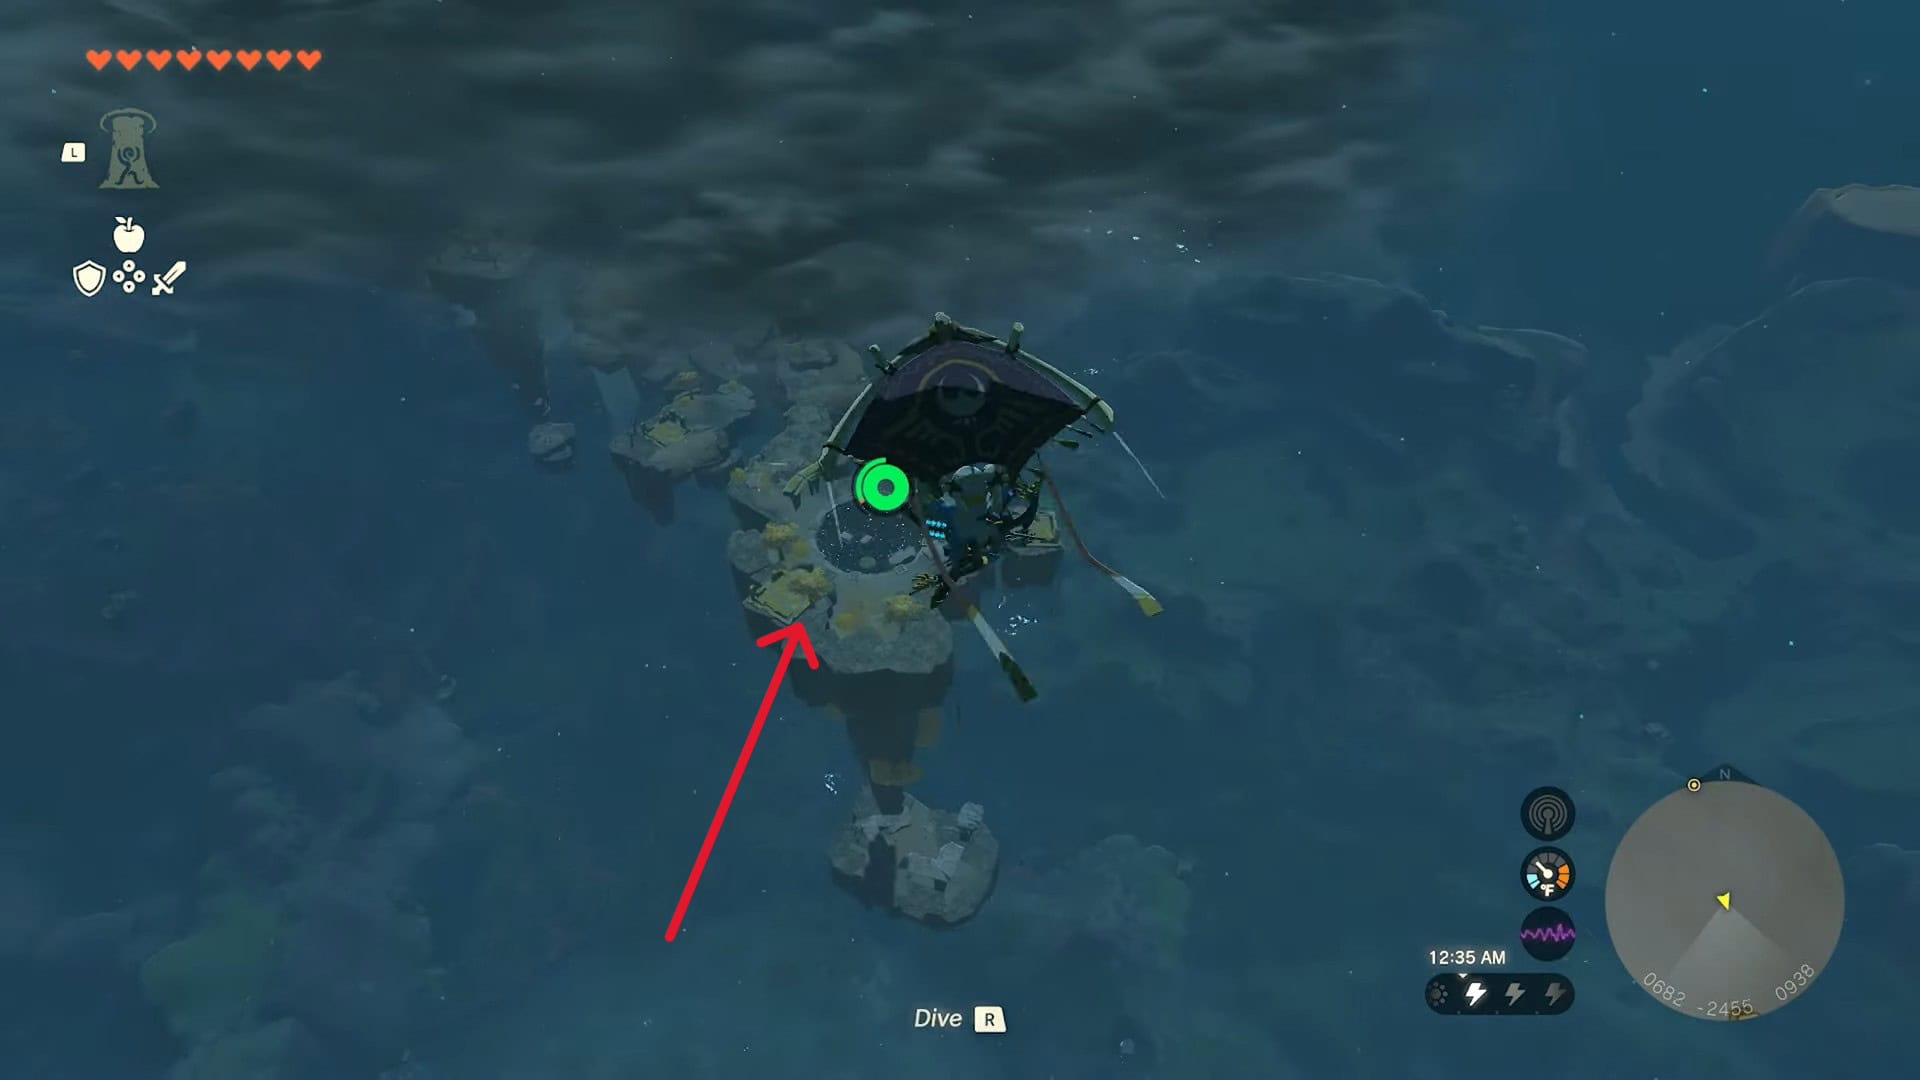
3. When you reach Thunderhead Isles, make sure to remove anything that can attract thunderstrikes. Also, activate your shrine locator.
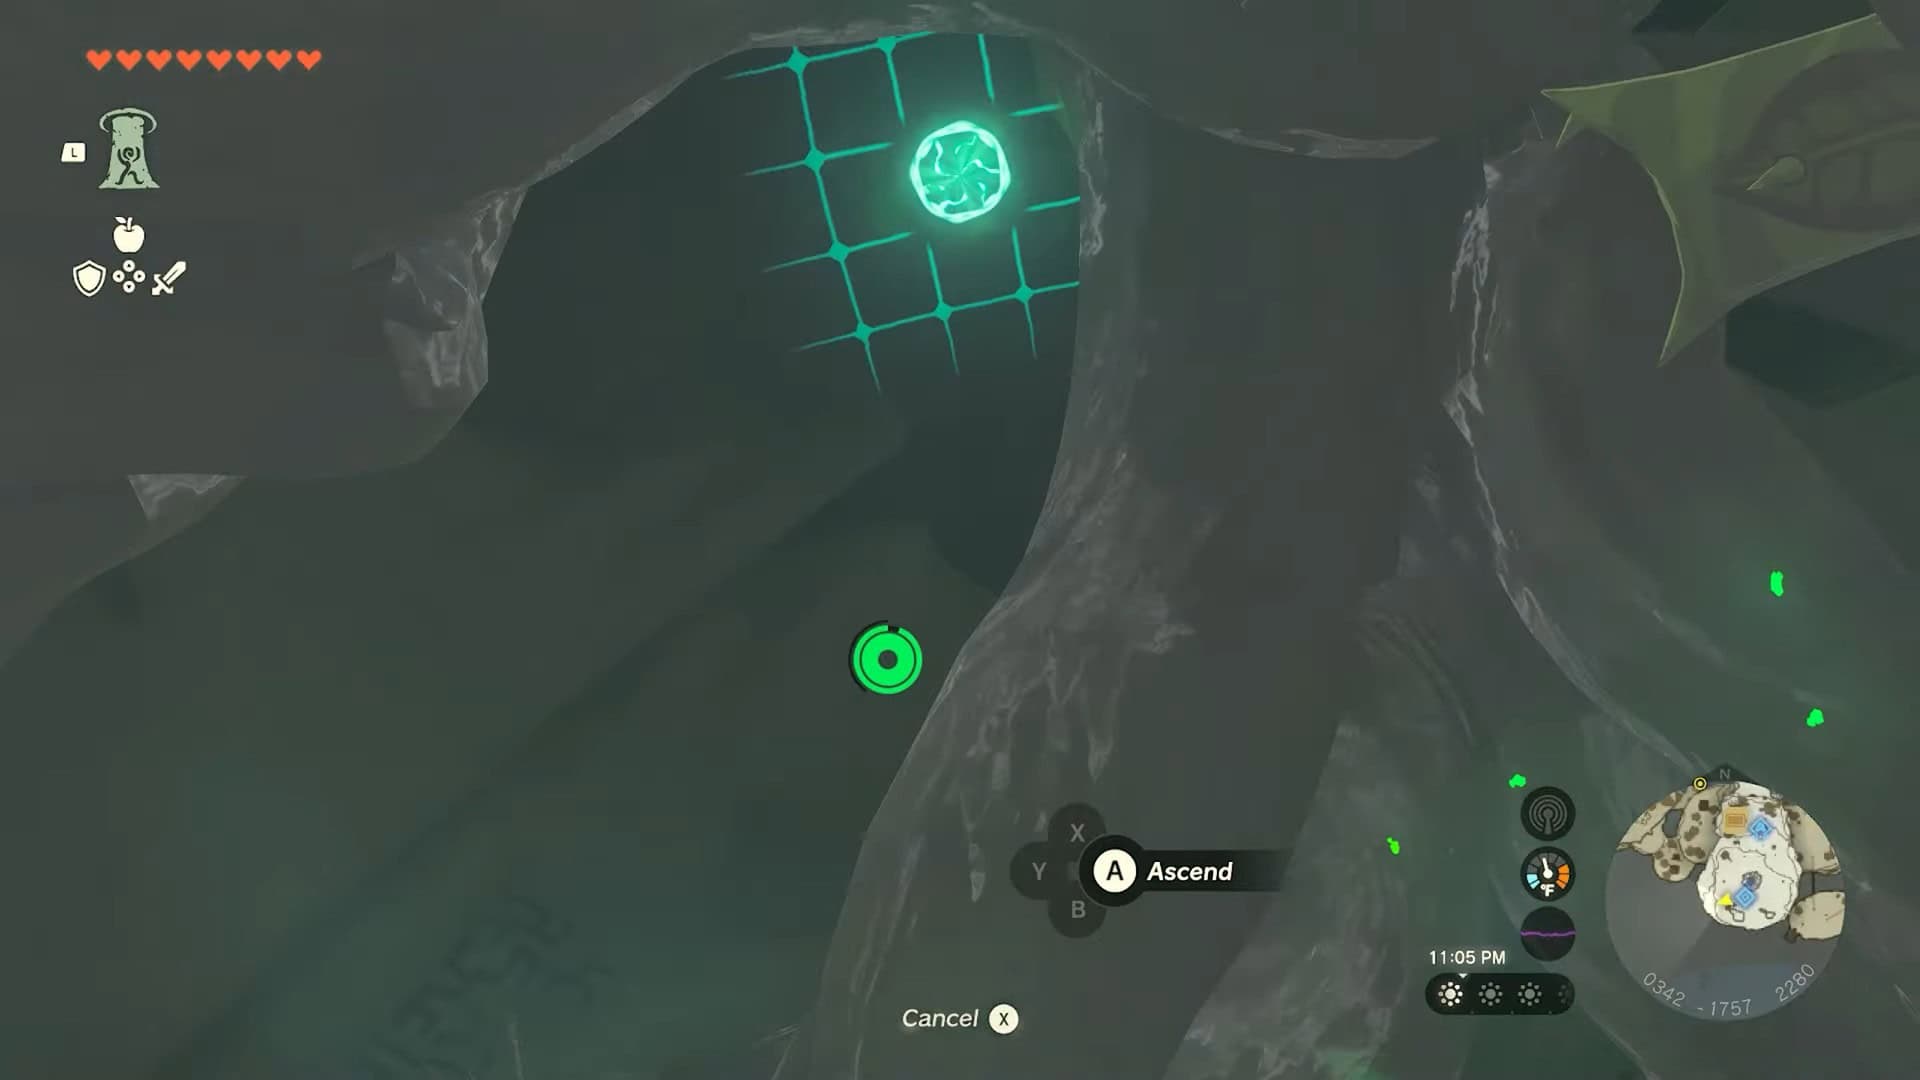
4. You need to go all the way up and south by using any means necessary. There are massive stone pillars on which you can use the Ascend ability from below. You can also use stone launchers in the area.
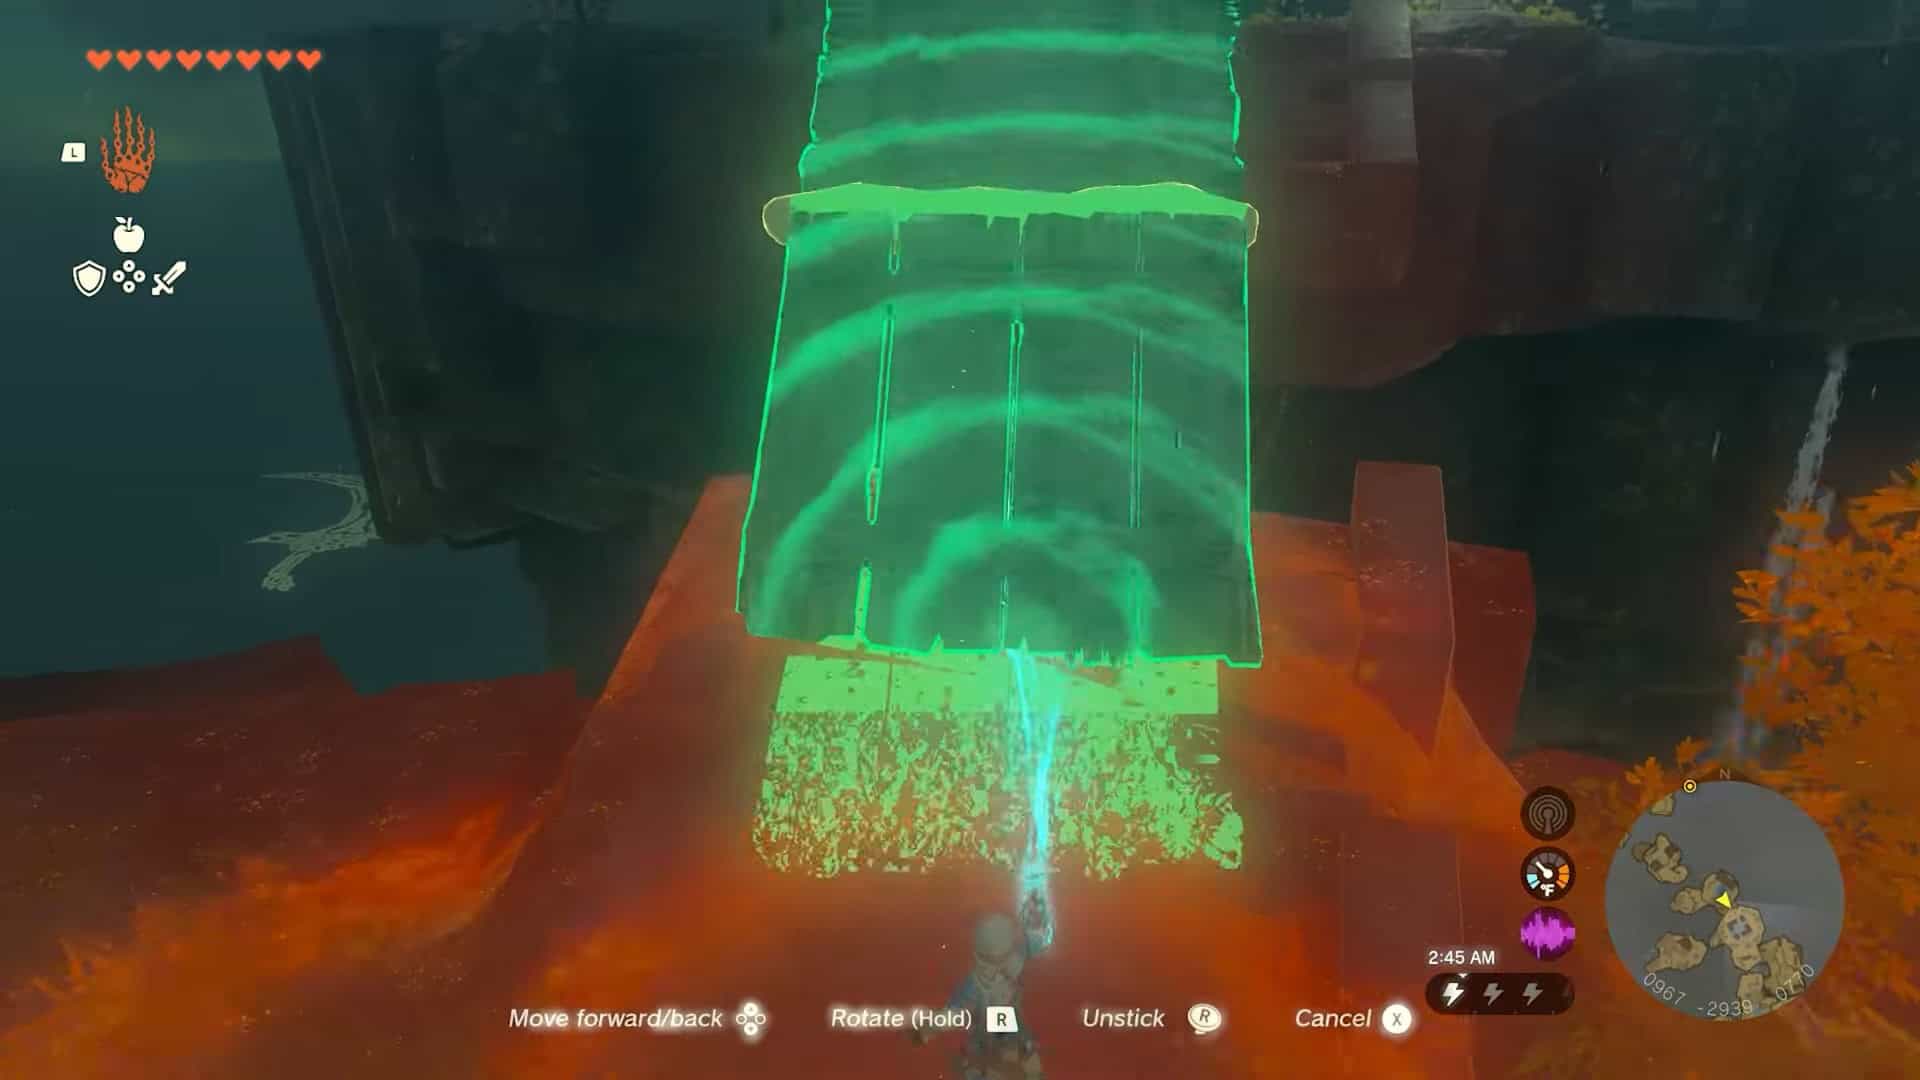
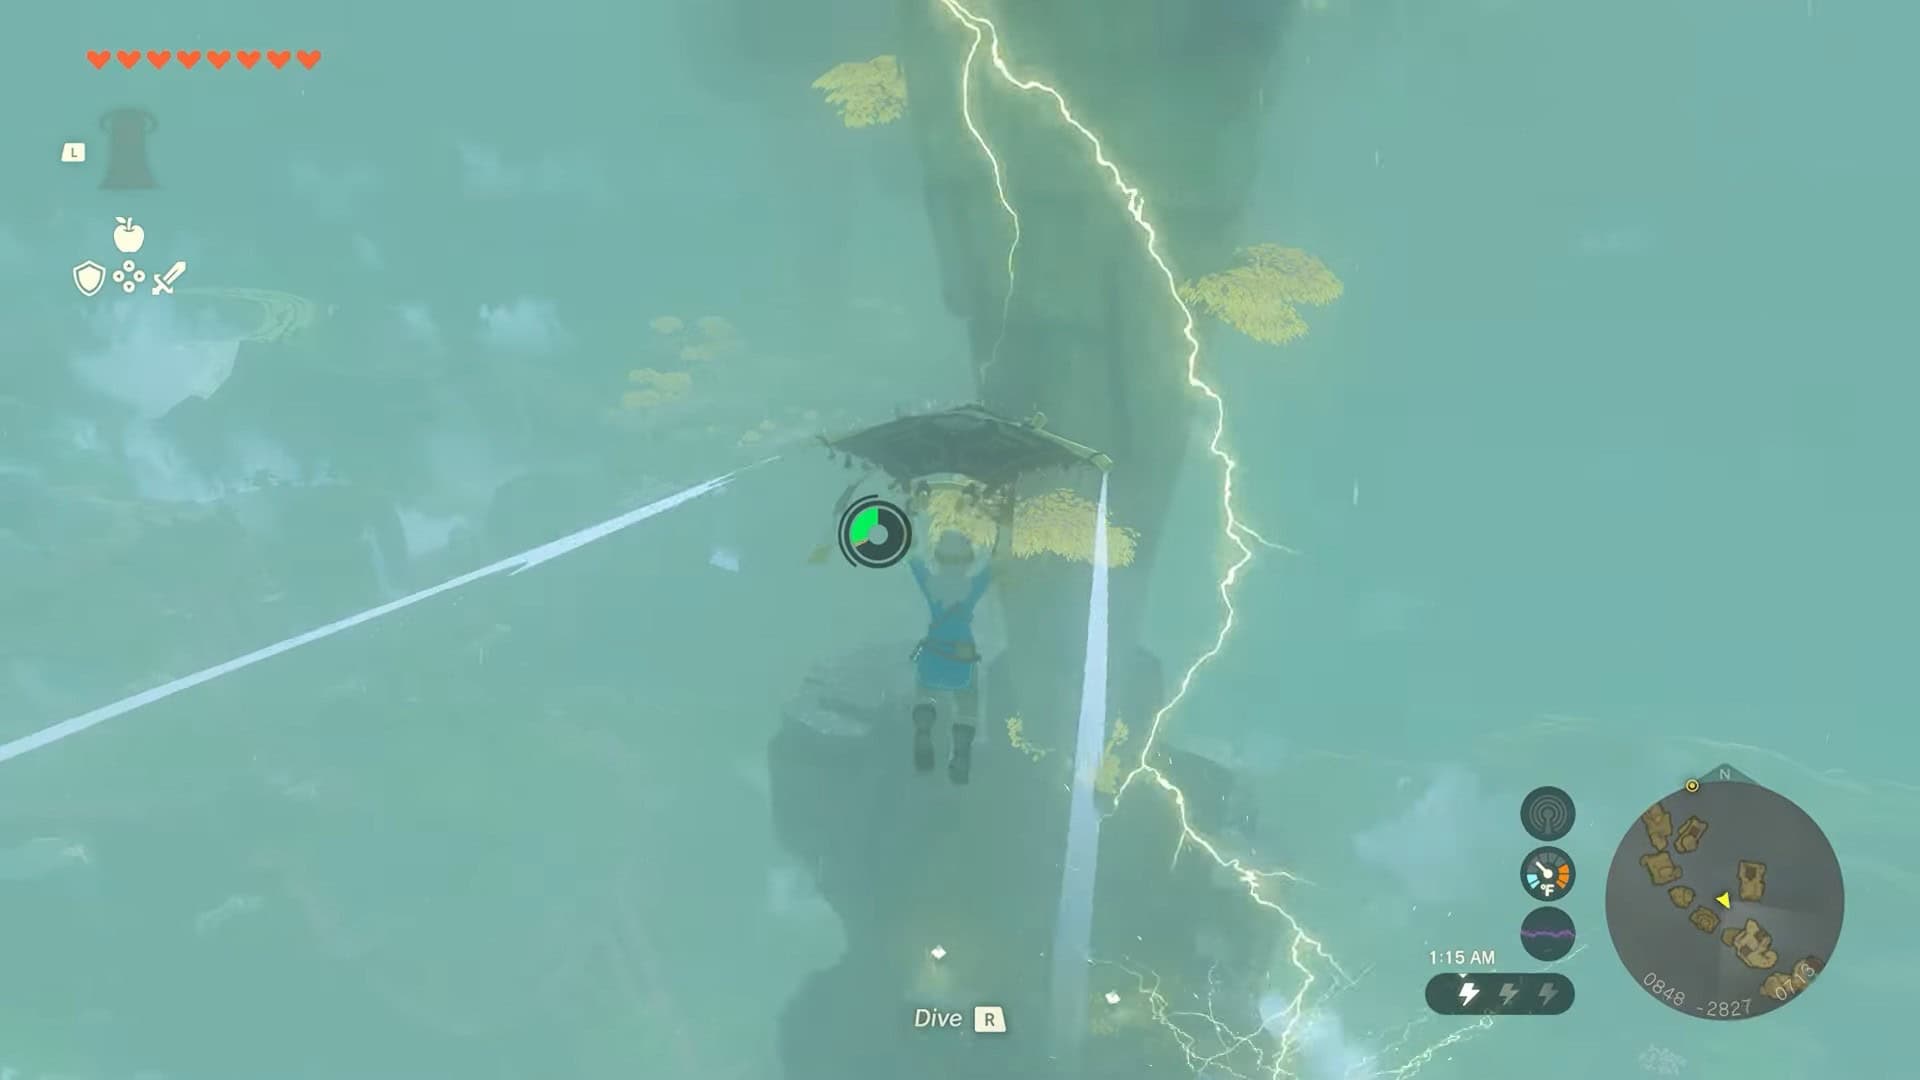
5. This area receives a lot of rain, so unless you have acquired the Froggy armor, we recommend against climbing the walls. Instead, construct a bridge with planks to cross the gaps.
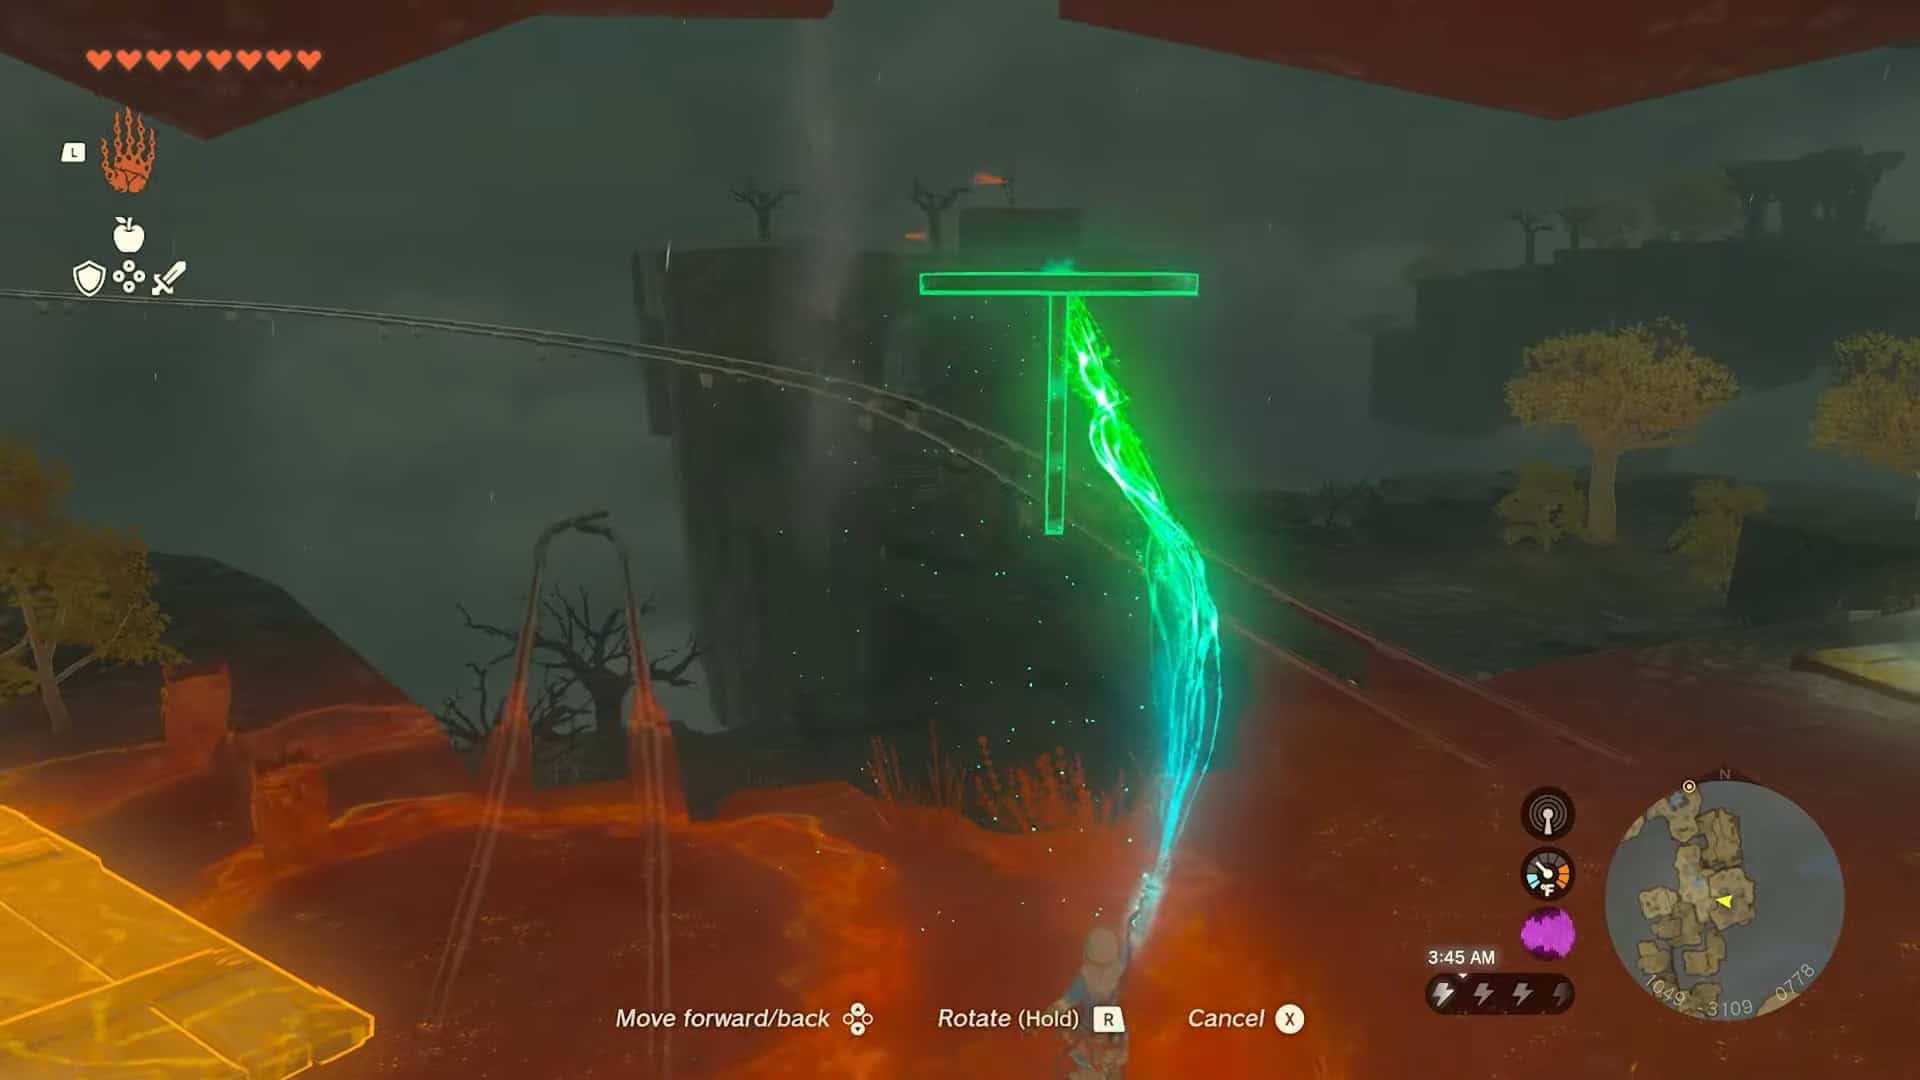
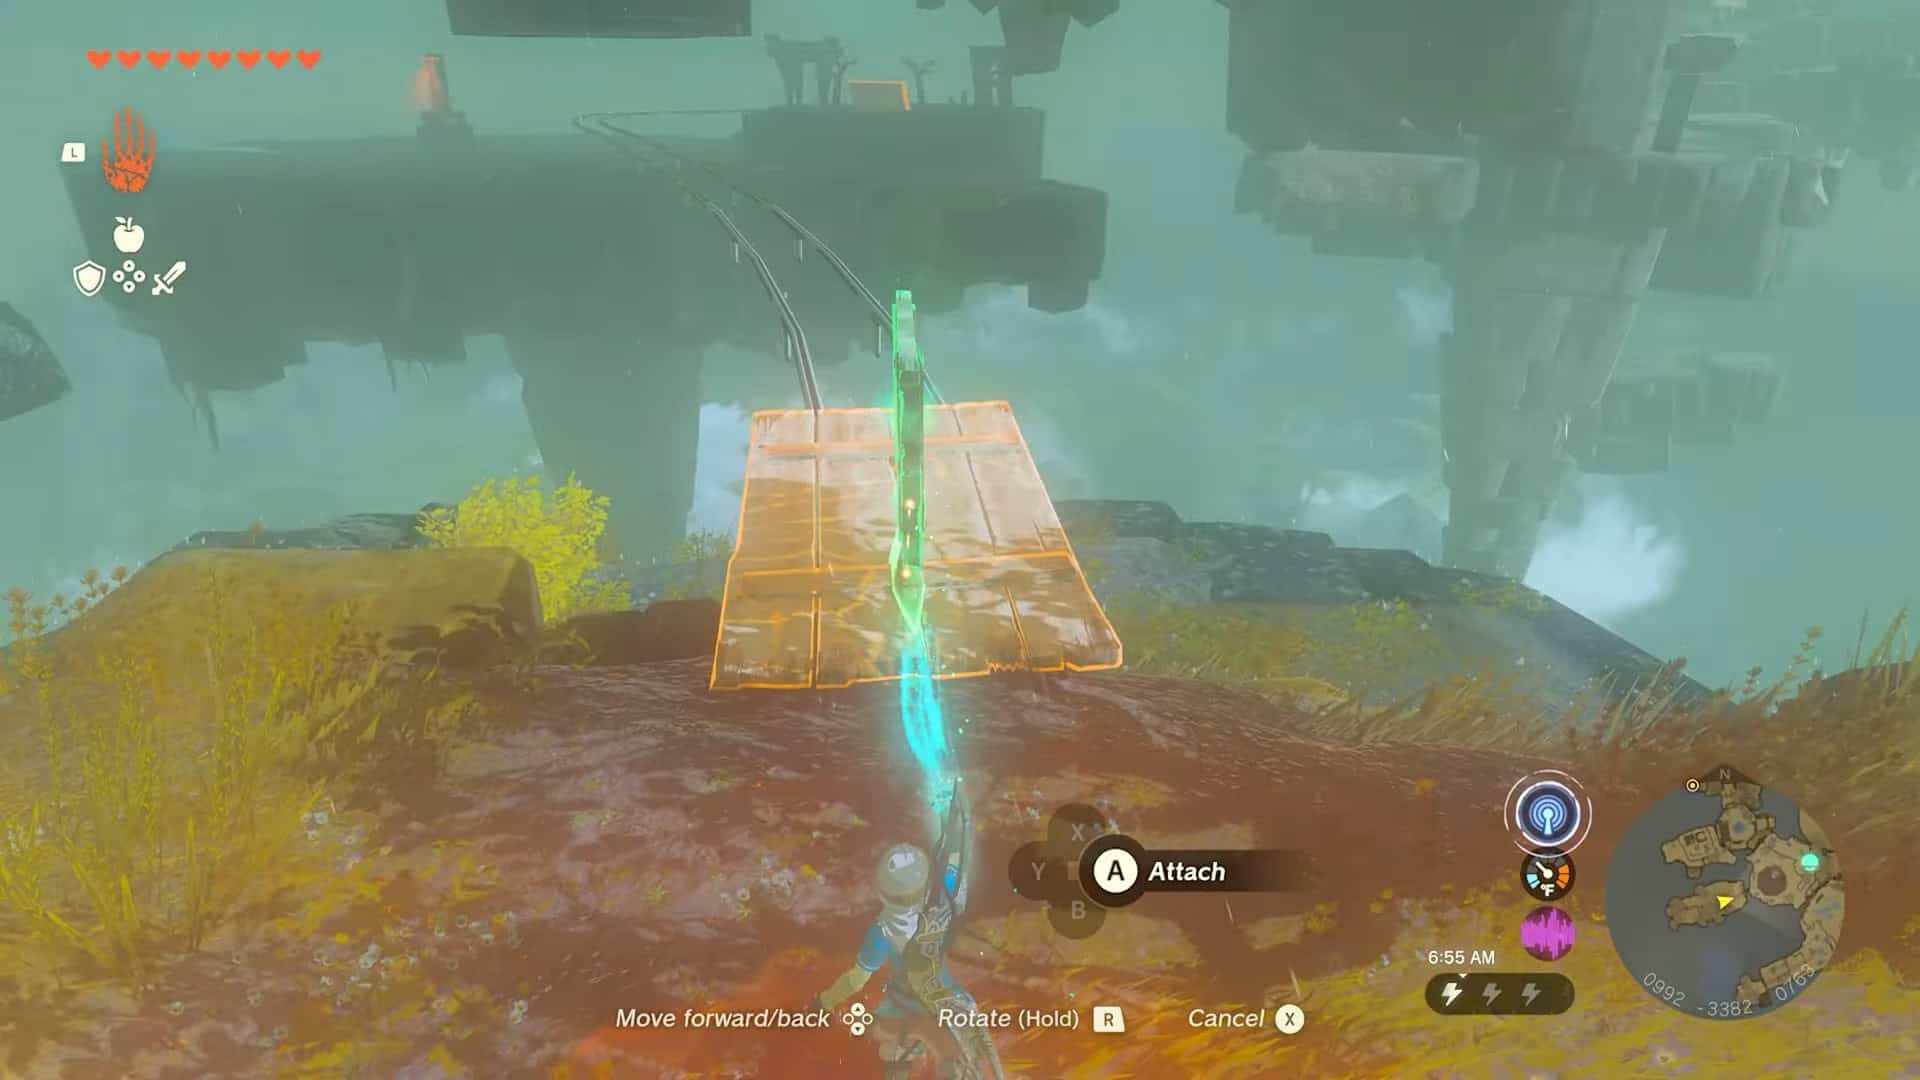
6. In the next area, you need to travel across the rails. There is a metallic construct present on the rails. Attach a wooden plank to its top with Ultrahand to avoid getting hit by lightning.
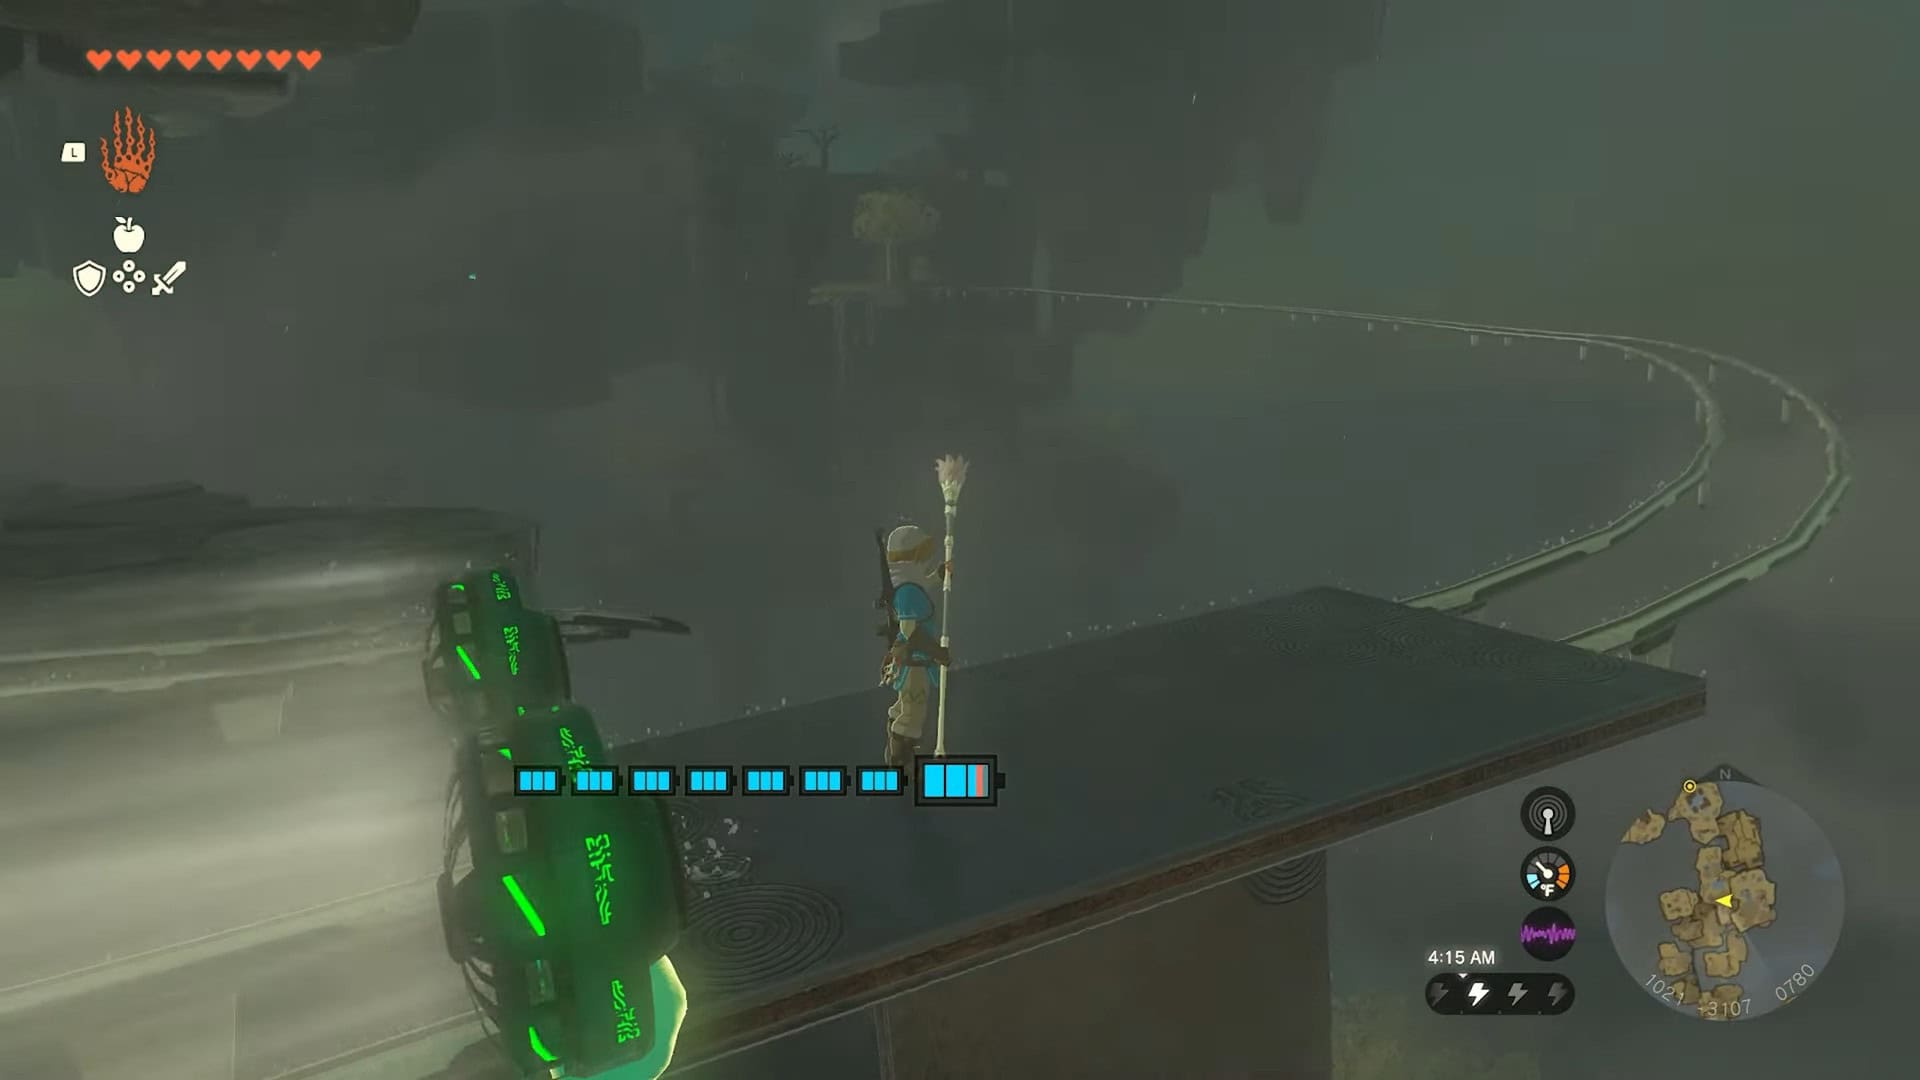
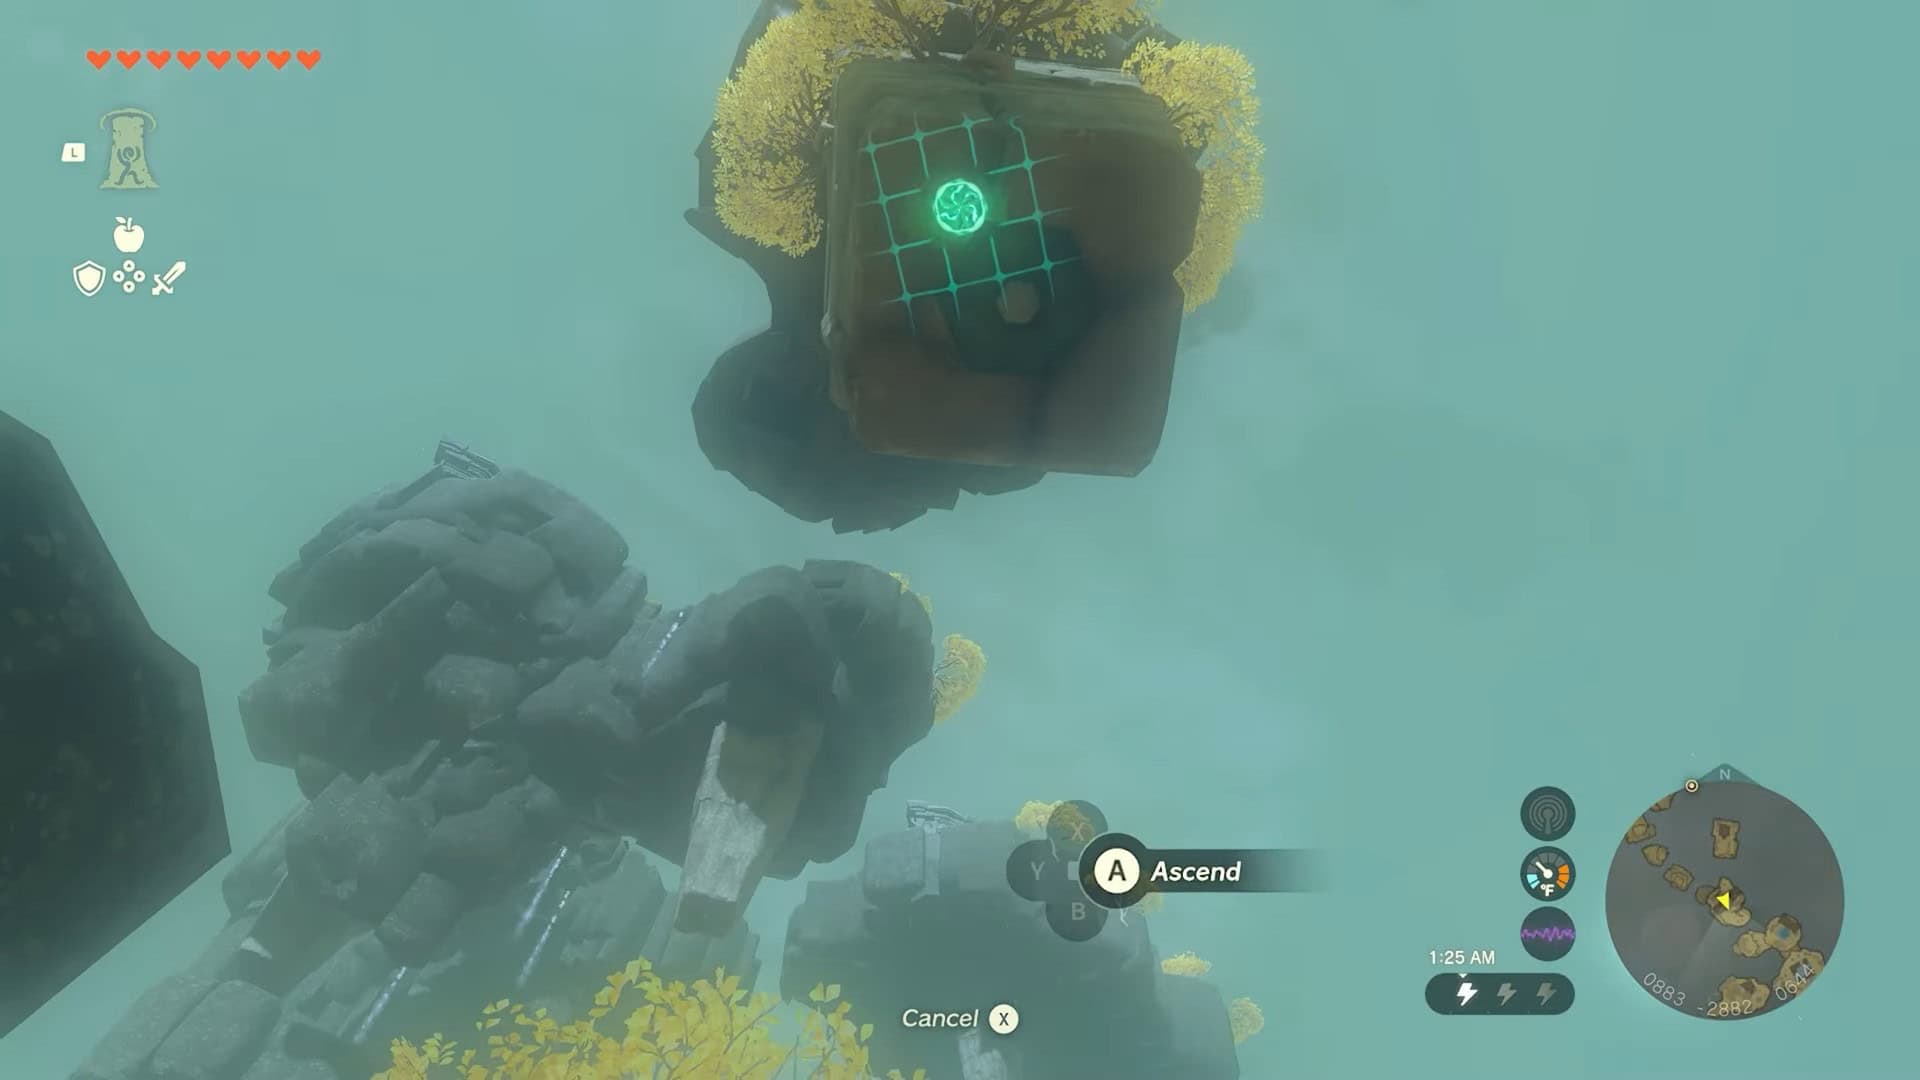
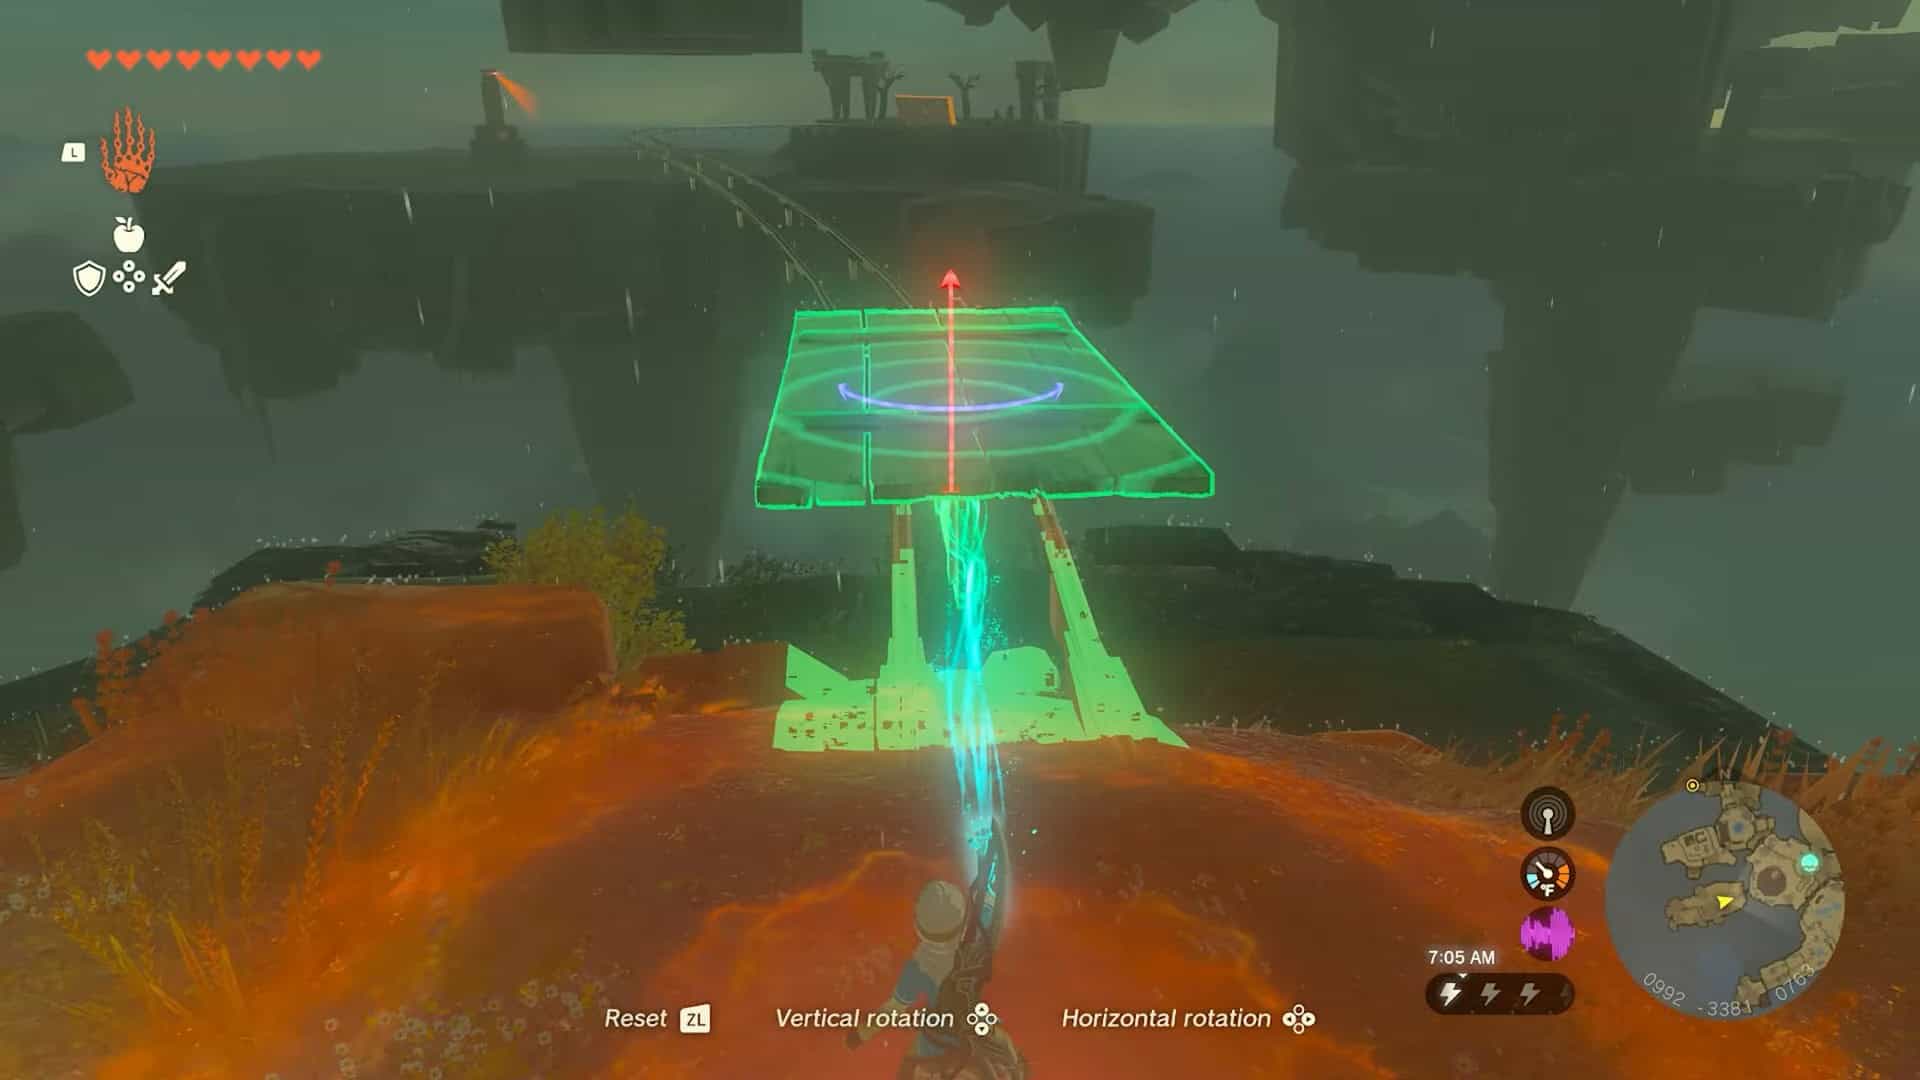
7. Attach two fans to its sides to travel conveniently. Place this makeshift trolley on the larger rail and hit the fans to reach the next area. Use Ascend on the wall to reach the next rail tracks.
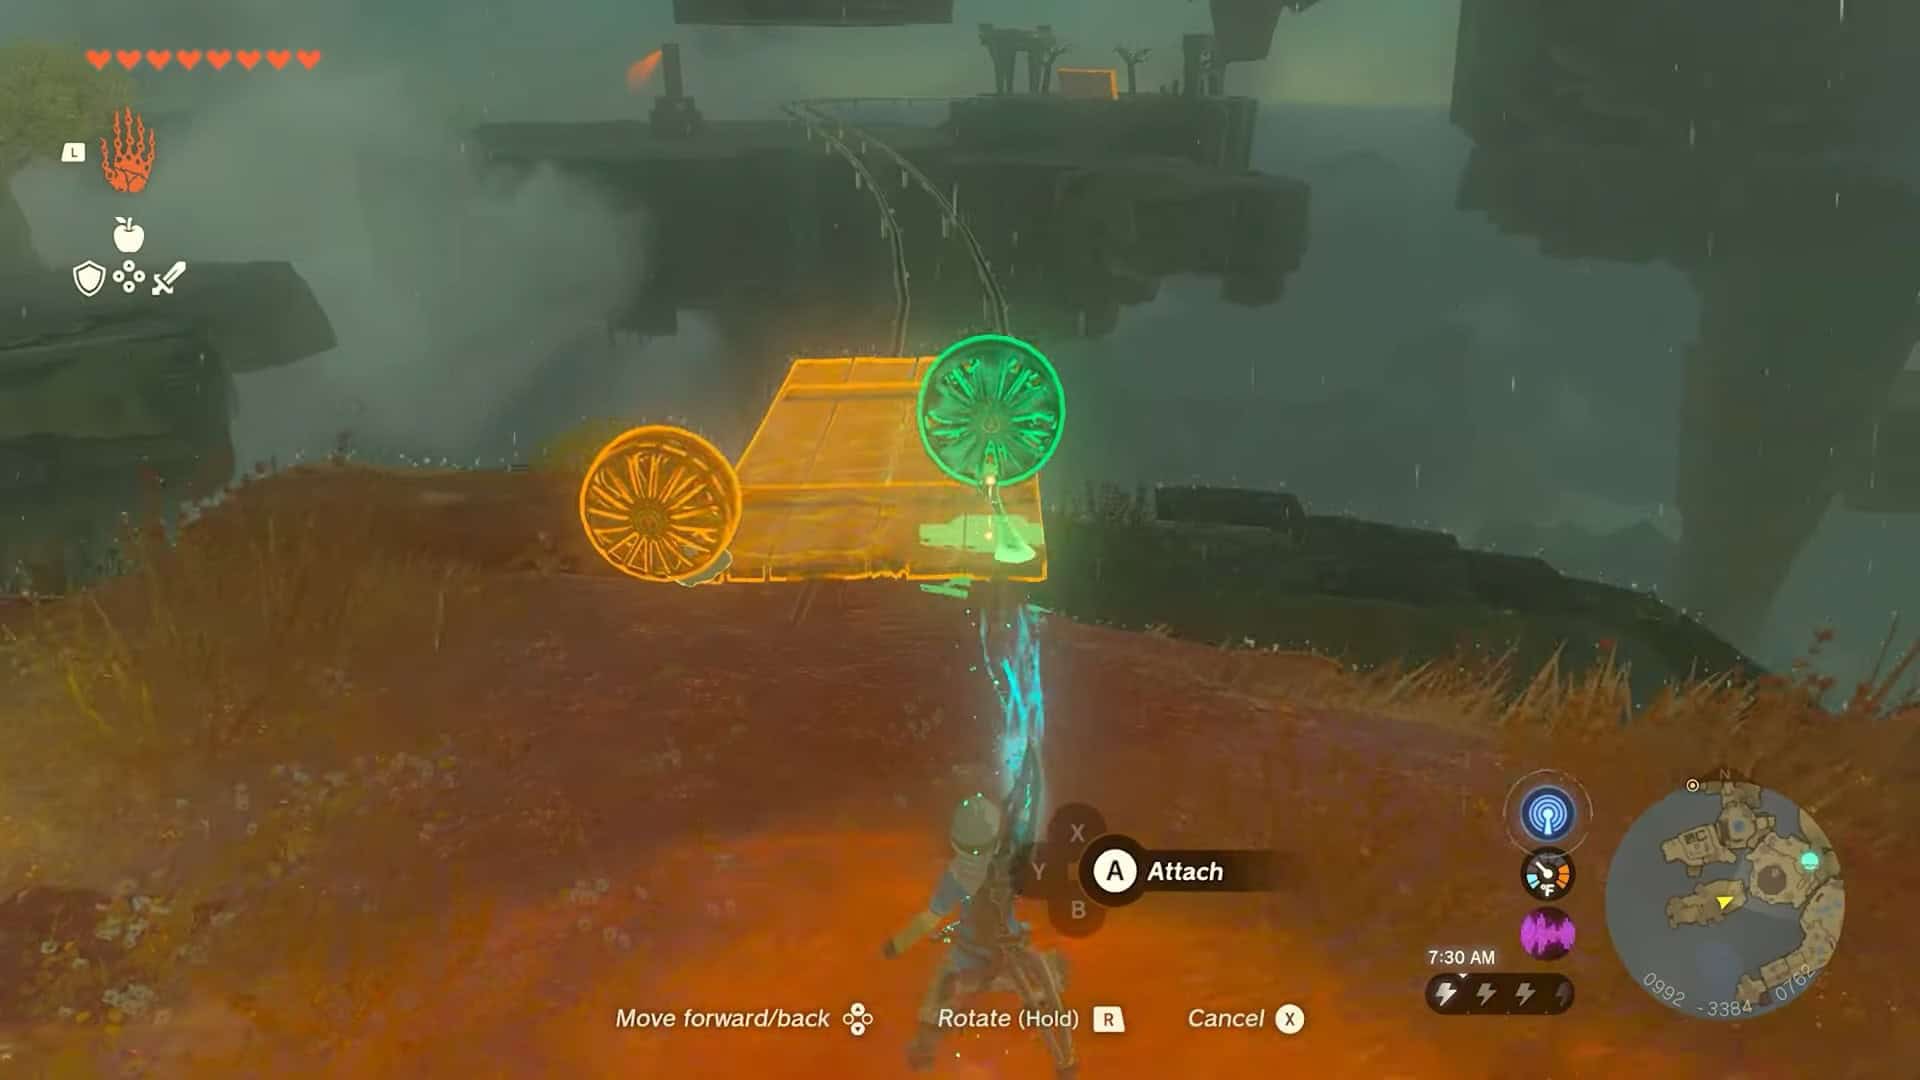
8. In the next area, use the planks to craft a similar trolley and attach fans to it. This section is very tricky, so make sure to save here.
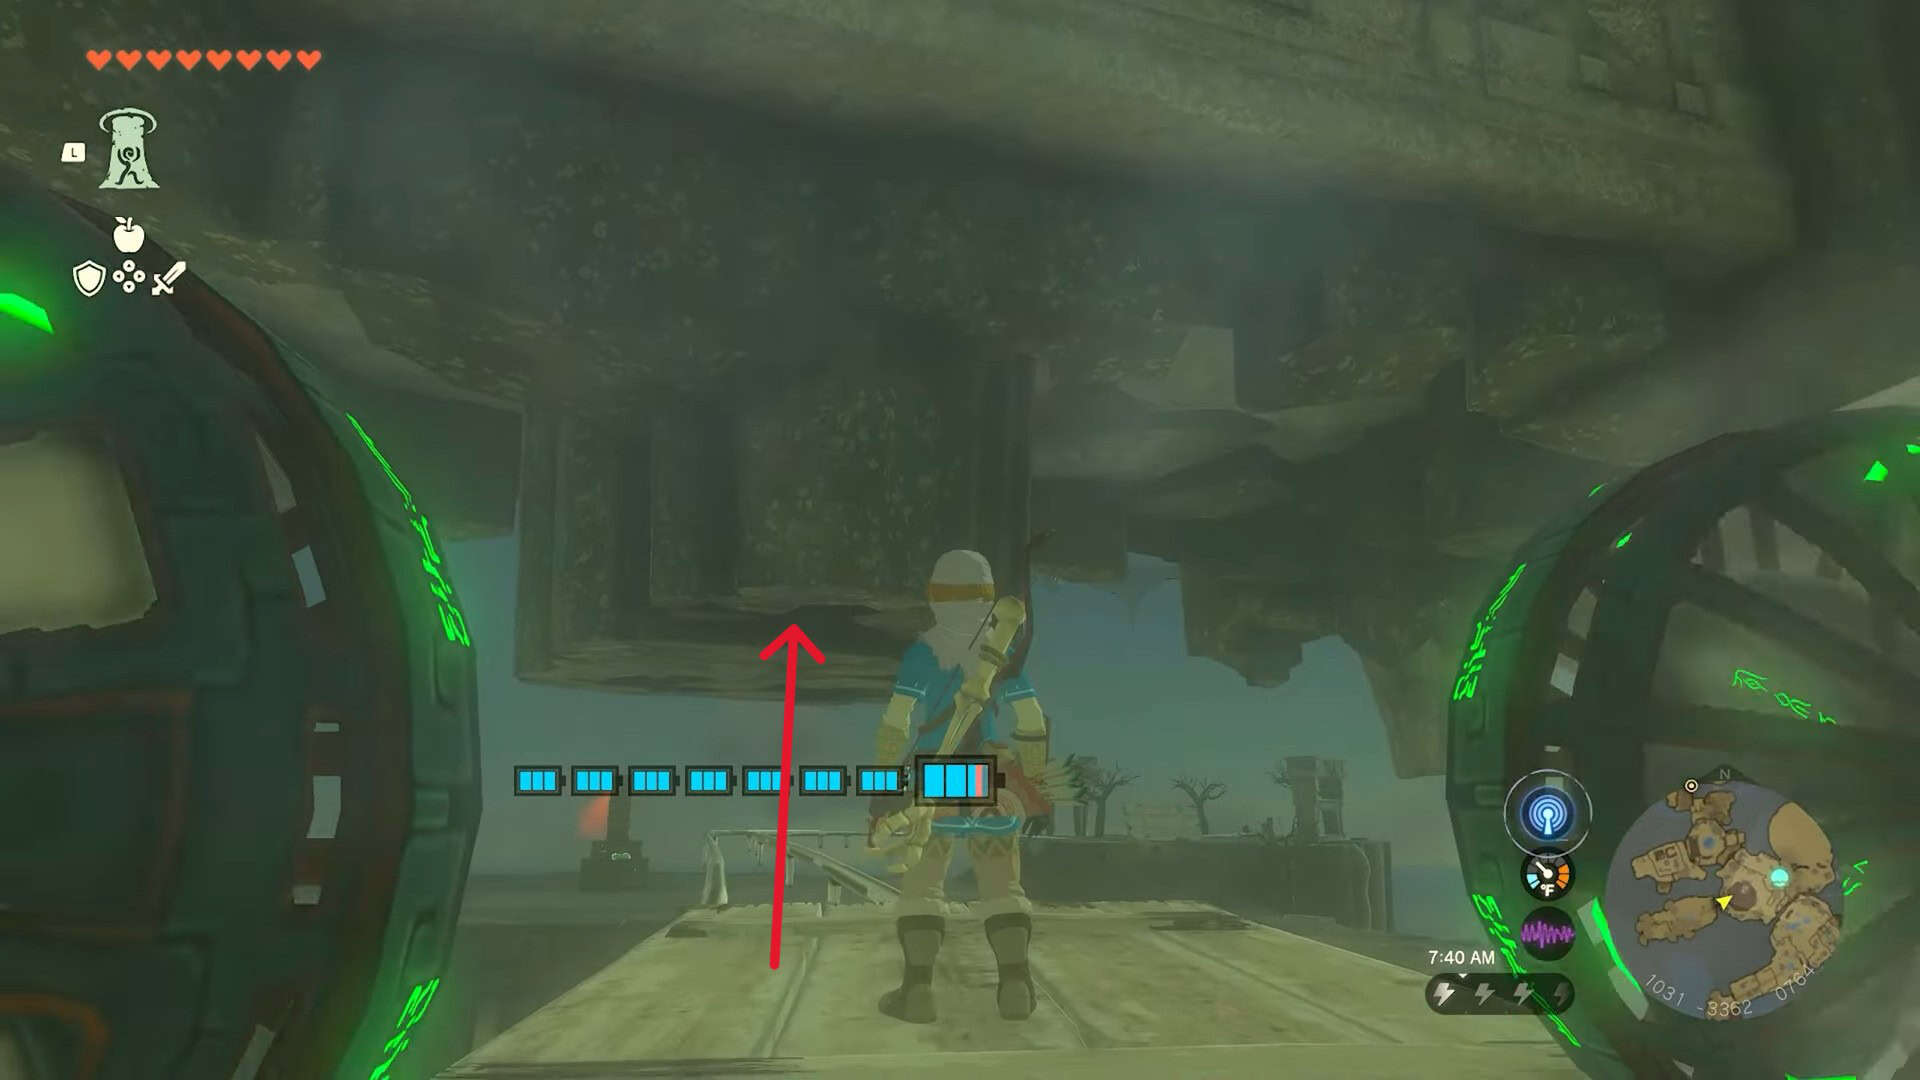
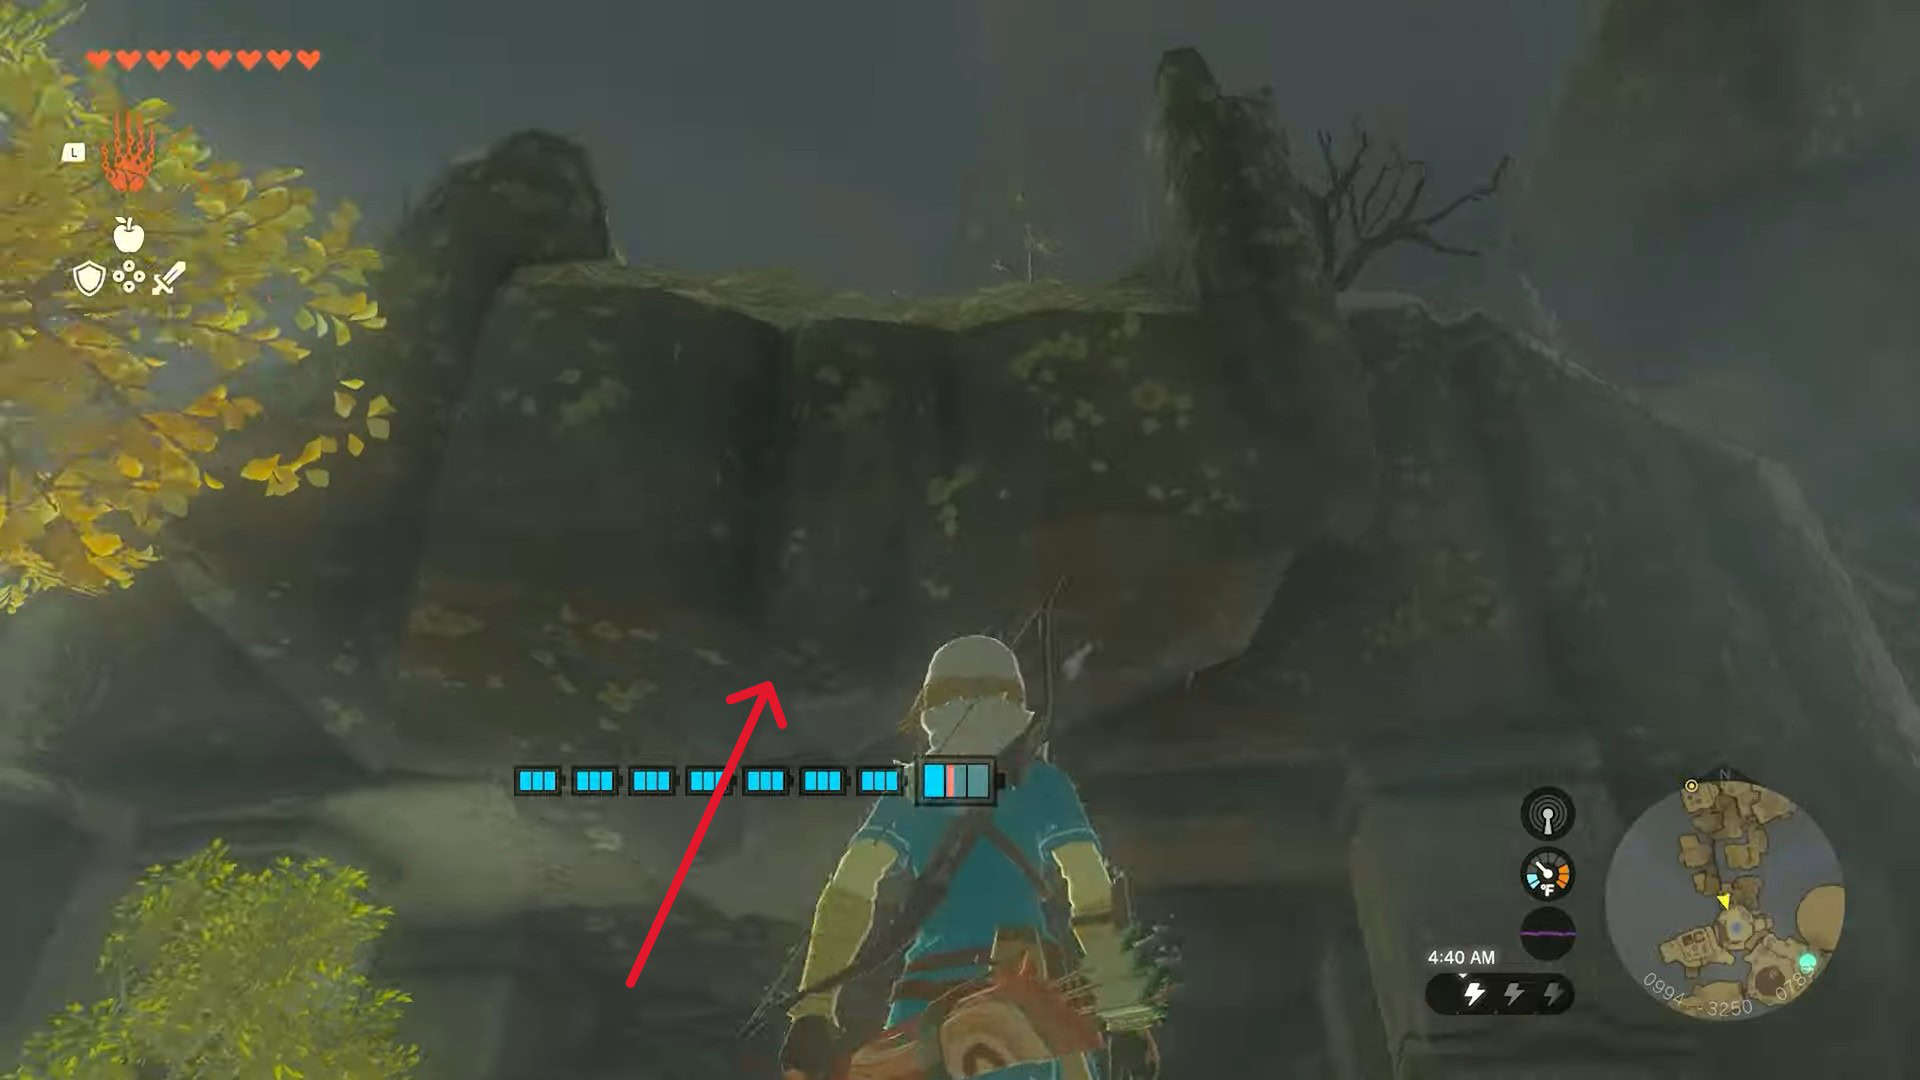
9. While you are halfway through the rails, ascend on the wall to enter the chamber housing the Joku-usin shrine.
Joku-Usin Shrine Walkthrough
Joku-usin in Zelda: Tears of the Kingdom is a combat shrine. This means you can’t use your equipment including armor, weapons, shields, and zonai devices. You will have to make do with what the shrine provides.

The trial that you must face and complete inside the shrine is known as Proving Grounds: Short Circuit.
1. Pick up the weapons from near the shrine’s entrance to face the constructs ahead.
2. There are seven constructs in this area with a lot of health. Defeat the first two constructs on the floor to pick their body parts.
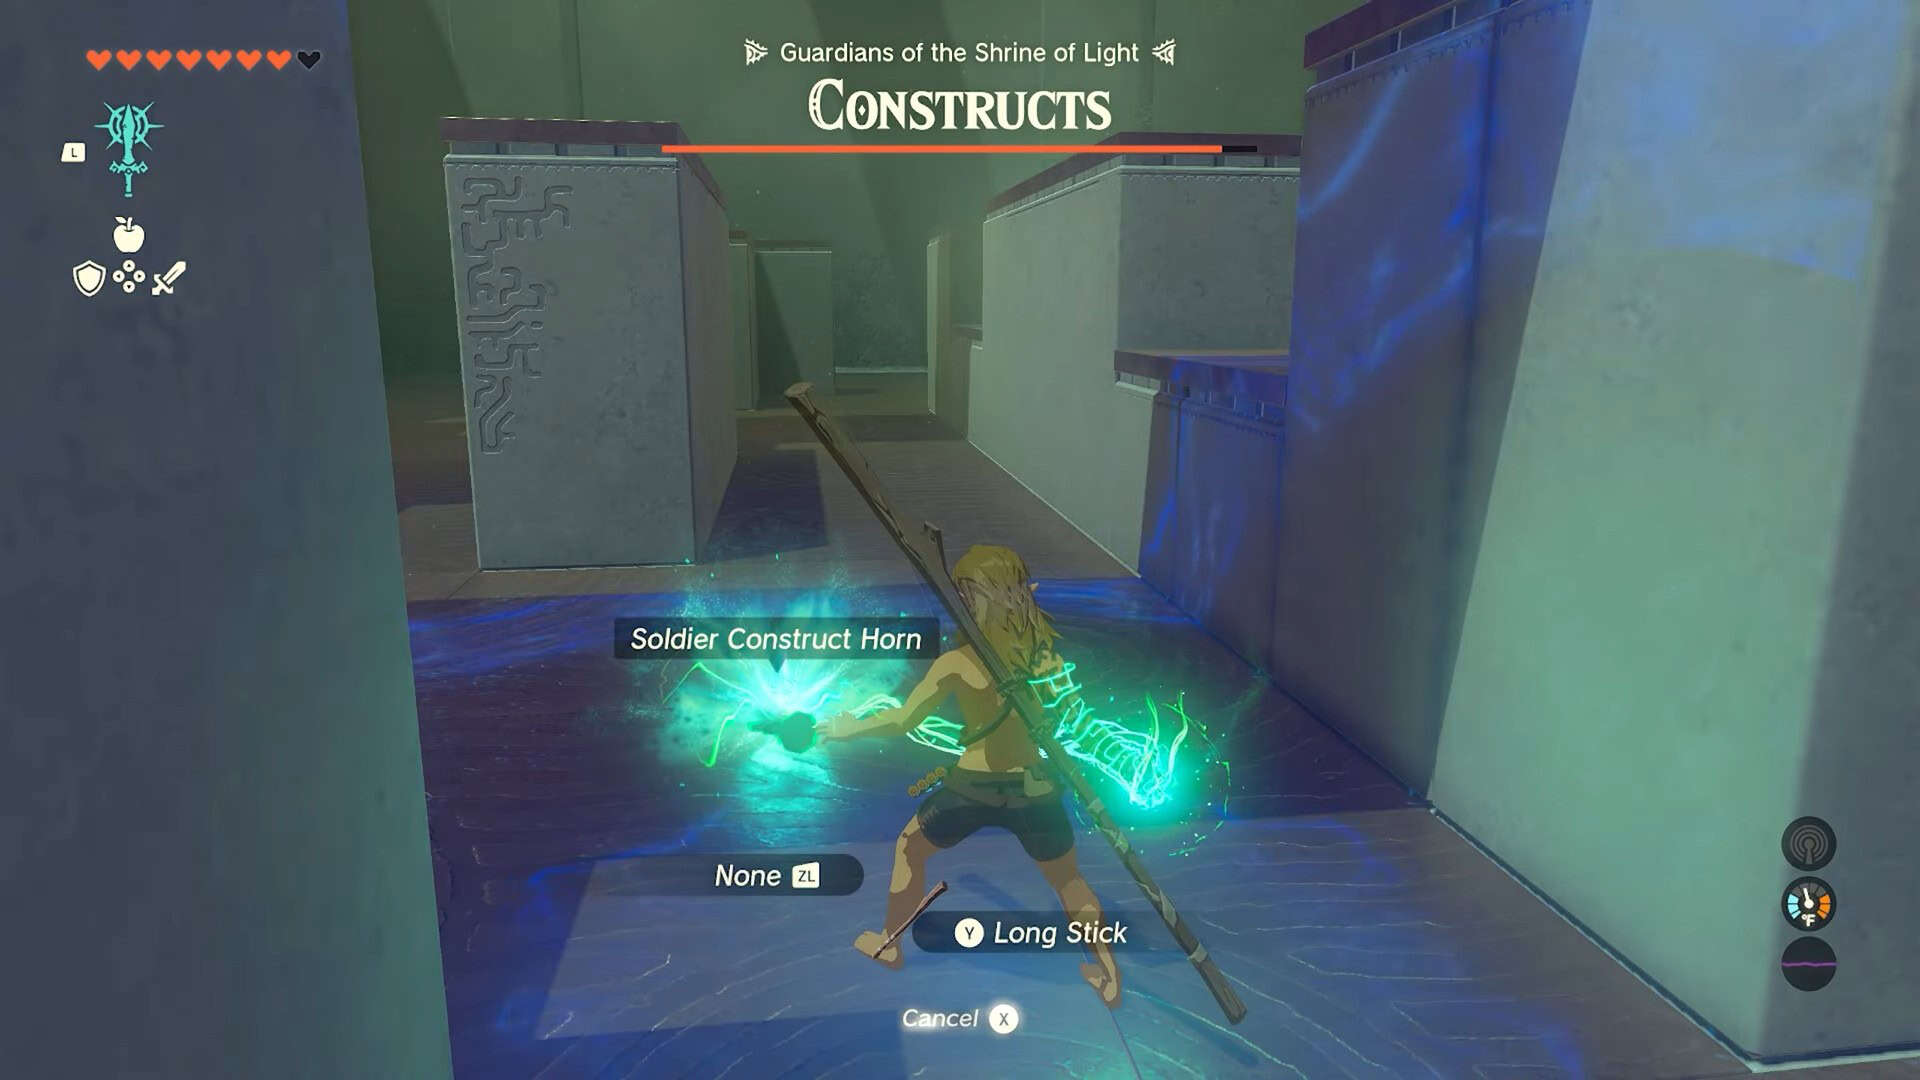
3. Fuse these parts with your weapons to craft more powerful ones. Make sure to collect Shock fruit to use with your arrows.

4. The enemies of this shrine use a lot of shock-inducing weapons. Look out for them as you will end up dropping your weapon if you get hit.
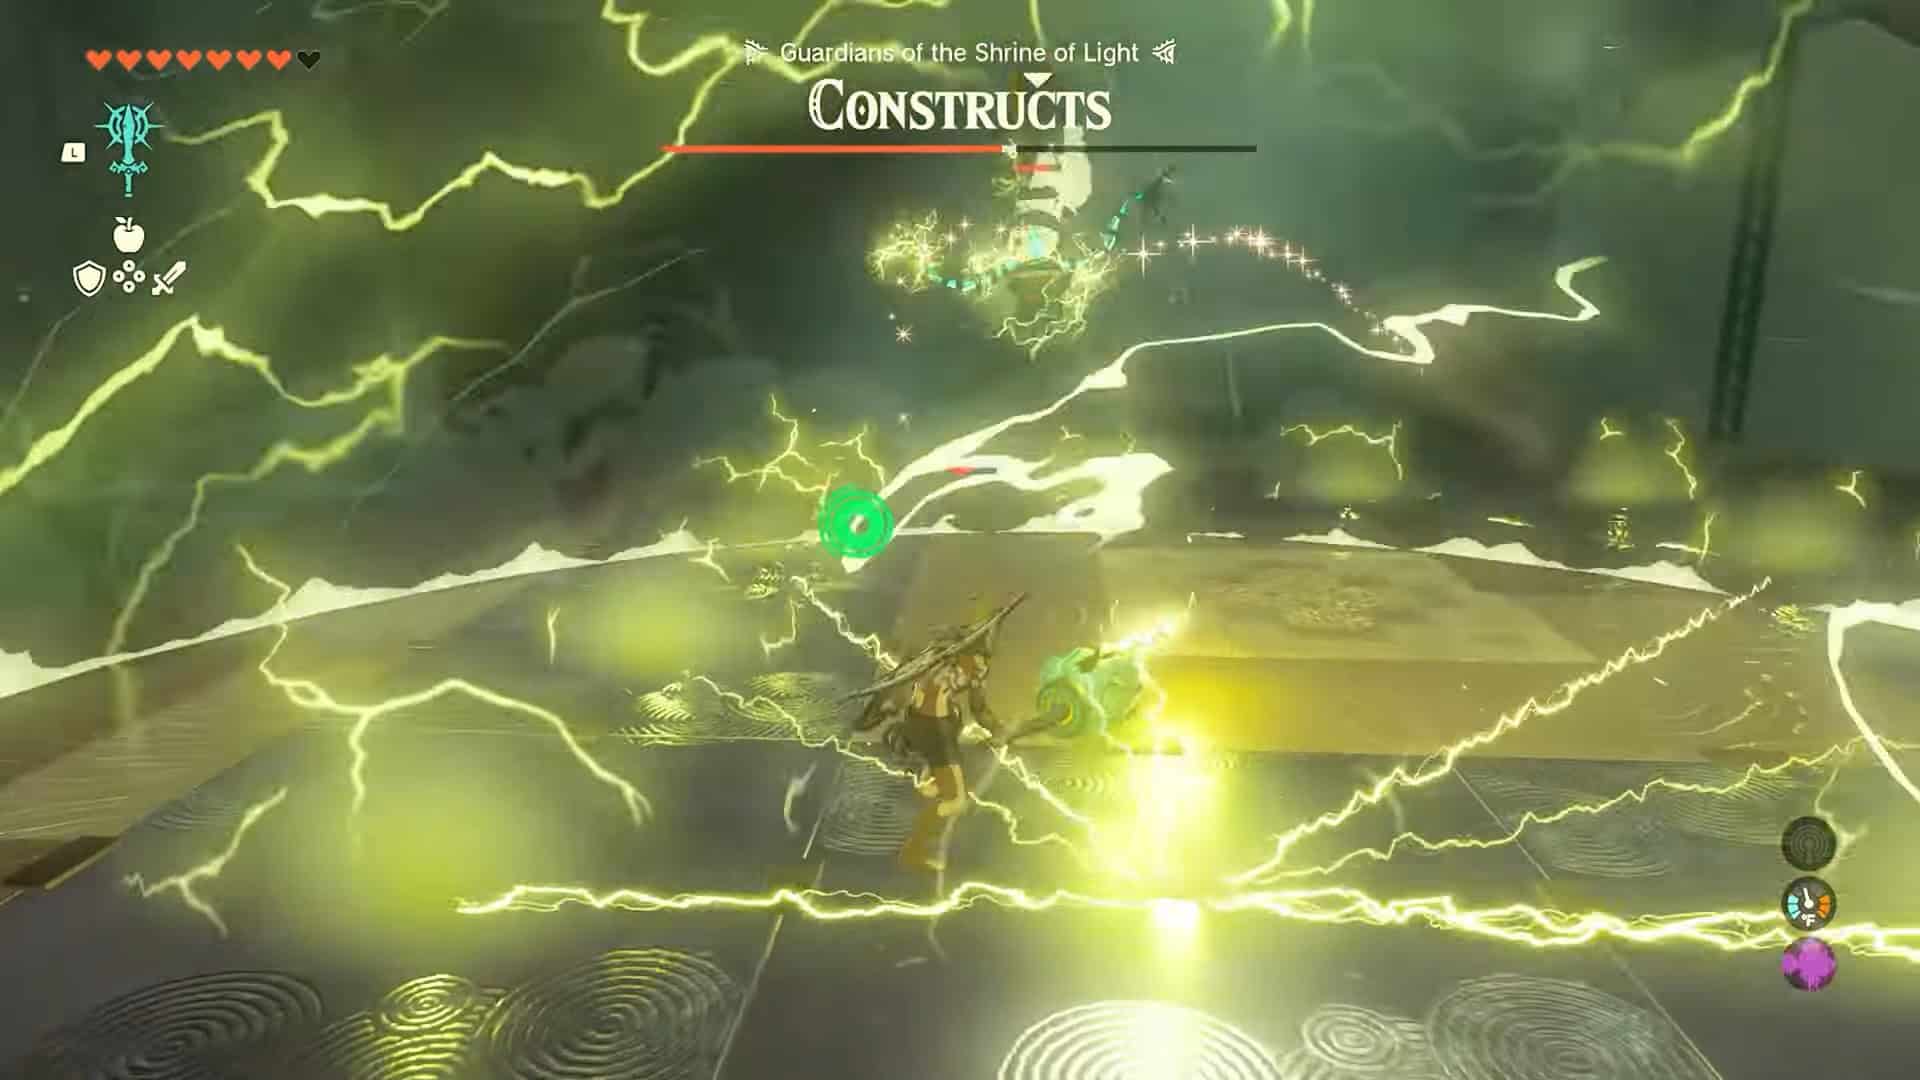
5. The best method here is to kite enemies and defeat them one by one instead of going all in.
6. Once all the enemies are defeated, the altar room’s door will open, and you will get your gear back.
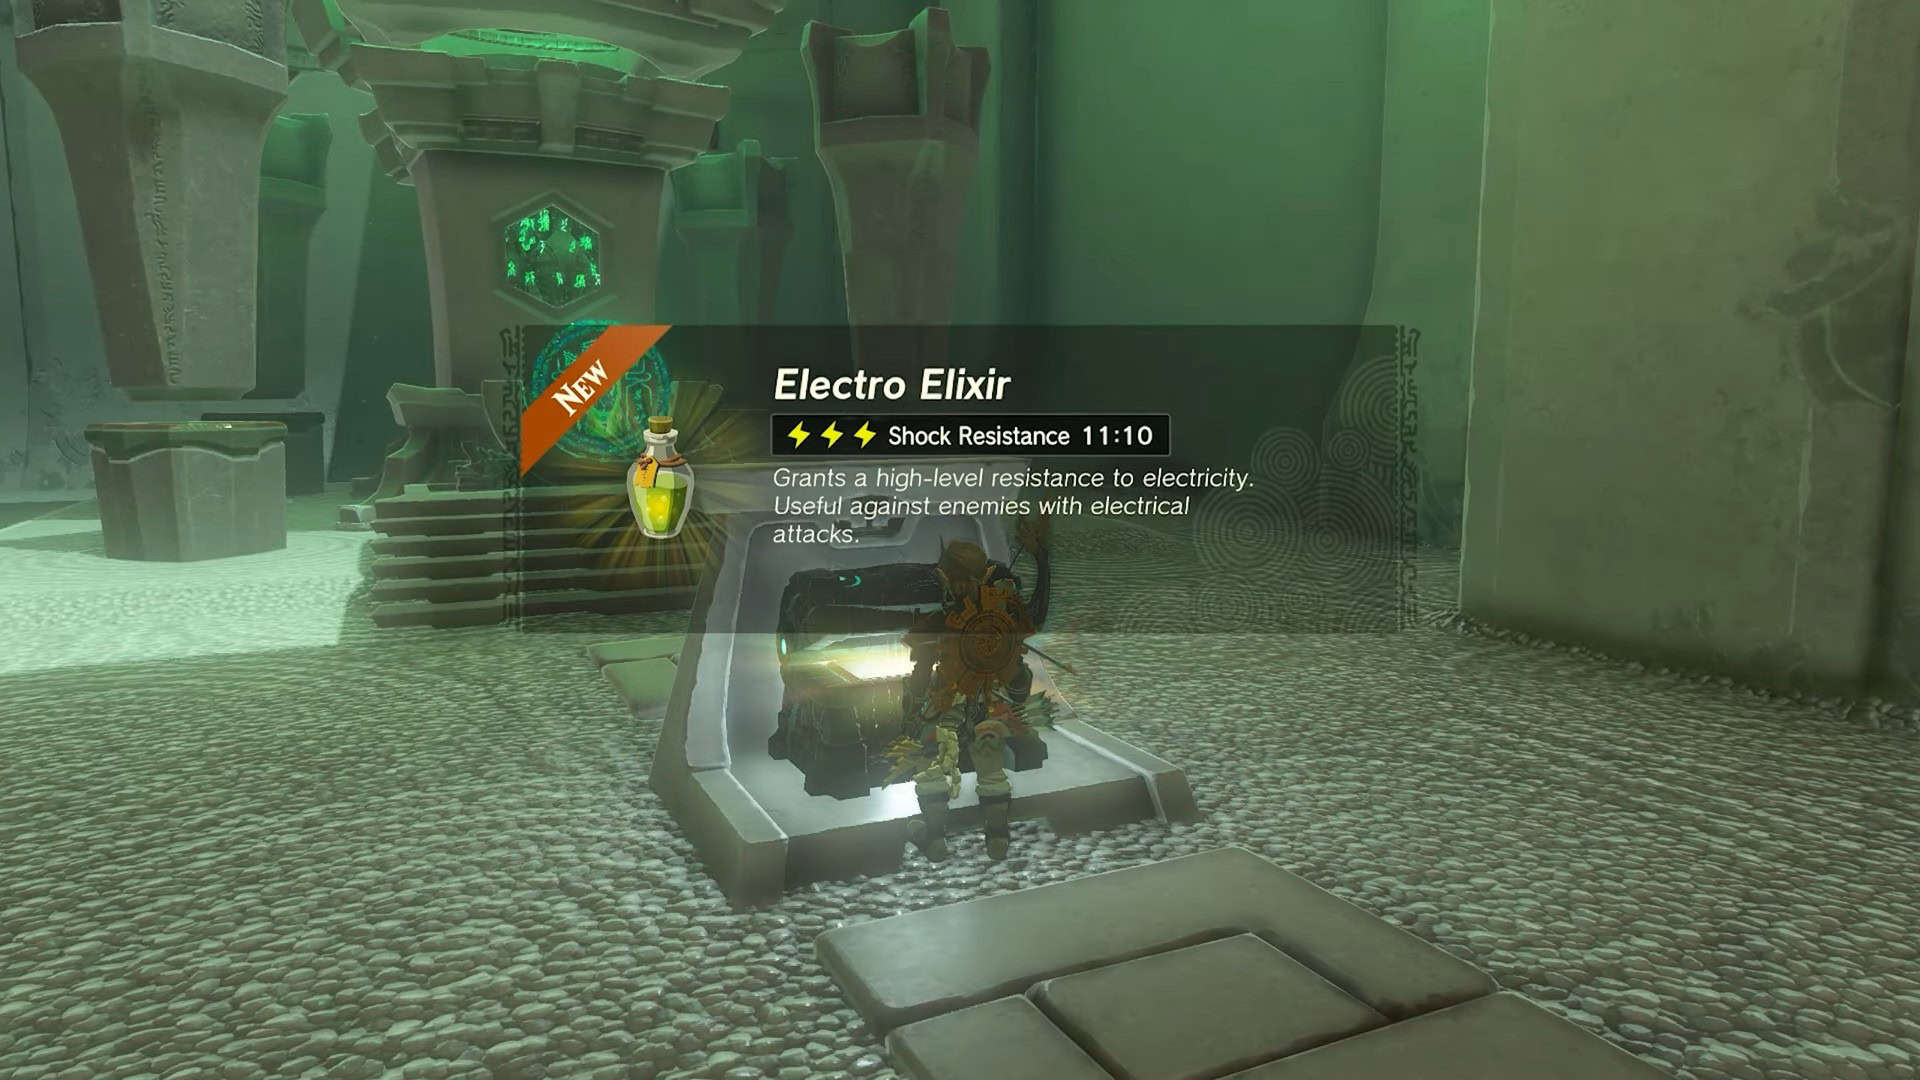
7. Head inside and collect an Electro Elixir from the treasure chest. Interact with Rauru and Sonia’s statues to finish the trial and earn a Light of Blessing as a reward.