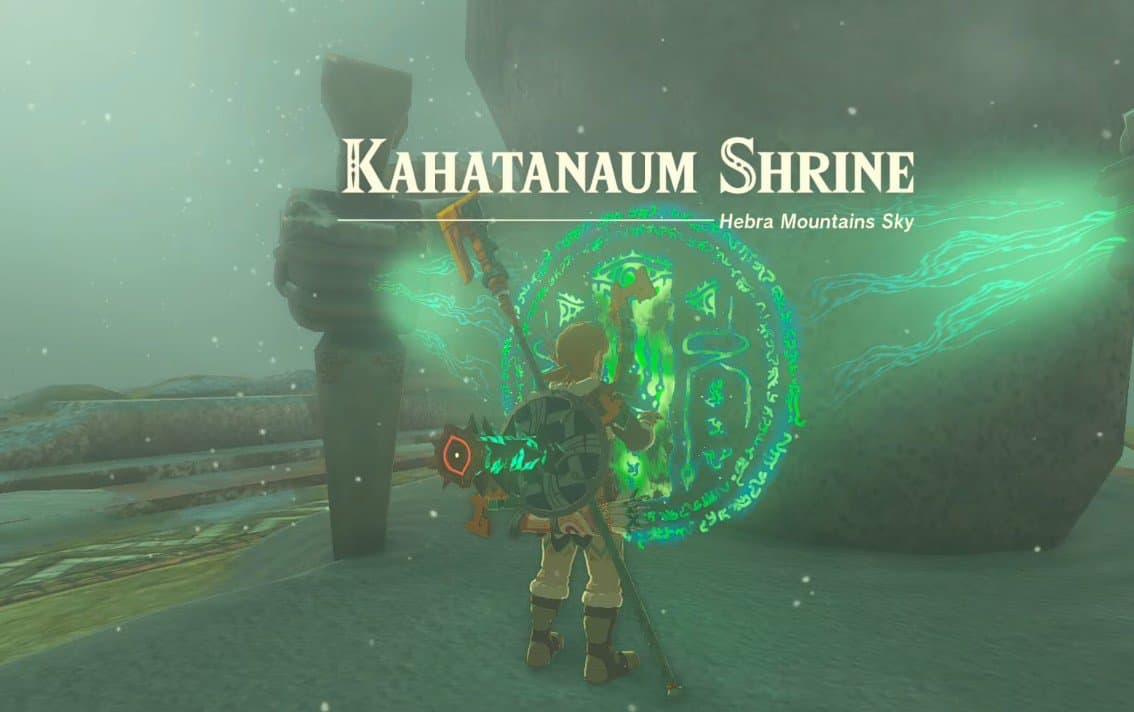
Kahatanaum Shrine is another Rauru’s blessing shrine in Zelda: Tears of the Kingdom. This shrine serves no purpose but as a midway checkpoint during Tulin of Rito’s main quest. This quest will have you jump through a chain of islands in Hebra Sky to solve the mystery of the Blizzard.
While you may come across this shrine automatically, below is a detailed guide to finding and completing the Kahatanaum shrine in Zelda: Tears of the Kingdom in case you missed it. Make sure to carry some hammer weapons and Fire Fruits to proceed through this area.
We also recommend purchasing and equipping Snowquill armor set as the temperatures in this area fall below freezing point.
Kahatanaum Shrine Location in Zelda: TotK
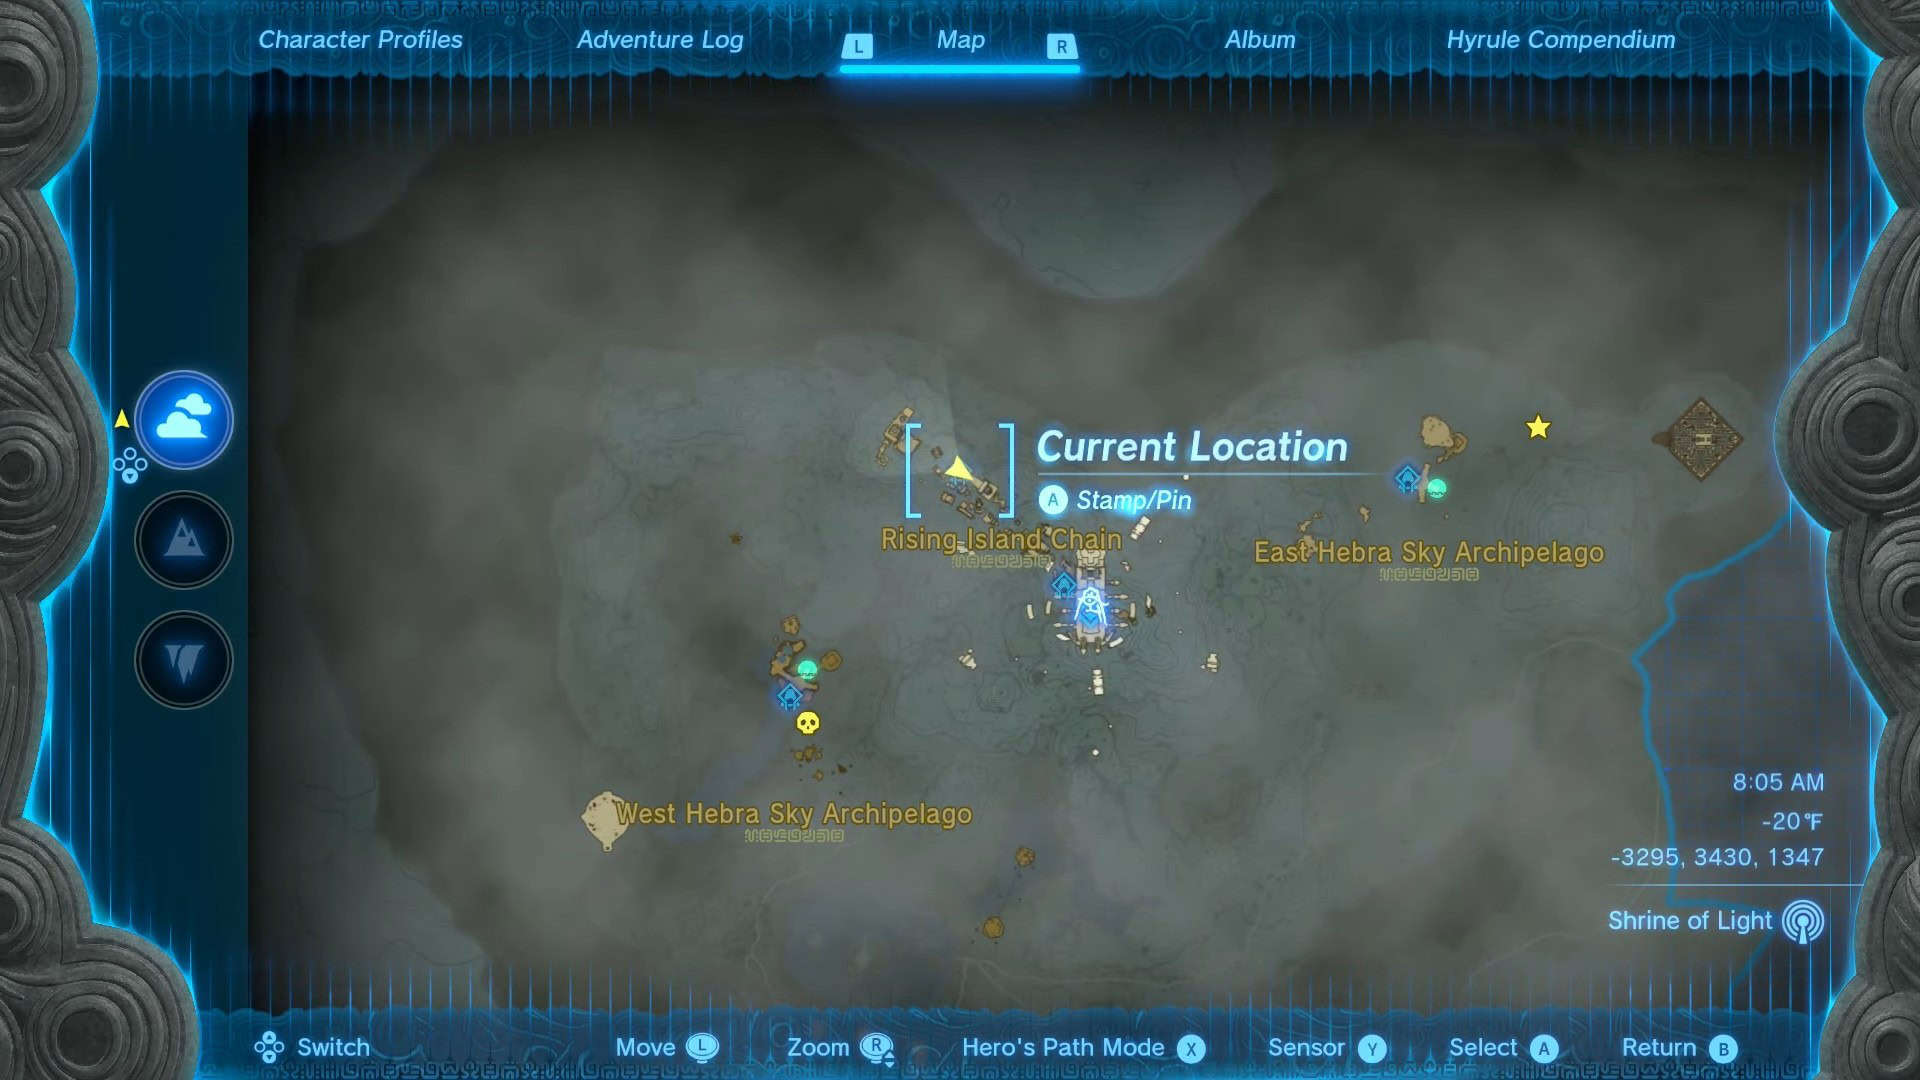
Kahatanaum Shrine is in the Rising Island Chain of the Hebra Sky Archipelago. This shrine serves as a checkpoint for the players when attempting Tulin of Rito’s main quest to locate the source of the blizzard in the region.
The exact coordinates for Kahatanaum Shrine in Zelda: Tears of the Kingdom are (-3295, 3430, 1347). You will probably visit this shrine while traveling with Tulin to solve the regional phenomenon. However, we have a detailed guide to help you find it if you miss it.
Kahatanaum Shrine Walkthrough
As Kahatanaum Shrine is a blessing shrine in Zelda: Tears of the Kingdom, no puzzles or challenges are associated with it. You only need to find this shrine to earn its blessing.
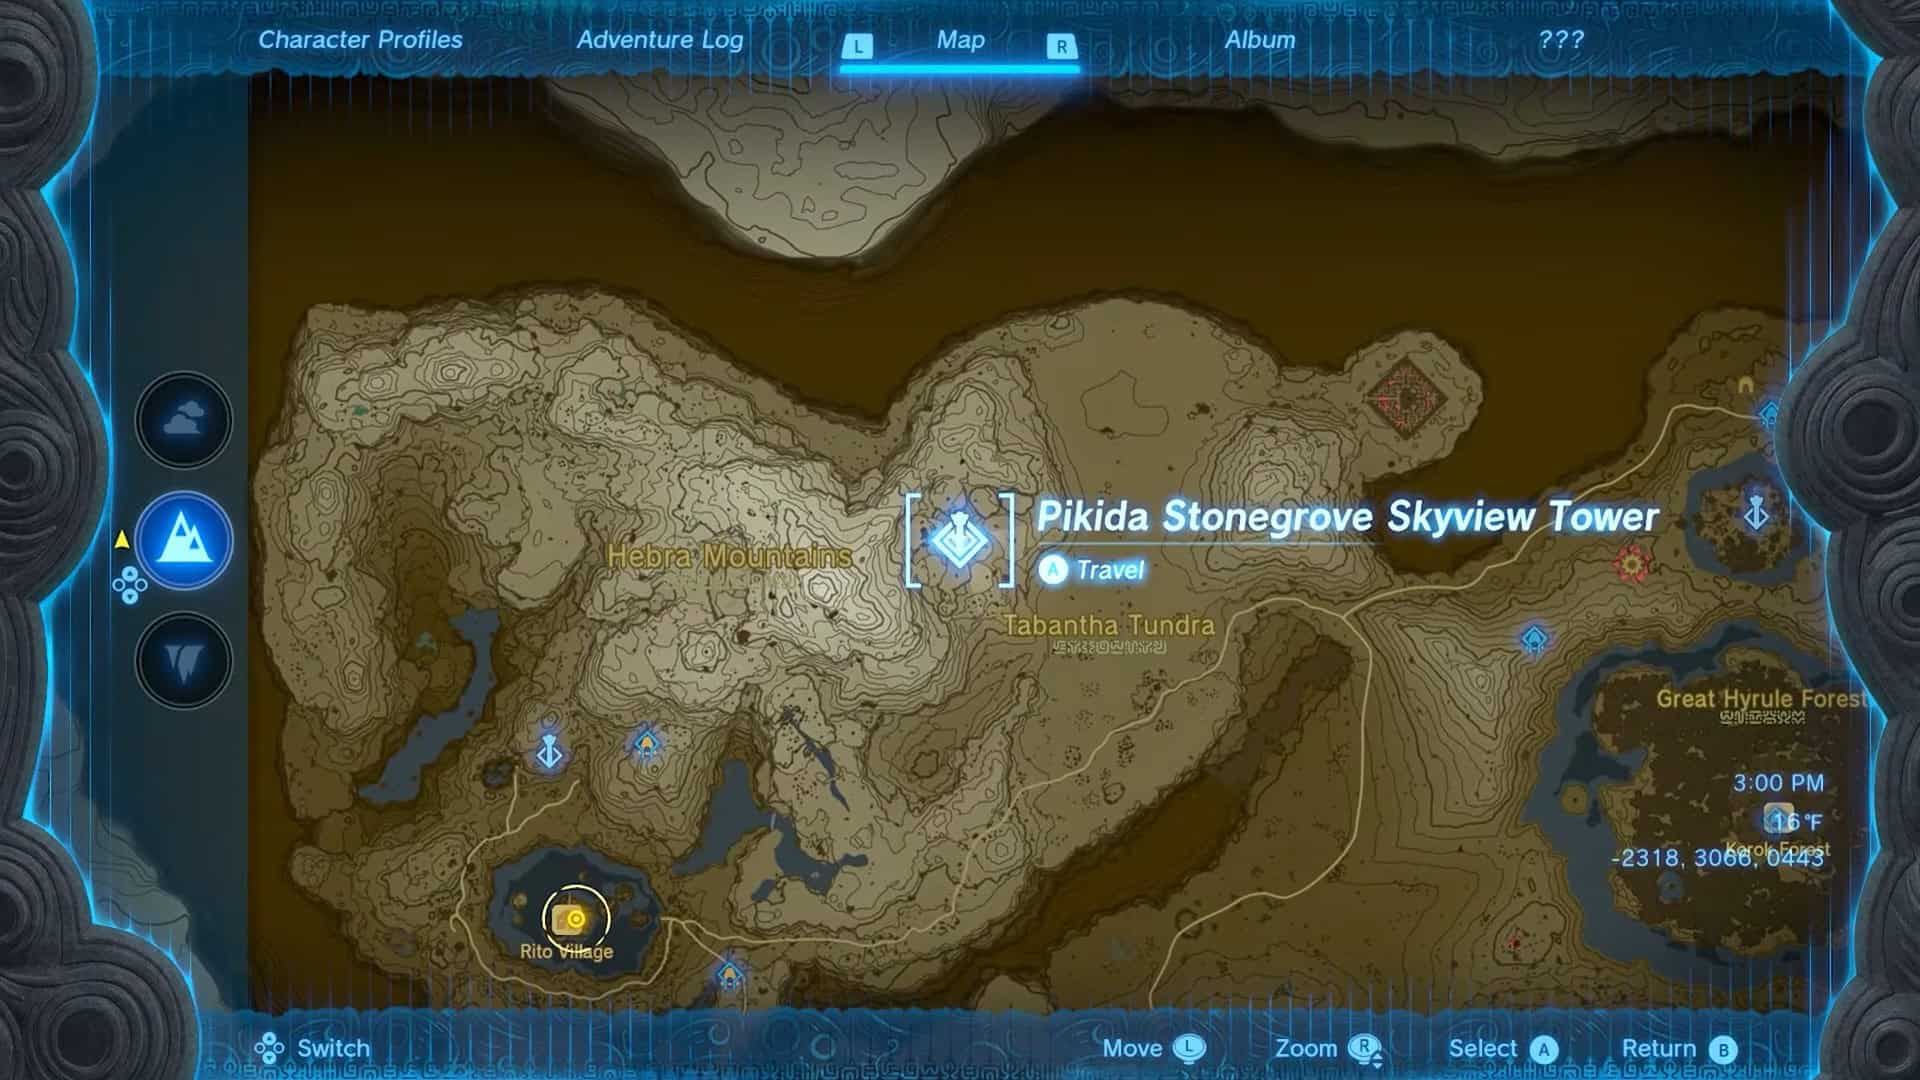
1. Start from Pikida Stonegrove Skyview Tower (-2318, 3066, 0443). It is to the northwest of Tabantha Tundra and east of Hebra Mountains.

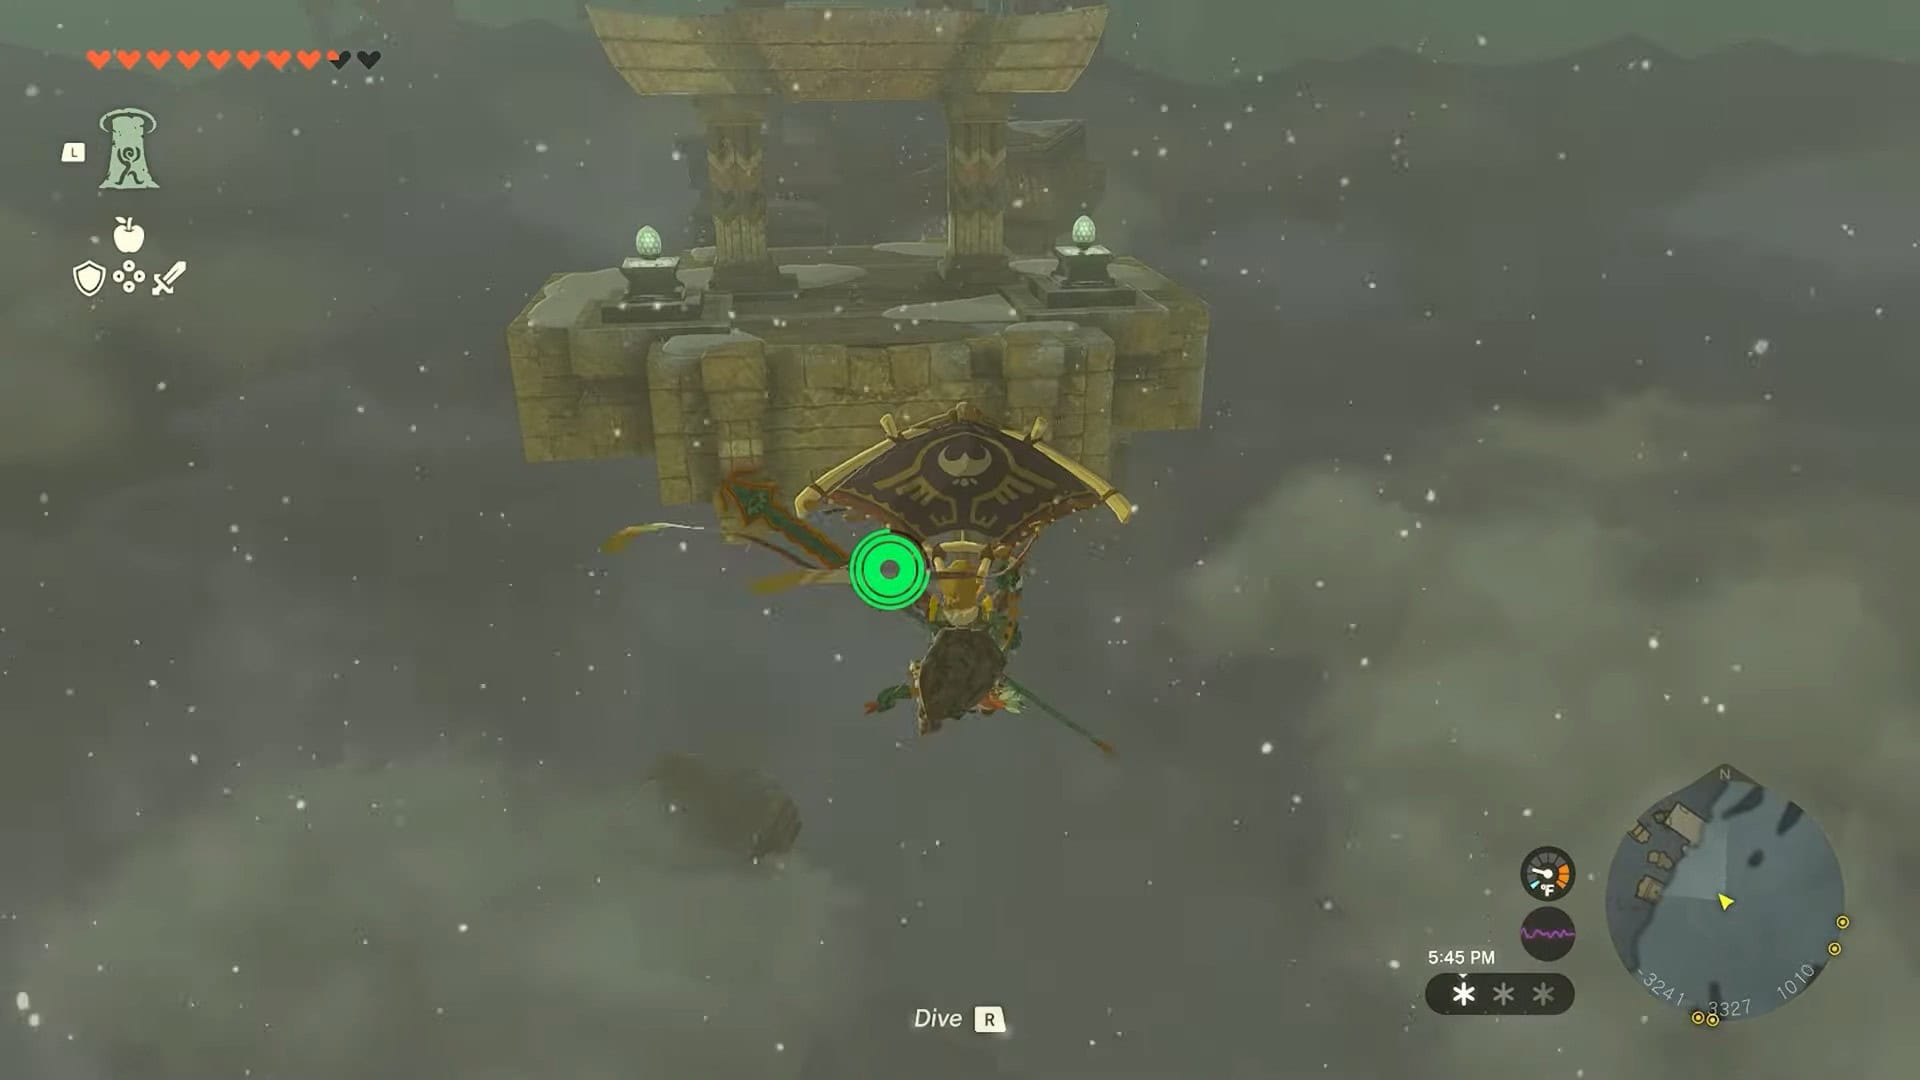
2. Once you get high in the air, turn west to find the Rising Island Chain. It is always snowing in this area, and it has a lot of flying enemies (Aerocuda).
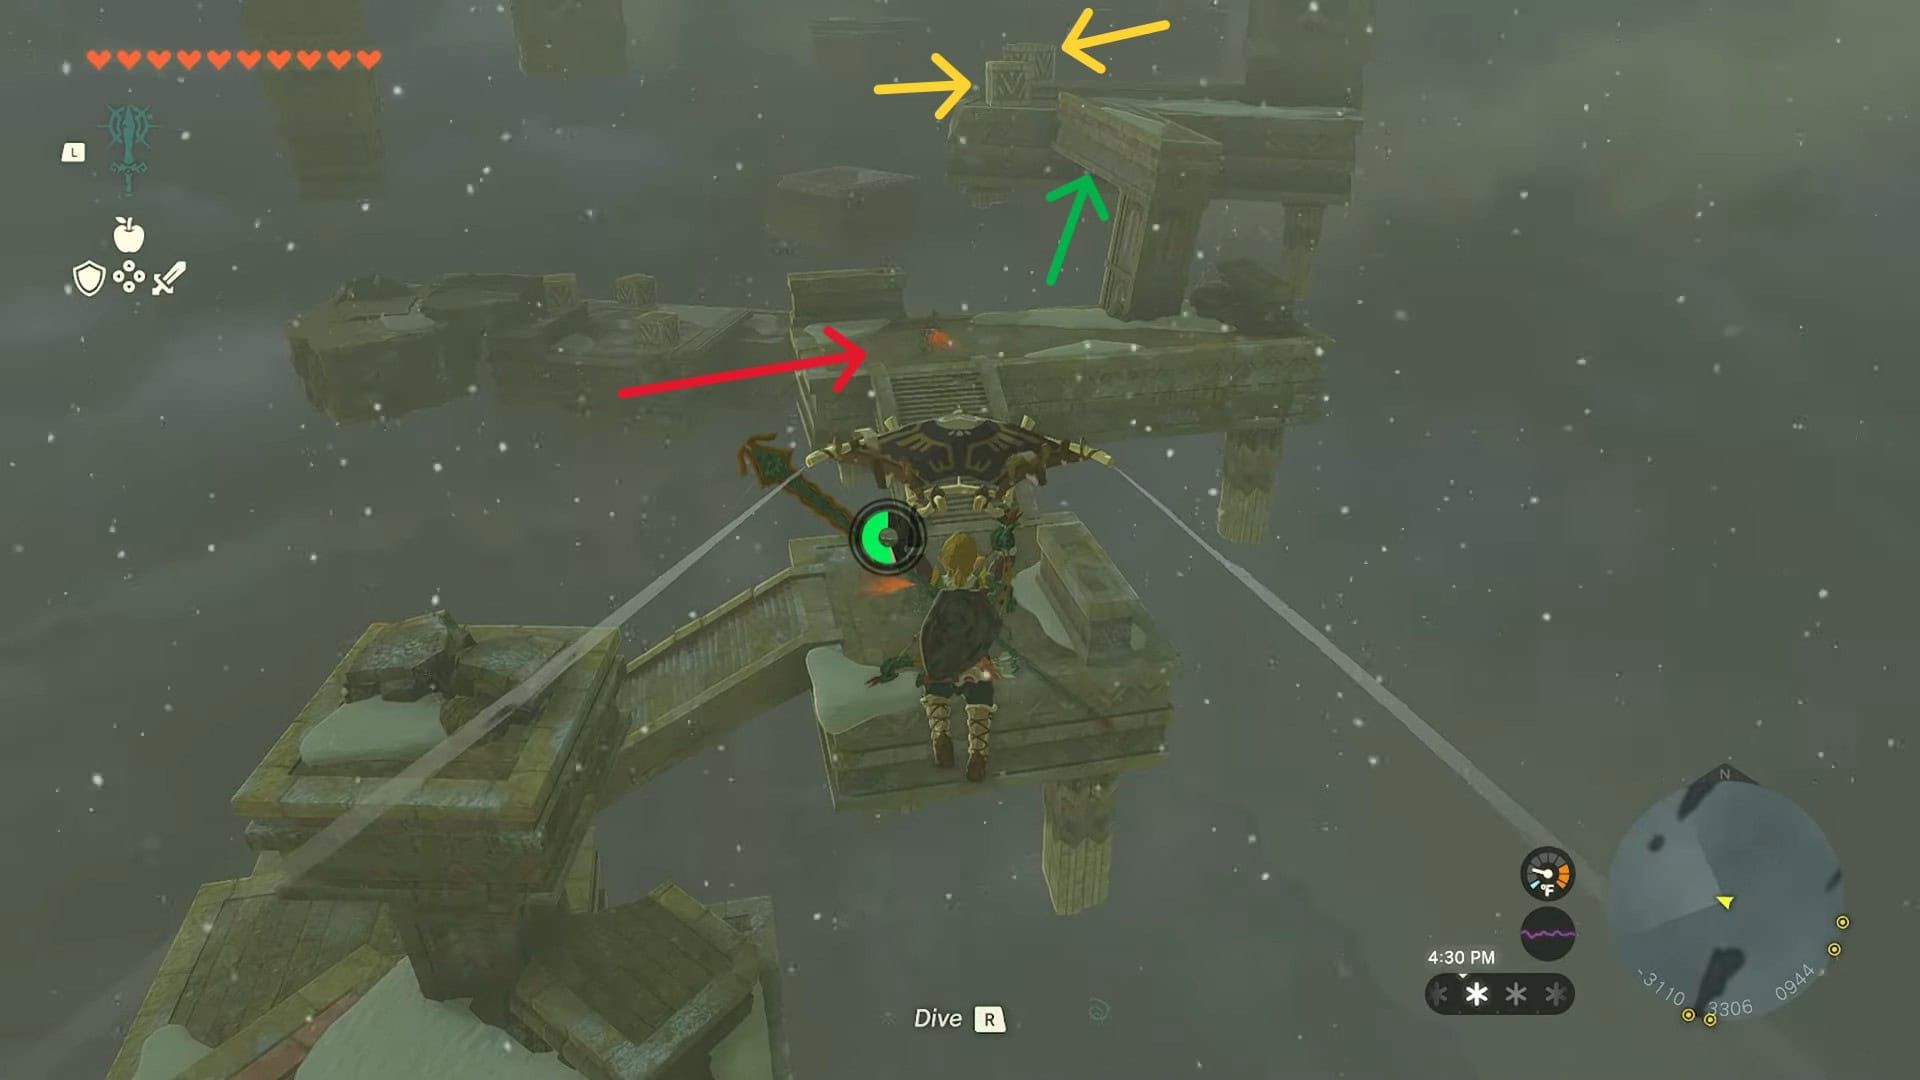
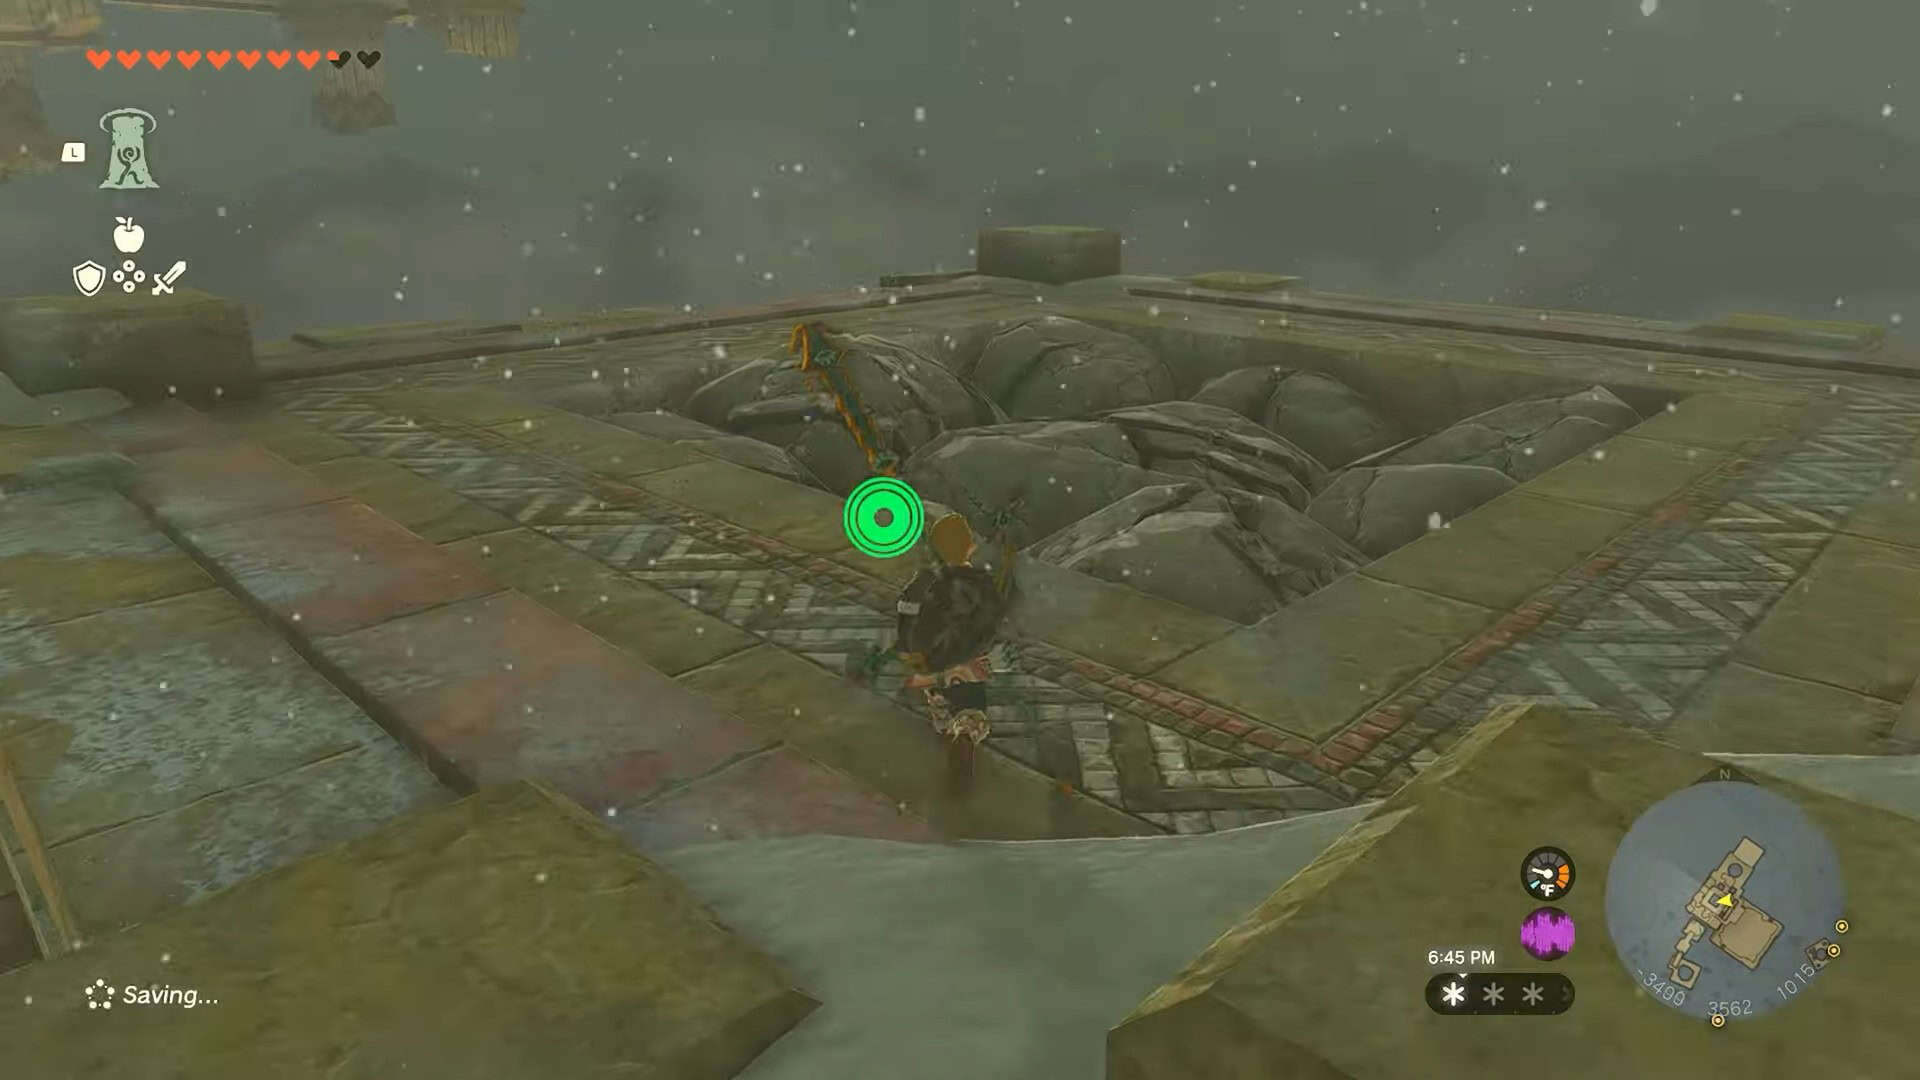
3. Drop down to the highest possible point. However, you will need a lot of stamina for this purpose.
4. Kill the construct enemy and turn right to find a platform above you. Use Ascend to go up.
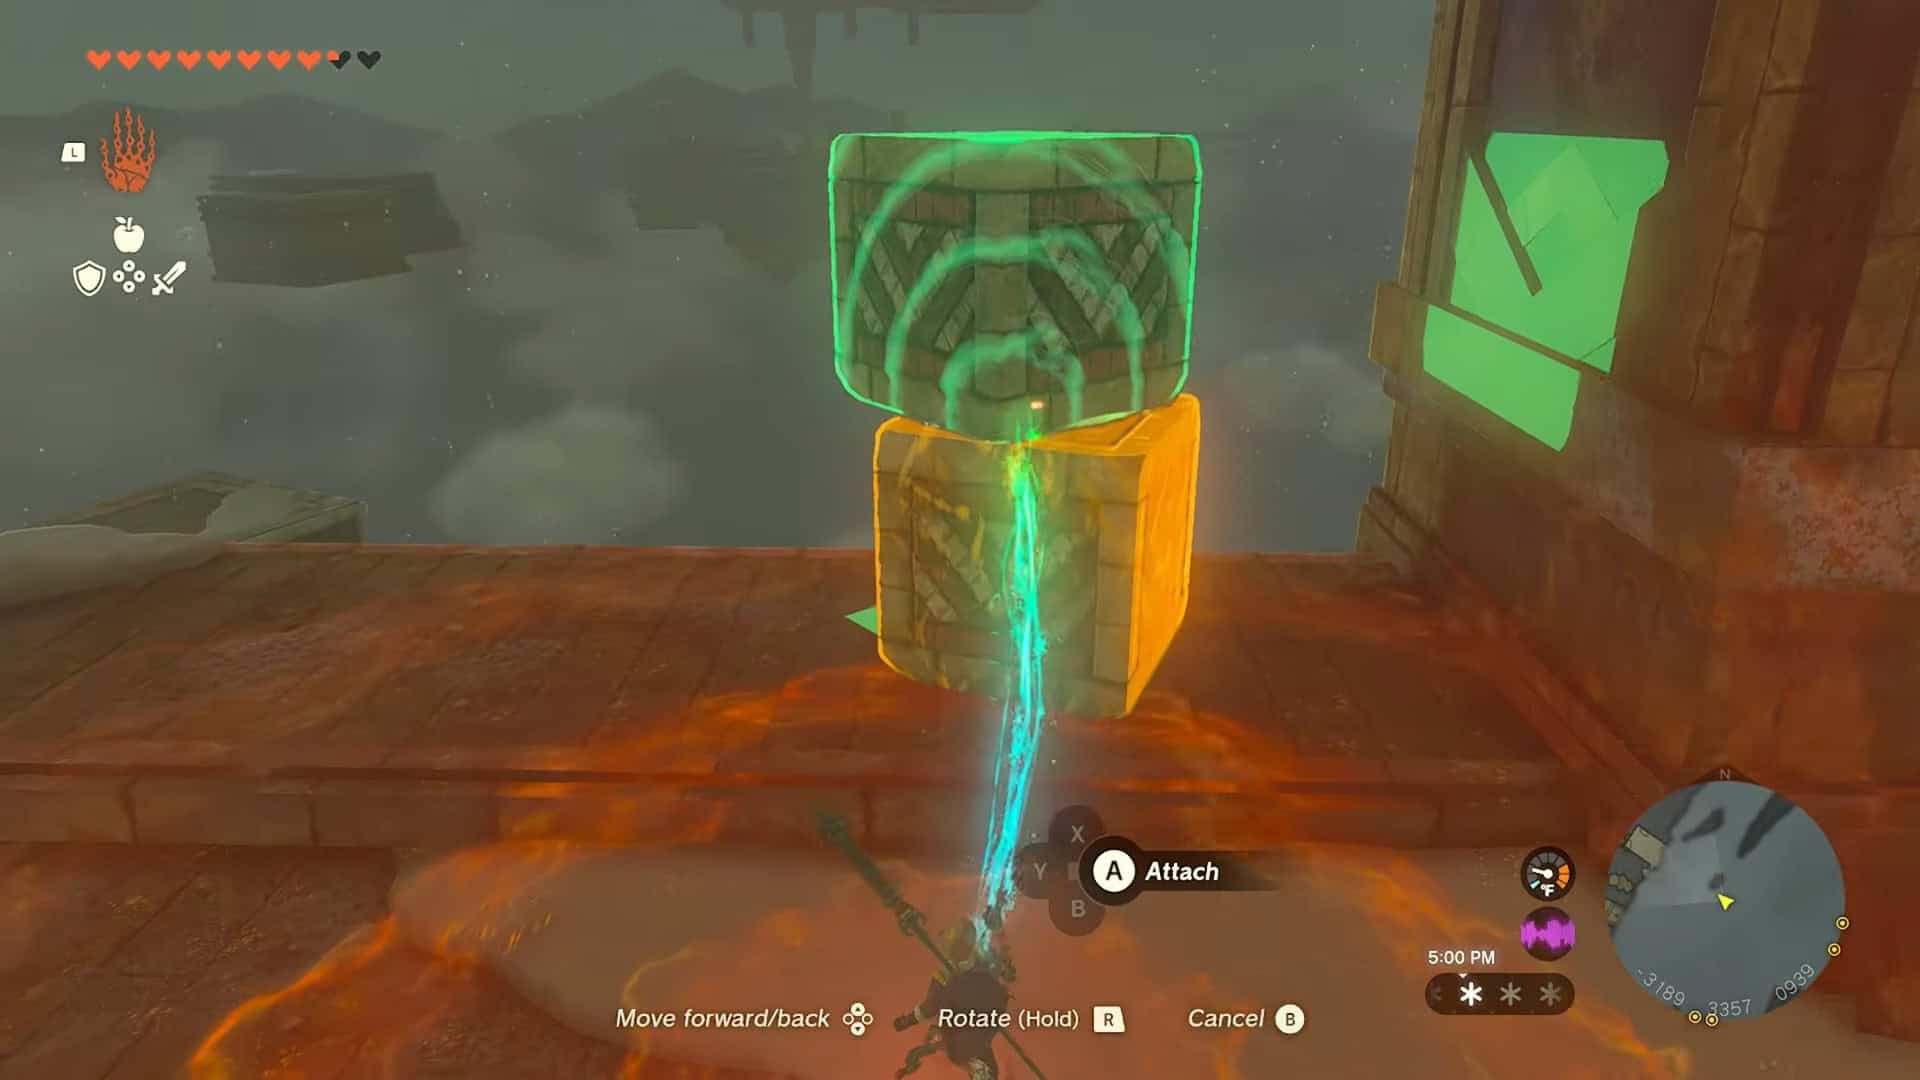
5. Attach both blocks on top of each other by using Ultrahand. Climb the blocks and use Ascend once more.
6. Jump towards the pillar to the south. Take out your bow and fuse some Fire Fruit to it.
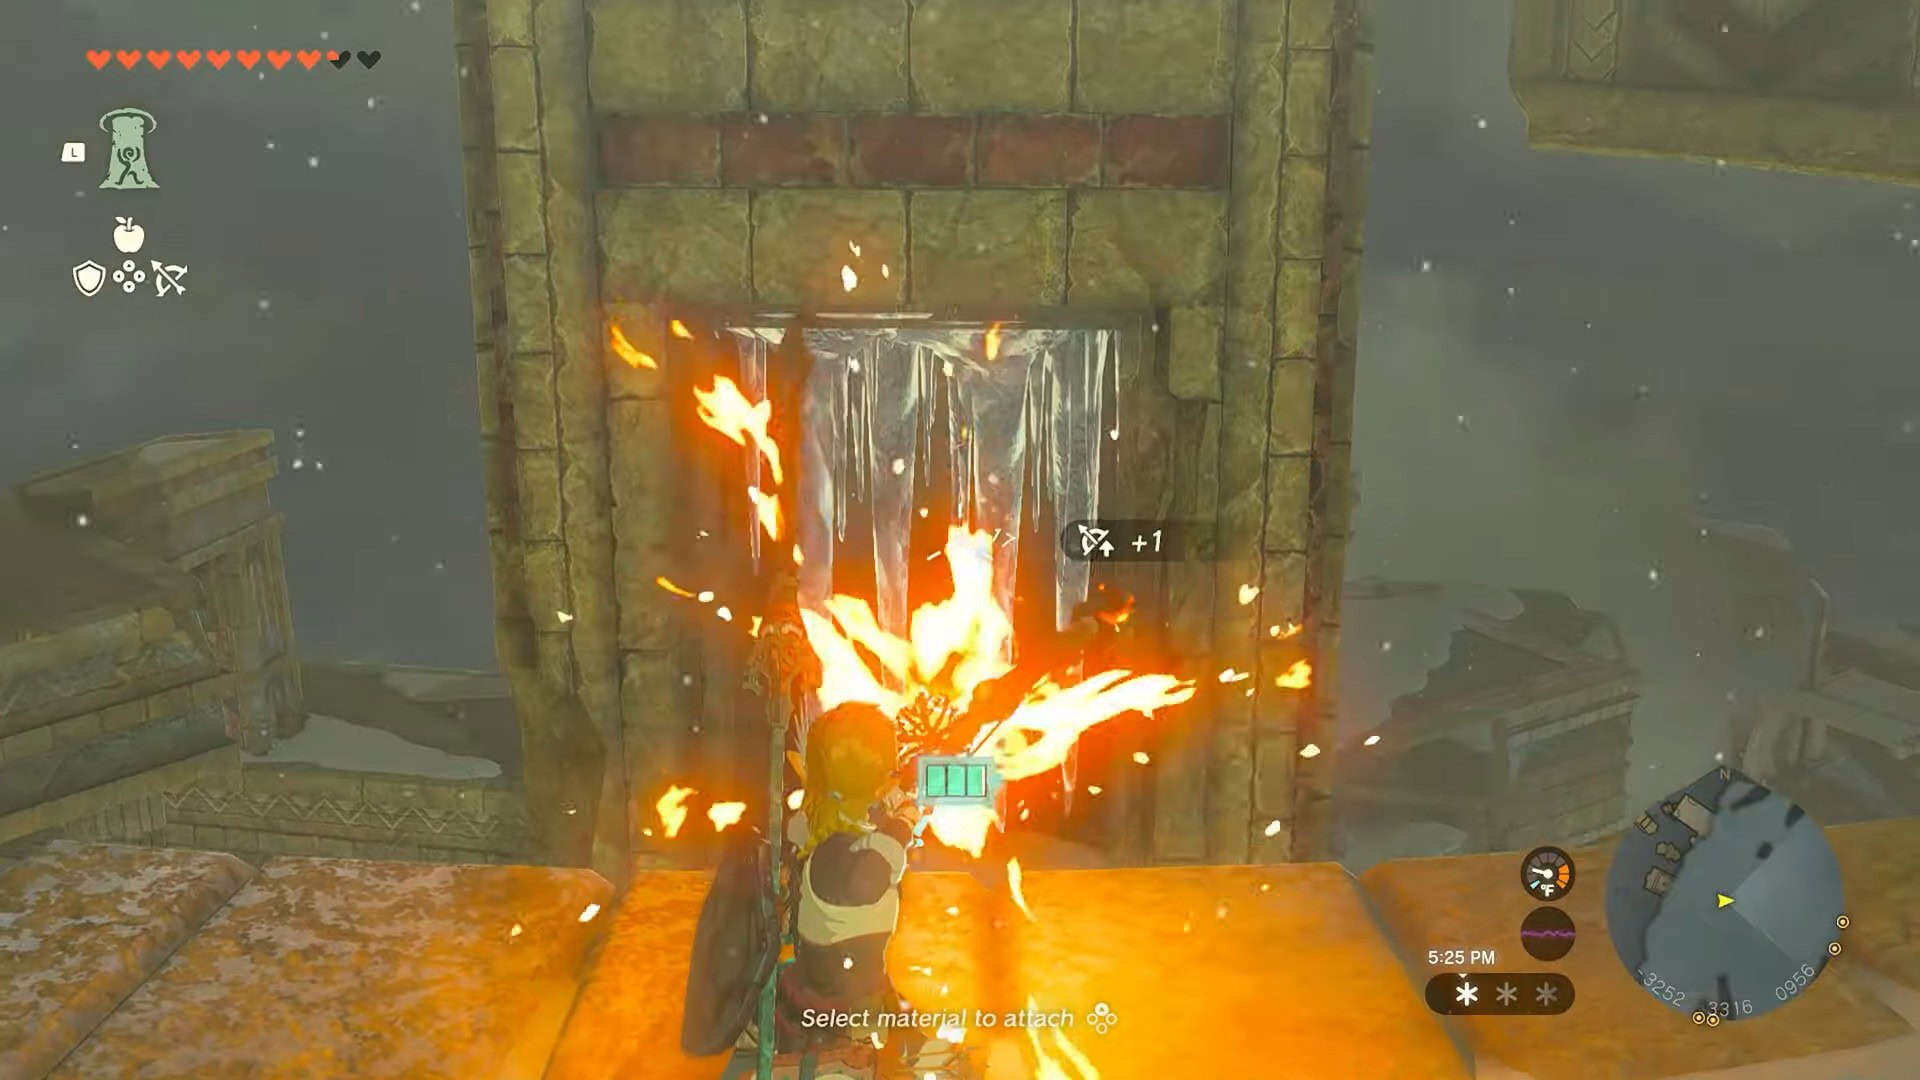
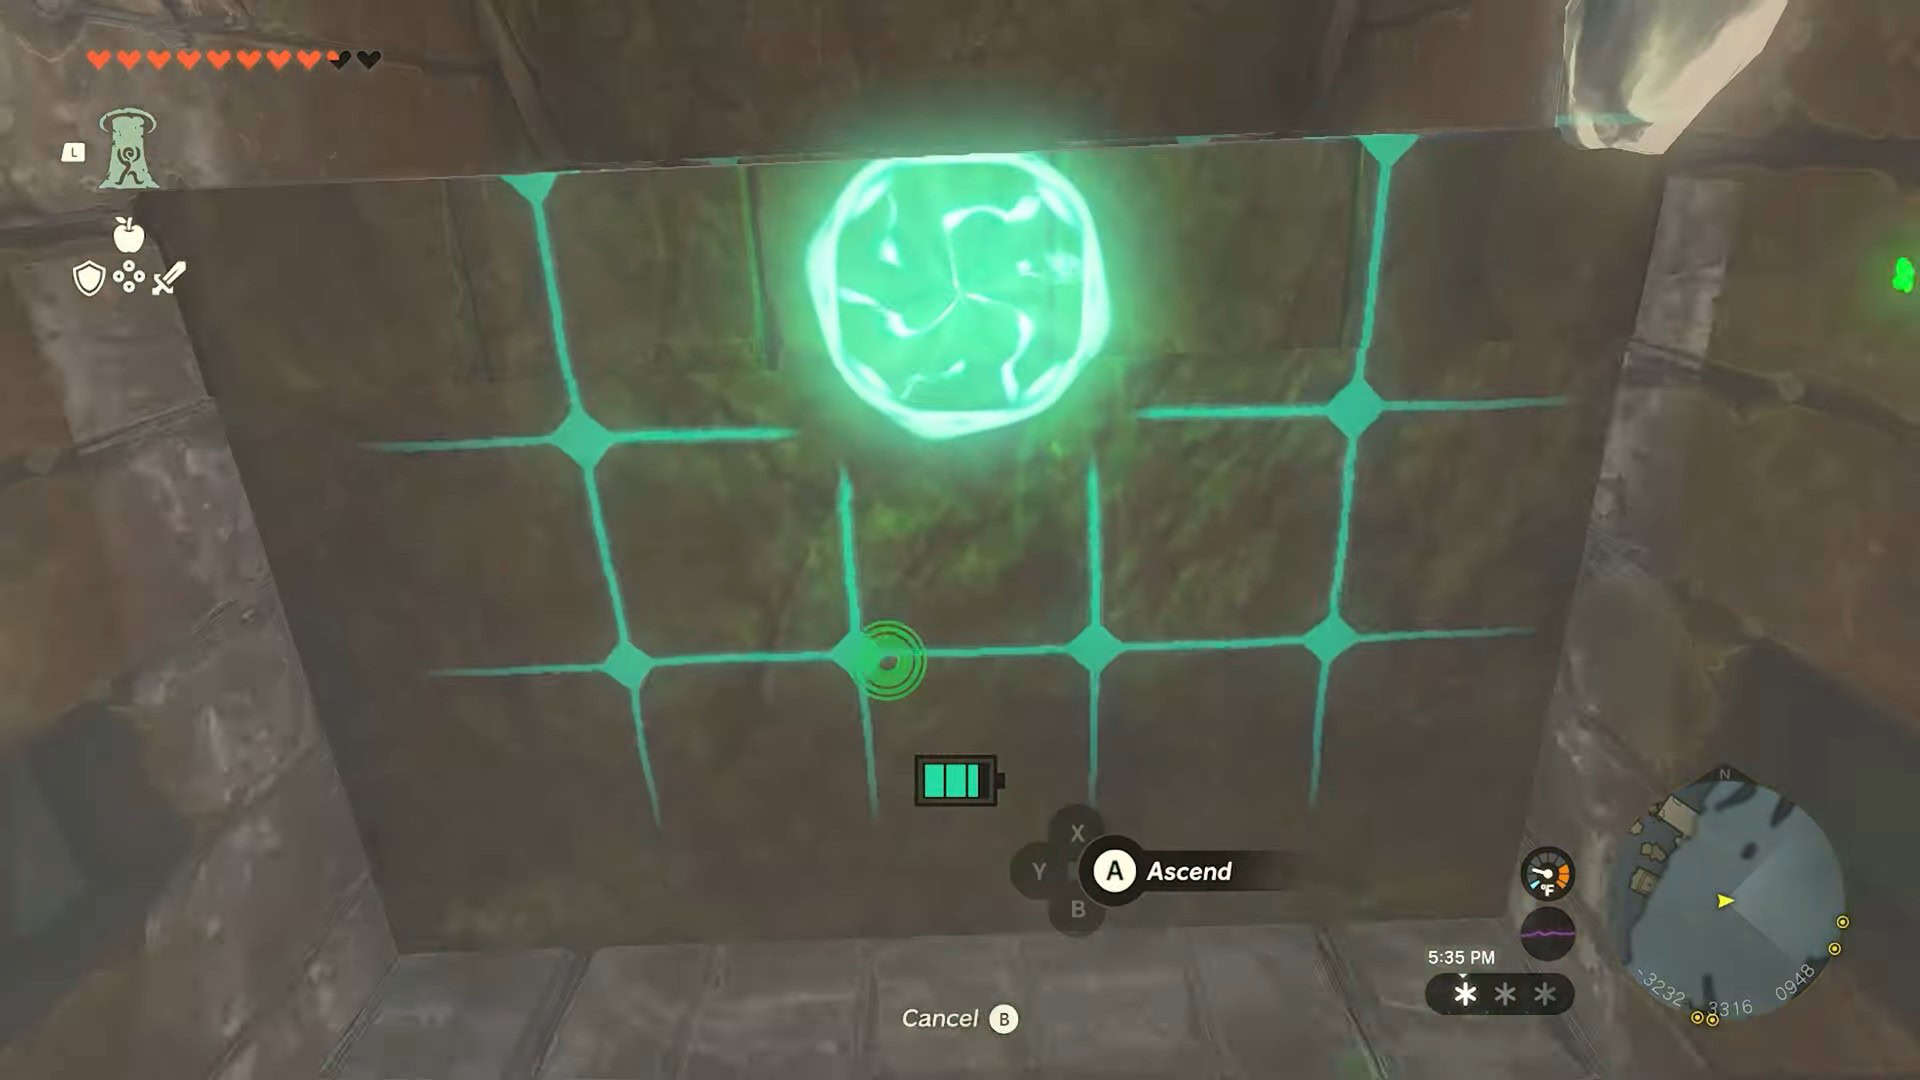
7. Burn the icicles and make your way inside. Use Ascend here once more to reach the top of the pillar.
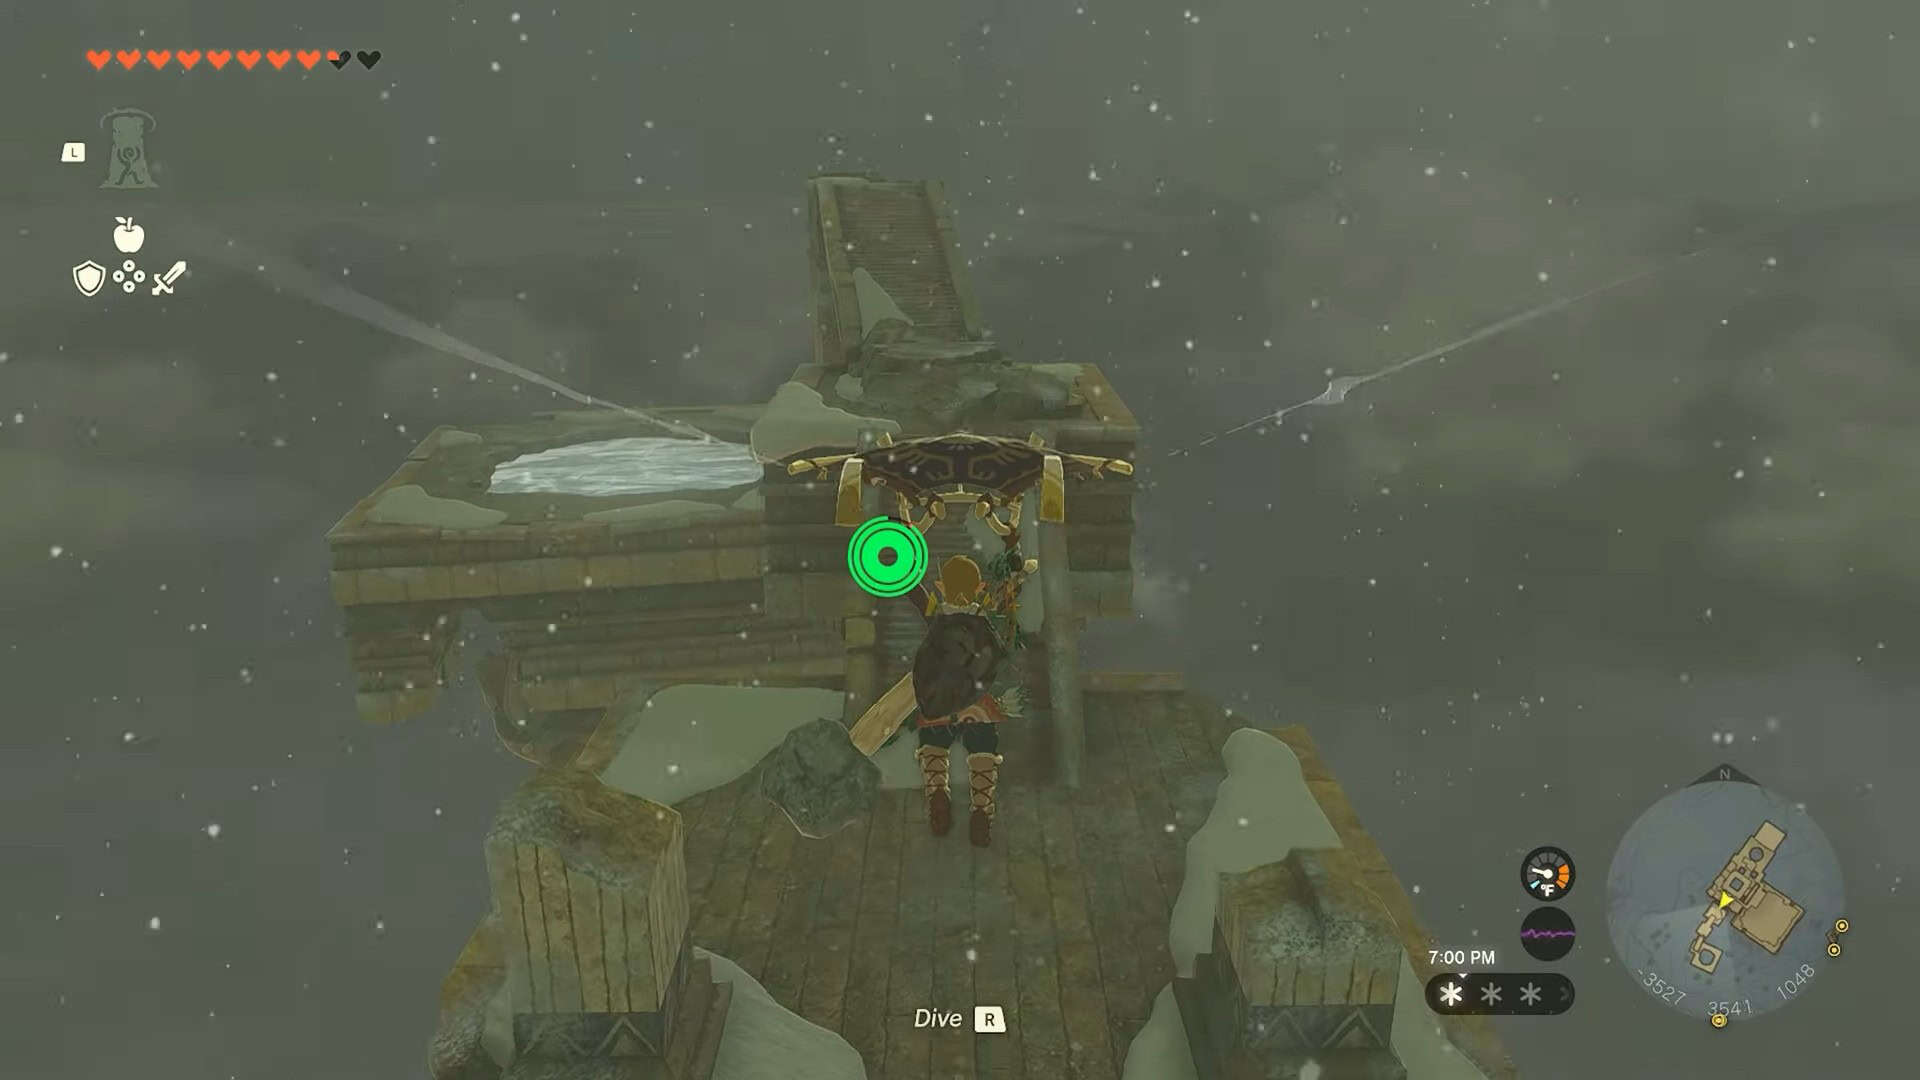
8. Turn back and jump towards the next island. Use your paraglider to reach it safely.
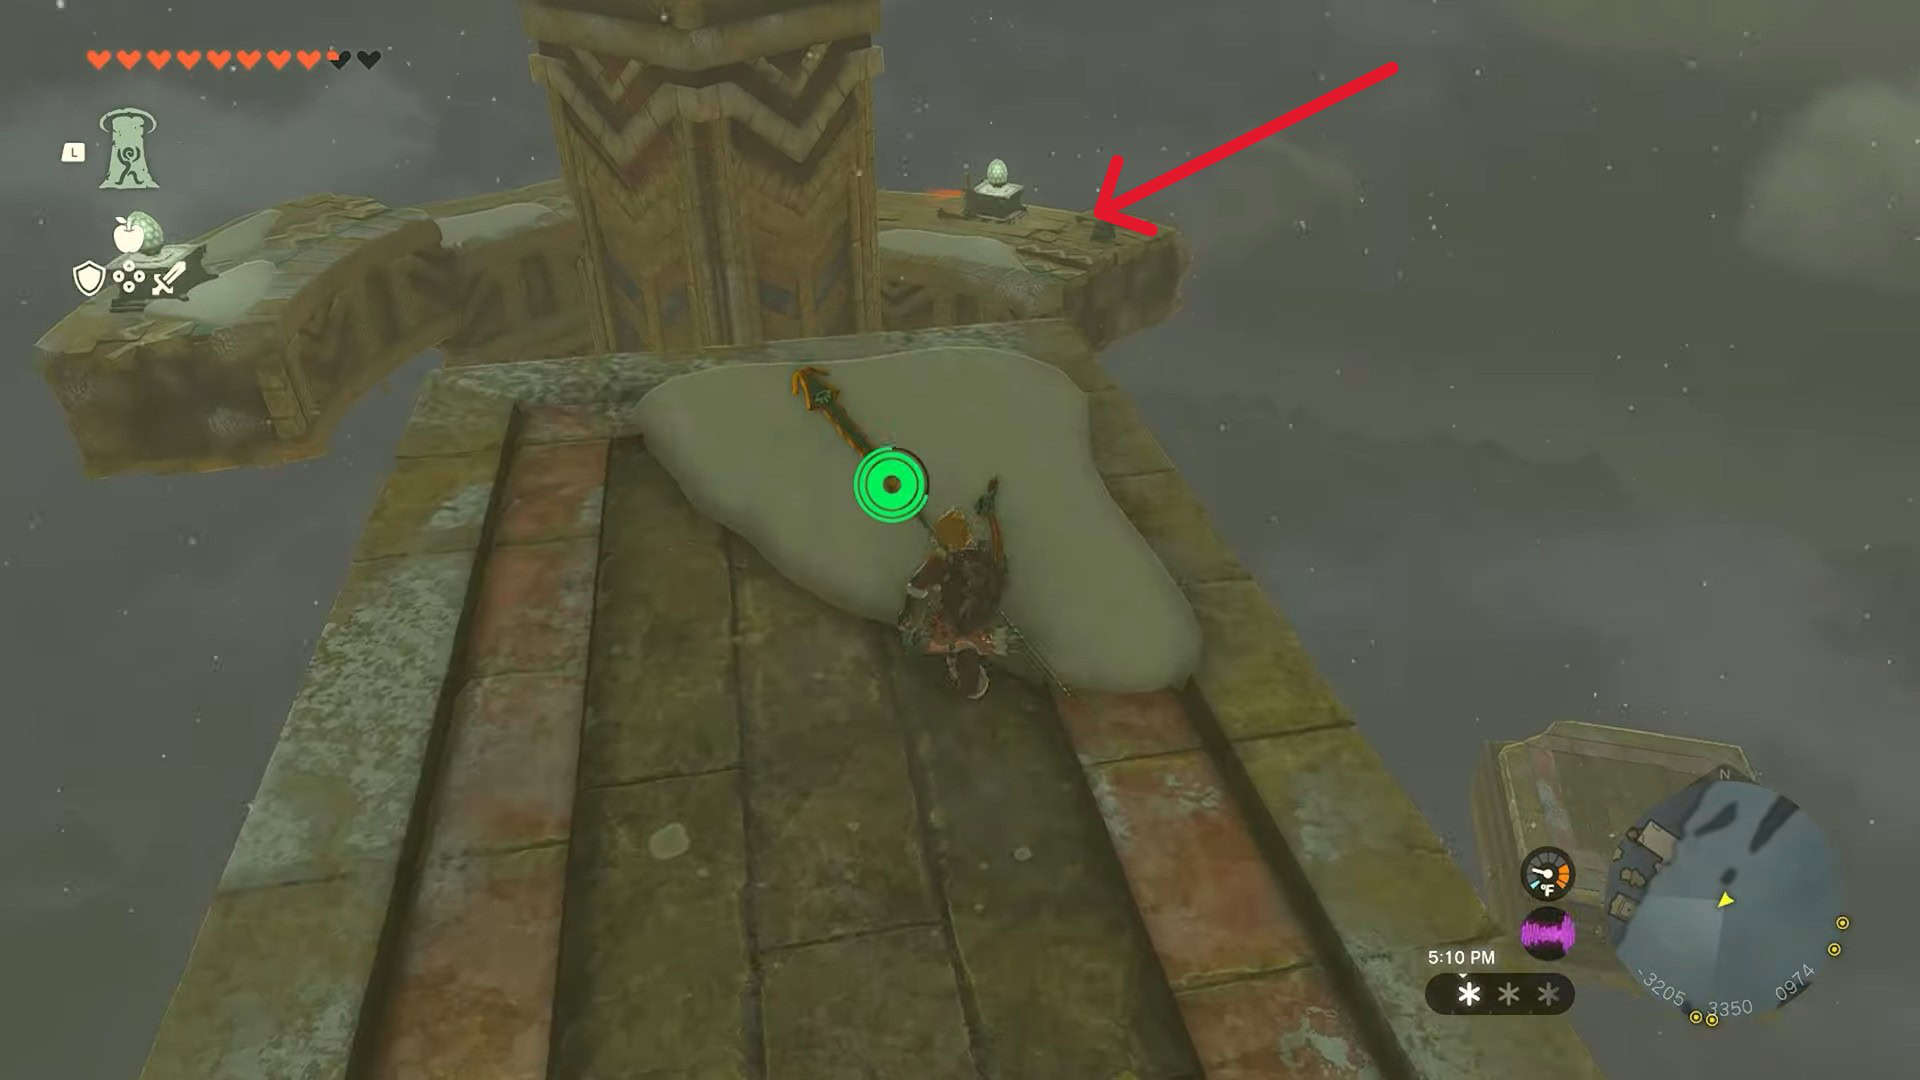
9. Use Ascend to reach the top of this island and keep going forward.
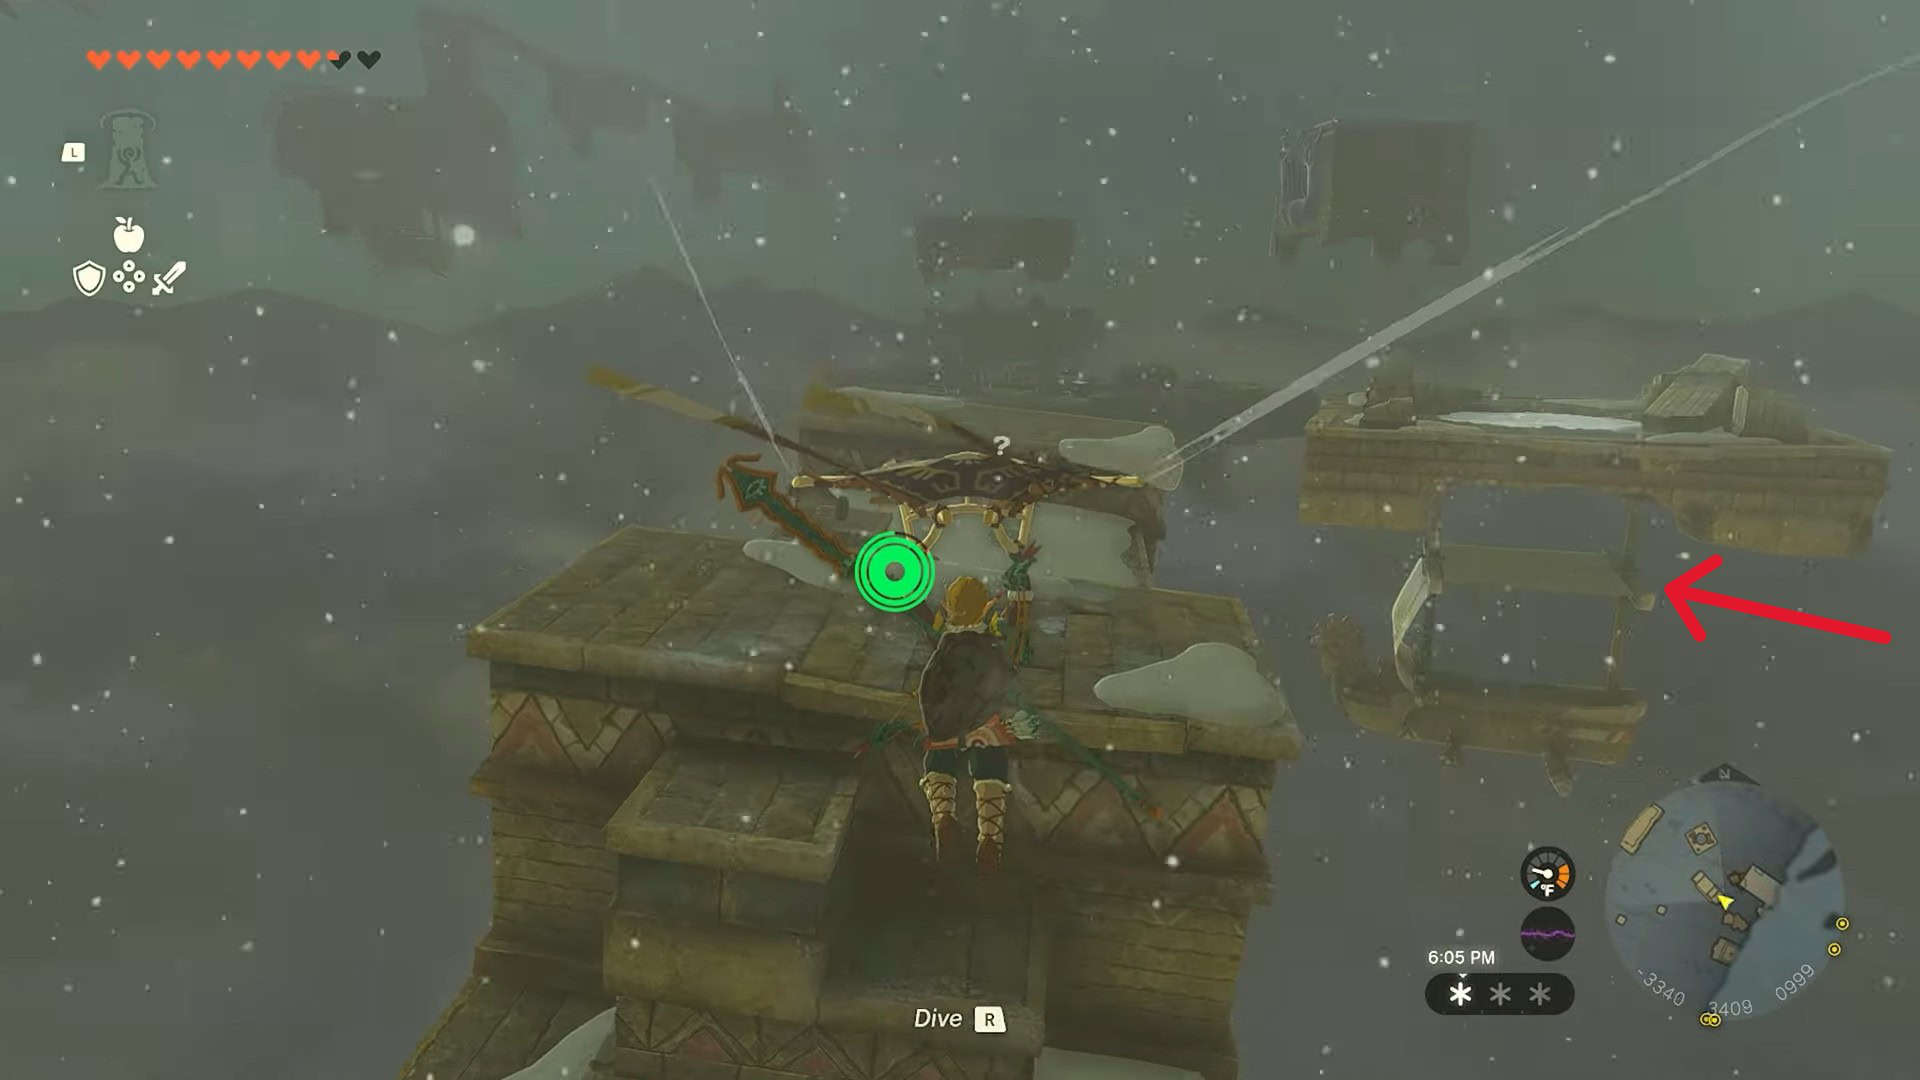
10. Jump and glide to reach the next island. You will notice a ship with a trampoline on its top to the right.
11. Reach this island and hit the ice with a fire arrow (Arrow + Fire Fruit). Jump down and use the trampoline on the ship to get high in the air.
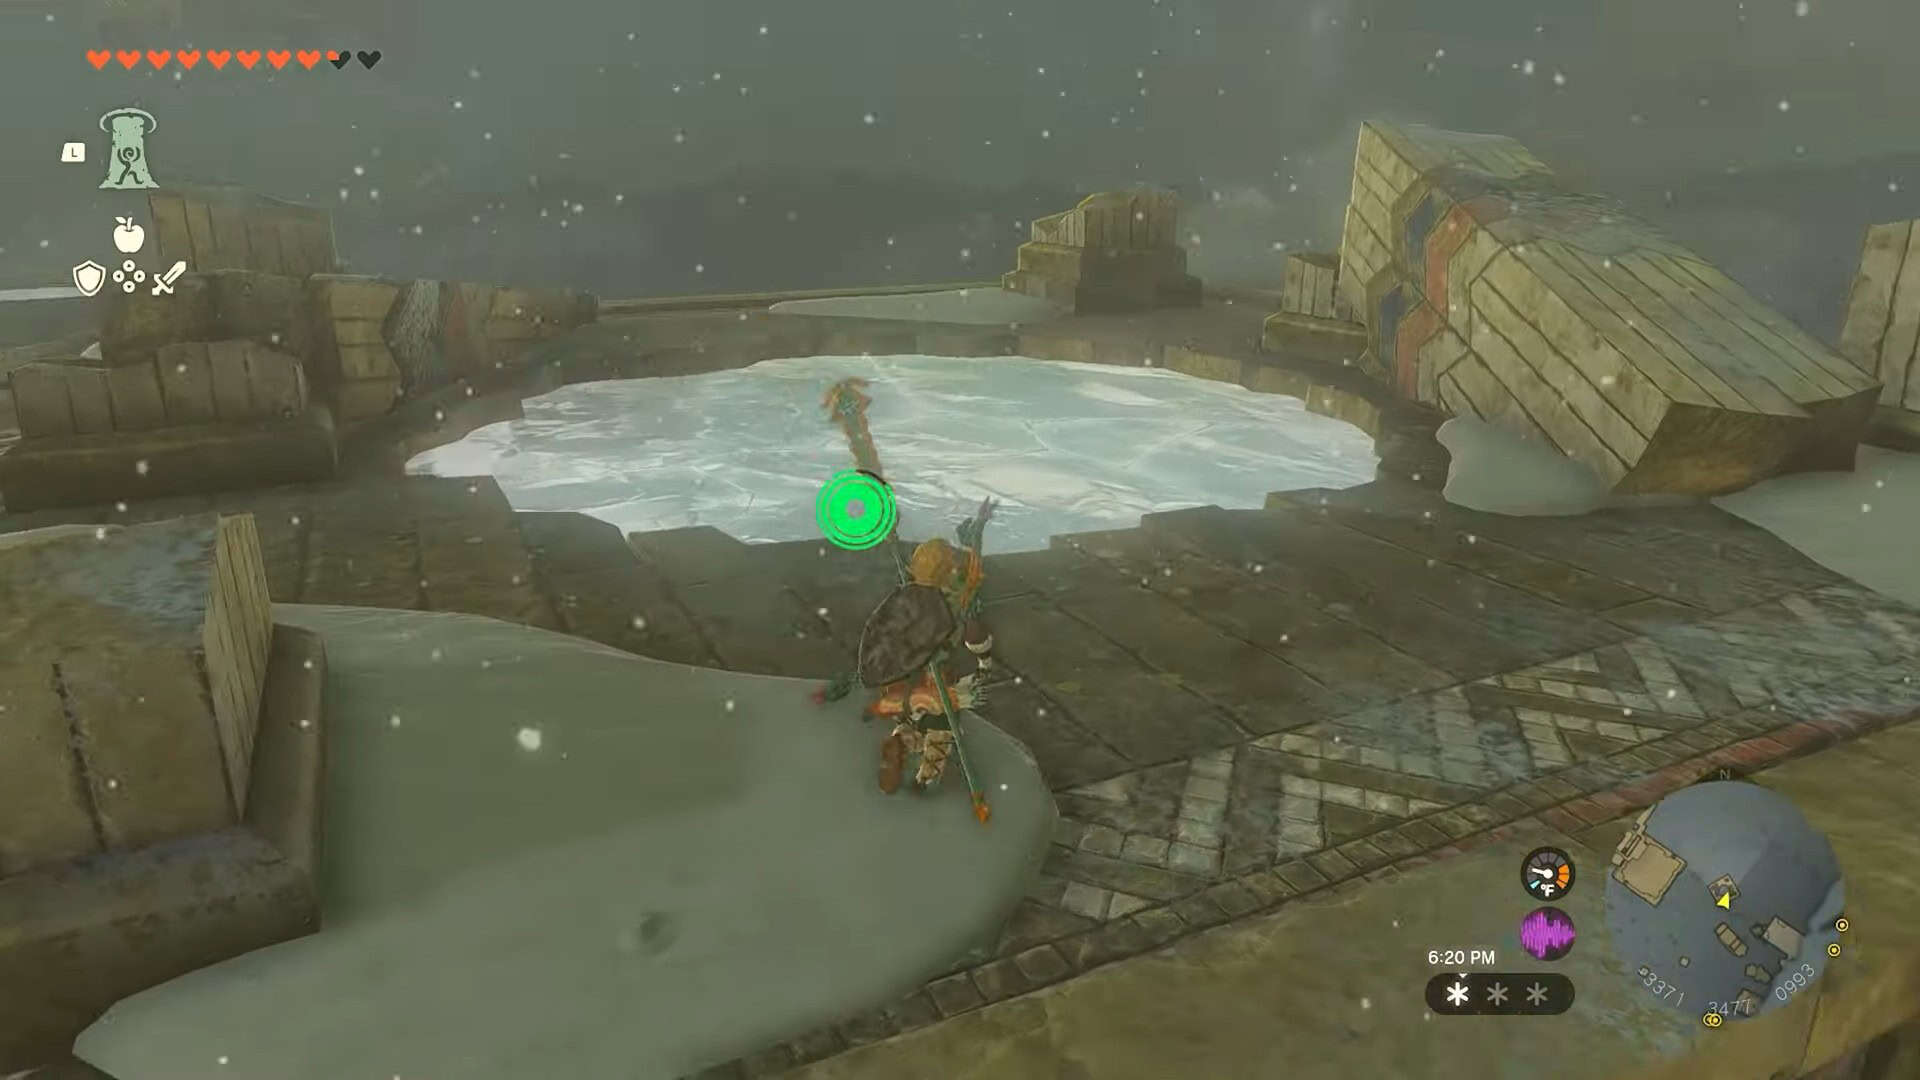
12. Glide towards another island with a large ice block blocking your path to the ship.
13. Reach its top to find some boulders on the roof. Destroy them with a hammer or bomb arrows. Jump down to find another trampoline attached to a ship.
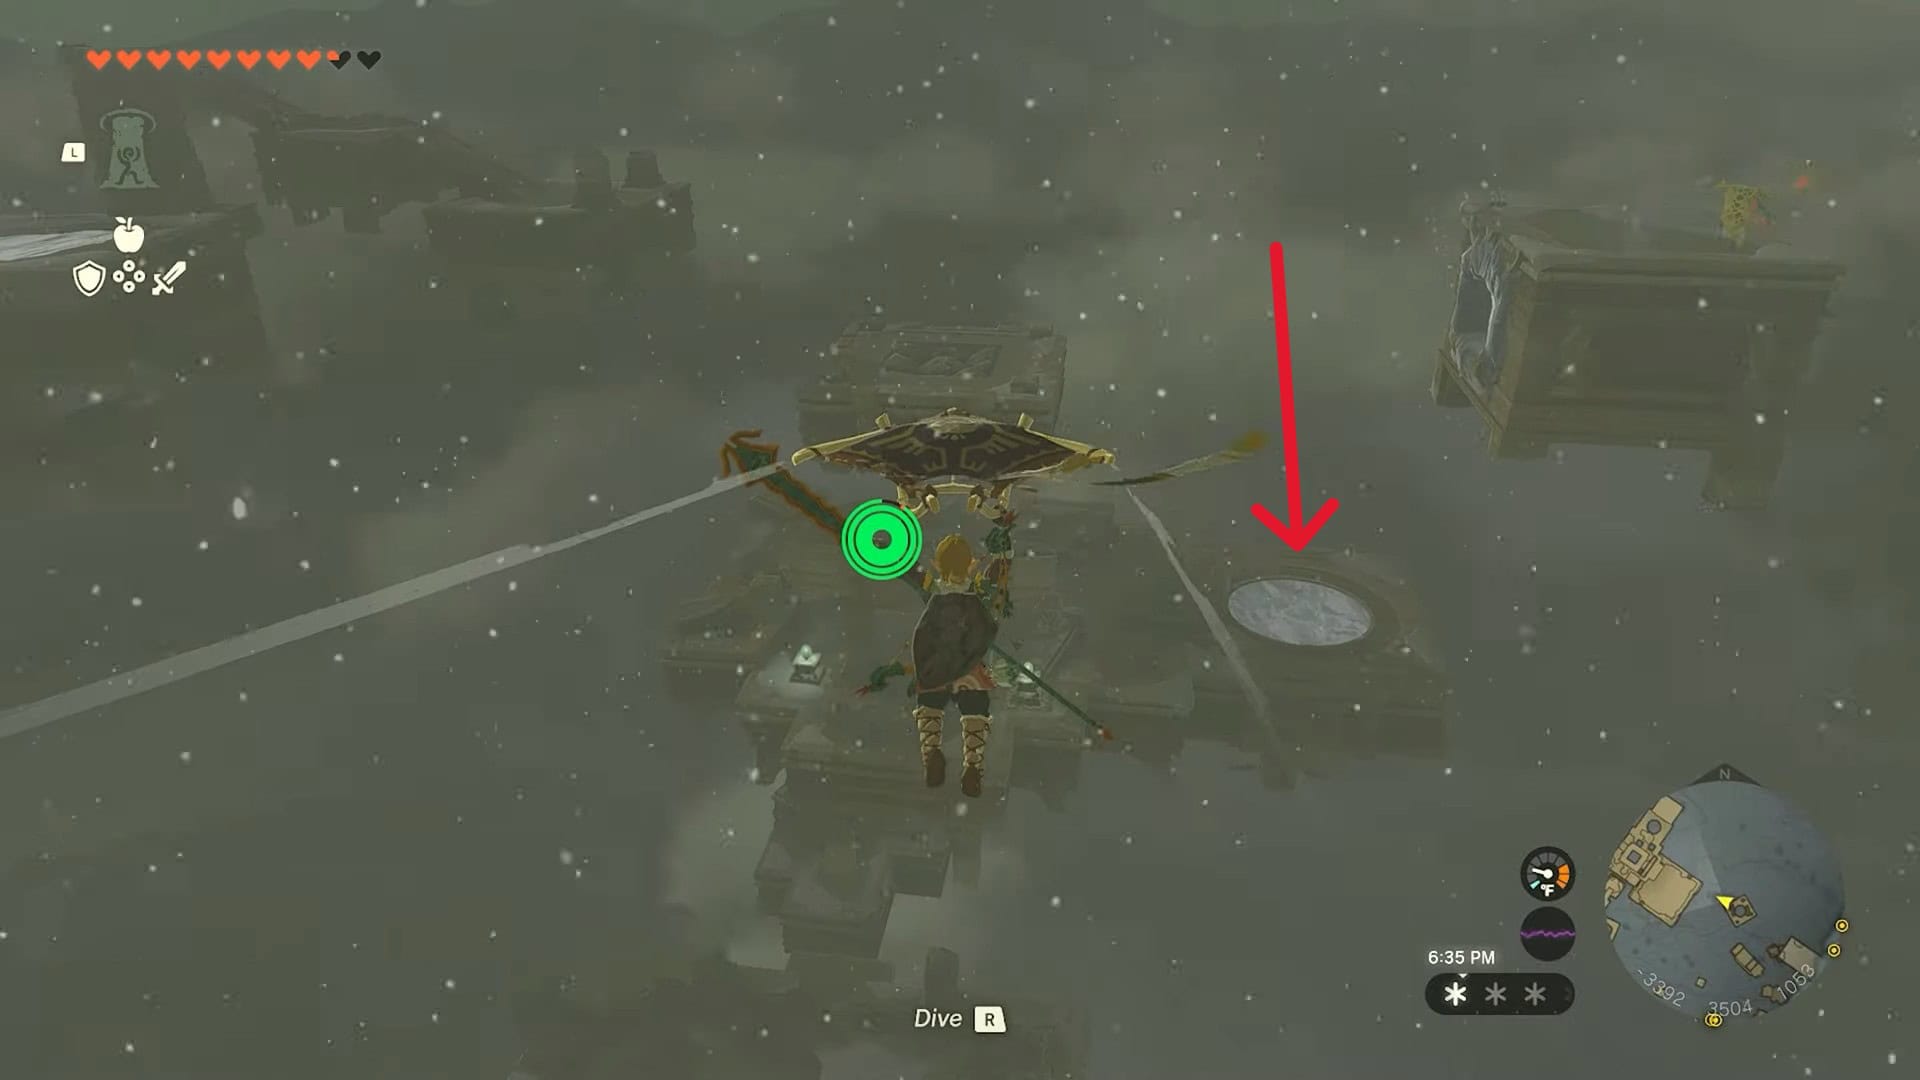
14. Jump and glide to reach the next island with another ice block. Burn it down with fire arrows and jump on the trampoline to get airborne.
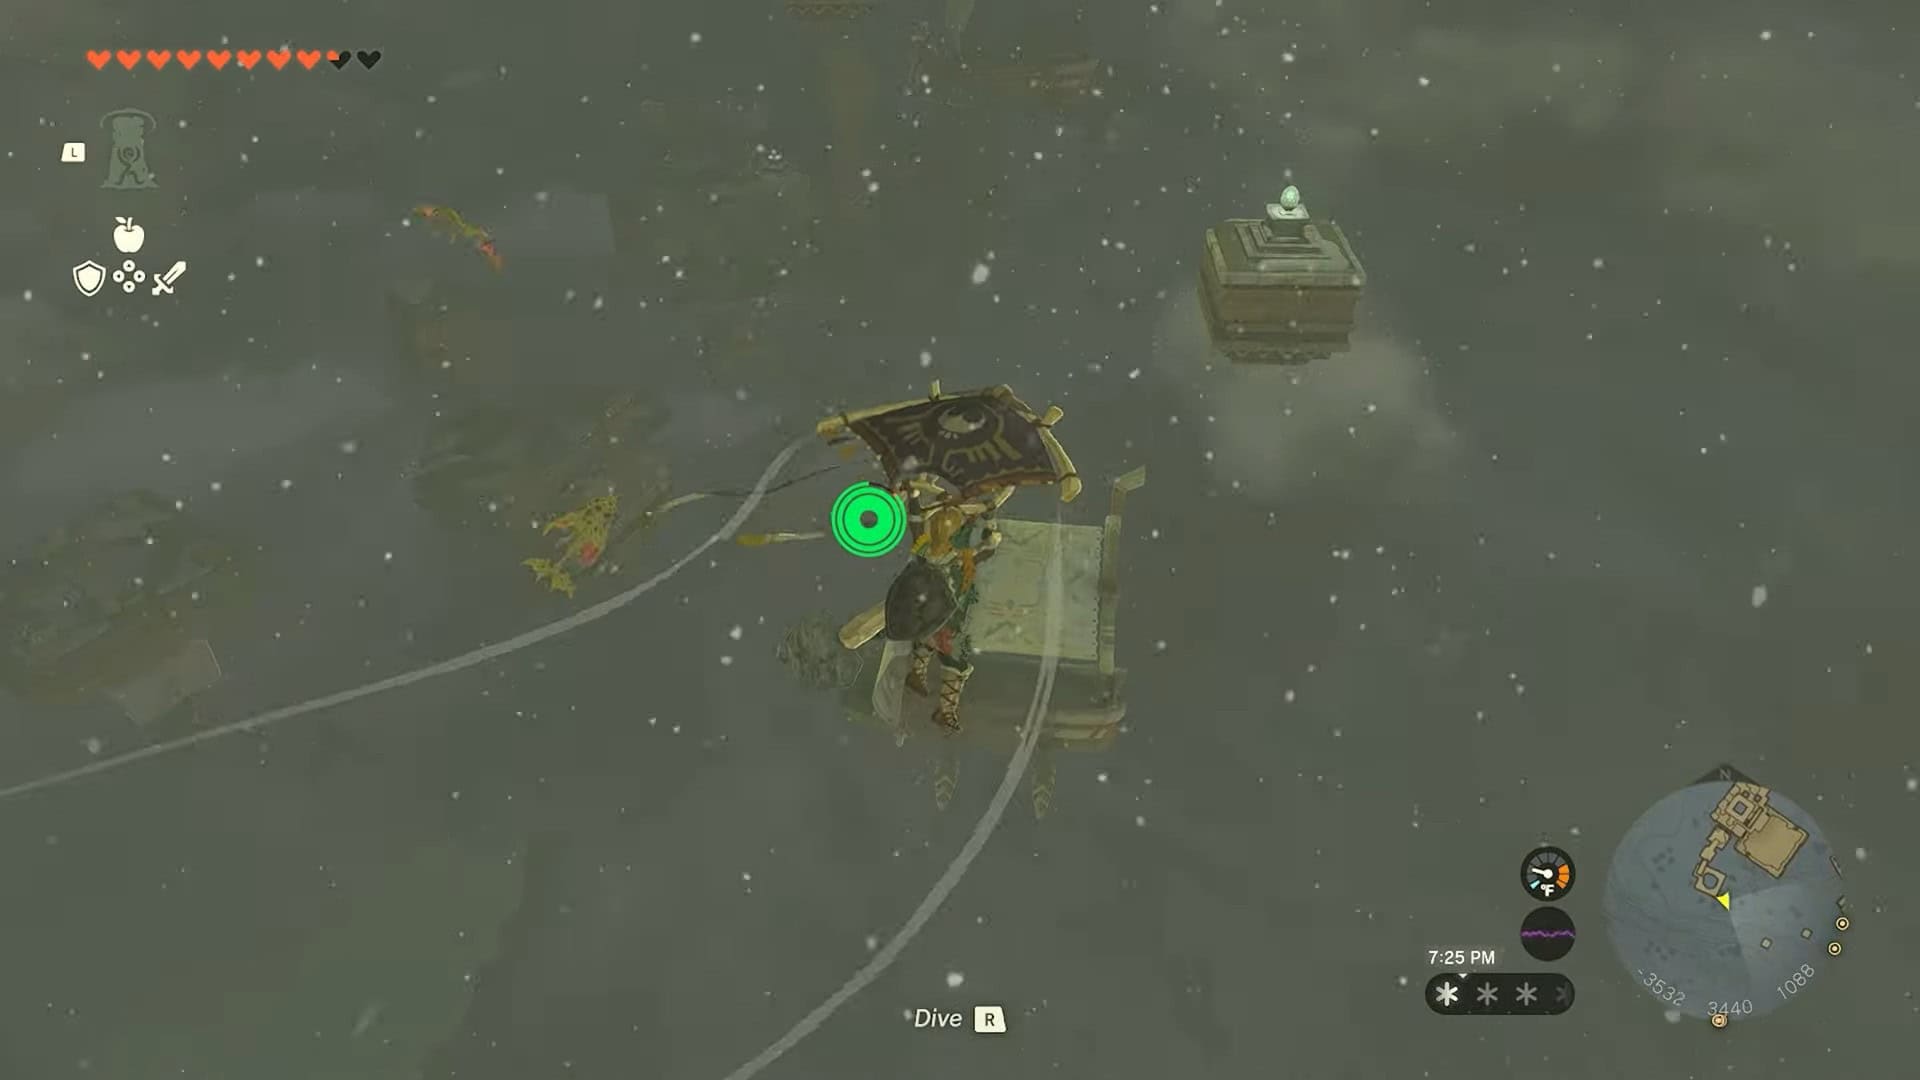
15. Now you must use trampolines on multiple moving ships to proceed through Rising Chain Island.
16. There are a lot of enemies in this area that you can kill to collect their parts.
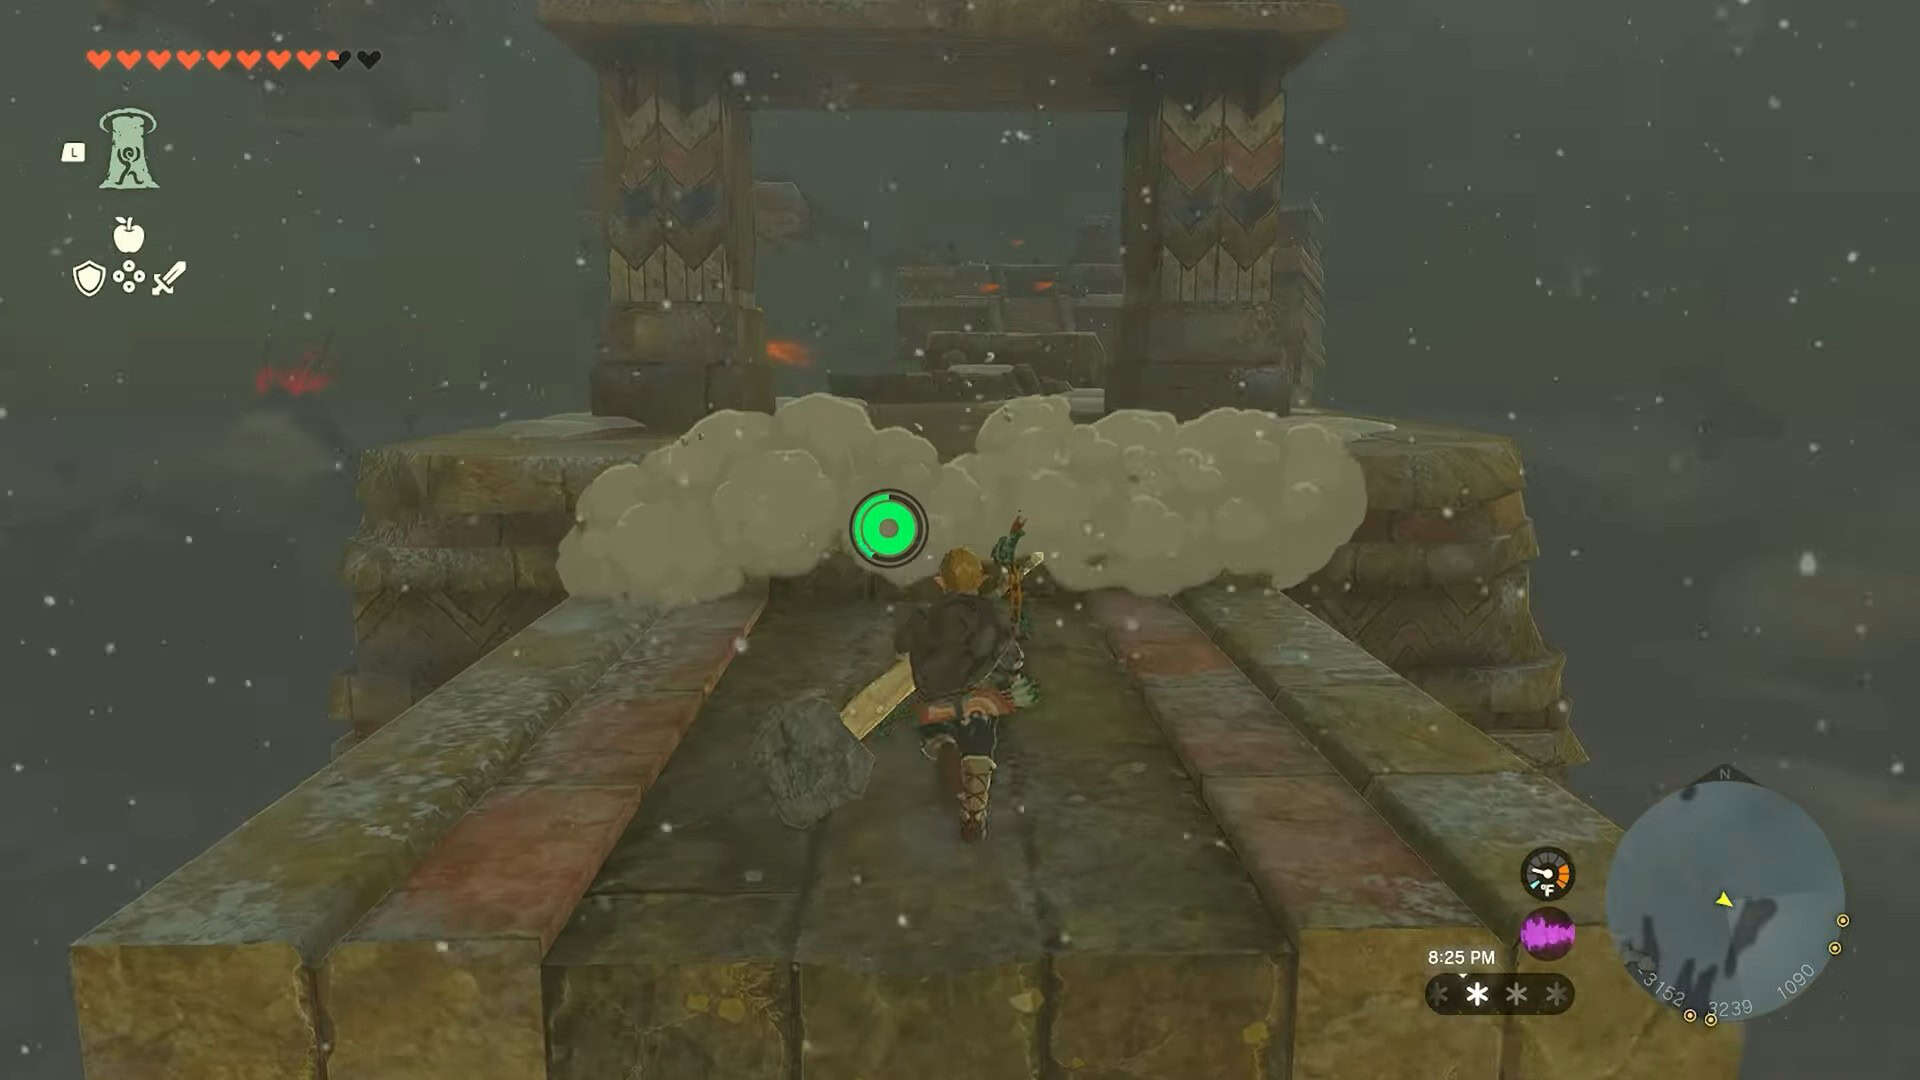
17. Once you reach the Collapsing Bridge, run to reach the other side safely.
18. Keep going up and forward until you reach (-3018, 3177, 1111) coordinates.
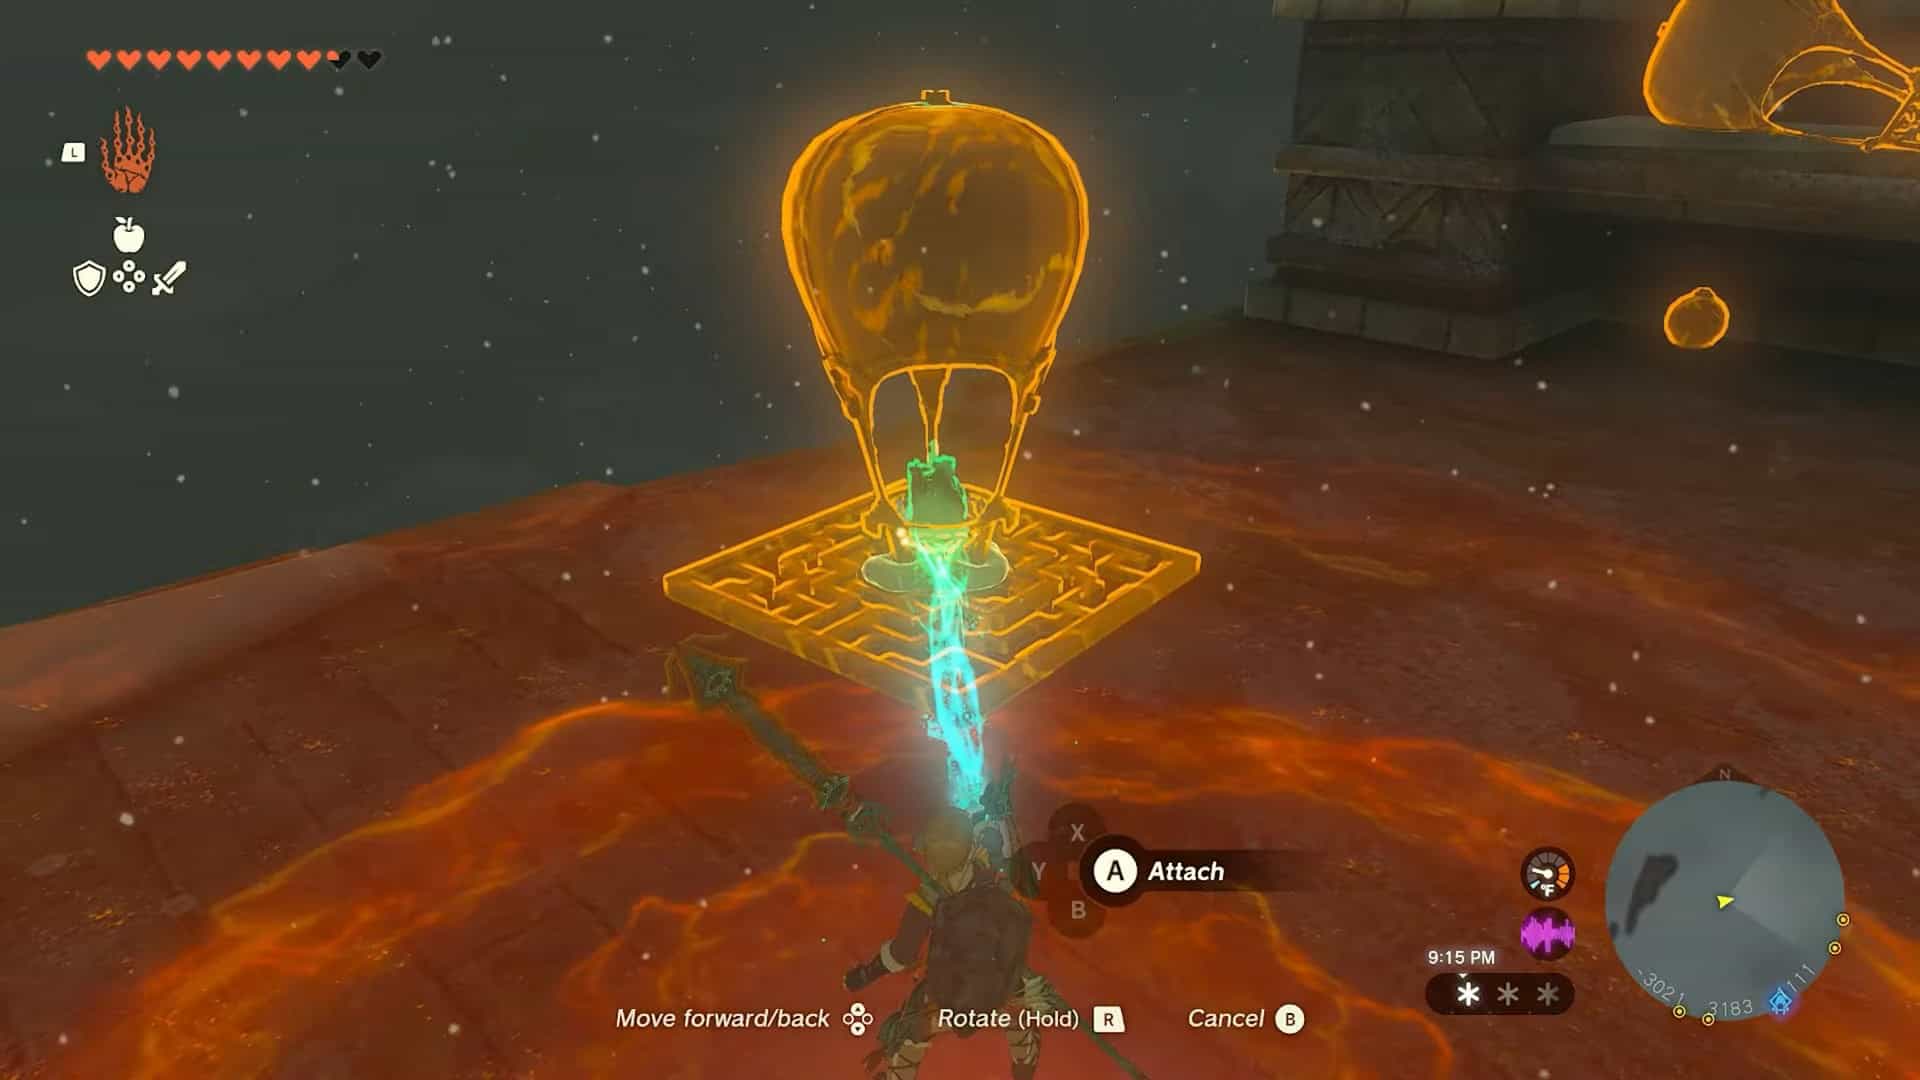
19. Pick up a metal slab and place a hot air balloon on it. Attach a dragon head vertically and hit the structure to activate it.

20. Once you are high enough in the air, jump onto the next island. Use Ascend on the pillar to reach its top.
21. Climb the pillar to your left, then jump on the trampoline.

22. Be careful, as the ships in this area rotate in a circle. Jump on their trampolines to move forward until you reach another ice block.
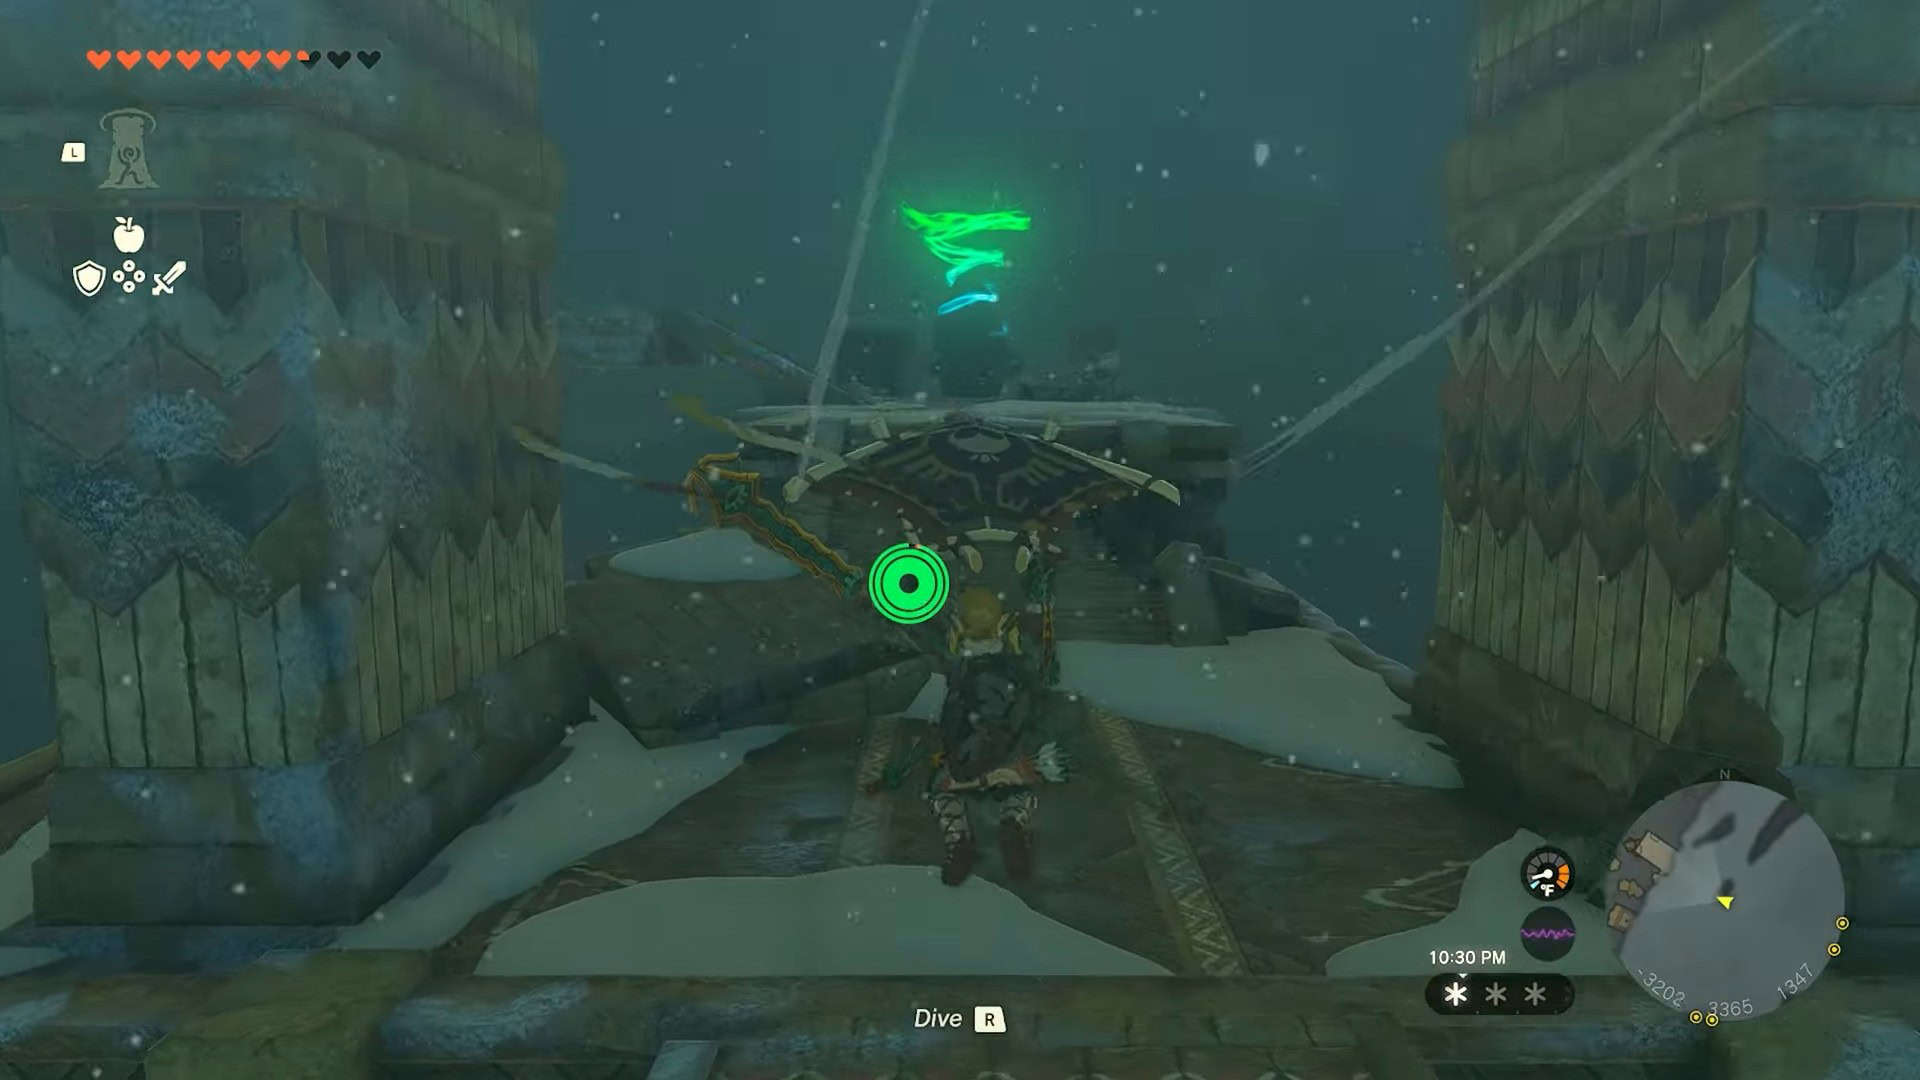
23. Break the ice and use the trampoline below to reach the island housing Kahatanaum shrine.
24. Interact with the shrine’s entrance to unlock a fast travel point.
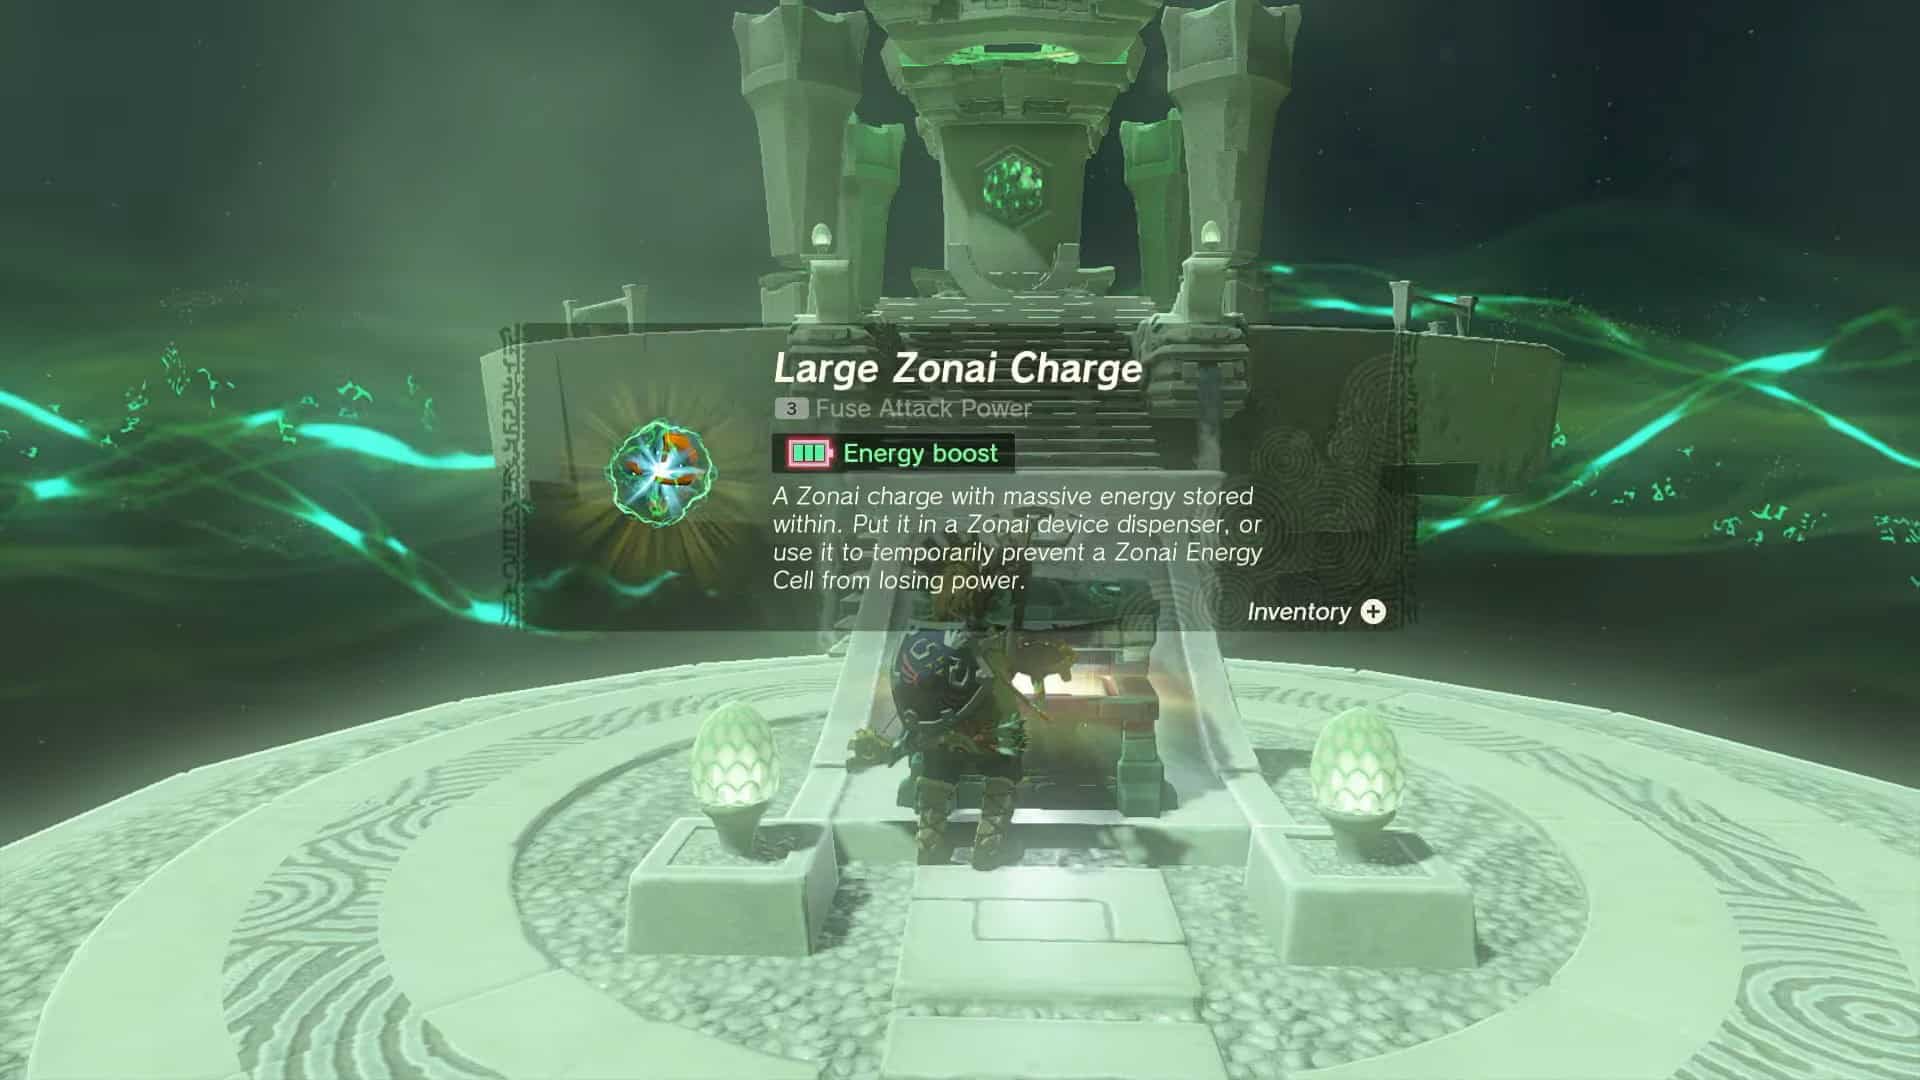
25. Enter the shrine and collect a Large Zonai Charge from the treasure chest.
26. Interact with Rauru and Sonia’s statues to complete the Kahatanaum Shrine in Zelda: Tears of the Kingdom and earn a Light of Blessing as a reward.