
Wao-os Shrine in Zelda: Tears of the Kingdom is about manipulating the physics of levers and seesaws to your advantage. You will need Link’s Ultrahand ability to create unique structures, allowing you to catapult balls and yourself through the room.
We will guide you step by step with pictures to help you solve this shrine easily. As Wao-Os shrine is in the Tabantha Tundra region of Zelda: Tears of the Kingdom, make sure to purchase the Snowquill Armor or brew some Cold Resistant elixirs before venturing into this area.
Wao-os Shrine Location in Zelda: TotK
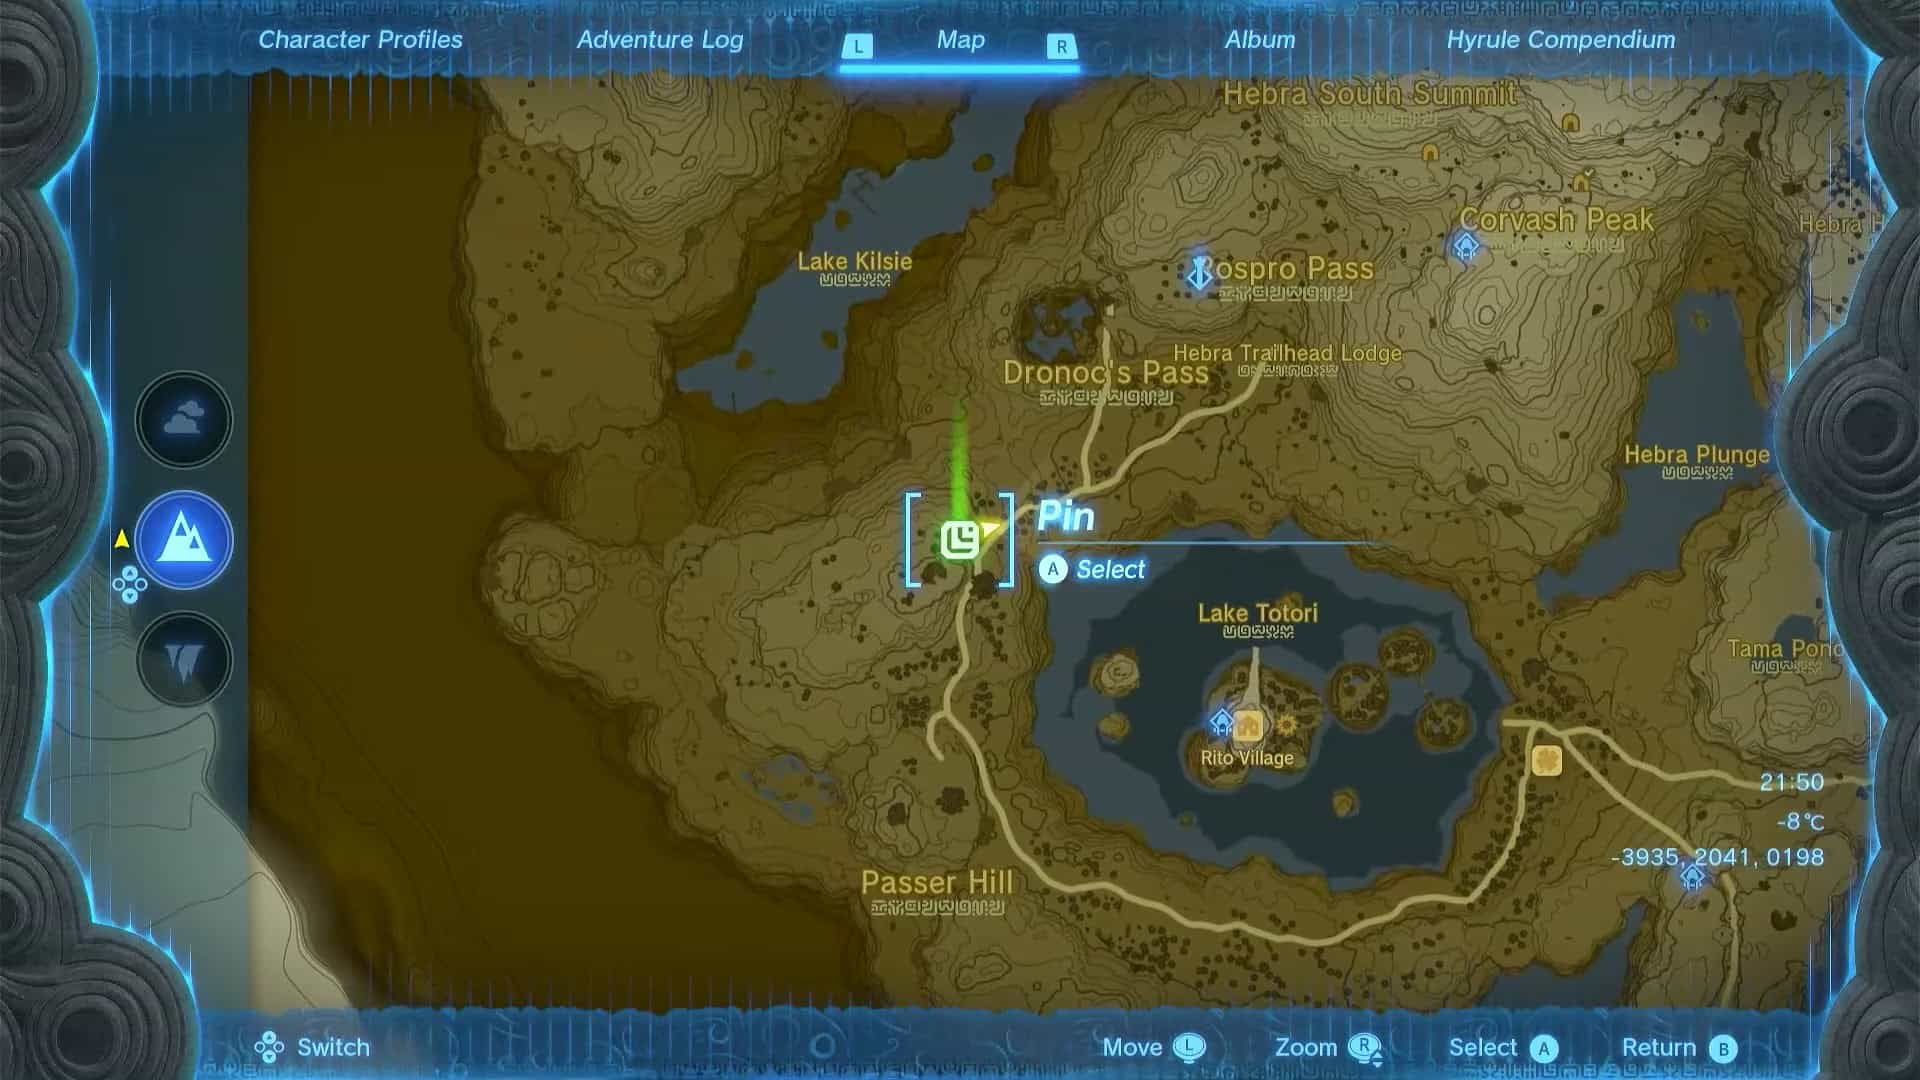
Wao-os shrine is hidden inside West Lake Totori Cave. This cave is in the Hebra Mountains to the West of Rito Village. Its exact location is marked on the map, to the South of Dronoc’s Pass and North of Passer’s Hill. Its coordinates on the map are (-3940, 2041, 0200).
This cave’s entrance is to the Southwest of Rospro Pass Skyview Tower and Northwest of Rito Village.
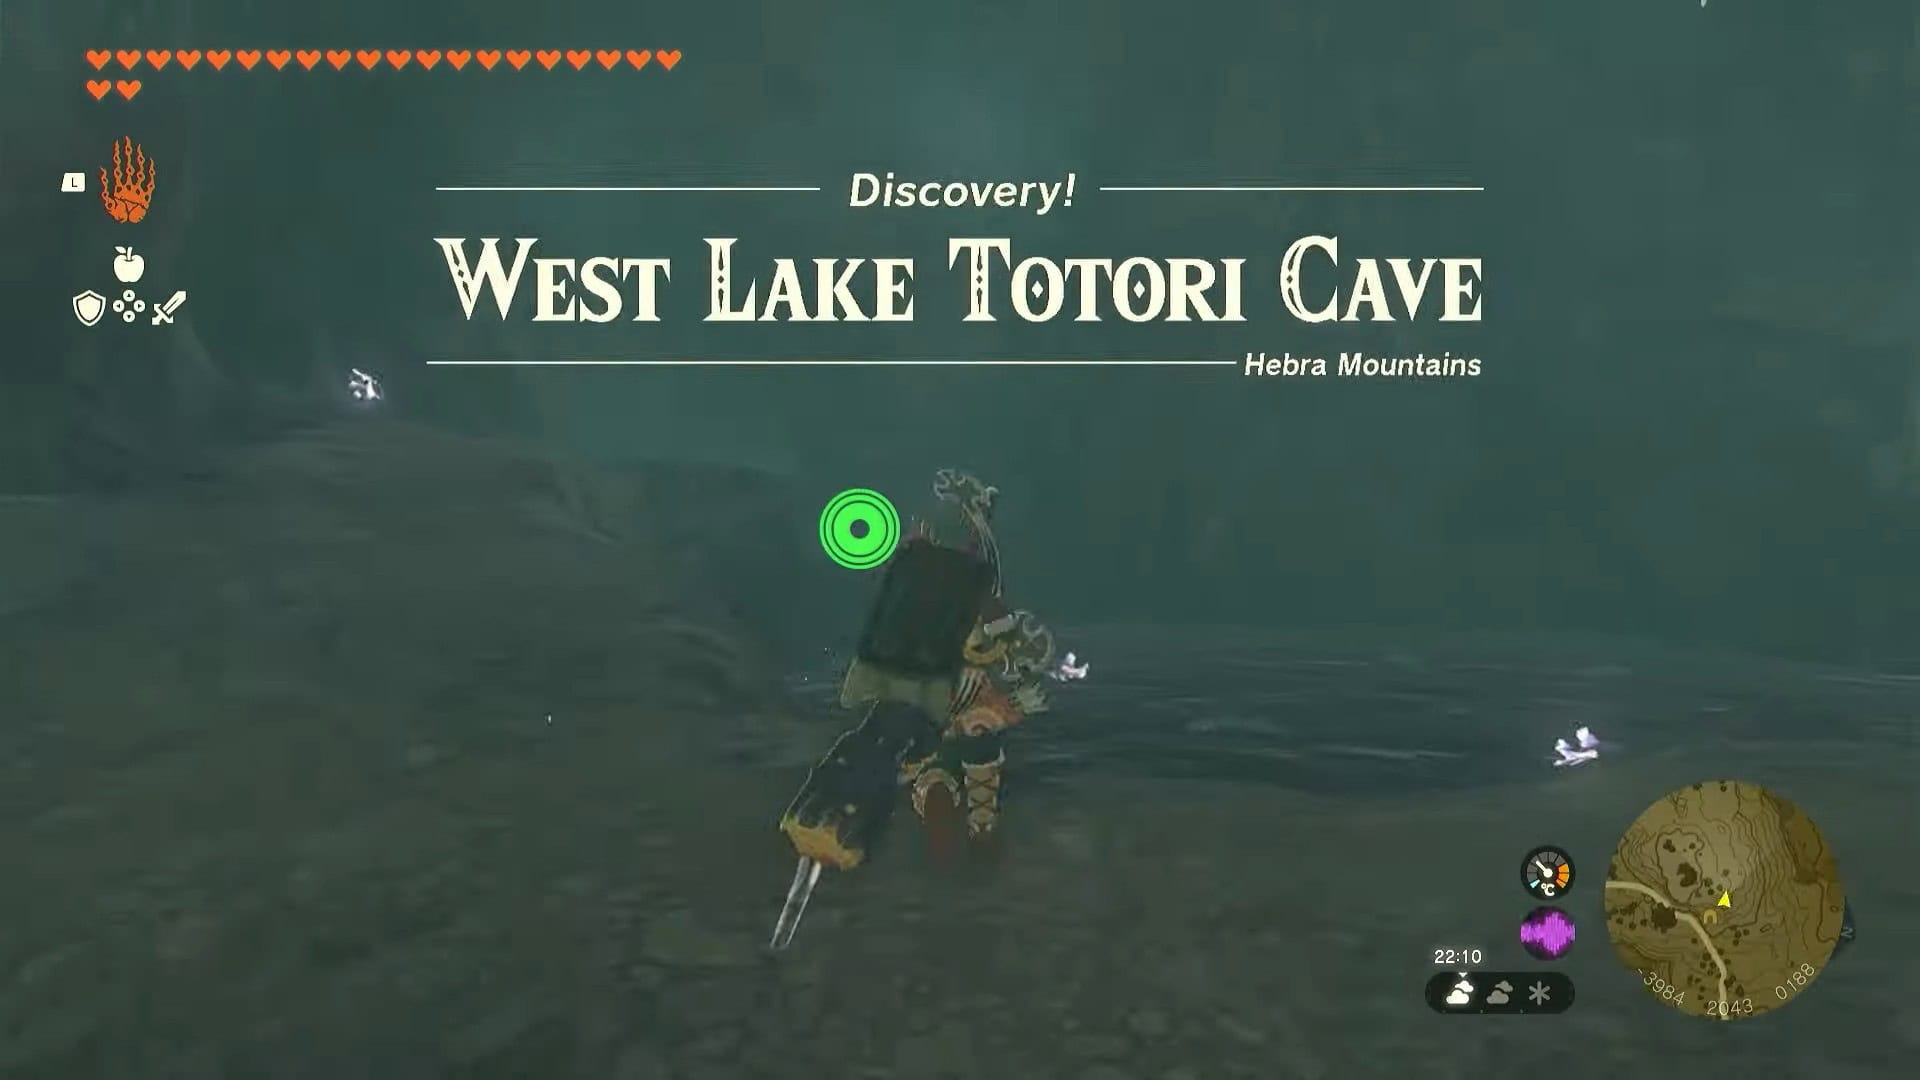
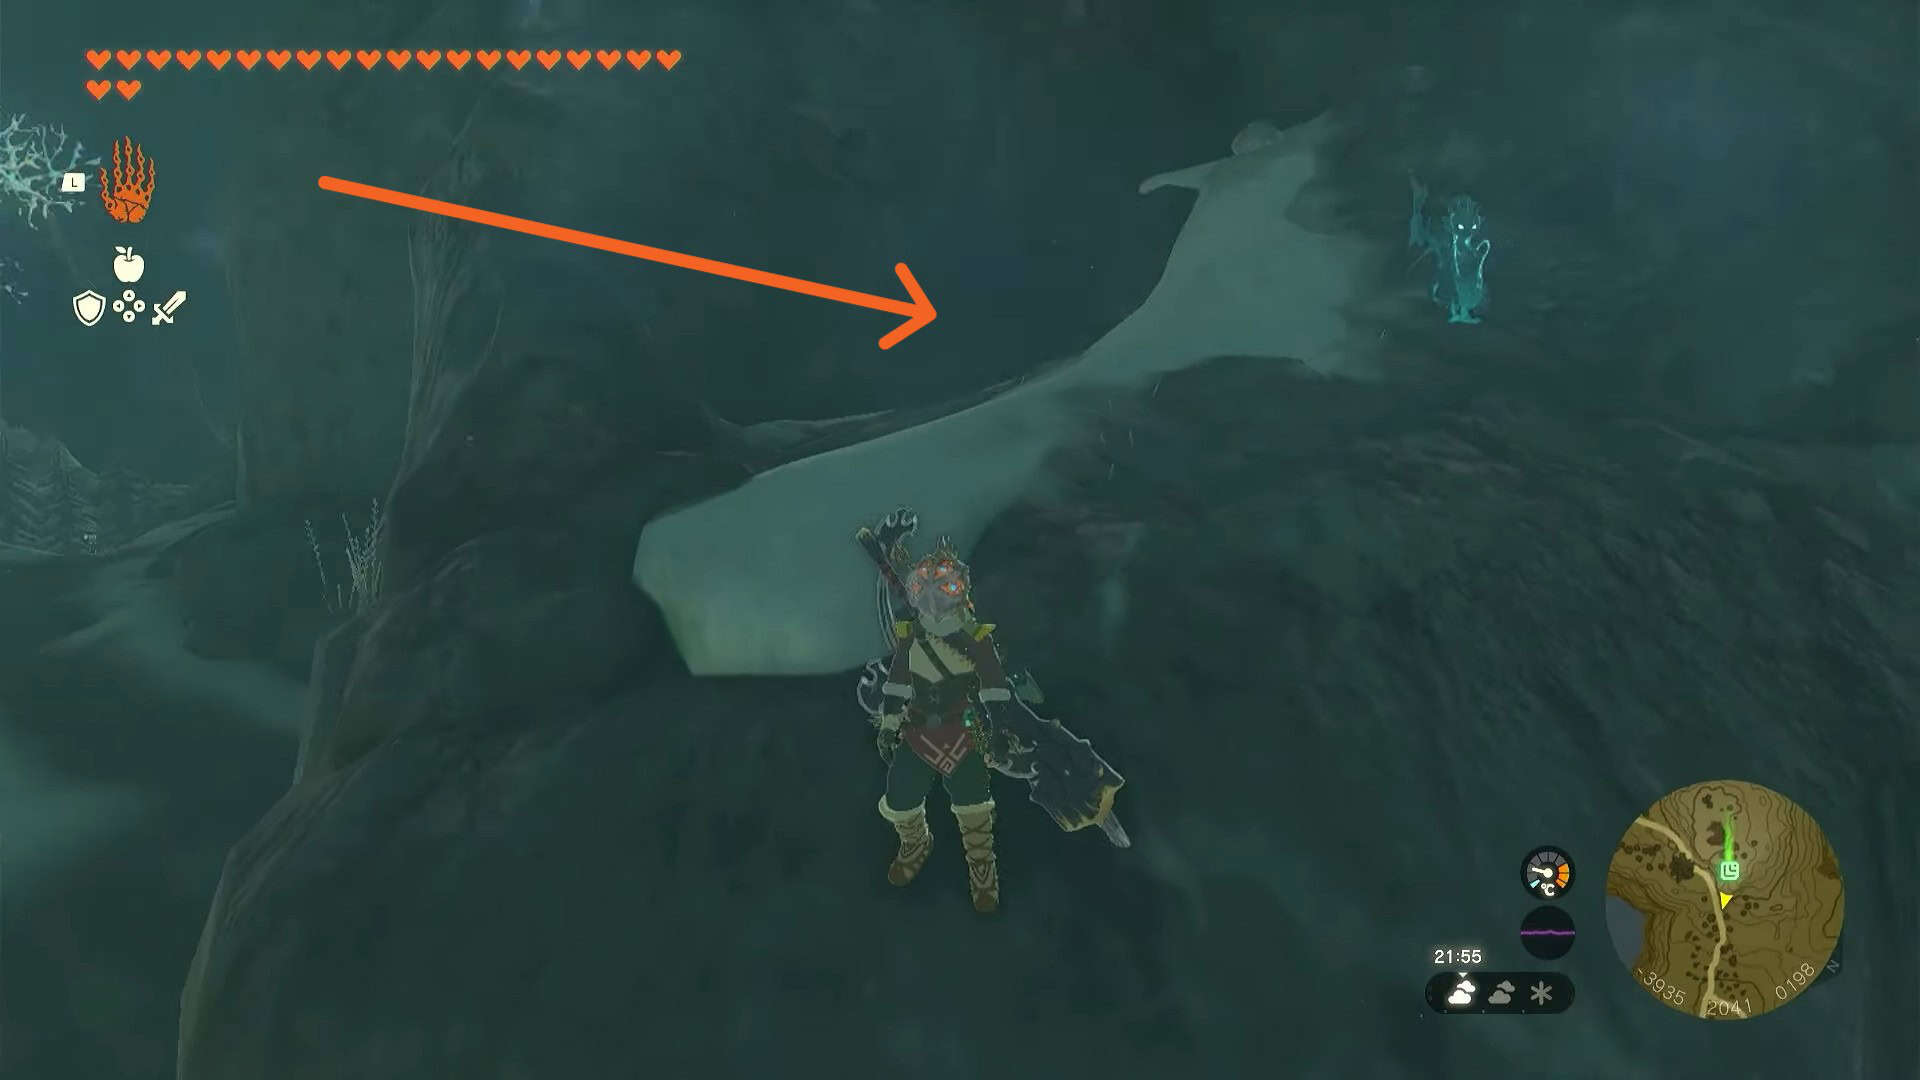
West Lake Totori Cave is hidden on a mountain hill and easily missed. Just keep hugging the left wall of the cave after entering it, and soon you will reach the Wao-os shrine. Interact with the shrine to activate it.
Wao-os Shrine Walkthrough
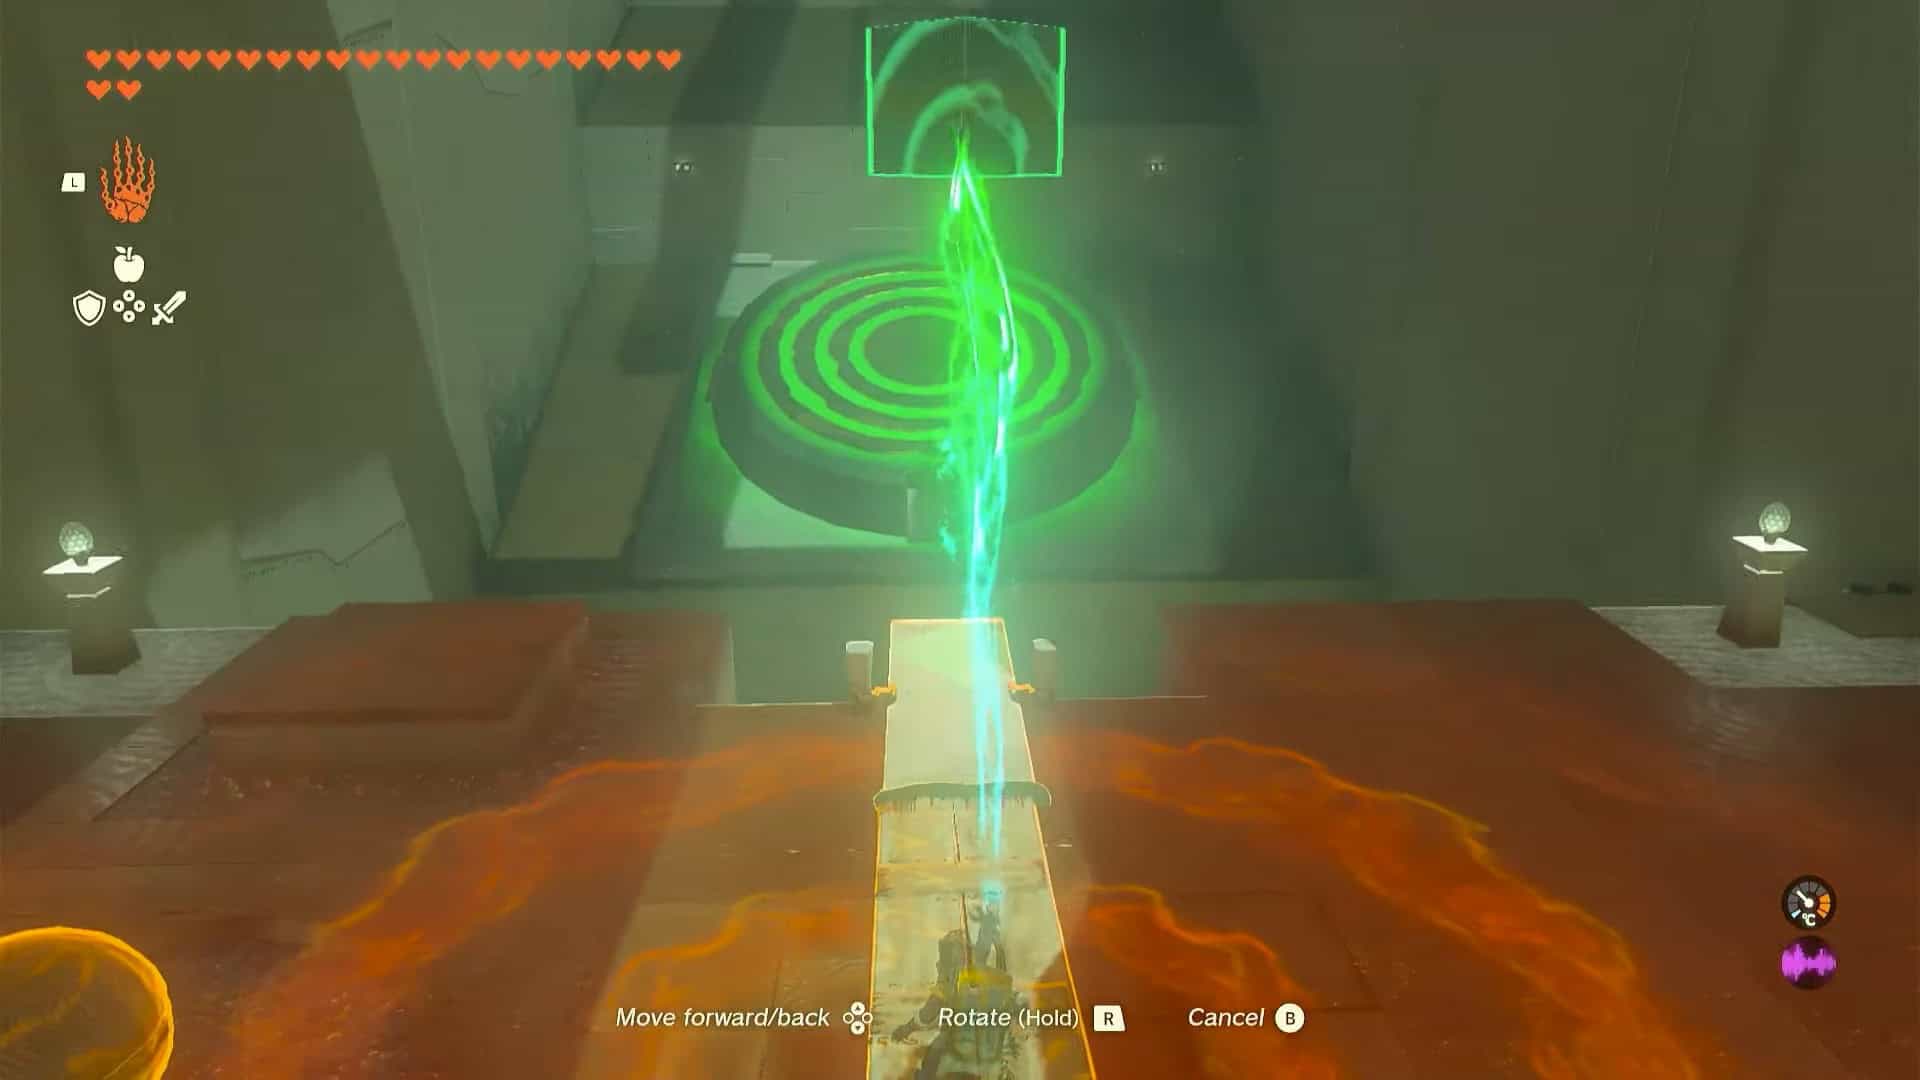
The trial presented by Wao-os Shrine in Zelda: Tears of the Kingdom is called Lever Power. The objective of this puzzle is to craft makeshift levers to throw small balls across the arena to hit orange targets.
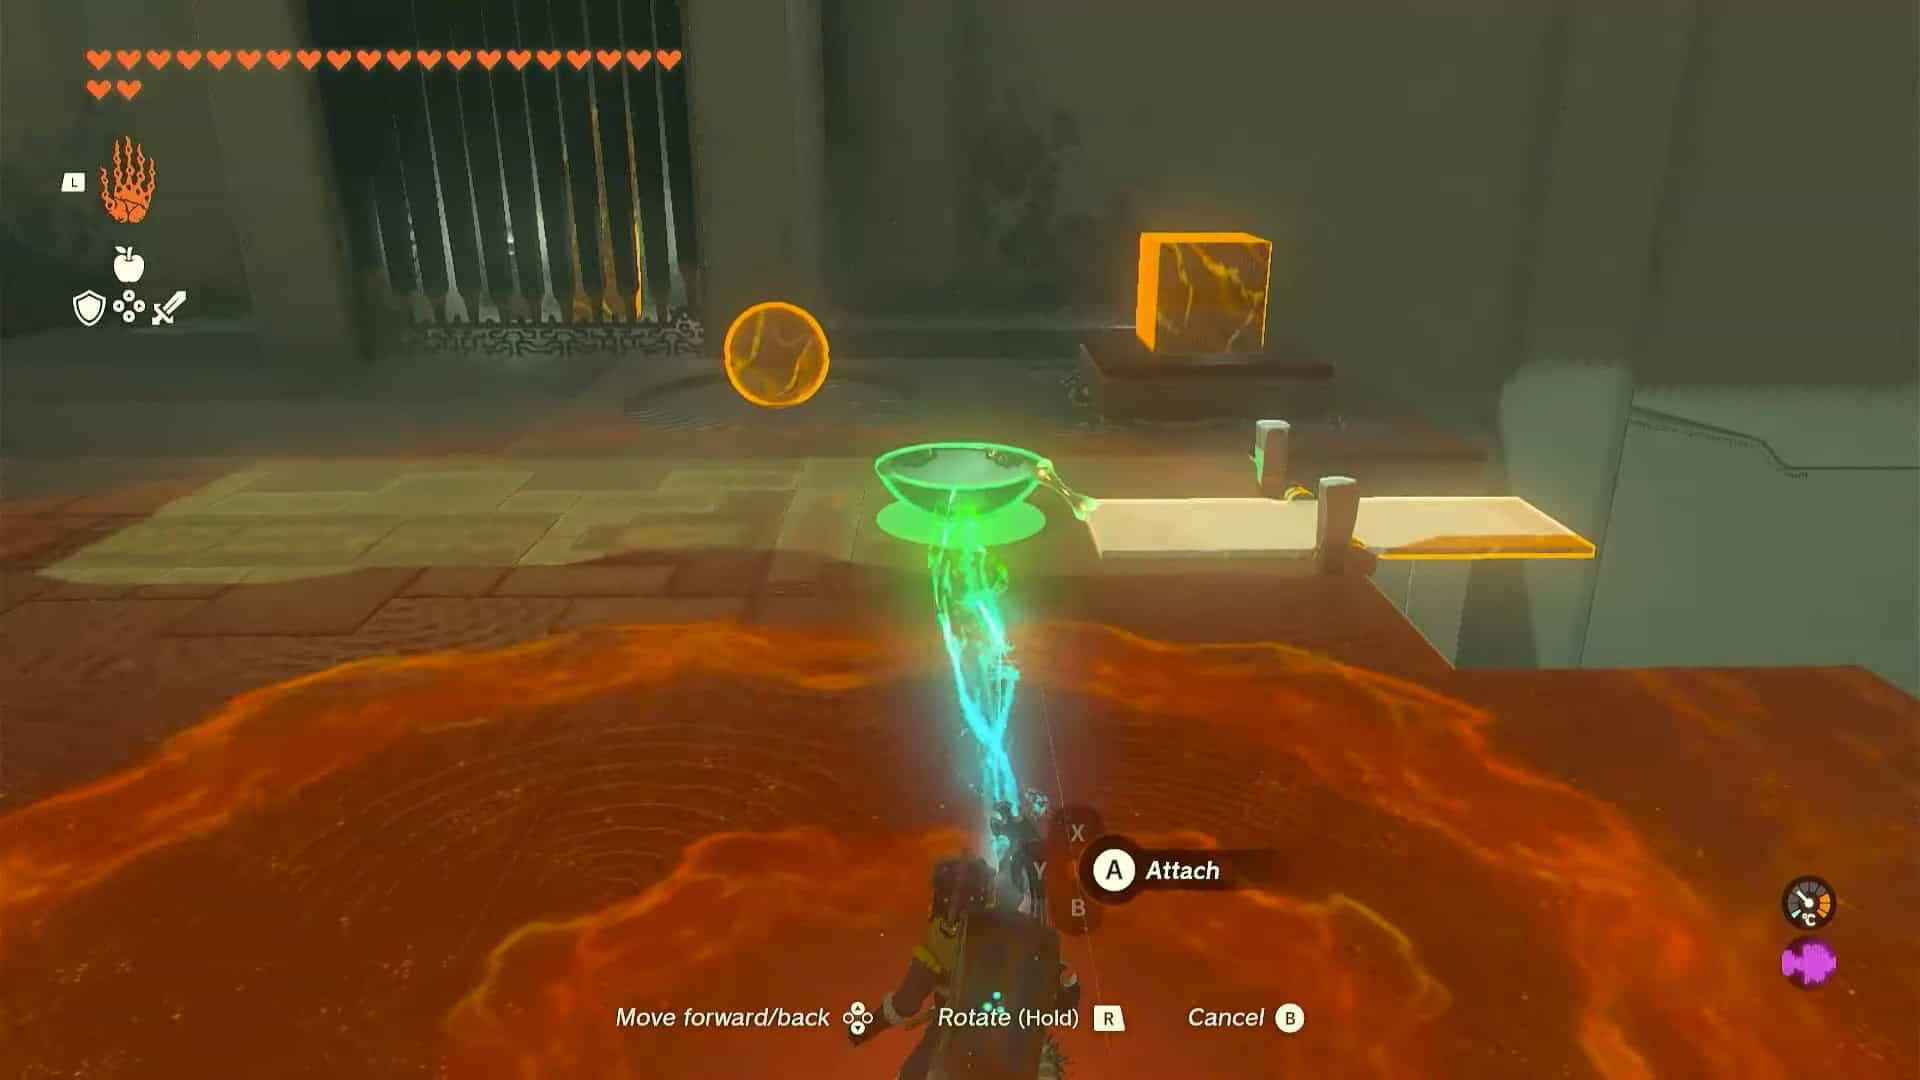
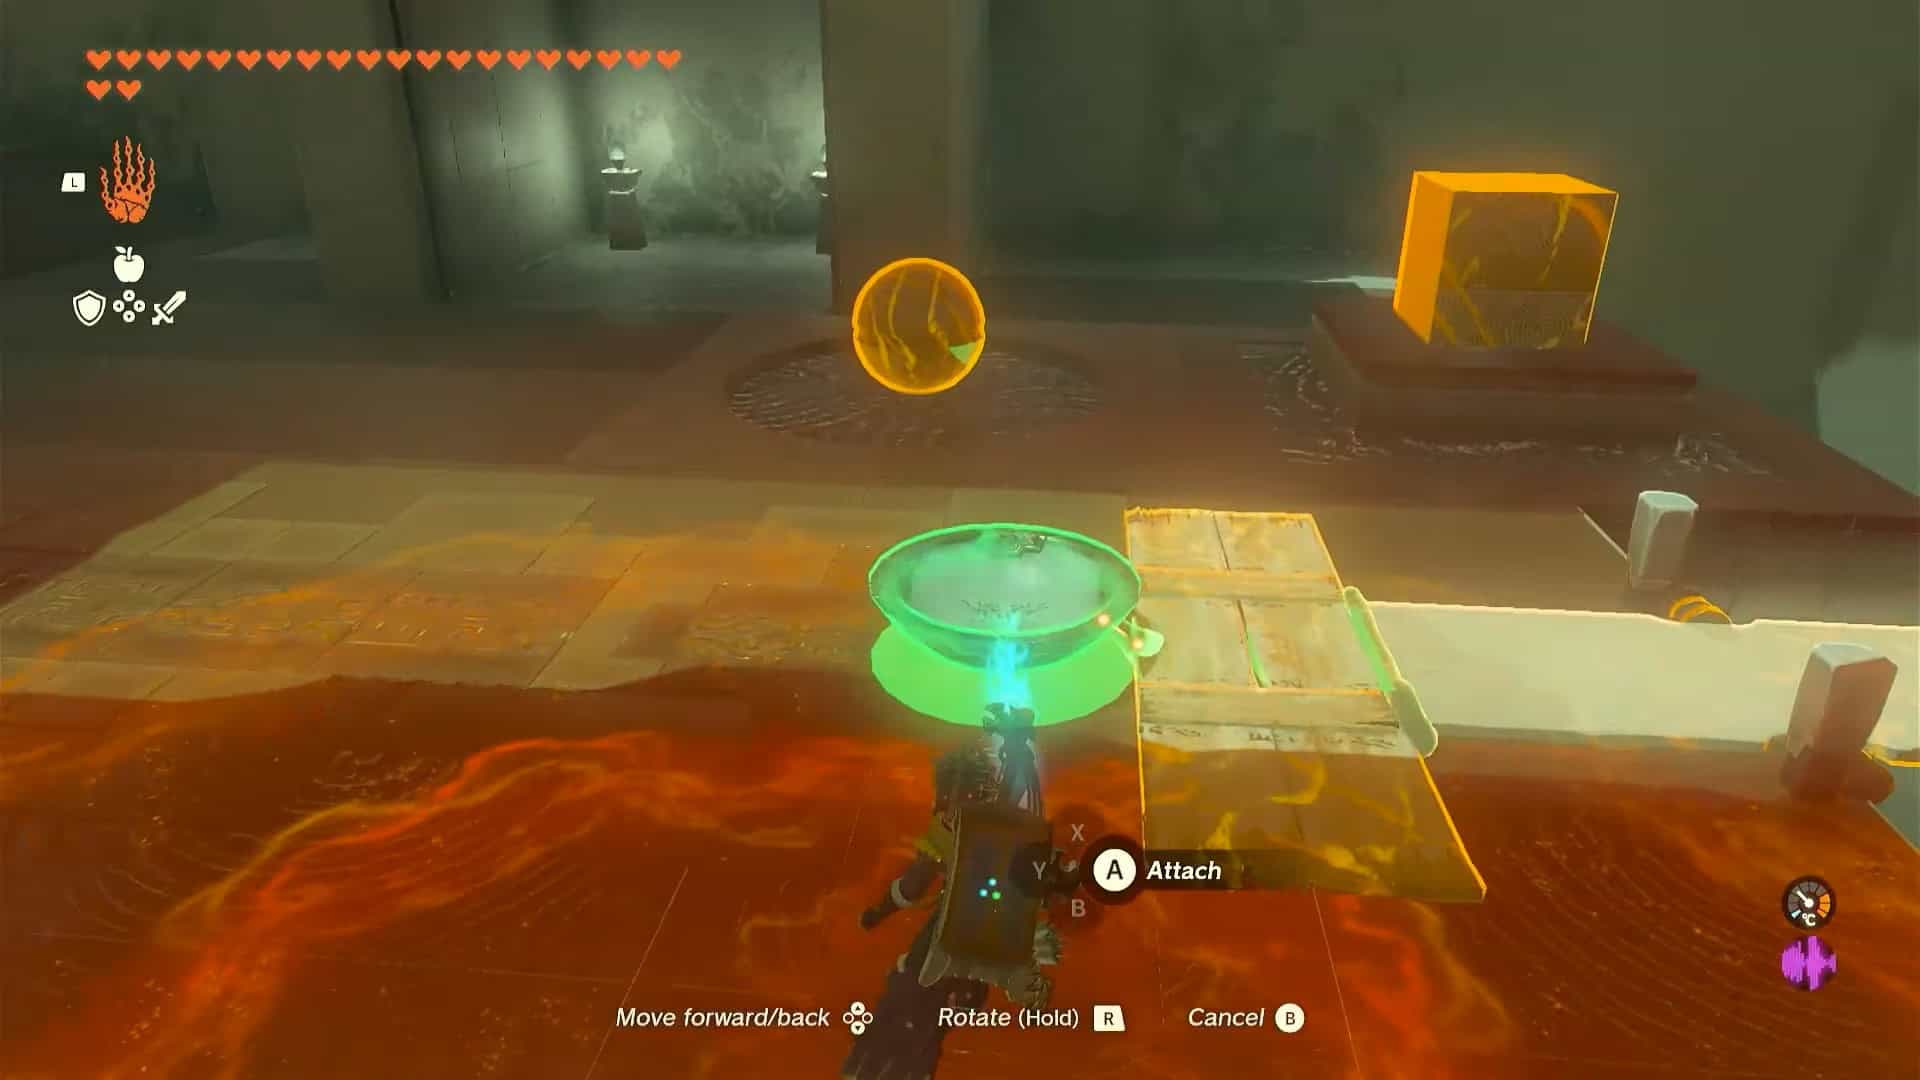
1. Pick up the bowl and attach it to the nearest end of the lever (picture for reference).
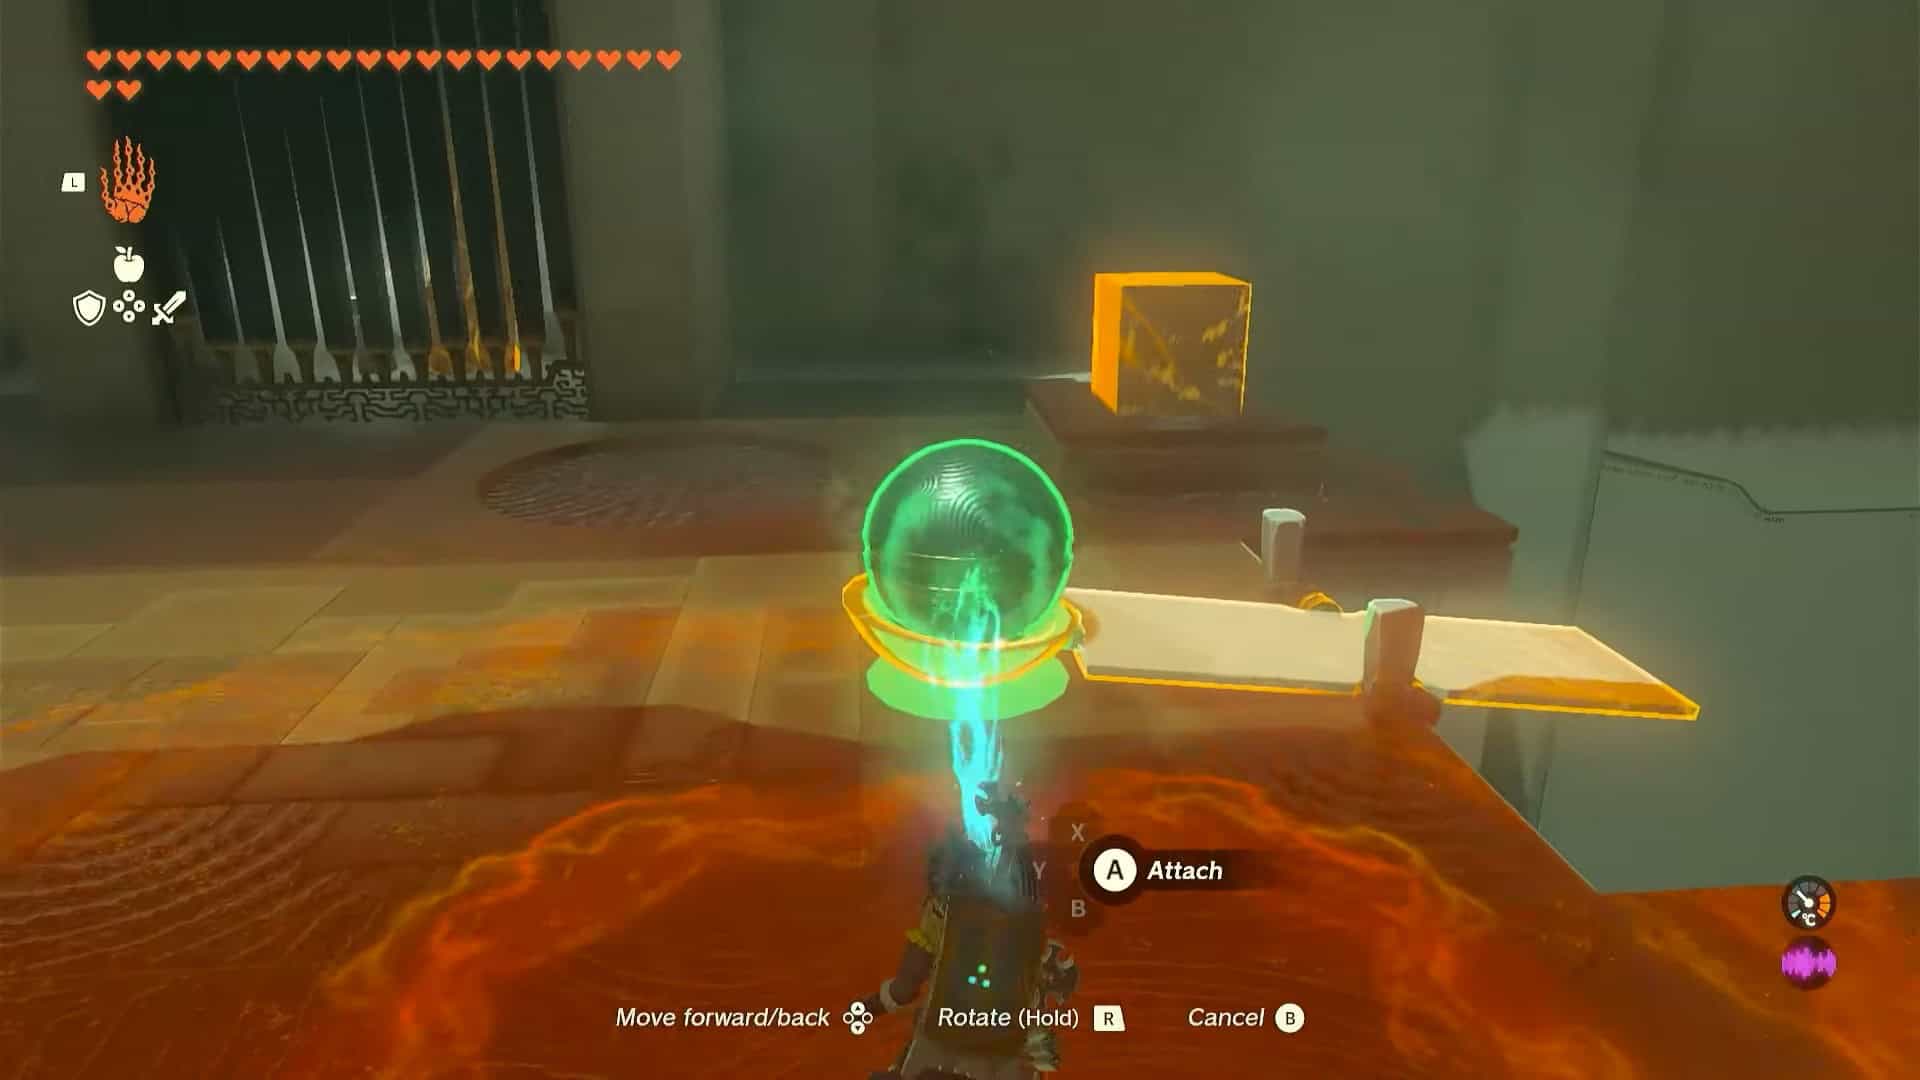
2. Pick up the ball and place it inside the bowl. Don’t attach the ball. This is extremely important.
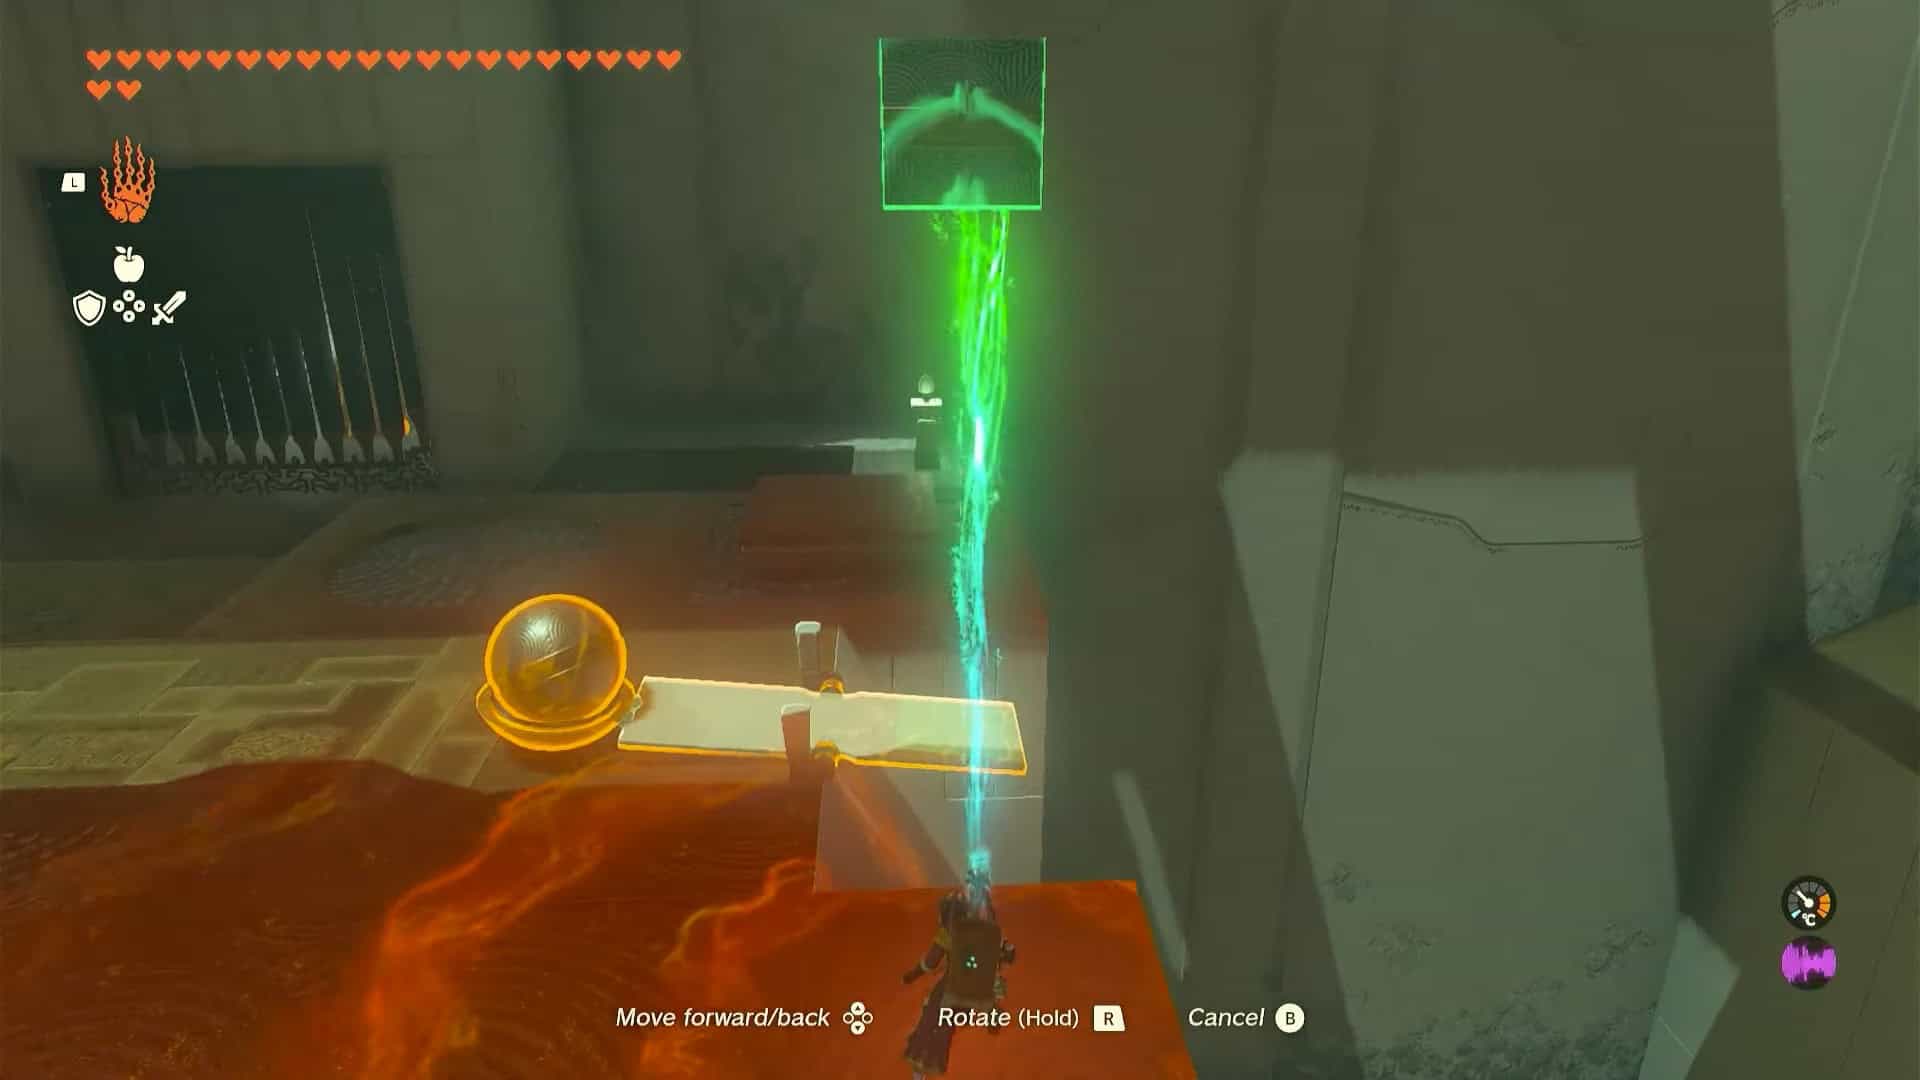
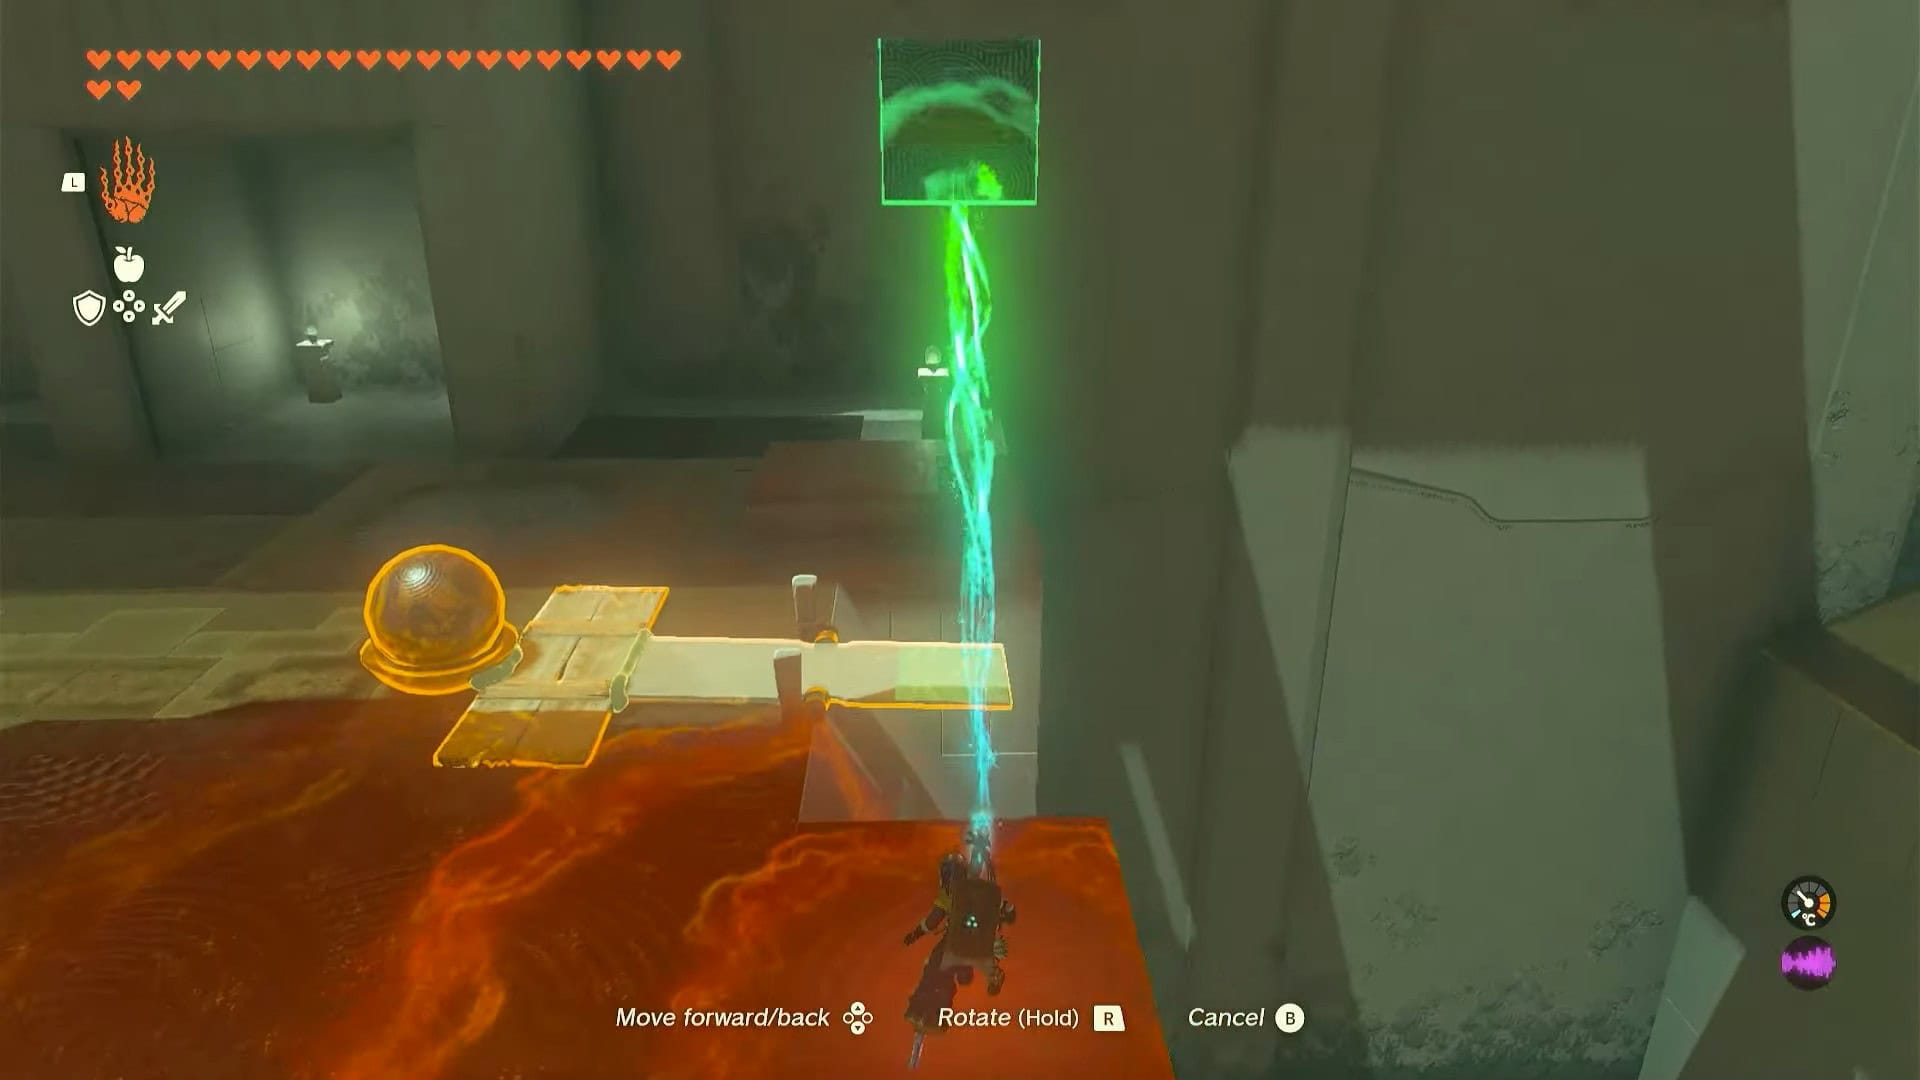
3. Pick up the metal block with Ultrahand and push it all the way up by pressing forward on the right analog stick.
4. Align the box so it is directly above the far end of the lever.
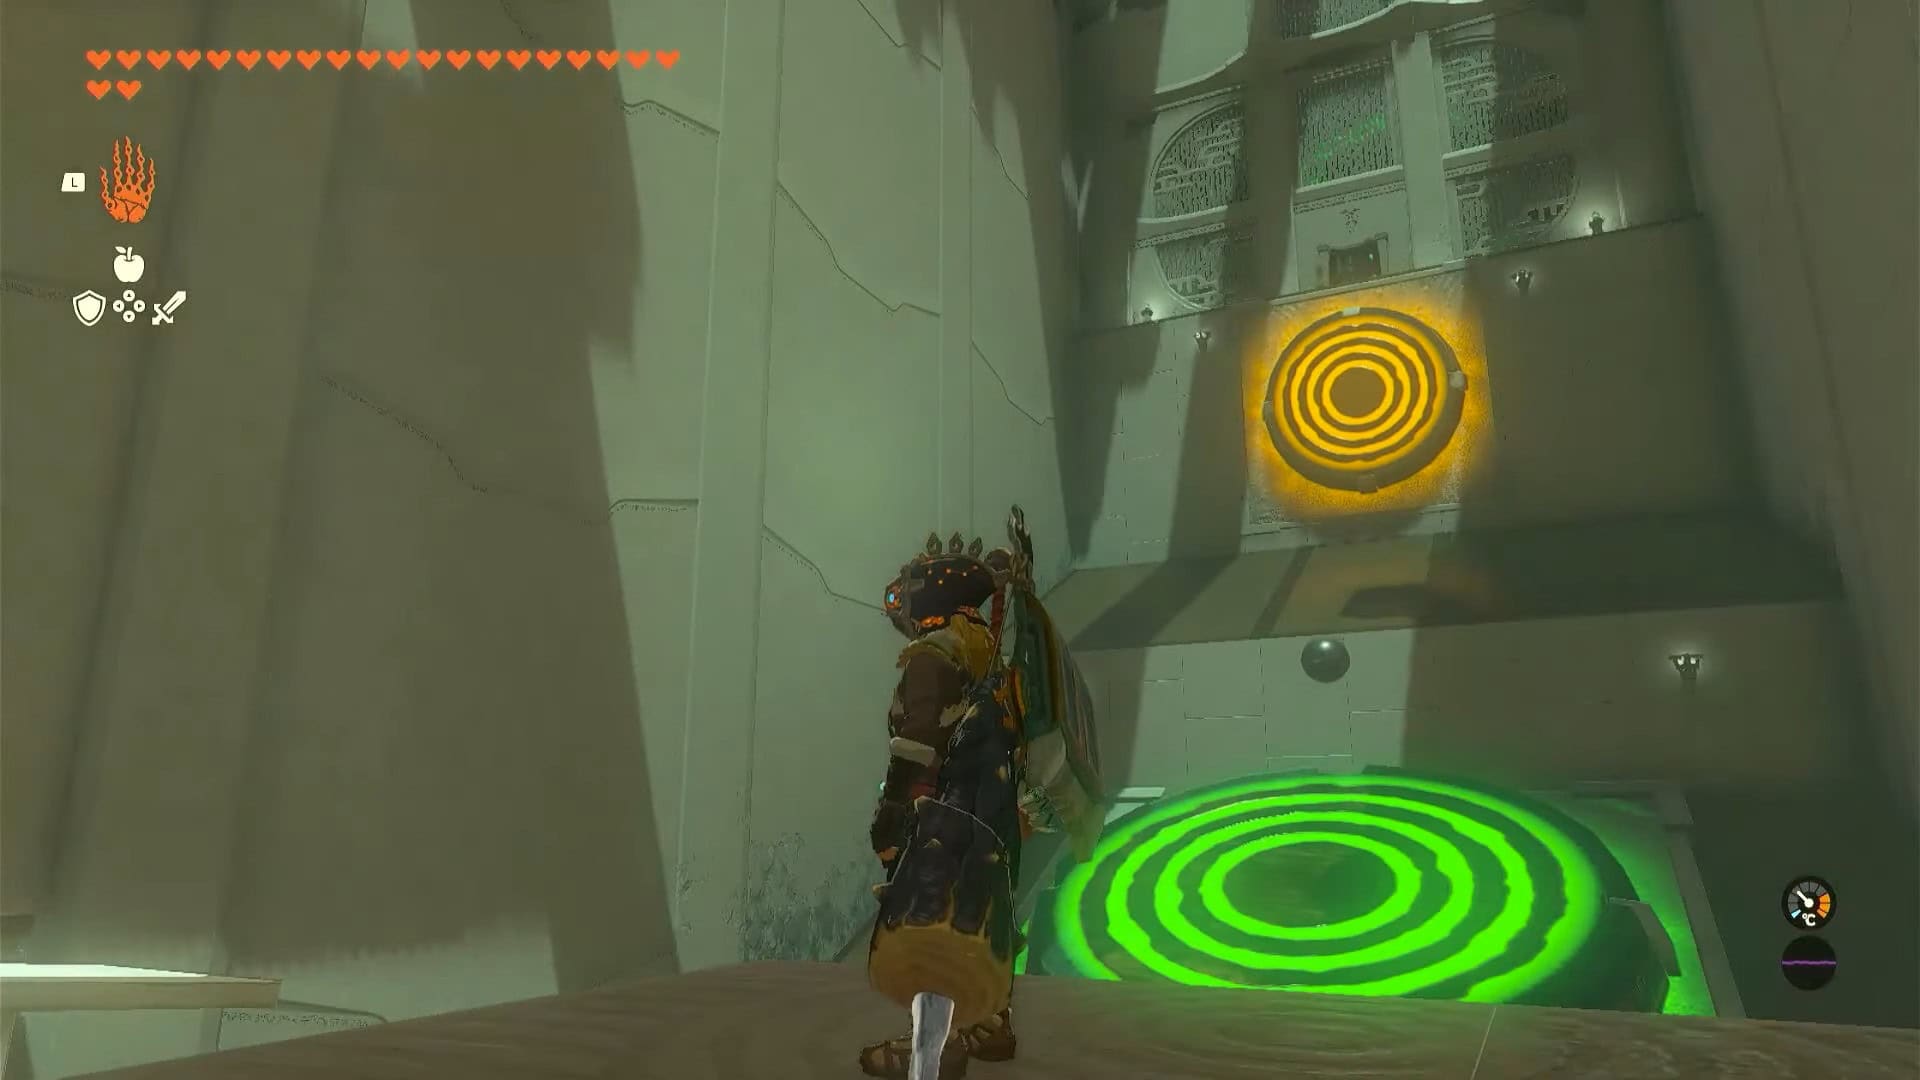
5. Press the B button to drop the box. The button will hit the lever, causing the ball to fly toward the lower orange target ring.
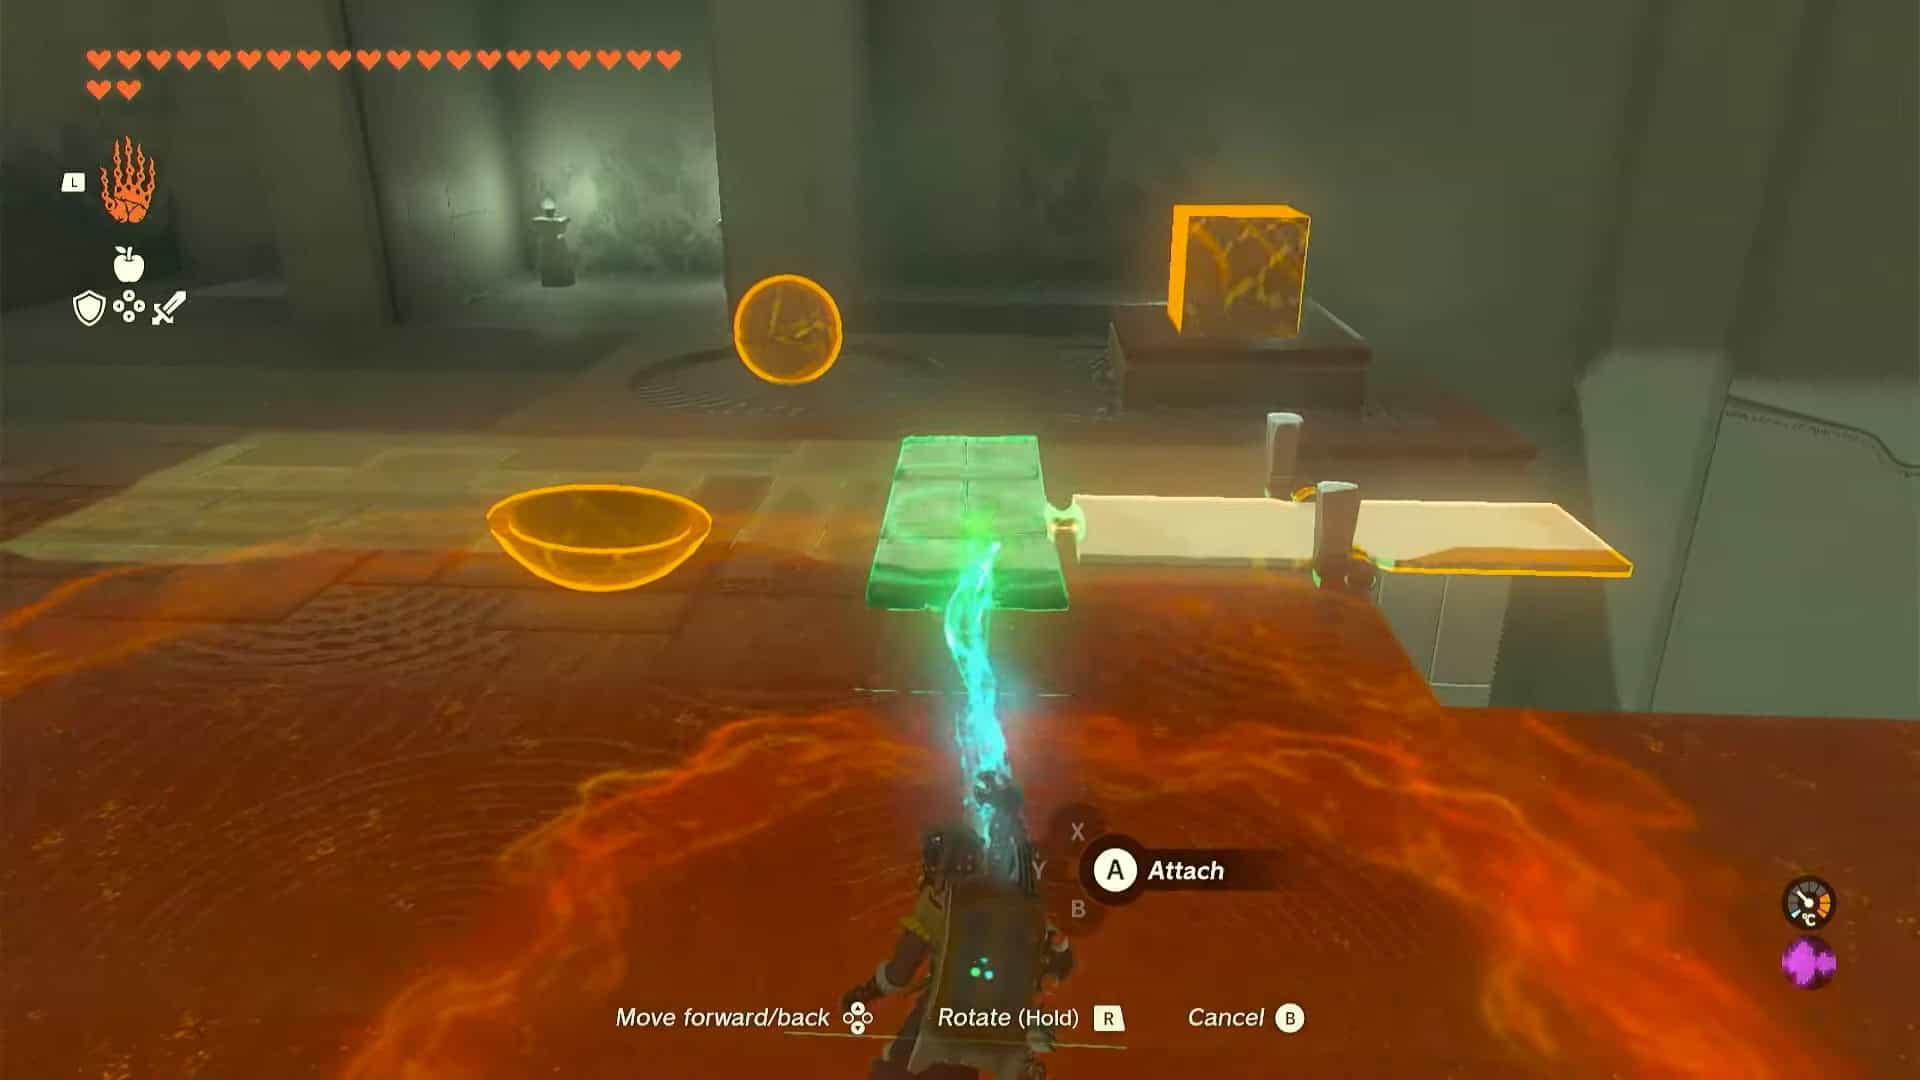
6. Once the ball hits the target ring, a room near you will open. Pick up the plank from the room and rotate it perpendicular to the lever (picture for reference). Attach it to the lever after removing the bowl.
7. Attach the bowl to the newly attached lever. Place the ball once more inside the bowl and drop the block again on the far end of the lever.
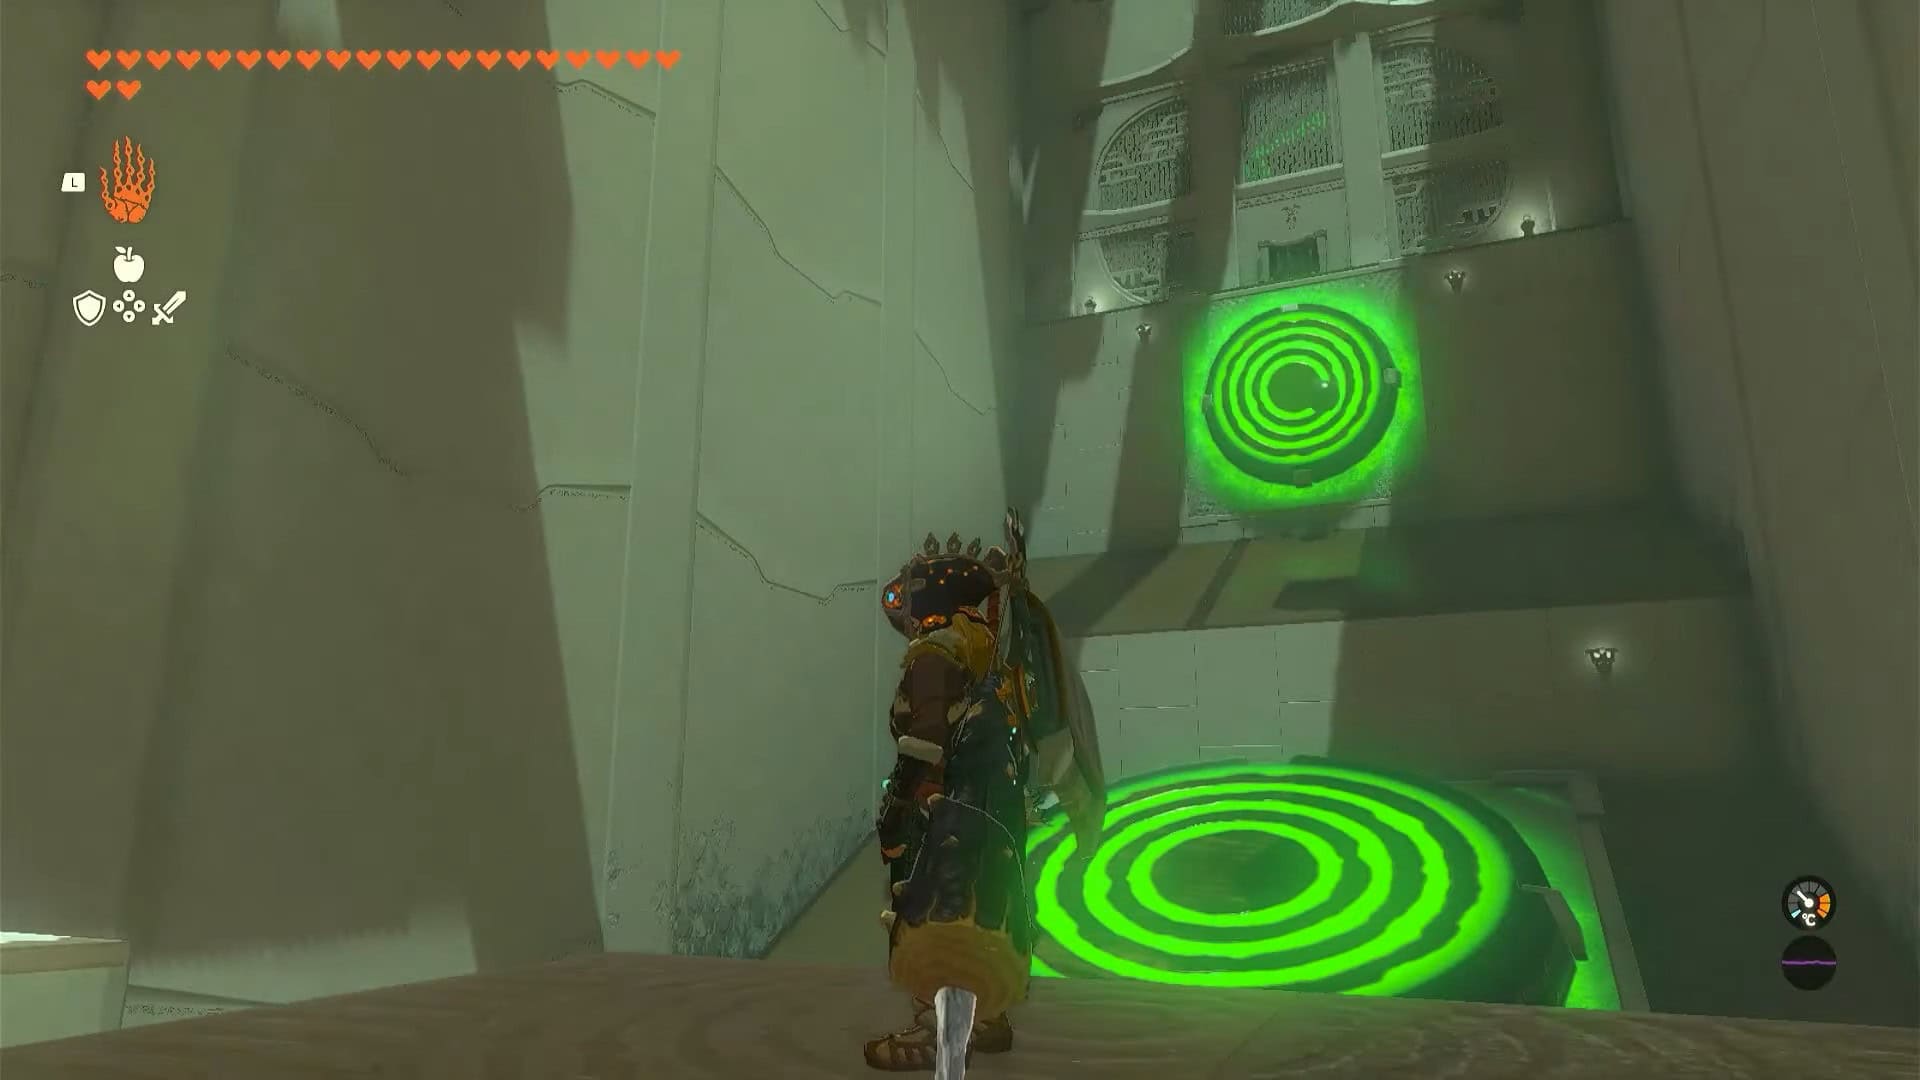
8. This time, the ball will travel a longer distance and hit the upper orange target ring. The altar room’s door will open for you to proceed.
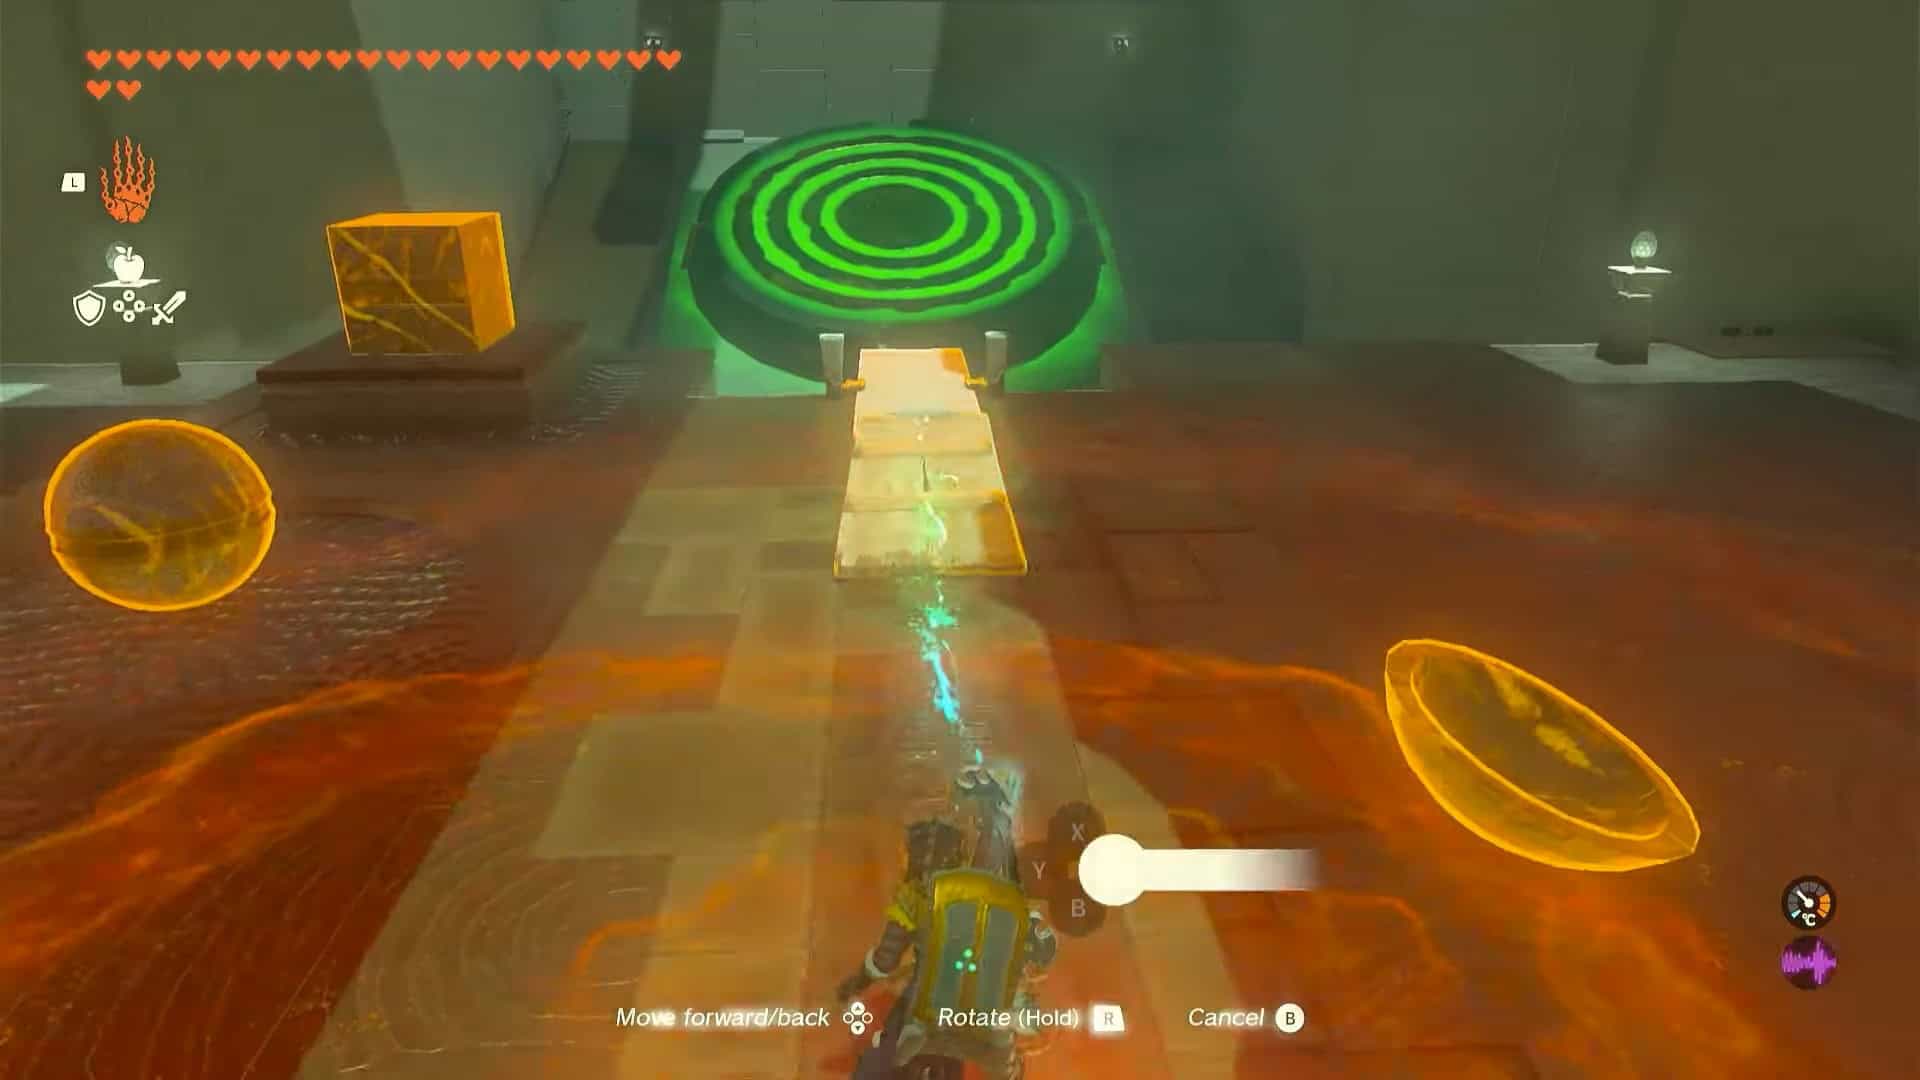
9. Remove the plank and rotate it once more to match the direction of the lever. Attach it to the lever to increase its length.
10. Stand on the plank and pick up the metal block. Drop it on the far end of the lever to get yourself in the air.
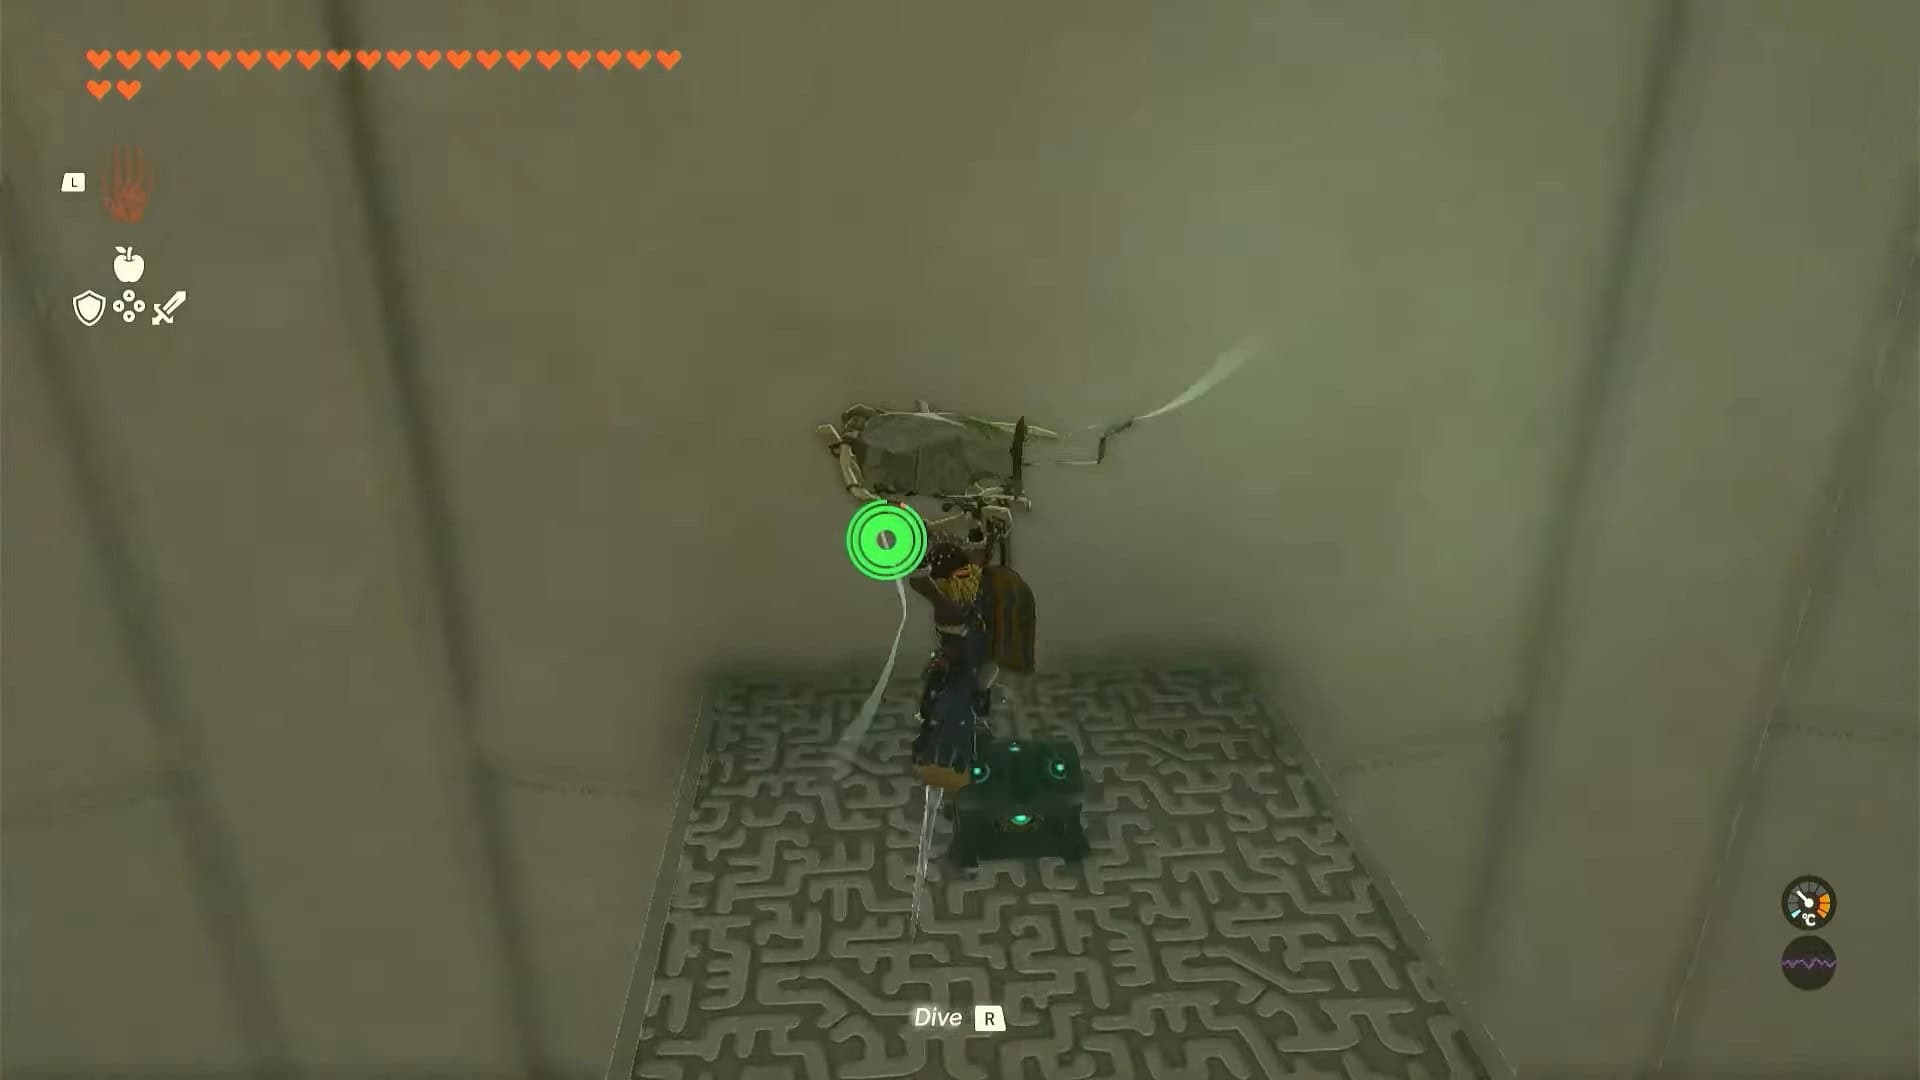
11. Glide backward and towards the right to reach a platform with the treasure chest.
12. Open the treasure chest to obtain a Spicy Elixir.
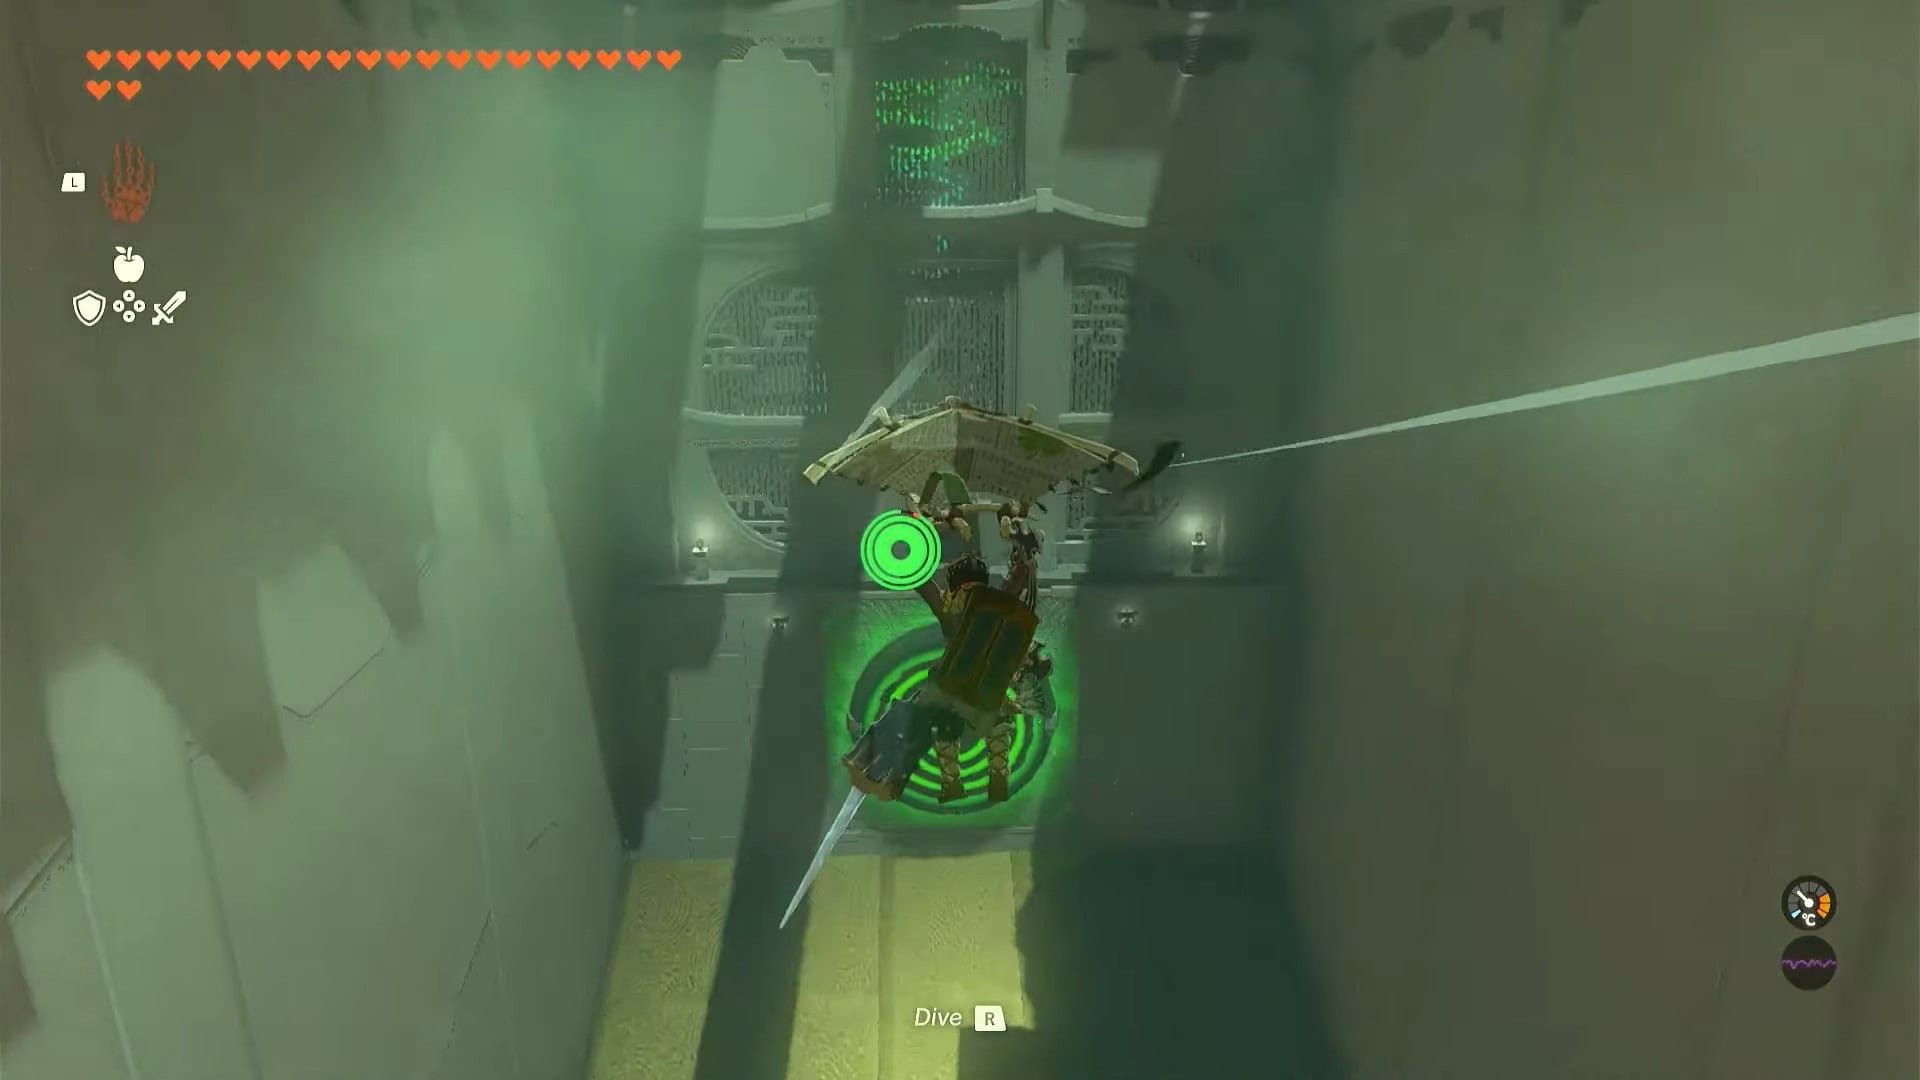
13. Hop onto the plank once more and drop the metal block from the highest point possible. This time, glide forward to reach the altar room.
14. Interact with Rauru and Sonia’s statues to solve the puzzle of Wao-os Shrine in Zelda: Tears of the Kingdom and obtain a Light of Blessing as a reward. You can use the four Lights of Blessing at any Goddess statue to either increase your stamina or health.