Morok Shrine in Zelda: Tears of the Kingdom is all about using your imagination to come up with creative solutions to solve impossible puzzles. This shrine also serves as a tutorial about the zonai spring devices and how you can use them in various ways.
While locating the Morok Shrine in Zelda: Tears of the Kingdom is no easy task due to unfavorable weather conditions, completing it is even more difficult. Let us help you with our step-by-step guide to locate and complete this shrine in no time.
Morok Shrine Location in Zelda: TotK
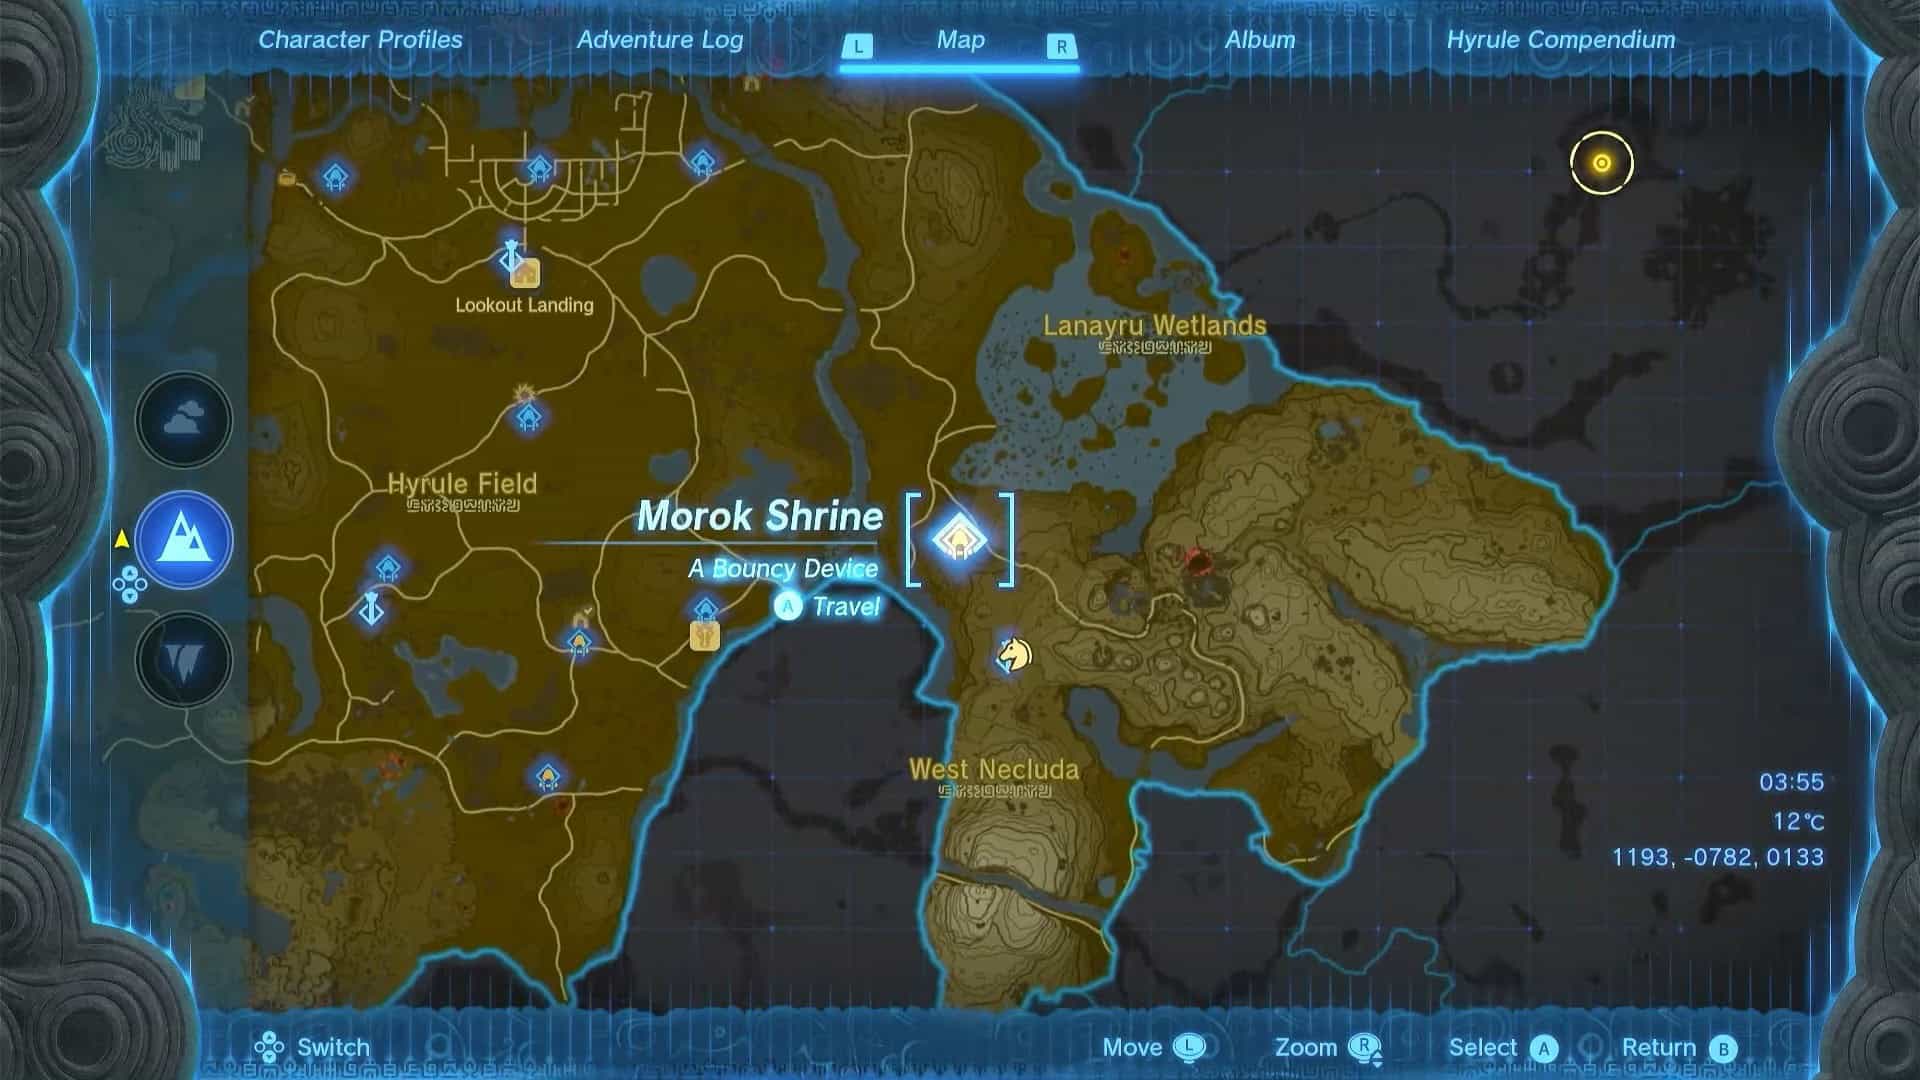
Morok shrine is in West Necluda, East of Hyrule Fields. The exact location of this shrine is marked on the map, and it is to the South of West Necluda Stable and North of Sahasra Slope Skyview Tower. Climb the Sahasra tower and glide towards the North to reach the Morok shrine.
The exact coordinates for the Morok Shrine in Zelda: Tears of the Kingdom are (1193, -0782, 0133).
Beware of Phantom Ganon’s hands on your way to this shrine, as they can kill you with one grab. Don’t engage with Phantom Ganon yet.
It always rains in West Necluda, and the cliffs in this area are very slippery. We recommend making some slip-resistant elixirs in addition to the foods that can restore your stamina. A destroyed tower marks this area with a treasure chest near an ancient spring device.
Morok Shrine Walkthrough

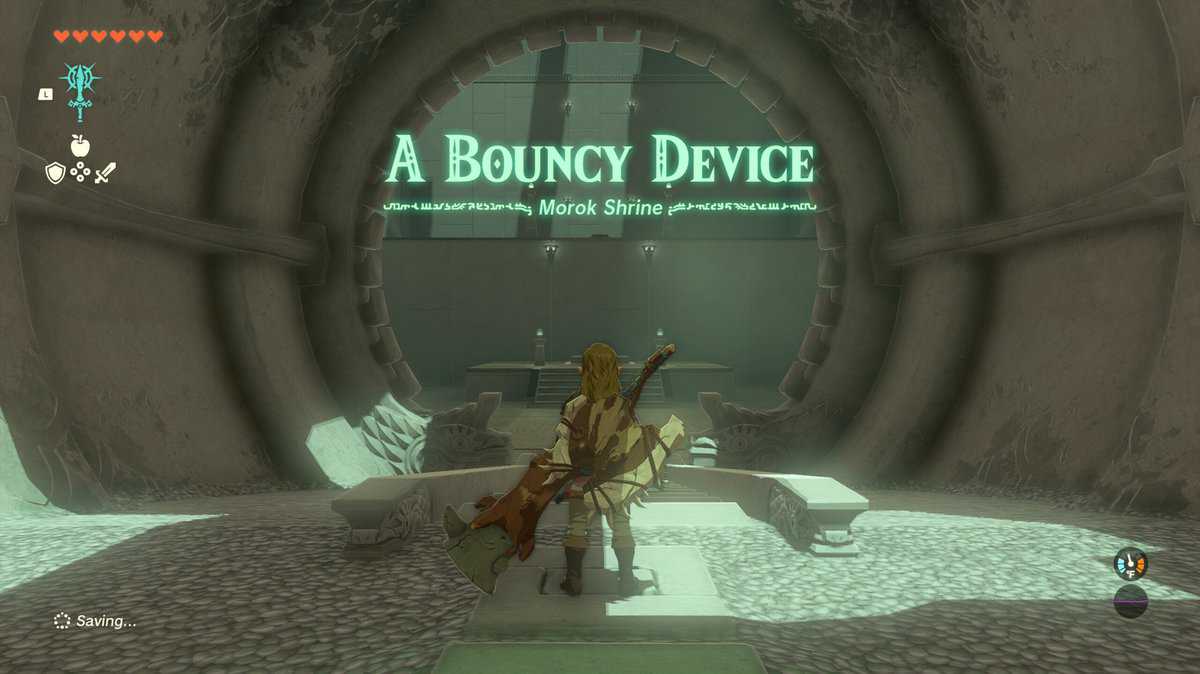
The trial presented by the Morok Shrine in Zelda: Tears of the Kingdom is known as A Bouncy Device. The objective of this puzzle is to use zonai spring devices to your advantage by creating varied structures. These structures will help you reach heights that are otherwise impossible to access.
1. From the shrine’s entrance, go straight and stand on the top of a launcher platform. It will throw you in the air, allowing you to reach the next area.


2. In the next area, stand on the zonai spring and hit with a weapon. You can also use the slam attack (jump + Attack) to activate the spring.

3. It will throw you in the air, and you can safely glide to the next area of the shrine.
4. In the next area, climb the zonai spring device and hit it to get airborne. You must glide to the left to cross the gap and reach the area with an orange ball.

5. Pick up the zonai spring device and rotate it inclinedly. Place the spring on the ramp precisely as shown in the picture above. It should be facing the previous area.


6. Now pick up the orange ball with Ultrahand and place it on the spring (Don’t attach it). Hit the spring with an arrow or any weapon to activate it, throwing the orange ball across the gap to the previous area.

7. Use the same spring device to launch yourself in the air and go back.


8. Pick up the orange ball and place it inside the receptacle. This will solve the current puzzle and open a locked room with multiple spring devices attached to each other.

9. Pick up those spring devices and attach them to the top of the spring device already present in this area.

10. Climb the spring devices and hit them to get airborne. Don’t land on the altar room yet.

11. Glide down from the altar room to locate a ledge with the treasure chest. Open the treasure chest to obtain a Sneaky Elixir.
12. Glide down to the springs and hit them to deactivate them. Hit them again to allow them to throw you into the air once more.
13. Glide to reach the altar room and interact with Rauru and Sonia’s statues to solve the puzzle of the Morok Shrine in Zelda: Tears of the Kingdom. You will get the Light of Blessing as a reward.