Marakuguc Shrine in Zelda: Tears of the Kingdom is about constructing various vehicles to solve its puzzles. From a fire brigade to a tractor, you can create anything your imagination allows.
While finding the Marakuguc Shrine is easy in Zelda: Tears of the Kingdom, completing it is a whole different thing. You need to solve four puzzles (five if you add the treasure chest) to finally reach its inner sanctum. But there is nothing to worry about. We will help you complete this shrine in no time.
Marakuguc Shrine Location in Zelda: TotK
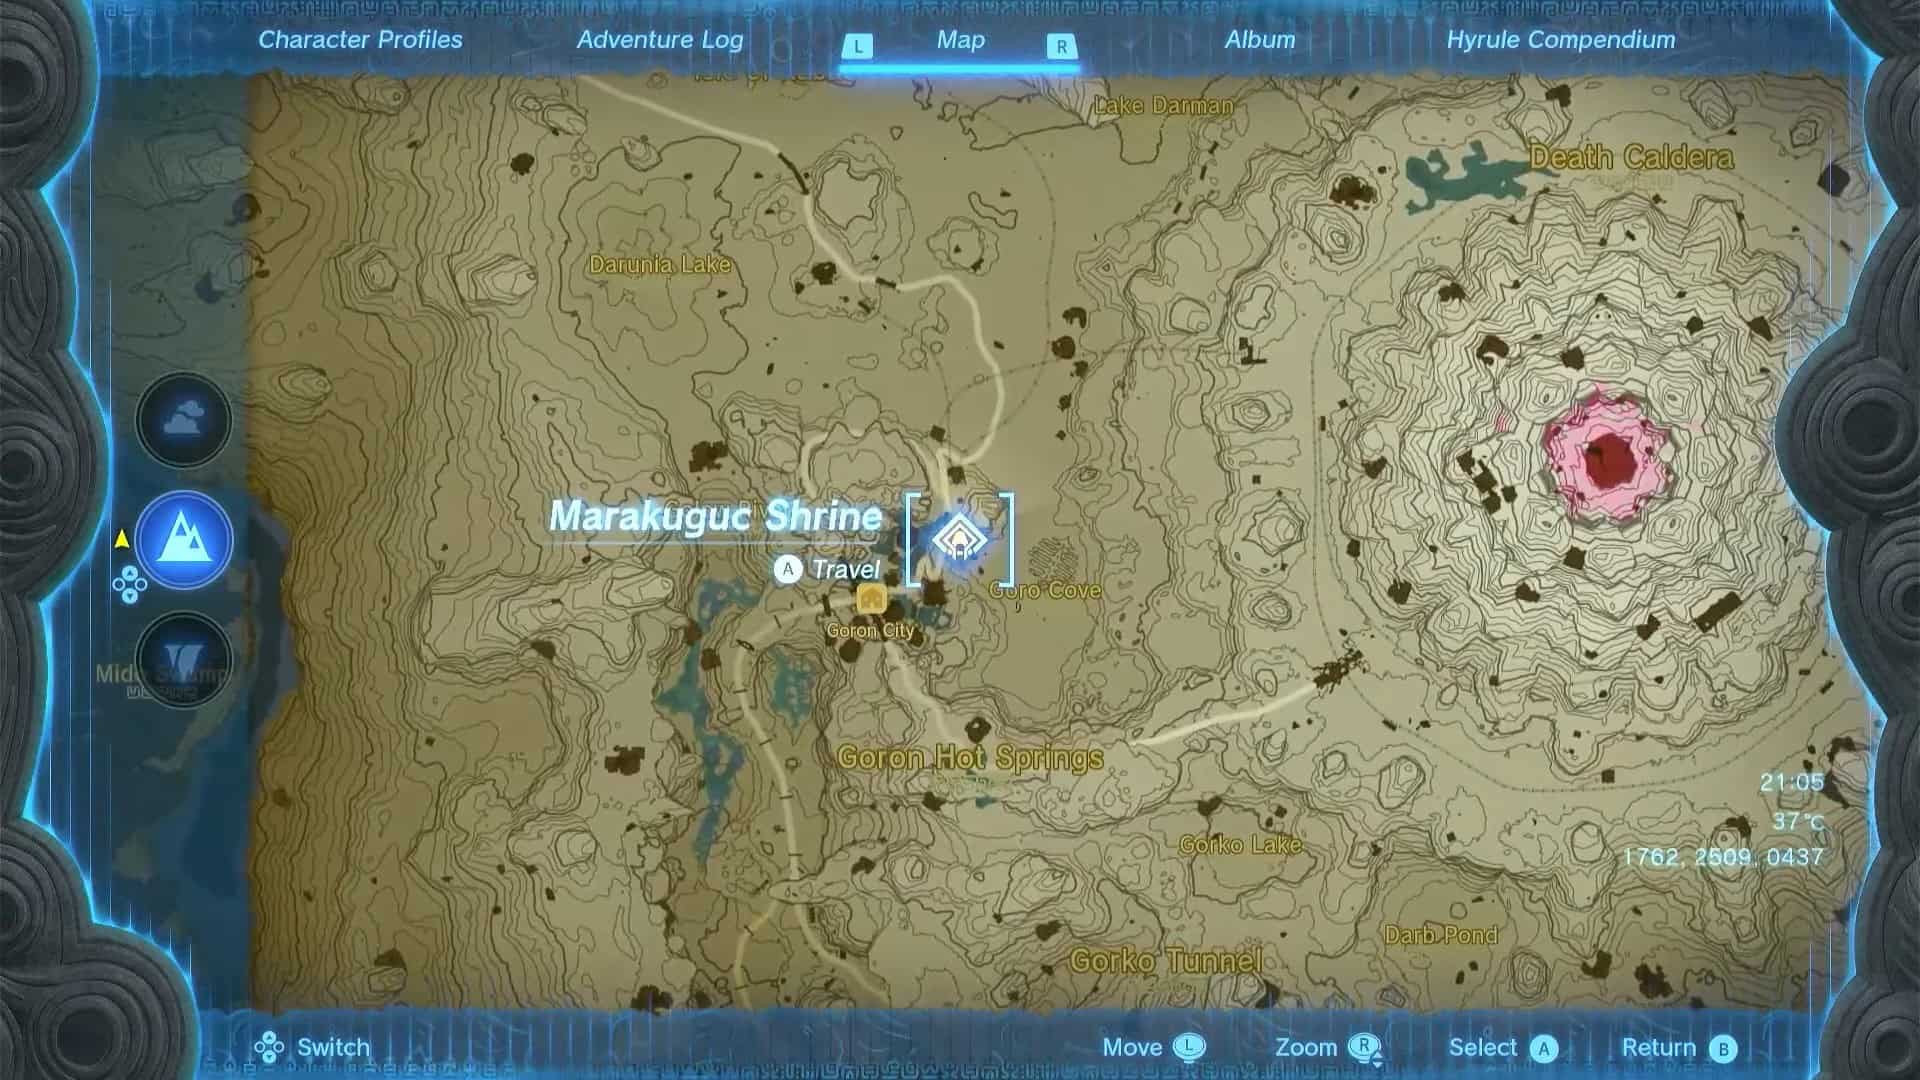
Marakuguc Shrine is present in the heart of the Eldin Region. It is to the west of Death Mountain and on the road leading to Goron City. The nearest Skyview Tower to this shrine is in Eldin Canyon.
The exact coordinates for the Marakuguc Shrine in Zelda: Tears of the Kingdom are (1762, 2509, 0437).
Before venturing into this area, make sure to brew some elixirs with flame resistance. Purchase the Flamebreaker armor as soon as you reach Goron City to survive the unbearable heat.
Remove the clothes, shields, and weapons that can easily catch fire.
Marakuguc Shrine Walkthrough

The trial presented by Marakuguc Shrine is known as Wheeled Wonders. You will be using vehicles to fix broken bridges to solve the puzzle of this shrine.
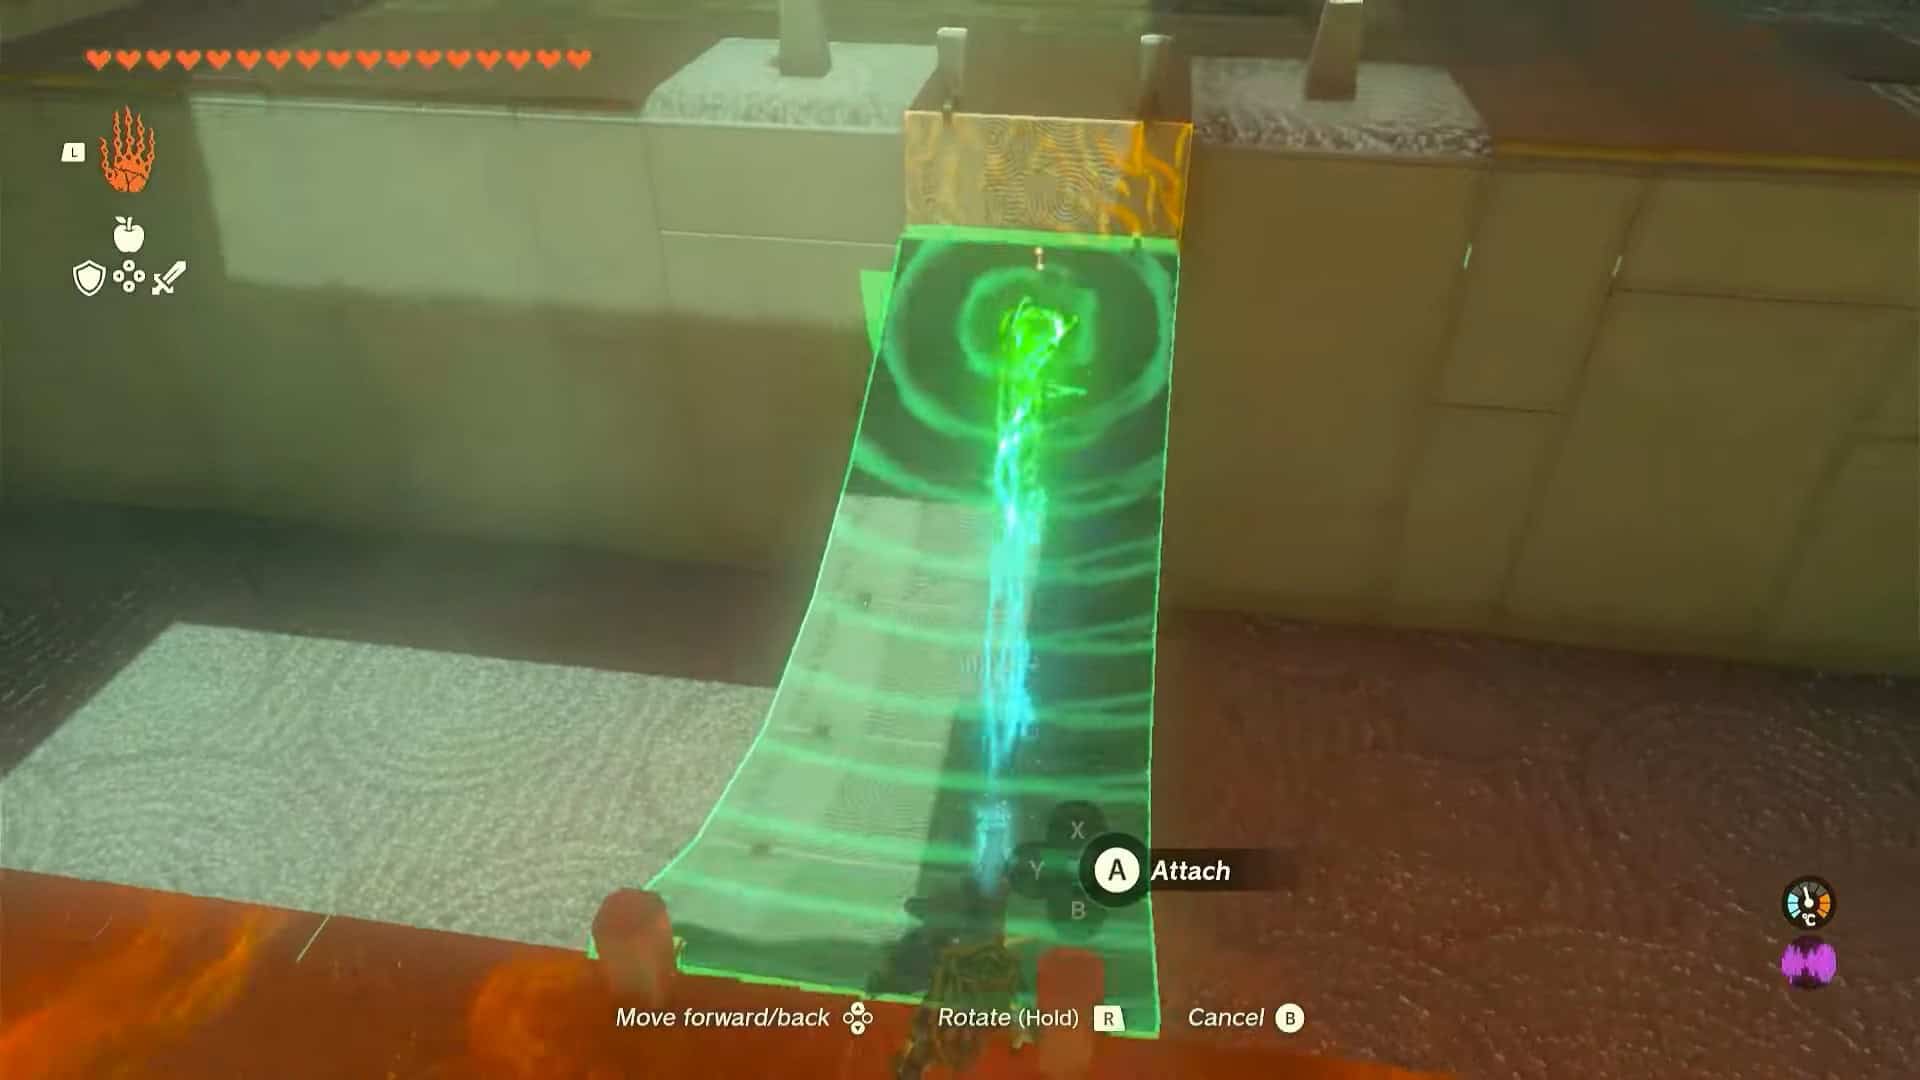
1. At the start of the shrine, there is a gap with a broken bridge. Pick up the bridge with Ultrahand and attach it to the other end to fix it.
2. Cross the bridge to find a strange vehicle with only two wheels. Pick up the vehicle and attach it to the end of the broken bridge.
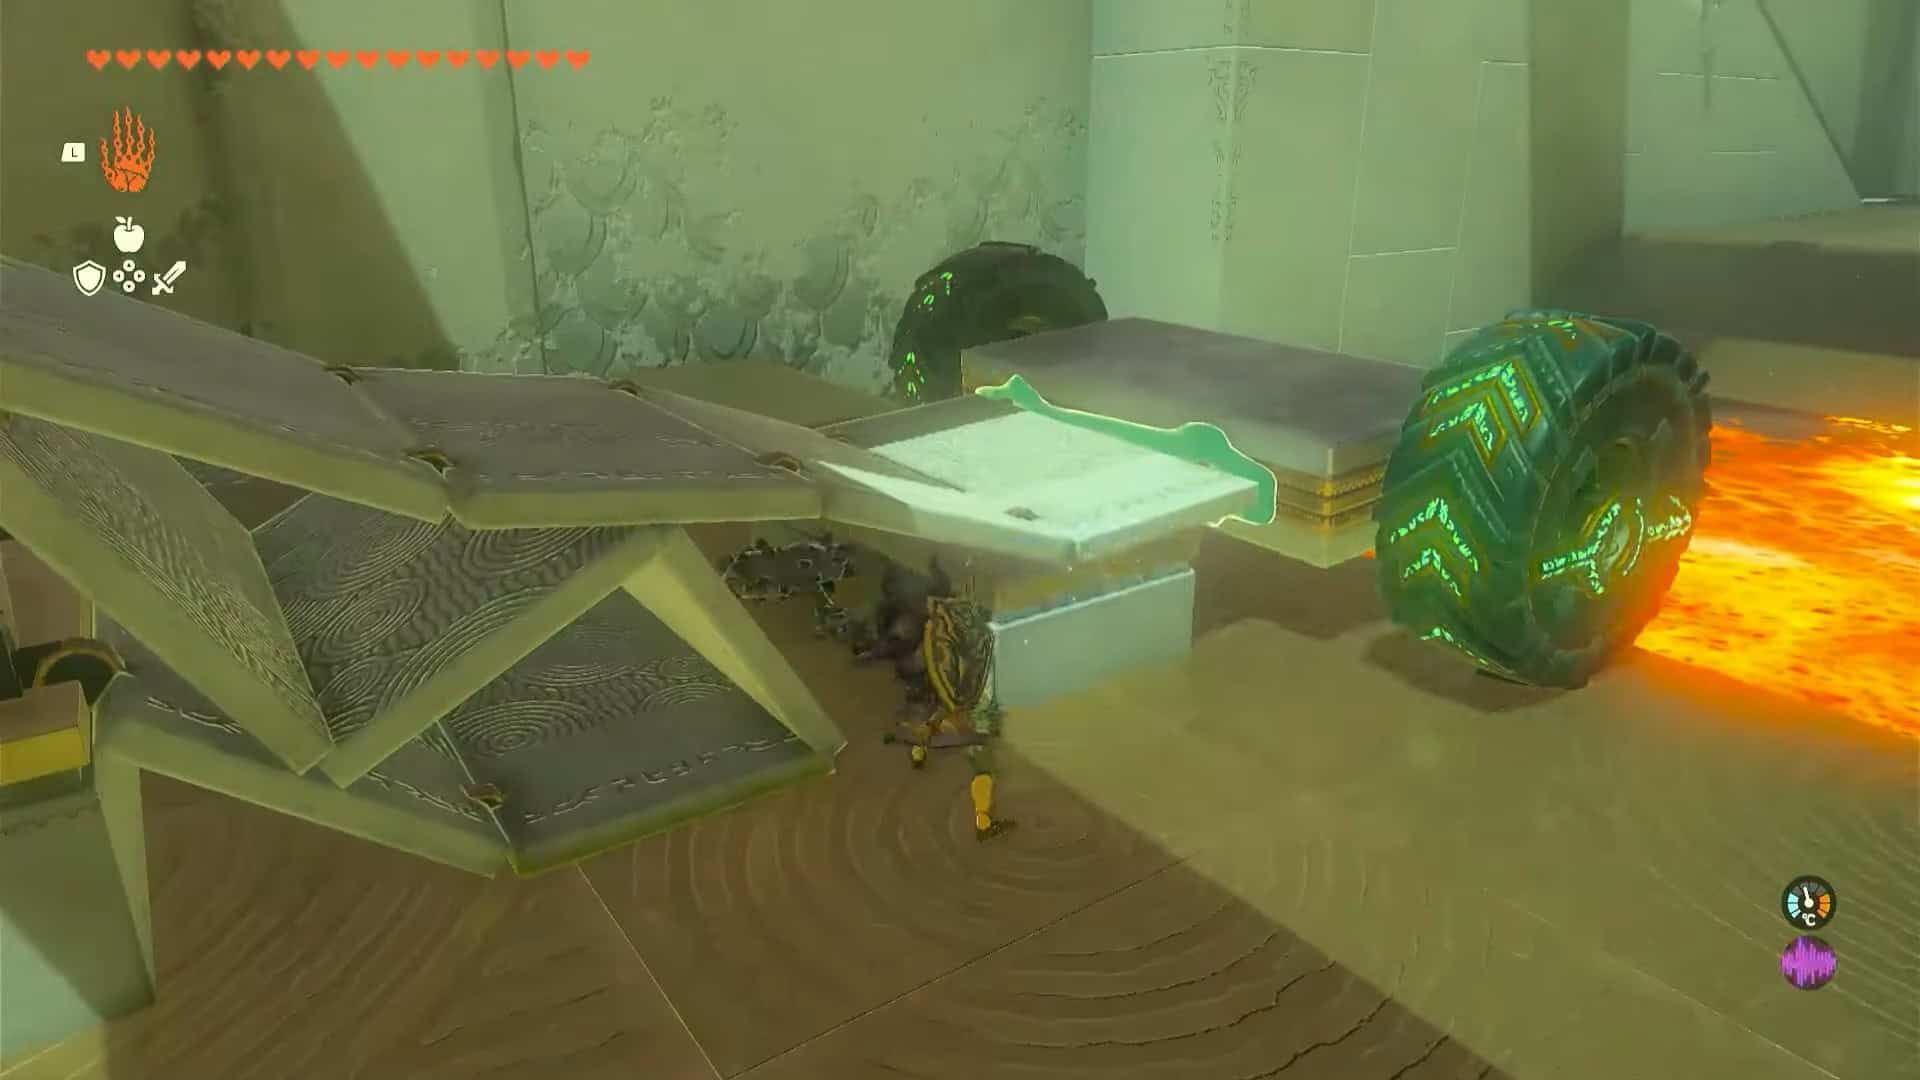
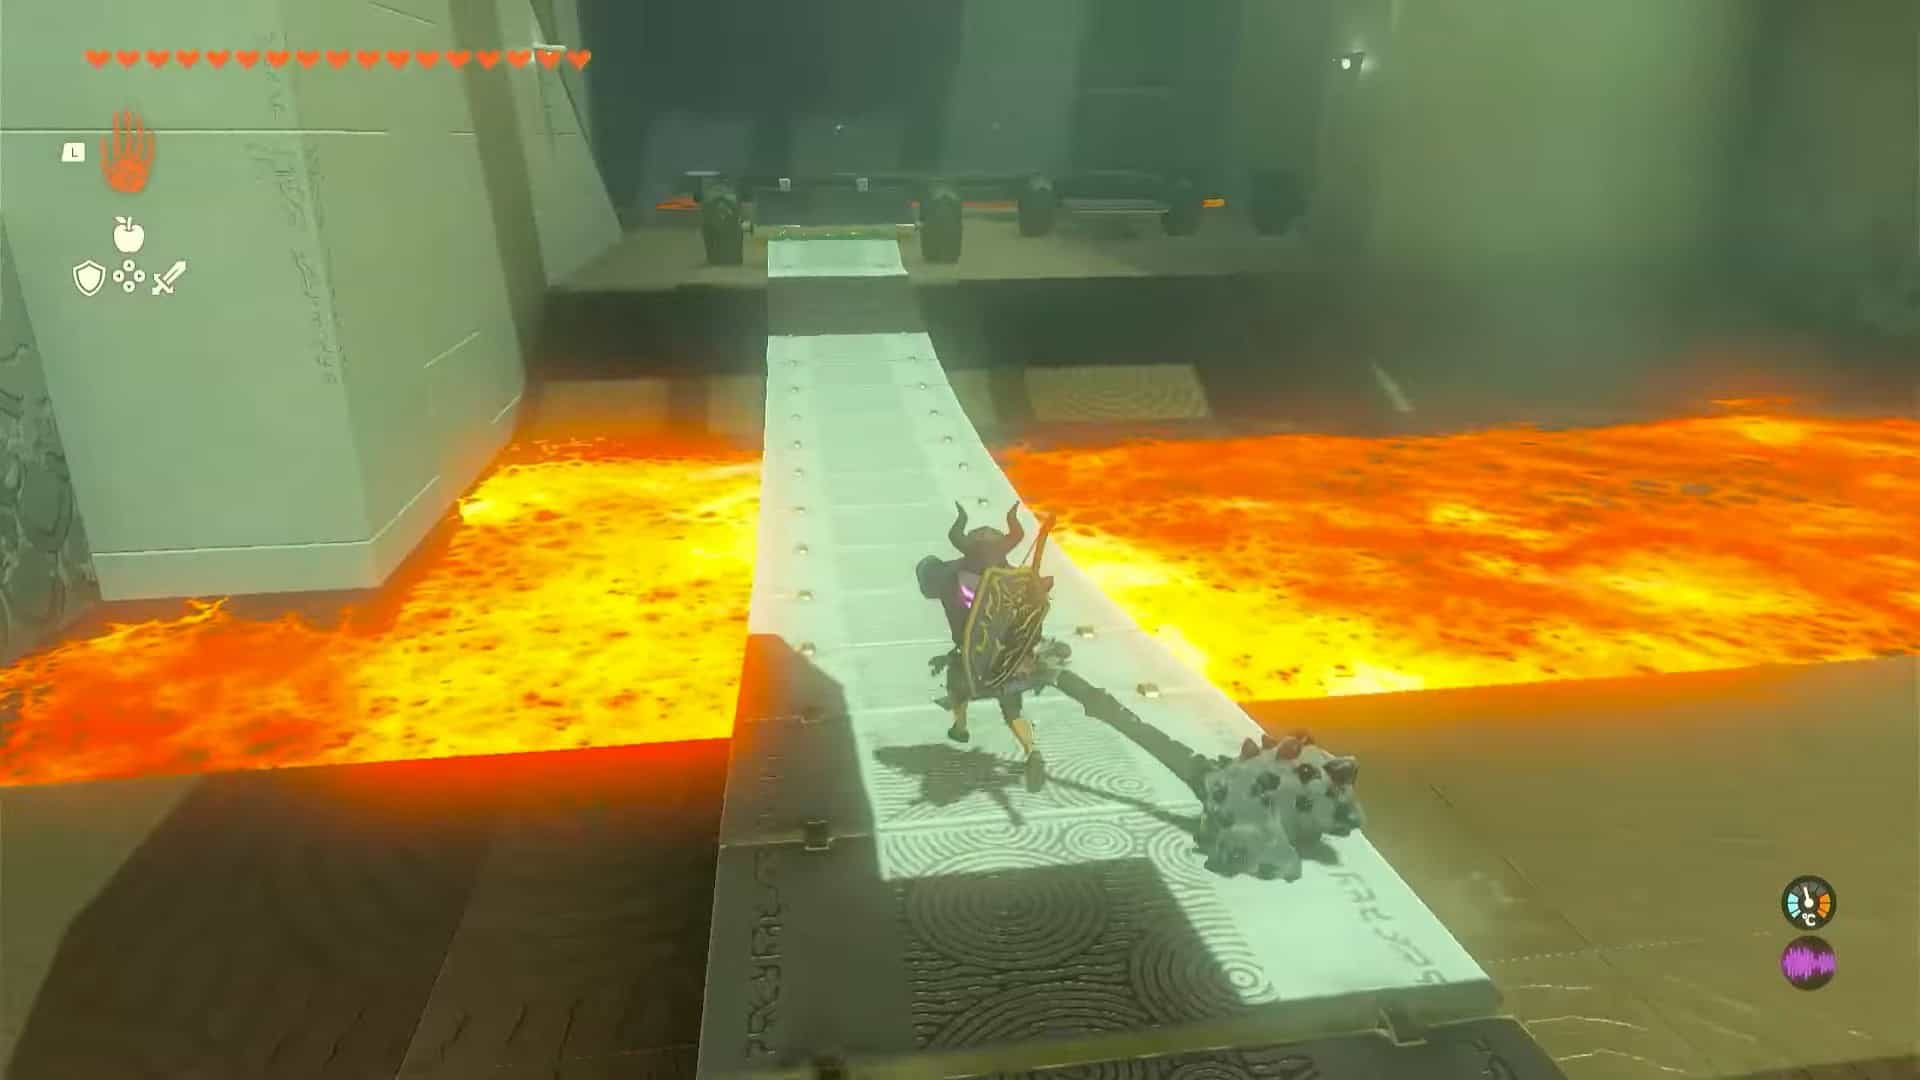
3. Hit the vehicle to activate it. It will run across the lava bed, erecting the bridge. Use the bridge to cover the lava-filled gap.
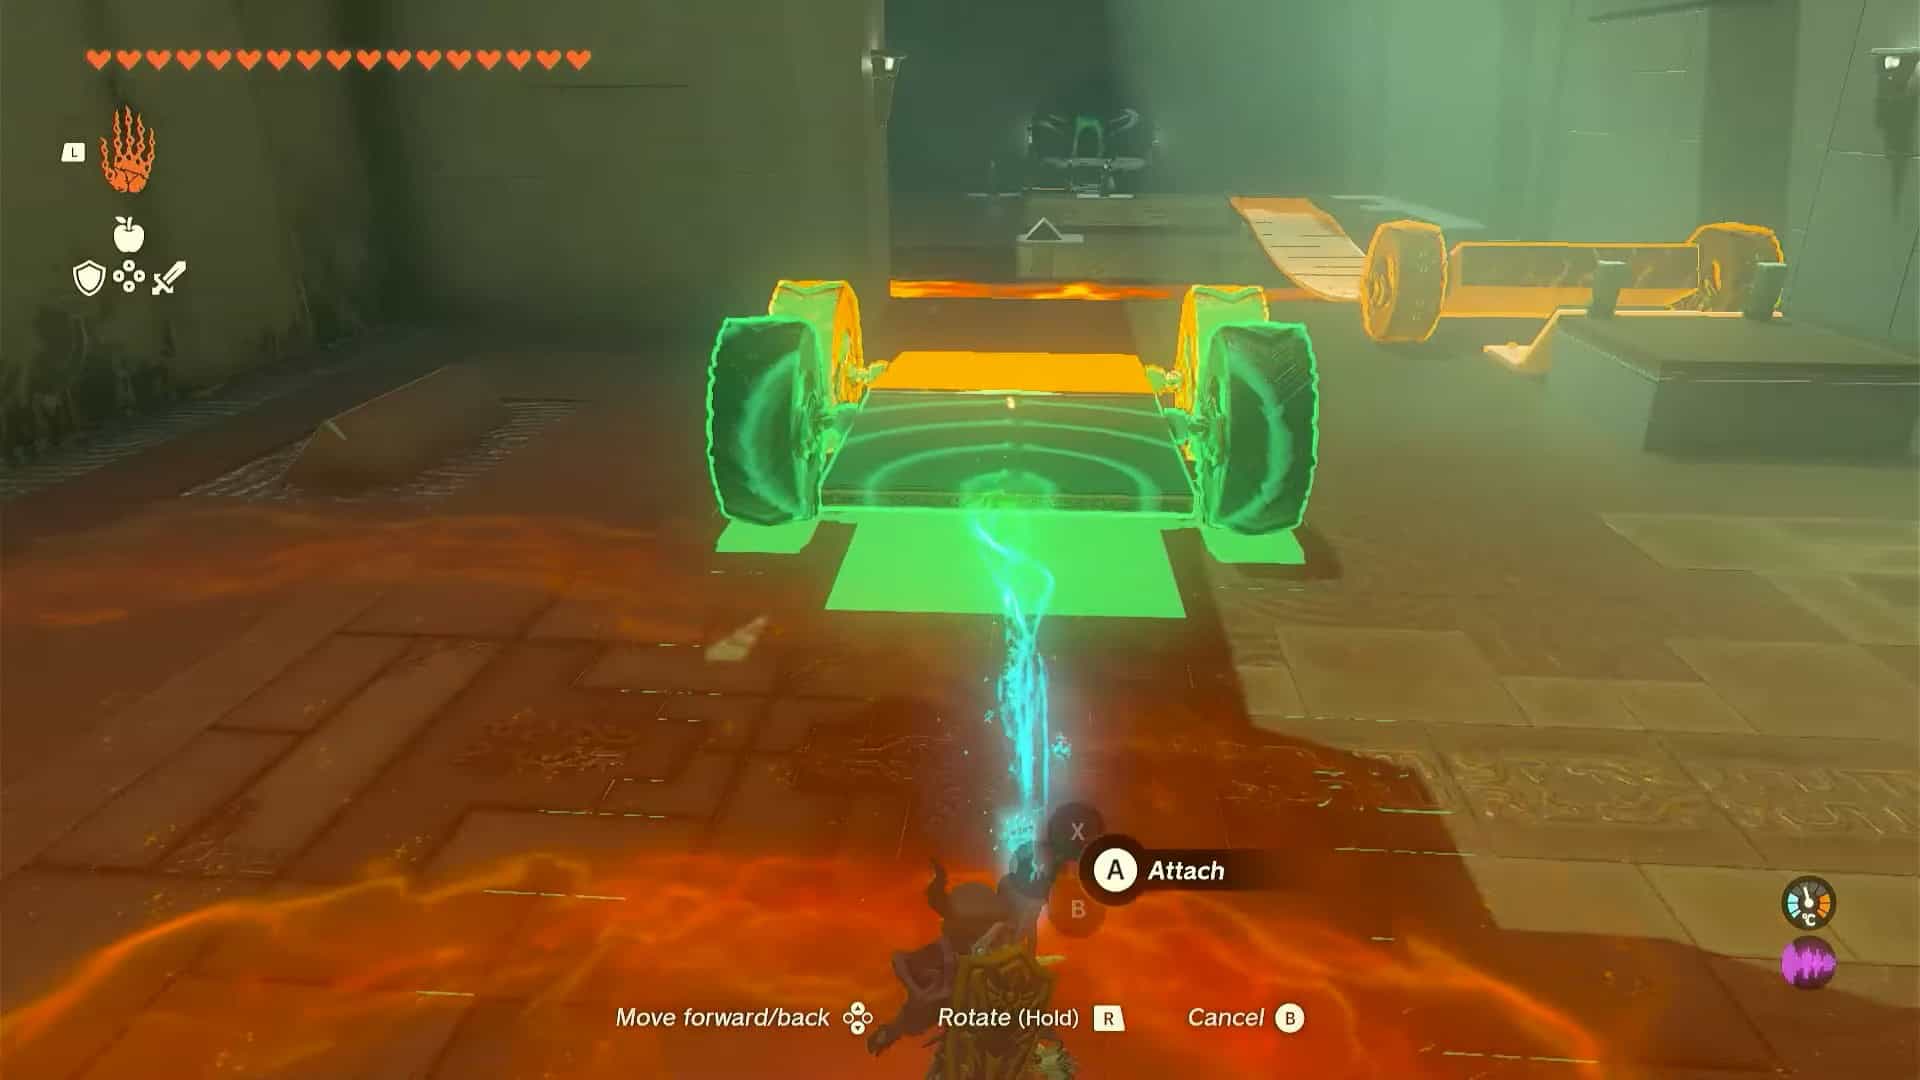
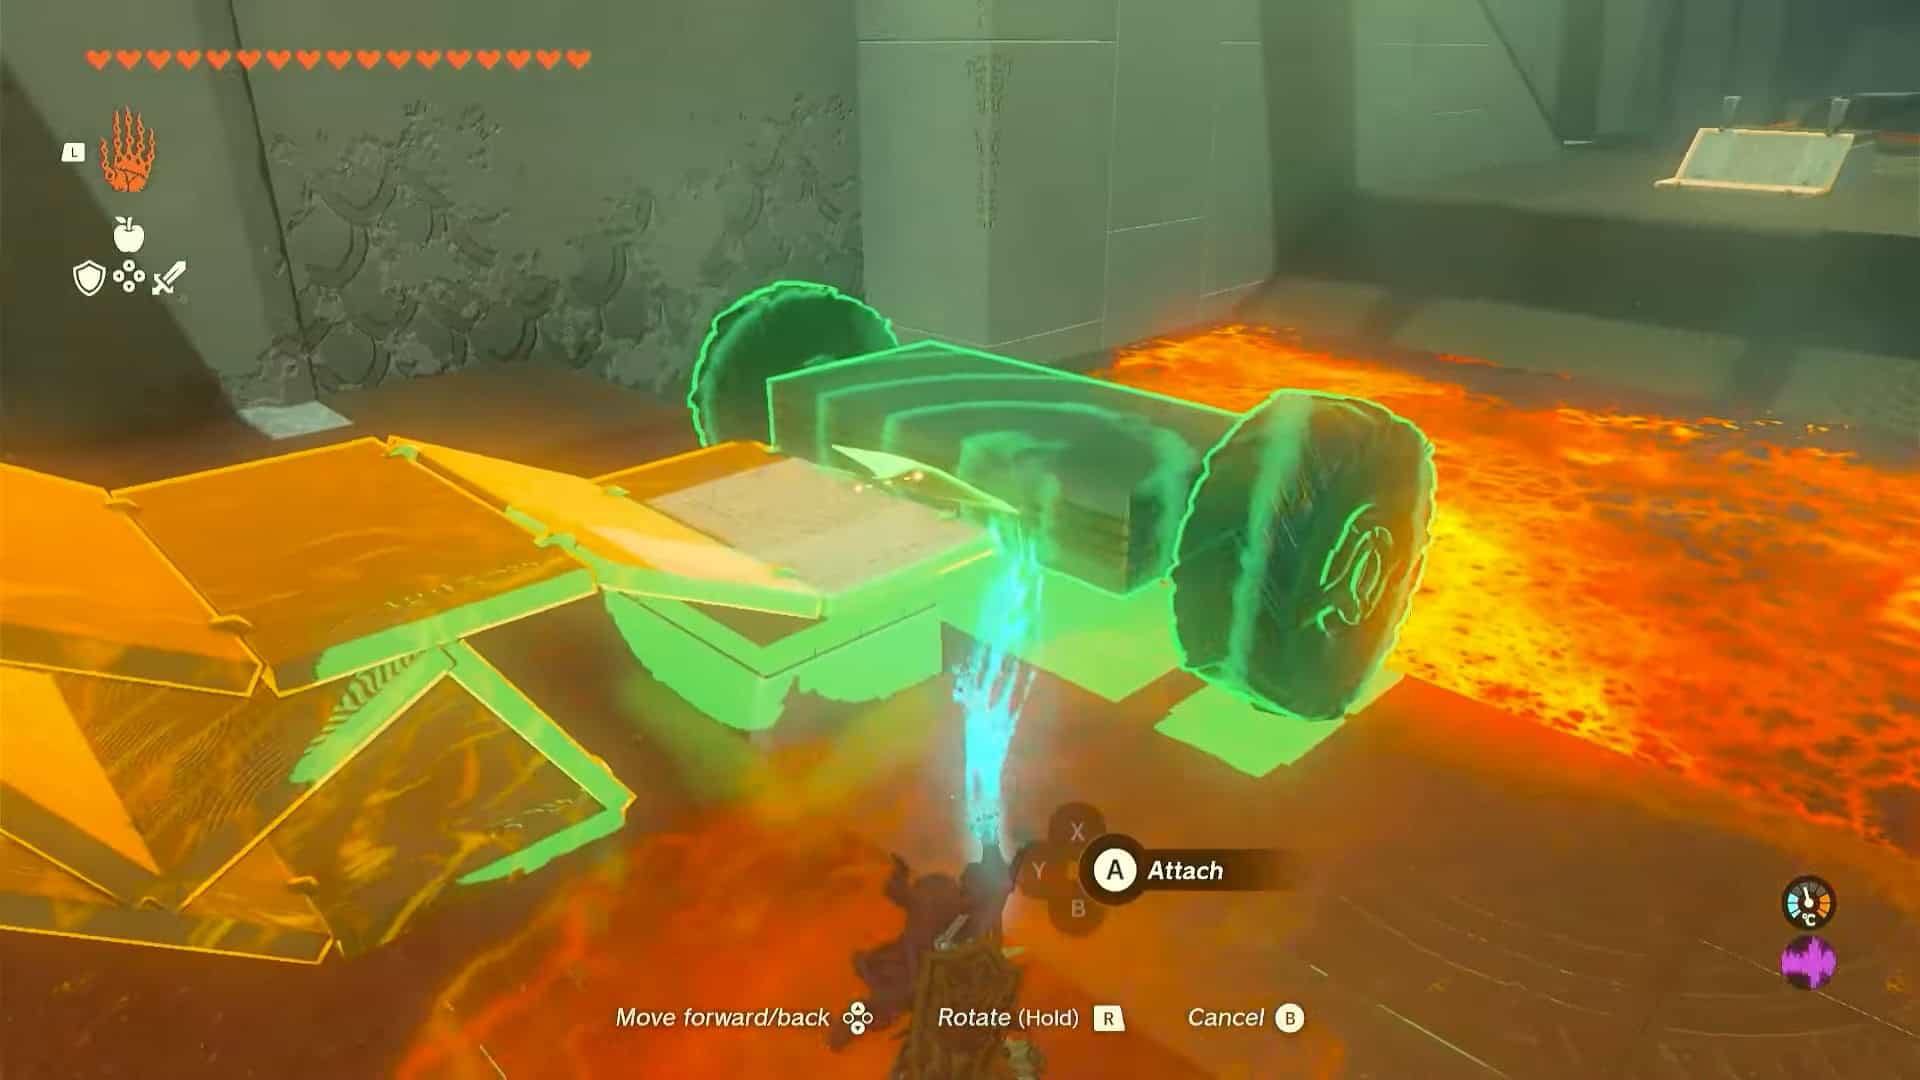
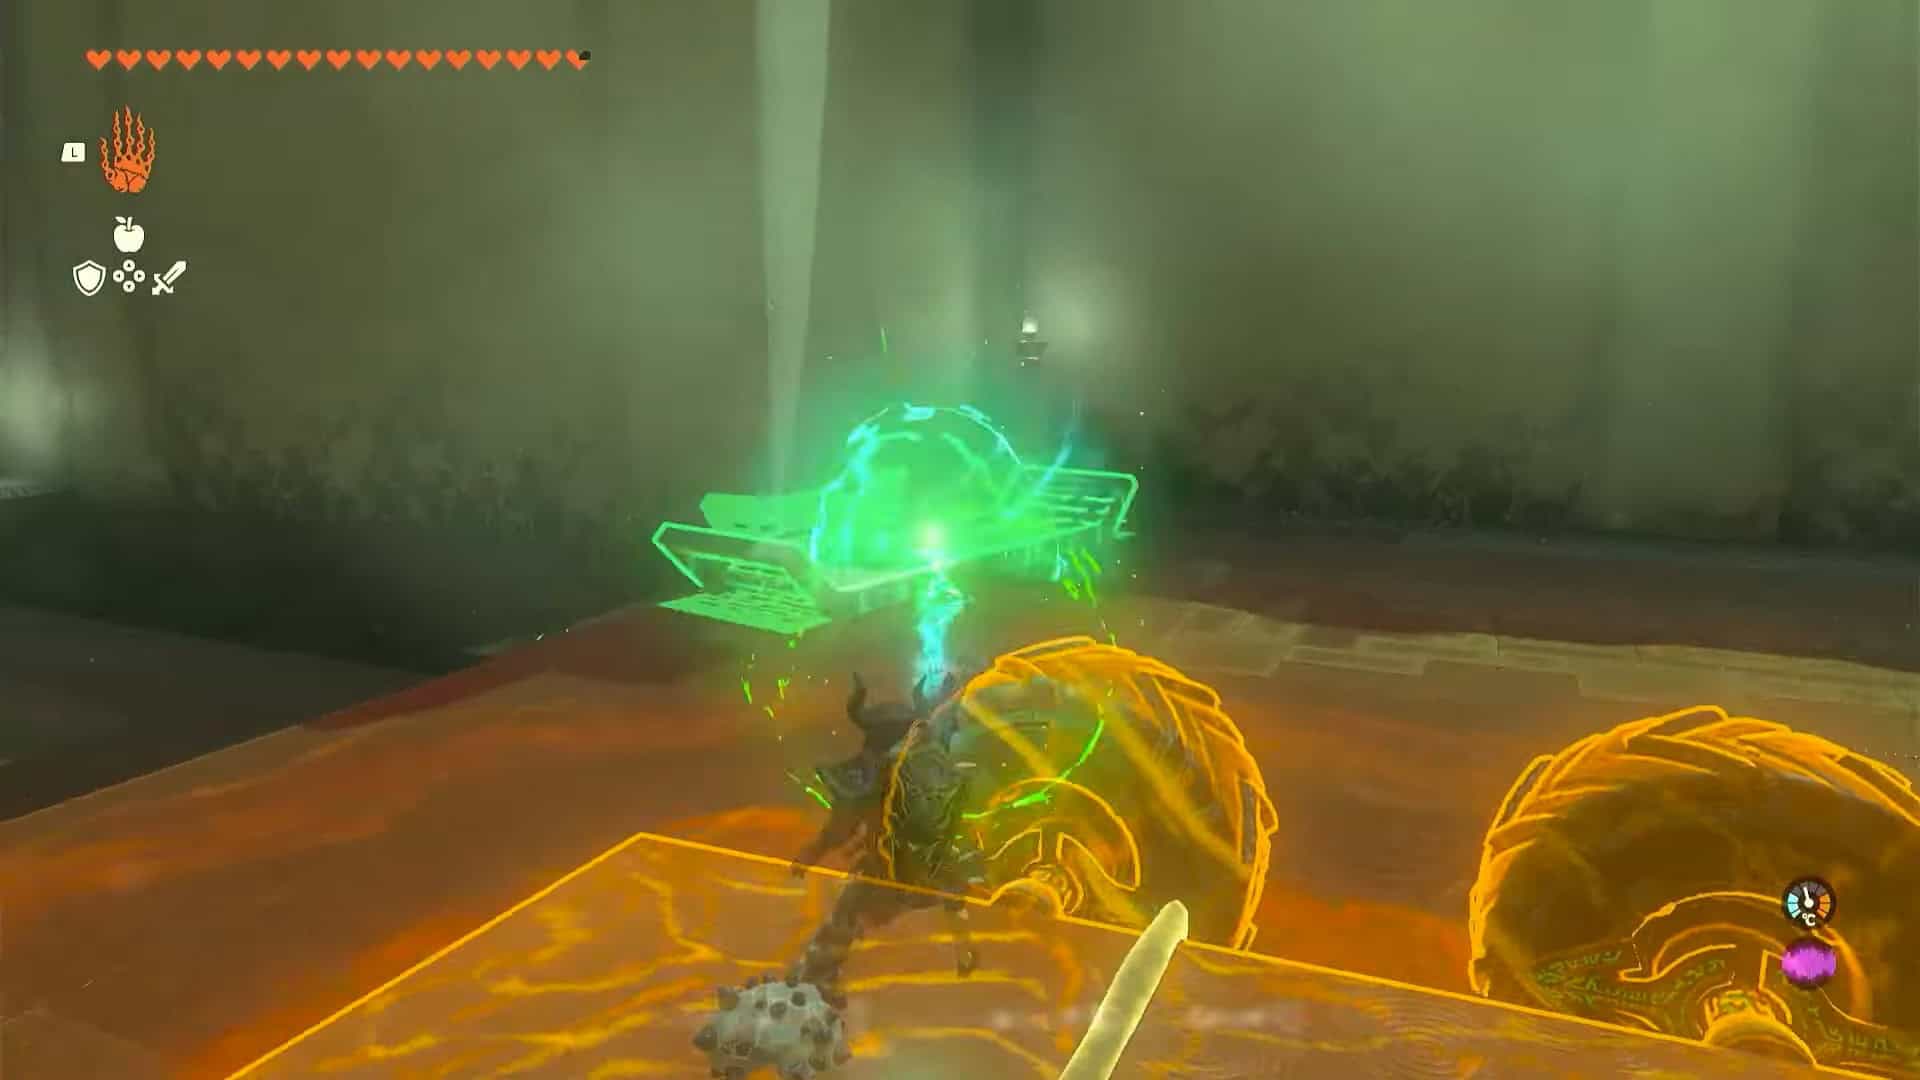
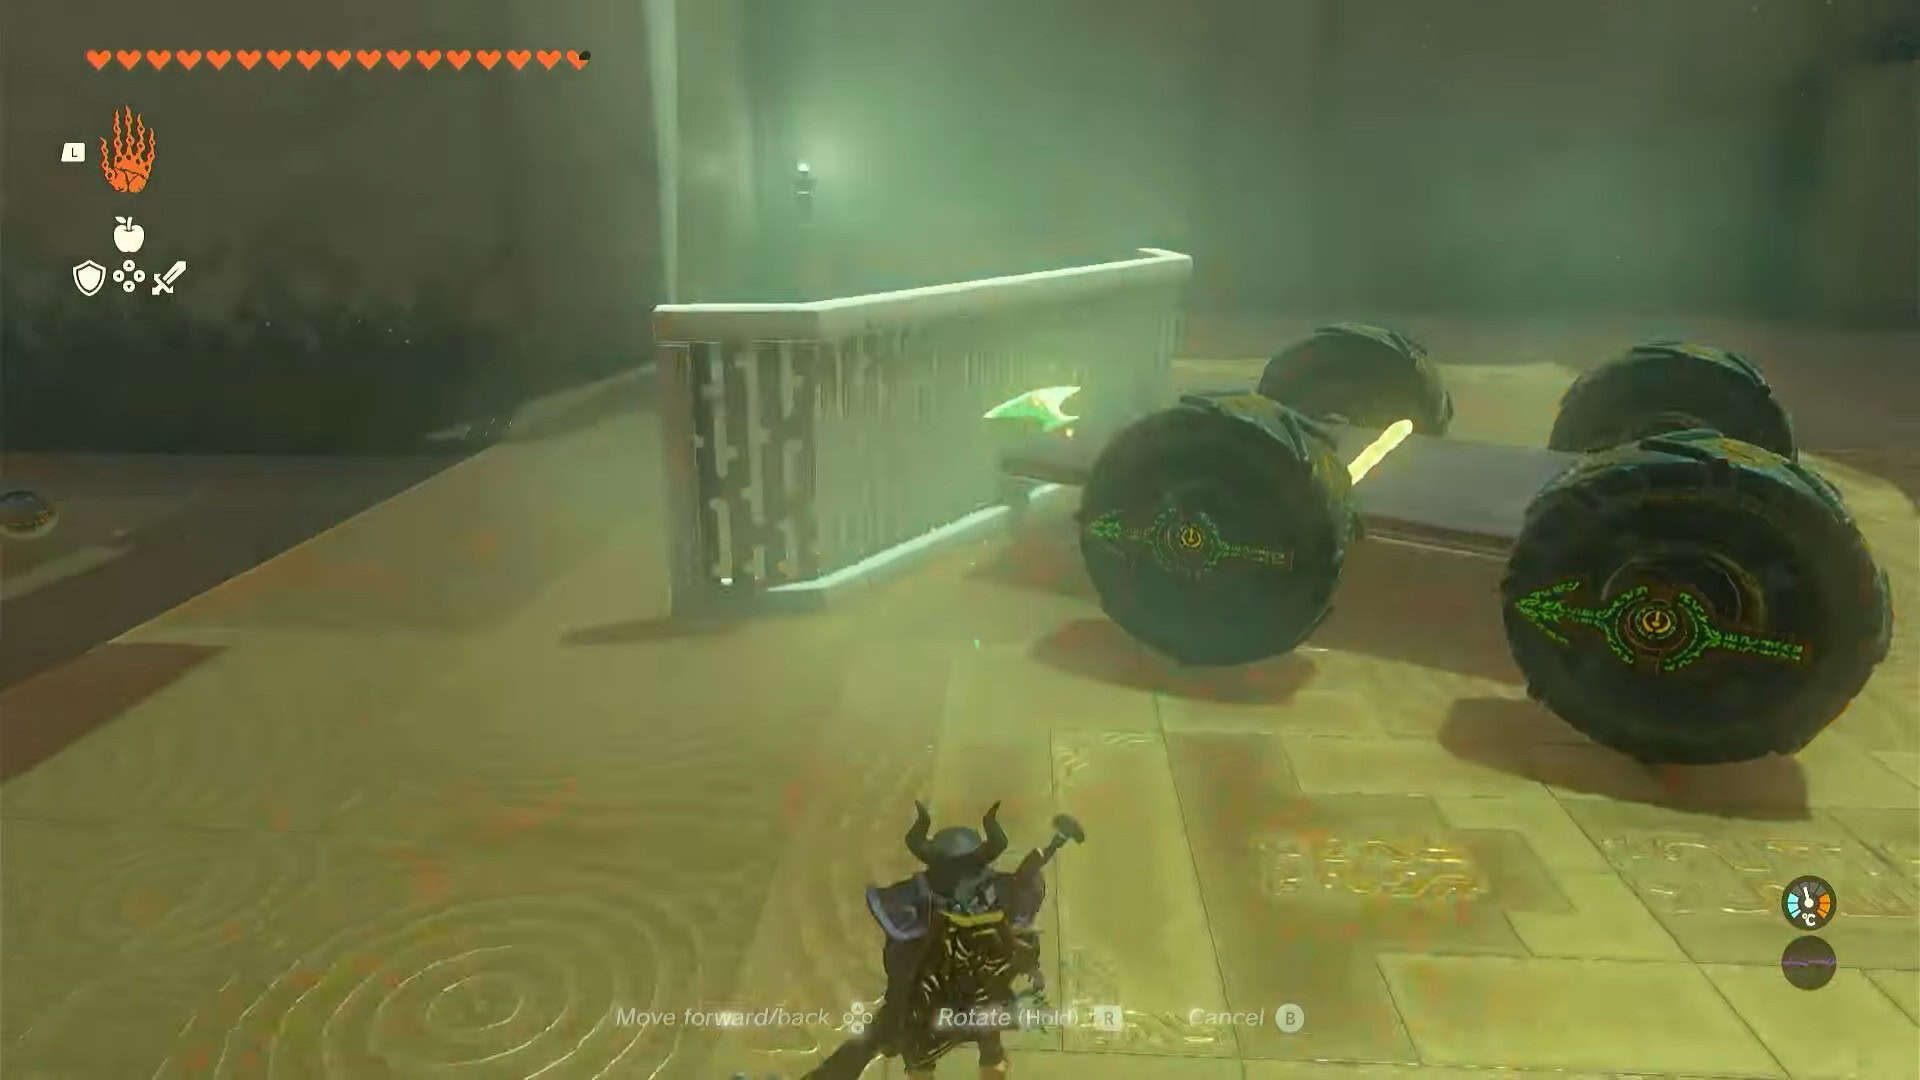
4. In the next area, pick up two vehicles and attach them with Ultrahand to create a four-wheeler.
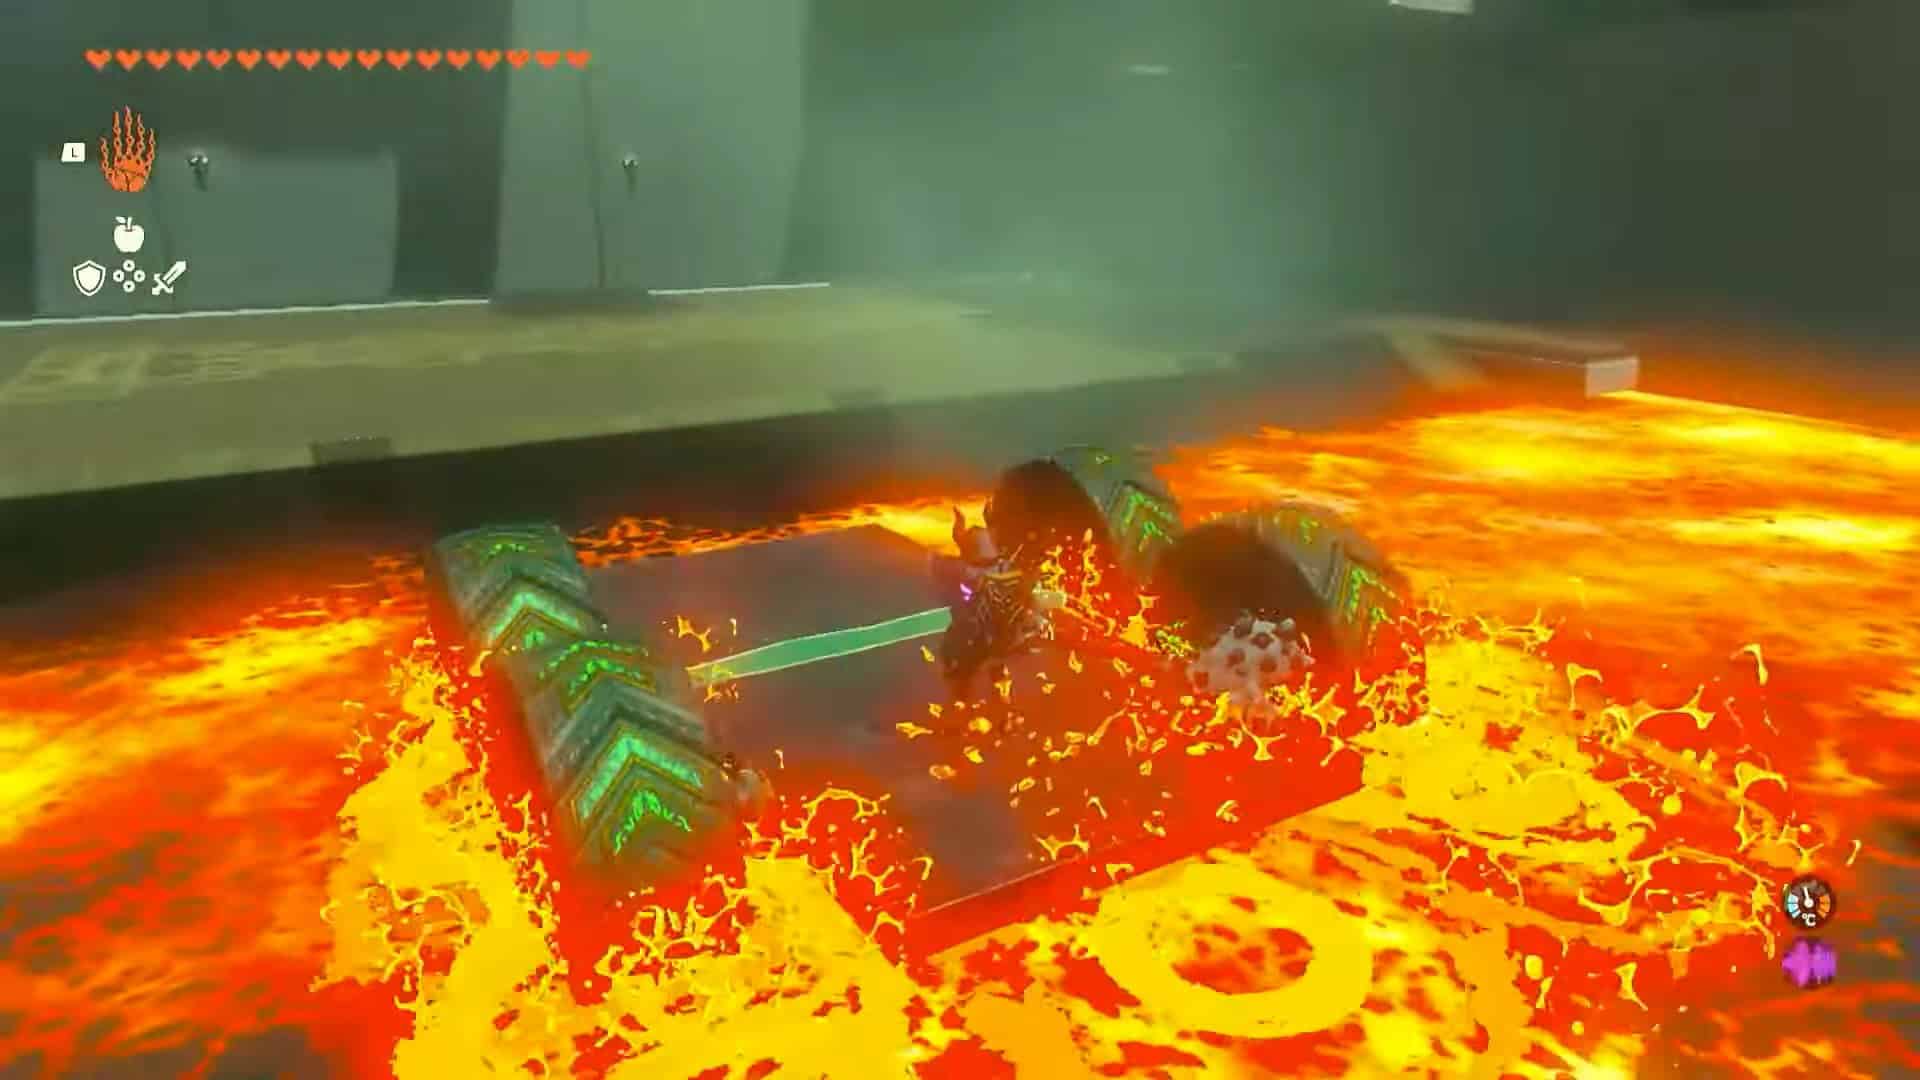
5. Climb on top of the vehicle and hit it. This will activate the vehicle and it will take you across the lava bed.
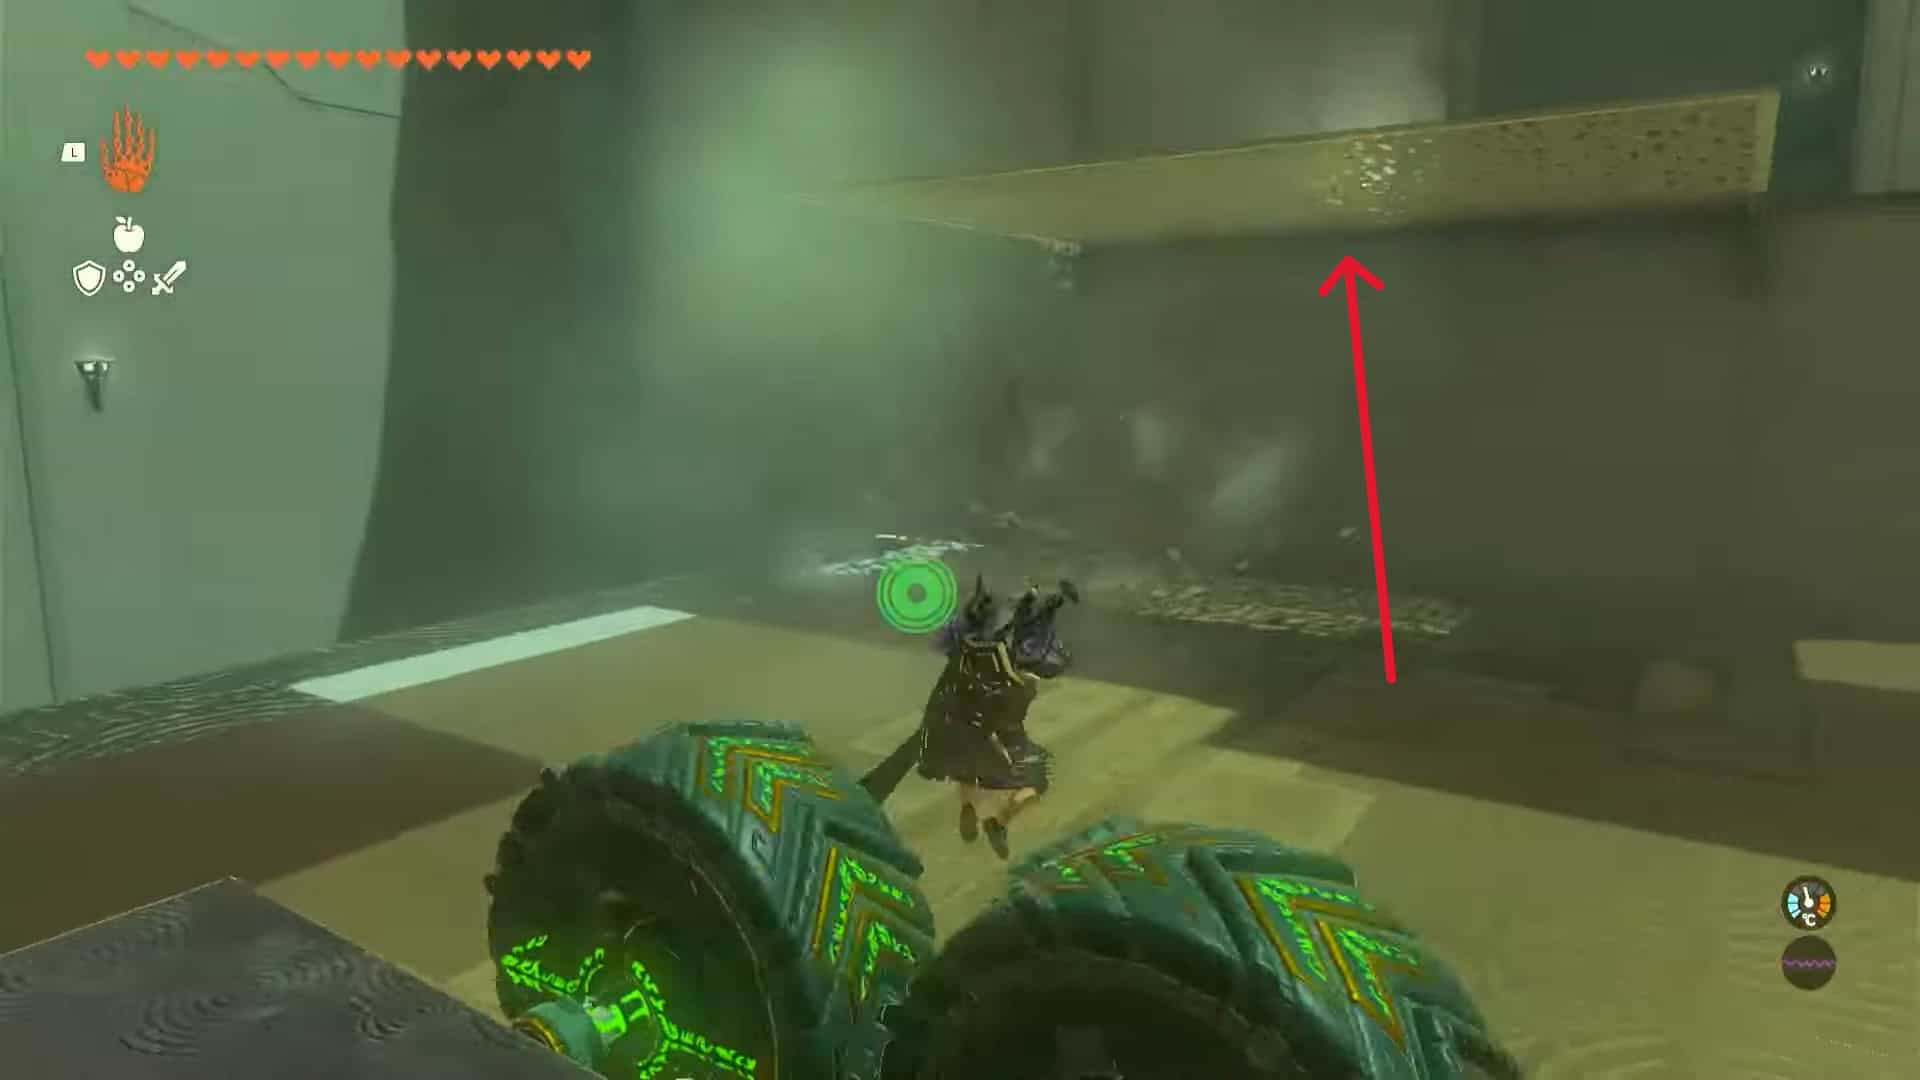
6. Turn right to find a meshed ledge above you. Use the Ascend ability to reach the next area.
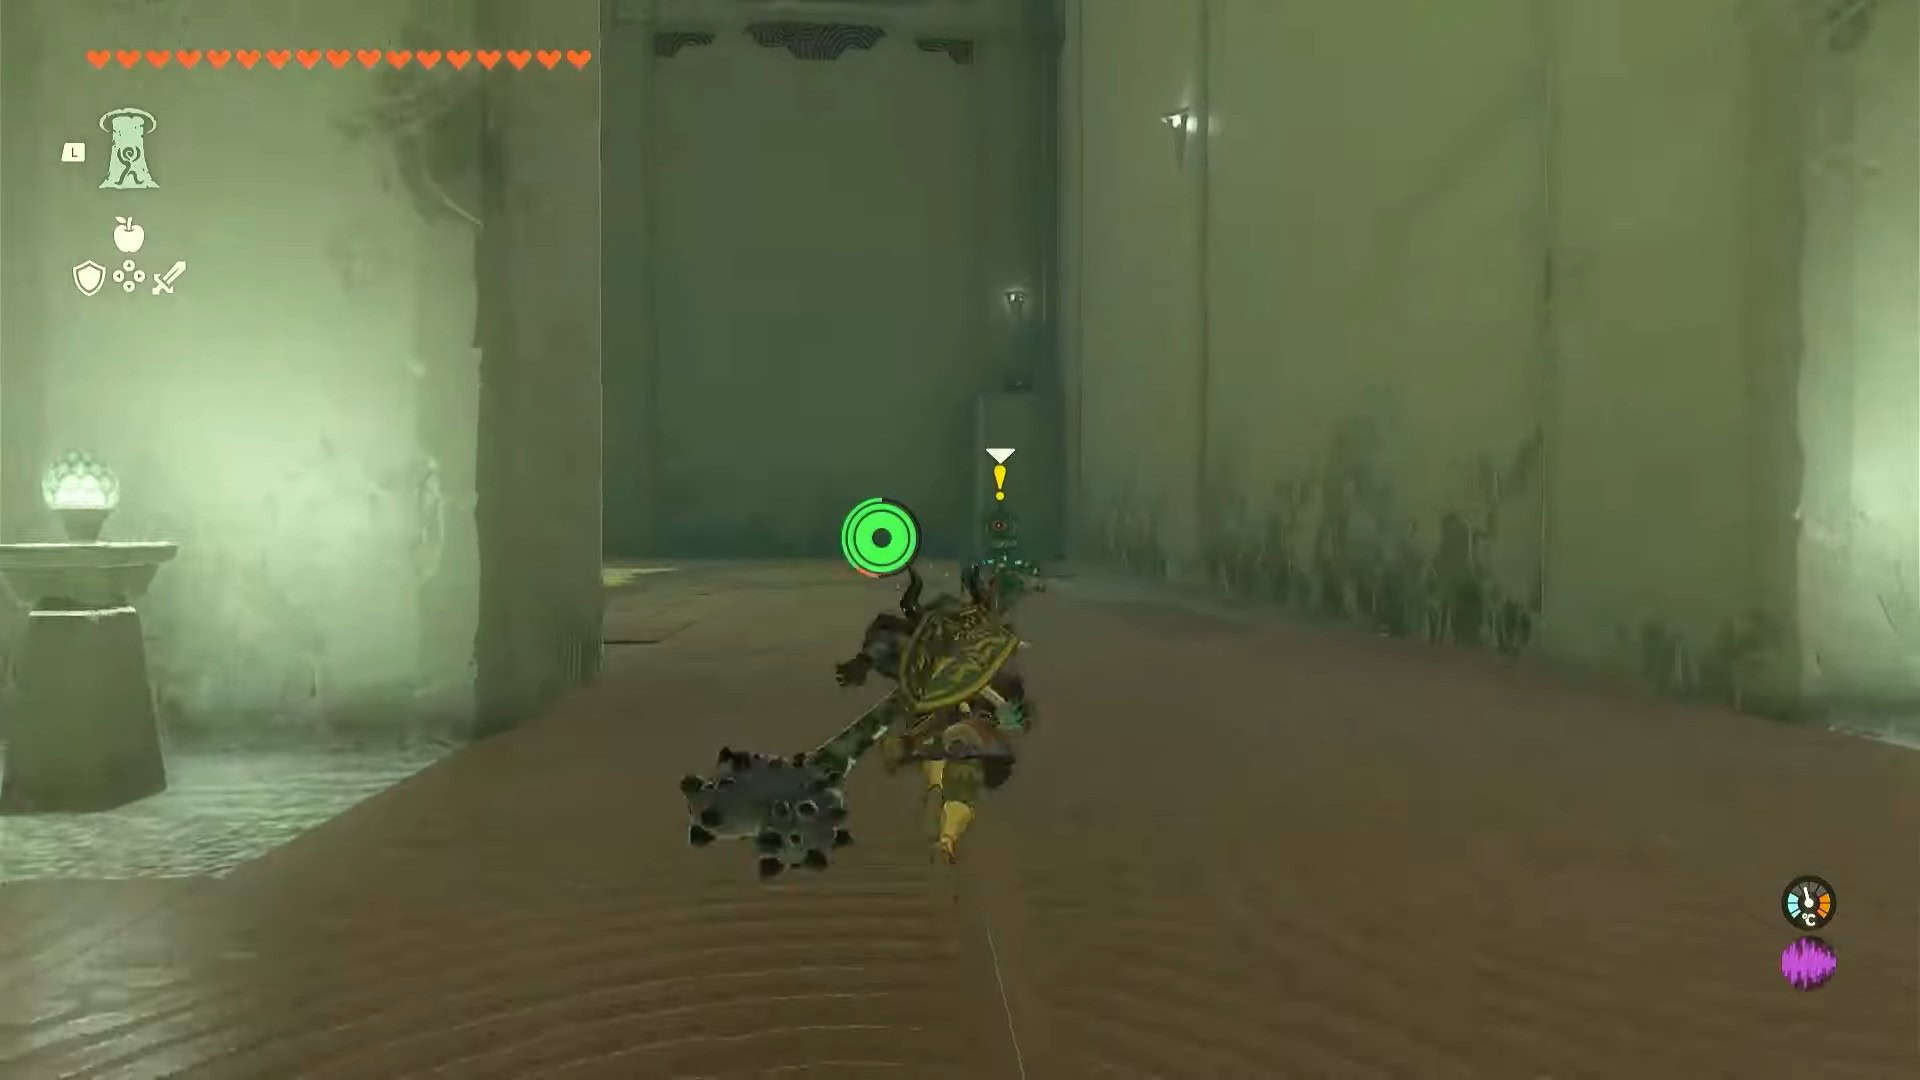
7. This area has a construct enemy that you must defeat.
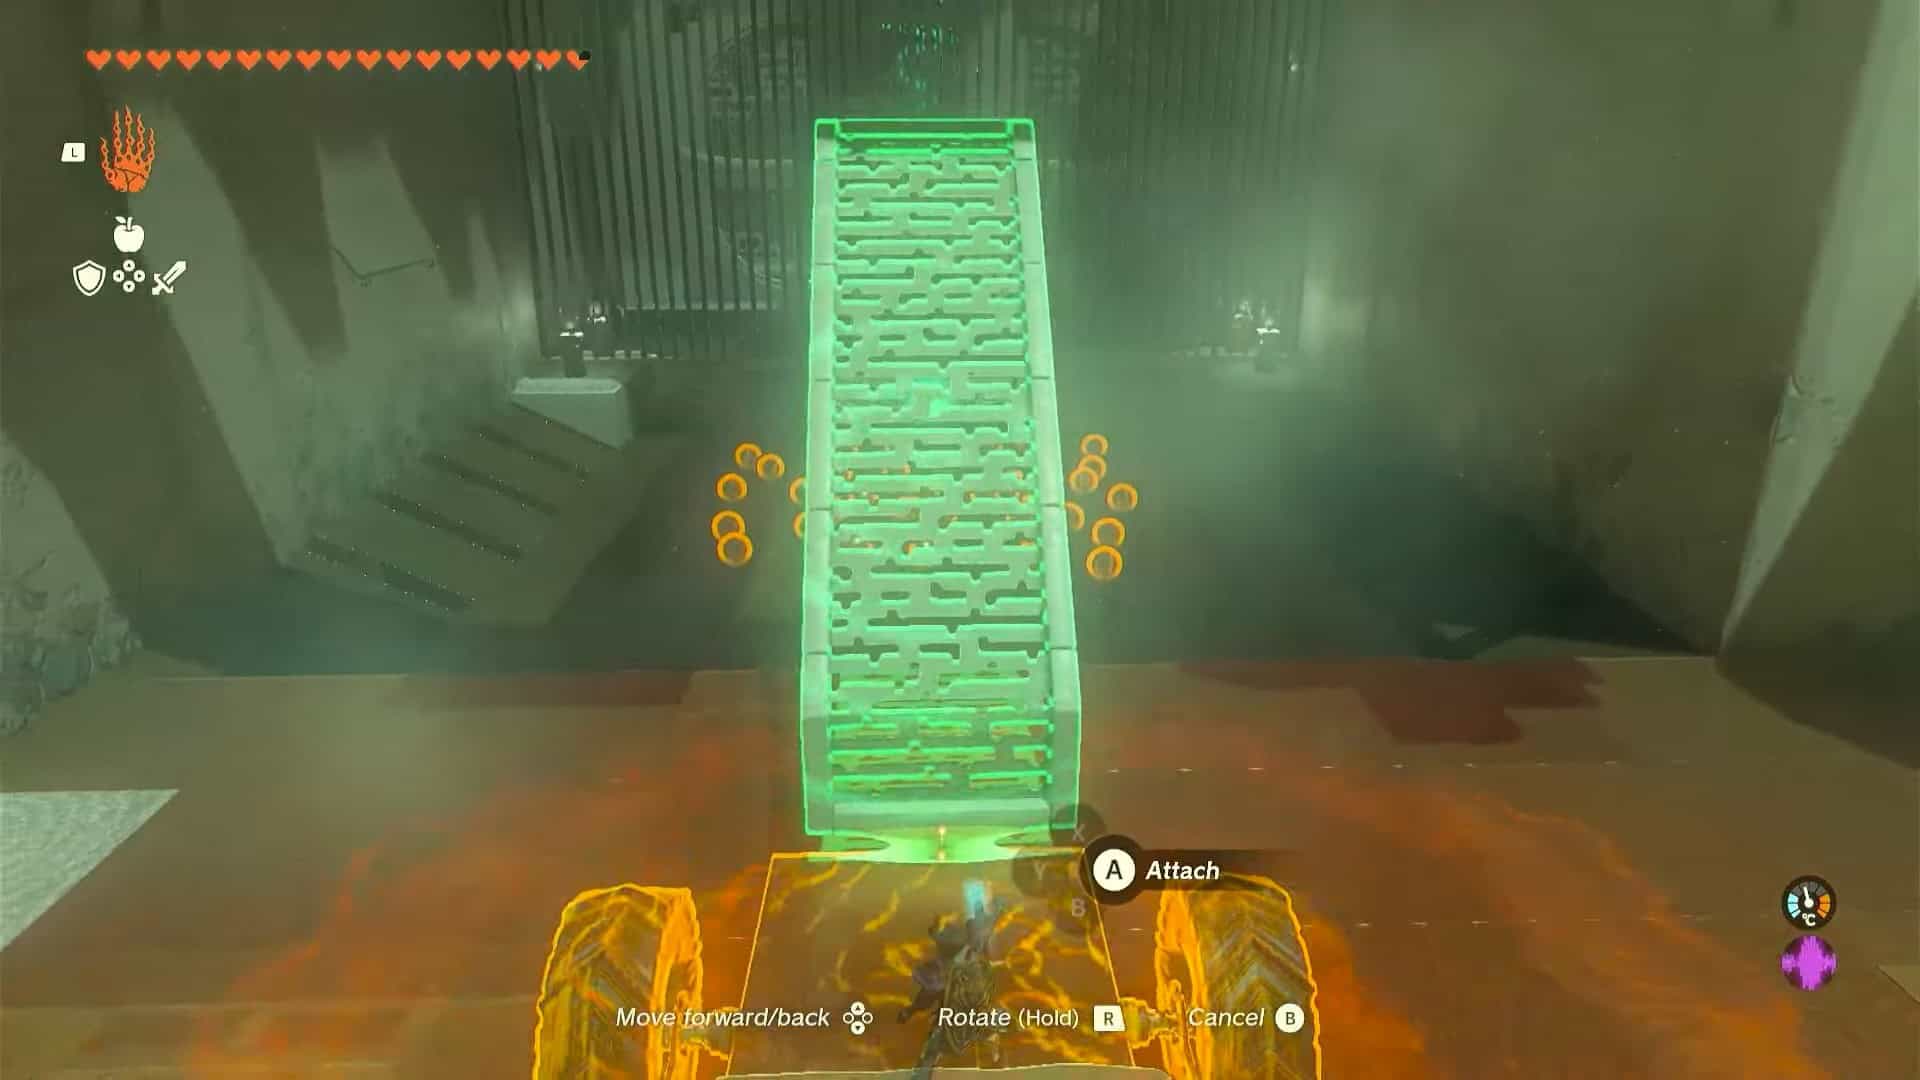
8. Pick up a meshed structure from the top left corner of the room and attach it to the vehicle. Make sure to rotate it in an inclined and upside-down position (see picture for reference).
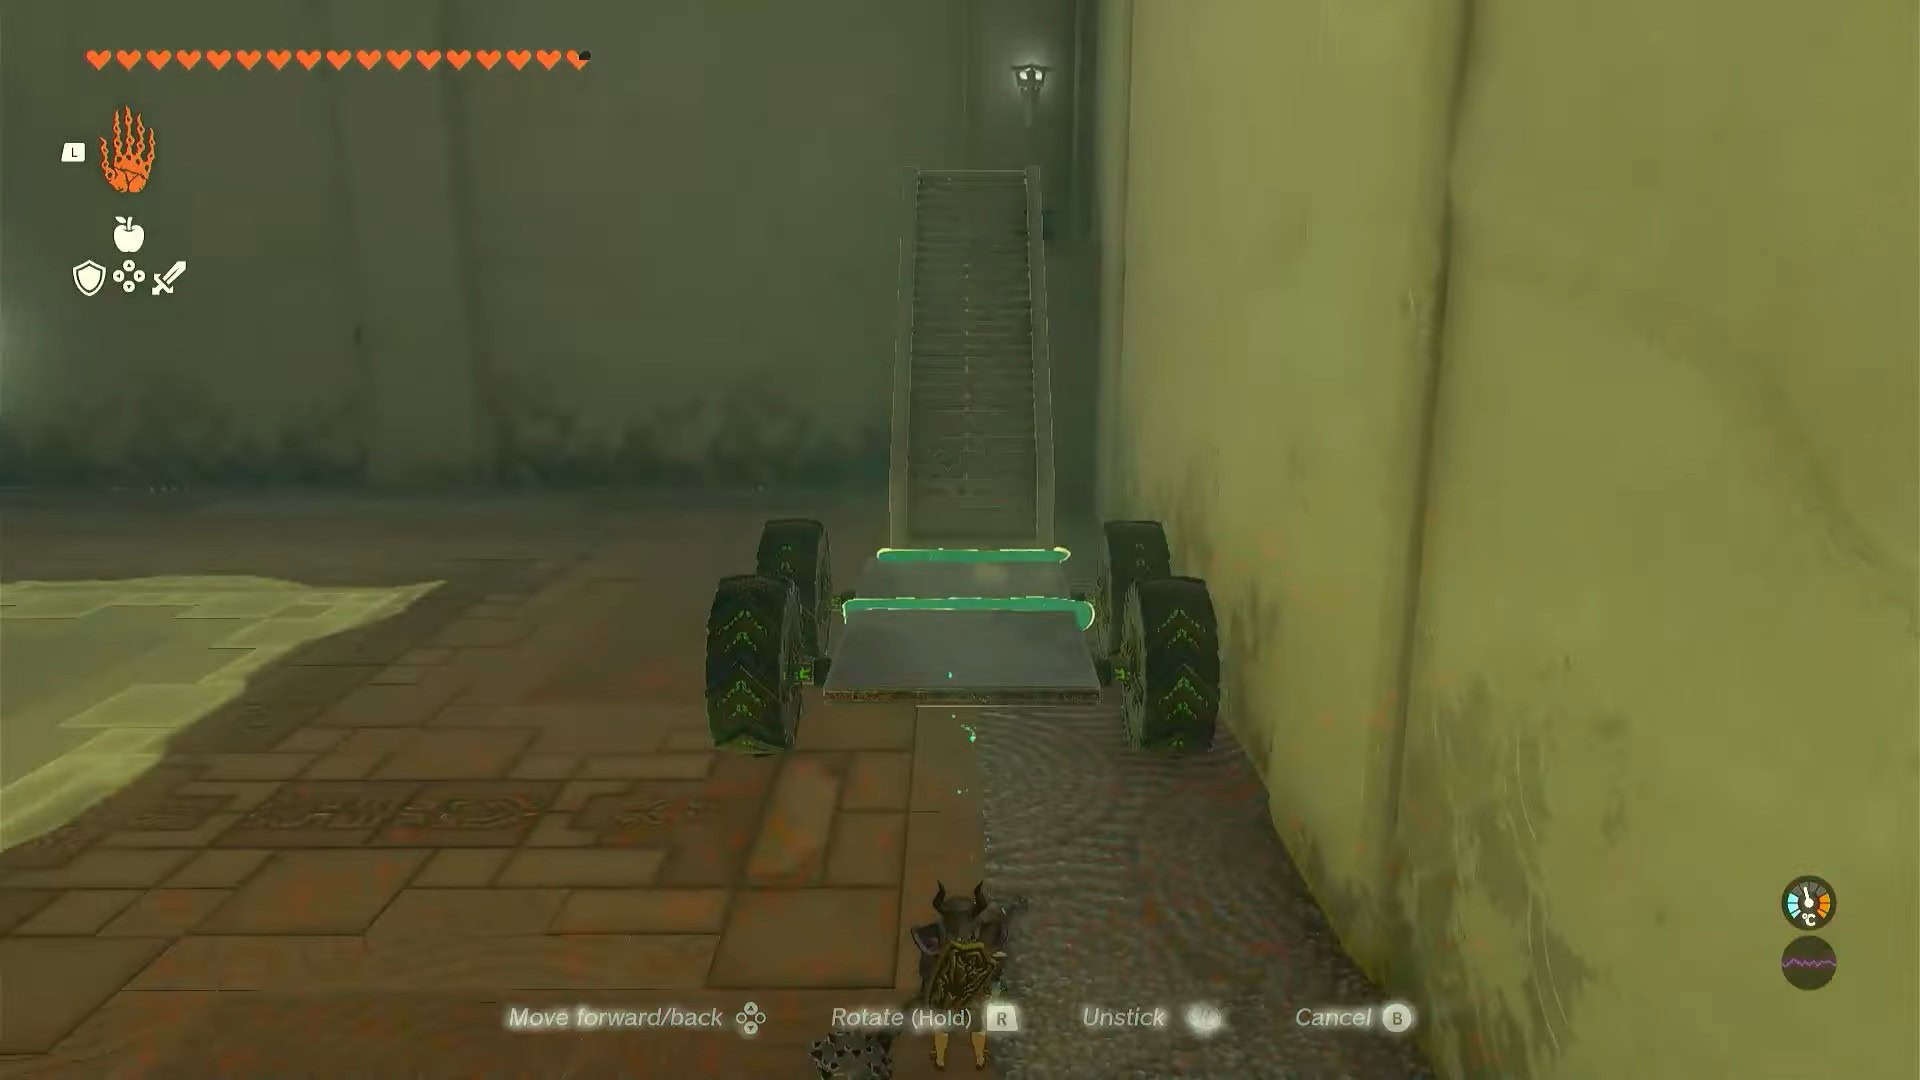
9. Place the bridged vehicle in the top right corner of the room to access the treasure chest. Open the treasure chest to obtain a Mighty Construct Bow.
10. Remove the meshed structure and rotate it sideways. Attach it to the front of the vehicle once more to create a tractor (picture for reference).
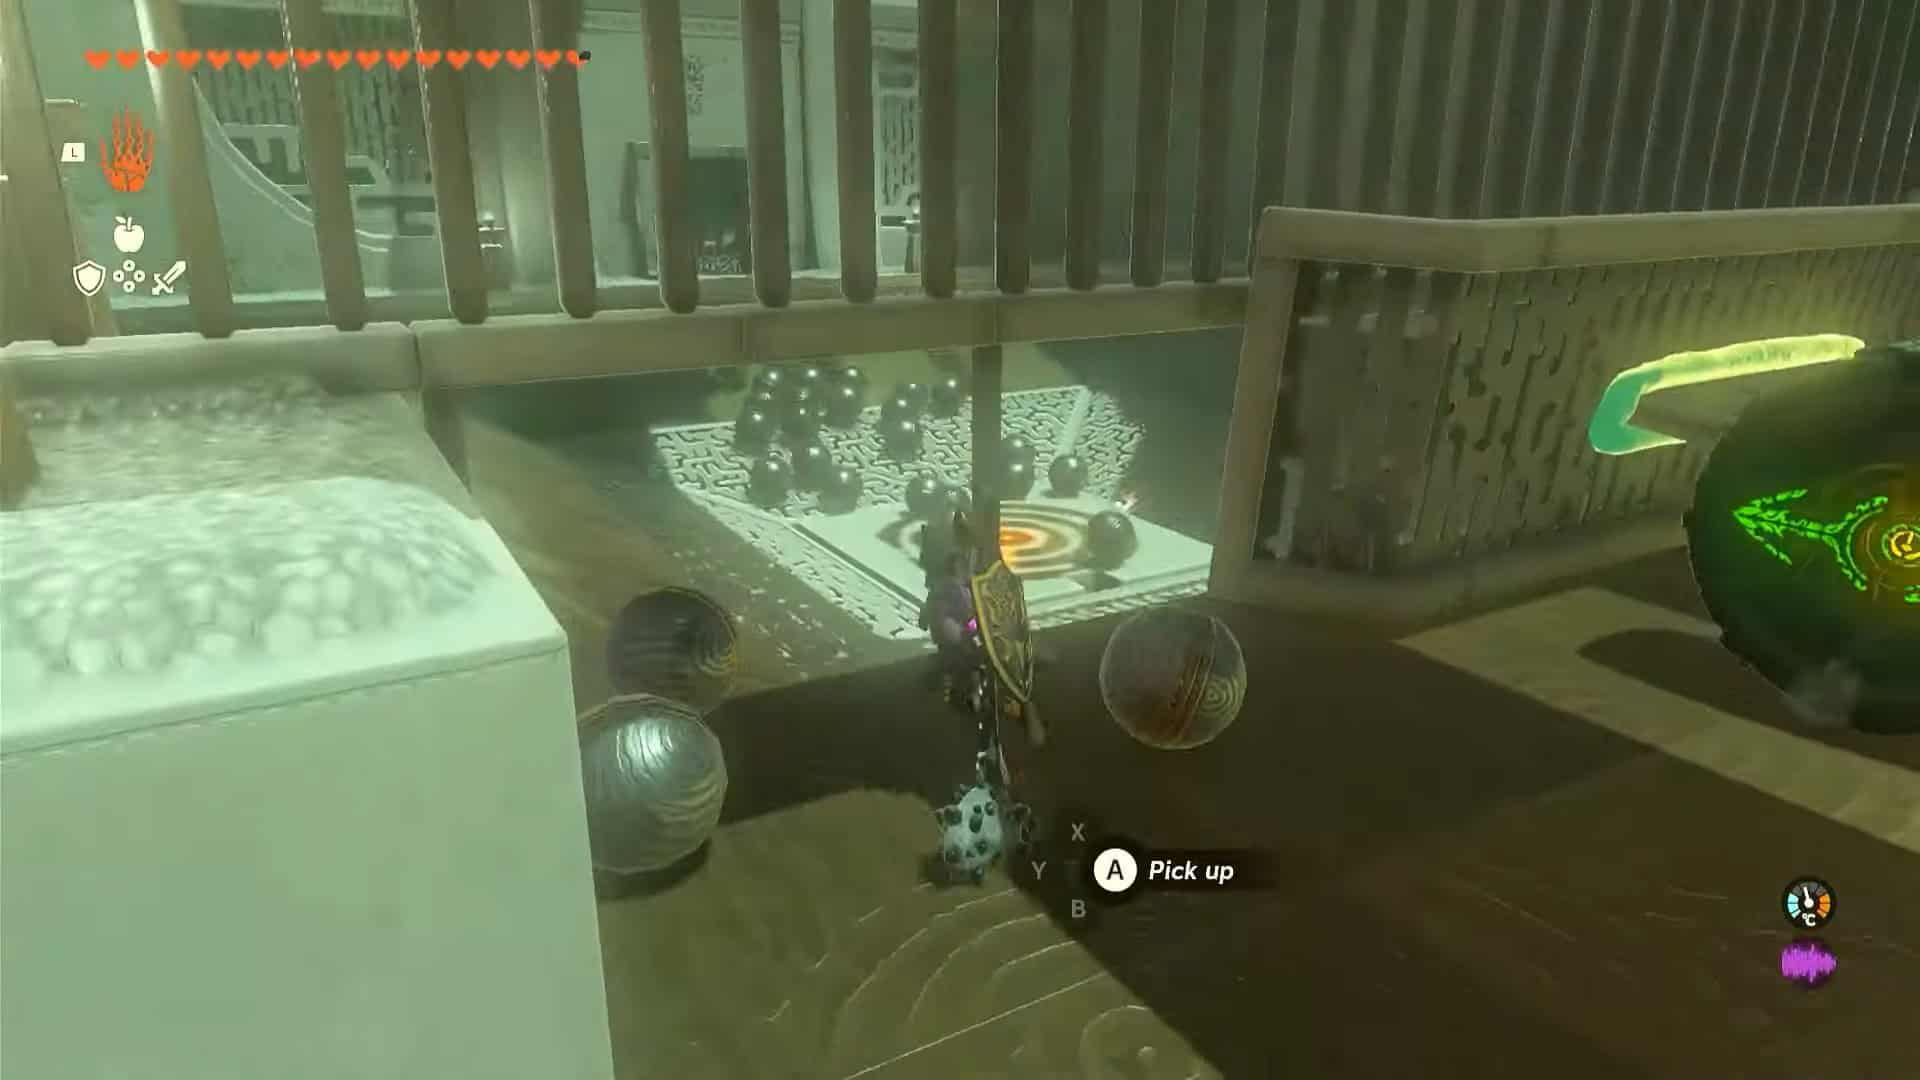
11. Place the vehicle in a straight line and hit to activate it. This way it will push most of the spheres down the holes.
12. As soon as a sphere enters the orange receptacle, the final puzzle will be completed, and the altar room’s door will open.
13. Enter the altar room and interact with Rauru and Sonia’s statues to finish the trial. They will grant you a Light of Blessing as a reward that you can use to either upgrade your stamina or health.