Isisim Shrine in Zelda: Tears of the Kingdom pits players against five tough enemies with zero resources. You must survive on what the shrine provides you with and make the best use of the resources to come out victorious.
While finding the Isisim shrine in Zelda: Tears of the Kingdom is not an easy task, completing it is much more difficult. Your best chance of survival is to fuse enemies’ parts with your weapons to stand a chance.
Let us guide you through this shrine with a detailed walkthrough and help you earn Rauru’s Blessing.
Isisim Shrine Location in Zelda: TotK
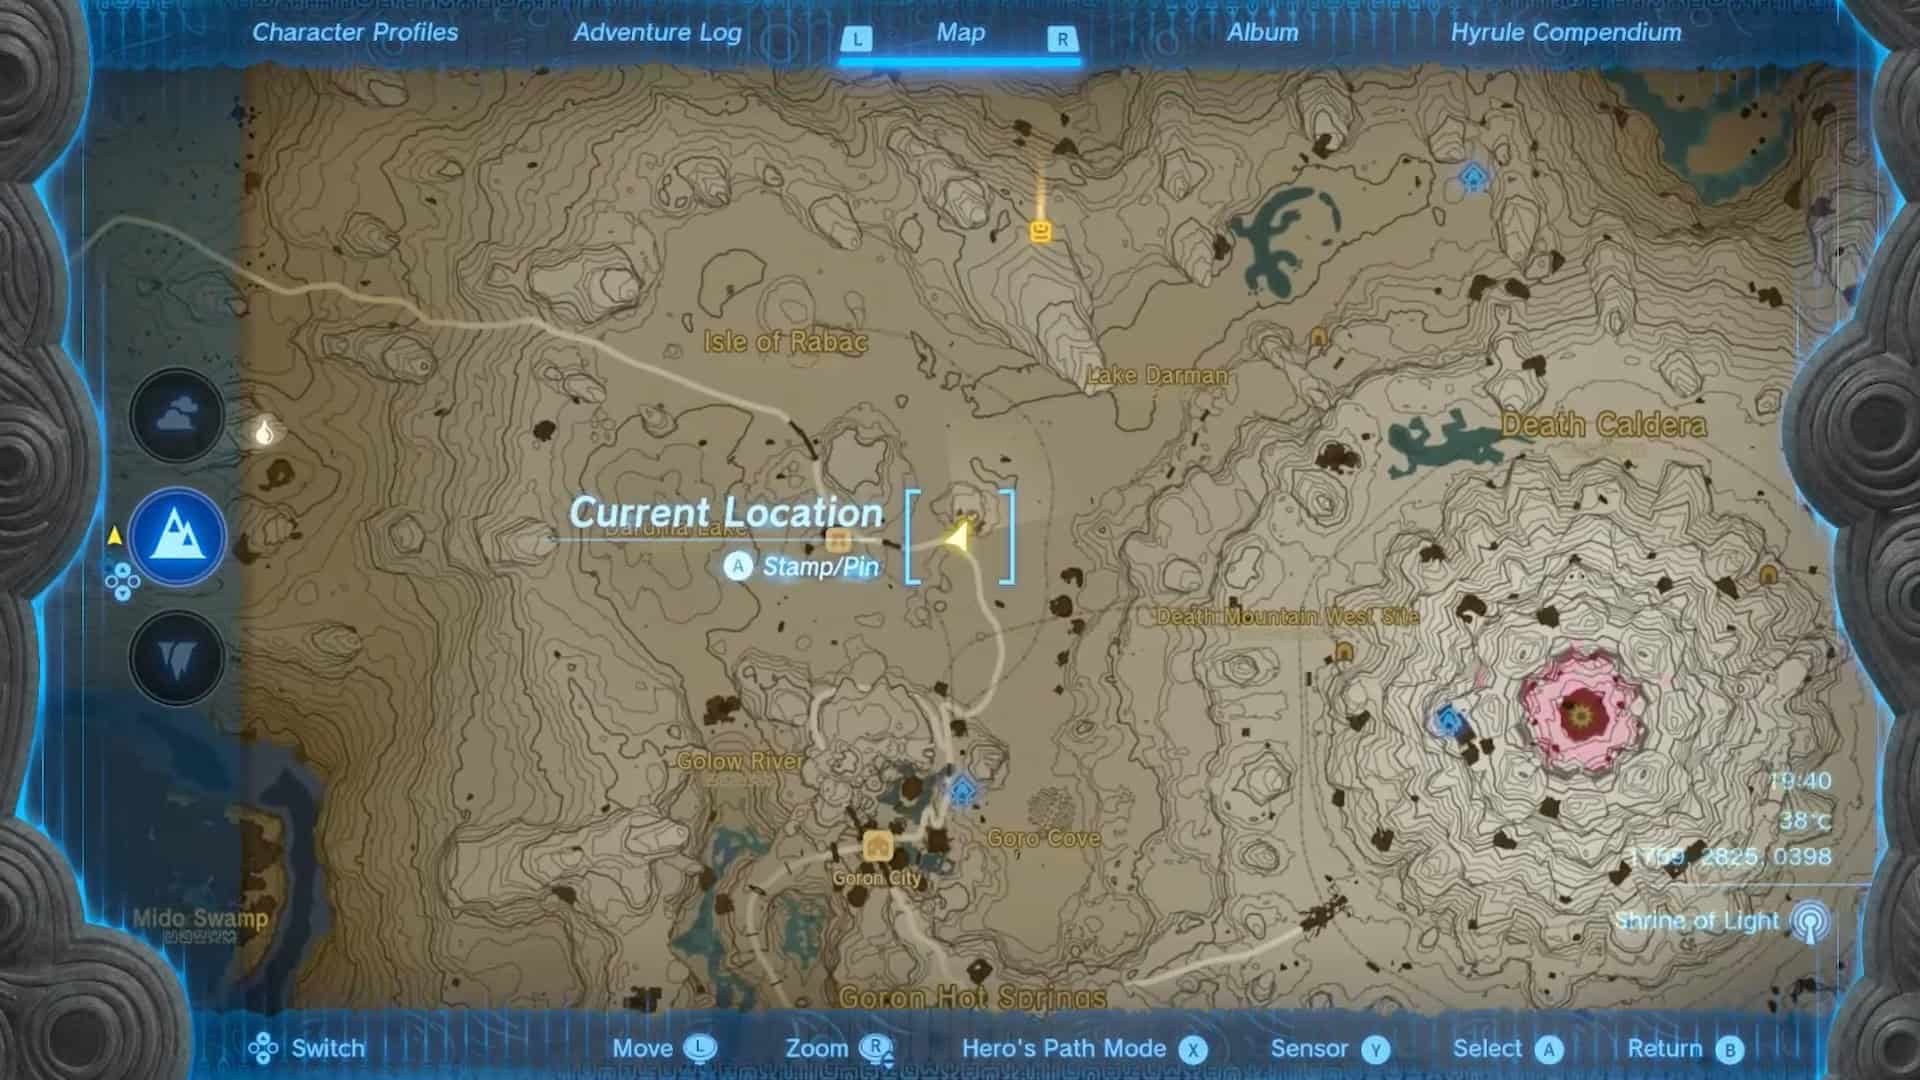
Isisim Shrine is in the Eldin Region, west of Death Caldera. It is hidden inside Yunobo HQ East Cave, North of Goro Cave.
The coordinates of the cave entrance are (1759, 2852, 0398). Before entering the YunoboCo Hq east cave, you must equip yourself with the Flamebreaker Armor and the Desert Voe Headband to protect yourself from burning to a crisp due to extreme hot environments.
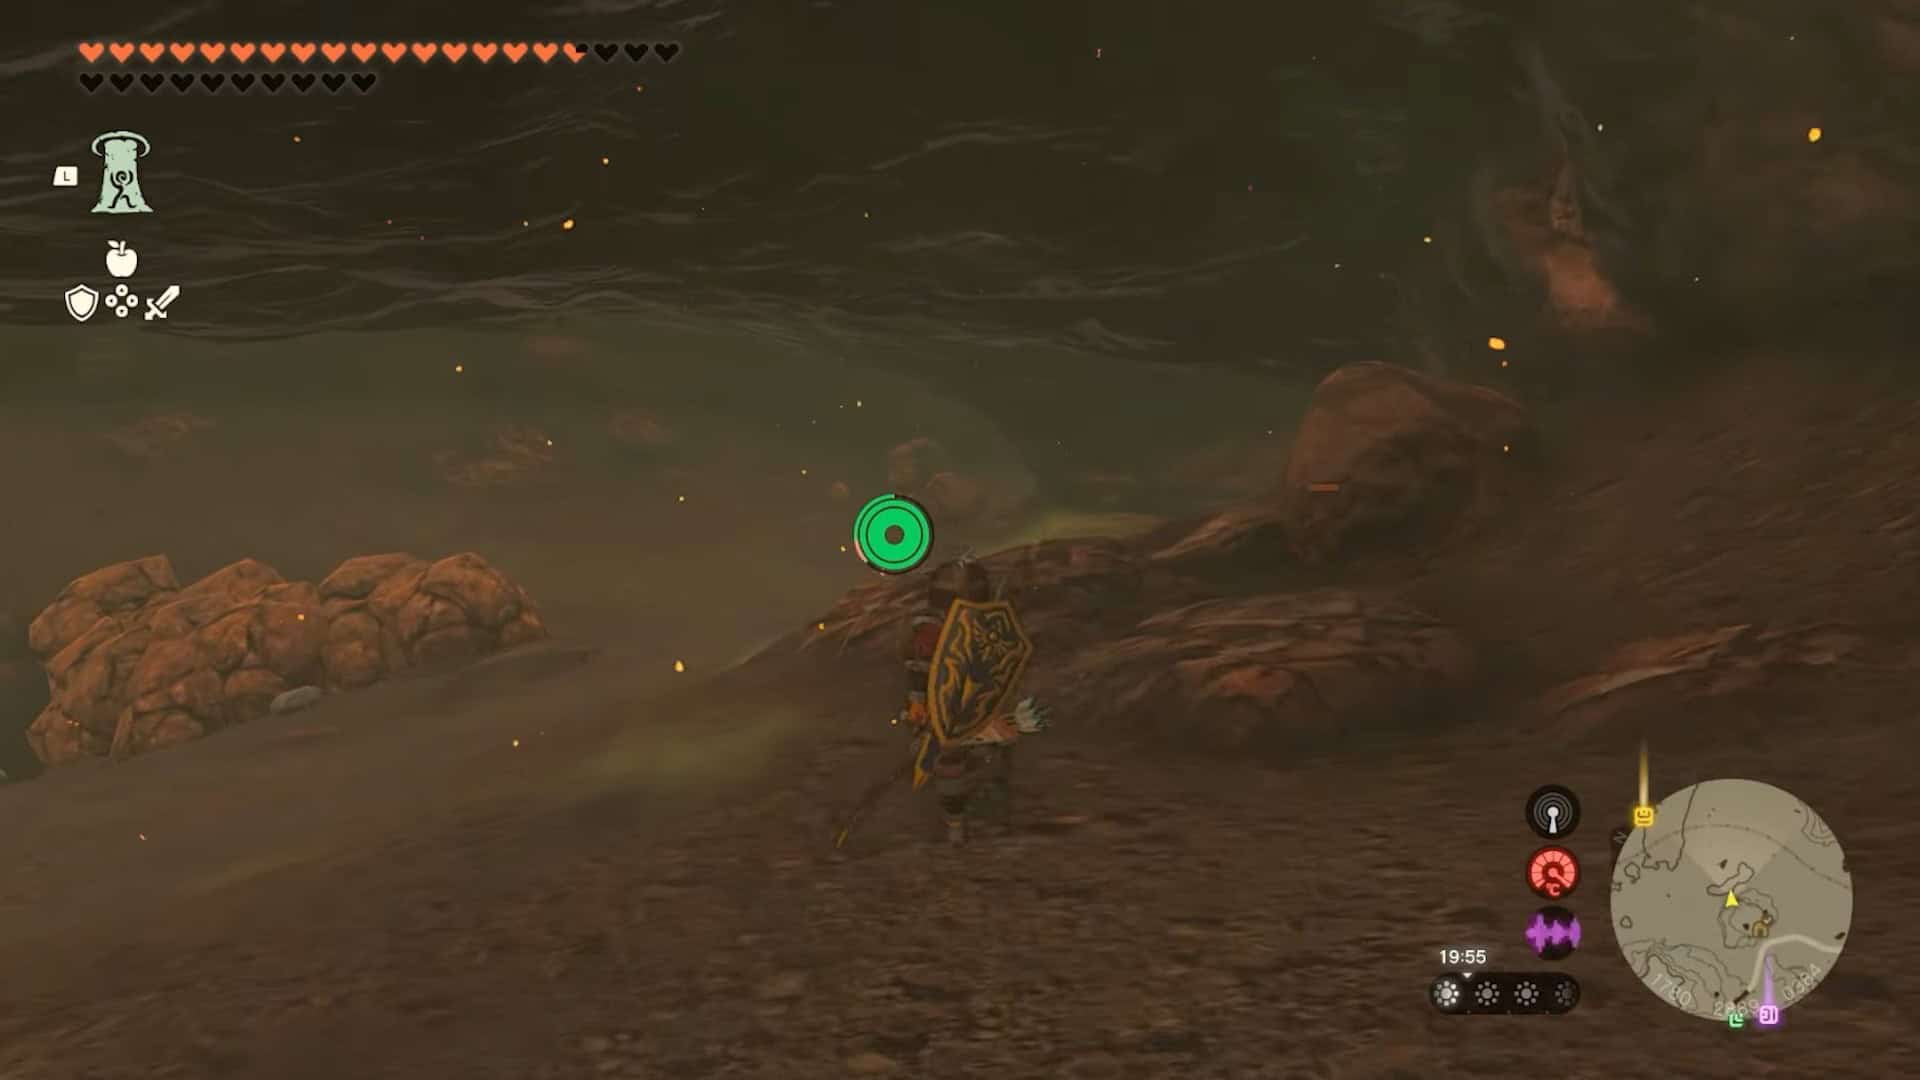
Once you enter the cave, turn right to come across some breakable boulders. Don’t use bomb arrows here or they will explode in your face due to heat.
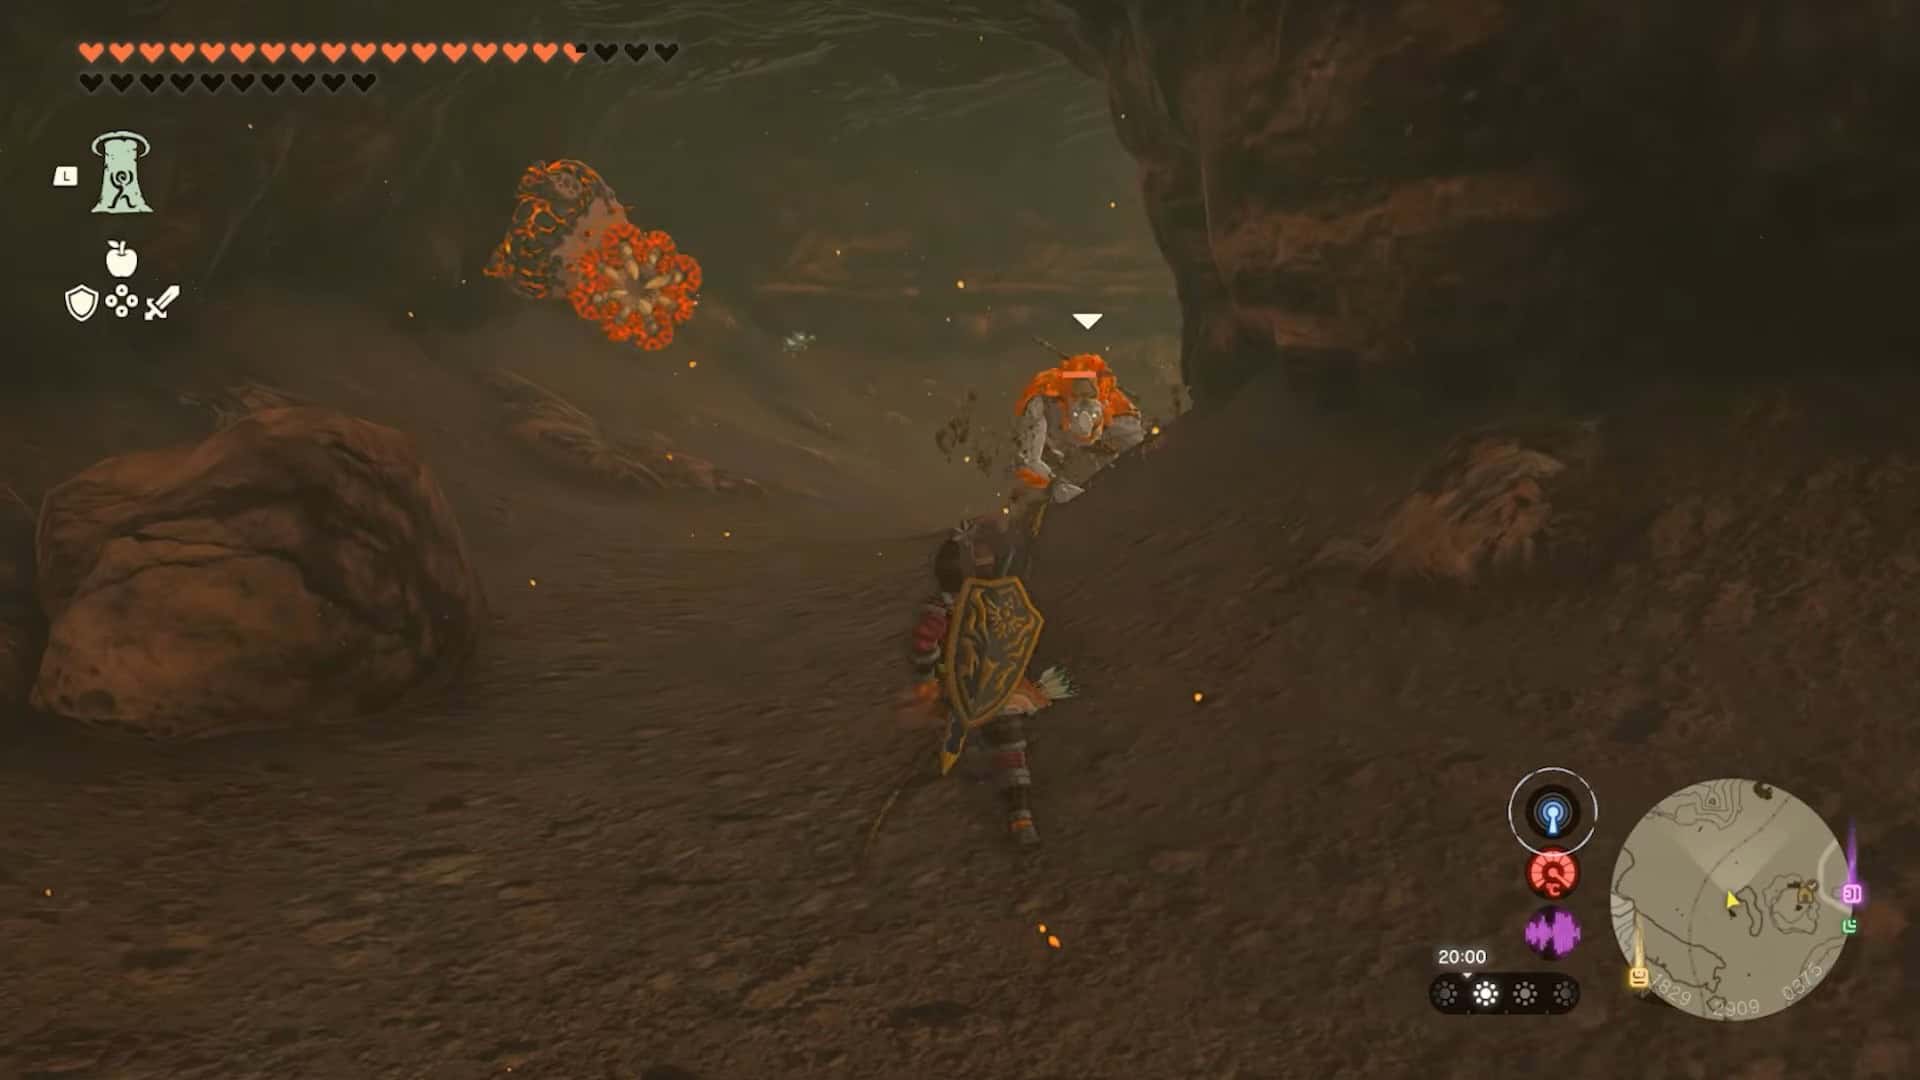
Keep going right until you come across a Horriblin and a fire like-like enemy. Defeat these enemies and take another right. Isisim shrine is covered with boulders, and you need to clean them with hammers.

Once you clear enough boulders, simply activate the shrine and enter it. Its exact coordinates are (1825, 2856, 0371).
Isisim Shrine Walkthrough
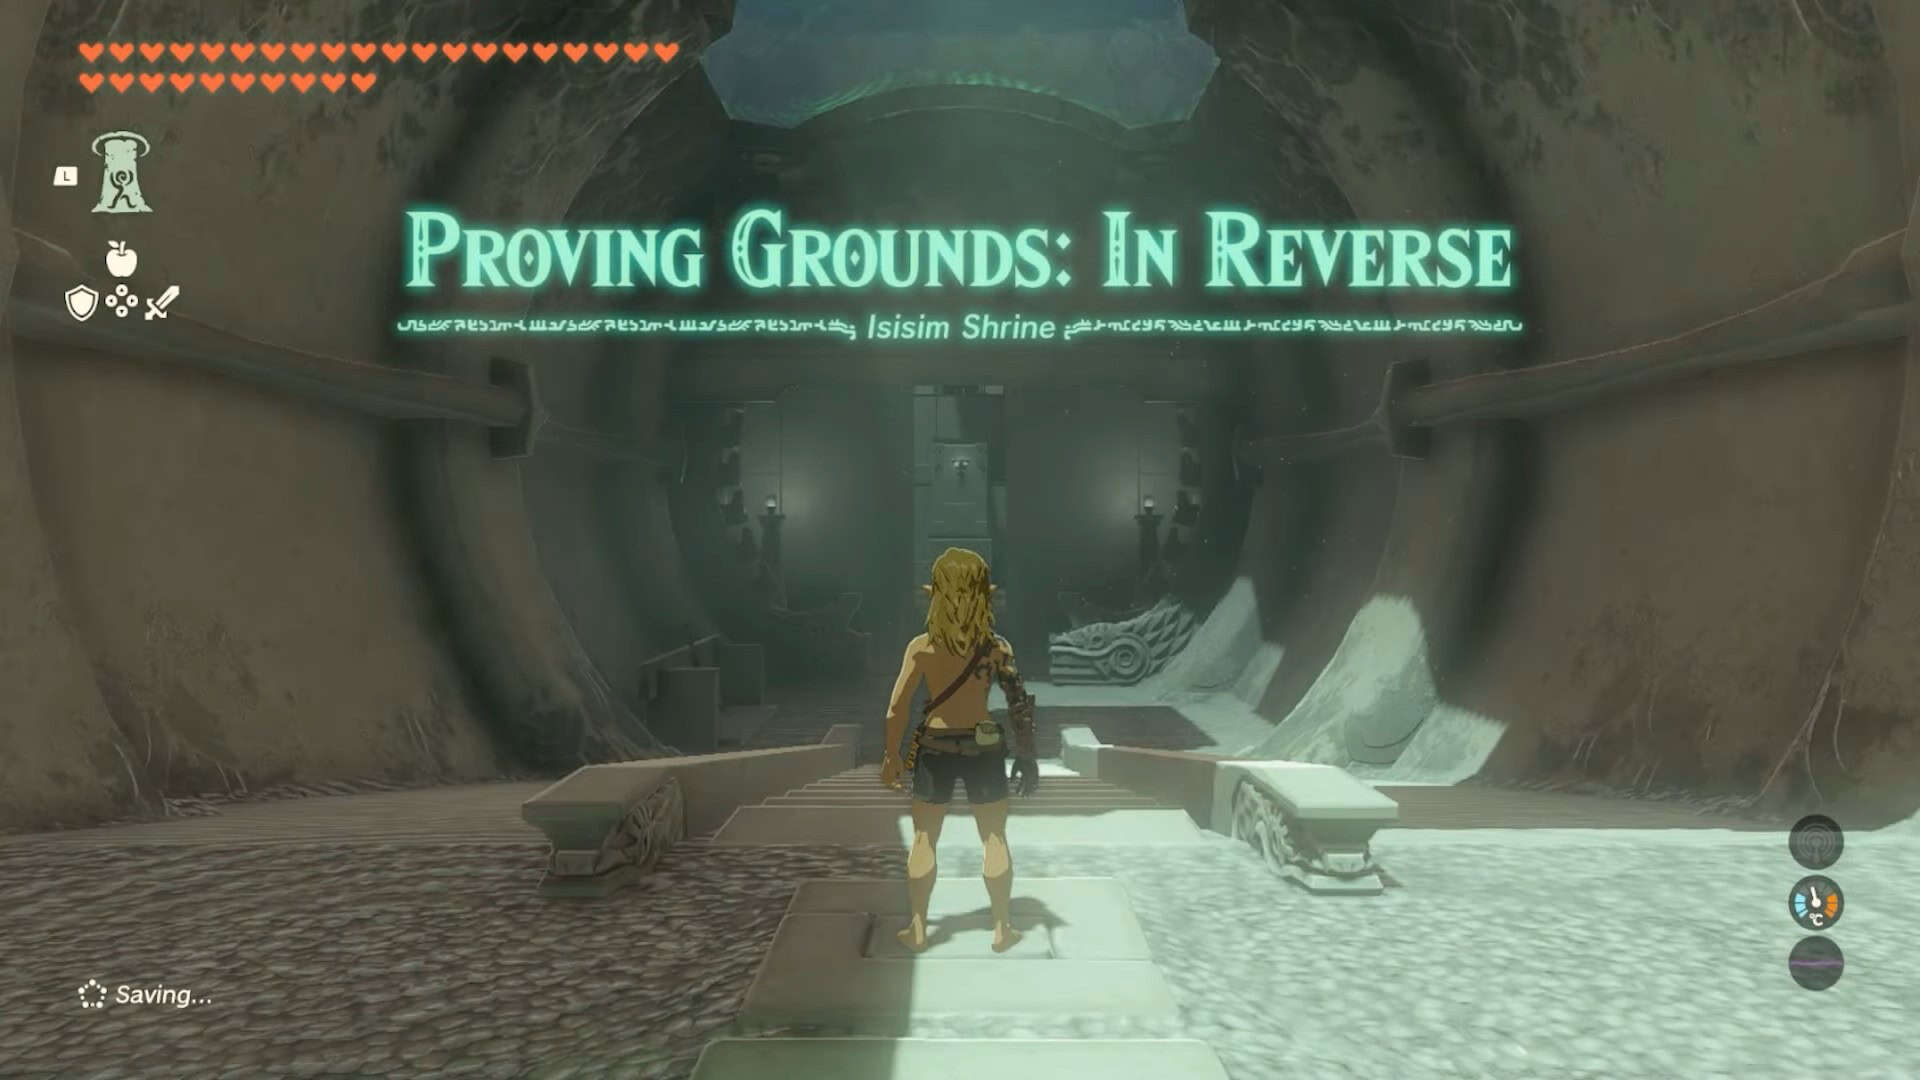
The trial presented by the Isisim shrine in Zelda: Tears of the Kingdom is called Proving Grounds: In Reverse. It is a combat trial in which outside gear items, shields, weapons, and zonai devices are not allowed.
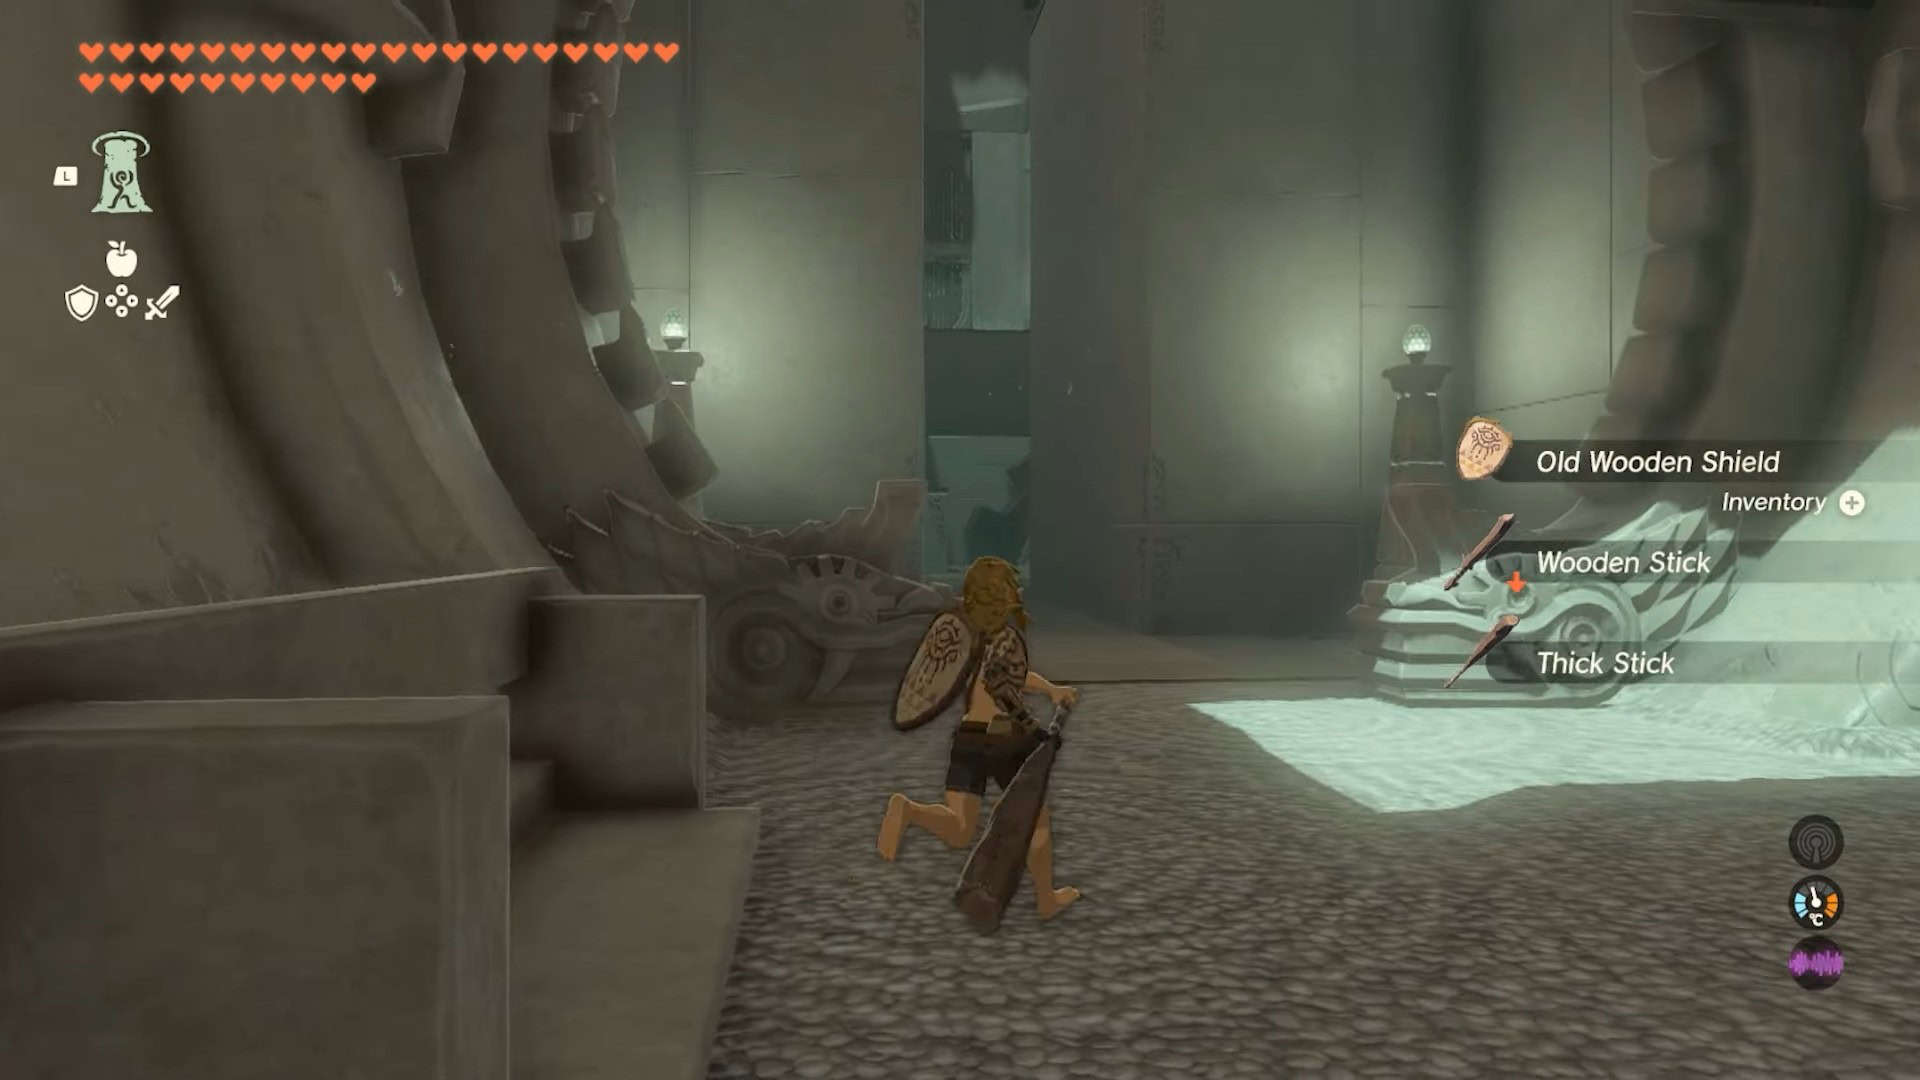
1. Pick up some weapons and a shield near the entrance of the shrine.

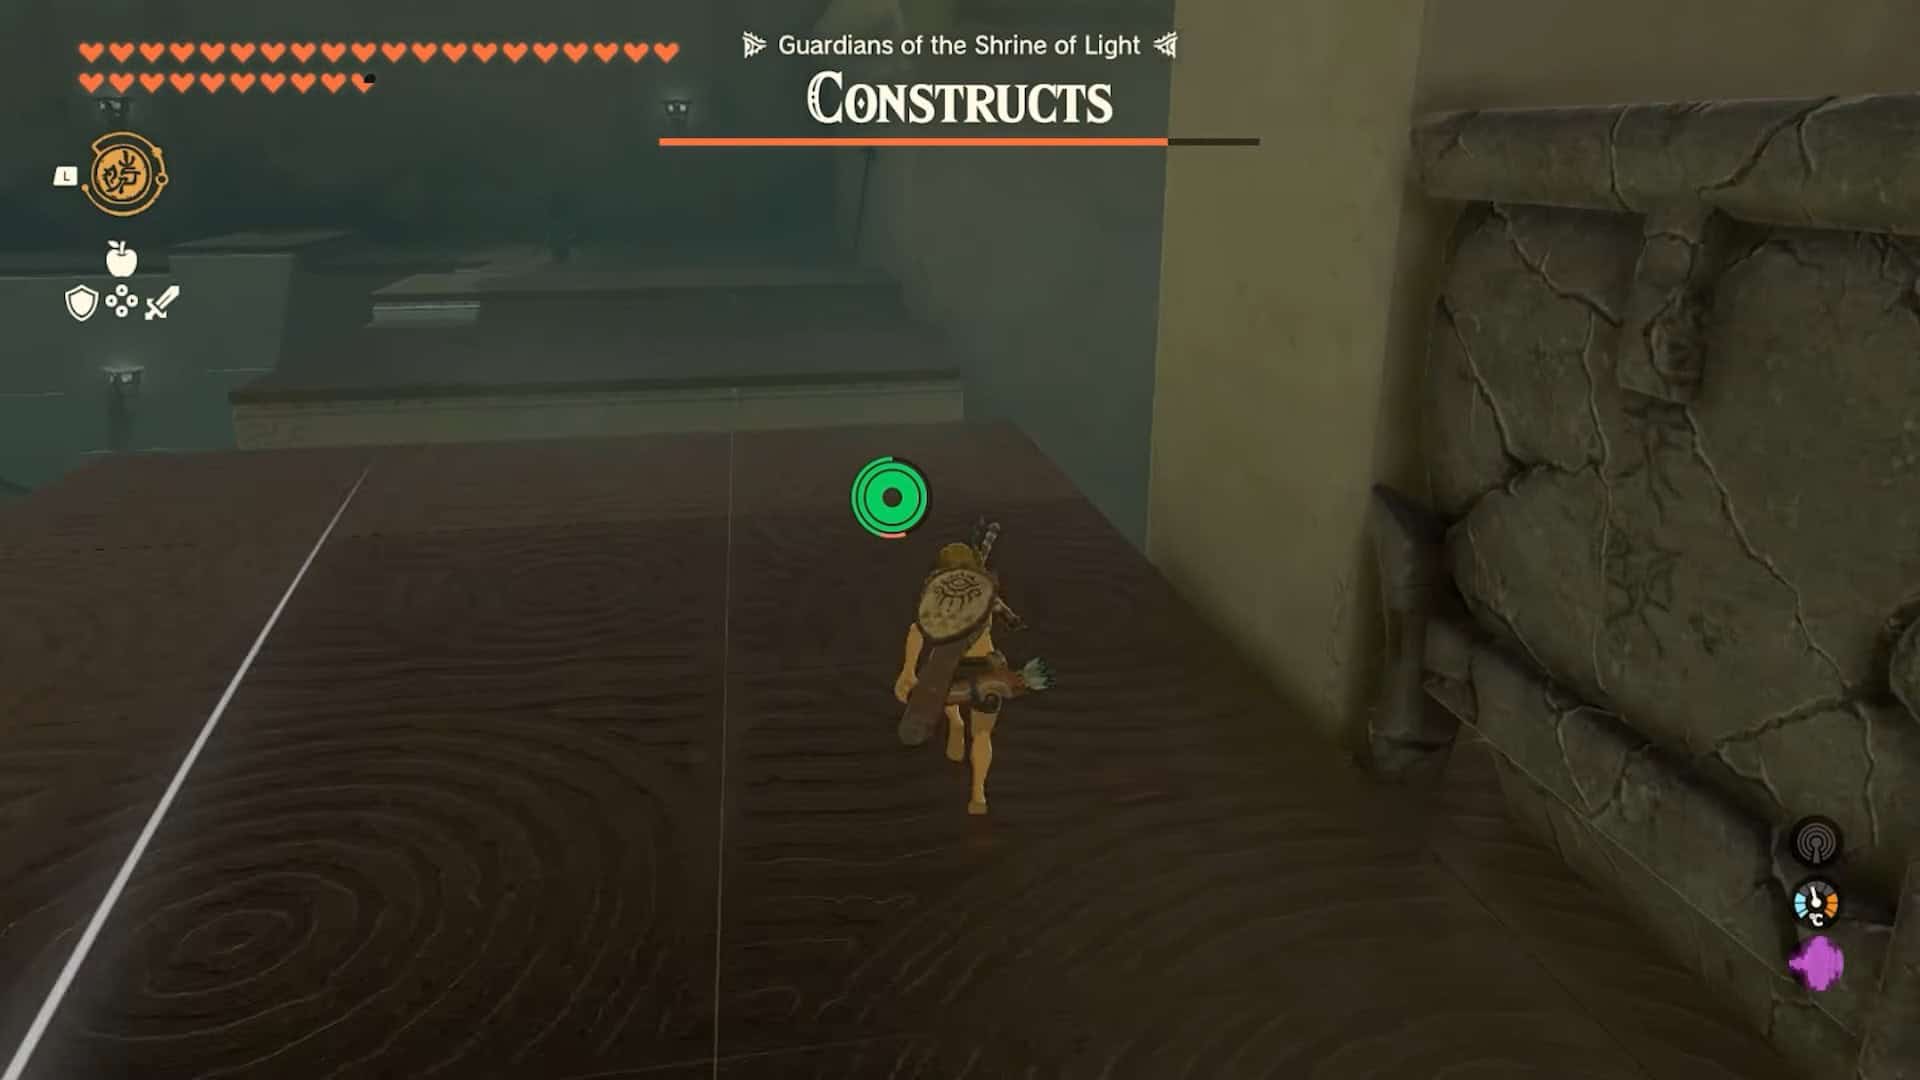
2. Turn left to find a ramp. Climb it to find the first construct enemy. There are five enemies in this shrine that you need to defeat with the resources provided to you.
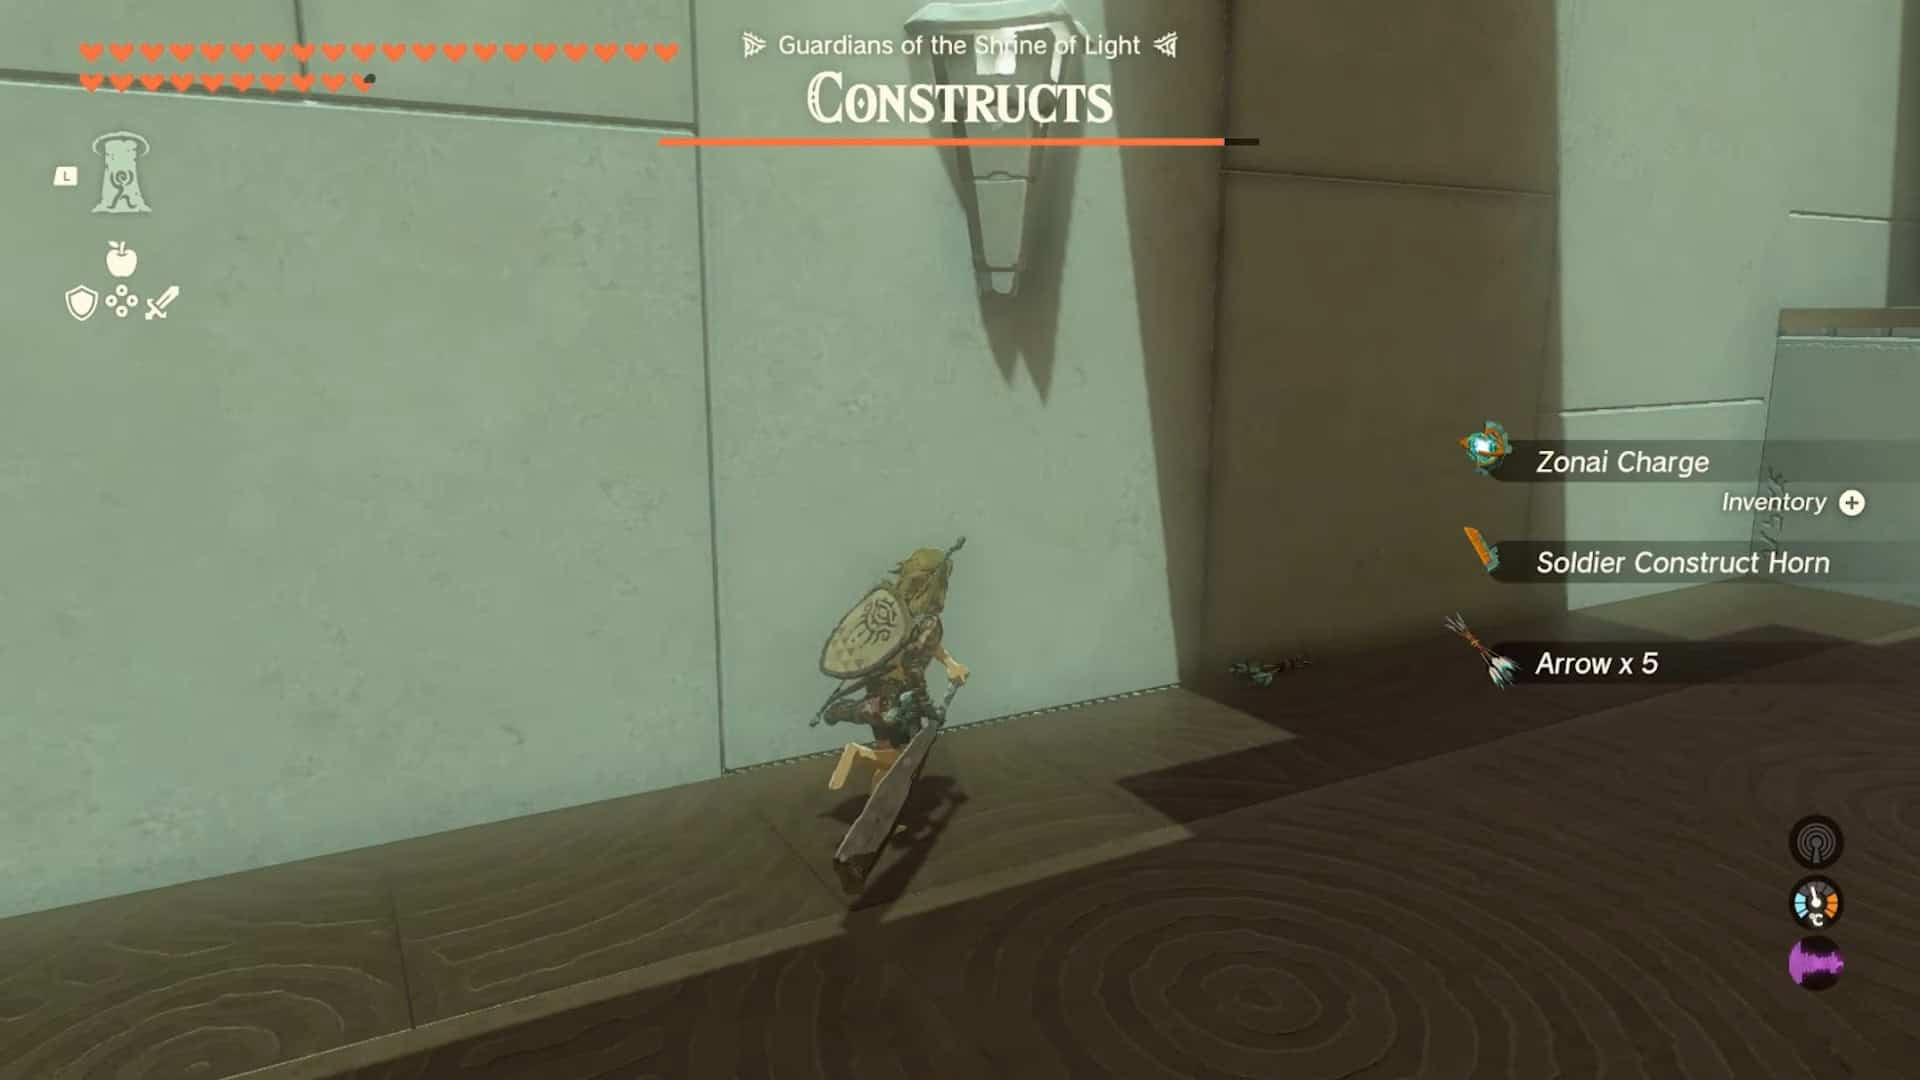
3. Defeat the first construct and take its parts. Beware as it will throw bombs at you.
4. Fuse its parts with your weapons to increase their attack power and durability.
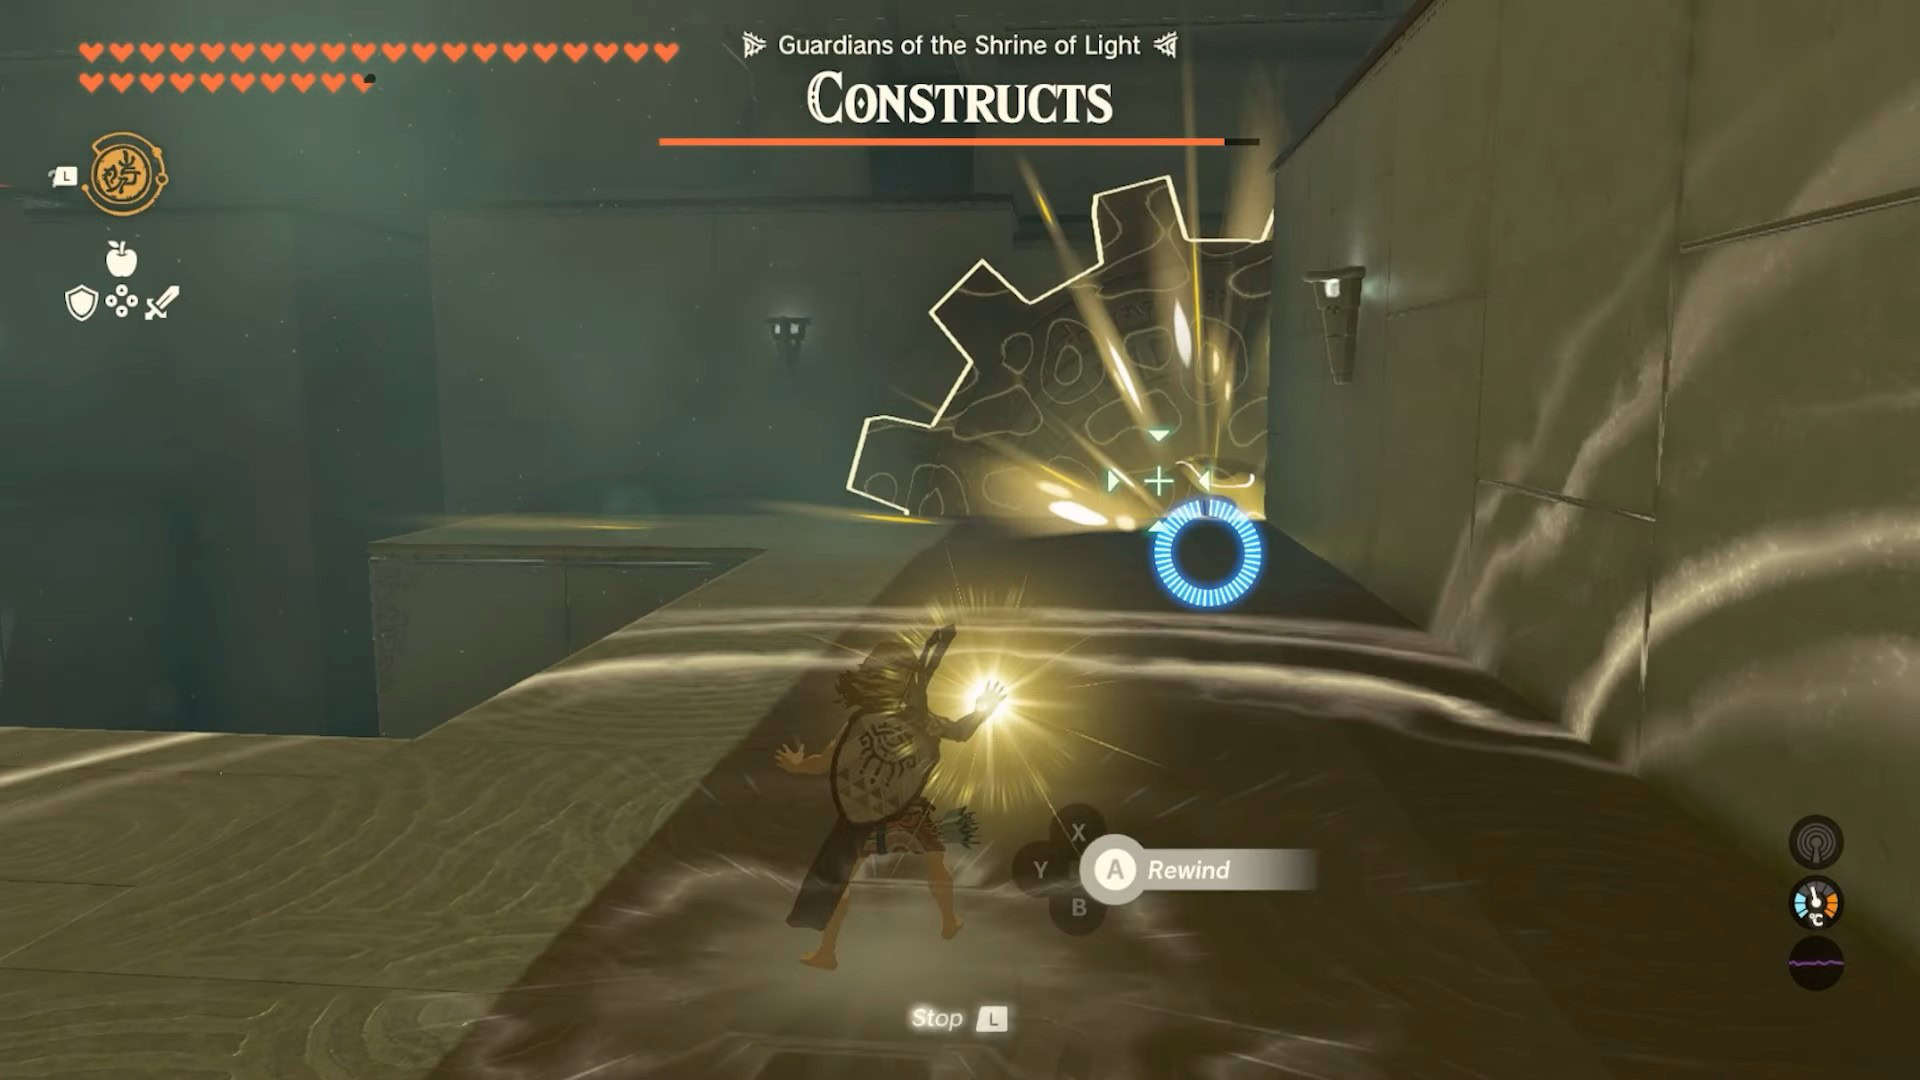
5. Turn back and use Recall on the big gear to reverse its direction.
6. Climb the gear to reach the upper level. There is another soldier standing near the gear. Defeat it and collect its parts.
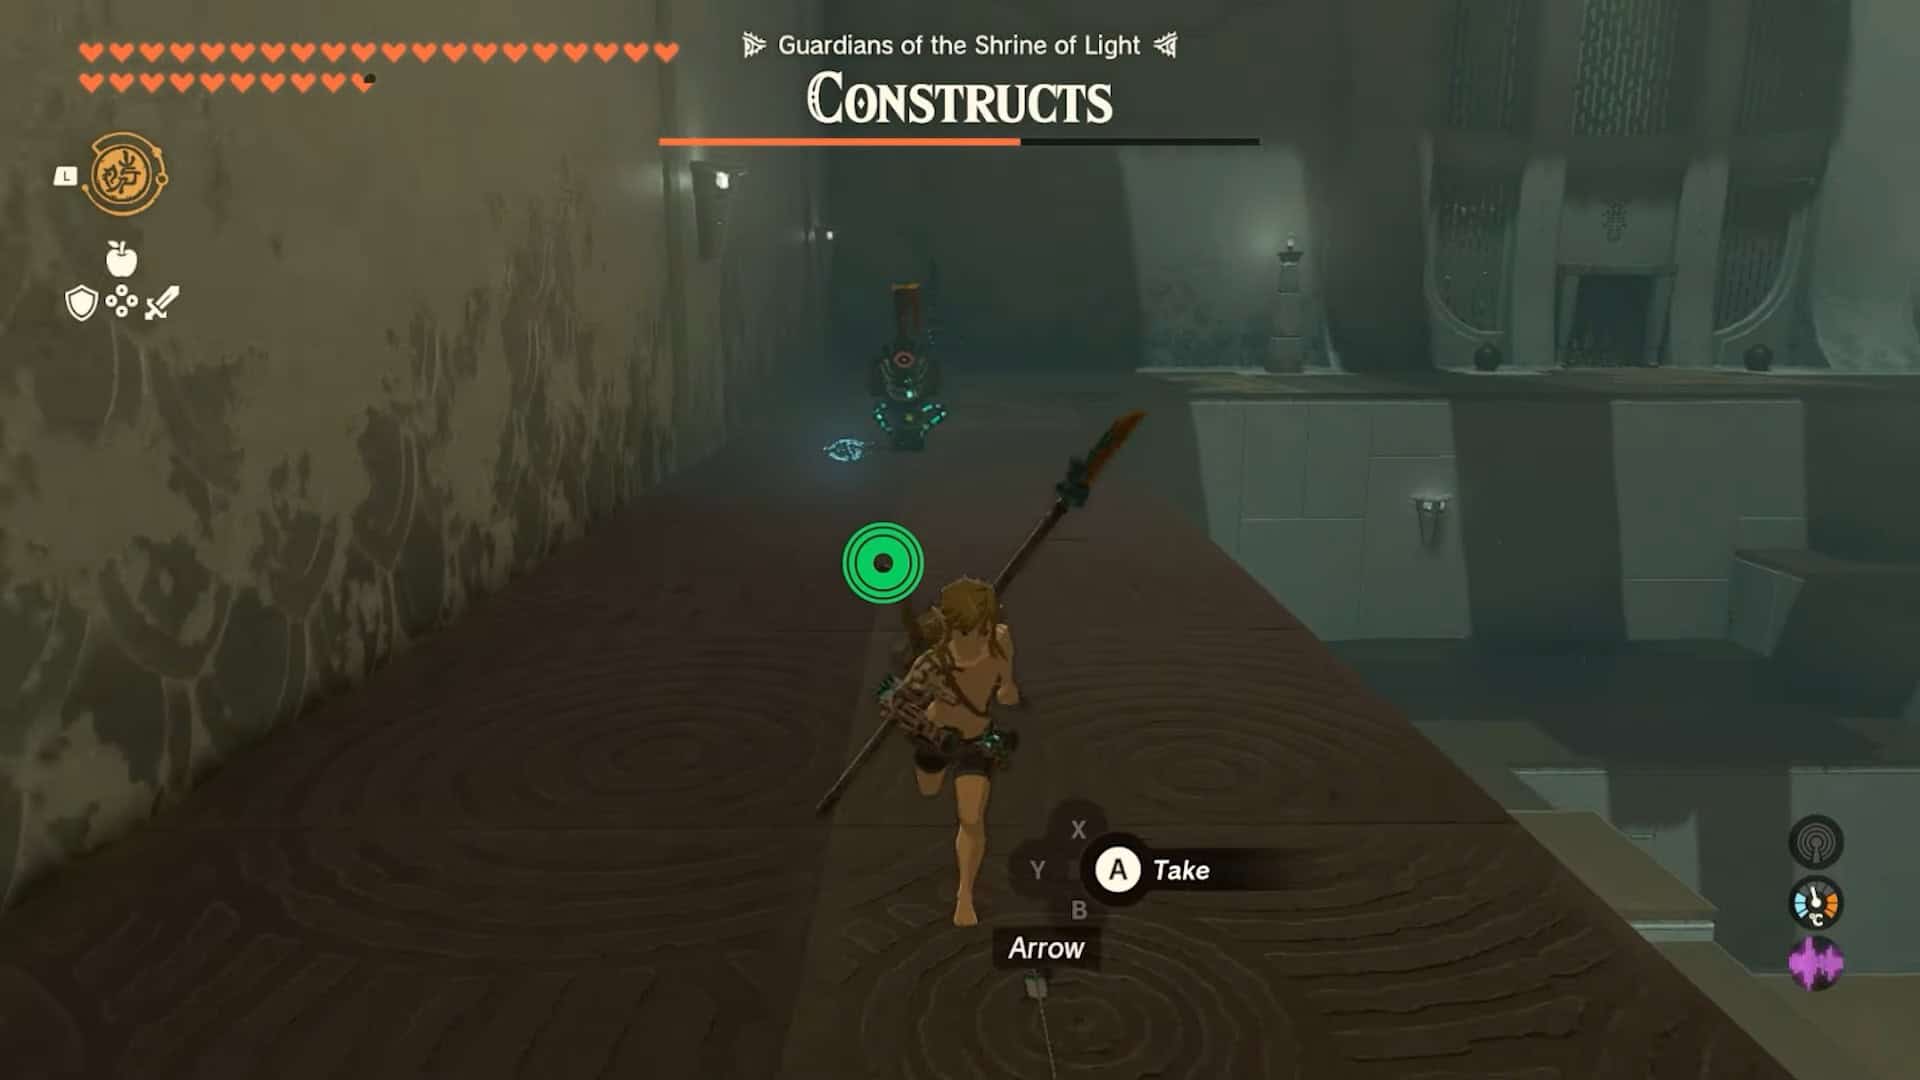
7. Turn back and cross a gap to find another construct with the bow. Once you defeat it, return to the position near the gear.
8. Go in the opposite direction to find the final two constructs. Beware as one of them is a captain construct that can kill you easily.
9. Defeat these constructs and pick up the bomb near them. Use this bomb on the breakable wall on the path leading to the bow construct to find a treasure chest.
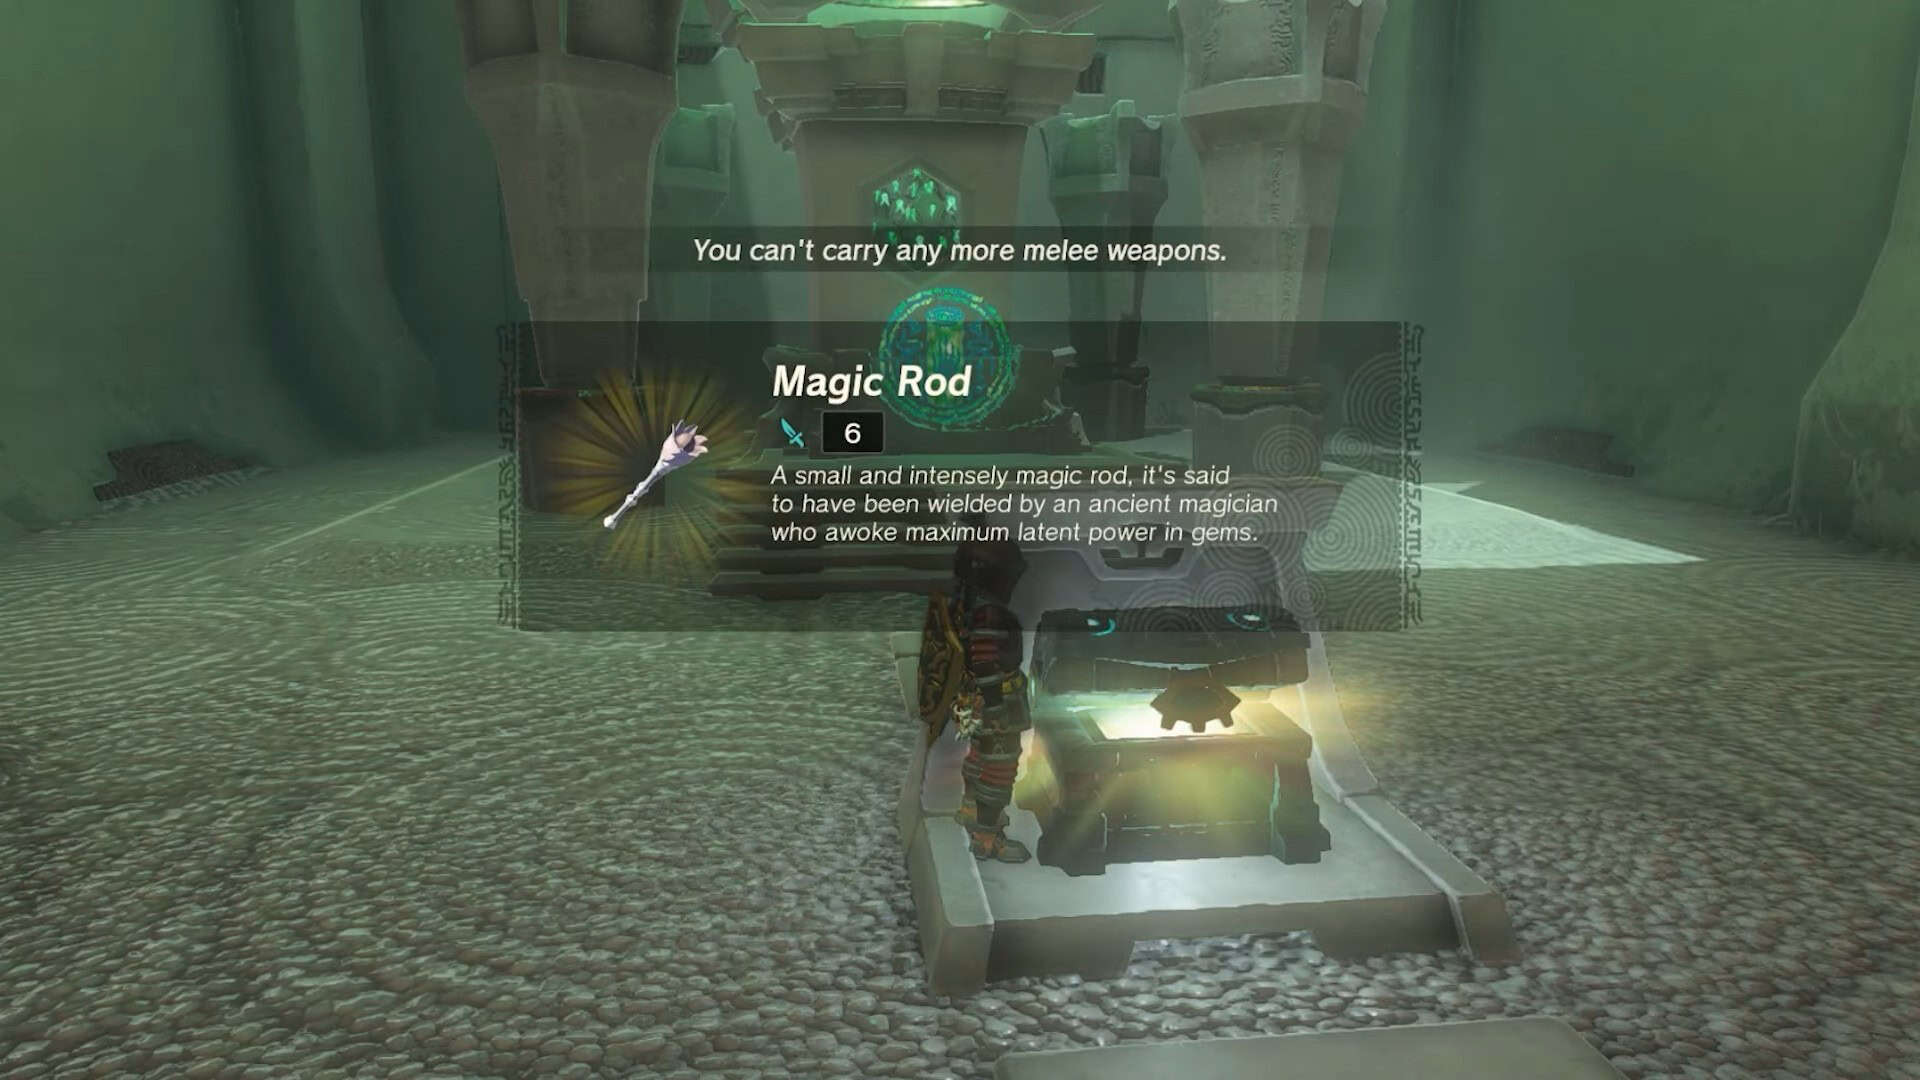
10. As all the constructs are defeated at this point, the altar room’s door will open. Enter it and open the treasure chest to obtain a Magic Rod.
11. Interact with Rauru and Sonia’s statues to complete the Isisim shrine in Zelda: Tears of the Kingdom and earn a Light of Blessing as a reward.