“Pop Goes the Weasel” is one of the many achievements players can unlock in Call of Duty: Black Ops 2. It is awarded to players who’ve completed the main Easter Egg for Mob of the Dead.
Players must complete a set of tasks on the map to finally face the Weasel who went behind their backs. For ease, we’ve constructed a whole guide that includes all of the steps necessary to defeat the Weasel and unlock the Pop Goes the Weasel trophy in Black Ops 2 zombies.
Step 1: Claim the Hell’s Retriever
After spawning on Alcatraz island, the first step is to acquire the Hell’s Retriever. It is a tomahawk axe that replaces throwables and has an unlimited ammo capacity.
You need to feed zombies to three wolves around Alcatraz Island. Where do you find these wolves? Search for red graffiti of wolves on the walls. Killing a zombie near it will make the painting come to life.
The locations for the wolves are:
- Cell Block D: On the second floor of the cell block
- Docks: Across the Juggernog vending Machine
- Infirmary: Next to the entrance door to the Roof.
Once all the wolves have been fed, head to the Citadel Tunnels and walk across the Double Tap perk machine to get the Hell’s Retriever.
Step 2: Build the Plane
The Plane is one of the buildable items present on Alcatraz Island which requires players to collect five parts and the Warden’s Key. The plane can be found on the rooftop of the Cell Blocks which becomes accessible after buying the Infirmary door from the main Cafeteria.
The location for the plane parts:
- Warden’s Key: Can be found levitating above the first floor of the Cell Blocks.
- Tanks: Hidden behind the locked gate in the Generator Room
- Rigging: Can be acquired by solving the puzzle of the number machine in the spiral staircase of Citadel Tunnels
- Engine: Hidden behind the locked electrical door in the Warden’s Office
- Showers Room: Turn on the power to the washing machine in the Shower and wait till the cycle is complete. Upon completion of the cycle, players will be awarded the part.
- Control Valve: is placed in the small green glowing box in the Infirmary. Use the Warden’s Key to unlock it.
After the collection of all five parts, head over to the Rooftop and begin building the plane right in the center of the ramp. To build the plane simply interact with the center terminal and hold the button until the plane is ready.
Step 3: Find the Skulls
There are five skulls scattered around Mob of the Dead in Call of Duty: Black Ops 2 zombies. These skulls are found through Afterlife and require the Hell’s Retriever to be collected.
The locations for the Skulls are:
- Cell Block: The skull will be placed on a shelf in the cell right next to the Warden’s Office
- Rooftop: This skull will be placed on the left corner of the roof. Throw the Hell’s Retriever at the corner which is pointing out to collect the skull.
- Docks: Stand right next to the Juggernog vending machine and look up to spot a street lamp. Throw a Hell’s Retriever at the bulb to collect the skull.
- Docks: Head over to the lower section of the Docks where the Mystery Box is located and look at the inaccessible dock area. Throw a Hell’s Retriever at the third pillar from the left to acquire the skull.
- Warden’s Office: The last skull will be placed on the pole outside the Warden’s Office. Look out of the window placed next to the Speed Cola perk machine to spot the skull.
Once the last skull has been collected, head over to the Warden’s Office and collect the free Blundergat wonder weapon from the main desk in the corner room.
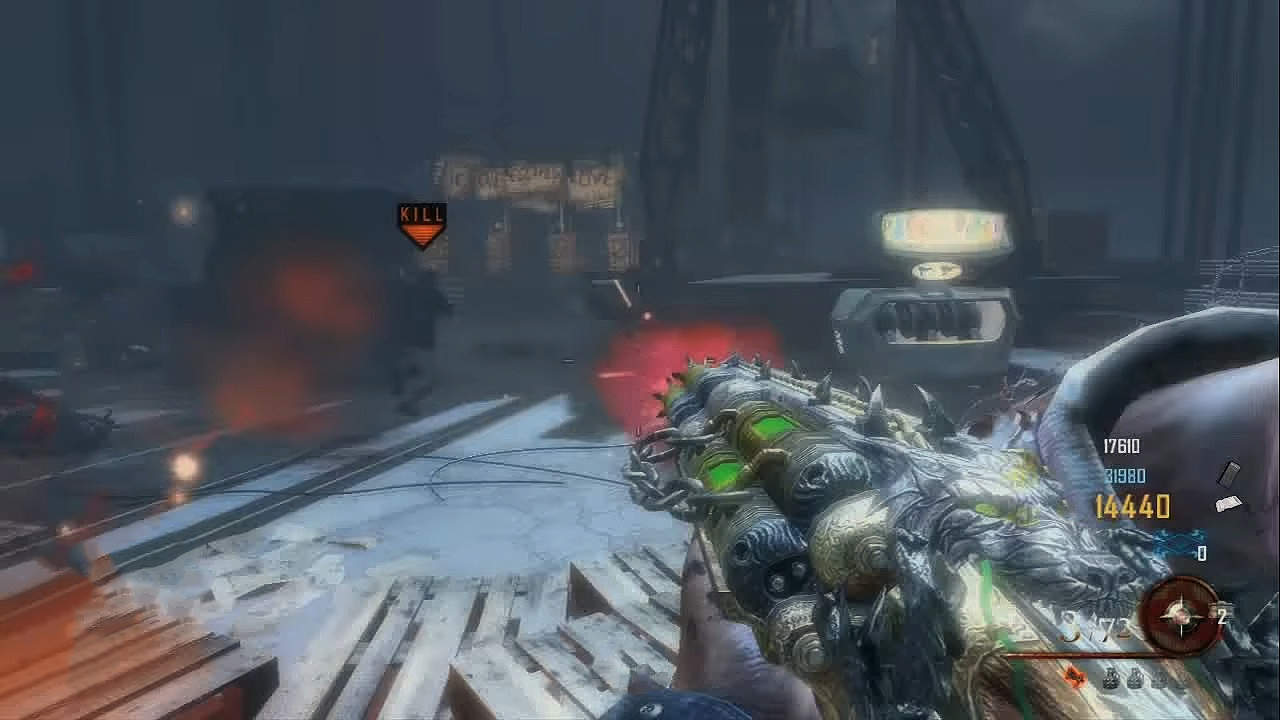
Step 4: Upgrade the Blundergat
The next step in reaching the Weasel is upgrading the Bludergat with the Acid Gat Kit in Black Ops 2. Similar to the plane parts, the Blundergat Kit parts will also need to be found. A total of three are needed that spawn around the Cell Blocks, Infirmary, or the Warden’s office.
Collect all three of the parts and head over to any available workbench to craft the Acid Gat kit. Once the Blundergat is upgraded, use the plane we built earlier to Step 2 to reach the Golden Bridge. Use the Pack-A-punch machine at the bridge and apply the Viltrolic Withering PaP to it.
Once the upgrade is applied, use the electric chairs behind the PaP machine to return to the Island.
Step 5: Find the Golden Spork
The next step for Pop the Weasel achievement is to get the Golden Spork in Black Ops 2. Start by finding a green poster inside the second cell next to the Warden’s Office. The poster will have a map imprinted on it. Throw a Hell’s Retriever at the poster to make it disappear.
Now flip the Afterlife switch near the Warden’s Office and look to the left to spot a portal. Go through the portal and look at the broken concrete floor to spot a spoon. Electrify the spoon using the trigger key until it disappears.
As soon as the spoon disappears, return to human form and go inside the cafeteria. Right next to the workbench will be a buildable window. Stand in front of the window and look at the spoon placed on the metal trolley. Throw a Hell’s Retriever at the spoon to make it disappear once again.
Head towards the Infirmary and stand in front of the Bloody Bathtub in the corner room. The disappeared spoon will reappear in the bathtub. Simply press and hold X until the spoon starts to stir and drown in the blood.
Once the spoon drowns, all that’s left to do is kill zombies with the upgraded Blundergat near the bathtub until a hand appears out of it. In the hand will the Golden Spork. Press X to equip it and move on to the next step.
Step 6: Insert the Pop Goes the Weasel prison numbers
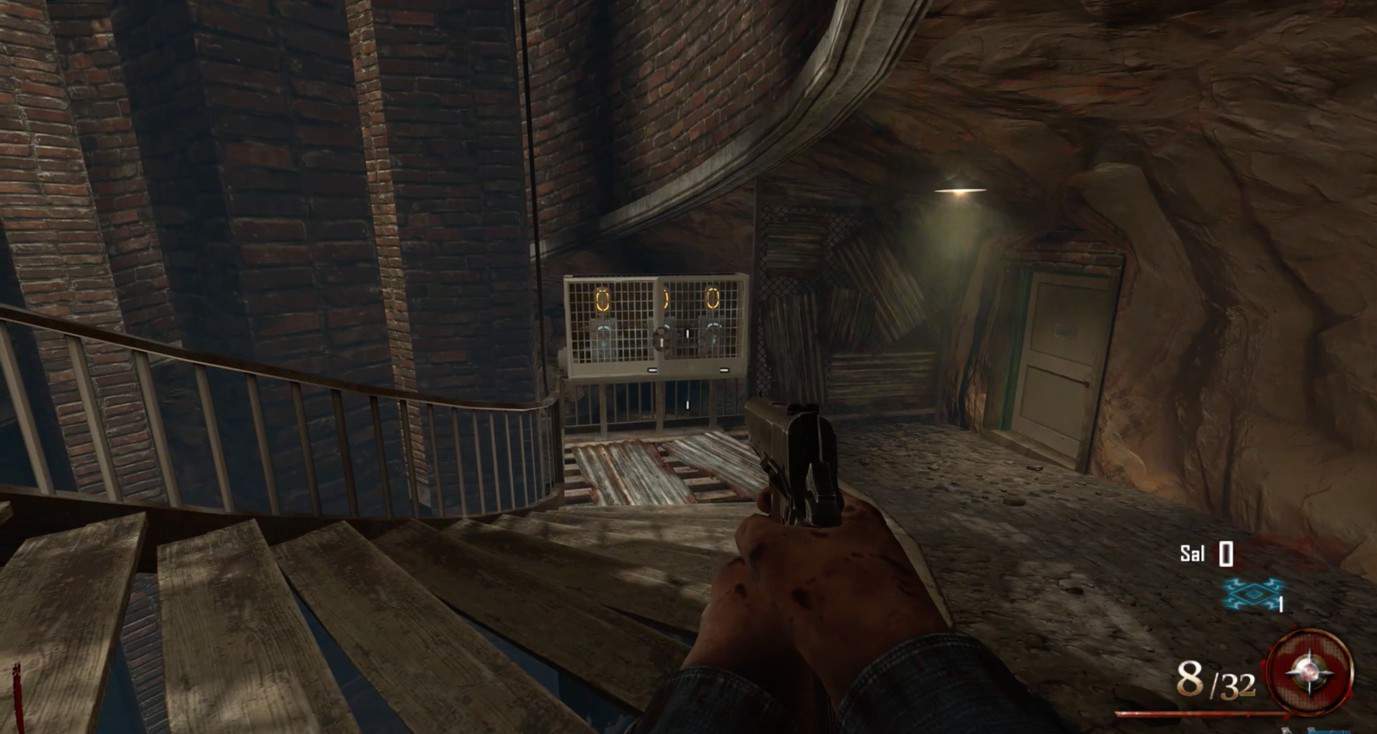
Head inside the underground area of the Citadel tunnels across the Spiral Staircase to spot the number panel changing numbers vigorously. What you need to do is enter Afterlife and interact with the panel to insert the following numbers in the given order:
- 101
- 872
- 386
- 481
Successfully inserting the numbers will cause the panel to turn off and an audio will be heard.
Step 7: Collect audio tags
A total of five audio tags will become available for players to collect after completing Step 6 for Pop Goes the Weasel in Mob of the Dead. The audio tags will spawn randomly around the Infirmary and Cell Blocks and will look like basic powerups with a headphone icon on them.
Step 8: Face the Weasel
The final step of the Easter Egg will be to travel to the Golden Bridge for the last time and face the Weasel. Players must first enter Afterlife and jump on the plane instead of interacting with it. This will cause the plane to fly automatically towards the bridge.
After reaching the bridge, players can revive themselves by interacting with the electric chairs. As soon as players get revived, a couple of Special Brutus will spawn. Use the Blundergat to finish them off easily.
Defeating Brutus will cause one of the teammates to turn into the Weasel. Now it’s up to players to kill the Weasel or get killed by him. Whatever the option players go for, Pop Goes the Weasel achievement will be awarded in Black Ops 2 zombies.