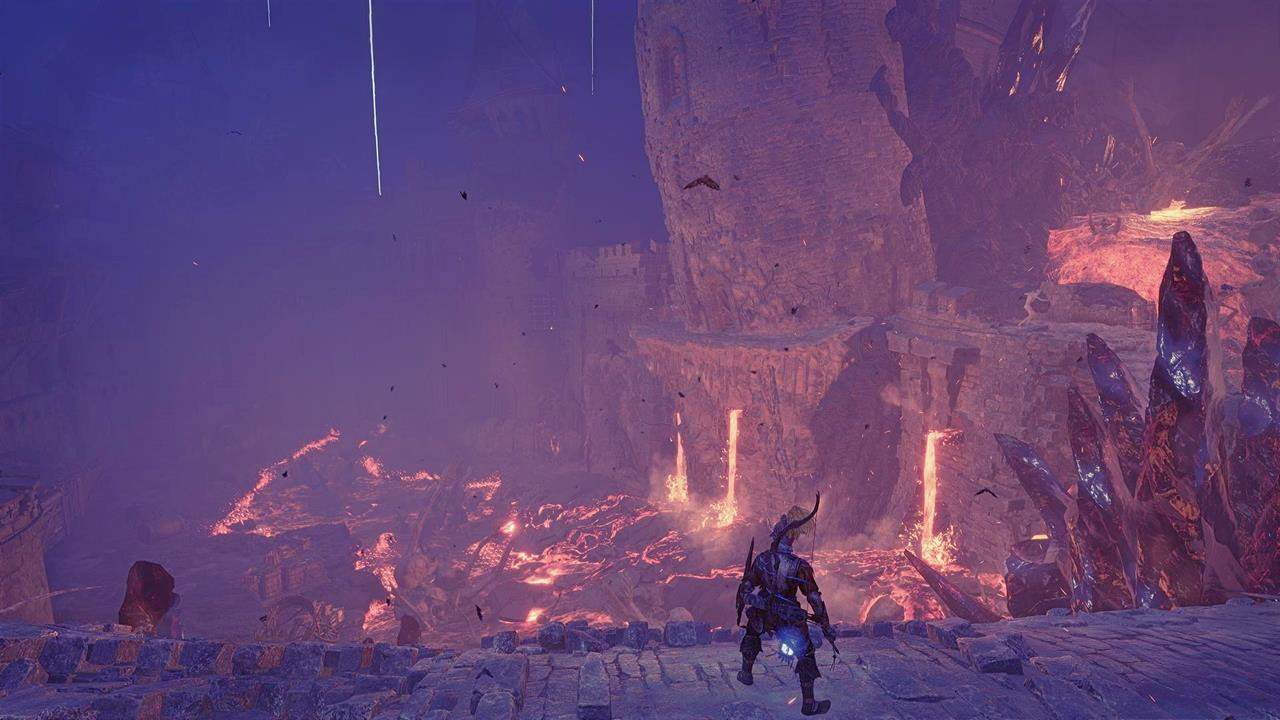
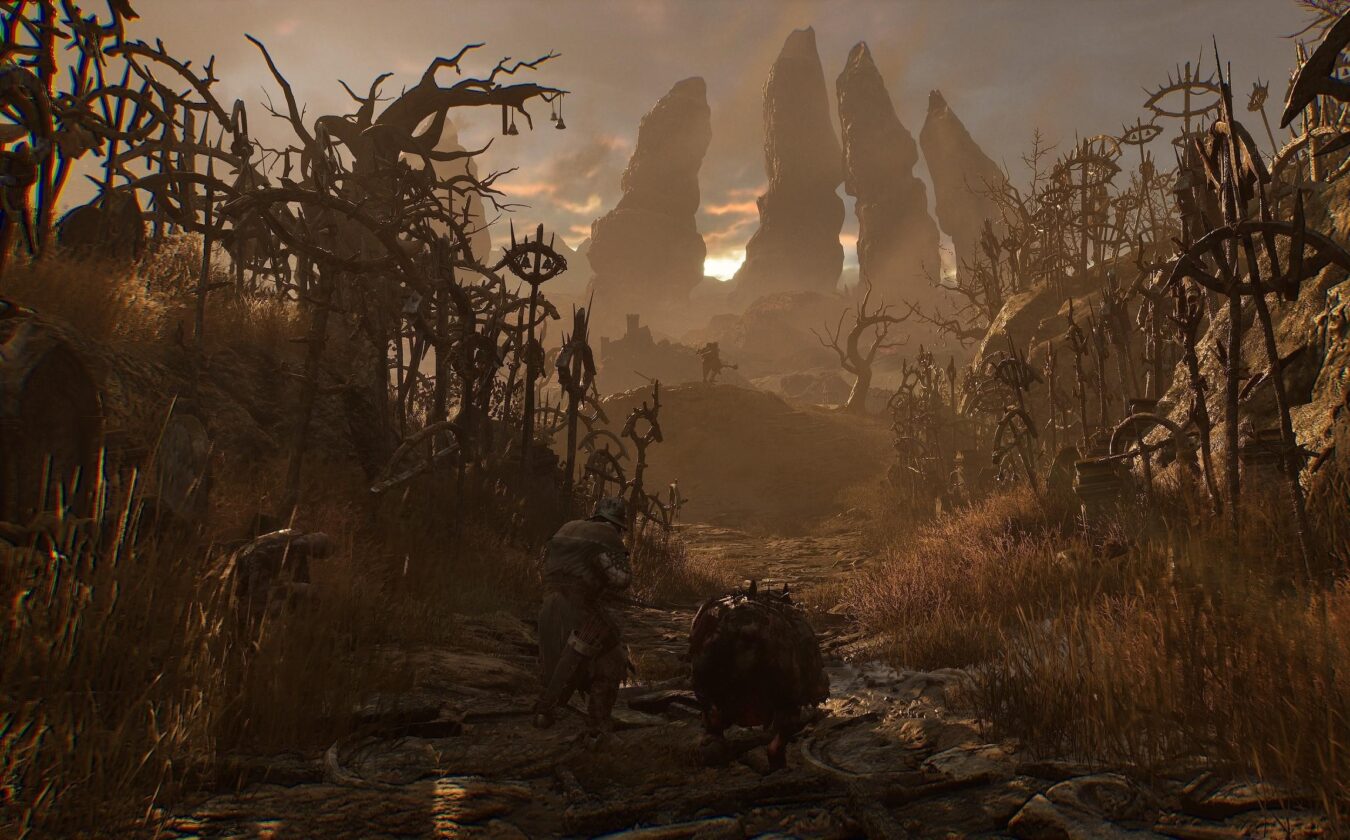
Beacons are unique items that are basically considered ancient artifacts in Lords of the Fallen. Your primary mission will be to locate each of these Beacons and then cleanse them. Once you have done this act, you will be able to light these beacons and restore their barrier capabilities.
If you are pursuing the Radiant Ending, then cleansing the beacons is a must for you. Locating all of these Beacons can be a tedious task, given that you will have to explore each of the areas entirely and also face enemy bosses.
All Beacon Locations in Lords of the Fallen
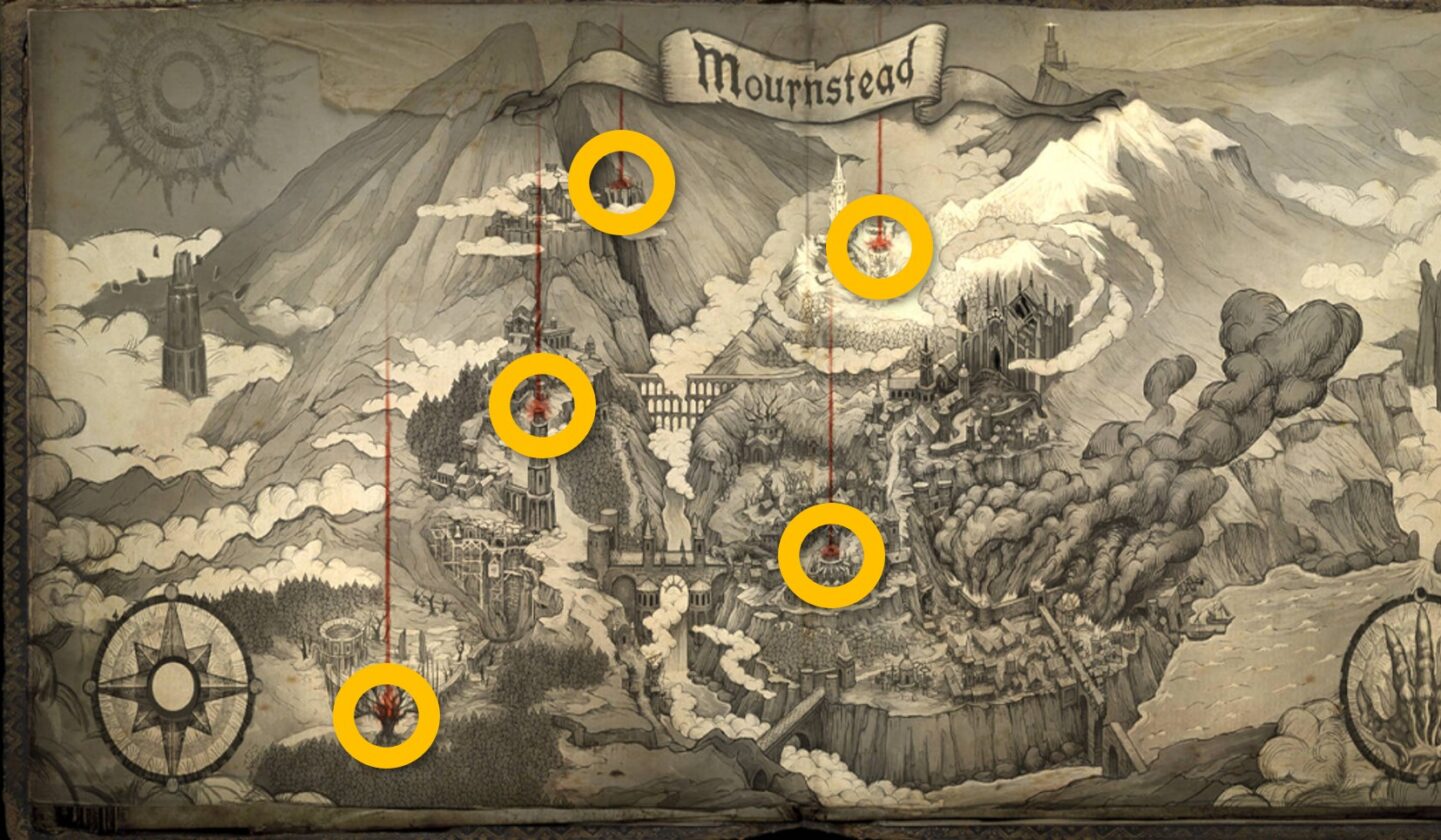
There are a total of Five Beacons that you will discover in various areas during your playthrough. Each of these will require their fair share of exploration and boss fights. That’s why you need to be prepared before you embark on finding the Beacons at the following locations.

1. Forsaken Fen
For the first beacon, you can travel to the Vestige of Valade or the Forsaken Fen area in LOTF. Then, you can enter into Umbral and head in the right direction from the vestige and follow the path while avoiding any fights with the enemies ahead.
At the end of this path, you will have to engage in a boss fight with a particular enemy boss called The Congregator of Flesh. This mutated beast will give you quite a challenge, so you will need to take your time in defeating this enemy.
Once you have dealt with this enemy, you can drop down and continue through the forest area next. You will need to go straight through the swampy area, and finally, you will reach a place at the end of the Forsaken Fen, which will be near Fitzroy’s Gorge. Here, you will encounter another enemy boss.
This one will be called the Hushed Saint in LOTF. You will need to evade this enemy boss’s attacks and time your powerful strikes to take him down. It will take some time, but eventually, you will be able to defeat the Hushed Saint.
After you successfully do that, you can go to the right side, and there, you will be able to discover the first Beacon in Lords of the Fallen.
2. Upper Calrath
In order to discover the second beacon, you will need to go to Skyrest Bridge, and from there, you will be able to enter the Upper Calrath area. From there, you will need to go straight while avoiding enemy attacks and reach the house on your left with the open room.
Then, you will need to continue from there and enter Umbral while heading towards a large chamber. This chamber will have a bonfire place, so you can proceed to light the bonfire. Once you do that, you can make your way towards the door on your right side and go through the hallway. This is a straightforward path, so after reaching the end, you will enter a large room area.
There, you will have to confront an enemy boss known as the Lightreaper Boss in Lords of the Fallen. Defeat this enemy boss and go down the stairs to reach the lower levels. You will also observe a ladder that you can climb down and then jump towards the path on your right.
You can continue from there, and after a short walk, you will find the Beacon situated there. Keep in mind that this specific beacon is quite powerful and can be used to mind control others.
3. Fief of the Chill Curse
This beacon is more connected with the natural world and can be located near the Vestige of Marco or Redcopse Windmill. However, you will need to obtain a specific item before you venture out to find this beacon, and it will be the Fief Key. This item can be collected from an NPC character called Andreas of Ebb.
After getting the Fief Key, you can use it to unlock the frozen bell door and continue onwards until you reach a place called the Fief of the Chill Curse in LOTF. This place will not be that easy to reach, and you will face various bosses such as the Kinrangr Guardian Folard and the Hollow Crow.
You will have to dodge the enemy attacks and time your powerful strike to defeat these bosses. After that, you can move in the right direction, and after reaching the end, you can drop down from that place. There will also be another building present there, so enter it and go towards the upper levels. Finally, you will be able to find the Beacon there in Lords of the Fallen.
4. Tower of Penance
The fourth beacon can be discovered at the Tower of Penance in LOTF. Similar to the events of the beacon at the Fief of the Chill Curse, you will also need another important item if you want to discover this beacon at the Tower of Penance. This time, it will be the Pilgrim’s Perch Key. You can use it to gain access to a specific area known as the Pilgrim’s Perch Ballroom in LOTF.
You can go through the area near the Vestige of Blind Agatha and make your way to the upper levels. This way, you will come across the Manse of the Hallowed Brothers, which indicates that you are on the right path.
Keep following the path until you reach the end of the section, and from there, you will be able to access the Tower of Penance in Lords of the Fallen.
There, you will also find a bridge which you can cross, and after walking for a short distance, you will reach a Tall Tower. You will enter this specific tower and then drop down to reach the lower levels. Along the way, you will come face to face with another enemy boss called Tancred, the Master of Castigations in Lords of the Fallen.
This enemy boss will have a fiery ring on its head, and he is not an optional boss, which means you will have to defeat him in order to progress further. Once you defeat him, you can then move onwards and find a lift.
Enter the lift, and it will take you to the top of the Tower. After you exit the lift, you will be able to discover the beacon with relative ease.
5. The Empyrean
You will be able to find this one near the Abbey of the Hallowed Sisters. Following the events of your visit to the Tower of Penance, you will have a choice after you cross the Manse of the Hallowed Brothers, allowing you to gain access to the Abbey of the Hallowed Sisters.
After exploring this area, you will have to fight and defeat a boss called the Rapturous Hunter of the Dusk in Lords of the Fallen.
You will then need to make your way to the Empyrean area and face the enemy boss, Judge Cleric, the Radiant Sentinel. Once you defeat him, you will be able to discover the Beacon.
How to Cleanse the Beacons in Lords of the Fallen

Once you have found the Beacons at various locations, you can activate them. To do this, you will need to go towards the Beacon and proceed to cleanse them first and then activate them. Performing this action on the beacons will allow them to regain their powers in the form of protective barriers from the Umbral Realm in LOTF.
If you have the Umbral Lamp in your possession, then cleansing each of these beacons will prove to be rewarding for you. In addition, you will receive a boost to your build stats, making you more formidable in your fights and allowing you to take on incoming enemy challenges.
You will also be able to gain access to some secret regions by cleansing the beacons in LOTF. This way, you can explore these specific areas to collect unique weapons, shields, etc.
After you discover all five beacons and have cleansed them, you will be able to unlock a specific ending. This will be the Radiant Ending in Lords of the Fallen.
Cleansing the beacon will also gain you access to the secret classes, the Lightreaper class, and the Umbral Remnant Class.
What Happens if You Don’t Cleanse the Beacons in LOTF?

If you don’t cleanse the Beacons that you find during your playthrough, you will not get the Radiant Ending. Moreover, the environment will start to become corrupted, and the enemies will grow stronger in the darkness.
This will make your incoming challenges and boss fights tougher. Lastly, you will need to cleanse at least the Beacon present at Upper Calrath if you want to unlock the other classes.
I would definitely suggest that you should cleanse each of the Beacons once you find them in Lords of the Fallen. This should be the case in your first playthrough, as you will have access to other classes that were previously locked and use them in the NG+ mode of LOTF.
However, if you are someone who prefers hard and challenging fights, then you can avoid cleansing these beacons.