Upgrading weapon is a must in Elden Ring if you actually want to progress in the game. This guide will help you get unlimited smithing stones in Elden Ring so that you can upgrade the weapon of your choice.
How to get infinite Smithing Stones in Elden Ring
Smithing Stones are required to upgrade all weapons, except the Legendary Armaments, in Elden Ring. They are pretty rare and hard to find in the huge world of the game.
Another related issue here is that since Smithing Stones are hard to come by, many players choose to stick to a single weapon from the start. This allows them to use all of their Smithing Stones to upgrade one weapon. If you want to try out a different weapon, you will want to find more Smithing Stones to upgrade it.
So, Elden Ring fixed this problem by making it so that you can buy as many smithing stones as you like in Elden Ring, but this is not an option from the start.
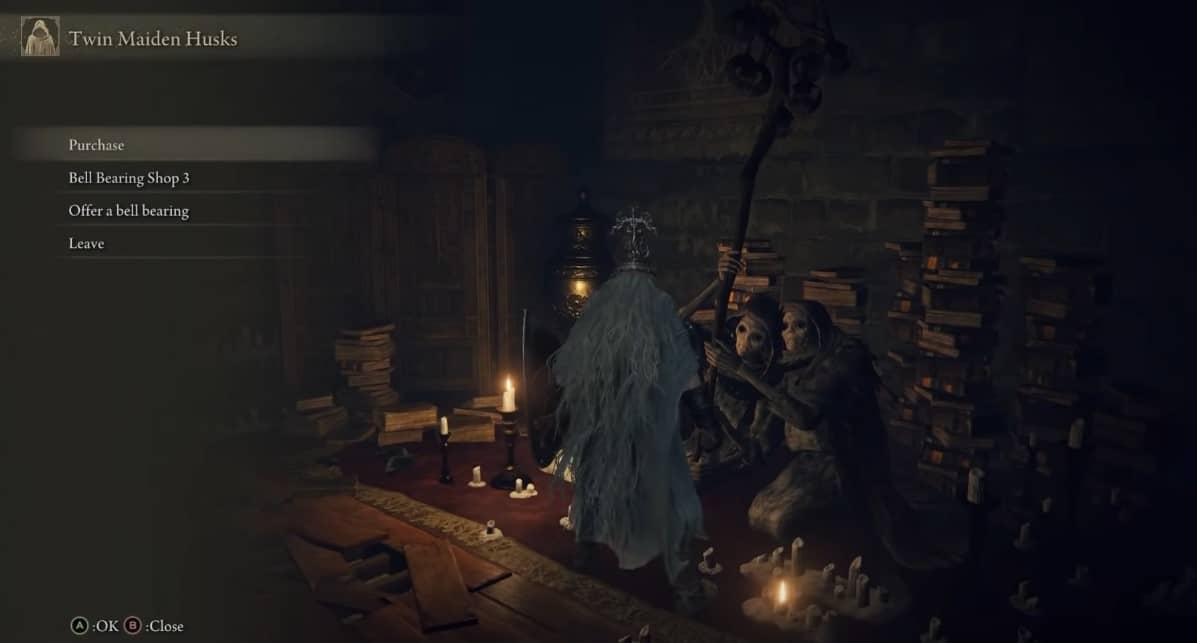
To get this option to buy unlimited Smithing Stones in Elden Ring, you need Bell Bearing that will unlock smithing stones at the Twin Maiden Husks merchant at the Roundtable Hall.
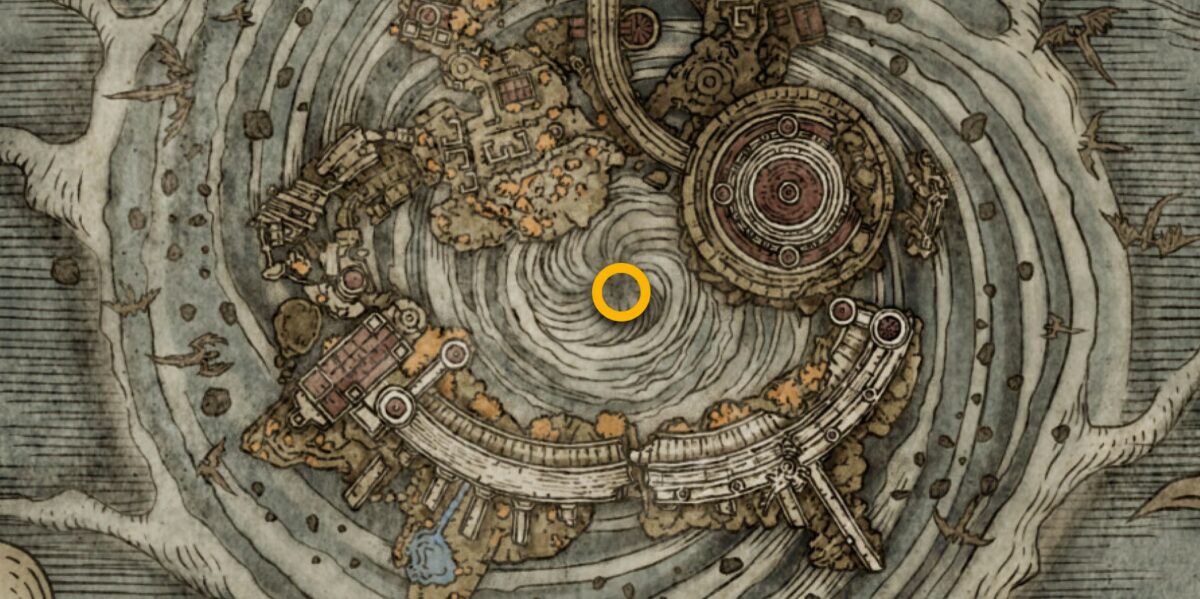
Aside from the Stone Bells, there is another way that you can get unlimited Smithing Stones 1 and 2 which is by traveling to a giant located in Liurnia of the Lakes. For that, you need to head towards the Road of Manor site of grace and the giant will be in front of you.
Smithing Stone Bell Bearing locations in Elden Ring
Here are the bells that will unlock Smithing Stones for players in Elden Ring.
Smithing Stone Miner’s Bell Bearing 1
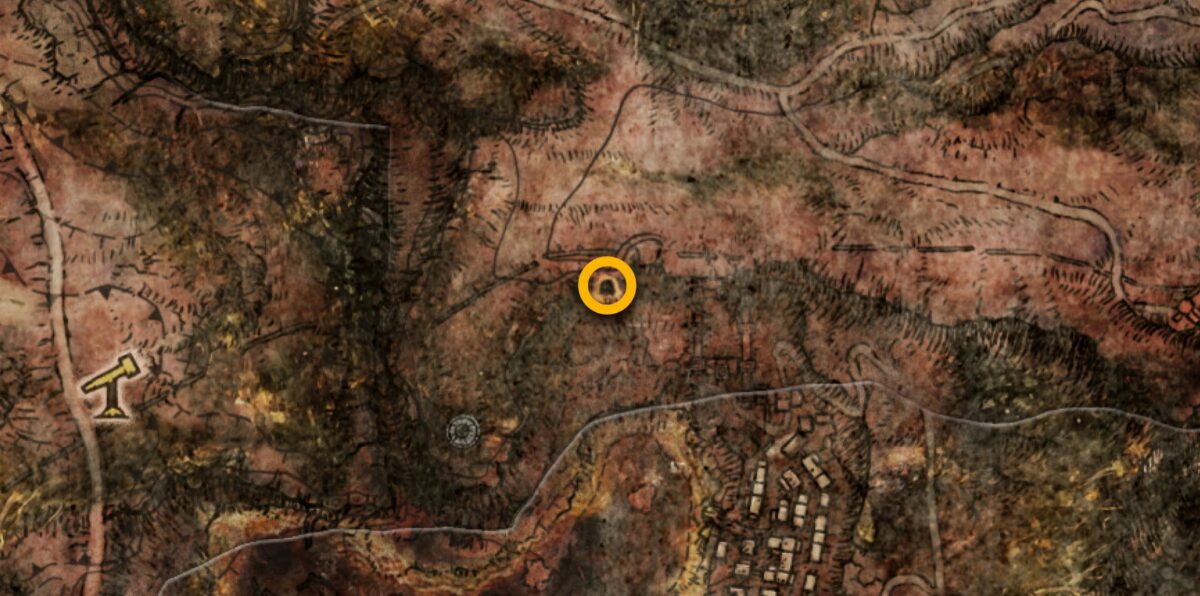
The first bell bearing can be found in a mine in Lucaira and can be get by defeating Crystalian boss. You need to head north from South Raya Lucaria Gate along the cliff on the east of the lake.
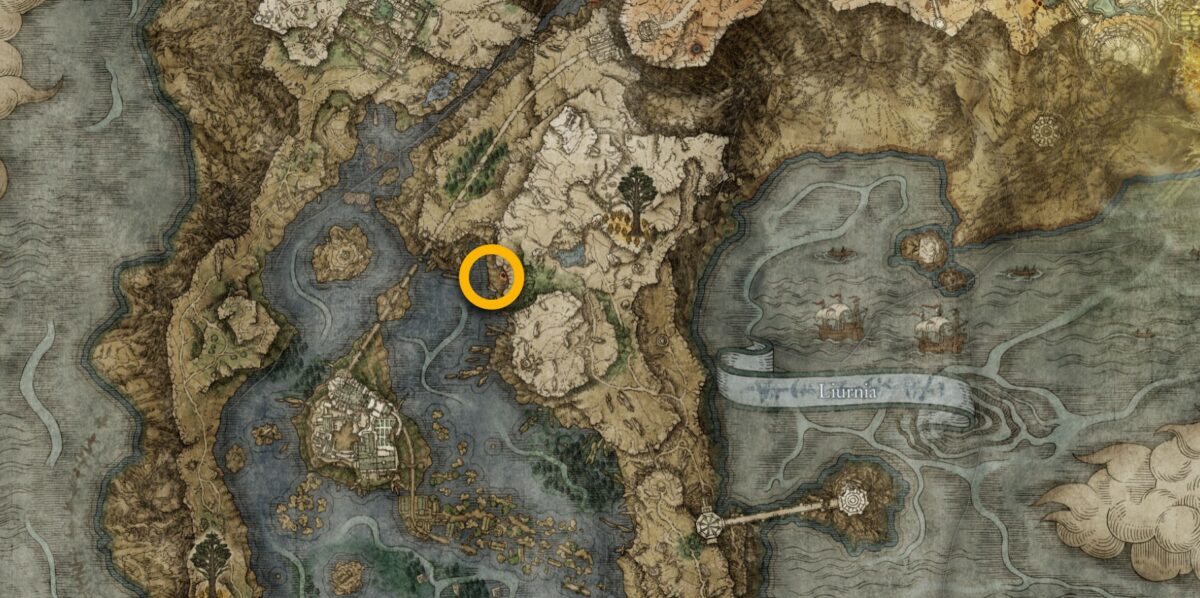
You will find a tunnel here, the Raya Lucaria Crystal Mine. Complete this mine and defeat the boss, Crystalian, at the end. Defeating this boss will give you Smithing-Stone Miner’s Bell Bearing 1, which unlocks Smithing Stone 1 and 2 for purchase.
Just a small tip, since you will be heading into a lot of mines for these bells, use magic weapons or sorceries to kill the miners.
Simple weapons deal next to no damage and make these mines unbearable. Any Magic Infused weapon or any weapon that deals some magic damage will do the job just fine.
Raya Lucaria Tunnel can only be accessed late in the game making bell bearing hard to get for some players. But if you start the trek from the Stomhill Shack Site of Grace, you can access it early.
From the site of grace, travel north until you come across a bridge. There is a hidden path right after the bridge ahead of Finger Crone. This path will lead directly to the Liurnia of Lakes if you travel north. From there, you can access Raya Lucaria Tunnel.
Smithing Stone Miner’s Bell Bearing 2
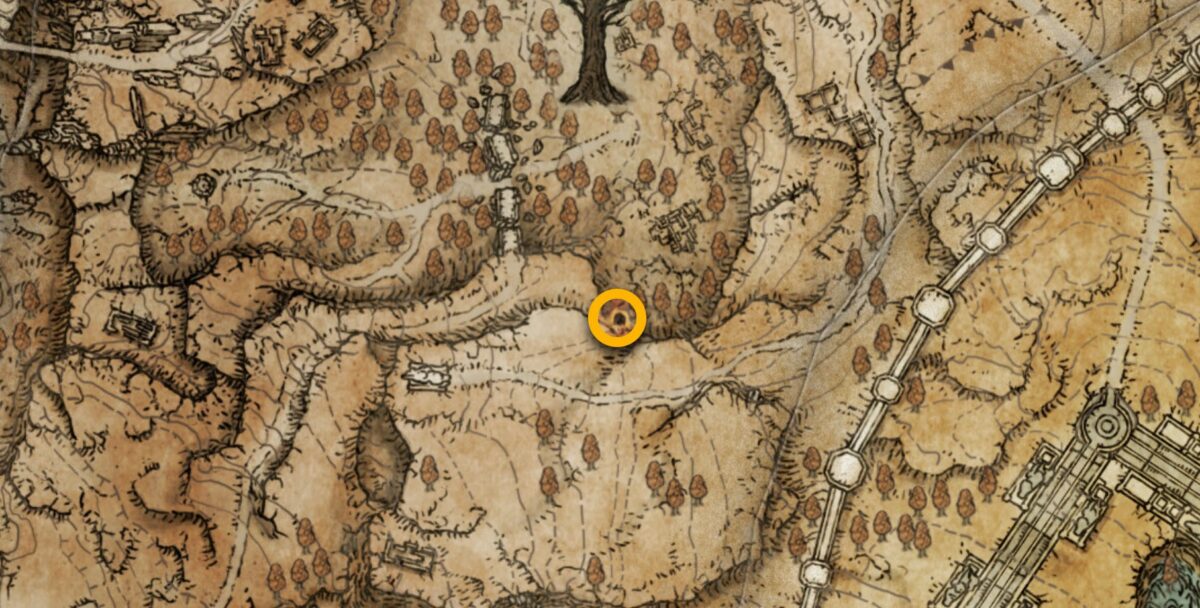
The second bell bearing is found in a mine in Altus Plateau. You need to go to the Sealed Tunnel to get this bell bearing.
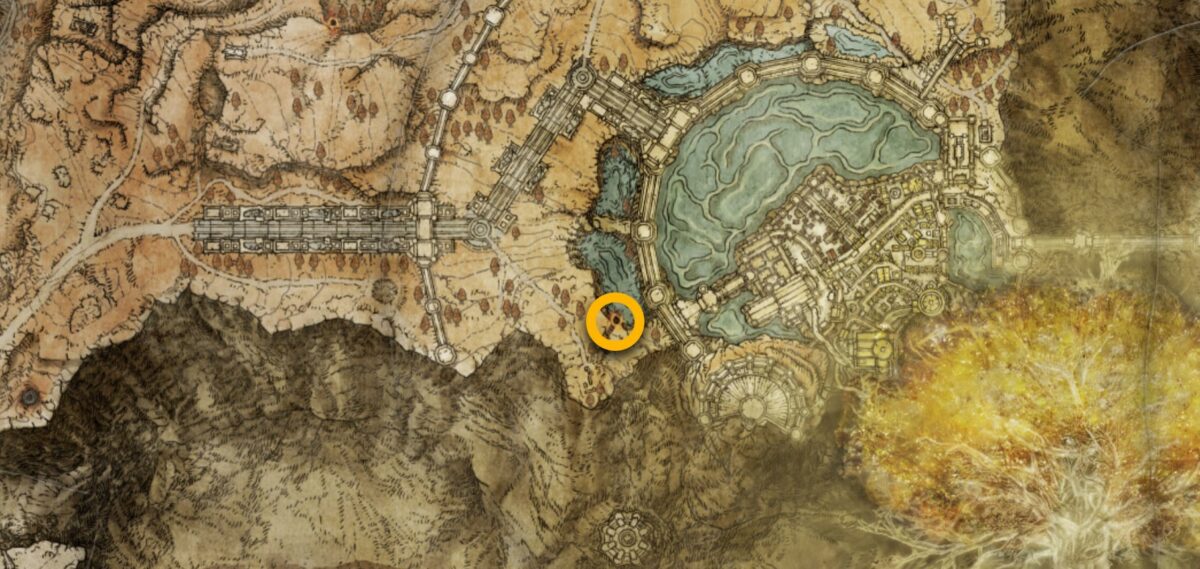
From the Outer Wall Phantom Tree grace that you get after defeating the two Tree Sentinels, head east to the small lake. Head down using the spirit stream or the rock formation, then head south of the lake.
Here, the entrance of the sealed tunnel can be found. The tunnel has many illusory walls, so whenever you can’t find the path to progress, start smacking the walls in the corners of the room to find them.
After the first illusory wall, next to the fire, turn right and open the chest to get the 2nd bell bearing.
Smithing-Stone Miner’s Bell bearing 2 allows you to purchase Smithing Stones 3 and 4 from the merchant.
Smithing-Stone Miner’s Bell Bearing 3
The third bell is in the end game area. You need to progress to Zamor Ruins in the Mountaintops of the Giants.
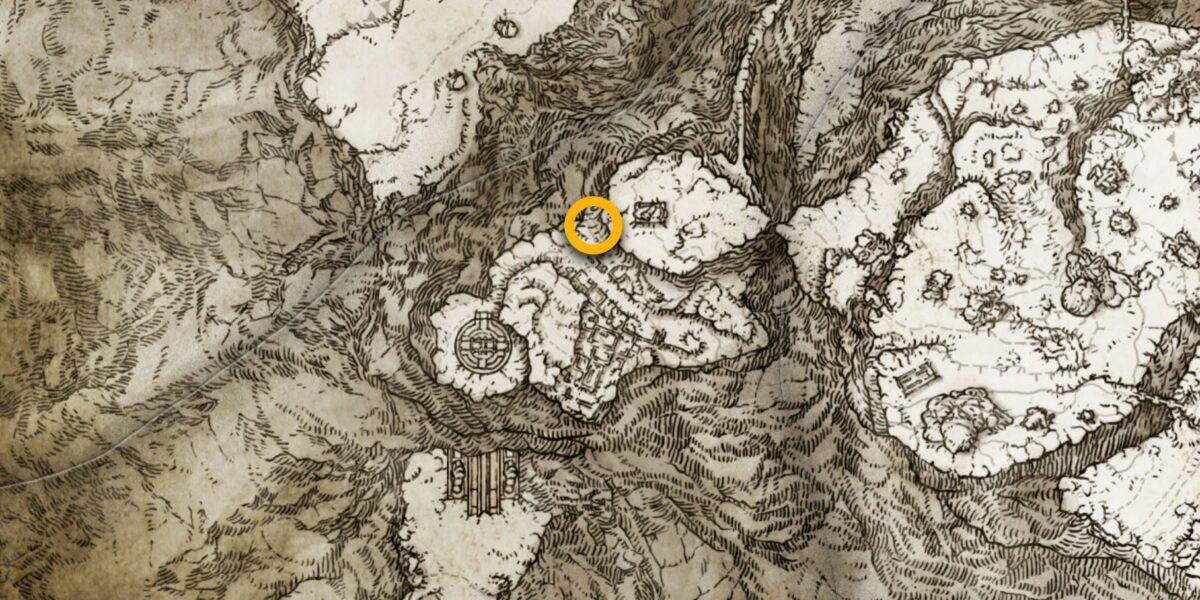
Even if you get there fast by bypassing most of the game, you need to have defeated the Draconite Tree Sentinel and obtained two great runes before you can actually purchase the stones.
Inside the Zamor Ruins, a simple underground room can be found which contains the bell bearing in a chest.
Smithing-Stone Miner’s Bell Bearing 3 allows players to purchase Smithing Stone 5 and 6 from the merchant.
Smithing-Stone Miner’s Bell Bearing 4
This bell bearing is in Crumbling Farum Azula. In this area, simply progress through the area and kill the Godskin Duo in the Dragon Temple.
Killing the boss will reward you with Smithing-Stone Miner’s Bell Bearing 4.
Smithing-Stone Miner’s Bell Bearing 4 allows players to purchase Smithing Stone 7 and 8 from the merchant.
Somberstone Bell locations in Elden Ring
Here are the bells that will unlock Somberstones for players in Elden Ring.
Somberstone Miner’s Bell Bearing 1
The first Somberstone Miner’s Bell Bearing is found in Sellia Tunnels. You can find them in Caelid, or go to the tunnels directly from the teleporter trap chest in Dragon burnt Ruins.
Complete the ruins and defeat the boss at the end to get the Somberstone Miner’s Bell Bearing 1, which allows you to purchase Somber Smithing Stone 1 and 2 from the merchant.
If you don’t want to go through the Sellia Mines, you can always head toward Caria manor. Near the grace Road to Manor, you can find blacksmith Iji who sells infinite Somber Smithing Stone 1 and 2 by default.
Somberstone Miner’s Bell Bearing 2
In the Altus Tunnel in Altus Plateau, near the Minor Erd Tree, complete the mine and the boss at the end will drop the Somberstone Miner’s Bell Bearing 2.
This bell bearing allows you to purchase Somber Smithing Stones 3 and 4 at the merchant.
Somberstone Miner’s Bell Bearing 3
The third Somberstone bell bearing is found on the Mountaintops of the Giants. Here, the First Church of Marika can be found on the east corner of the frozen lake.
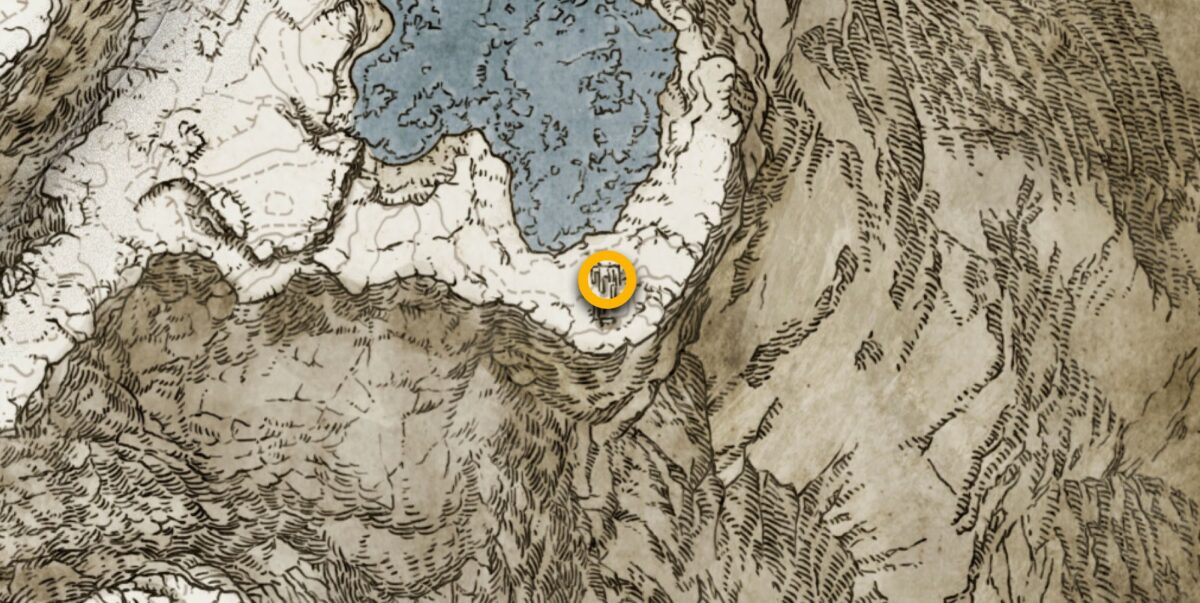
Outside the church is a dead body. Loot it to get Somberstone Miner’s Bell bearing 3.
This bell bearing allows you to purchase Somber Smithing stone 5 and 6 at the merchant.
Somberstone Miner’s Bell Bearing 4
This bell bearing is found in the Crumbling Farum Azuna. Progress through the area until you get to the Tempest facing Balcony grace. Just next to the grace is a dead body with the Somberstone Miner’s bell Bearing 4. Loot it.
This bell bearing allows you to purchase Somber Smithing stone 7 and 8 at the merchant.
Somberstone Miner’s Bell Bearing 5
This bell bearing is also found in the Crumbling Farum Azuna. After killing the Boss, Godskin Duo, head out and follow the path to the right to where the dragon is.
Ignore the dragon, or kill it if you want to, then stick to the right path from the dragon ahead. You will find a ledge where a small bridge is made by a crumbled building. Cross this bridge and head into the room on your right.
Here, kill the enemy and loot the item behind him to get Somberstone Miner’s Bell Bearing 5.
This bell bearing allows you to purchase Somber Smithing stone 9 at the merchant.