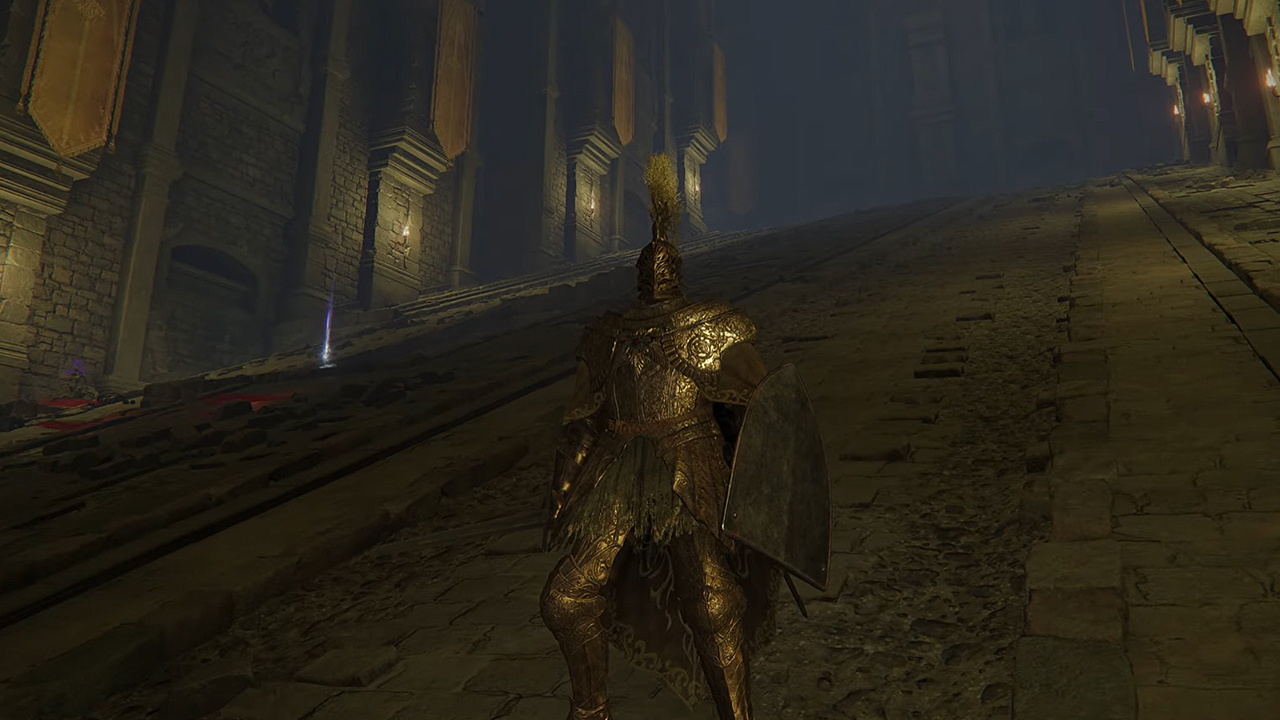
The Tree Sentinel Set in Elden Ring is a Heavy Weight armor set that provides great Damage Negation against both Physical and Magic attacks, particularly excelling against Fire, Slash, and Pierce attacks.
The Tree Sentinel armor is first seen dawned by the Tree Sentinel Boss during the early stages of the game. You are unable to obtain this armor set when you defeat this boss but you can do so once you get to Auriza Hero’s Grave.
This dungeon is tricky to navigate through and you’ll have to solve a puzzle by destroying three chariots Auriza Hero’s Grave to obtain the armor. Let’s see how to do so.
Where to find the Tree Sentinel Set in Elden Ring
All the armor pieces for the Tree Sentinel Set including the Tree Sentinel Helm, Tree Sentinel Armor, Tree Sentinel Gauntlets, and Tree Sentinel Greaves can be obtained at Auriza Hero’s Grave.
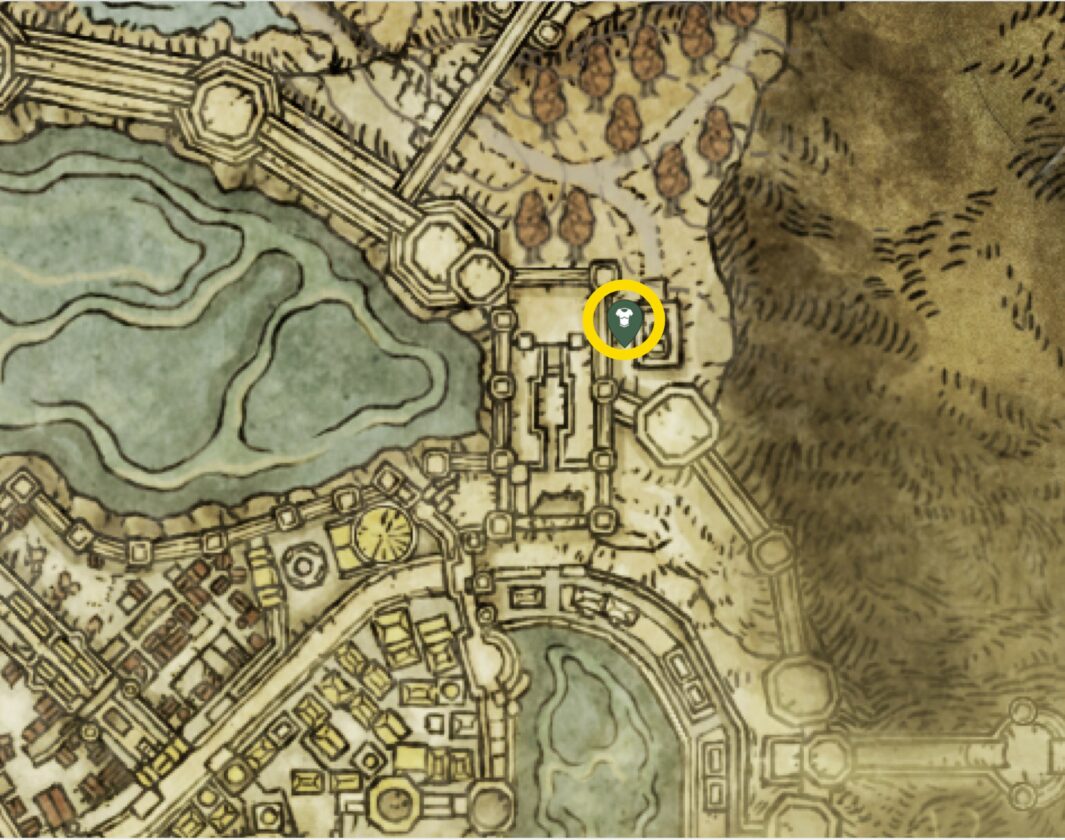
This dungeon is located in the eastern part of the Leyndell, Royal Capital so you’ll need to approach the Capital Outskirts to get there.
To enter the dungeon you’ll need a Stonesword Key to unlock access to the Auriza Hero’s Grave, Site of Grace. Approach the imp statue there to use use the key.
How to solve the puzzle and destroy the chariots
Once inside the Auriza Hero’s Grave, you can solve the puzzle that involves destroying three chariots to obtain the Tree Sentinel armor set.
Remember that you can also find the Crucible Axe set here so be sure it to grab it as well.
You’ll need to be significantly higher level to make this puzzle easier since the chariots can one-hit kill you. The key to this puzzle is knowing your surroundings, and hearing out for the chariot approaching.
You can also make use of different camera angles to know when a chariot is approaching you and when one has gone past.
You will use the Auriza Hero’s Grave, Site of Grace as a starting location to make it easier to navigate through the dungeon. From there you’ll need to move west, dodging the first chariot and heading past it.
Eventually, you’ll reach the lane where the two chariots move in the opposite direction of each other. You’ll need to wait out a bit and judge the right timing to dodge them both and head down the ramp.
You’ll see a pathway in between the columns up ahead. As soon as you approach it the last Chariot will appear so you’ll need to avoid it and head through.
Next, you’ll need to drop down from the ledge and continue descending from the pillar to the beams, try aiming for the intersecting areas since they’ll give you a greater platform to jump on.
To line your descent perfectly approach the body there and look to your west. You can also align yourself to the torch hanging on the wall for a more consistent drop in the second jump.
You’ll have to continue your descent until you have the ladder within your reach. Climbing this ladder will take you to the next room.
You have to continue to the end of this pathway and head north to access a new area with an Imp Pillar. Be wary of incoming arrows from a skeleton here. You must strike this pillar to send transport the last chariot to the same room with the first two.
Open your map and fast-travel to the Auriza Hero’s Grave once more to teleport to the same room.
As you teleport back to that room you see all three chariots together as they collide and take each other out. You’ll now see all the pieces of the Tree Sentinel Armor drop so you can collect them.
Additionally, you’ll also obtain Holy Ground Ash of War in the dropped items.