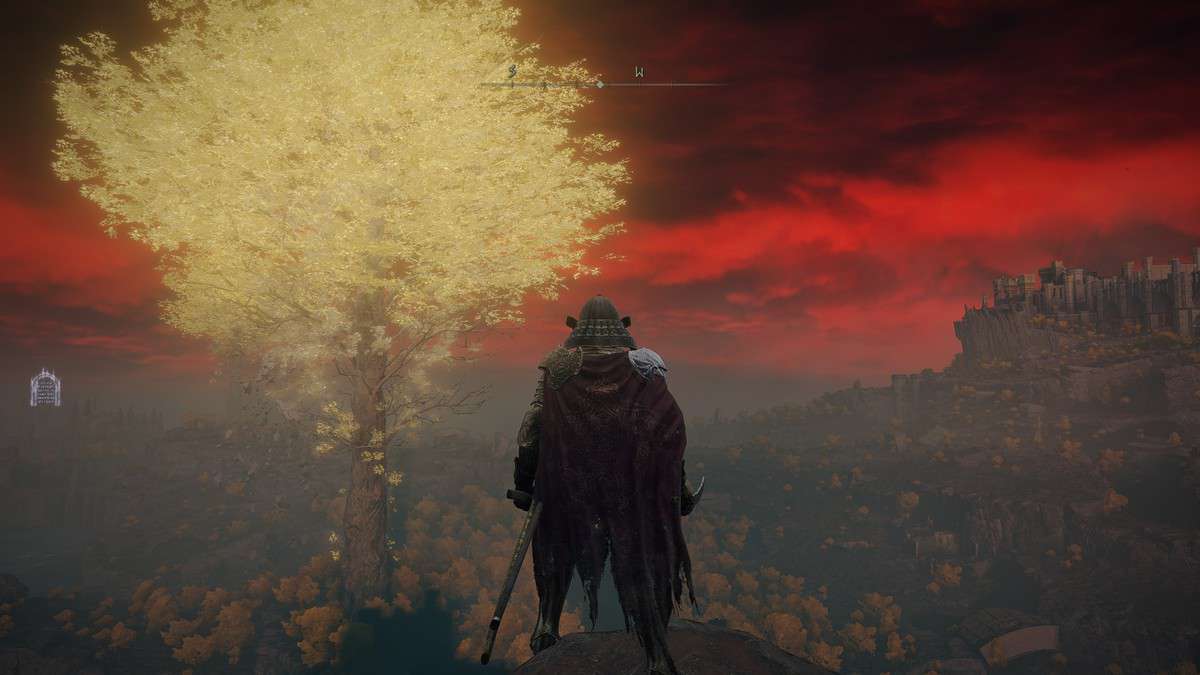
Auriza Hero’s Grave is a Minor dungeon in Elden Ring, and it is located in the eastern part of Capital Outskirts, in the Altus Plateau region. Here, you will face off enemies like Golden Chariots and Basilisks. You will also have to go up against Crucible Knight and Crucible Knight Ordovis bosses in this dungeon. This Auriza Hero’s Grave Walkthrough is written to help you clear the dungeon without facing any issues.
How to Get to Auriza Hero’s Grave in Elden Ring
To get to the Aurzia Hero’s Grave, make your way inside the Altus Plateau’s outer walls. Then, head to the northern side of the city to reach the only bridge in the city. There will be 2 paths there, one going down and one forward.
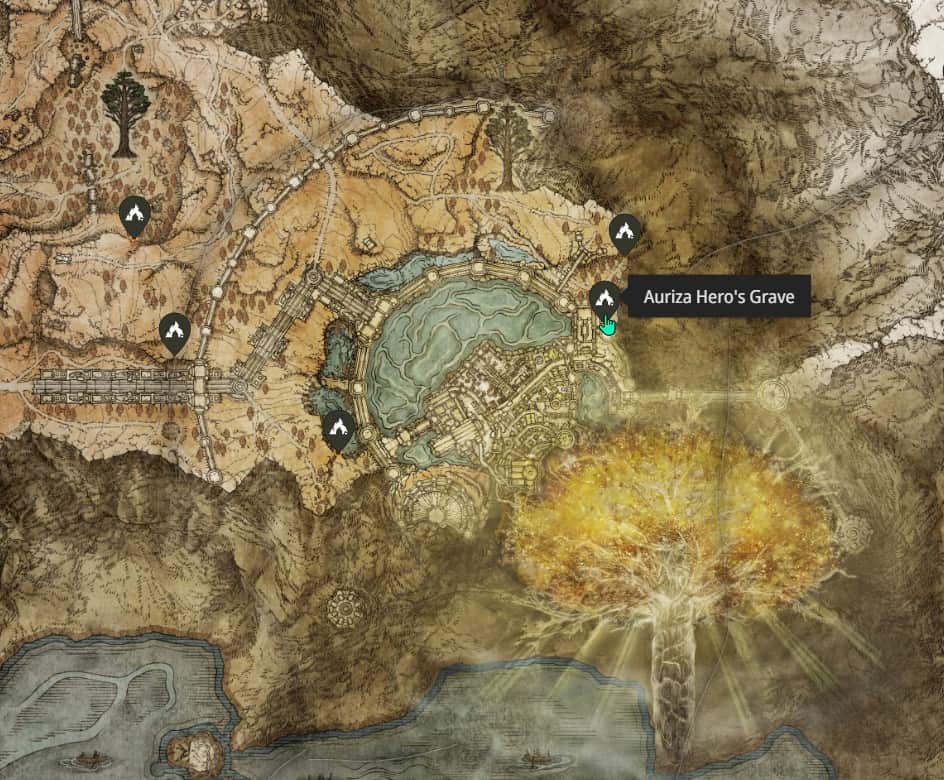
Take the path going down and keep following it to find Auriza Hero’s Grave dungeon entrance.
Elden Ring Auriza Hero’s Grave Walkthrough
Once you enter the dungeon, activate its Site of Grace which will also have an Imp Seal, which will require 1x Stonesword Key. This will unlock access to a room where you can obtain the Golden Epitah Sword.
There will be a large slop going downwards in the next room, and at the end, a chariot will get summoned to go up and down the slope. Make sure you duck in the alcoves to stay safe. Then, make your way to the end to find 5x Fan Daggers present on a corpse.
When the chariot starts going up again, start running right before it and hide in the alcove on either side of the slope. Be wary of your timing, as you will need to get in quickly to avoid taking a hit. You can get down to the level below near the archway if that seems dangerous. However, you will have to deal with multiple Basilisks that will gather near you.
Escaping this chariot will lead you to another corridor, where things will get more complex. The previous chariot will follow you down the long slope on the right side, while another chariot will also appear on the other side.
The best way to escape them will be to use the alcoves to progress. In the middle of this slope is a small path to find a Grave Violet. There is also a tunnel that will take you to a Grave Glovewort 5 location. Further, right from there, you can find Ghost Glovewort 5 and Ghost Glovewort 6.
There is another path in the middle of the slope, where you can find 1x Stonesword Key and Ghost Glovewort 6, which a Skeleton will guard. At the end of this slope, another Chariot will start following you.
In front of the slope past the chariot, which goes to the boss, you can find a body hanging over a ledge having Golden Rune 7. Below, there is a network of beams leading to a new place. Drop down from the body to the below beam and move forward to find another corpse holding 2x Holy Grease.
Next, head north and drop down to the closest beam and kill the Basilisks you face hear. Make your way through the door to find a passage containing Grave Glovewort 5 and Vulgar Militia Ashes. They will be guarded by a Basilisk, so be wary.
Next, we will be dropping down to the bottom of the beams to discover the southern part of the tunnel. Climb the ladder and make your way through the tunnel until another chariot appears. Carefully head out of the tunnel and run up the pathway on the right.
Here, you will get Grave Glovewort 6. There will be a pillar shooting fire here as well. Hit the pillar to send it up to emit the sigil light. Exiting this area will take you to the beginning area of the dungeon. Head down the slopes to find a couple of chariots.
However, this time, there will be a golden sigil midway on the slope, which will cause the chariots to crash into it and get destroyed. By destroying all the Chariots, you will receive the following rewards:
- Ash of War – Holy Ground
- Tree Sentinel Armor
- Tree Sentinel Gauntlets
- Tree Sentinel Helm
- Tree Sentinel Greaves
Now, move forward in the dungeon and make your way to the tunnel having the flame pillar. Instead of returning to the start, head forward in the tunnel. Kill the Skeletons in the tunnel to reach the fork road. One path will take you to a guard, which will drop Crucible Feather Talisman, while the other path will take you to 3x Giant Dragonfly Head and Ghost Glovewort 6.
Next up, you will face off against 2 bosses of the dungeon together, the Crucible Knight and Crucible Knight Ordovis.
How to Defeat Crucible Knight and Crucible Knight Ordovis in Auriza Hero’s Grave
The Crucible Knight boss will have a pronged spear as his weapon, while Ordovis will be using a greatsword to attack you. Their weapons have long reaches, making them difficult to counter in many situations. They are also really hyper in their attacks, meaning it will be a continuous assault on you.
The best way to deal with these bosses is to utilize spirit summons having high HP and defense. This will allow you to distract the bosses and then damage them by getting behind them. The Greatshield Soldier Ashes are useful against these enemies, as it can take loads of attacks from them.
To attack the Crucible Knights, wait for them to perform their string of attacks, as they will pause slightly before going again. When taken down to half health, Ordovis will grow wings and start lunging towards you in the air as well. Make sure to dodge it timely to avoid taking damage.
Defeating the Crucible Knight and Crucible Knight Ordovis will award you with the following:
- Crucible Axe Helm
- Crucible Axe Armor
- Crucible Gauntlets
- Crucible Greaves
- Ordovis’s Greatsword.