The legend of Zelda: Breath of The Wild Goron City Walkthrough will guide you through Goron City and will let you know how to defeat the Divine Beast Vah Rudania and where to find the next memory.
Goron City is the next stop for Link and it is where Link will find another one of his memories.
For more help on The Legend of Zelda: Breath of the Wild, check out our Runes Guide, Vah Ruta Dungeon Guide, and Items Drops Guide.
Zelda: Breath Of The Wild Goron City
Link’s journey ahead will take him to Goron City, which is further beyond the Lanayru region. However, if you have not already, it would really help you if you go through the Zora’s Domain first.
Start at Lanayru Tower
Link’s next objective is to meet with the Goron race so make your way to the Lanayru Tower which is located north of the Kakariko Village. From the tower head north and keep going and you will come to an uncharted point on the map and there will be a fork in the road ahead of you.Take the left path towards the Maw of Death Mountain and keep moving along until you reach the Foothill Stable.
Buy the Fireproof Elixir
You will find a woman here who either will be sweeping the floor or sitting by the fire depending on the time of day. She will offer to sell Fireproof Elixirs, buy them as the path ahead in dangerous and you might need them. There is a shrine southeast of the stable, so clear it of you want to. You can make a warp point there for easy access to the Fireproof Elixir.
Towards Eldin Tower
Make your way to the next Sheikah Tower through the road from Foothill Stable that goes straight there. The road is to the west of the Foothill Stable, so go ahead and reach the Maw of Death mountain.
Along the way, you might encounter Gorons or some other traveler with whom you can trade.
First Guardian
Keep going ahead and the main road will turn right where you will find a Guardian. If you have high-end weapons and armor then take it on and defeat it otherwise, take a stealthier approach.
To sneak, you can take the south end rock but be careful as the Guardian will be patrolling back and forth. Wait for him to get to the other side and then sneak past it. There will be another Guardian ahead so if you are not into fighting them then ditch the road and make your own way to the tower.
Once you sneak past the Guardian the path ahead is pretty much straight forward but you will face some enemies along the way.
Second Guardian
Keep going and eventually, you will come to a sign that reads Death Mountain Marker #2. Climb up and continue along the path and ahead you will come across another Guardian.
There will be a massive rock that extends to a higher elevation, climb the rock to its top where the Guardian will be able to see you but won’t be able to hit you. Now it is up to you if you want to take it on or sneak past it.
As you arrive the Eldin Tower, climb it to reveal the map using your Sheikah Slate and reveal the map.
Onwards from Eldin Tower
From the tower go north to go back to the road marked on your map. As soon as you get near the air will slowly start to burn and Link will take damage. Use the Fireproof Elixirs and unequip any wooden based shield or weapons as they will burn.
Continue down the path and you will encounter Fire Ocotoroks, which can’t be defeat with melee weapons as they hidein the ground. If you get close enough, you will have to use ranged weapons to get rid of them. Use them as it sucks the air to throw an attack.
Ahead there will be small patches of lava and a much larger patch in the middle of the road. Here, if you are not careful, you will trigger a battle with giant Igneo Talus. Just stay clear of the large molten boulder and giant Igneo Talus will not awaken.
Fireproof Lizard Round Up
Moving along, there will be a wall that you have to climb to get to the top. As you reach the top, you would have arrived at the Southern Mine. Once there, talk to Kima, who is the one for whom we must collect the tiny Fireproof Lizards. Talking to him will trigger Fireproof Lizards Roundup Side Quest.
The lizards are bathing in the lava heat, sitting all over the place. Just sneak up on them by crouching otherwise they’ll run away.
In exchange for the lizards, he will give you Heat Resistant Armor. This armor is crucial to go further through the Death Mountain. The armor will grant enough heat resistance to Link to visit the Goron City.
The Goron City
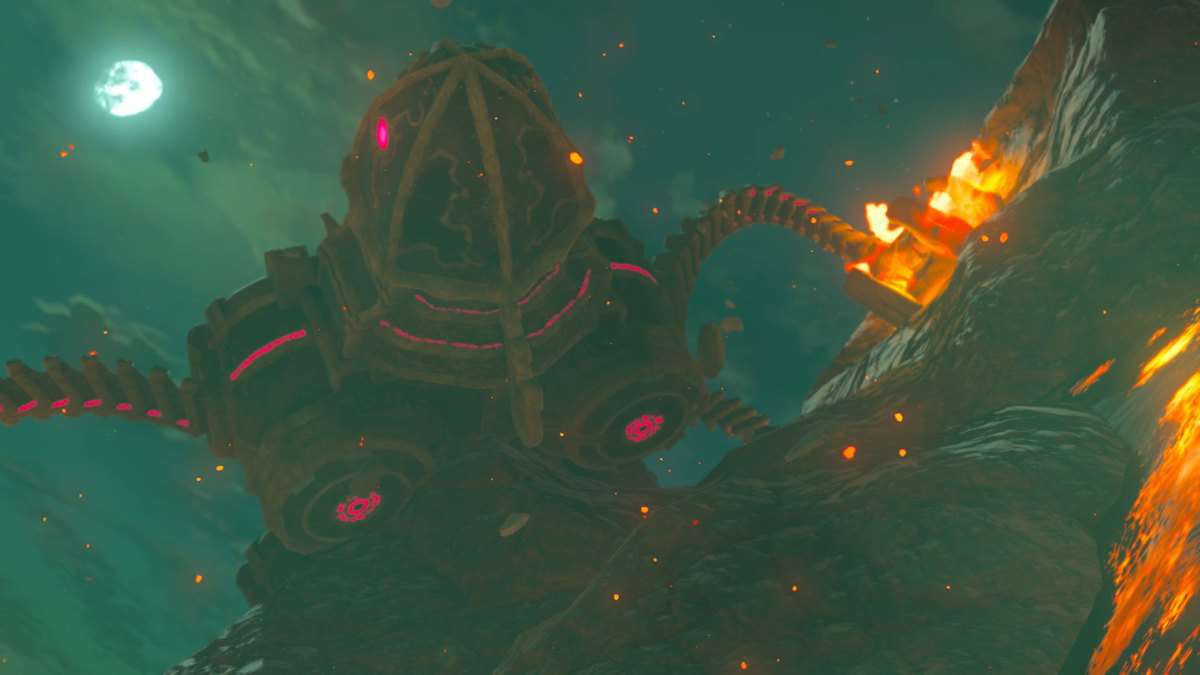
The path to the Goron City is pretty straight-forward from the Southern Mine. As you reach the entrance a cutscene will play that will show the Divine Beast Vah Rudania causing the massive eruptions. You’ll also encounter a fire ball shower which you must dodge as much as possible.
Once inside, take a look around if you like then go to the marker and speak with Bludo, who is the Goron Boss. He will inform Link of the destruction that Divine Beast Vah Rudania is causing, and Bludo himself can’t stop the beast as he is in pain.
At the end of the conversation, you will have a new objective for your main quest, that is to defeat the Divine Beast Vah Rudania.
Goron Mines
But before you get going with the Divine Beast, you must first rescur Yunobo.
Continue down the curvy road north of the Goron Mine, you will also see a shrine along the way so clear it if you want to and create a warp point to use later. Continue to the Abandoned North Mine.
As you reach the Abandoned North Mine talk to Goron then go to the cannon and place a spherical bomb in it and fire it at the Lizalfos that are in the distance.
To go further ahead you will require having some Fireproof Elixirs as Flamebreaker Armor will not be enough. Go to the place where to shot the Lizalfos and use the cannon there to fire at the next batch of Lizalfos.
For the third batch of Lizalfos use the wind geysers and paraglide and stay on the right to glide over the next geyser. Ahead there will be another cannon and you know what to do with it.
Now use the geyser to get to where the Lizalfo was and go to the next geyser on a distance that will take you to a high platform with a cannon. Use the canon to destroy the large skull and use the paraglider to get to the place where the skull was.
Now climb up to the map marker and you will hear Yunobo who will be inside of a structure blocked by a boulder. There will be a cannon at the distance to destroy the boulders blocking the path.
Climb on the structure in which Yunobo is trapped and use the paraglider to make it across to the large cannon. Destroy the boulders and go back to where Yunobo is.
Talk to Yunobo and he will go back to the Goron City. You also need to go back to the Goron city and talk to Bludo and he will reward you and another memory will trigger. The warp point will come in use here to quickly get back. After that Bludo tasks Link to stop the Divine Beast on his behalf.
Towards the Divine Beast
A new location will be revealed on the map, and you will make your way back to the Abandoned North Mine and continue scaling the mountain.
Continue along the path and you will come to Goron Hot Spring. Sit in the water if you want to restore your health and then move along.
Keep going and you will find Yunobo being attacked by two large Moblins. Take them on one by one and defeat them. Speak with Yunobo and tell him that you are here to finish the Bludo’s job. He will then tell Link the process to defeat the Divine beast.
The first step is to destroy the Bridge of Eldin, and Yunobo will curl into a cannon ball in the canon and you will have to launch Yunobo at the bridge and knock it down.
Drink the Fireproof Elixirs and the following guide will help you get through this within no tim, hopefully before the effect of these elixirs runs out. Also, make a save file so you can load if you run out of Elixirs.
The Divine Beast Vah Rudania
The Divine Beast Vah Rudania will send out sentries that server as surveillance for the beast. If they spot either Link or Yunobo the beast will trigger a massive eruption of the volcano resulting in probable certain death. If you’re lucky enough, continue ahead.
The first sentry is fairly easy to avoid as it patrols back and forth but it is also blocked by a rock. Wait for the opportunity and stop underneath the boulder and wait until it turns around so you can proceed ahead.
You will have to get rid of the second sentry as there is no sneaking past it. You can shoot it or just climb up the wall and there will be two massive boulders. Get them out of the way using stasis and hit is with a weak weapon so that the boulder may fall on the sentry.
After defeating the sentry use stasis to clear the path and move ahead. Yunobo will again get into the cannon and Link will have to fire it launching Yunobo at the Divine beast.
The next area has two more sentries, either use the Magnesis to grab the large plate and smash them or use bombs when they get close enough.
Ahead there will be another sentry, block its vision using the nearby bridge piece. GO up and there will a cannon and a Moblin. Defeat the Moblin and launch Yunobo at the Divine Beast.
Ahead there will be two more sentries, one will be stationary and the other will be moving. Wait for the opportunity and run past them. Ahead there will be a geyser, given the opportunity use the geyser and land on the higher ledge.
Use the large metal blocks to destroy three sentries ahead. Now drop down and continue up the cliff.
This is the final area and here will be two large Moblins. Just climb the cliff again and use the large metal blocks to dispose of the Moblins.
Now take your aim the Divine Beast Vah Rudania and launch Yunobo at it. This will trigger a cutscene where Link defeats the Divine beast.
You can also clear the Divine Beast Vah Rudania Dungeon ahead in Legend of Zelda Breath Of The Wild.