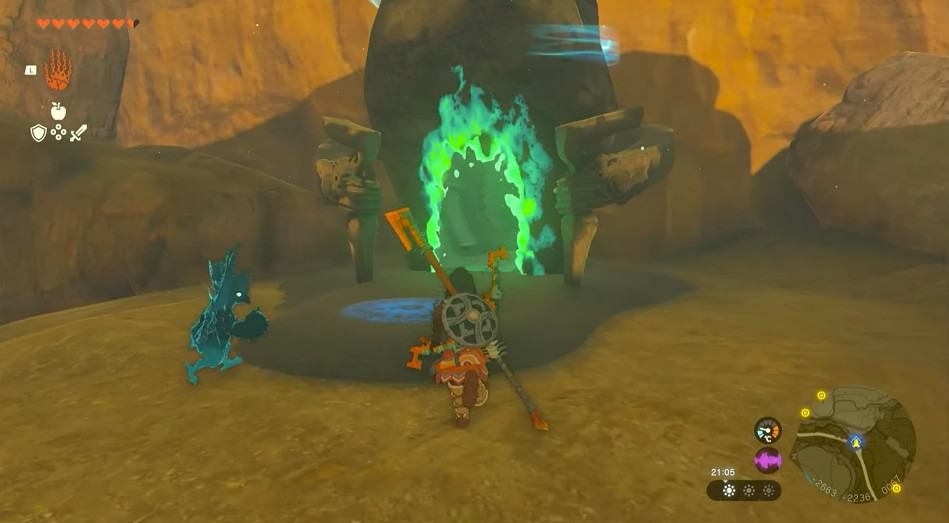
Turakamik Shrine in Zelda: Tears of the Kingdom is about restoring power to various machines by completing the circuit. While this sounds interesting and easy on paper, it is far from the truth.
In this guide, we will help you locate the Turakamik shrine in Zelda: Tears of the Kingdom and solve its electrifying puzzle with ease. Put on your tinfoil hats and follow our detailed step-by-step guide religiously.
Turakamik Shrine Location in Zelda: TotK
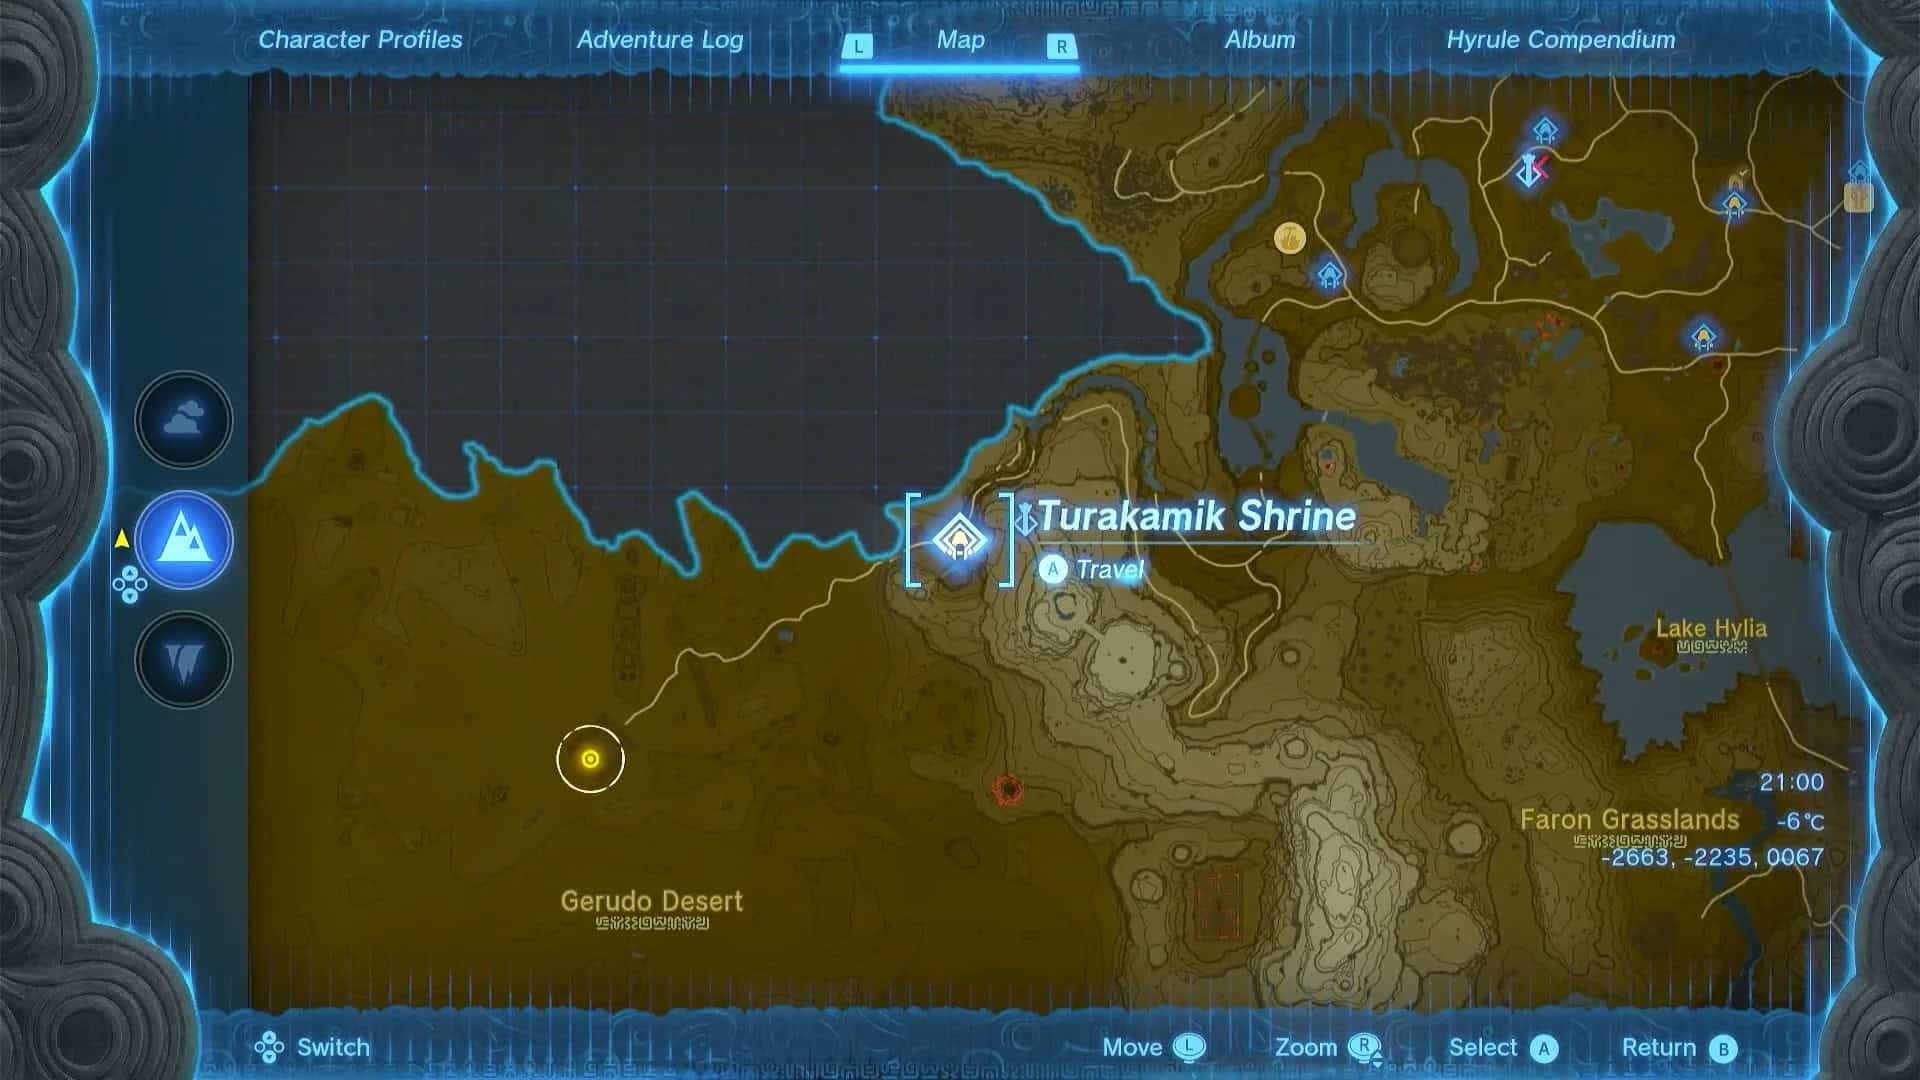
The Turakamik shrine is inside Gerudo Canyon, in the northeast corner of the Gerudo desert, right next to the Gerudo Canyon Skyview Tower.
The exact coordinates for Turakamik Shrine in Zelda: Tears of the Kingdom are (-2663, -2235, 0067).
This area is extremely hot during the day and freezing cold during the night. We recommend finding Desert Voe and Snowquill armor sets before venturing here. If you can’t, make sure to cook some meals or brew some elixirs with Cold and Heat resistance.
Turakamik Shrine Walkthrough
The puzzle presented by Turakamik Shrine in Zelda: Tears of the Kingdom is known as Forward Force. The objective of this puzzle is to complete electric circuits to create paths that allow you to move forward.
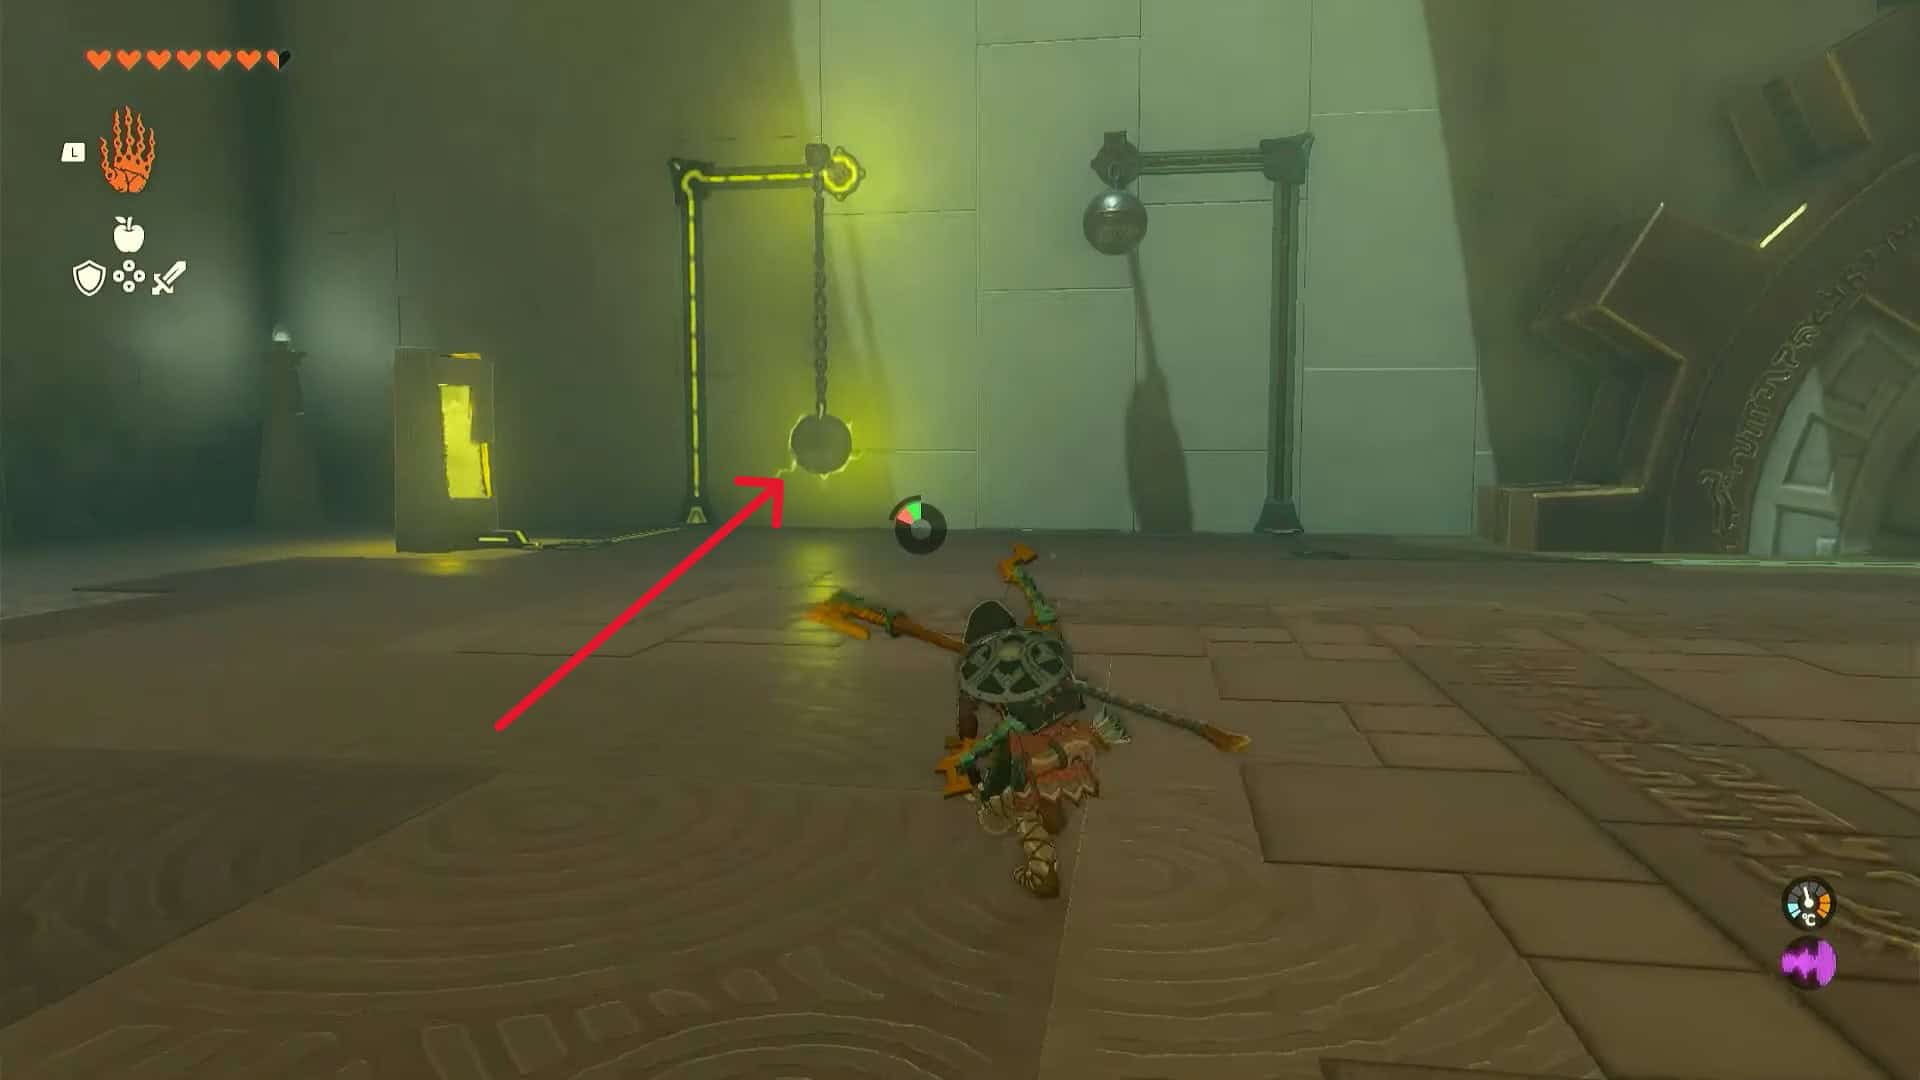
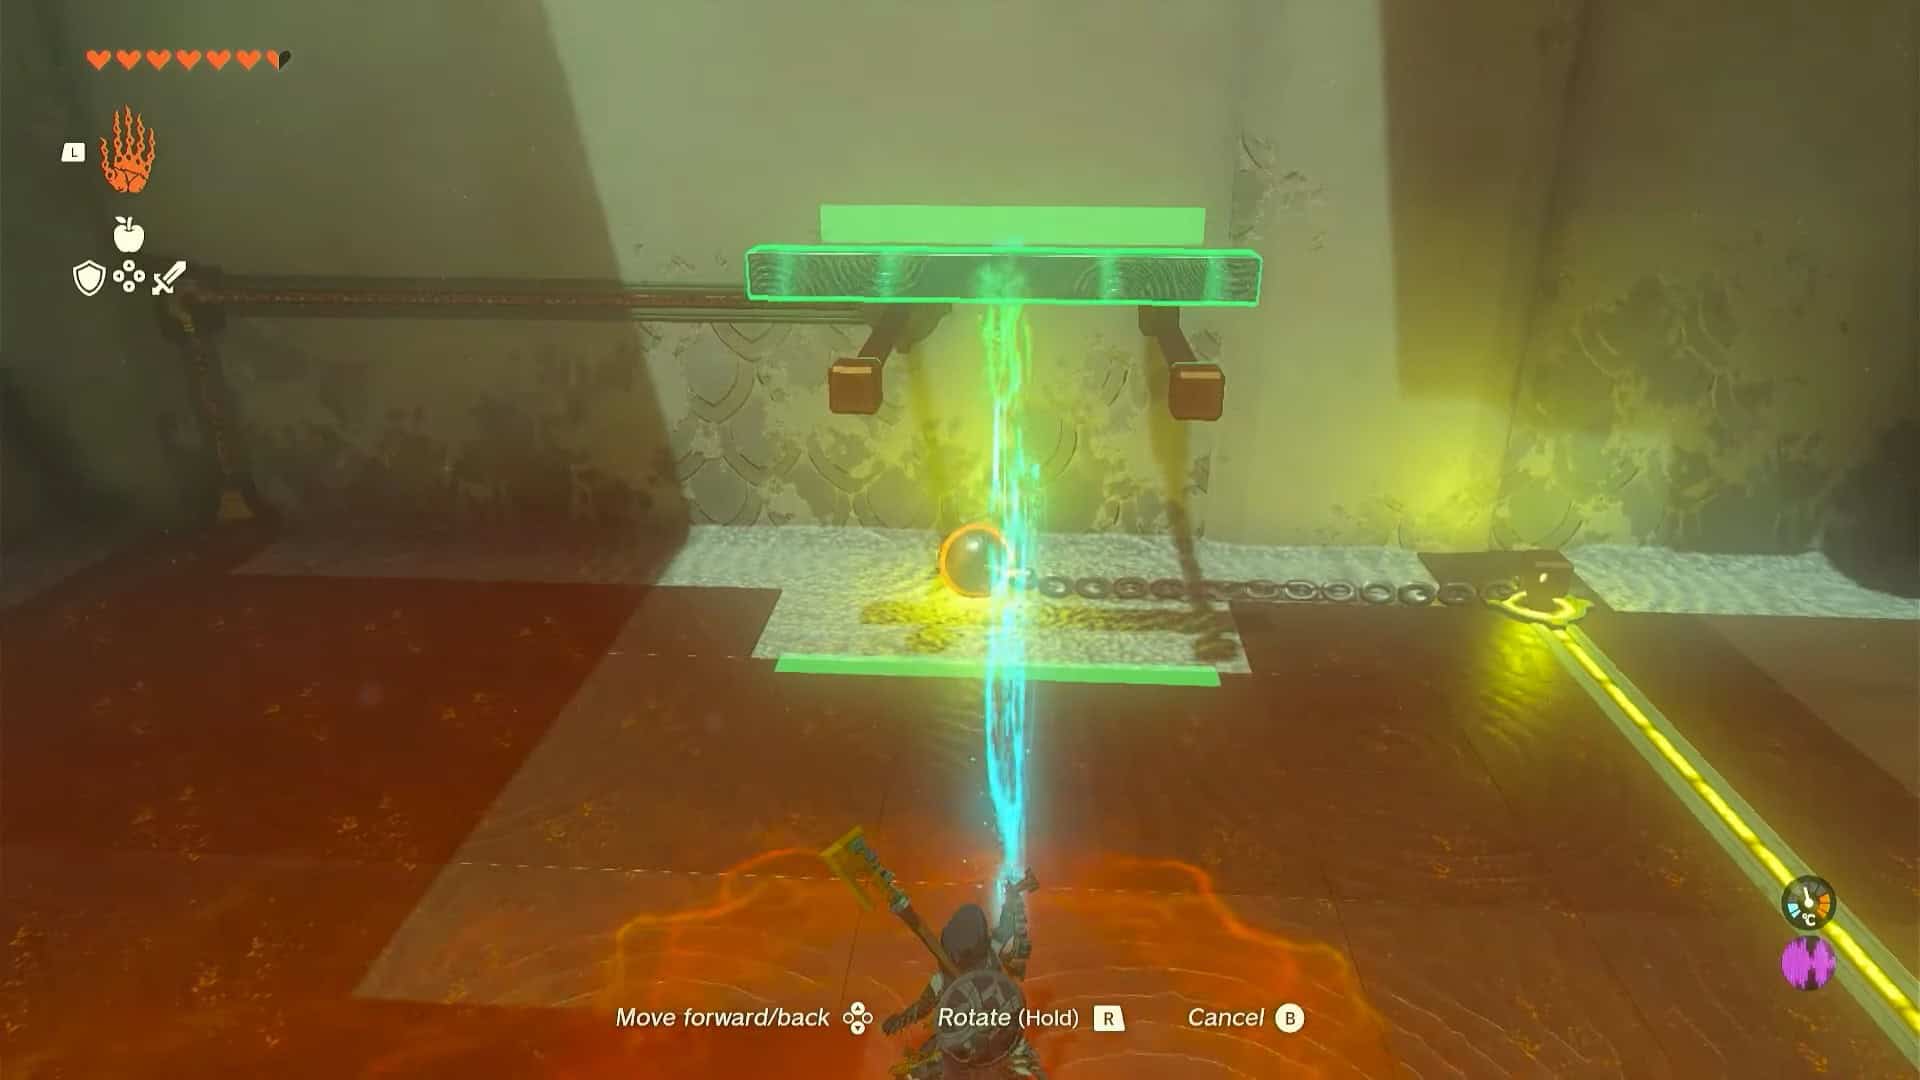
1. From the start of the shrine, turn left to locate a metallic ball attached to an electric circuit.
2. Use Ultrahand to pick up the ball on the current and attach it to the one on the right. This will complete the circuit and the gear to the right will start moving.
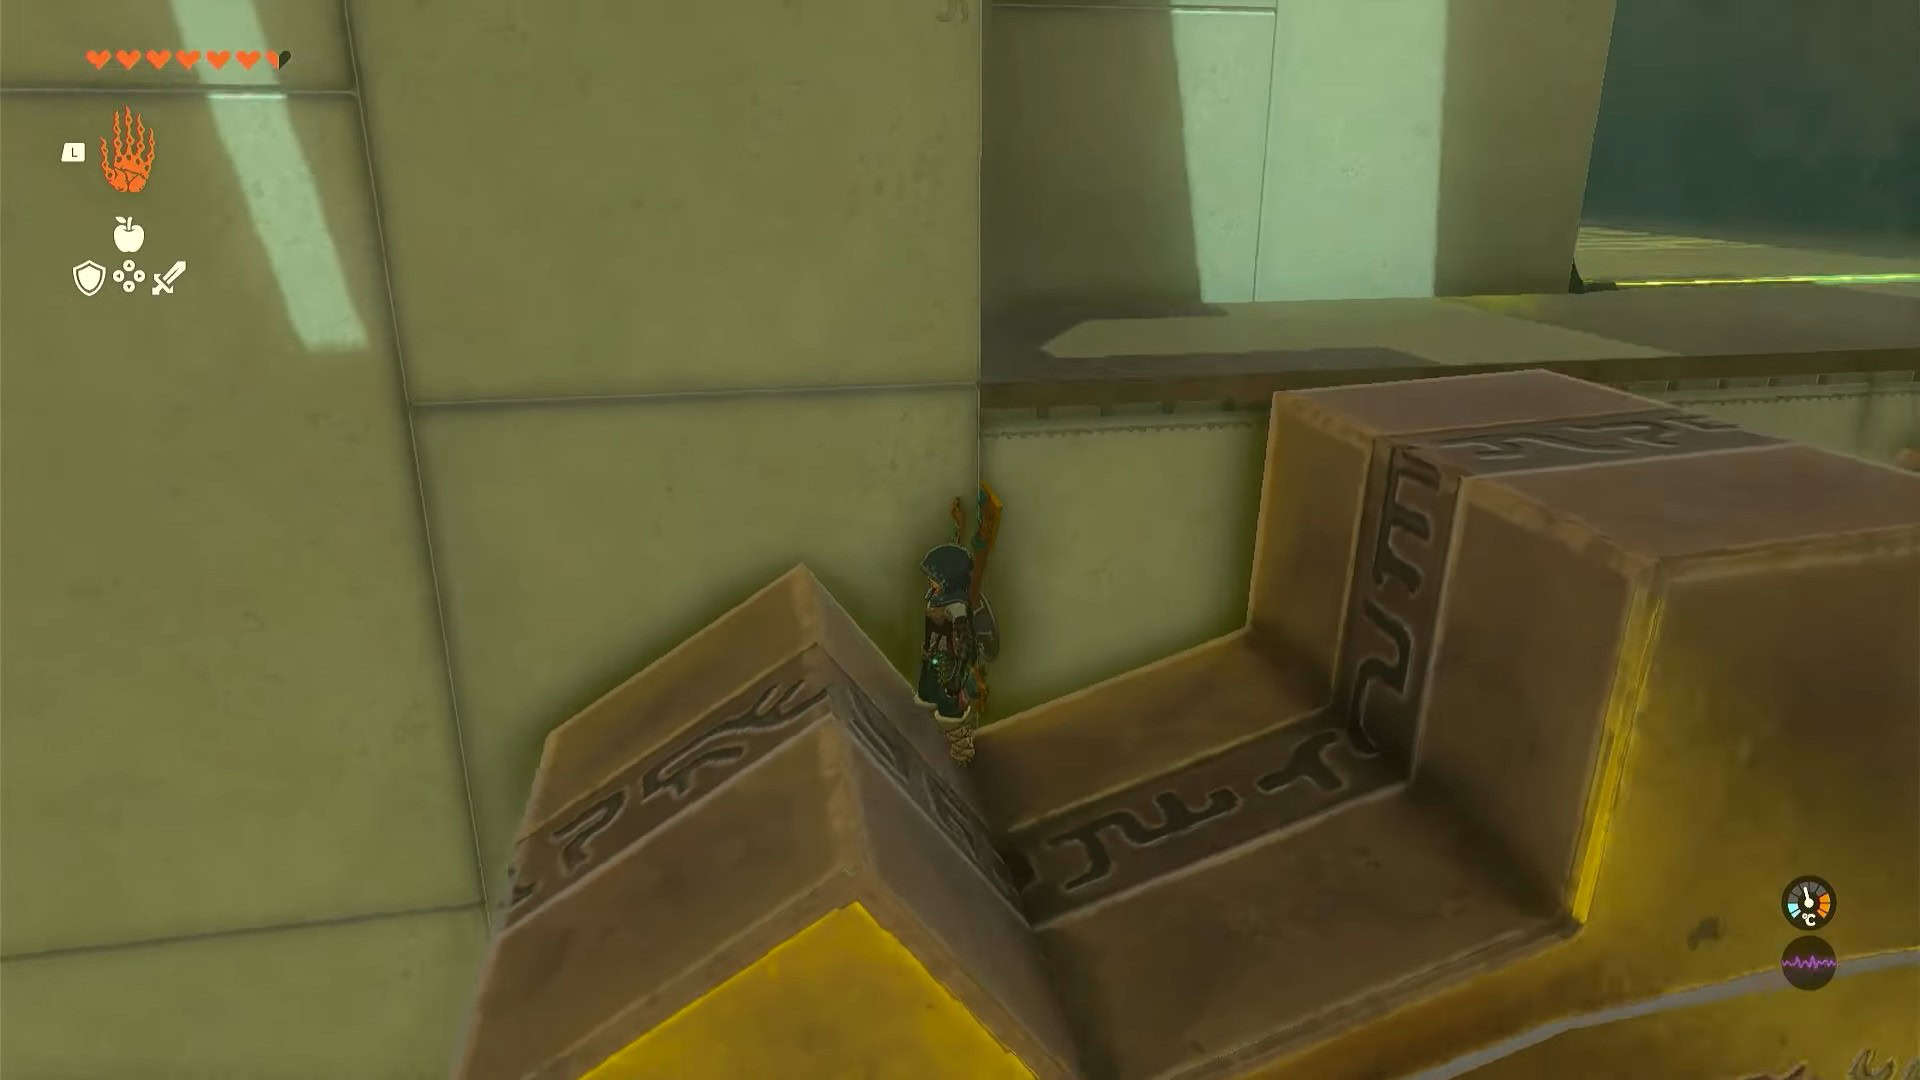
3. Climb on gear and jump to the ledge to reach the next area.

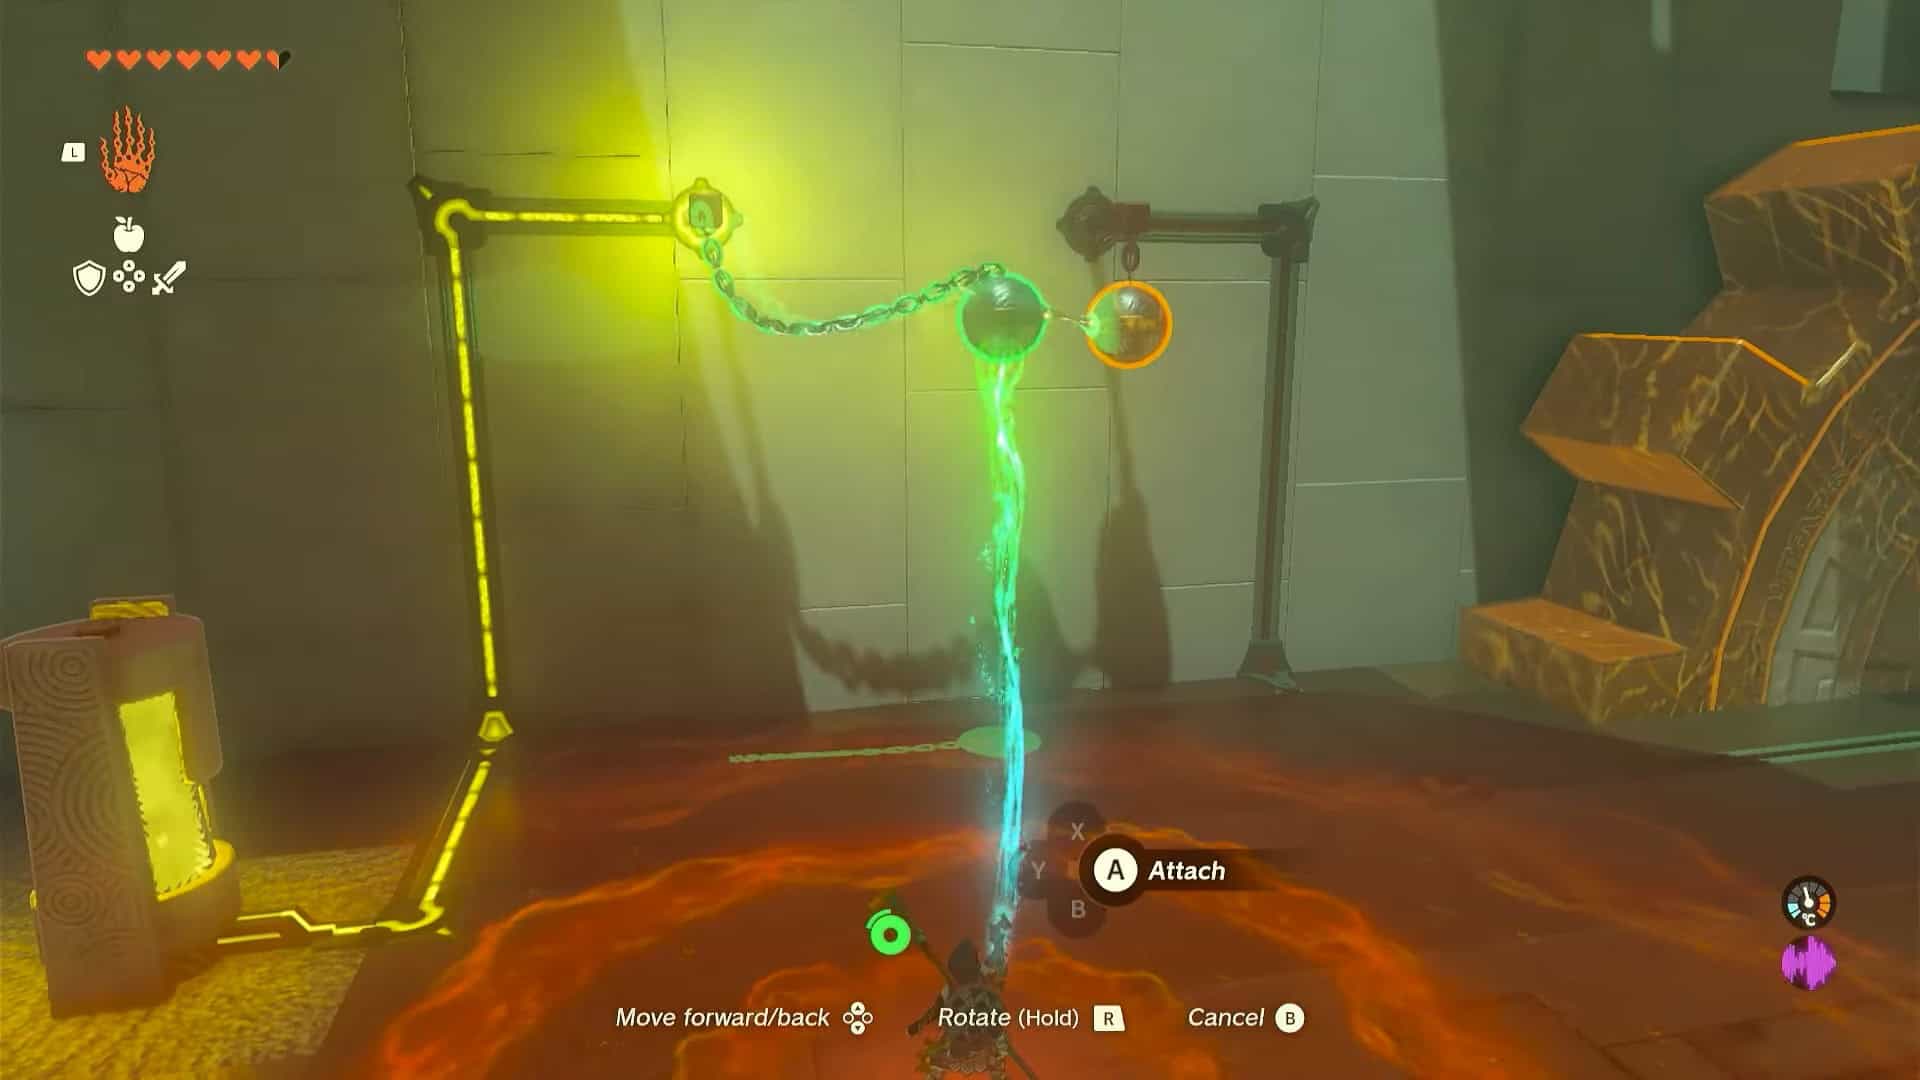
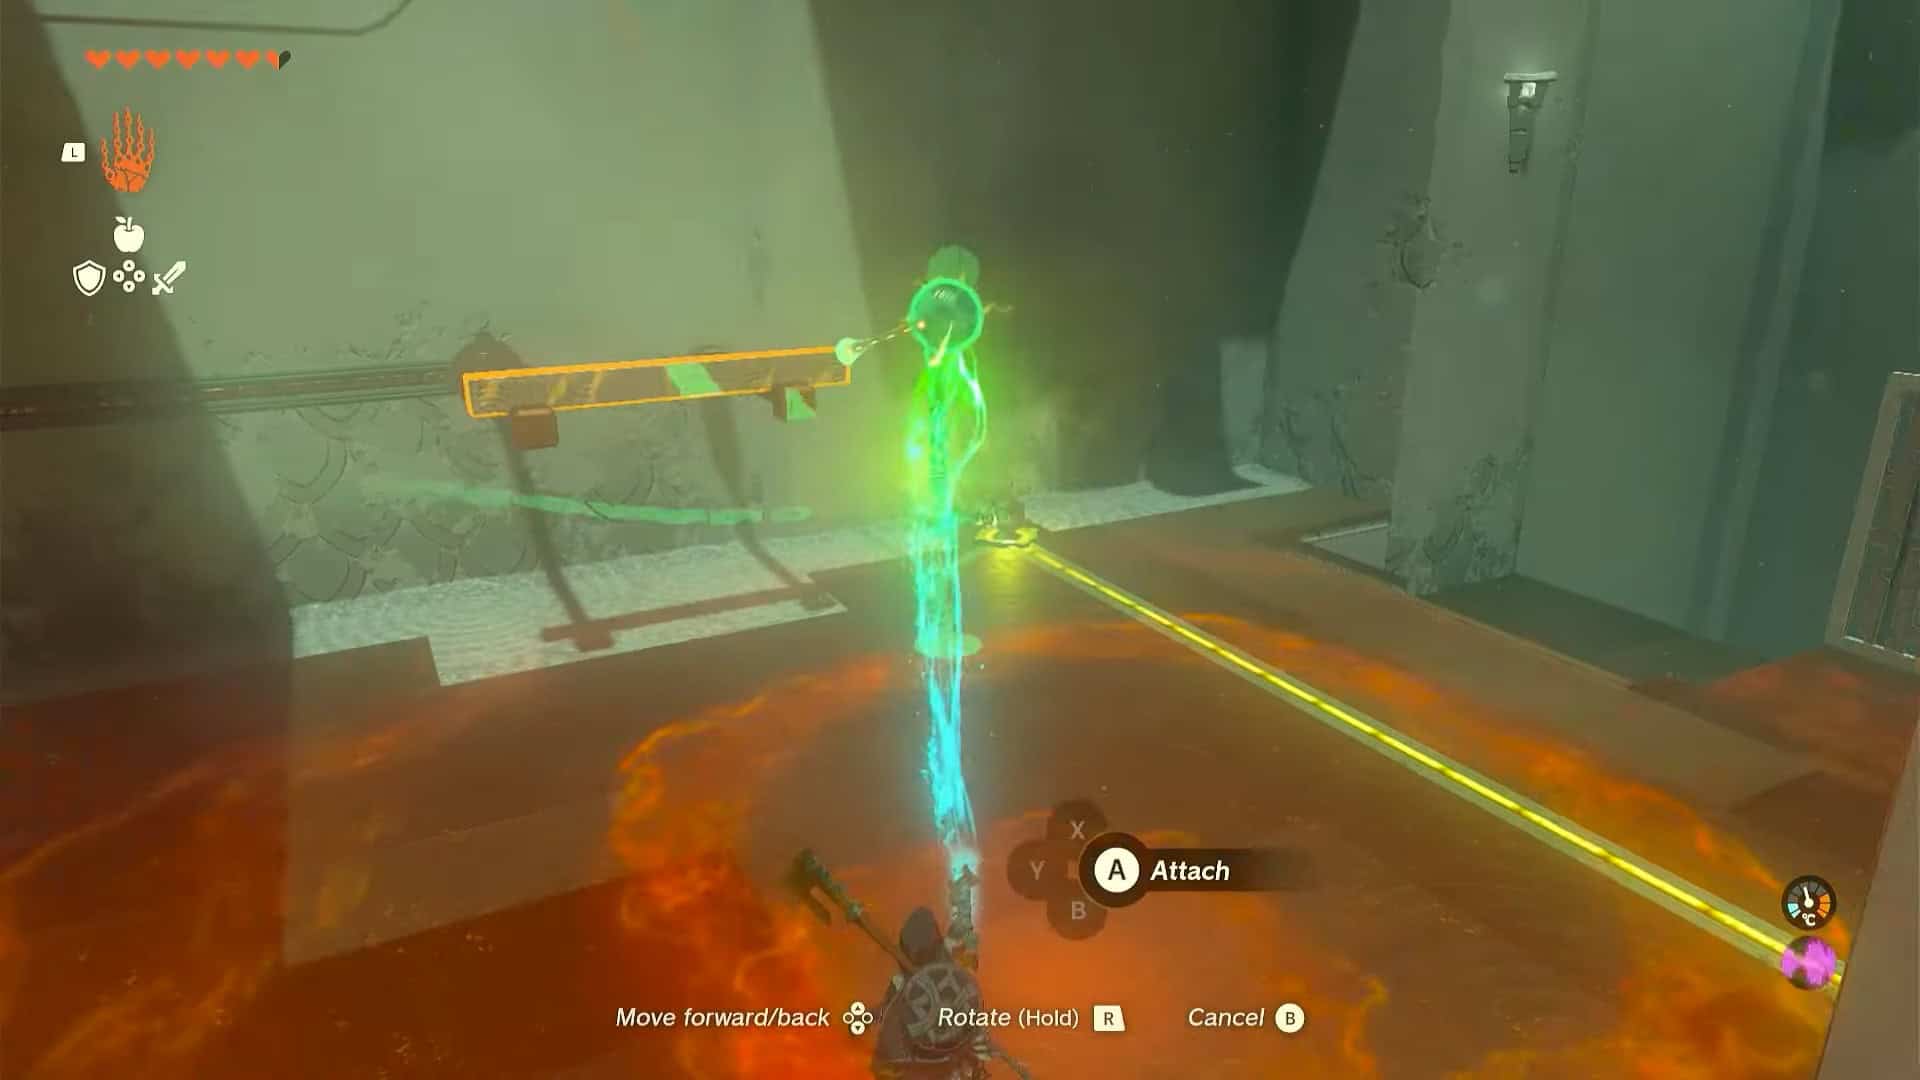
4. The next puzzle requires quick reflexes. Pick up the ball on the right (without current) and use Ultrahand to swing it.
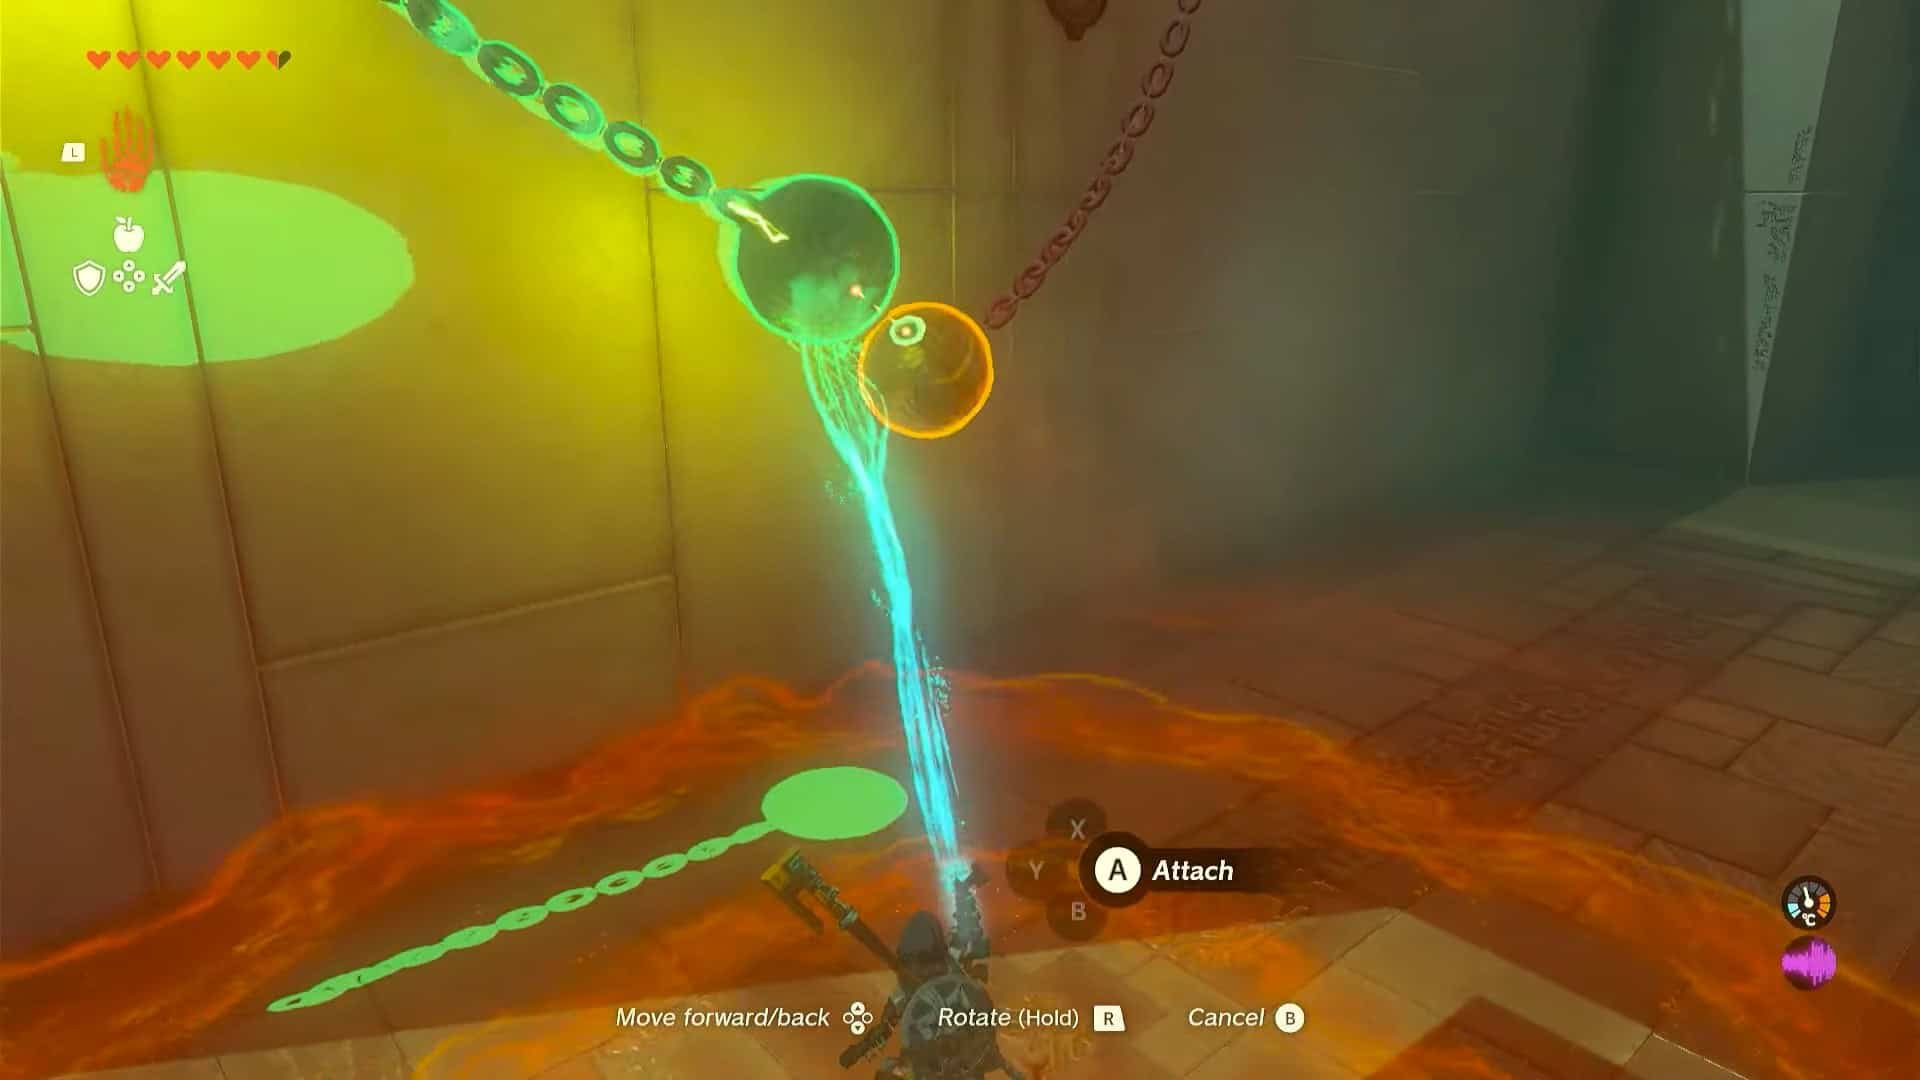
5. Pick up the ball on the left and attach it to the swinging ball when it comes near it. This will complete the second puzzle of Turakamik Shrine in Zelda: Tears of the Kingdom.
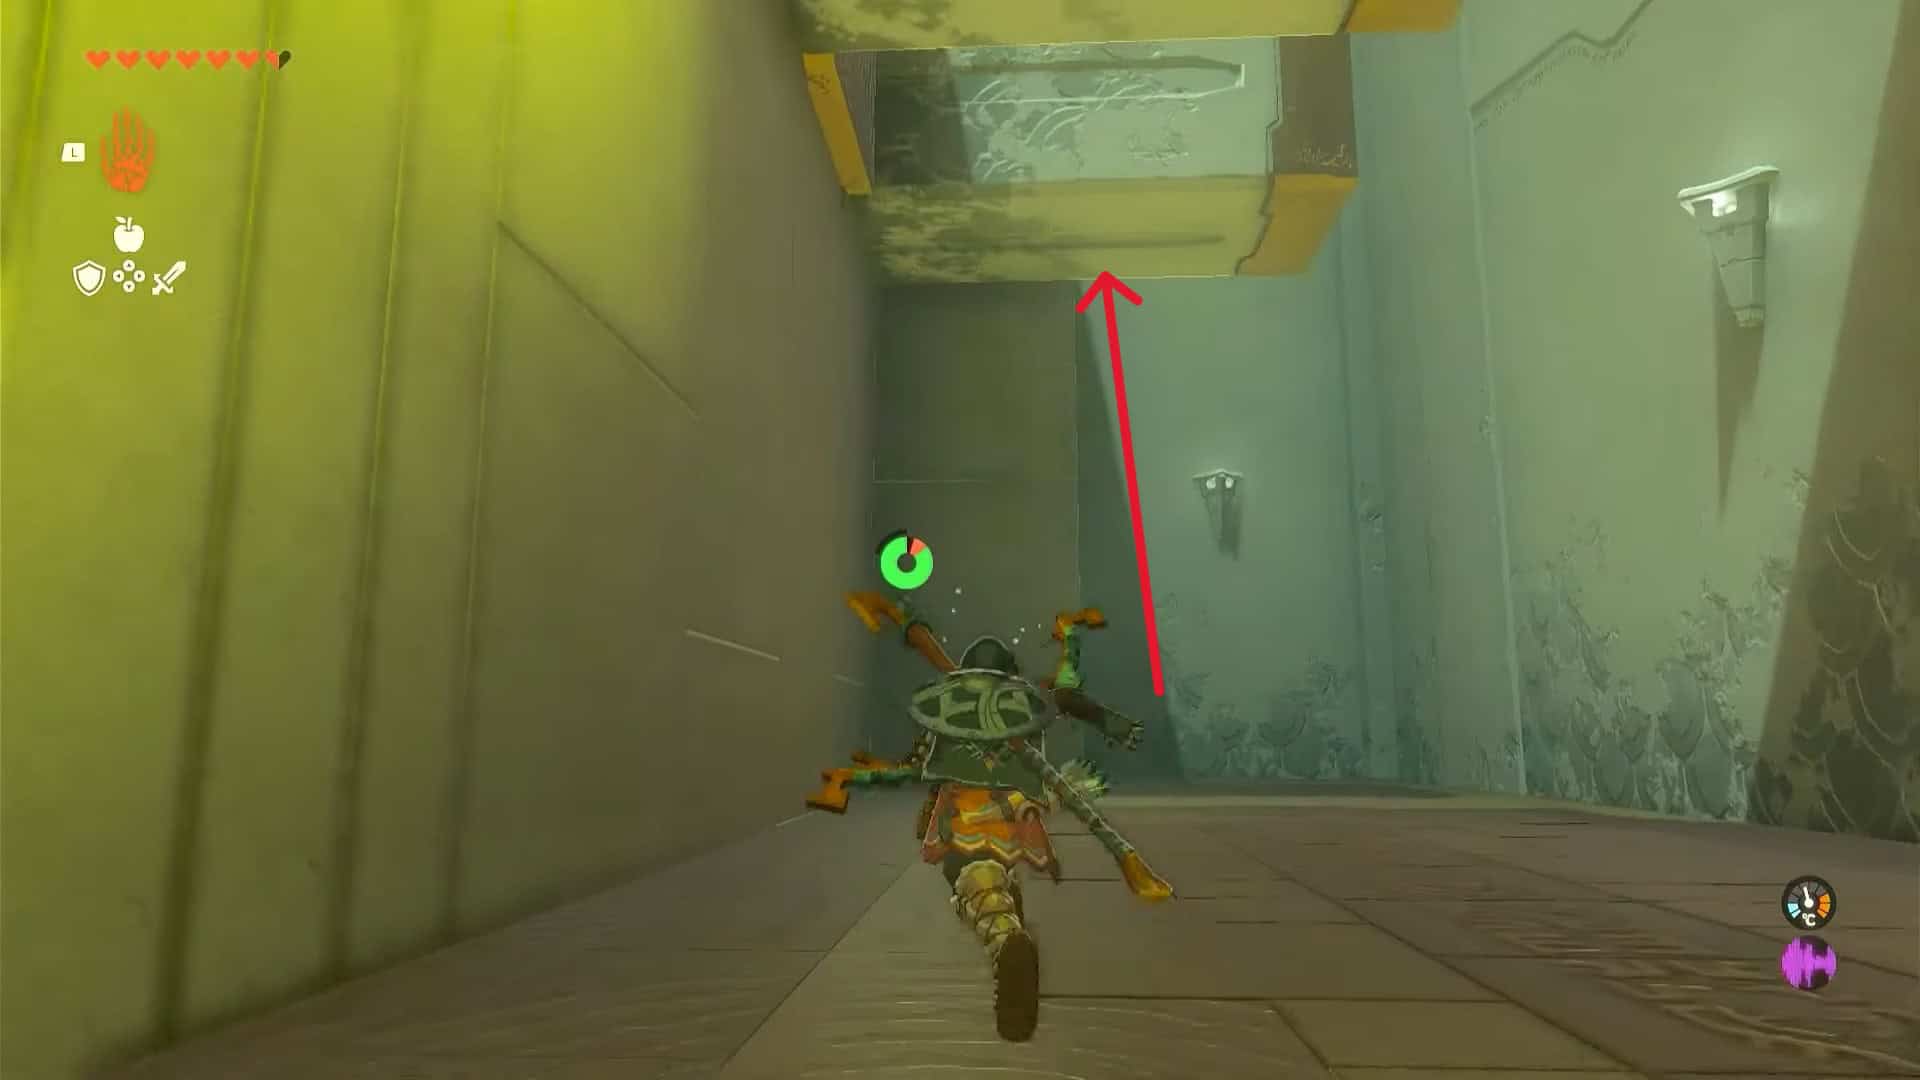
6. Two blocks will come out of the wall. Use the Ascend ability on the second one to climb it. This will allow you to reach the next area.
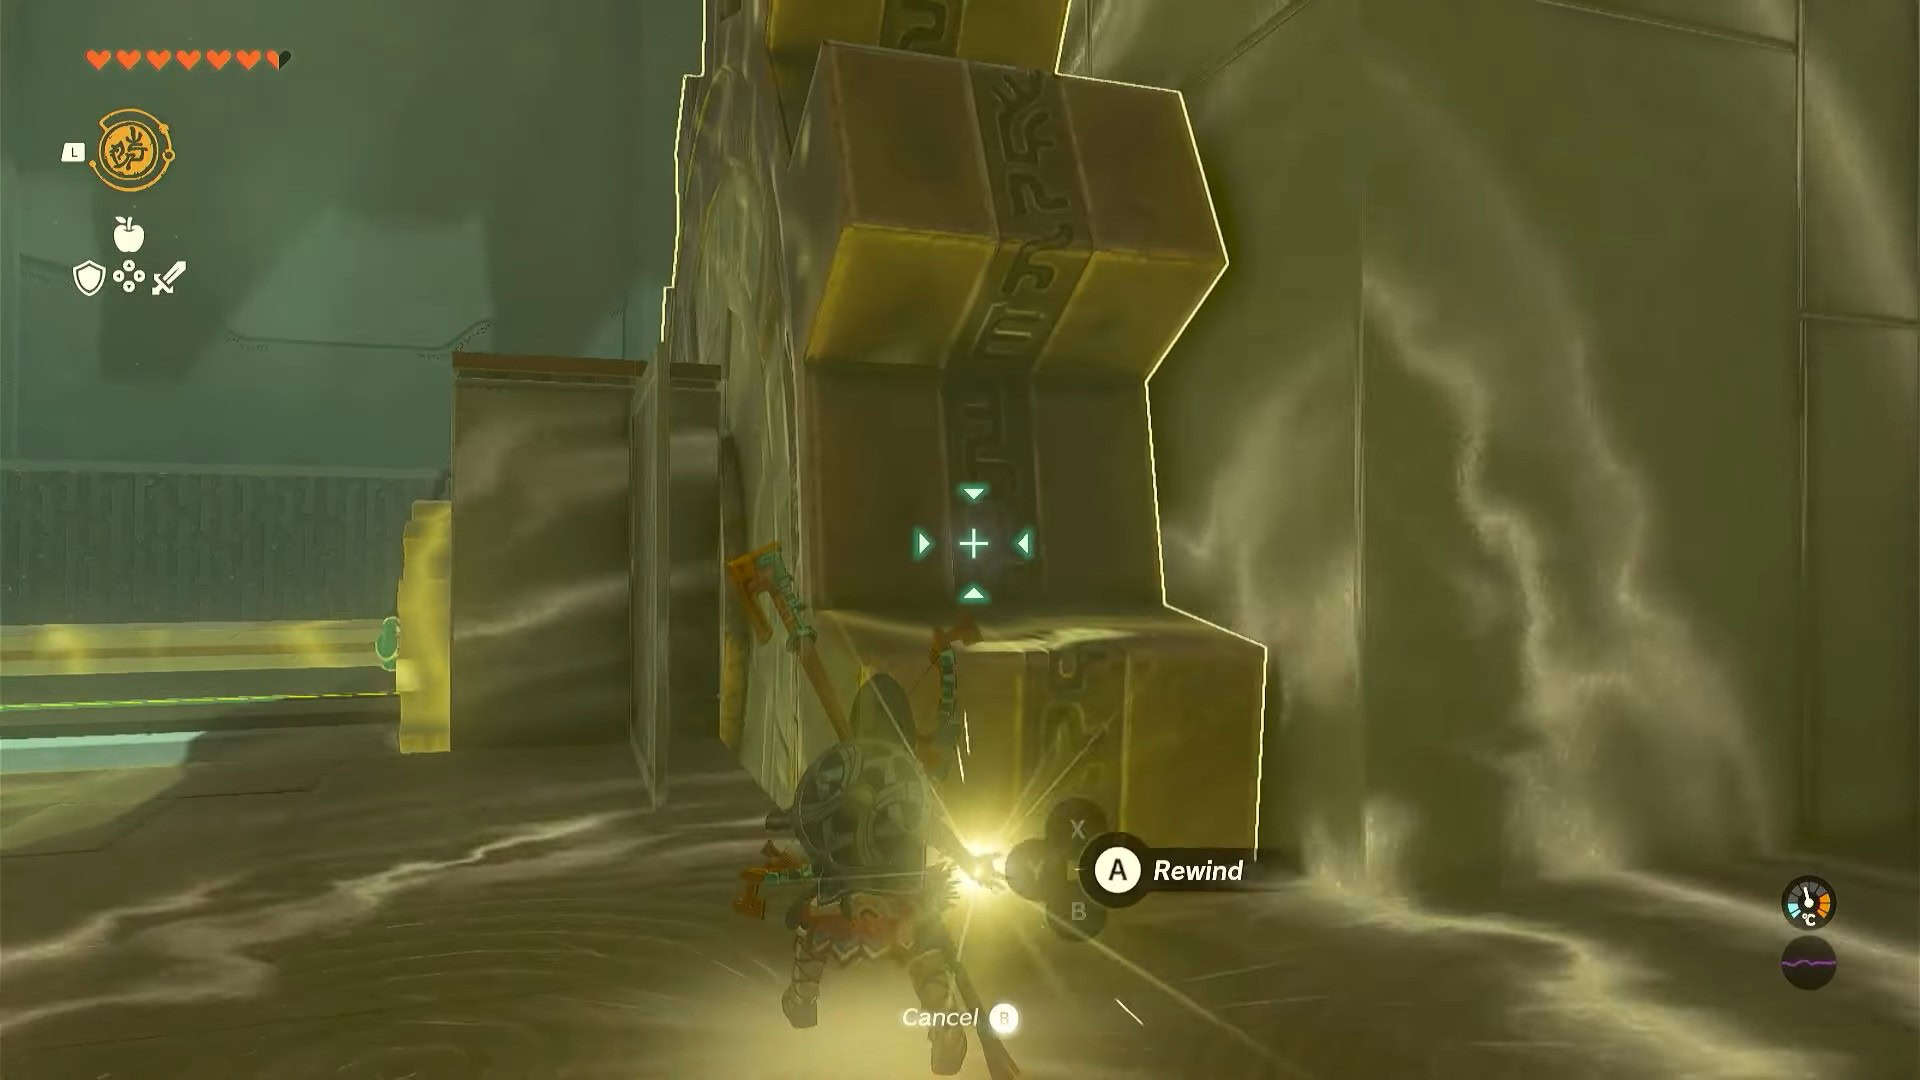
7. Use Recall on the big gear in this area to make it rotate counterclockwise. Climb the gear to reach the top.
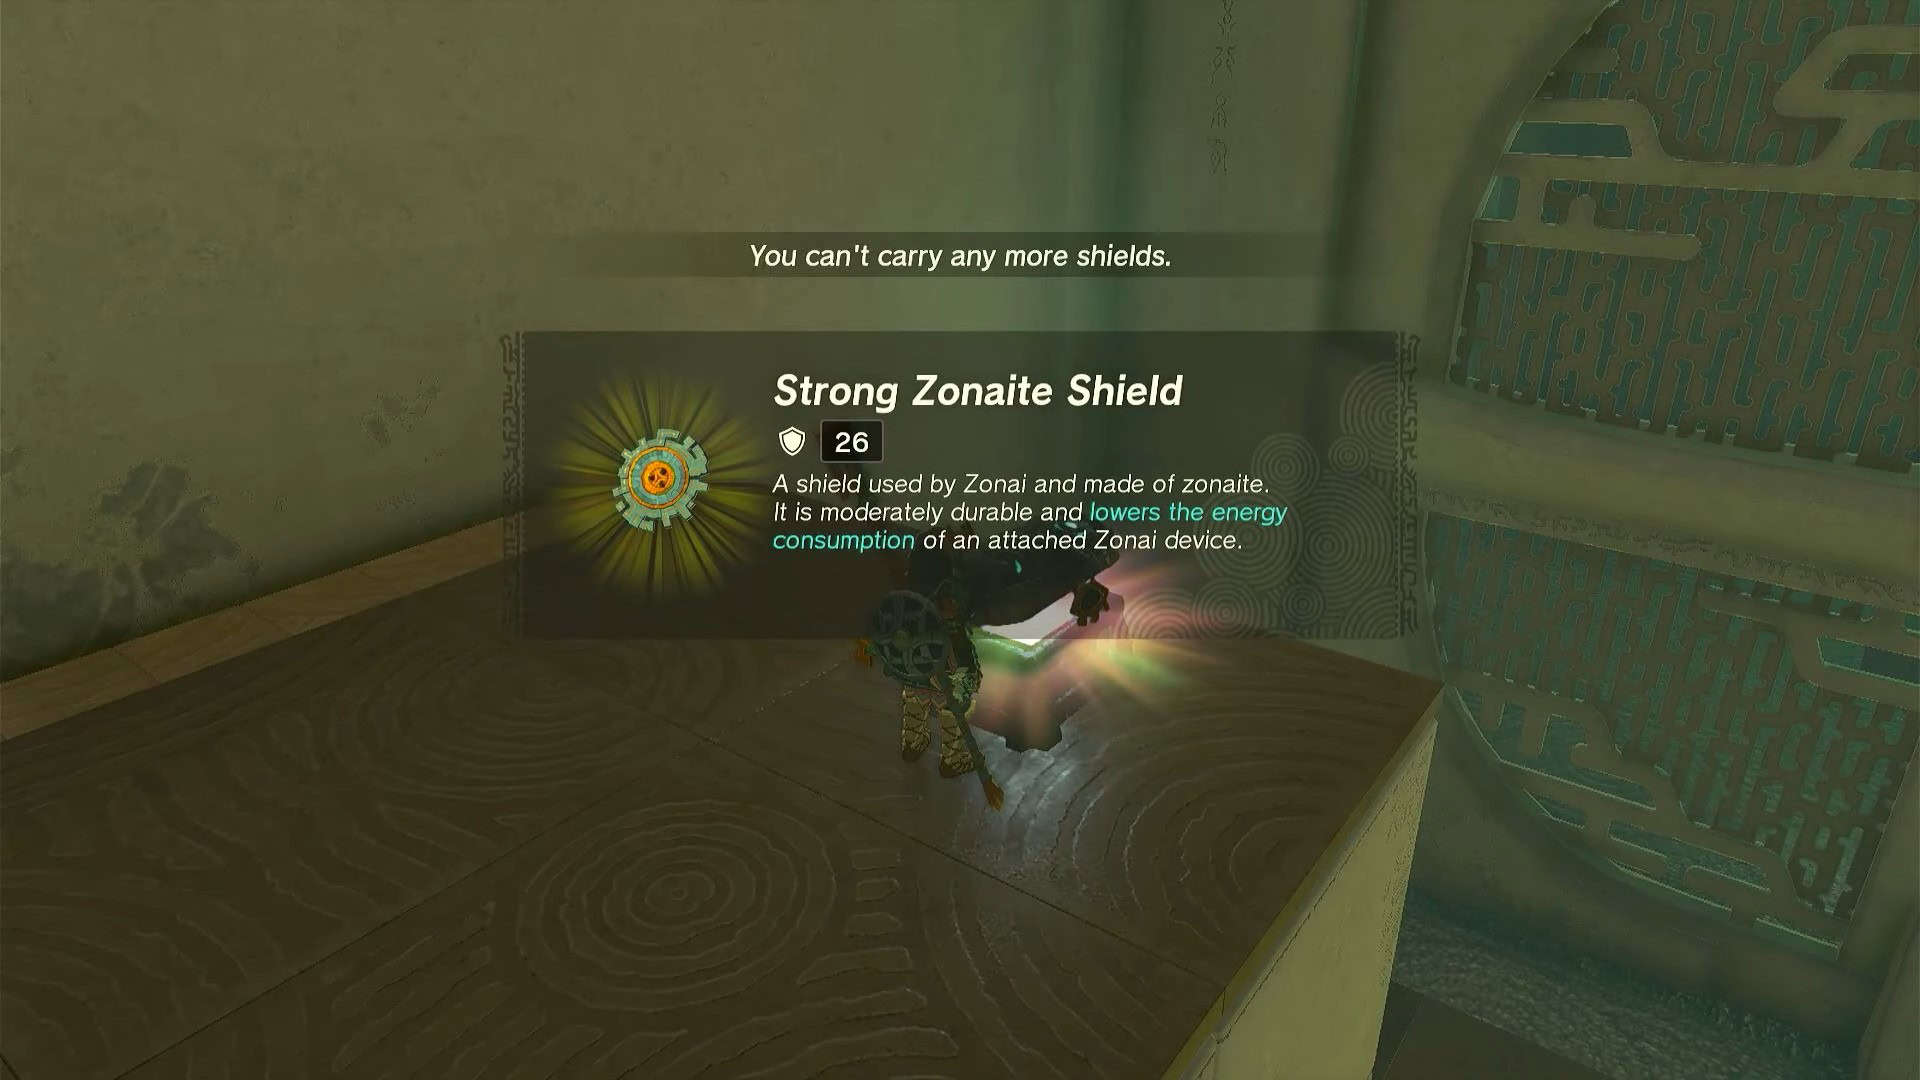
8. Open the treasure chest in this area to obtain a Strong Zonaite Shield.
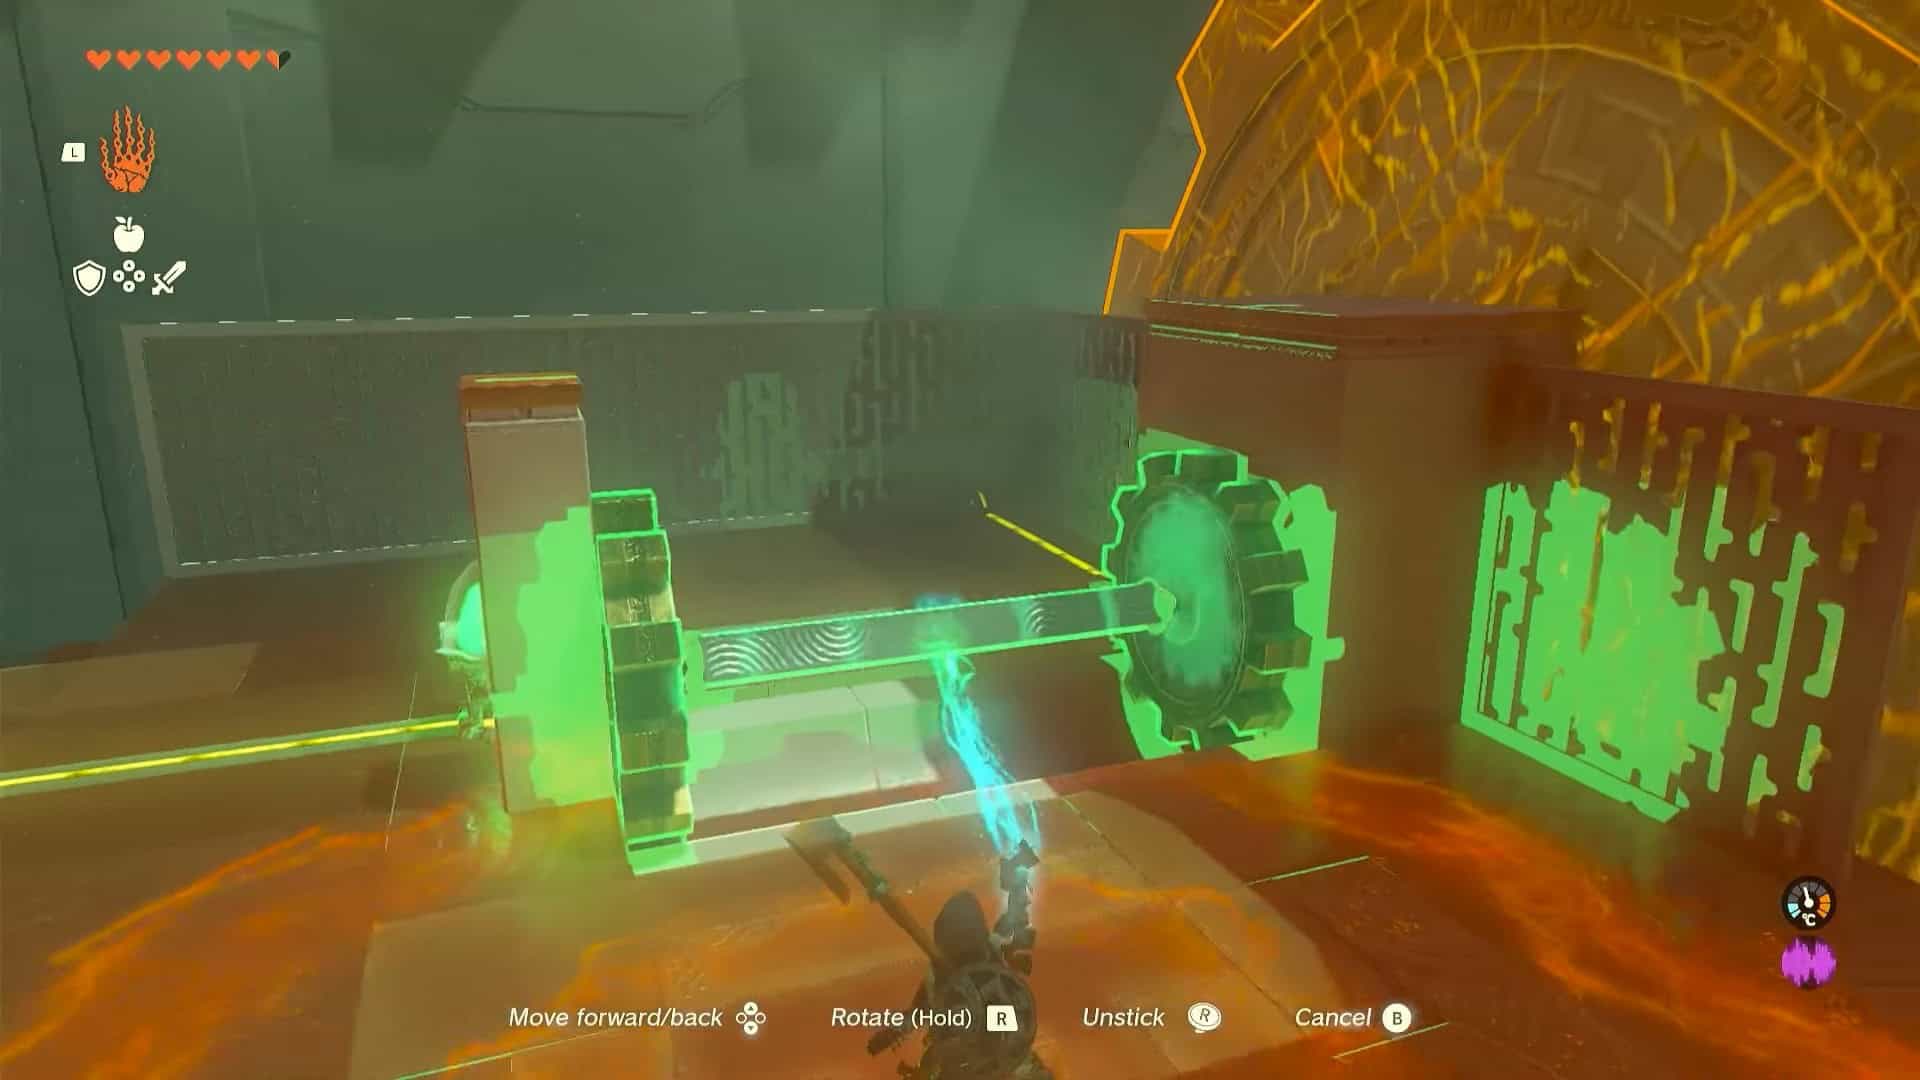
9. With the help of Ultrahand, drop down and remove the bar connecting two gears (wiggle the right analog stick after grabbing it).
10. Place this metallic stick on the top of two bars near an electric ball.
11. Pick up the metallic ball with current and attach it to one end of the metal stick. This will complete the circuit and the current will flow through it.
12. The door to the altar room will open. Enter the room and interact with Rauru and Sonia’s statues to complete the Turakamik shrine puzzle in Zelda: Tears of the Kingdom.
13. You will get a Light of Blessing as a reward. Don’t forget to exchange four lights of blessing at any goddess statue for either a stamina wheel or a heart container.