Among all the Shrines in Zelda: Tears of the Kingdom, the Suariwak Shrine is one of the more difficult ones to find and complete. The only way to locate this shrine is through the Shrine Sensor on Purah Slate.
Accessing the Suariwak shrine in Zelda: Tears of the Kingdom is another story that has a couple of difficult prerequisites. Suariwak Shrine can only be accessed after completing “The Yiga Clan Exam” side quest, which requires Link to find and equip all 3 three pieces of Yiga Clan Armor set to start it.
To complete the Yiga Clan Exam, Link needs to find and activate the Gerudo Canyon Skyview Tower. Otherwise, it will turn into a massive chore.
Suariwak Shrine Location in Zelda: TotK

Suariwak Shrine is hidden inside a cave behind the Yiga Blademaster’s Station in Gerudo region. It is north of Gerudo Canyon Skyview Tower and near Koukot Plateau.
The exact coordinates for the Suariwak shrine in Zelda: Tears of the Kingdom are (-2425, -1824, 0147).
However, to enter Yiga Blademaster’s Station, you must find and equip all three pieces of the Yiga armor set. Once you have equipped all of them, go to the hideout’s entrance below a cliff near a bridge.

The entrance to the Blademaster’s Station (-2422, -1820, 0147) is marked with two frog statues. Once you enter the station, talk to Blademaster, and he will give you the Yiga Clan Exam side quest.
Suariwak Shrine Walkthrough

Suariwak Shrine in Zelda: Tears of the Kingdom can only be accessed after completing the Yiga Clan Exam side quest. This quest aims to offer Mighty Bananas to 5 different frog altars in the Gerudo Canyon area.
The Yiga Clan Blademaster will provide those Mighty Bananas himself. Make sure not to consume them or use them in cooking.

As soon as Link accepts and starts the Yiga Clan Exam side quest, the location of all 5 Frog altars will be marked on his map with bright yellow dots.
The Frog Altars can be noticed from afar. They are marked by two orange candles burning on their sides.
Frog Altar # 1


To find the first Frog Altar, take a left from the Yiga Clan Blademaster Station’s door and drop down from the hanging bridge.

Glide to your right slowly, and you will notice a frog statue (-2354, -1813, 0091) on the edge of a cliff. Open your inventory and hold Mighty Bananas in your hand. Drop them in the bowl before the first Frog Altar to complete the first step.
Frog Altar # 2


Fast travel to Gerudo Canyon Skyview Tower to find the second Frog Altar. Don’t use the Skyview Tower; instead, glide toward the northwest in the direction of the second marker on the map.

Jump and go down while hugging the wall. Keep gliding down along the canyon wall until you notice another Frog Altar at (-2933, -2034, 0078). Offer Mighty Bananas to complete this objective.
Frog Altar # 3

This one is a bit difficult to find and is hidden inside Gerudo Canyon Mine. Once again, travel to Gerudo Canyon Skyview Tower and use it to get airborne.

Glide North in the direction of the third Frog Altar marker. Drop down into the Gerudo Canyon to find an entrance (-2680, -2394, 0078) to Gerudo Canyon Mine on the North wall.
This area has a Black Bokoblin boss enemy and his Black Bokoblin minions. The fight is very tough but can yield useful resources.

From the Gerudo Canyon Mine entrance, turn right and use the Ascend ability on a rocky platform. Turn around to find the third Frog Altar (-2660, -2493, 0093). Offer Mighty Bananas to complete the third objective of the Yiga Clan Exam side quest.
Frog Altar # 4
Return to the Gerudo Canyon Skyview Tower and get airborne once more. Glide West towards the fourth marker on the map.

This one is the easiest Frog Altar to find and can be observed from the skies. Simply glide towards the statue on a Rocky platform (-2302, -2429, 0359) and offer Mighty Bananas to complete the fourth Frog Altar.

Beware, as there is a Stone Talus in this area, which can pose a serious threat to unsuspecting enemies.
Frog Altar # 5
Fast travel to Gerudo Canyon Skyview Tower in Zelda Tears of the Kingdom once more. Use it to propel Link in the air and glide toward the map’s fifth and final golden marker.

It is to the South of the Skyview Tower. Keep going down until you notice a cave with a waterfall to the left of the scaffolding.

This is Mount Nabooru Cave (-1795, -1945, 0039) of Gerudo Highlands. Make sure not to dive in the water as the current here is fast. Climb the first platform to the right to find the final Frog Statue in Zelda Tears of the Kingdom.
Offer Mighty Bananas to the statue and return to Yiga Blademaster Station with the help of Gerudo Canyon Skyview Tower.
Report to Yiga Blademaster to unlock Suariwak Shrine

Talking to the Yiga Blademaster in Zelda Tears of the Kingdom will complete “The Yiga Clan Exam” side quest. Now interact with the door behind the Yiga Blademaster to open it.

The Suariwak Shrine can be found in this area alongside two treasure chests. Open them both to obtain a Ruby and Eightfold Longblade (23 Attack Power).
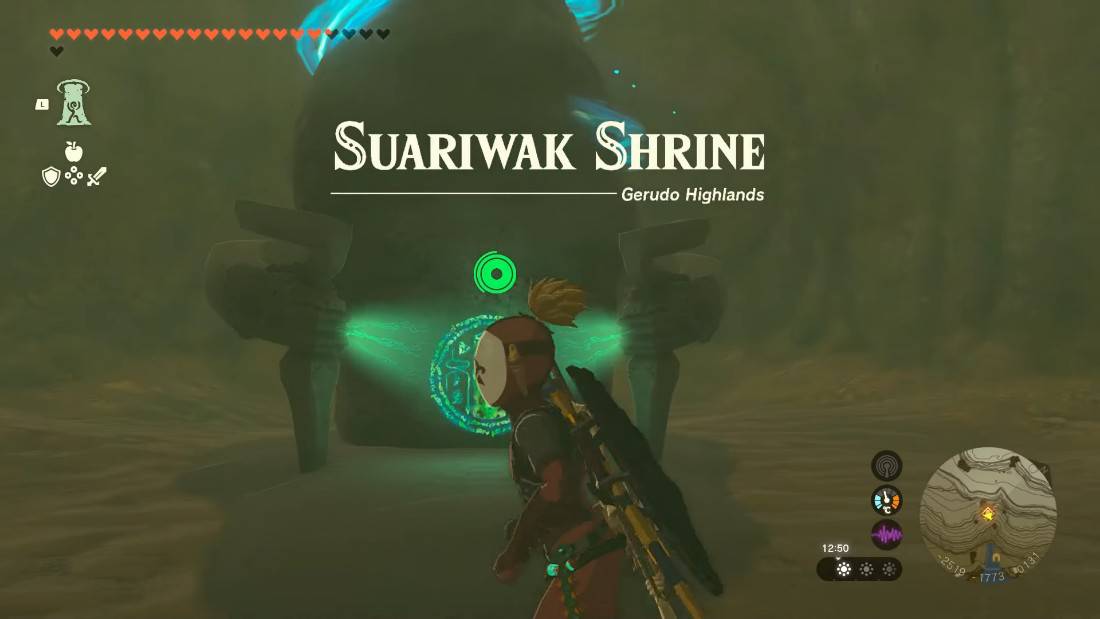
Interact with the Suariwak Shrine to activate it. Upon entering the shrine, Link is blessed by Rauru. Suariwak is a blessing shrine that rewards Link for his cunningness and extraordinary resilience.

Open the treasure chest in the shrine’s center to obtain a Big Battery. Interact with the statue of Rauru and Sonia to obtain a Light of Blessing. This marks the end of Suariwak Shrine in Zelda: Tears of the Kingdom.