After completing the In-Isa Shrine, you must climb some snowy mountains in Zelda: Tears of the Kingdom on the Great Sky Island region to progress further in the game story. Although Snowy Mountains are just a tutorial-level location, many players find it completely confusing how to climb these icy ridges (As Link cannot ascend the ice as he does with woods or rocks, etc.).
In this guide, we will teach you how to climb snowy mountains in Zelda: Tears of the Kingdom, along with a complete walkthrough of the snow mountain shrine.
How to climb Snowy Mountains in Zelda TotK
The first thing to consider while trying to climb the various snow-covered mountains in Zelda TotK is to help Link remain warm on the snowy peaks. The surface temperature over the snowy mountains is so cold that it can eat away all of the Link’s Hearts in a few moments.
The only way to avoid the cold is to cook and consume as many peppers as possible (as warm clothes are not available yet at this level). They will provide a mild heating effect, but it will feel like much in these desperate times.
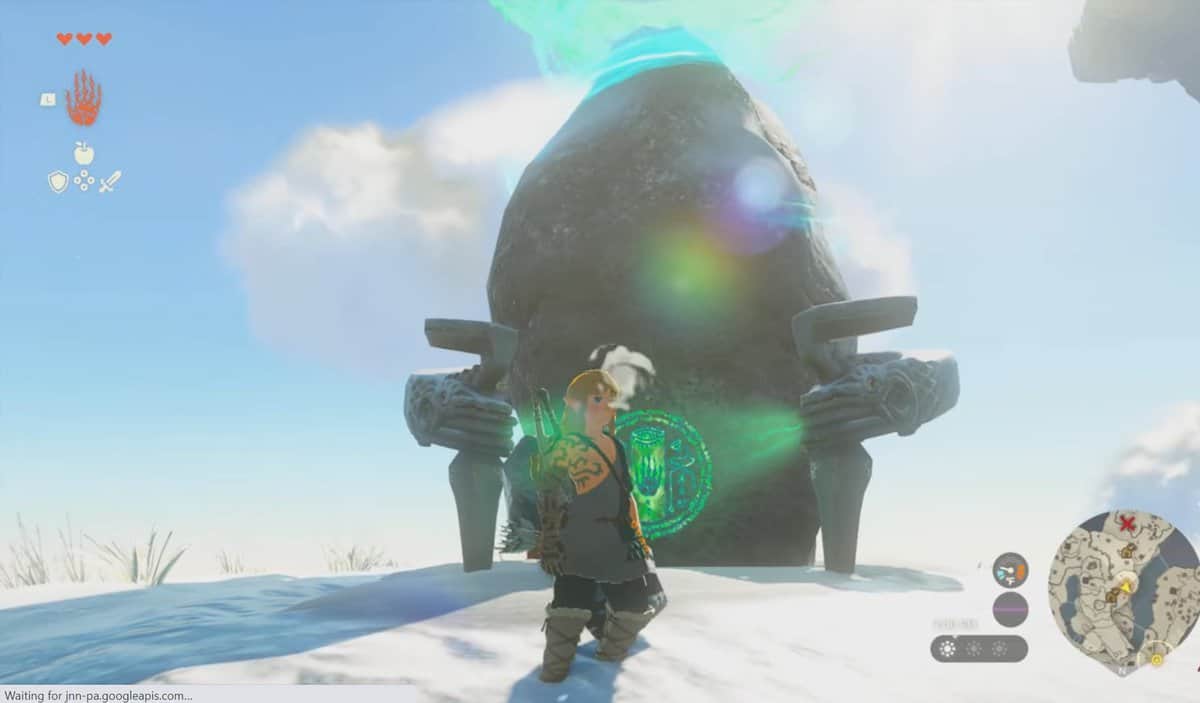
After completing the In-Isa Shrine during The Closed Door quest, leave the shrine to view the next area. Point your camera to the snowy mountain peak and mark the shrine that has a green glow (using the A key) in Zelda TotK.
While you’re doing this, you will get interrupted by a Steward Construct. It will give you a brand new item for later use, an Energy Cell. The Steward creature points toward a cave on the other side of the mountain. We will use the cave system to move up to the snowy mountain.
Pondside cave
After talking to the Steward, you should start working your way to the first cave, i.e., Pondside Cave. This narrow path has no hurdles or enemies so you will be on the other side in a few seconds.
While trying to cross the water path ahead, you will see a Maker Construct, standing along a few wooden sticks and a Zonai Device, a Fan. Use your Ultrahand ability to attach three wooden sticks parallel to each other. Now attach the fan on the back, hit it with your hammer weapon, and it will help you reach the other water bank.
Mining cave
Now we have to cross the next cave (mining cave), having a rail system inside. So grab one of the mine carts and hit the fan to start moving forward. Outside this cave, there will be some Koroks you can take with you to receive Korok Seeds in Zelda Tears of the Kingdom from them.
Put the Koroks in the mine cart along with yourself, moving toward the entrance of the last cave.
Bottomless cave
Enter the Bottomless Cave and keep walking until the end. This is a pretty long path with mostly amorphous ladders of rock. When you are near the exit point, a cannibal plant will eagerly await your arrival.
After successfully beating it, you can move forward to leave the cave. As soon as you set foot outside the cave, Link will start shivering due to the cold weather of the mountain. Immediately consume some warming food to avoid a snowy death in Zelda TotK.
Take a few steps by walking further toward the left side of the cave.
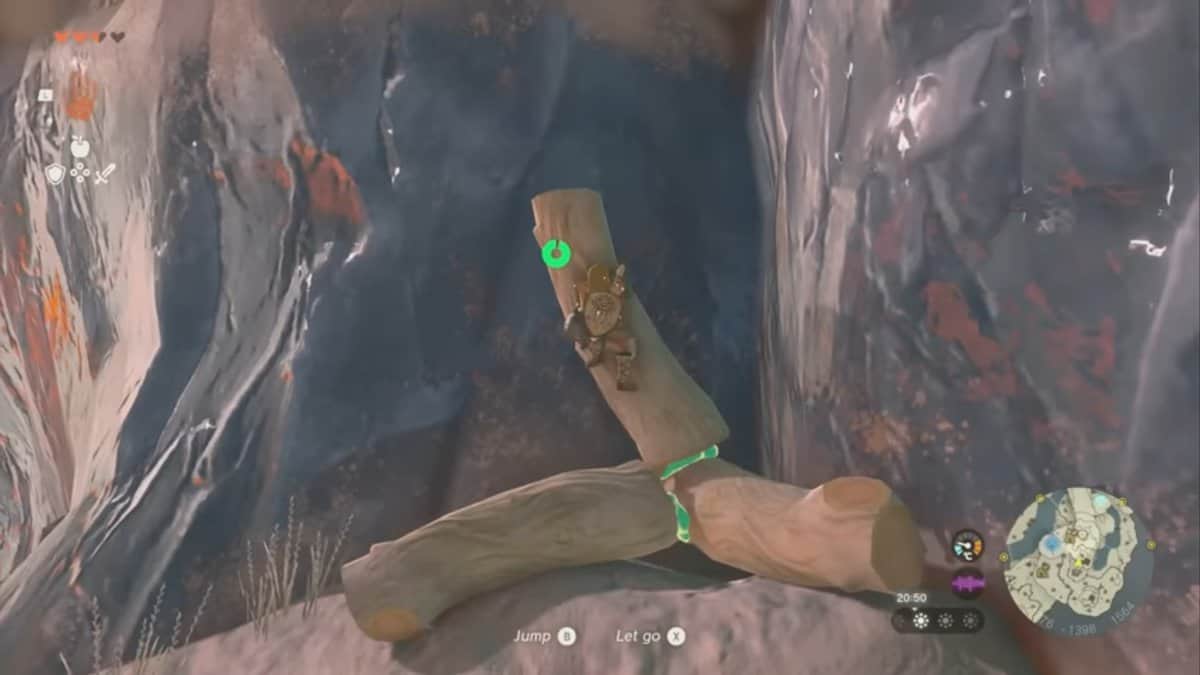
Now make a vertical ladder by attaching three wooden sticks and jump over to the upper ridge (or you can put two sticks horizontally, with one on the top).
Once you reach the top, move to your left to see the Gutanbac Shrine. This is the third (and final in the tutorial level) shrine at the Great Sky Island. It is one of the main reasons players need to climb the snowy peaks, the other being Mount Lanayru Skyview Tower.
Gutanbac (Snow Mountain) shrine walkthrough
The Gutanbac shrine presents The Ability to Rise trial, a tutorial on how to use the Ascend ability of Link. You get this fantastic ability right after entering the shrine.
Go beneath the ceiling on your front, and select the Ascend option by pressing L + R keys. Then facing upwards, press the A key to ascend upwards and reach the second floor. Go and stand under the corner block. Use the above method to Ascend again, leading you to the treasure chest on the top. Loot the chest to obtain x5 Stone Axe.
Now Ascend, standing under the bigger stone pillar to reach the third floor. Be ready to fight a minor enemy in Zelda Tears of the Kingdom above. Now use an axe to break the wooden barrier on the bottom of the right wall.
Go under the area and use the Ascend ability again. Loot the second treasure chest on this platform to obtain x5 Construct Bow.
On the left side of this room is a bridge held by two strong strings. Using your axe, cut these strings to drop the bridge in a horizontal shape and then ascend to the top.
Ascend the moving platform ahead, and wait for it to go precisely under the upper platform. Now use the Ascend ability for the last time, and you will see the snow mountain shrine in Zelda TotK ahead of you. Go on to obtain Light of Blessing.