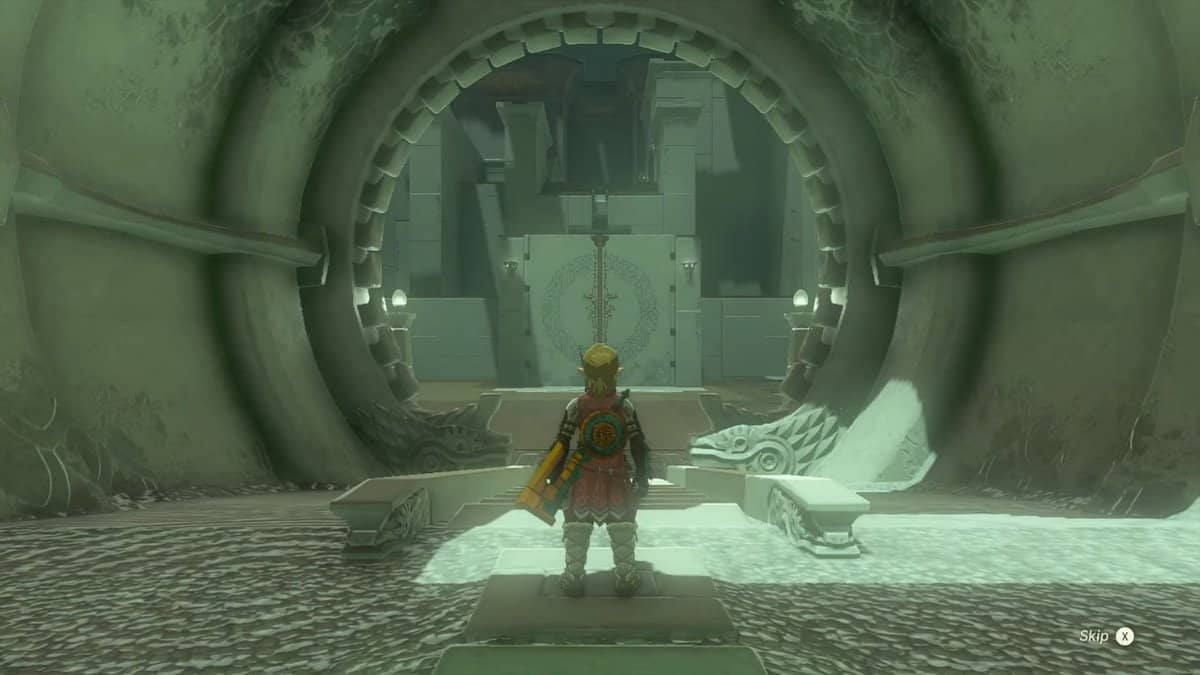
Orochium shrine in Zelda: Tears of the Kingdom is about having faith in falling, as you can always pick yourself up with the help of Ascend ability. While this shrine serves as a checkpoint for the Snowfield Stable, its puzzle is lengthy and among some of the game’s most difficult ones.
In this guide, we will teach you how to reach Orochium Shrine in Zelda: Tears of the Kingdom and solve its puzzle using Link’s new abilities.
Orochium Shrine Location in Zelda: TotK
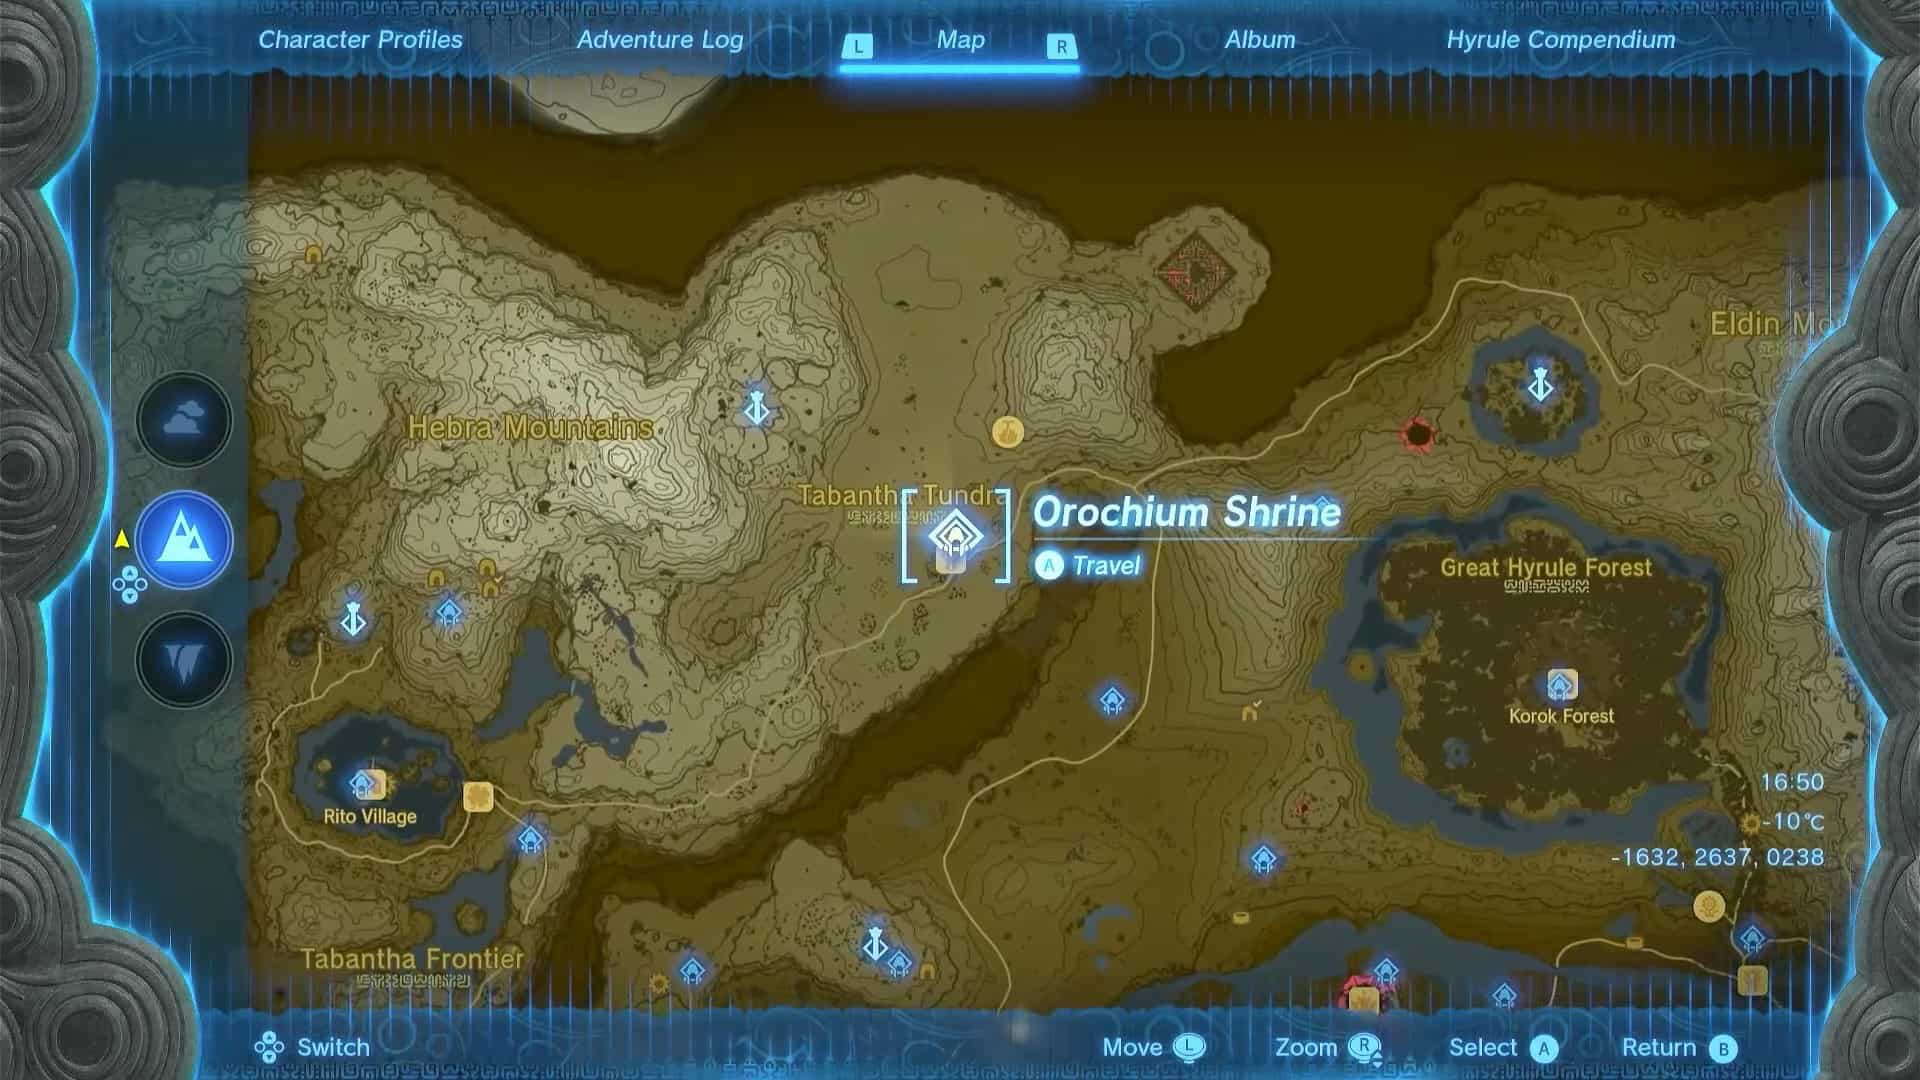
Orochium Shrine is in the Tabantha Tundra region of Hebra, right next to the Snowfield Stable. The nearest Skyview Tower is the Pikida Stonegrove Skyview Tower, which is located to the northwest.
The exact coordinates for the Orochium shrine in Zelda: Tears of the Kingdom are (-1632, 2637, 0238). This area has freezing weather. We recommend purchasing and equipping Snowquill armor before you venture here.
Orochium Shrine Walkthrough
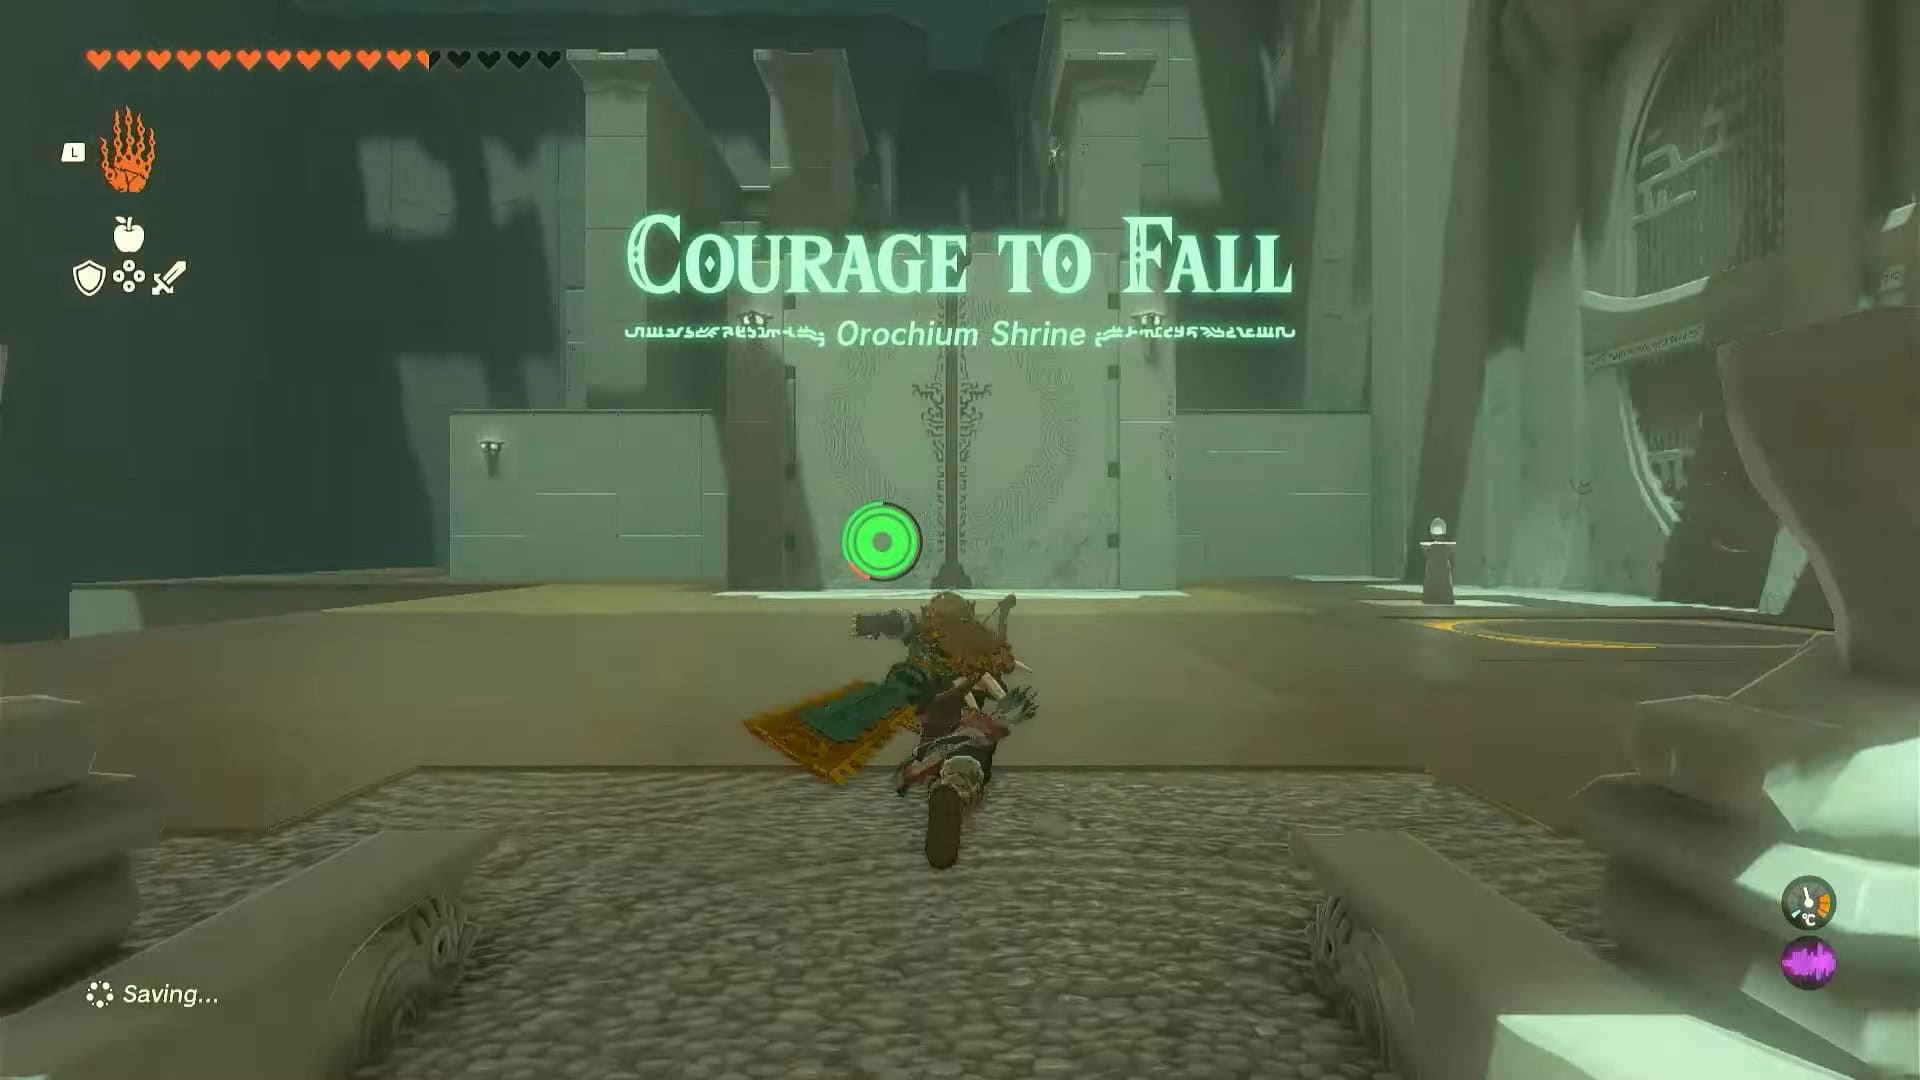
The trial presented by Orochium Shrine in Zelda: Tears of the Kingdom is known as Courage to Fall.
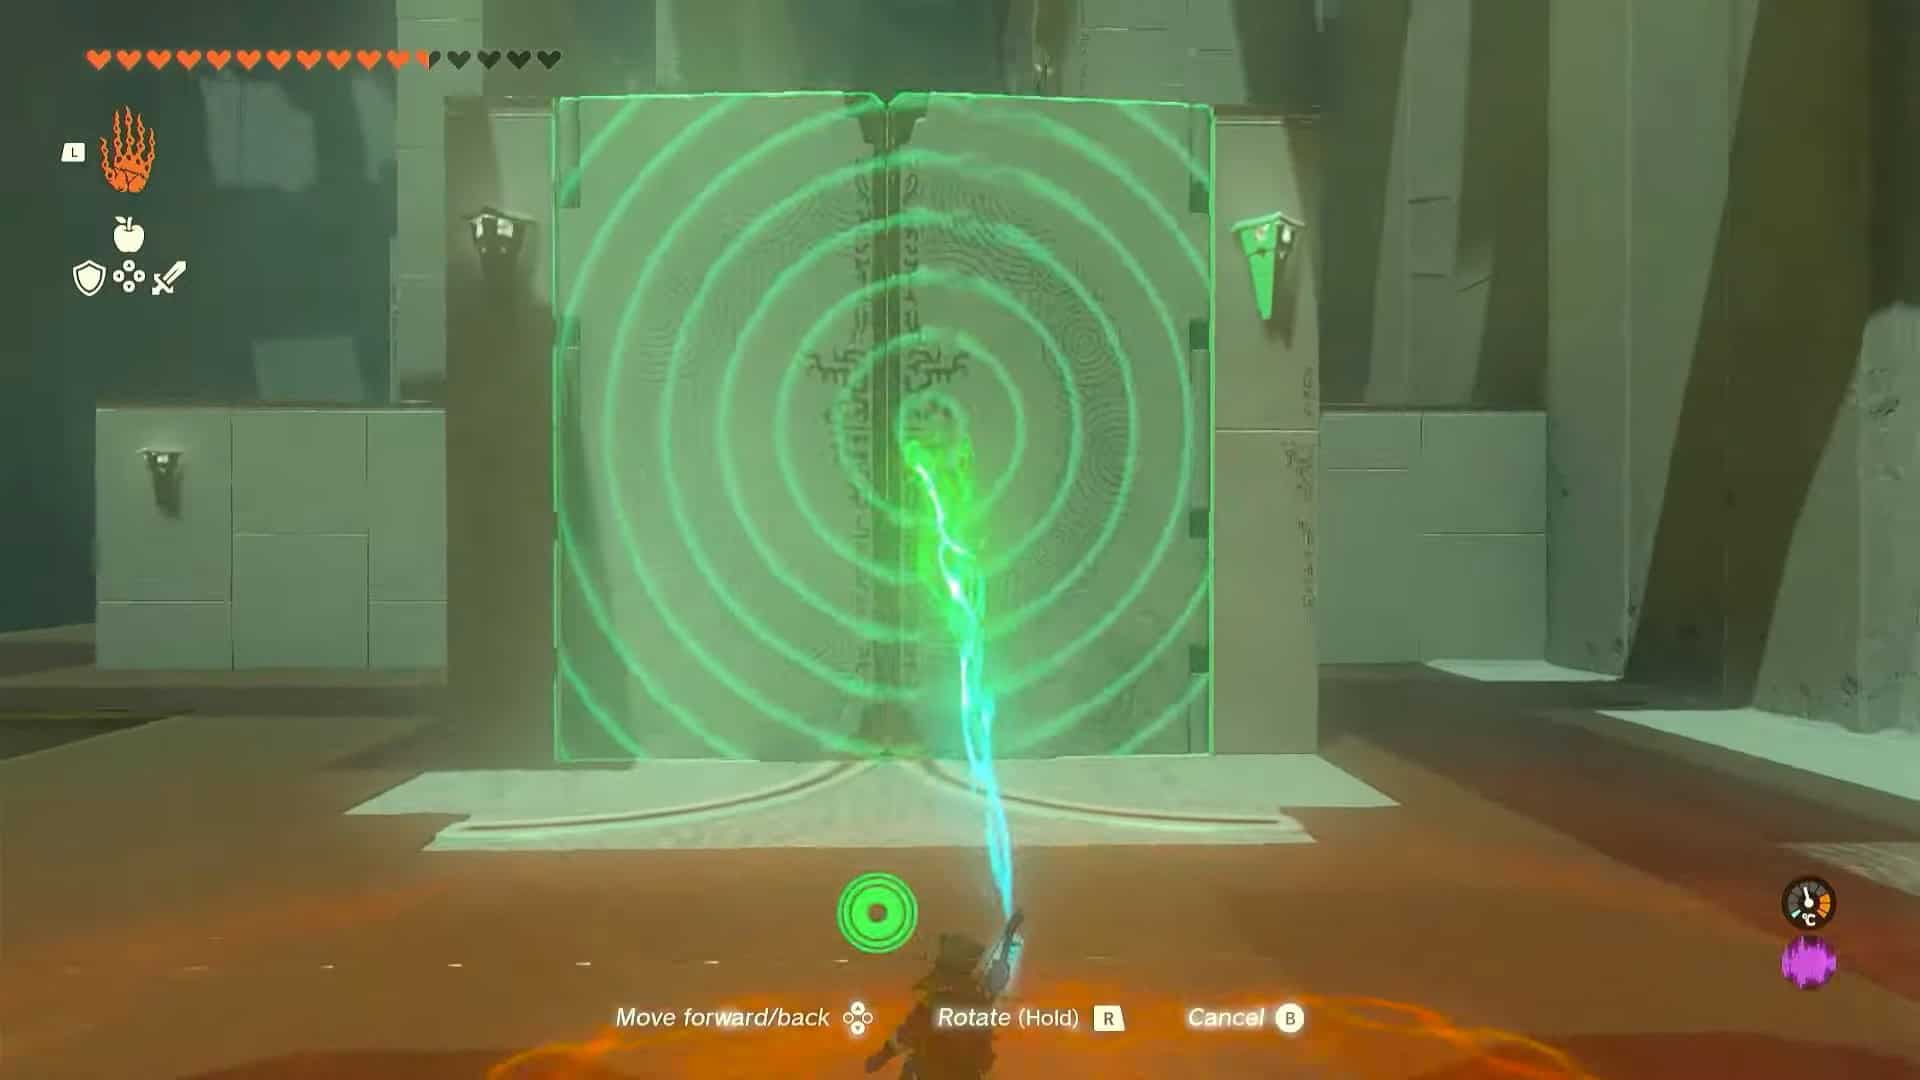
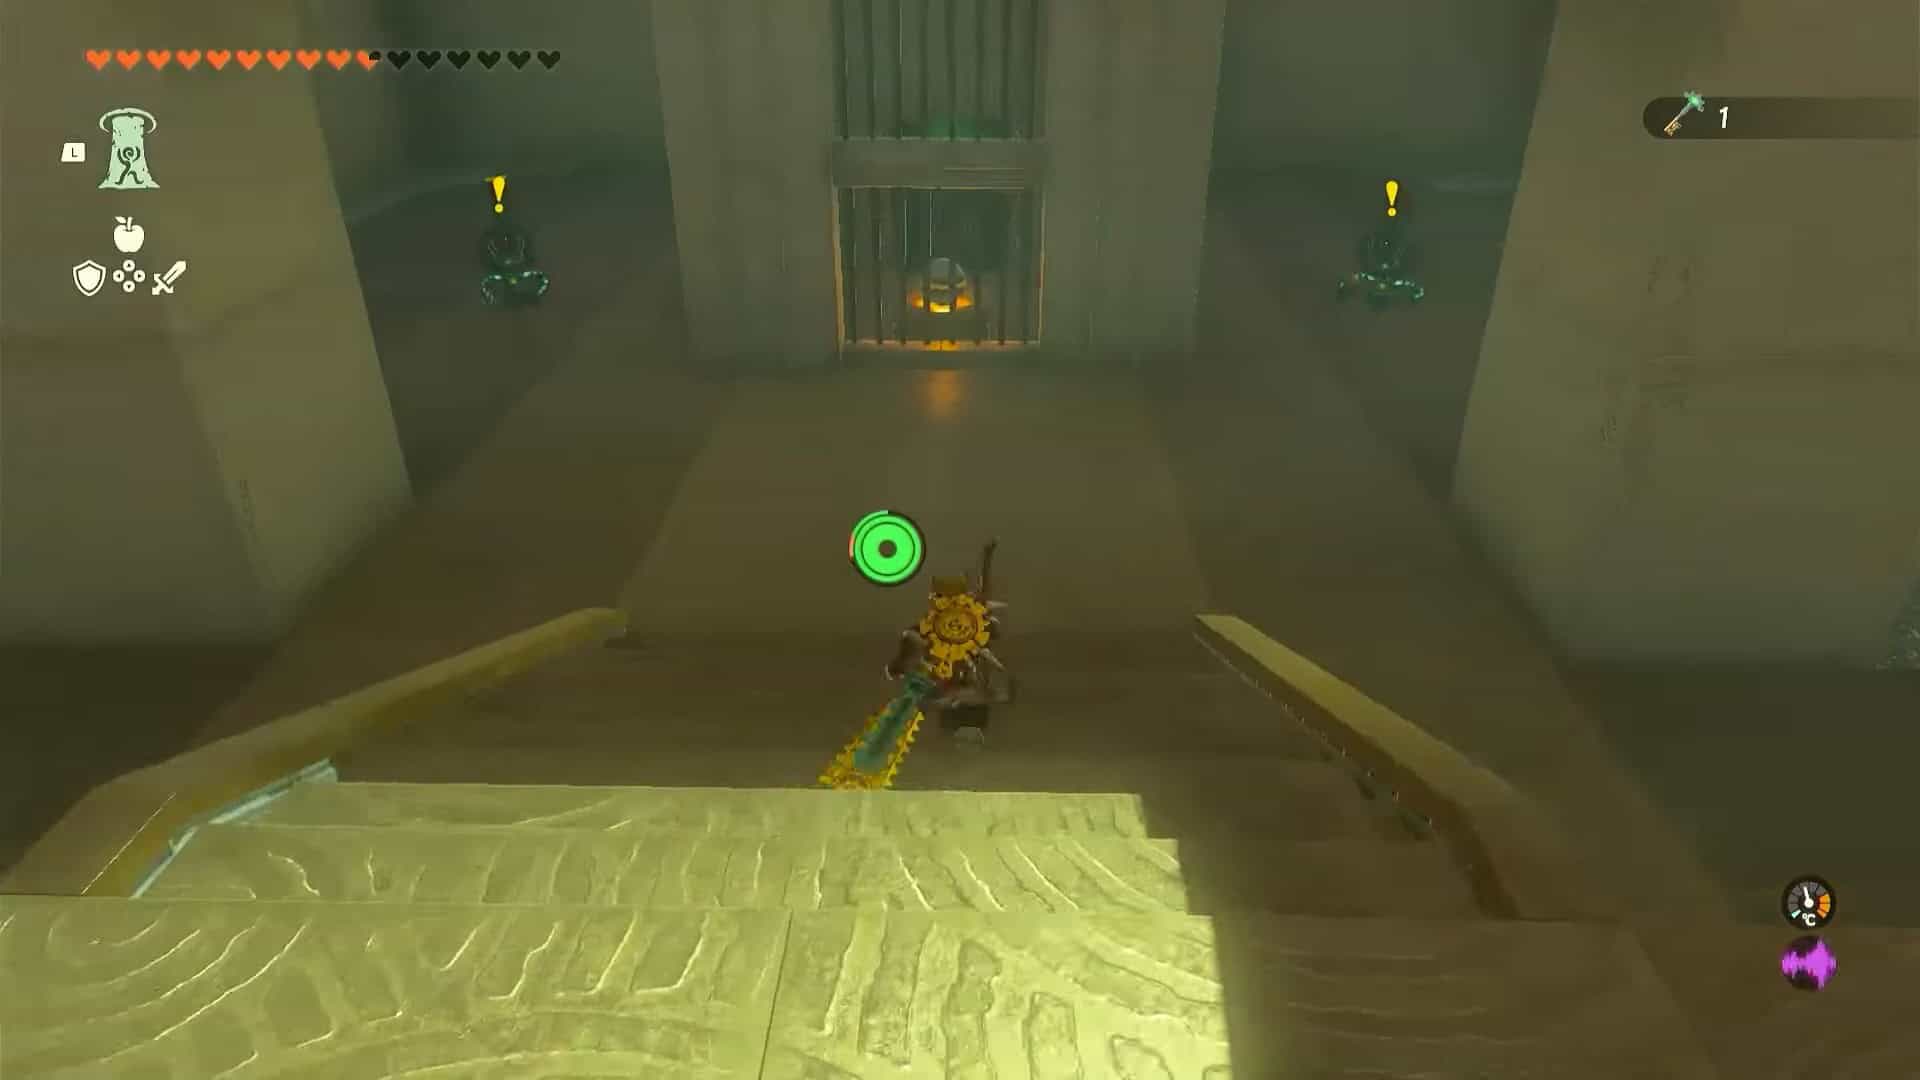
1. From the starting point, go straight and use Ultrahand ability to open the locked gate.
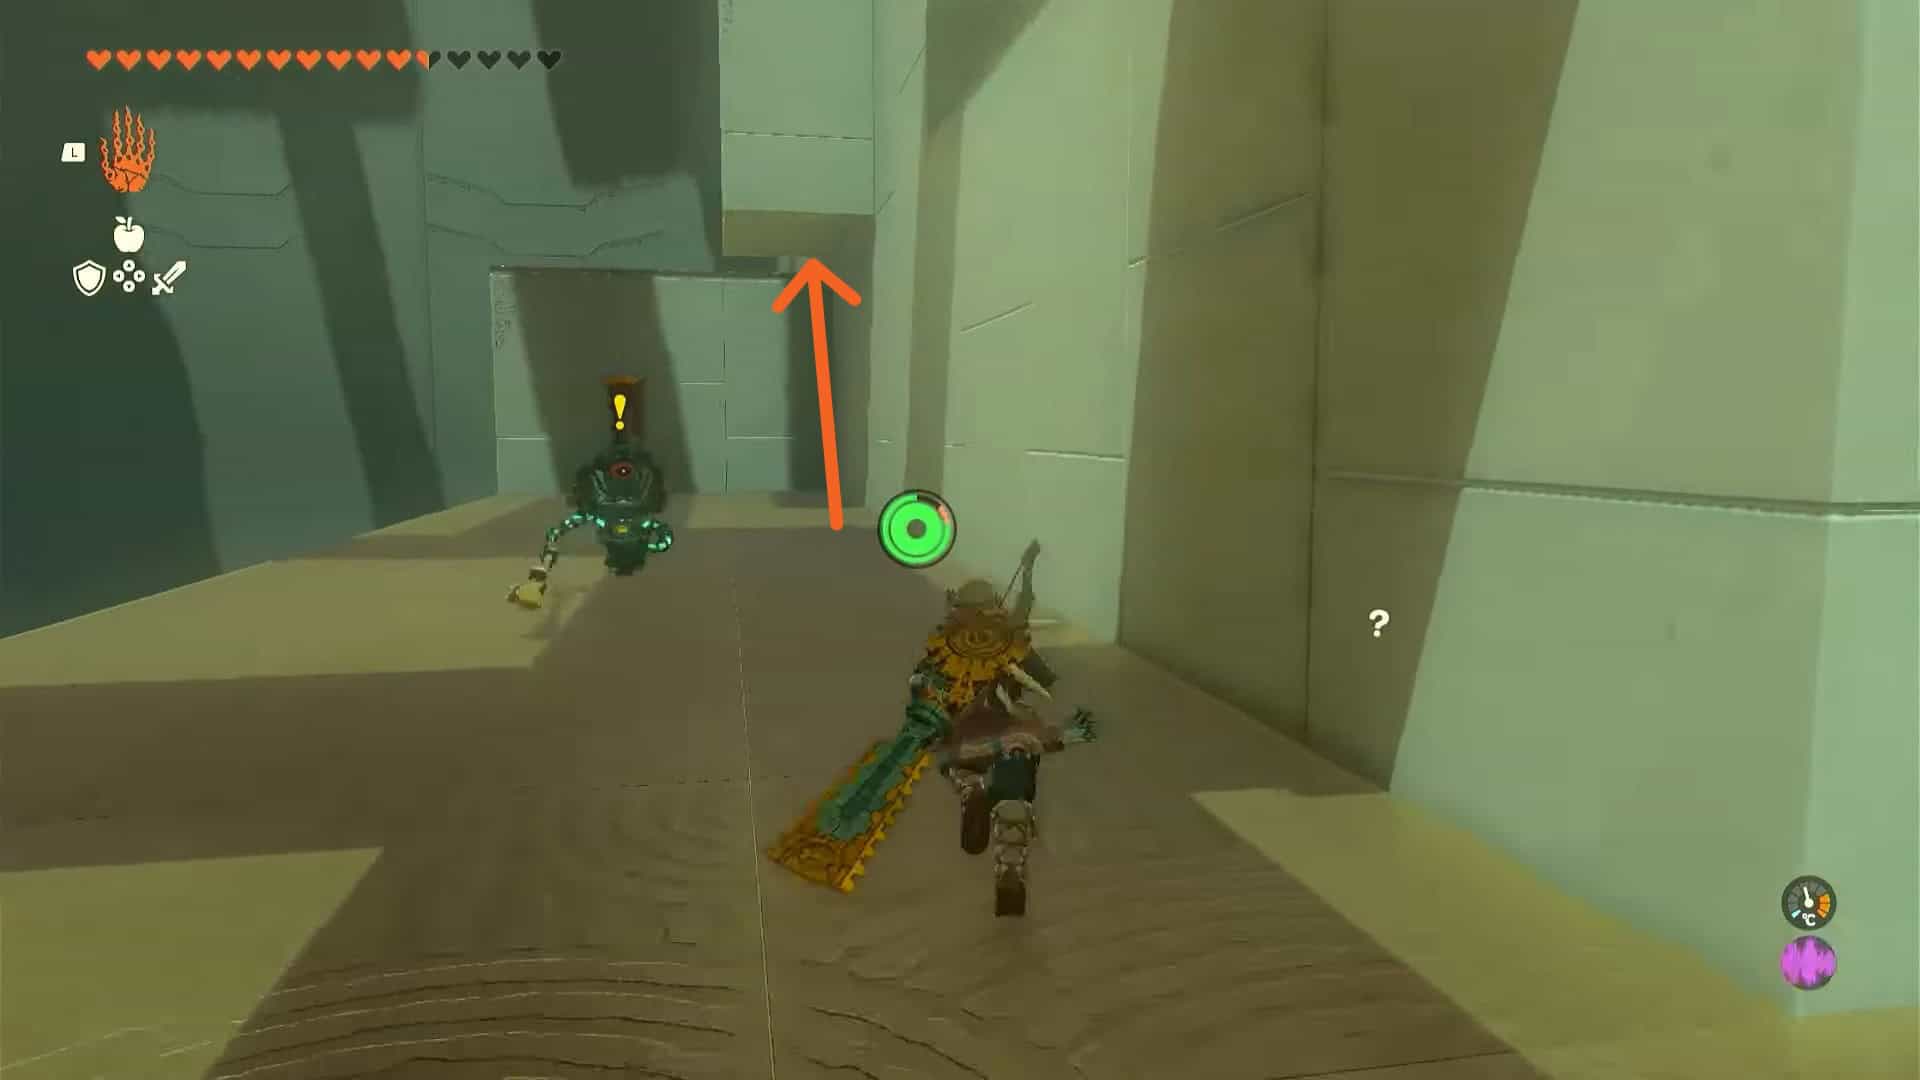
2. Go to the left side of the door and defeat a construct enemy here. Use the Ascend ability on the pillar to the right (picture for reference) to reach the top.
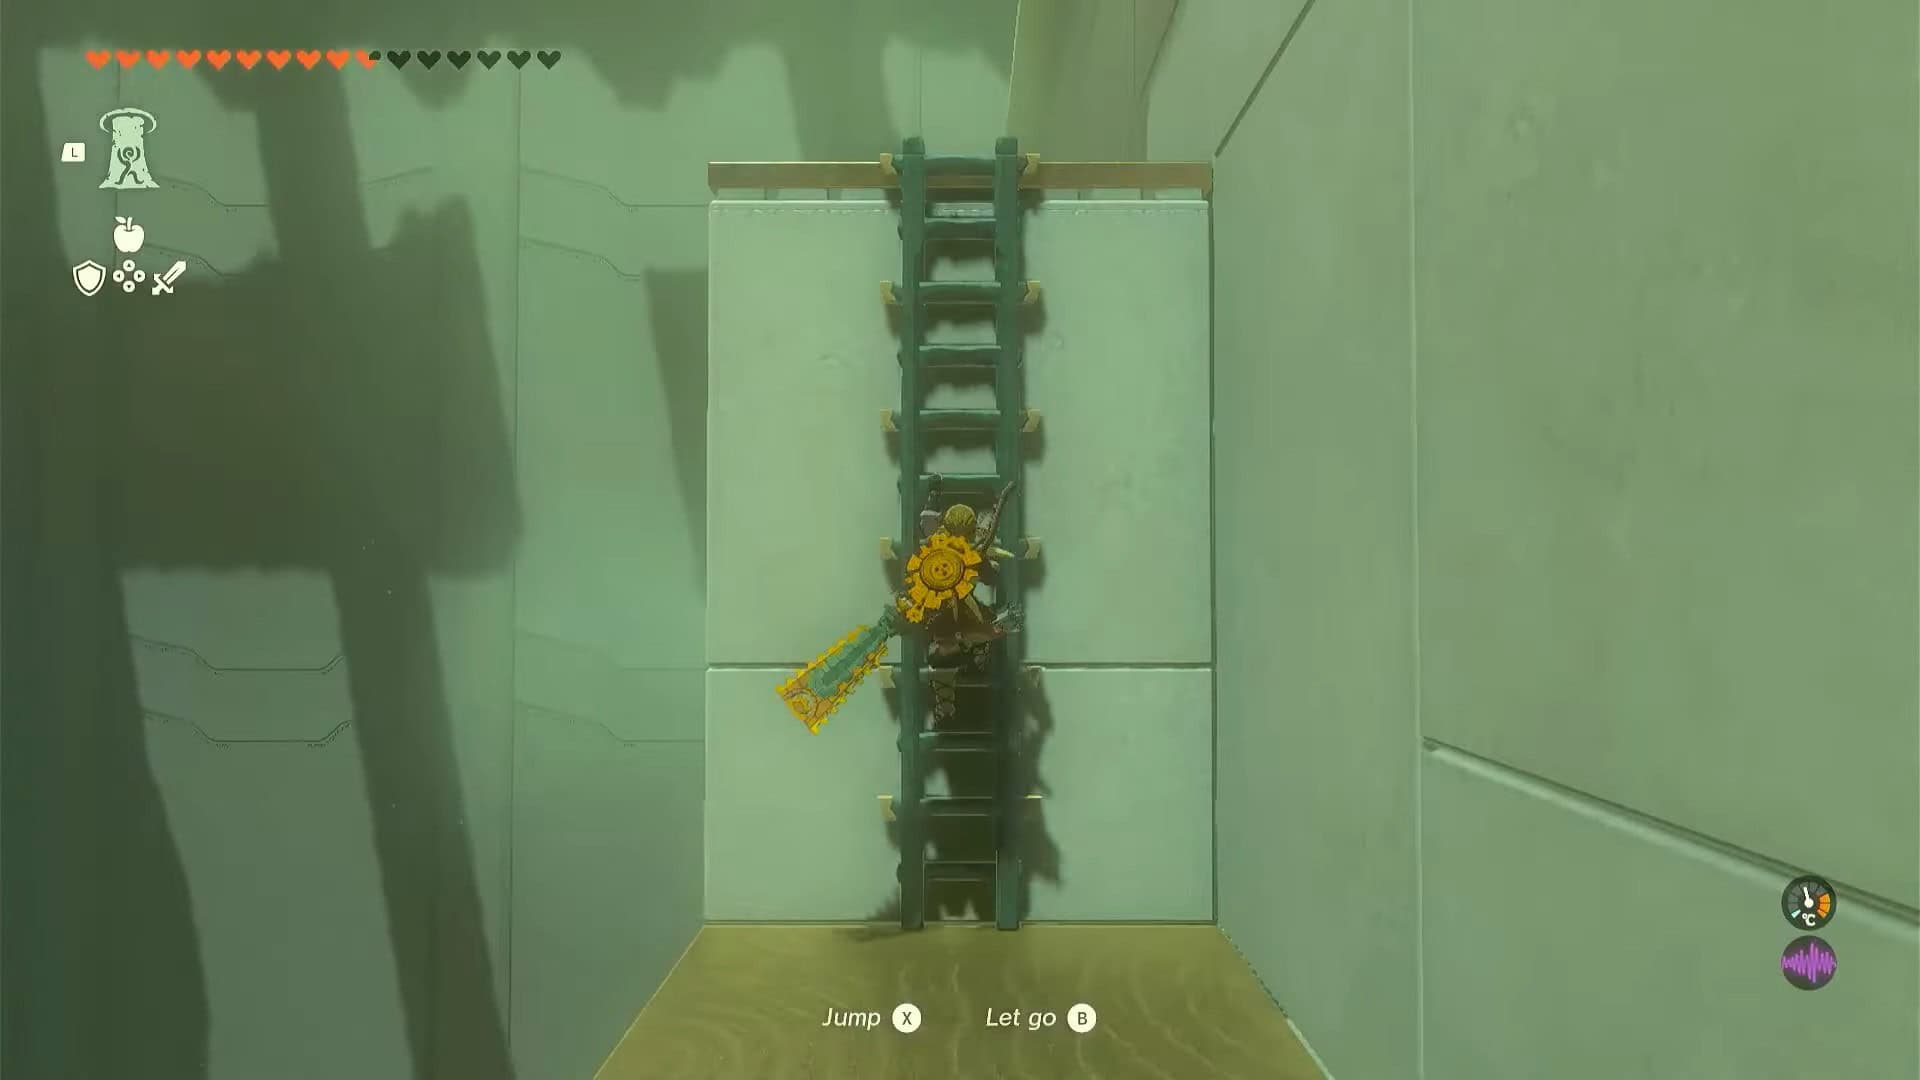
3. Climb the stairs and crouch to go through a narrow hole in the wall.
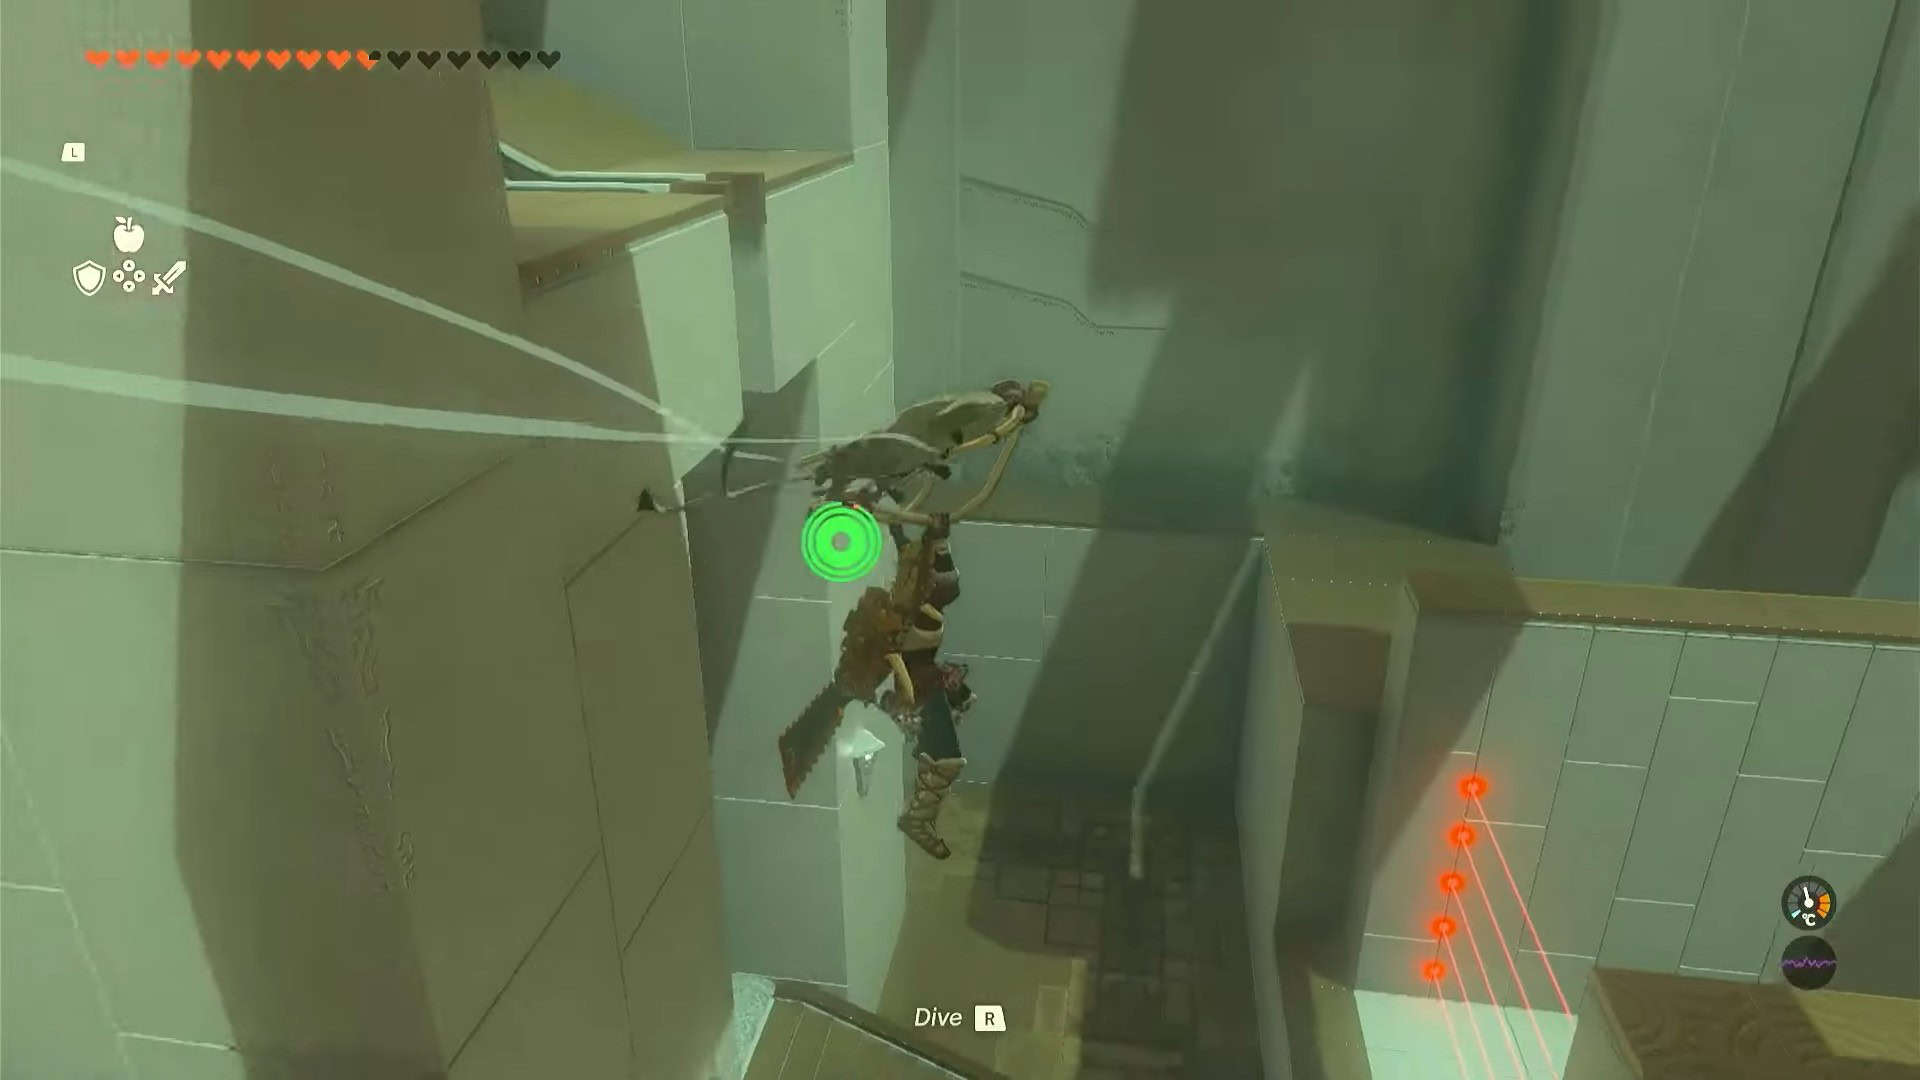
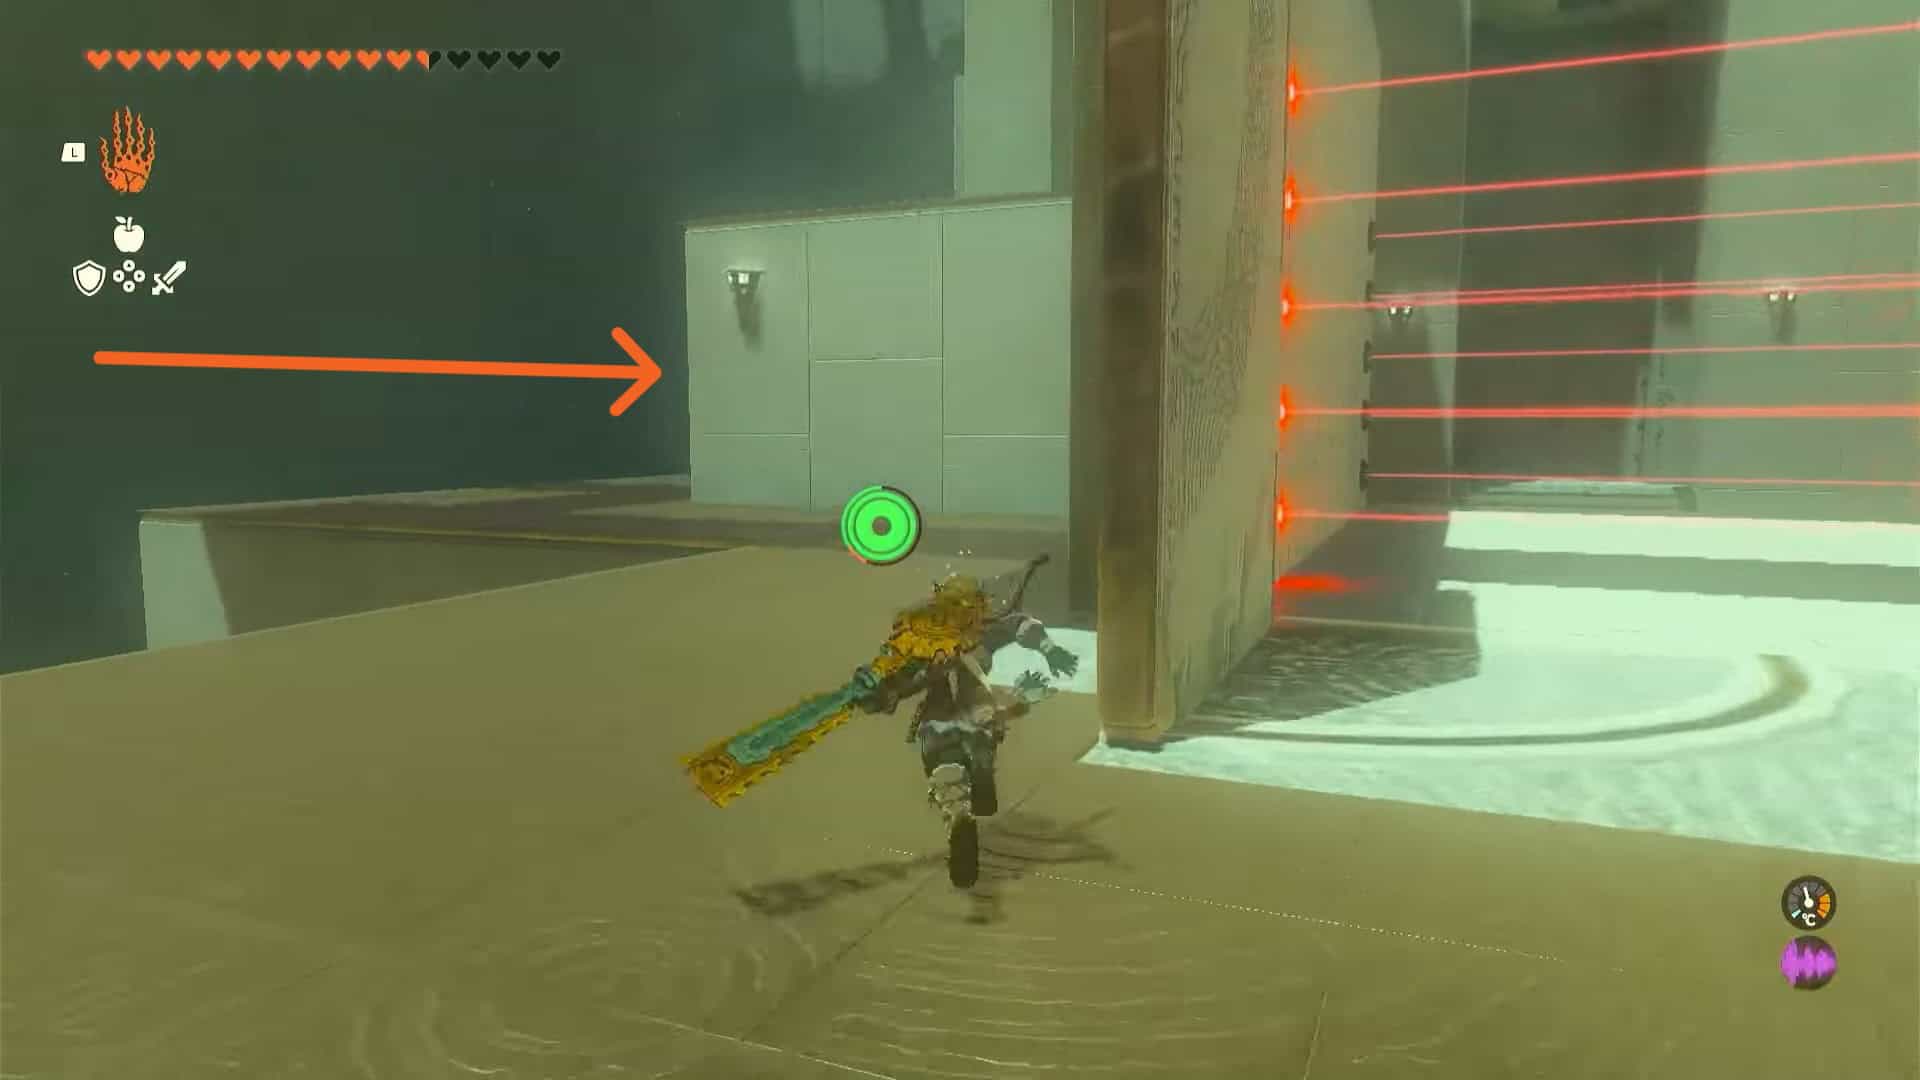
4. In the next area, turn right and drop down using your glider to avoid the lasers.

5. You have successfully made it to the next area. There is a treasure chest near a construct enemy on the right side of the door.
6. Defeat the enemy and open the treasure chest to obtain 5x Arrows.
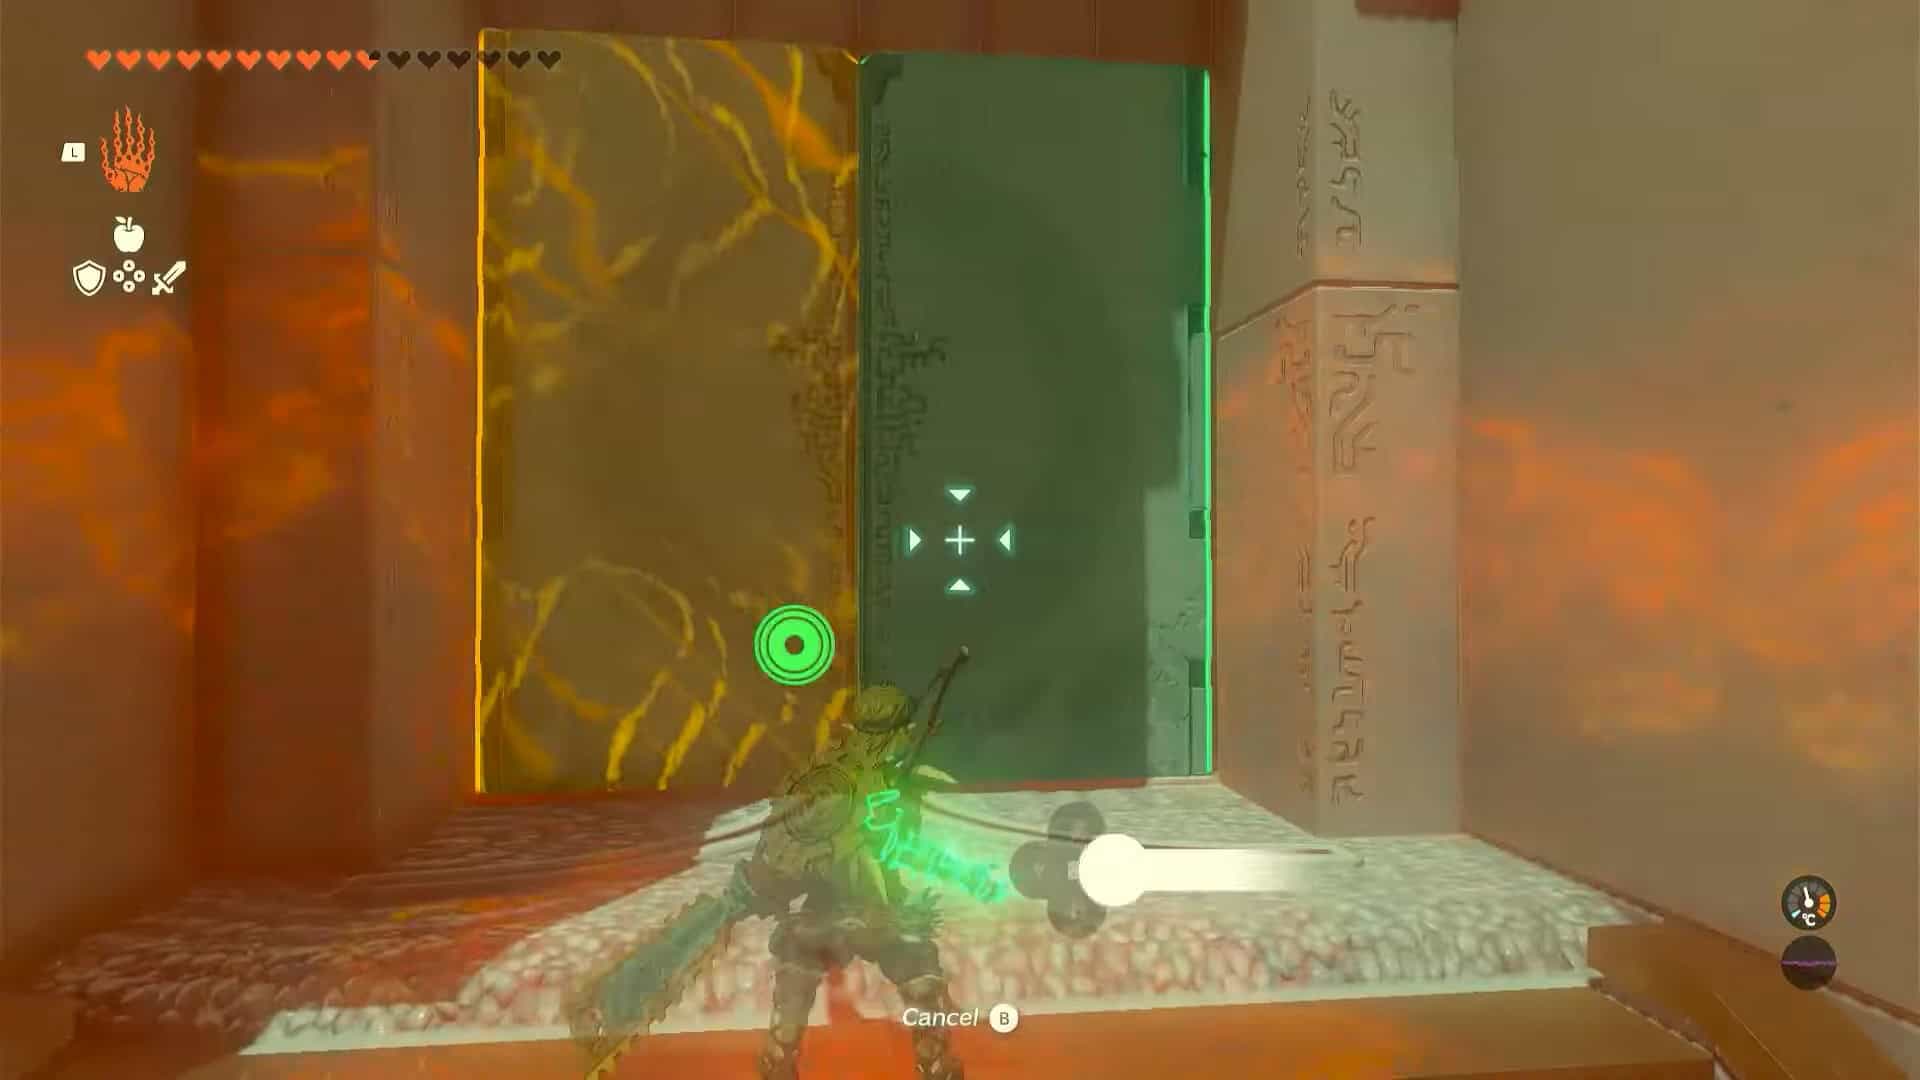
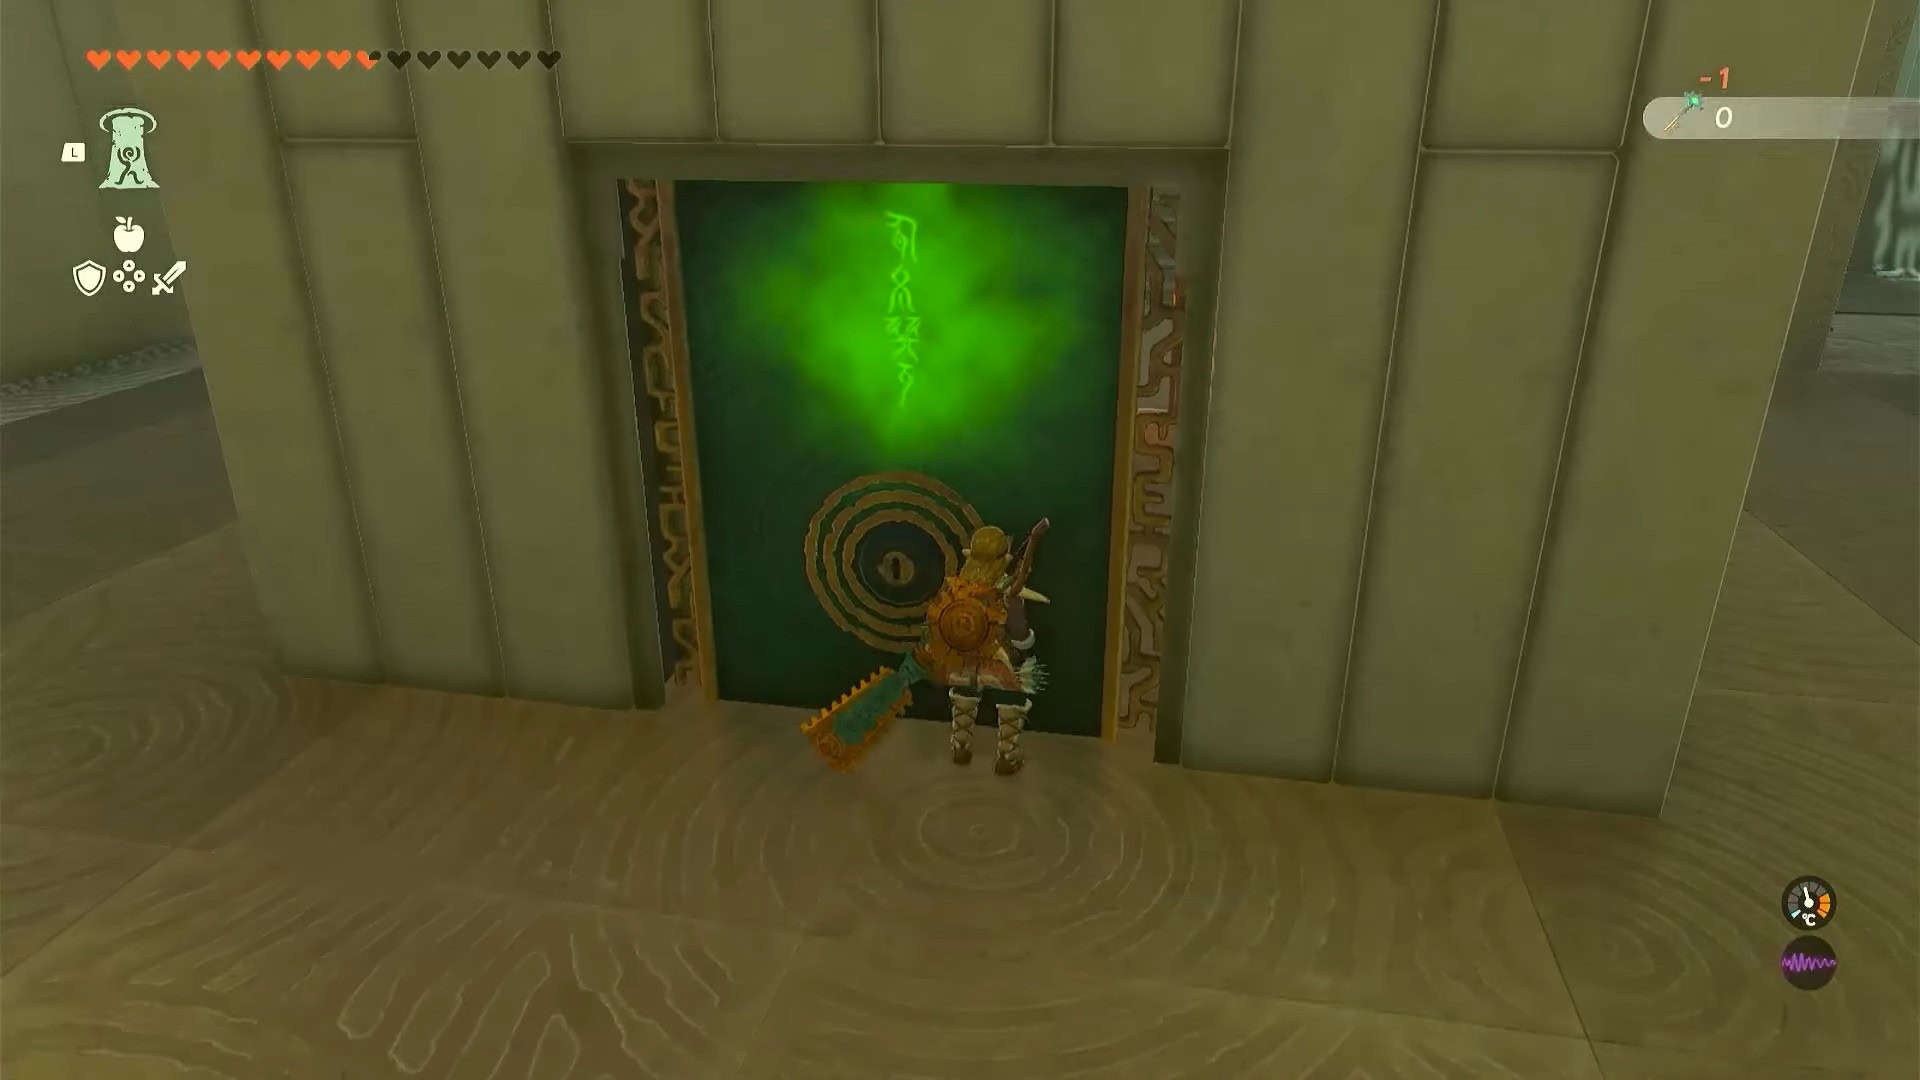
7. Use Ultrahand to open the next gate, just like the first one.
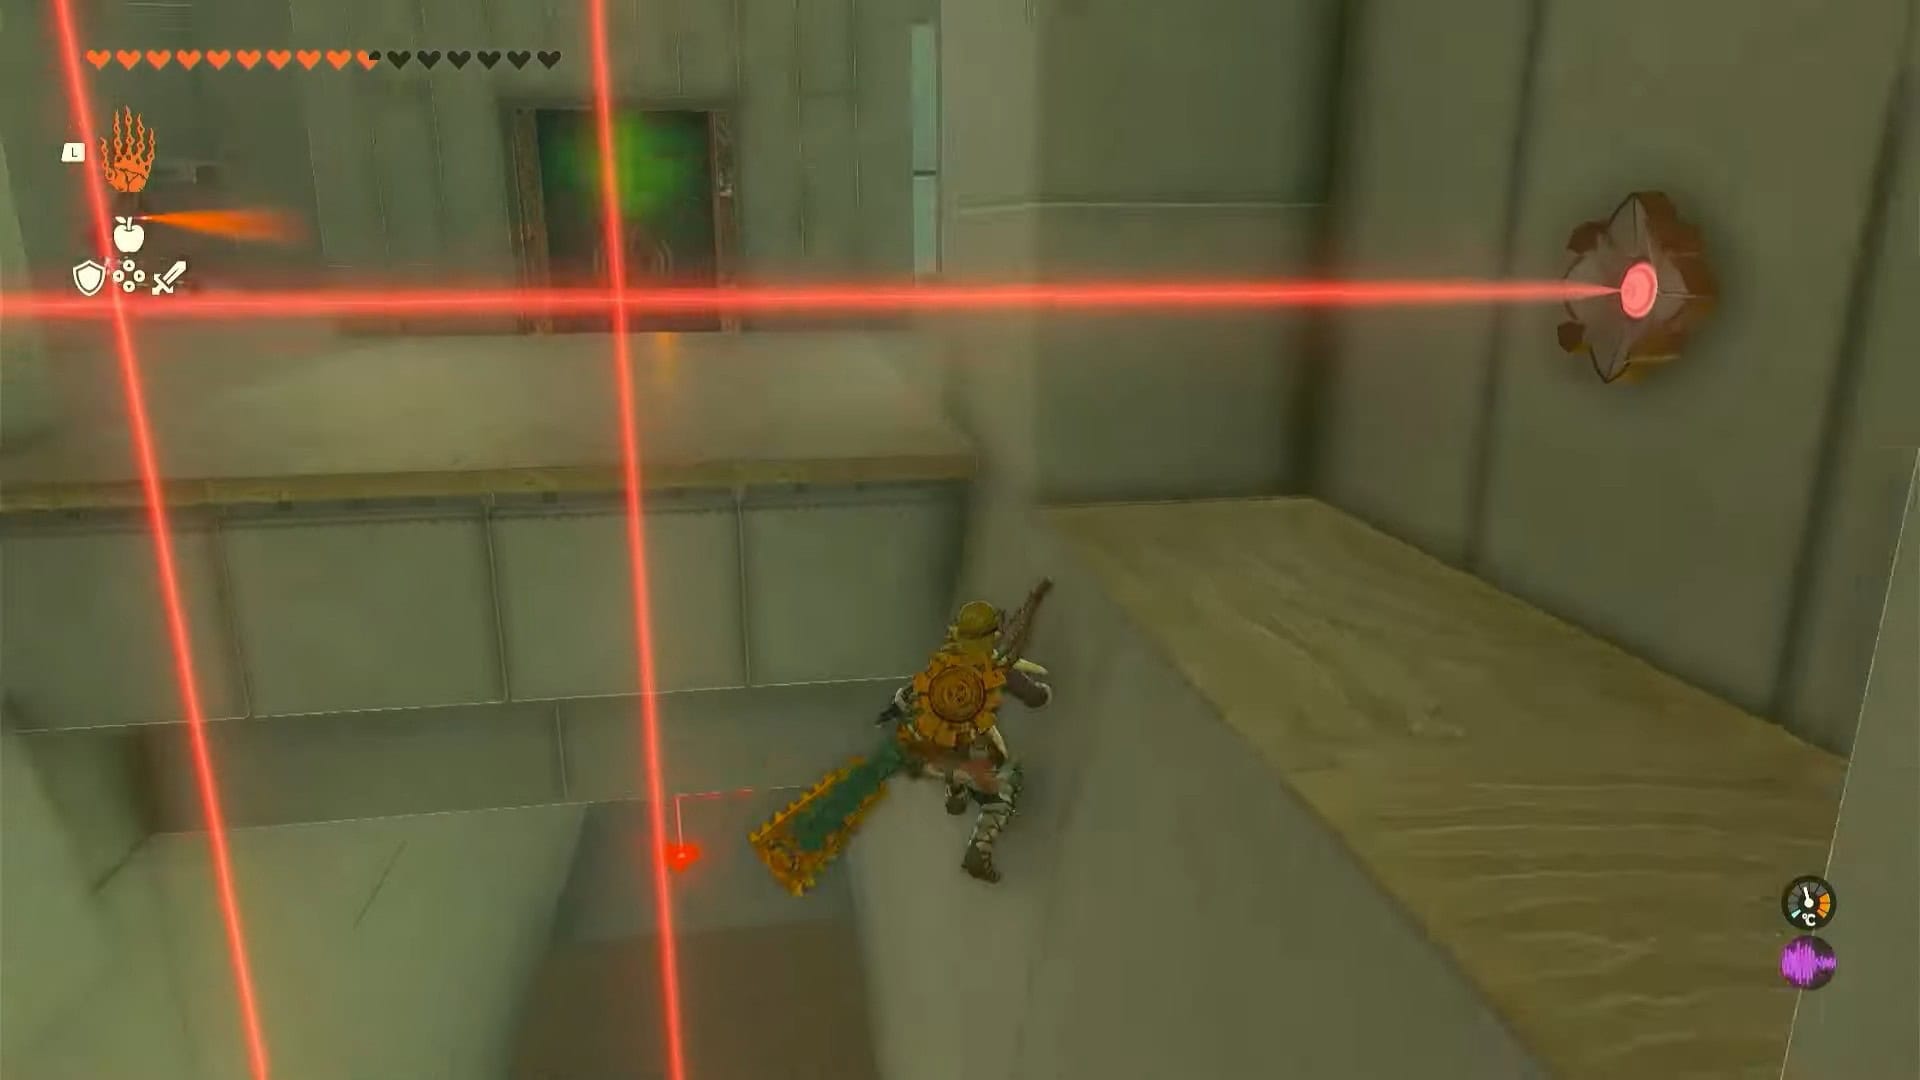
8. Don’t be afraid of lasers here. Hit any laser to activate the trap and drop down from the false floor.
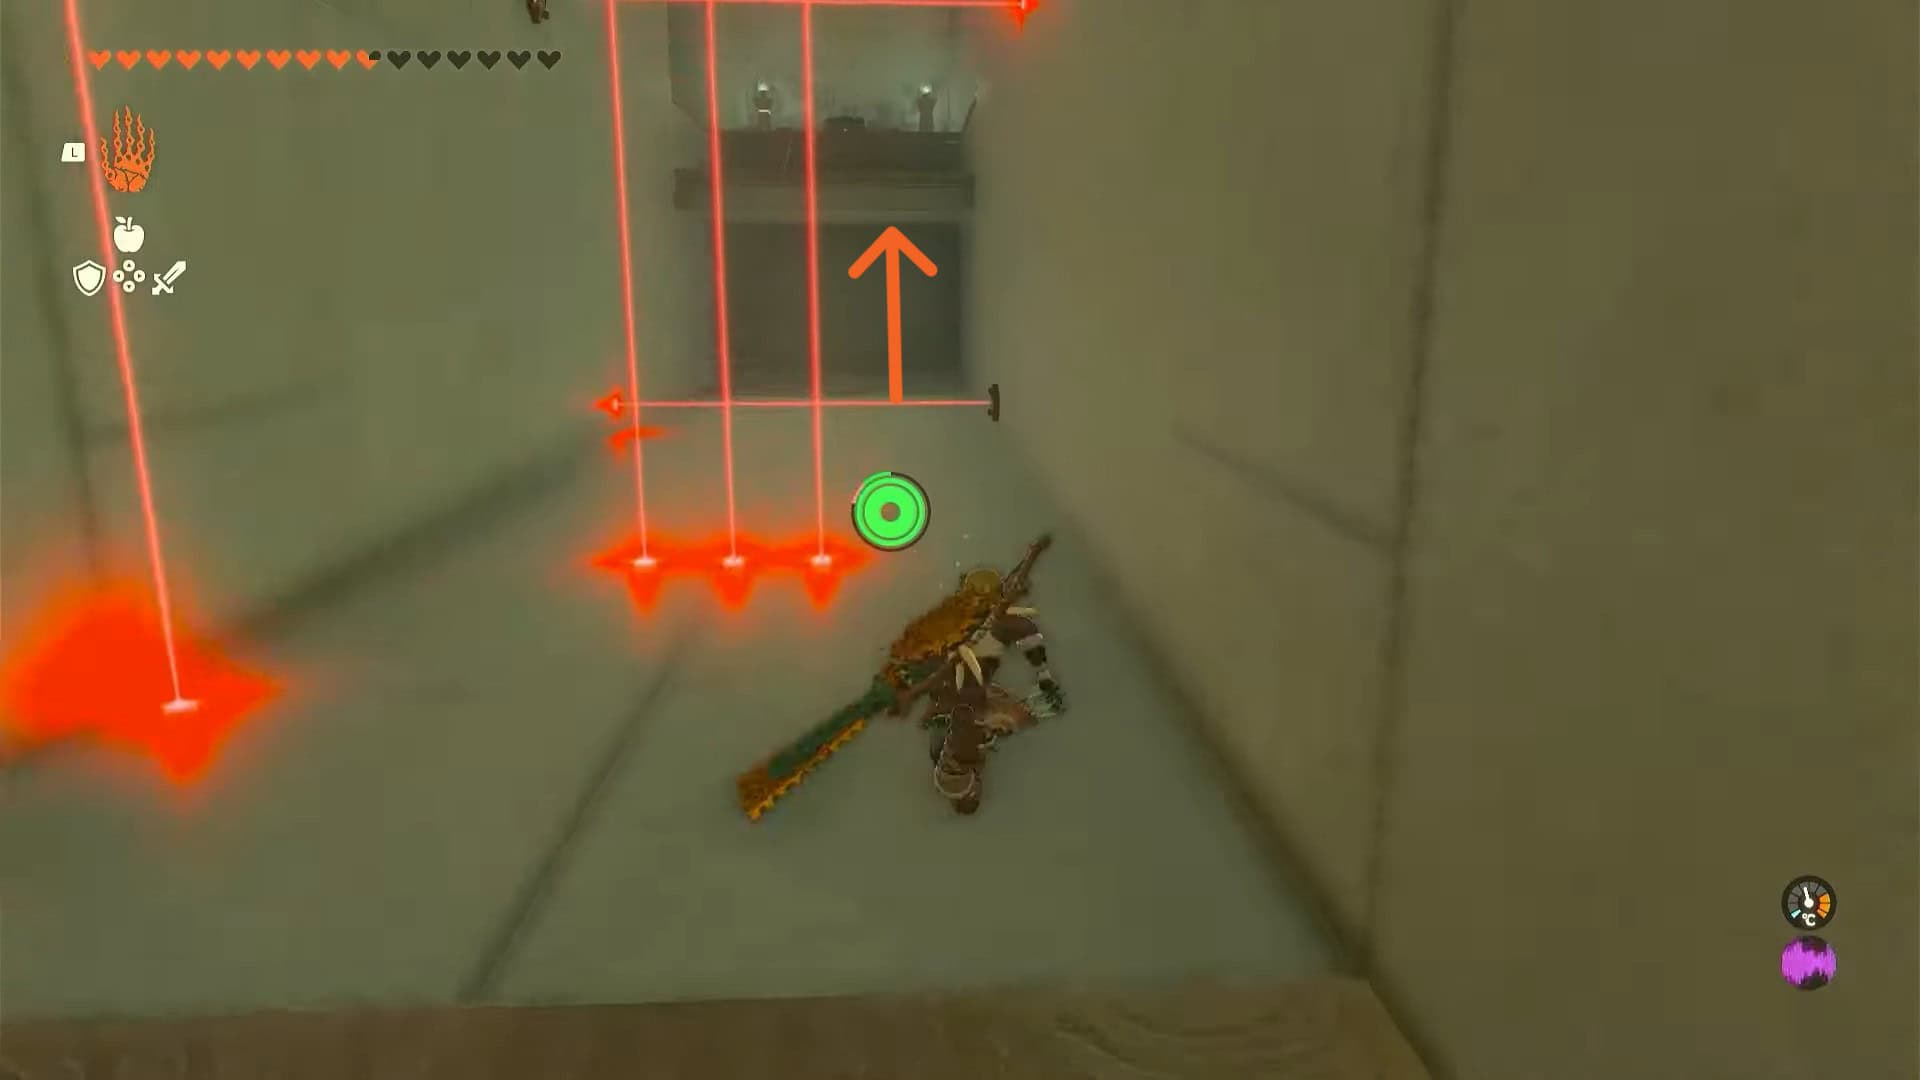
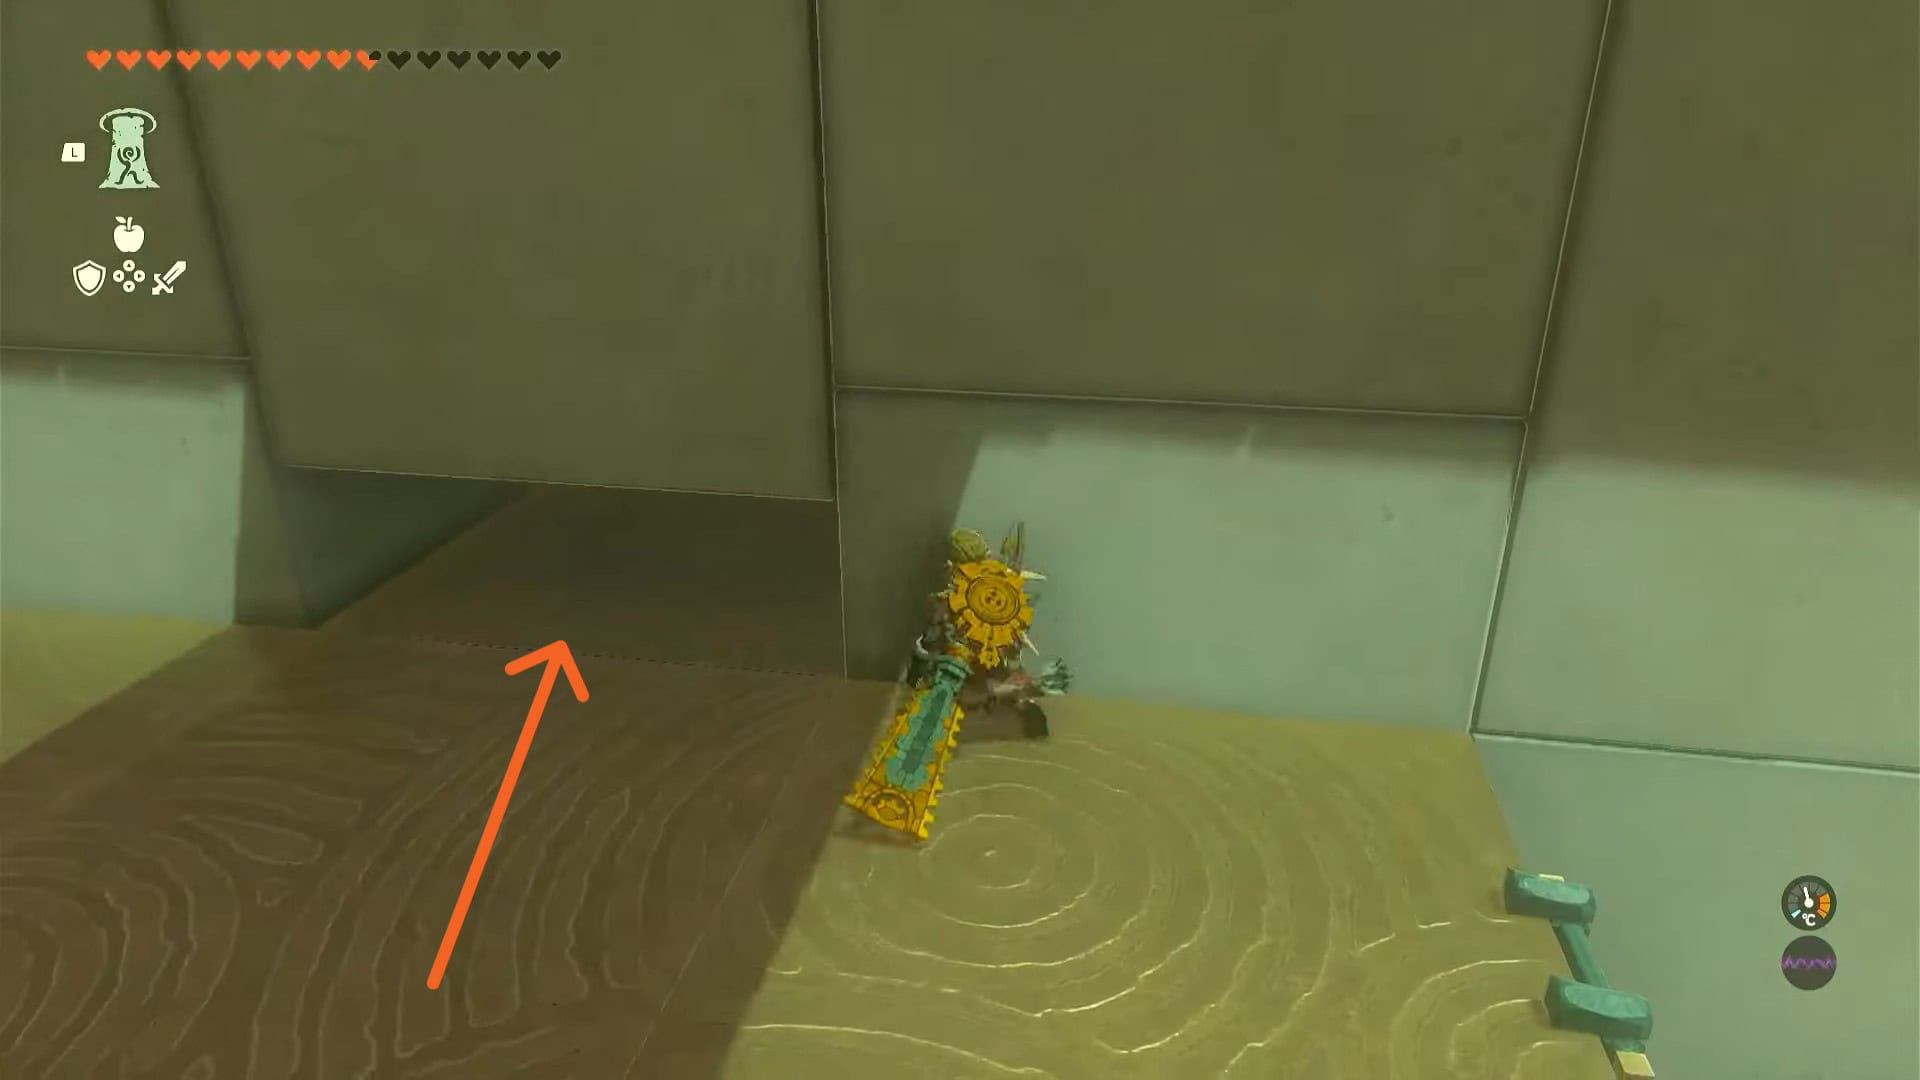
9. Go forward and avoid the lasers in this area. Use the Ascend ability beneath the ledge to reach the second treasure chest of Orochium Shrine in Zelda: Tears of the Kingdom.

10. Open the treasure chest to obtain a Small Key. Use the Ascend ability near the second treasure chest to return to the surface.
11. Defeat two construct enemies in this area and go to the back of the room to open it with the Small Key.
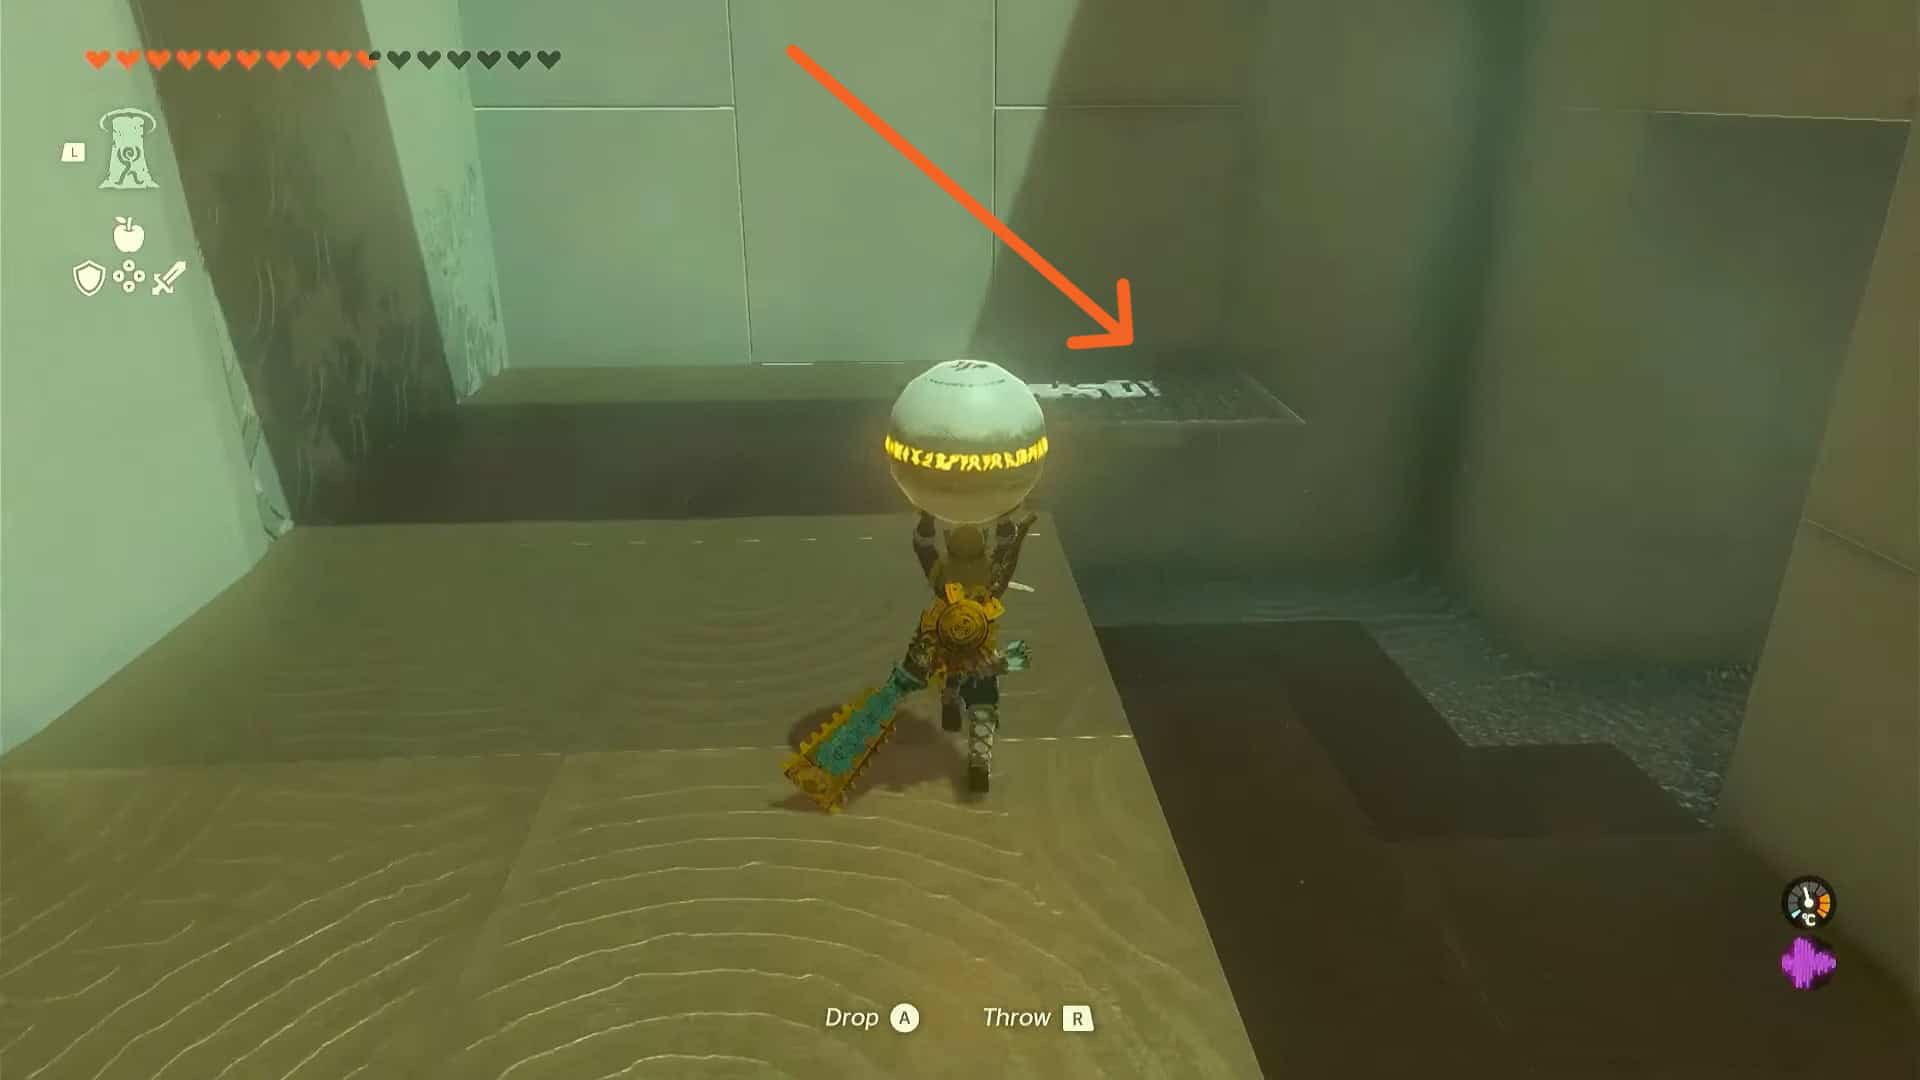
12. Take out the orange ball and climb the stairs. Turn right to reach the end and wait for the elevator to come down.
13. Use the elevator to reach the top floor with the orange ball.
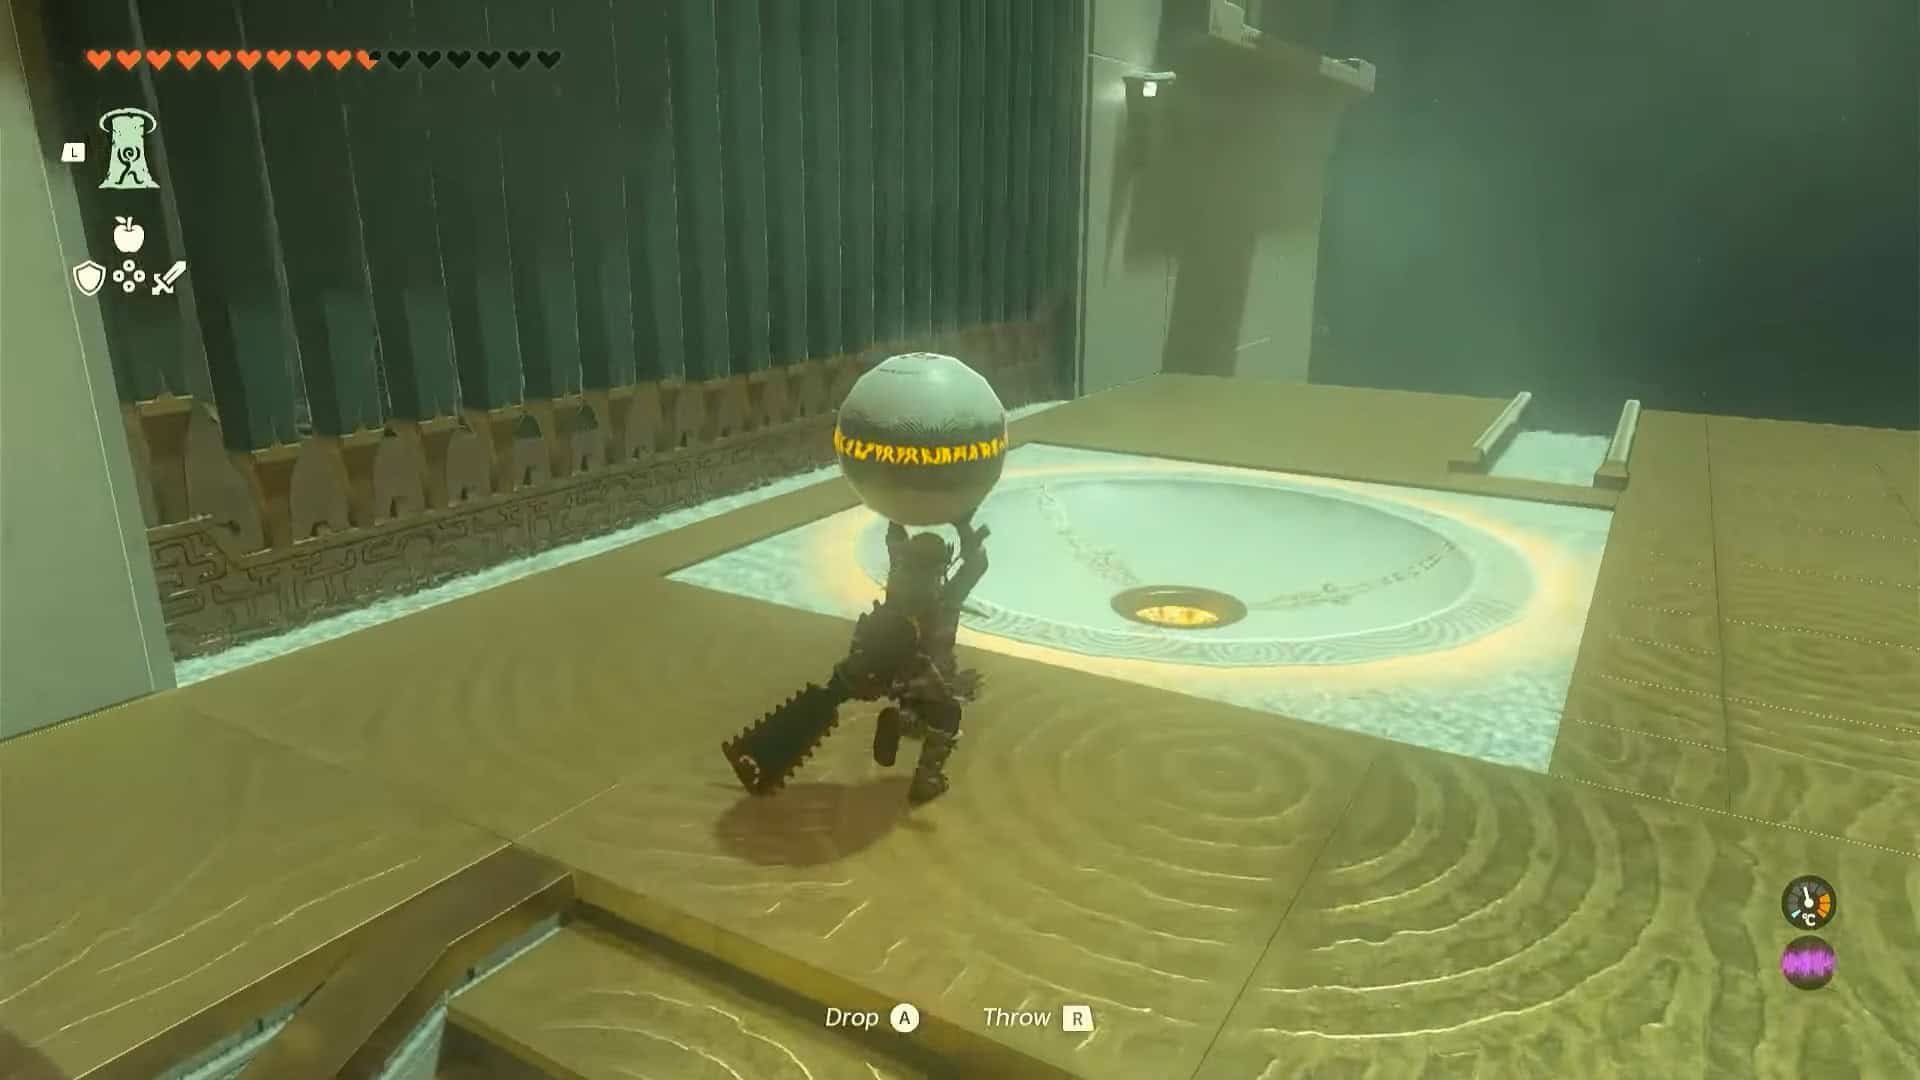
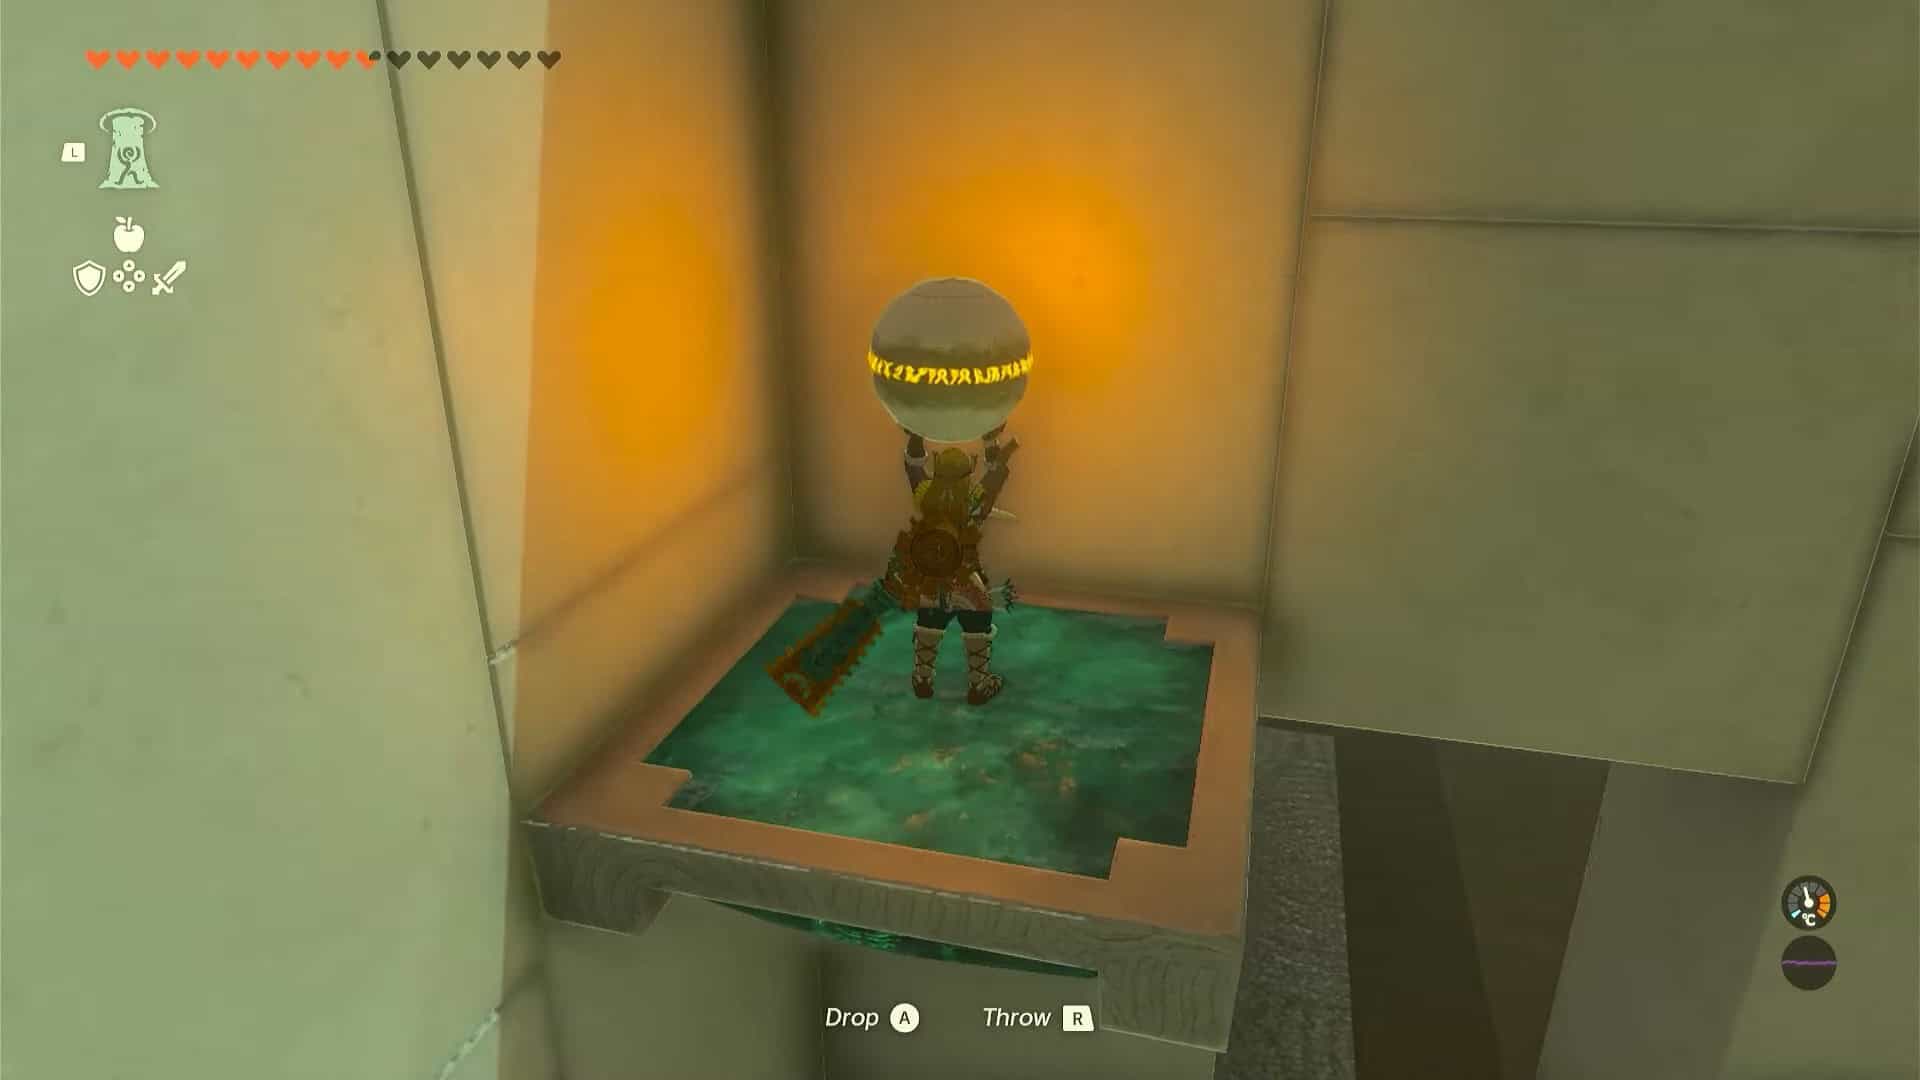
14. Take the ball upstairs and place it inside the receptacle. This will open the door to the left with a zonai flying device.
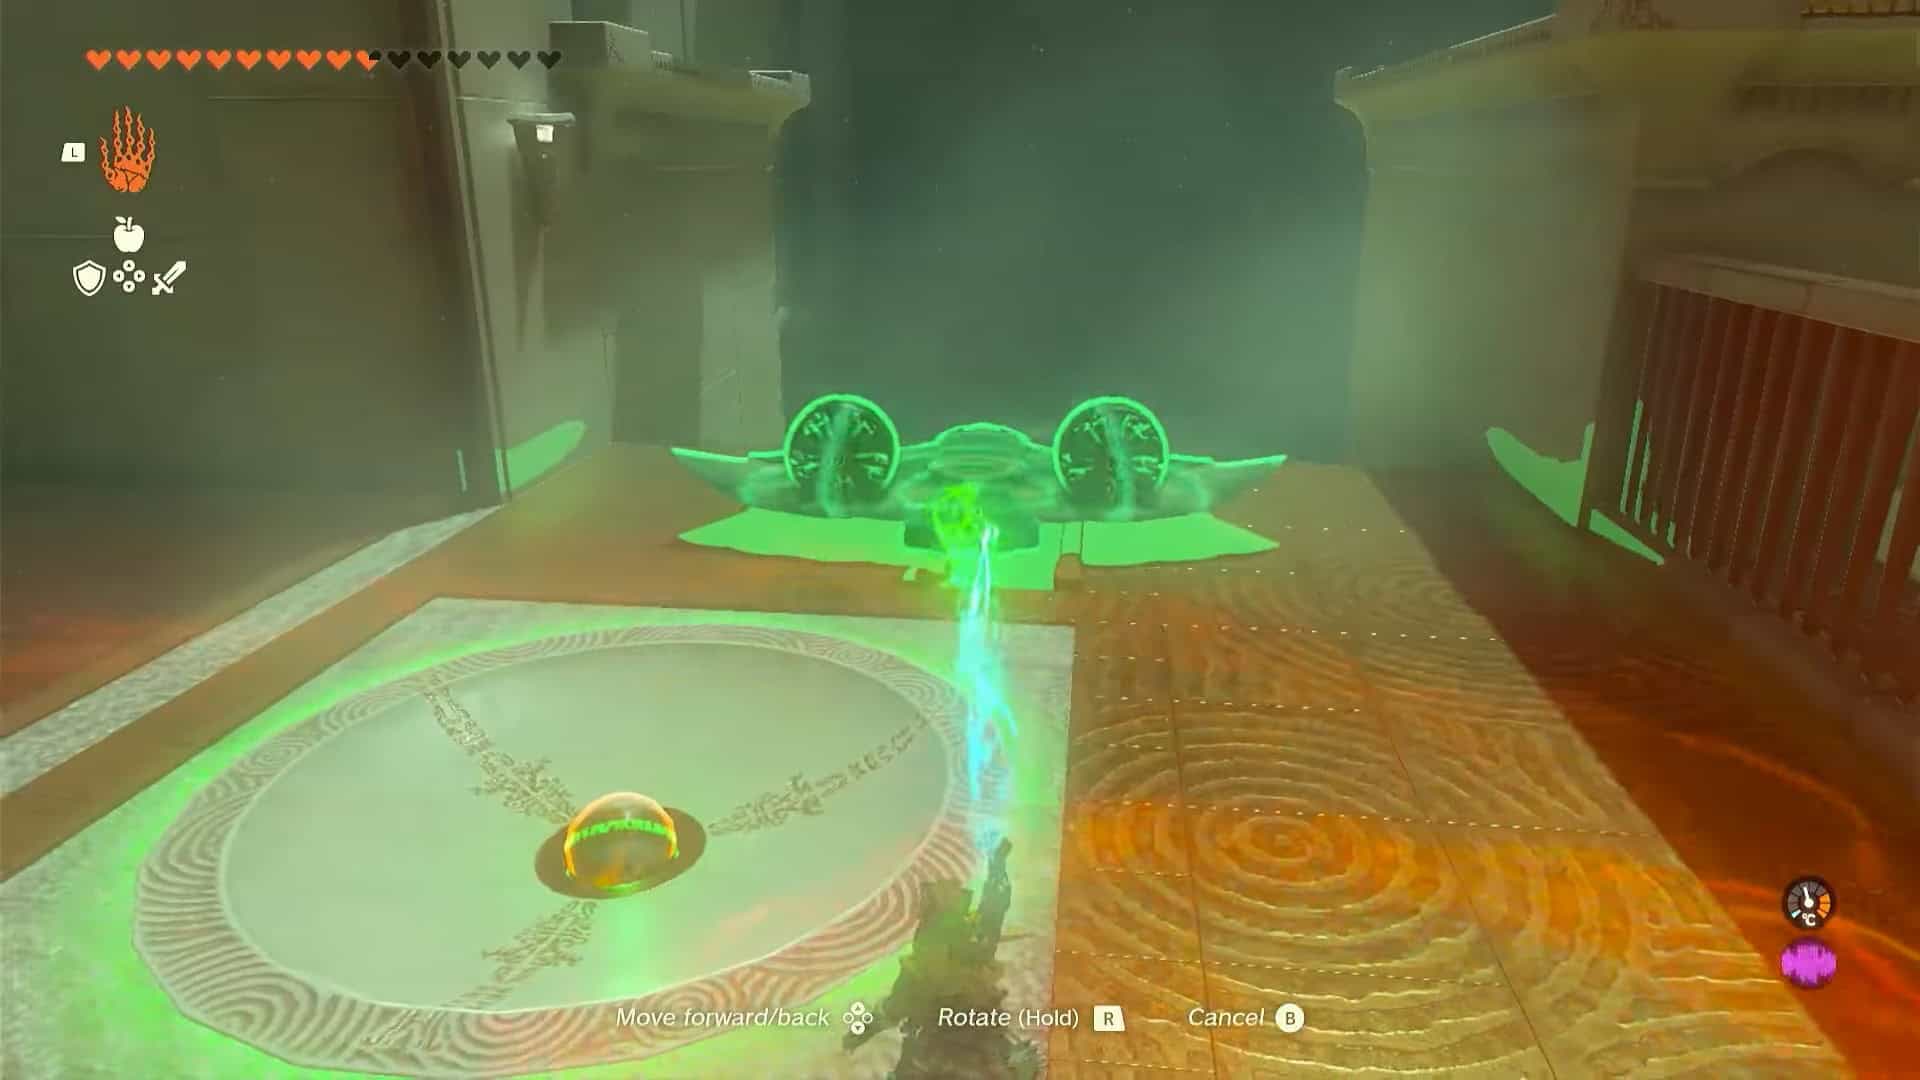
15. Pick up the zonai flying device with Ultrahand and place it on the railing.
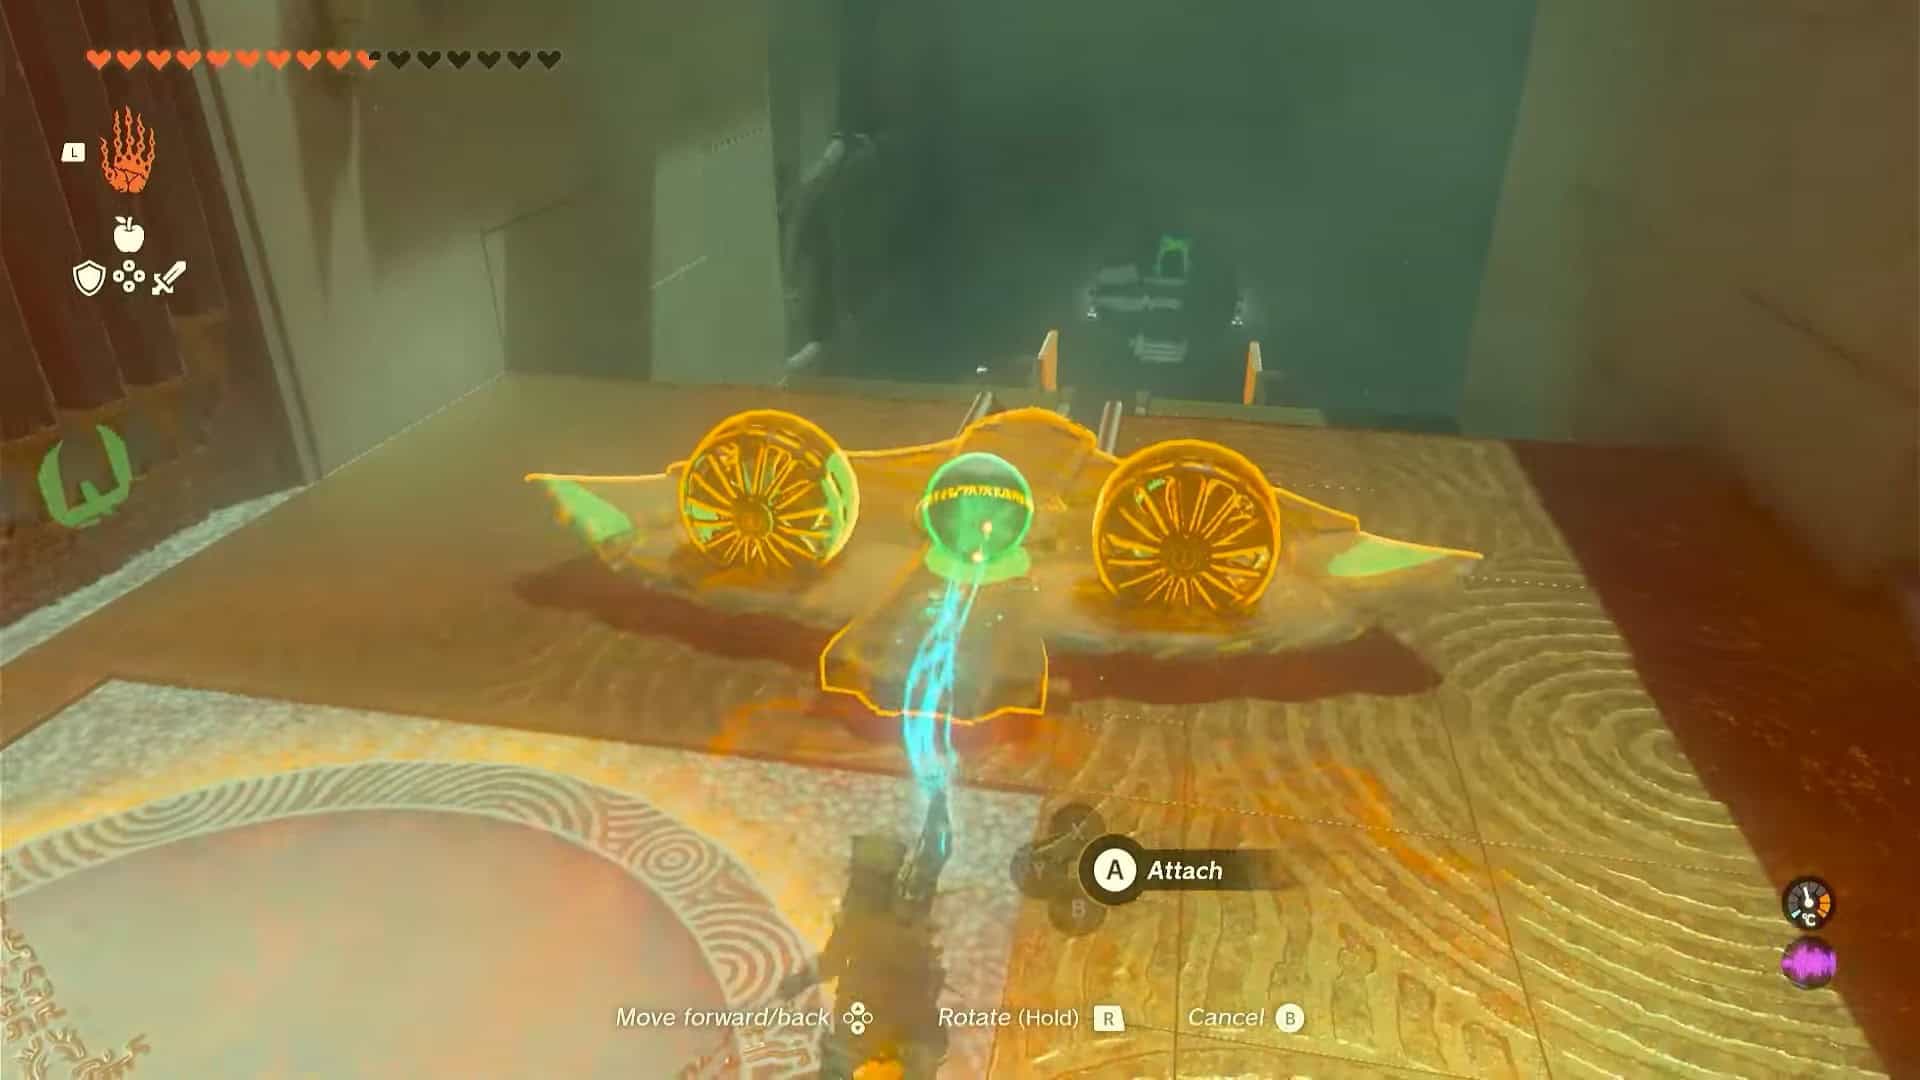
16. Remove the ball from the receptacle and attach it to the zonai flying device. We will need it later.
17. Get on the flying machine and hit the fan. This will make the vehicle move forward.
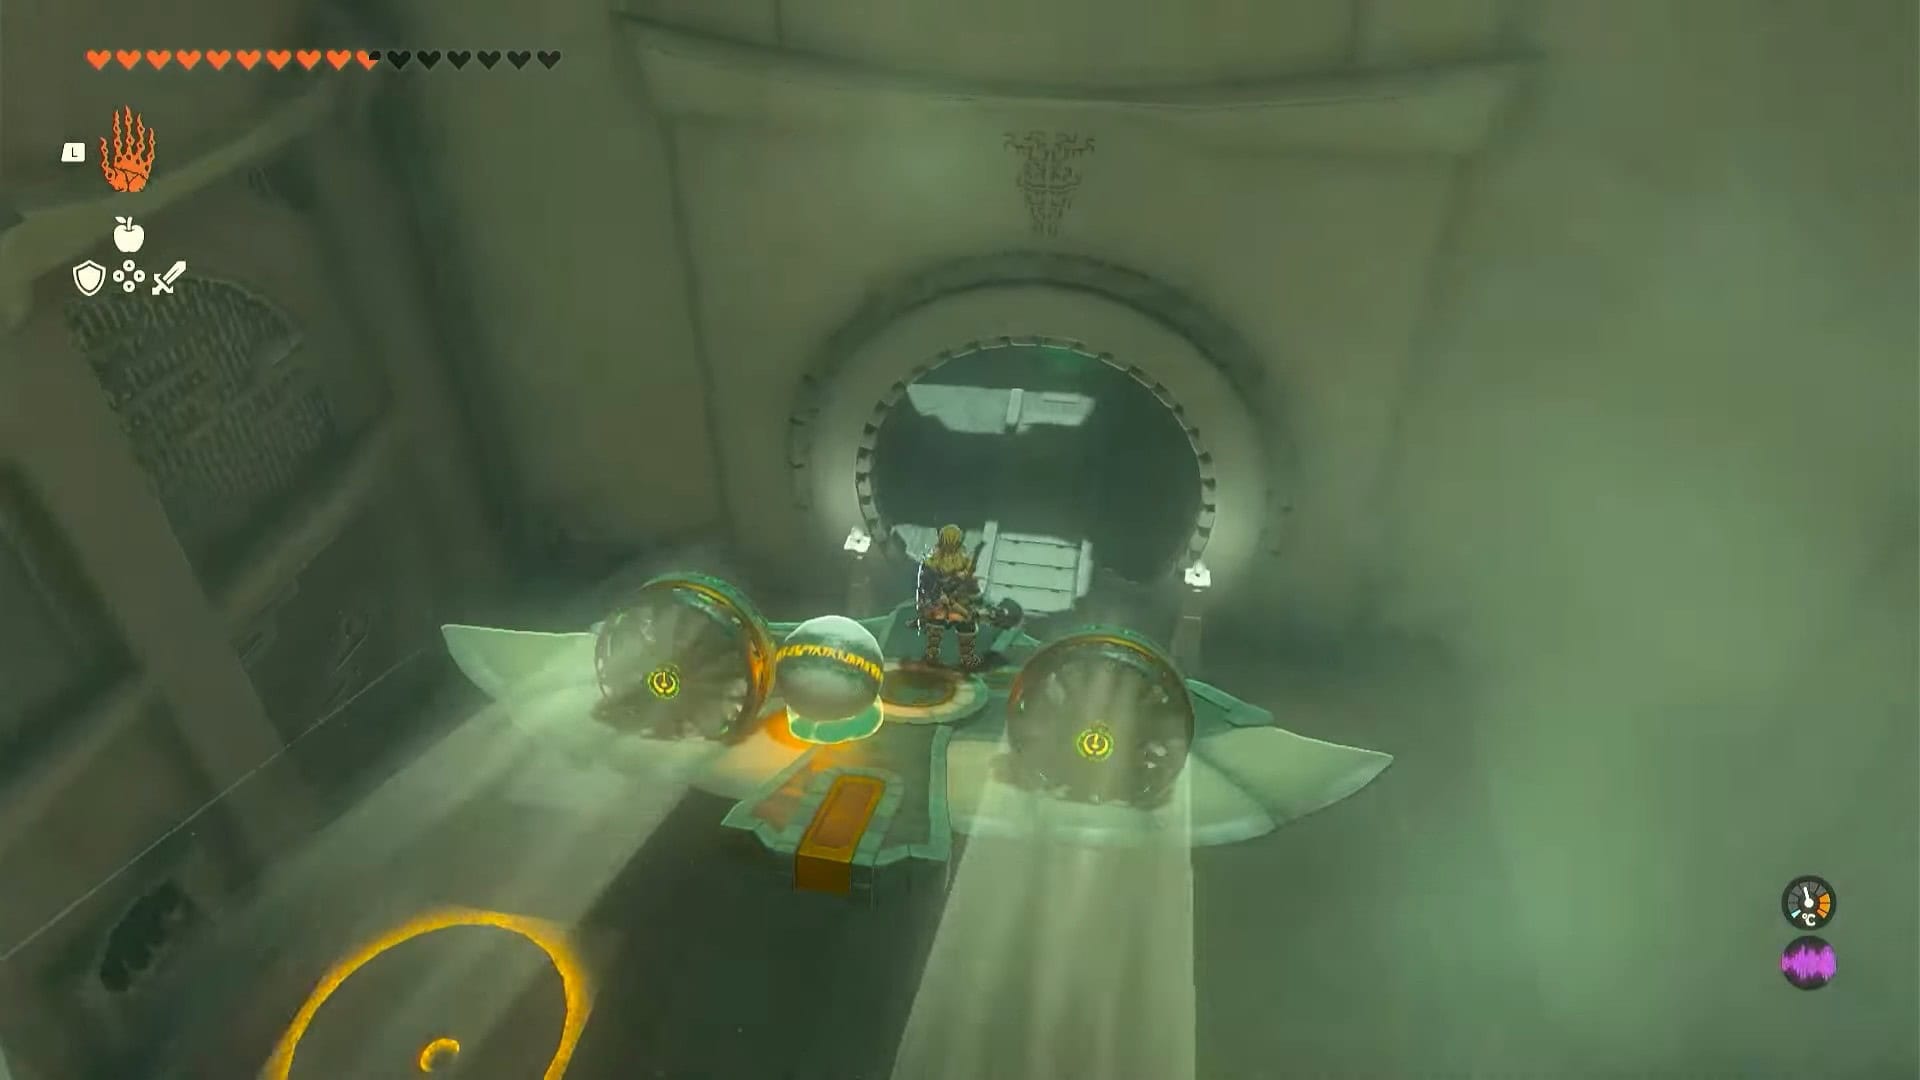
18. Make sure to stand on the front of the zonai plane to make it drop as fast as you can.
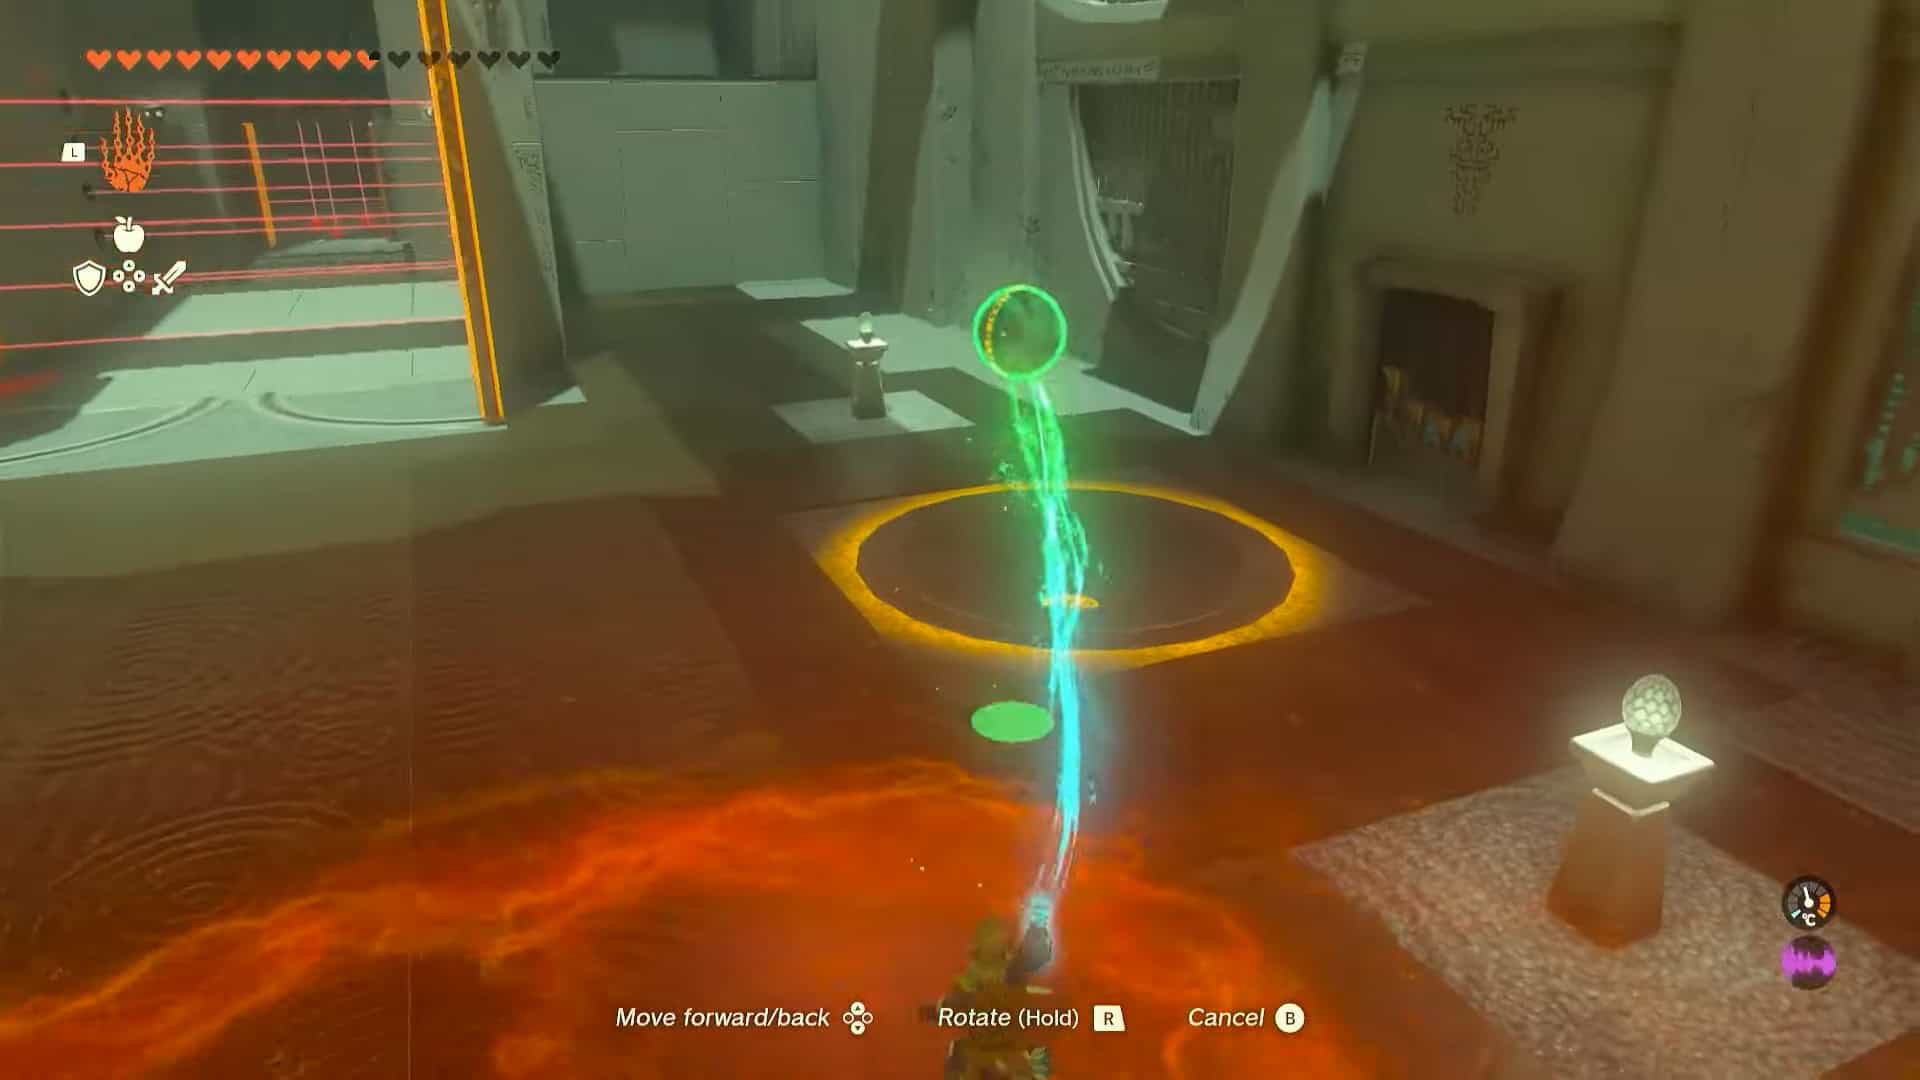
19. Use Ultrahand to remove the ball from the plane (grab the ball and then wiggle the right analog stick).
20. Place the orange ball in the receptacle to the right. This will open the altar room’s door and solve the puzzle.
21. Go inside the altar room and interact with Rauru and Sonia’s statues to earn a Light of Blessing as a reward.