
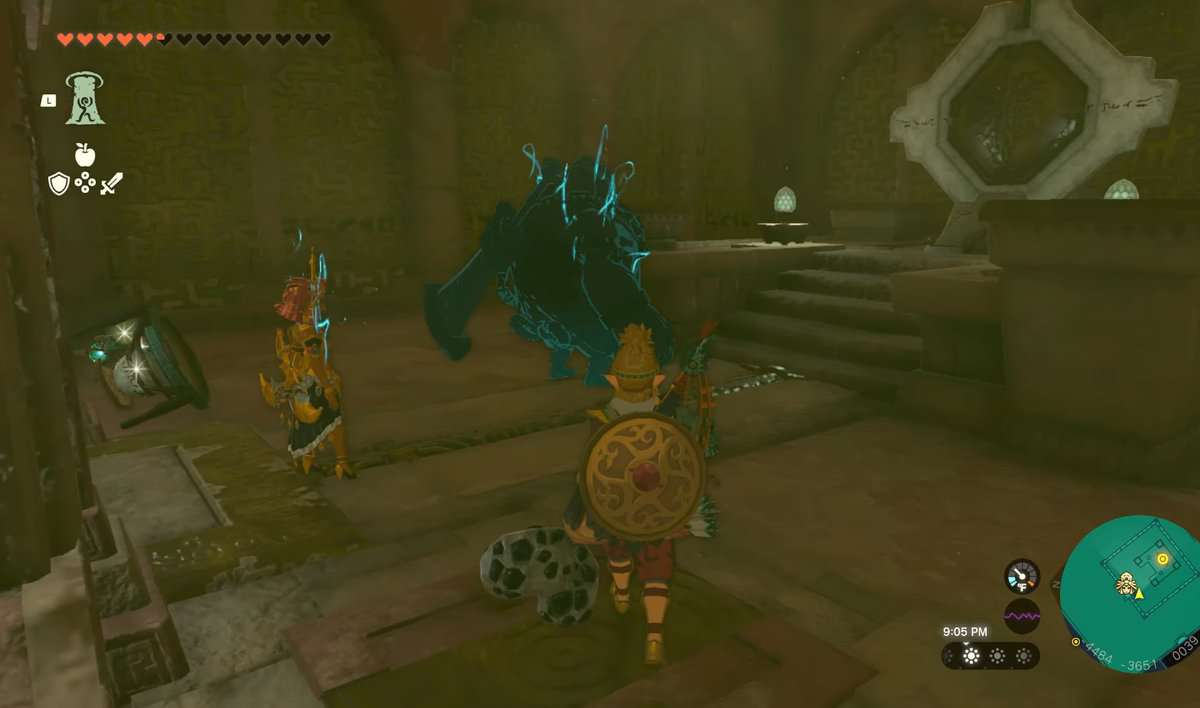
After defending Gerudo Town and solving the Mural riddle, players will finally enter the Lightning Temple in Zelda TotK. While players will be attacked by Queen Gibdo once they enter the temple, this isn’t the real boss fight. That happens after players complete the Lightning Temple puzzle in Zelda Tears of the Kingdom.
As for the puzzle itself, to complete the Lightning Temple during the Riju of Gerudo Town main quest, players need to charge four batteries in different areas of the temple. This will power it up and allow access to the end area of the temple in Zelda Tears of the Kingdom.
This objective has perplexed many players and stopped their way forward in the main quest. That’s why we have prepared this handy guide on how to charge these Lightning Temple batteries in Zelda TotK so you don’t feel the same frustration as other players.
How to charge batteries in Lightning Temple in Zelda Tears of the Kingdom
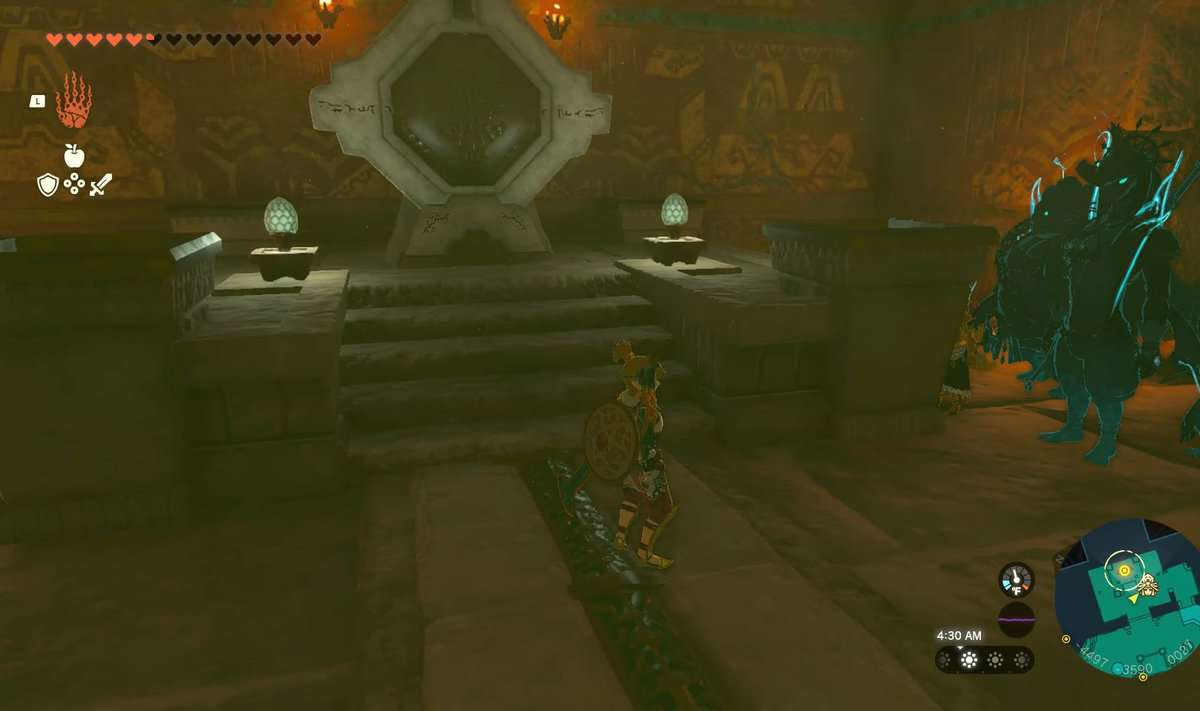
As you reach the last Temple room, you will stand on the platform and use the hologram/altar device. Resultantly, the elevator in the center of the room emerges, but then it goes down to its original position. You will hear a voice instructing that you must charge Lightning Temple four batteries in Zelda Tears of the Kingdom if you want the elevator to work.
Lightning Temple battery #01
You can reach the first battery from the same room (First Floor 1F) where you are present. Go to the right side of the hologram to see two giant brick-like stones from the hole. Using Ultrahand, pull both giant bricks out to make way for you and Riju.
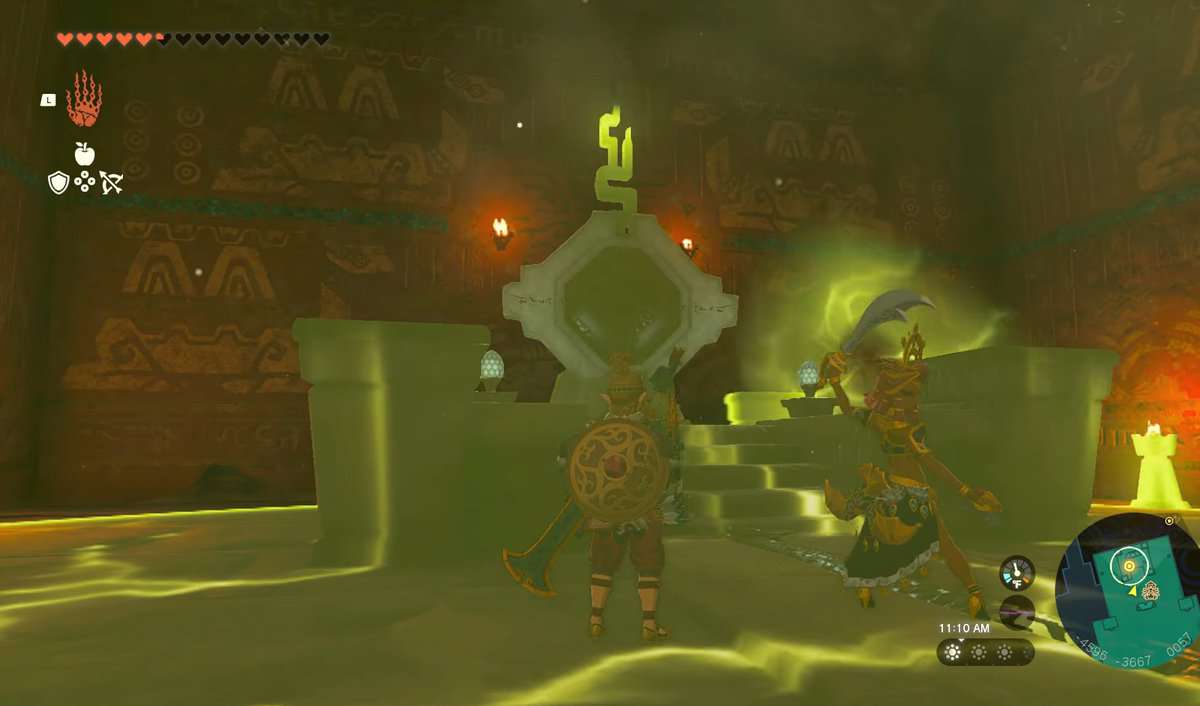
The first battery room in Zelda TotK is on your immediate left in the opened path. However, you cannot activate the Battery on your own. Now you must wait for Riju to reach you and ask her to use her lightning to help you.
Now go in front of the battery platform and hit it with your arrow. With this, the first lightning temple battery is charged. Now you must charge three more batteries in Zelda Tears of the Kingdom.
Lightning Temple battery #02
Return to the same room where we started our journey (1f). This time, move straight to the opposite side of the room. Ultrahand the brick to reveal the air hole, and enjoy the air ride for a few seconds.
Having reached the Lightning Temple 2F in Zelda Tears of the Kingdom, see for an opening in the corner with a flame.

That is where you need to land. On your immediate right are two circular Discs, both of them having triangular gaps. Rewind the disc using the Recall Ability of Link until both gaps are aligned.
Go through the gaps to reach a new room with a couple of giant stone bricks. Pull these out to make way for the light to pass. When the light touches the discs, they will instantly stop moving. Wait for a few moments until the light crosses to the other side of the temple in Zelda TotK and hits a barred metal gate.
The metal gate will be opened, allowing you to reach the Statue inside. Now move with the light and glide higher using the air pressure we already used before. As you land near the newly revealed statue, it goes a few steps back and makes a new path with stairs.
Going down the stairs, you will encounter a dangerous moveable trap with spikes in every inch. Pull one of the stone bricks on your right and put it between the moveable parts. This will stop their motion, and you can easily pass now.
Step on the floor button in the next room to immobilize the spiky trap so Riju in Zelda TotK can follow you. This room also has a spiky trap, but it’s moving upside down now. Grab one of the stone bricks vertically on your right, and put it under the trap.
Going straight, there is a room with light coming from underground. Drop down the left side opening where the wall parts are moving anti-clockwise. Using Ultrahand, grab the green Pencil-Like crystal and put it on the circular crystal behind the rotating walls. (to stop the movement for a while)
Pull the circular mirror from the sand piece and place it in the light source to reflect it to the crystal. The crystal becomes green as soon as the light touches it, making an opening above the light-source roof. Use the Ascend ability of Link to reach the upper floor in Zelda Tears of the Kingdom.
Move to your left and grab the mirror from the sand hump. Put it in the same light facing straight to the front side. This will turn the wall crystal’s color to green and make the way to access the Second Battery. You can now activate the Battery using Riju’s powers in Zelda TotK.
Lightning Temple battery #03
Make your way back to floor 1F (the starting place) and use the air pressure ride to reach the fifth floor 5F. A beam of lighting emerges from the wall, opening and hitting the statue. Use Link’s Ultrahand ability to push the statue on either side to allow the light to pass ahead.
Now run to the tail of the light beam, where you will see some sand blocking the statue’s movement. Use Korok Fond Guster to remove the sand and push the statue such that it stops the light from reaching the wall.
The light then reflects on the wall near another statue on the right. Go and push this statue to hit it with light. The light beam will hit the crystal statue a few floors above your level (Lightning Temple 6F). Go and stand under the platform where the light is hitting, and use the Ascend ability in Zelda TotK to move upwards.
Ascend again finally to reach the green crystal statue, which will immediately make way for you to cross after you set foot on the floor button.
The last path is through a room of lethal flames on your way ahead. Remember that you should stop gliding after your initial jump so that you can drop straight from the safe gaps.
Finally, you have reached the third Battery. Step on the floor button opposite the battery platform to clear the path for Riju. Use Riju’s innate power to charge the 3rd Battery in Zelda TotK.
Lightning Temple battery #04
Head to floor 1F to use the wind pressure. Using the wind, go to floor 5F again (where statues and light beams are lined up). Push the statue close to the light source to reflect the light toward the statue on your right.
Now go to the right statue and bring it before the light beam. This time, the reflection goes to 3F and hits the green crystal. Step on the plate to open the path ahead. Go upstairs to reach the next room and continue walking to the emerging light source.
Pick one of the balloons on your right and attach it to the metal plate. Put this on the light source and move to the right corner to obtain the circular mirror in Zelda Tears of the Kingdom.
Attach this mirror to the balloon-metal plate (facing the wall) and pick up a torch from the pillar to light the balloon. The giant metal gate below it opens as the reflection hits the crystal, making it green. This was the only blockage that could stop you from accessing the last Battery.

Jump from the balloon to the final room and charge the 4th Battery using Riju’s powers in Zelda Tears of the Kingdom. After you have charged all four lightning temple batteries in Zelda Tears of the Kingdom, you can proceed to the next objective of the main story mission Riju of Gerudo Town, the second Queen Gibdo Fight.