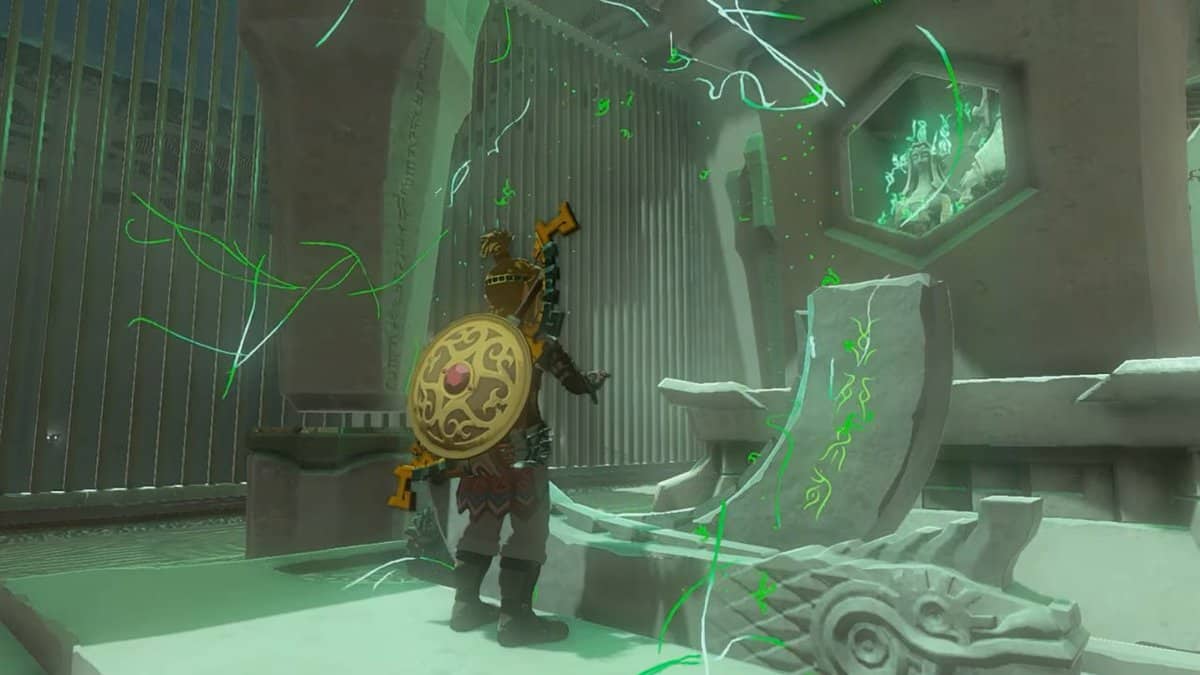
Kitawak Shrine in Zelda: Tears of the Kingdom offers players a lot of flexibility to solve their puzzles. This shrine is all about moving forward by creating bridges over gaps. You can simply bypass them with the spring shield or rocket shield.
In this guide, we will teach you how to complete the Kitawak shrine as it was intended by the developers in Zelda: Tears of the Kingdom. We still recommend that you stock up on some zonai rockets and springs from the zonai device dispensers.
Kitawak Shrine Location in Zelda: TotK
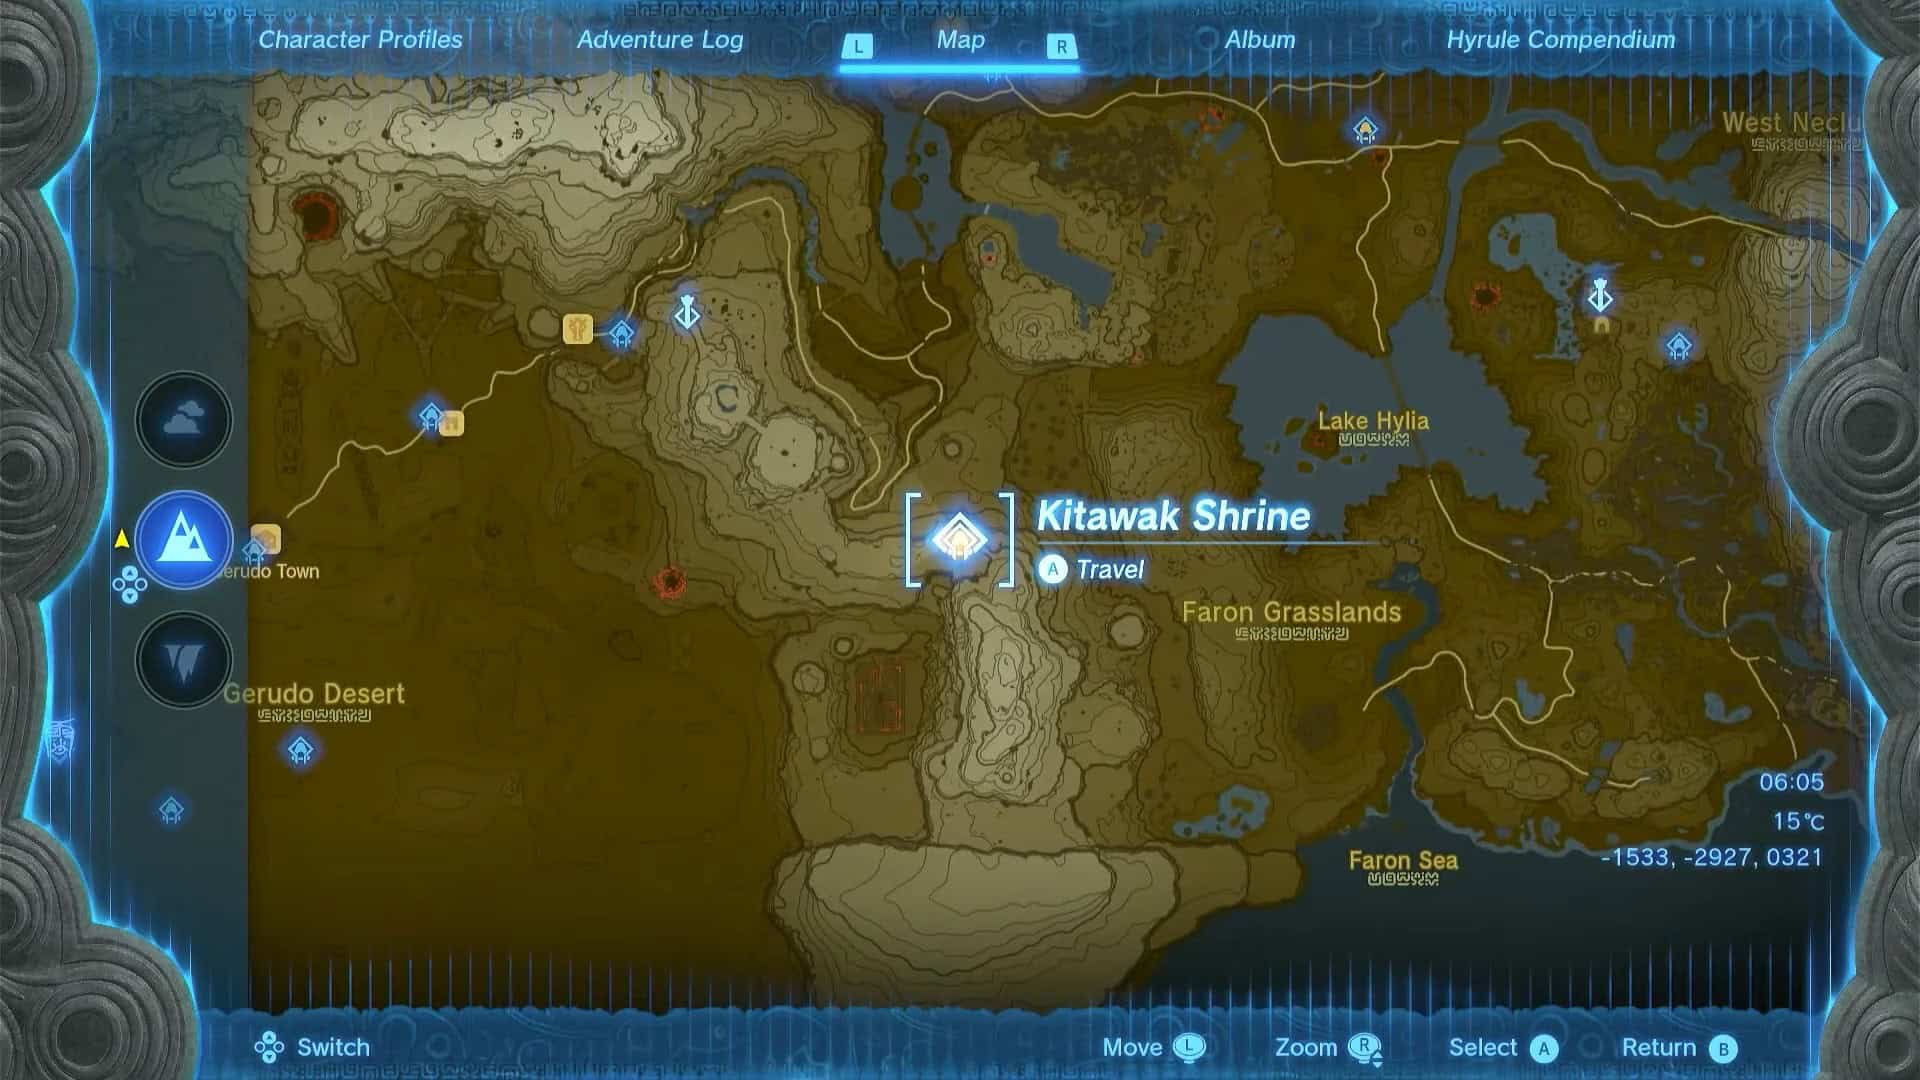
Kitawak Shrine is located in East Gerudo Mesa, east of the Gerudo Desert and Gerudo Town.
The exact coordinates for the Kitawak shrine in Zelda: Tears of the Kingdom are (-1533, -2927, 0321). It is to the North of Mount Granajh and south of Stalry Plateau.
Kitawak Shrine Walkthrough
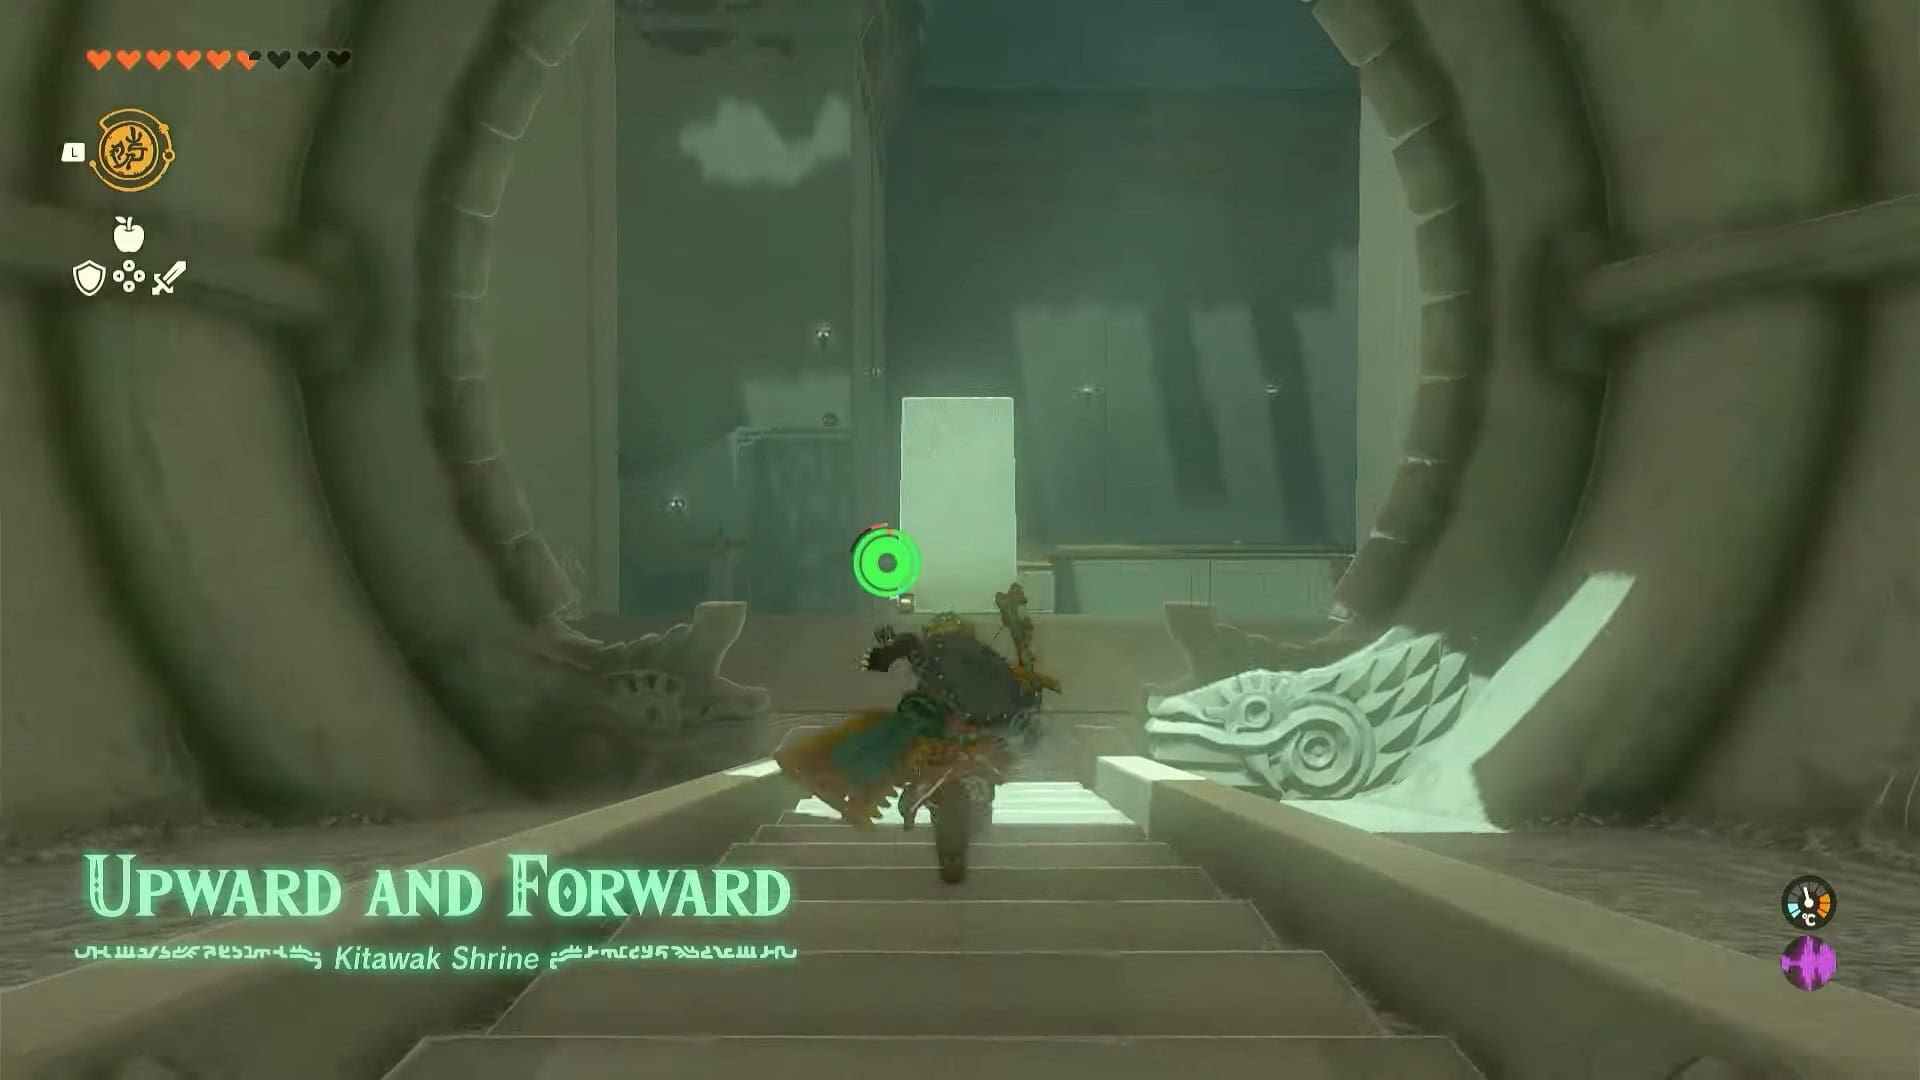
The trial presented by Kitawak Shrine in Zelda: Tears of the Kingdom is known as Upward and Forward. To solve this puzzle, you need to use planks to create various structures to proceed forward.
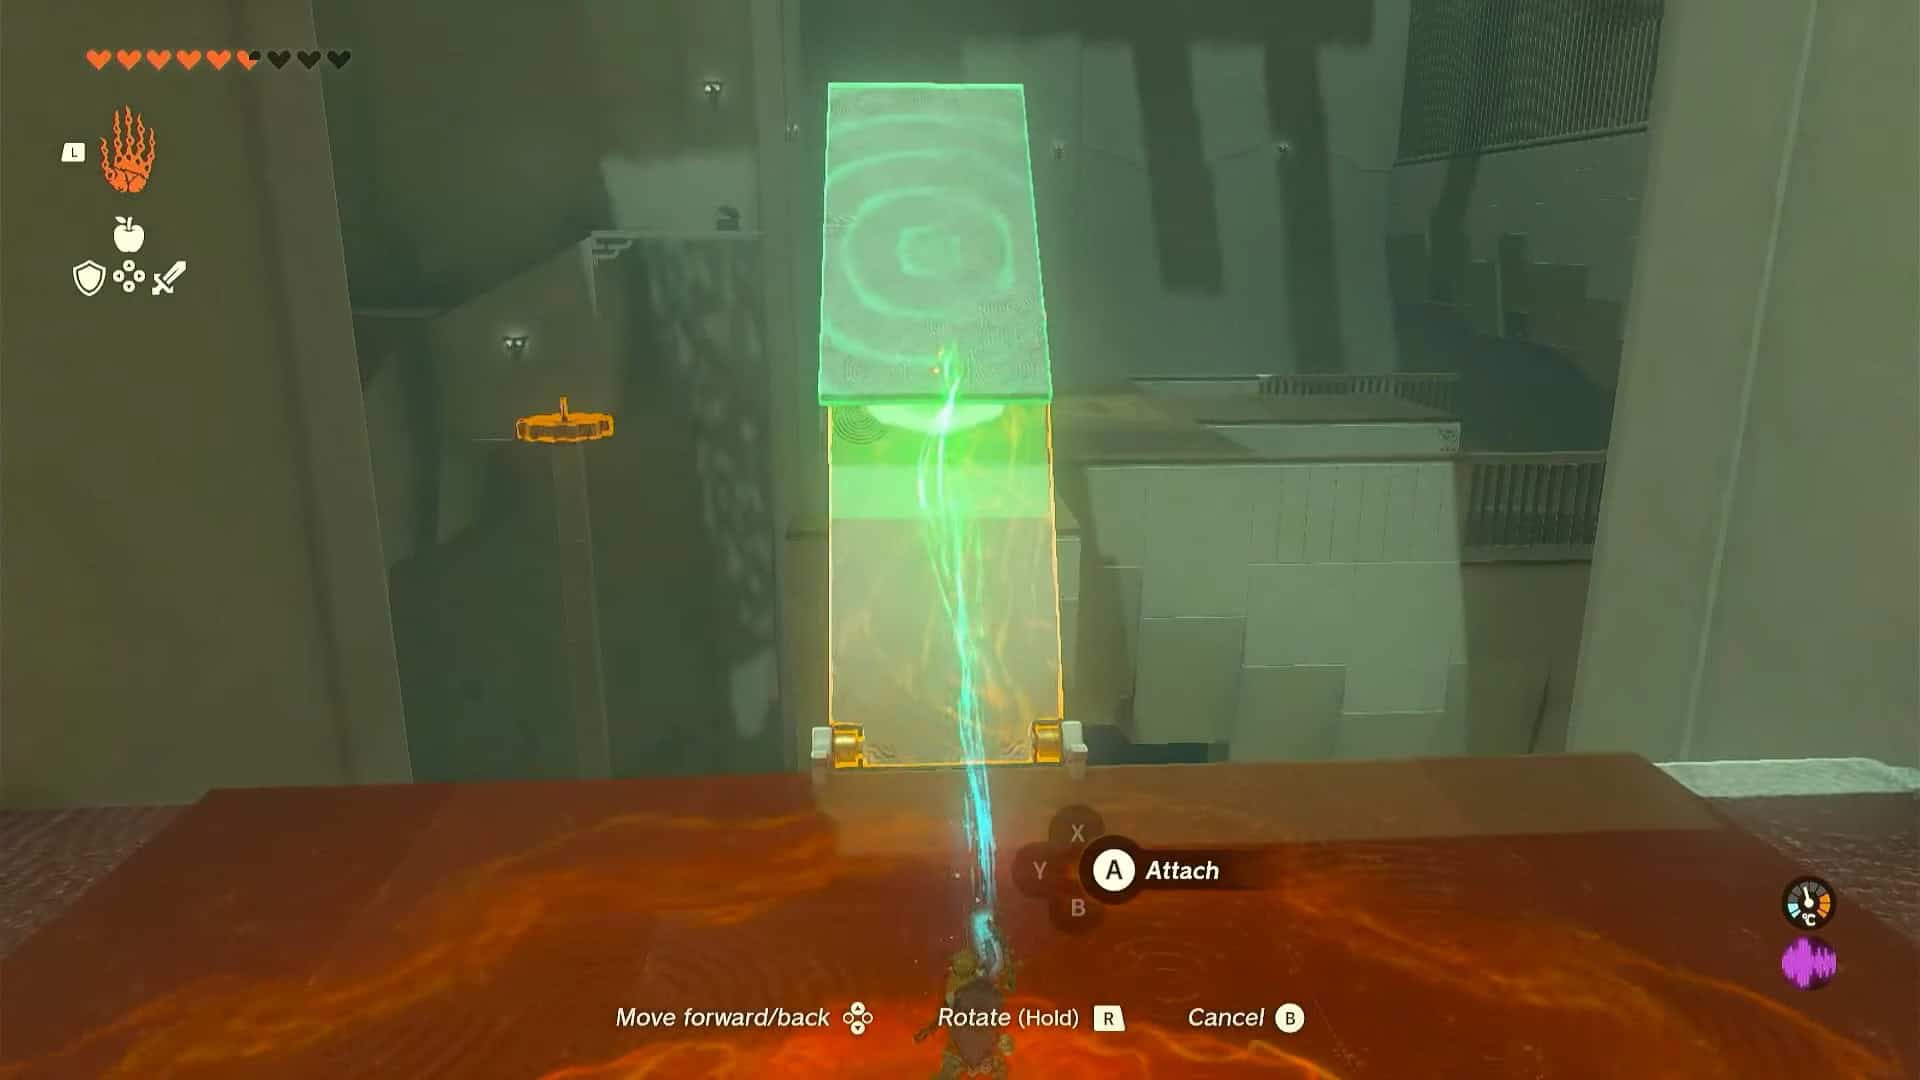
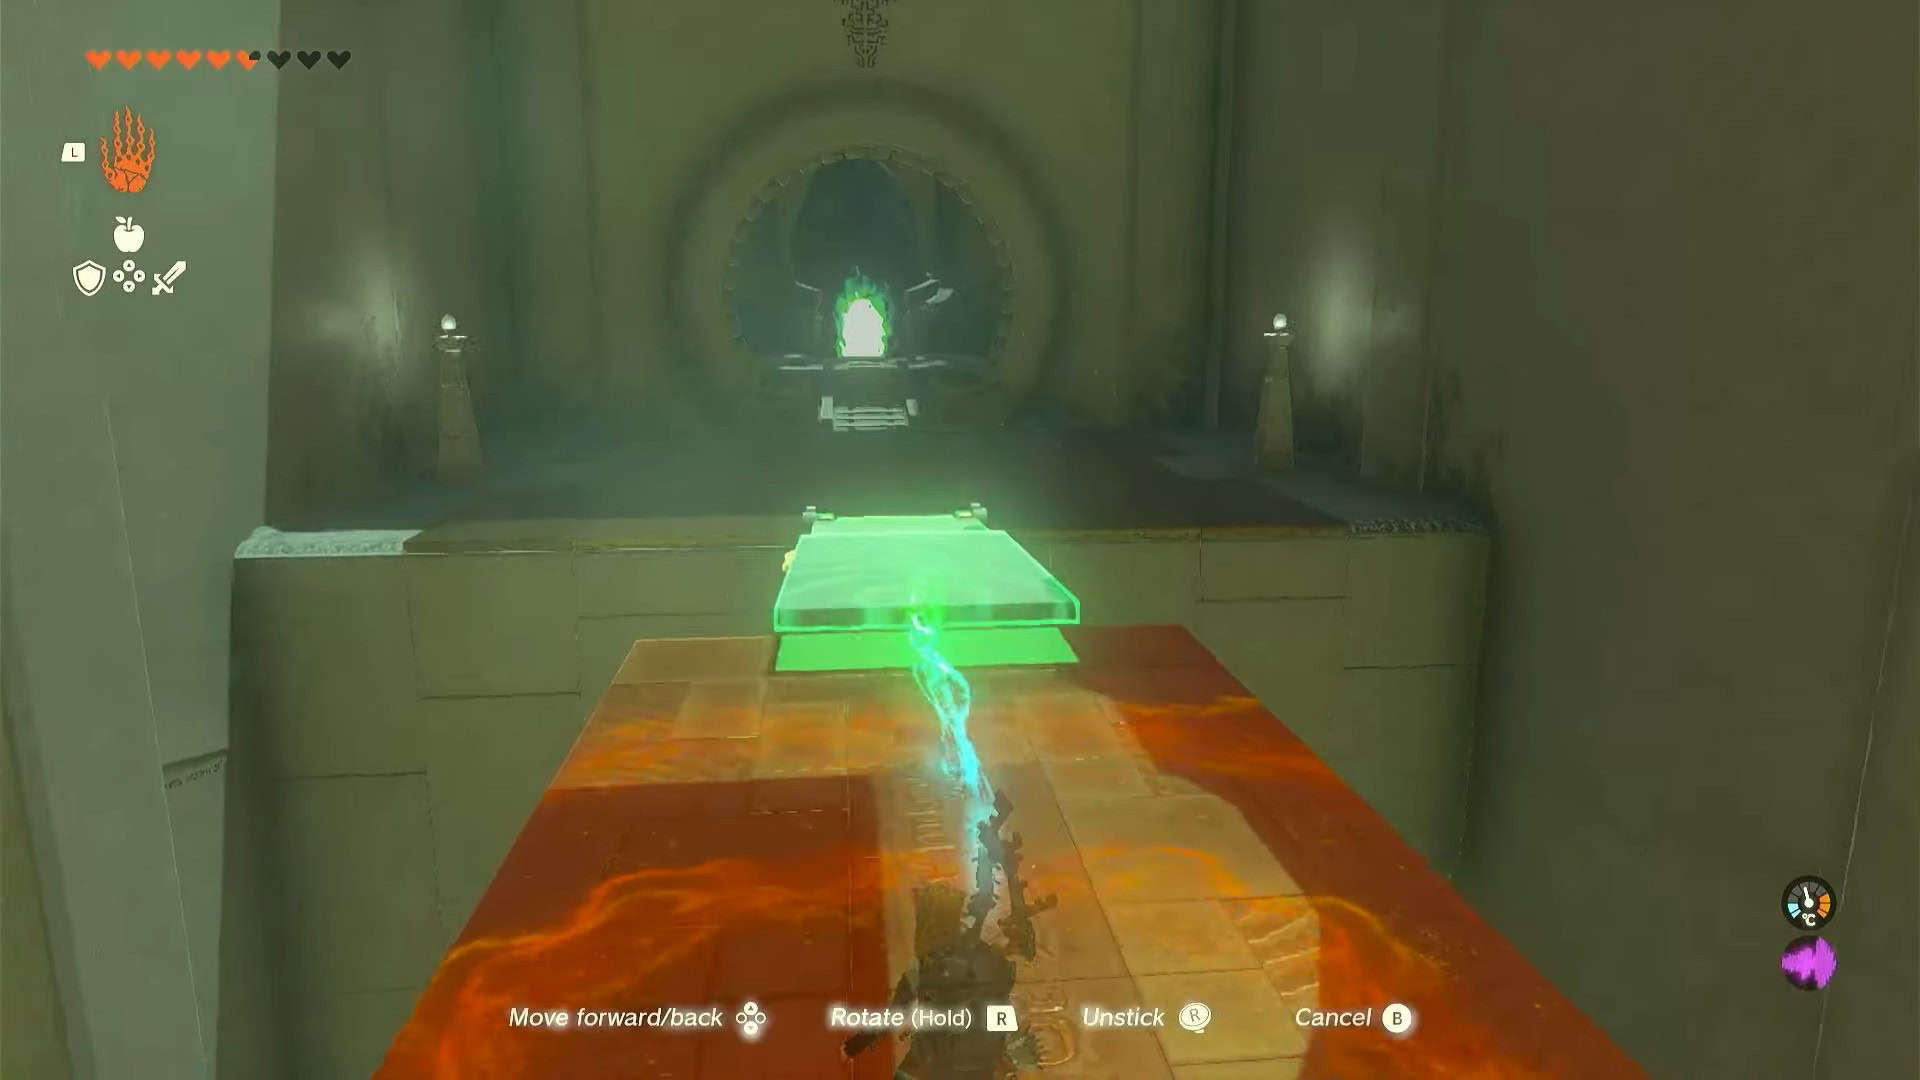
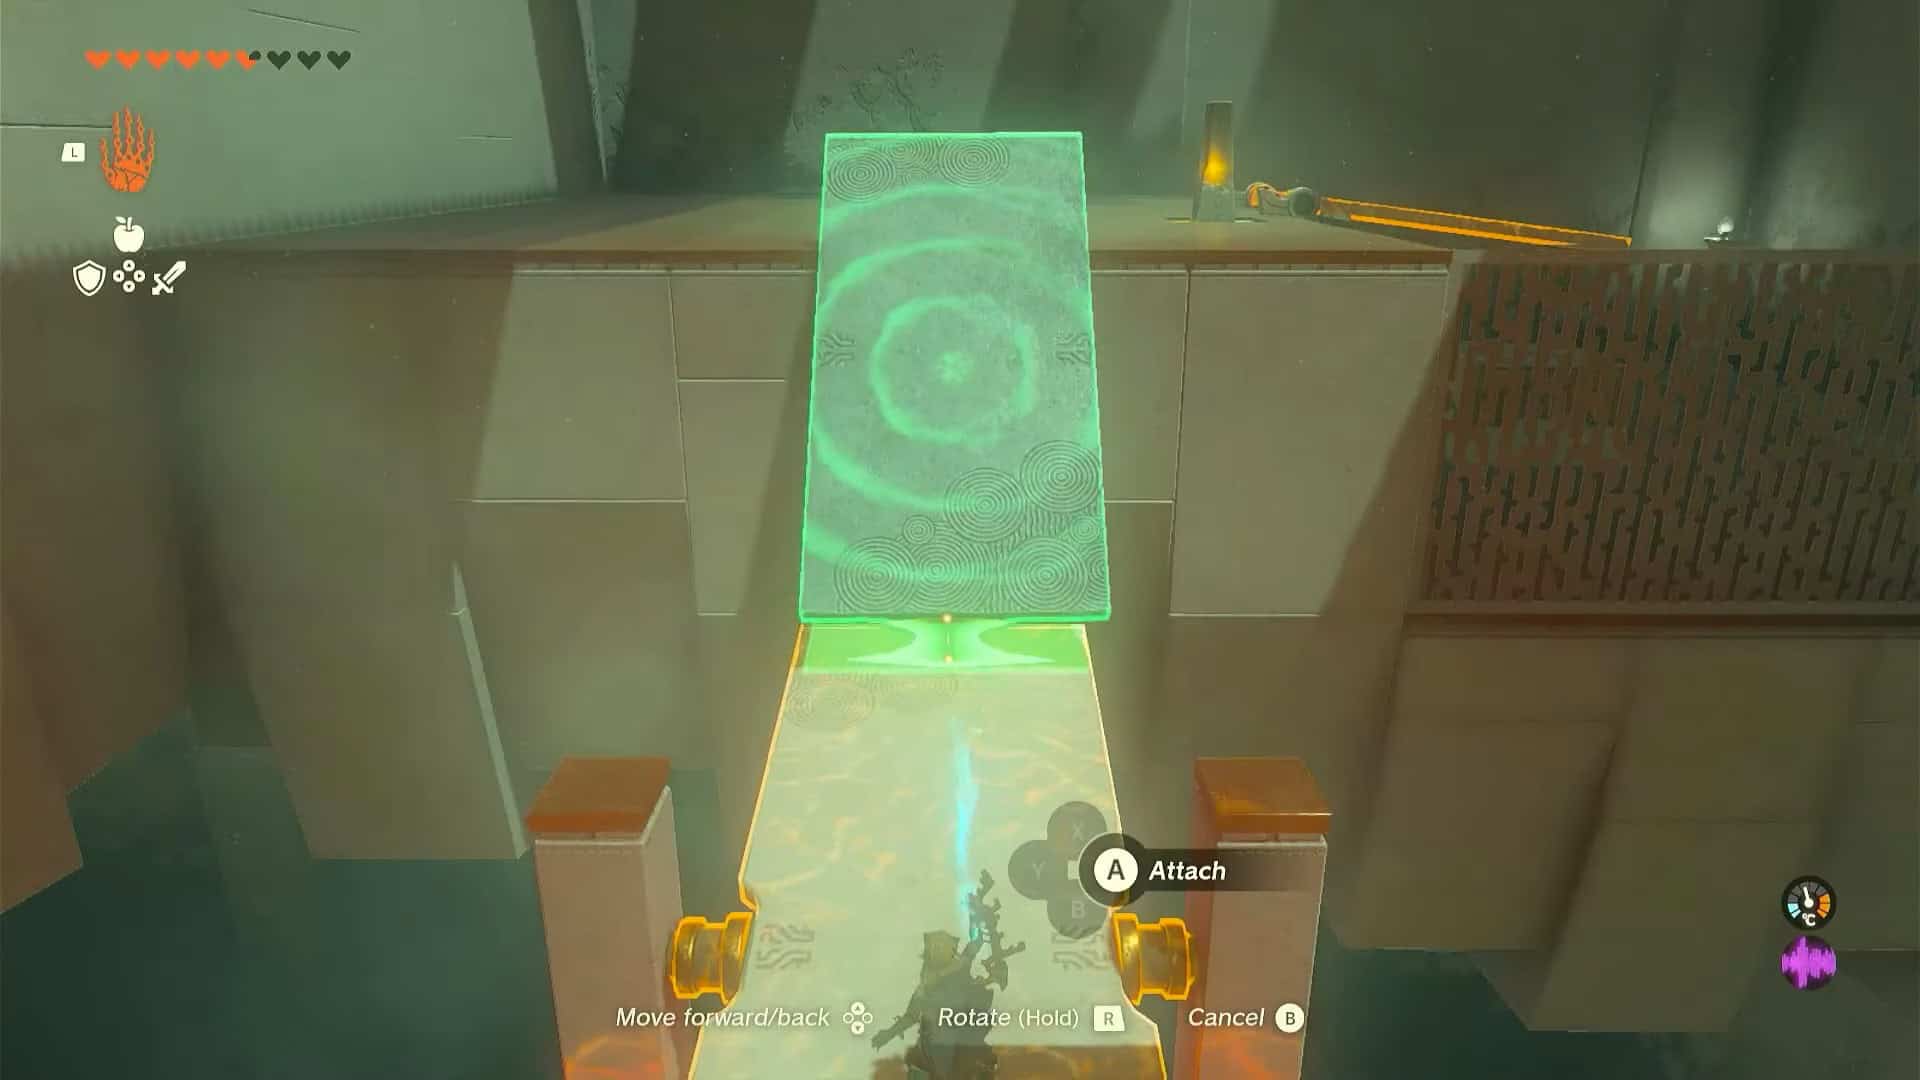
1. From the entrance of the shrine, turn right to find a metal plank. Pick it up with Ultrahand and rotate it to make it face forward.
2. Attach the plank to another one to create a makeshift bridge. The second plank will fall due to weight, allowing players to proceed.
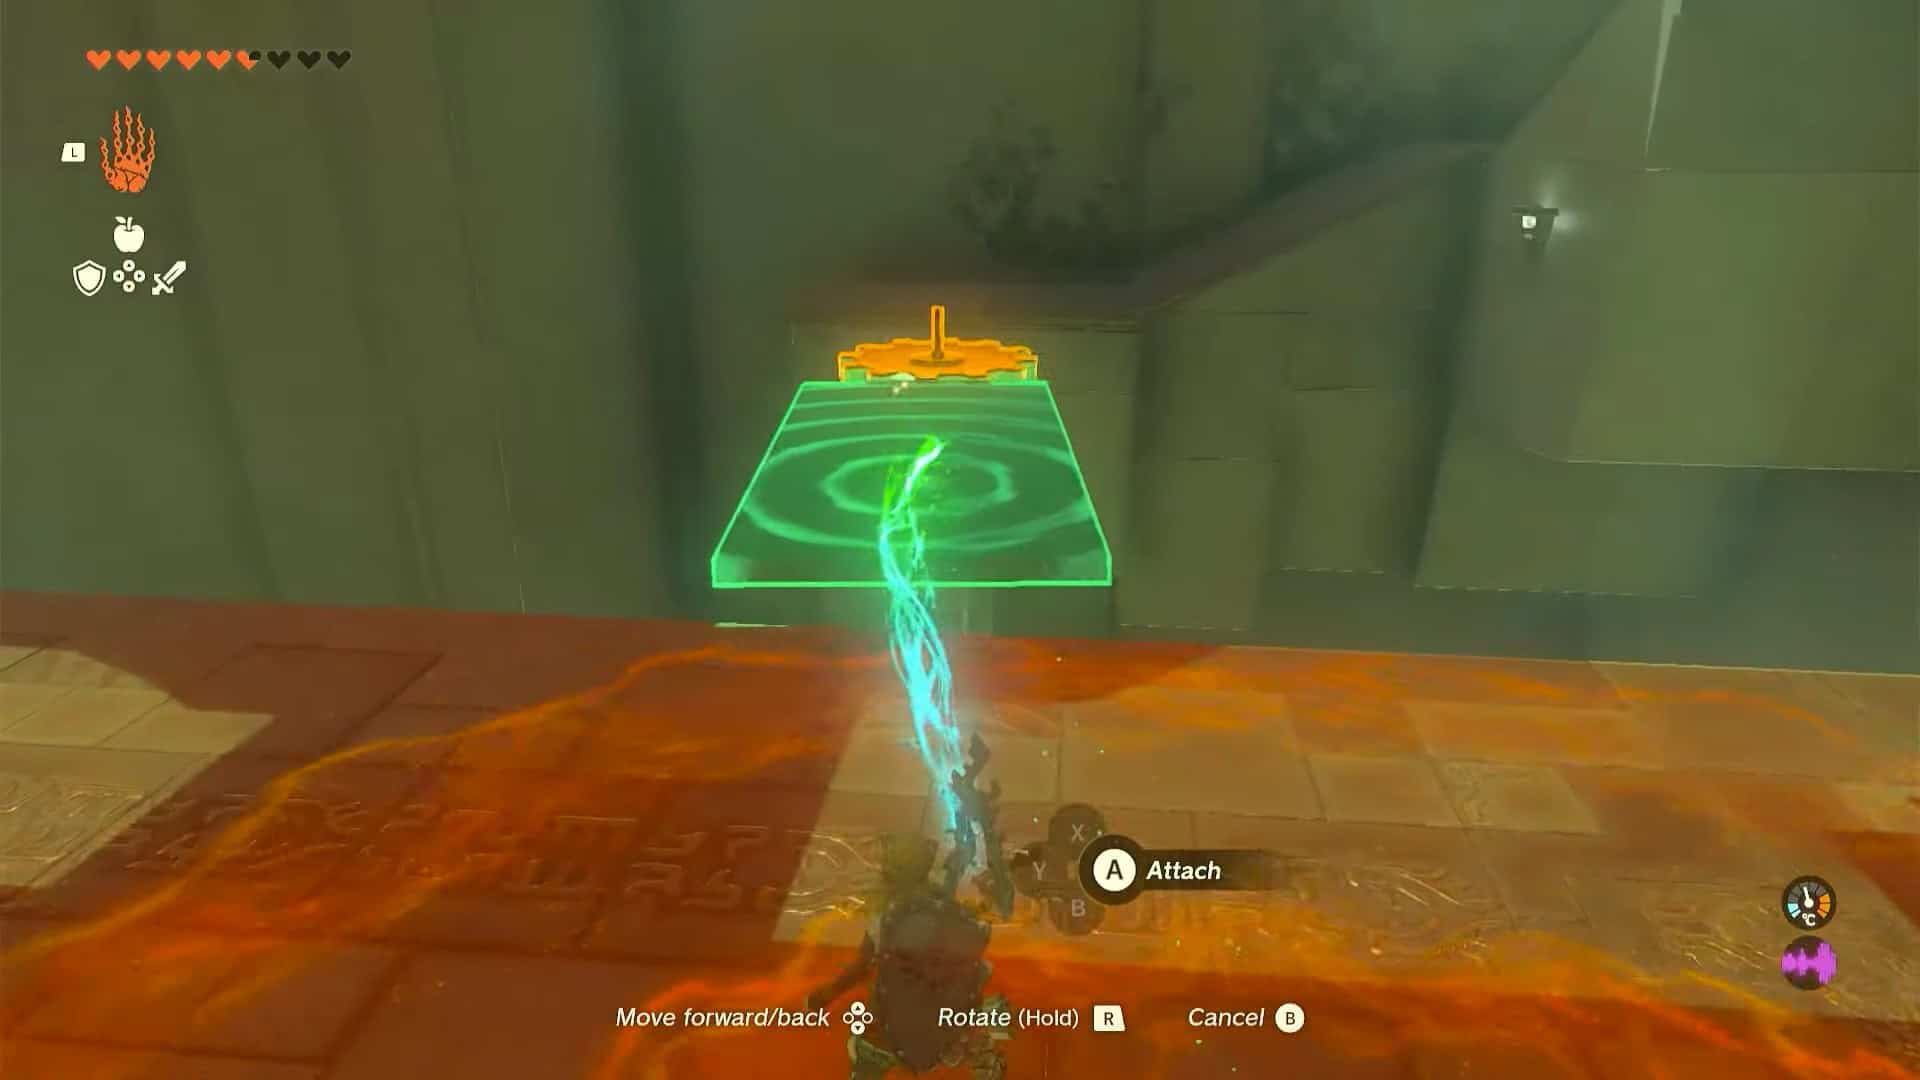
3. Turn back and unstick the plank you previously attached. Rotate this plank horizontally and attach it to the rotating gear to the left.
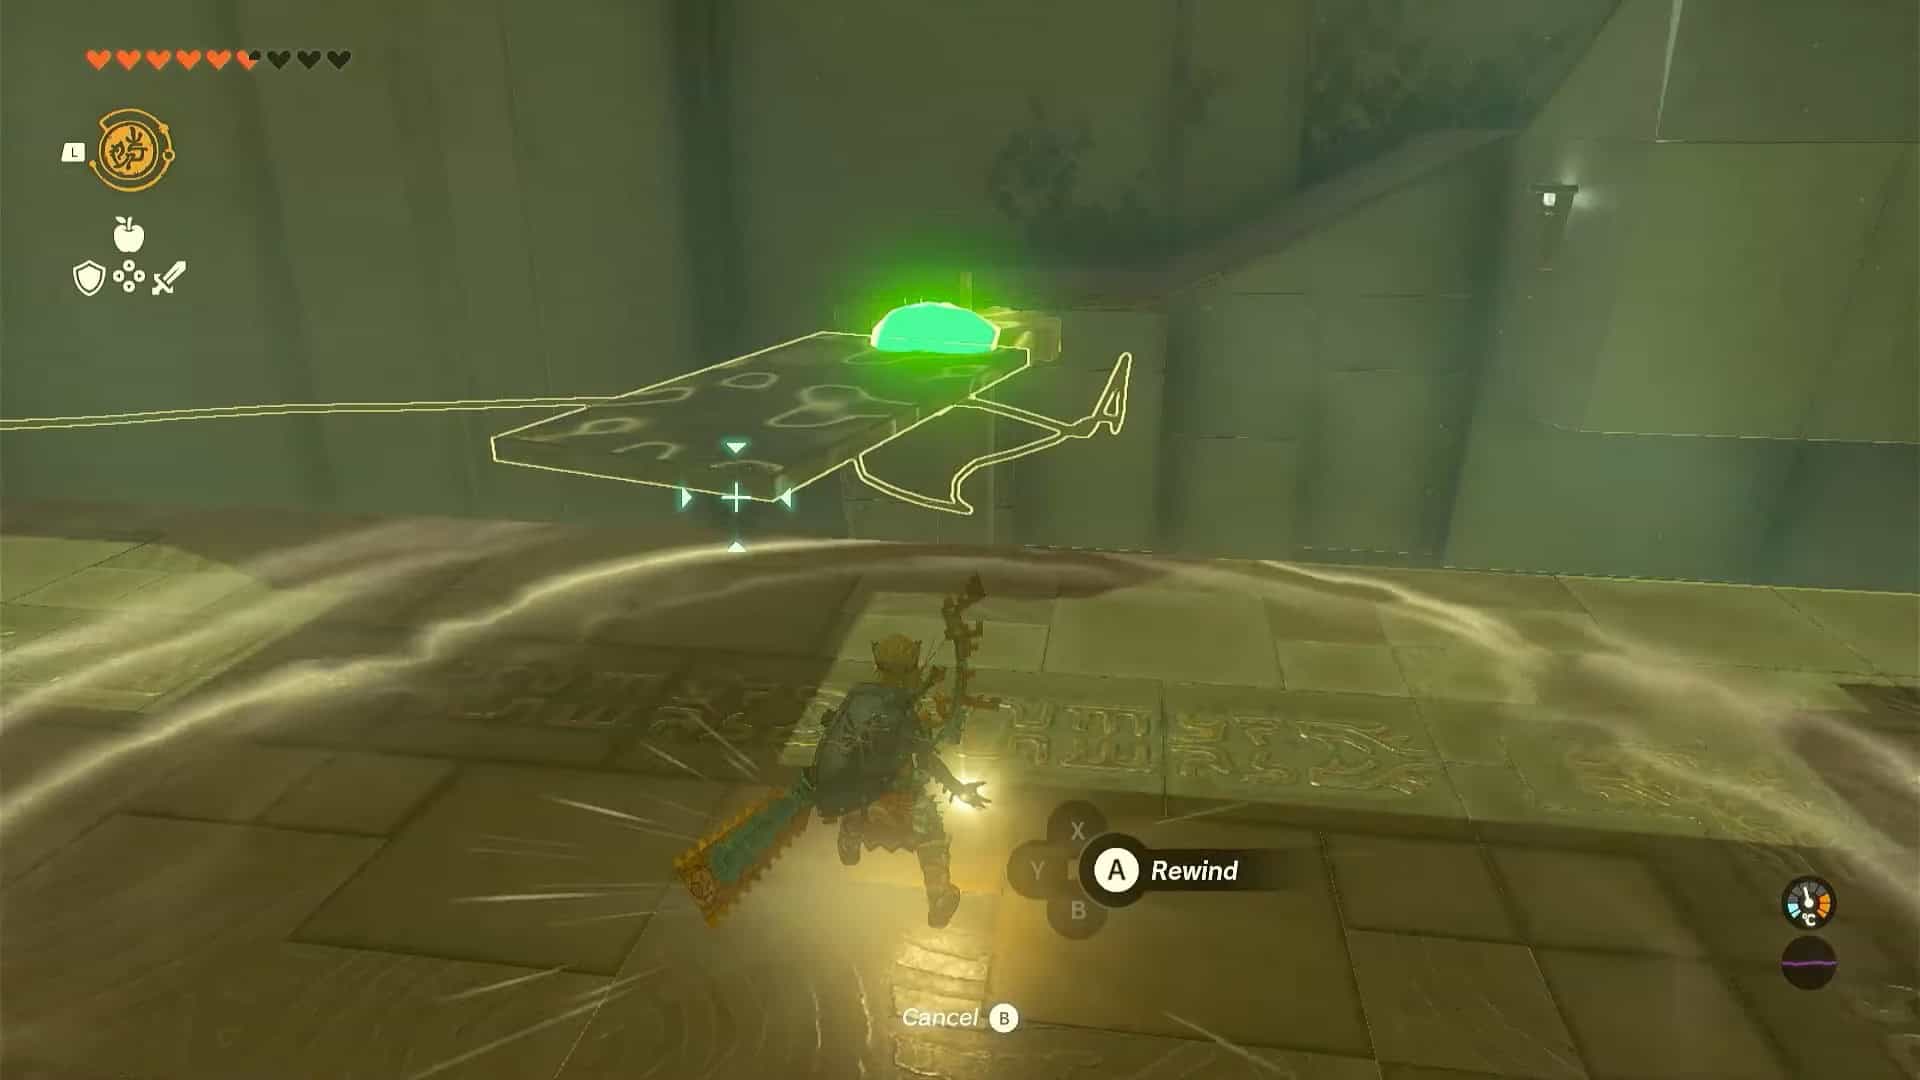
4. Use the Recall ability on the gear to make it rotate counterclockwise. Use the plank to reach the next area.
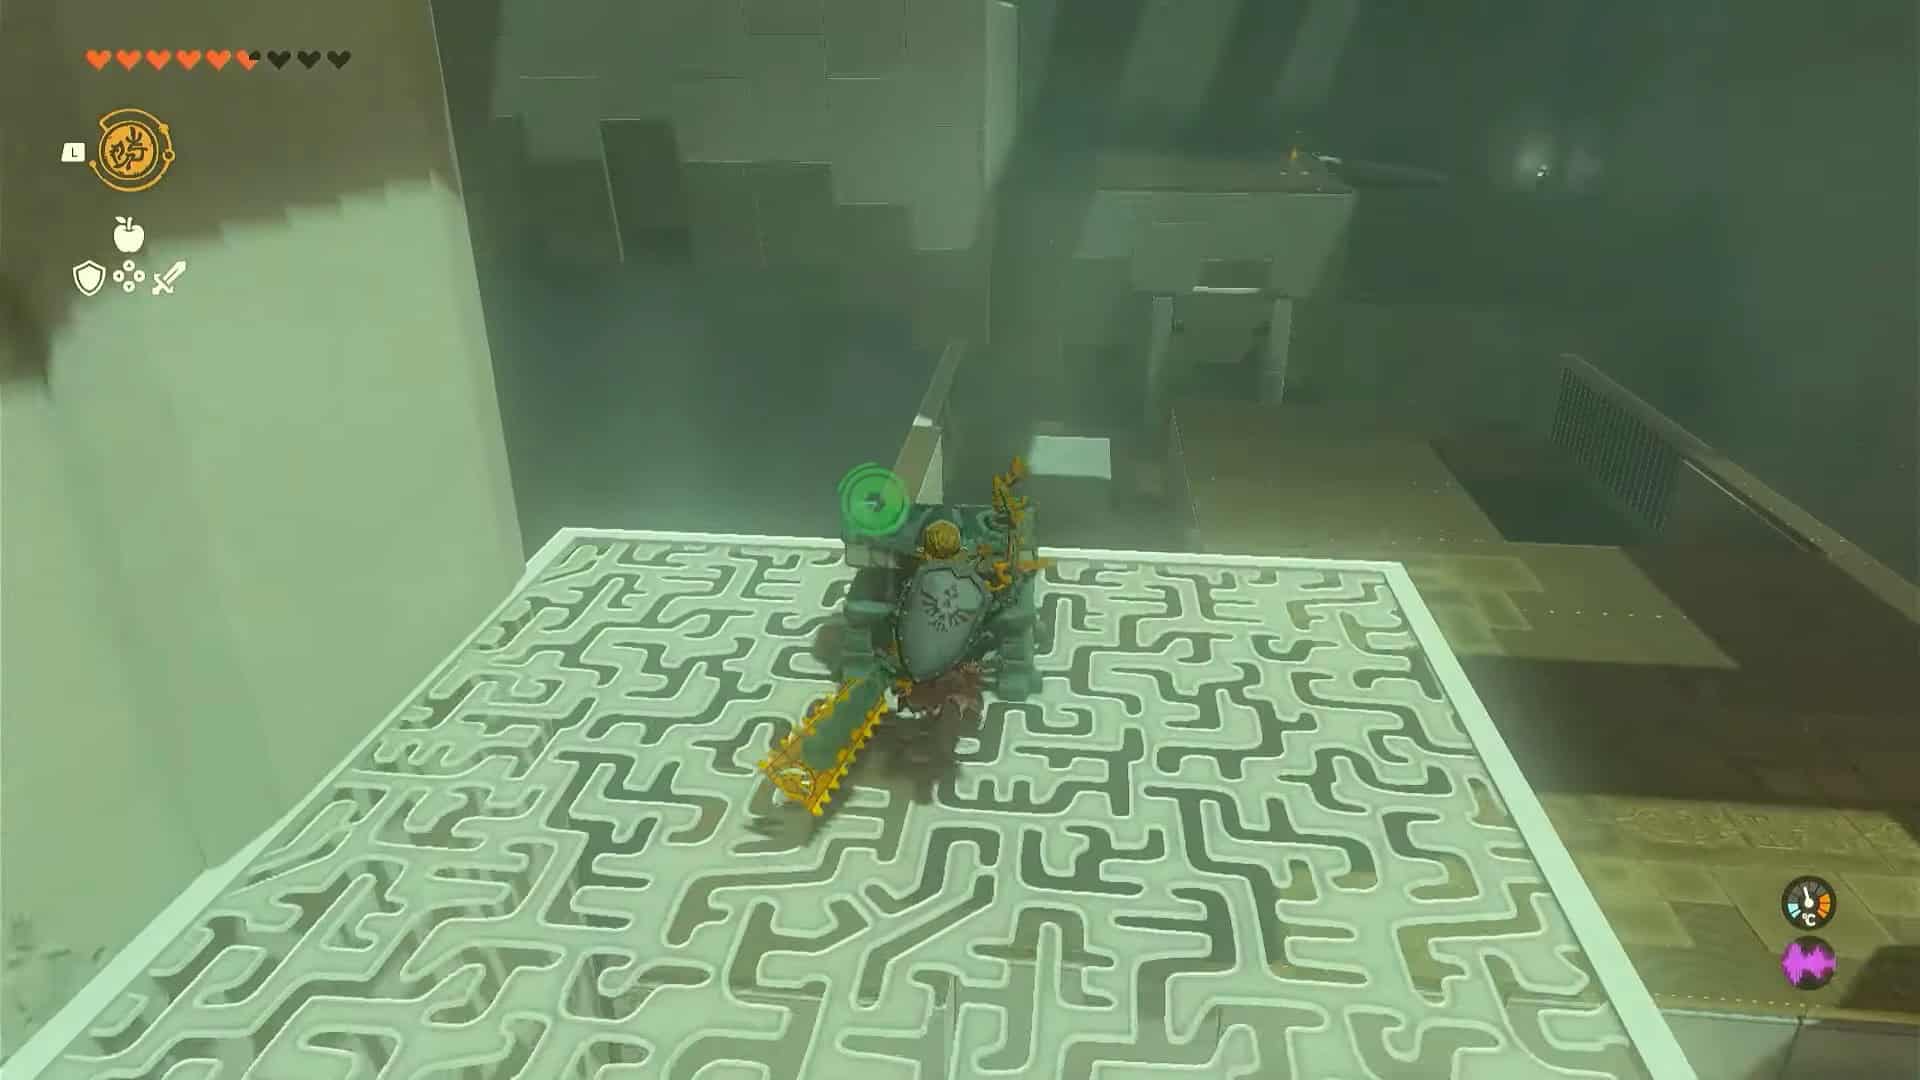
5. Climb the stairs to find a treasure chest. Open it to obtain 10x Arrows.
6. Glide down to reach the area where you attached the plank to the gear. Remove the plank once more and take it forward.
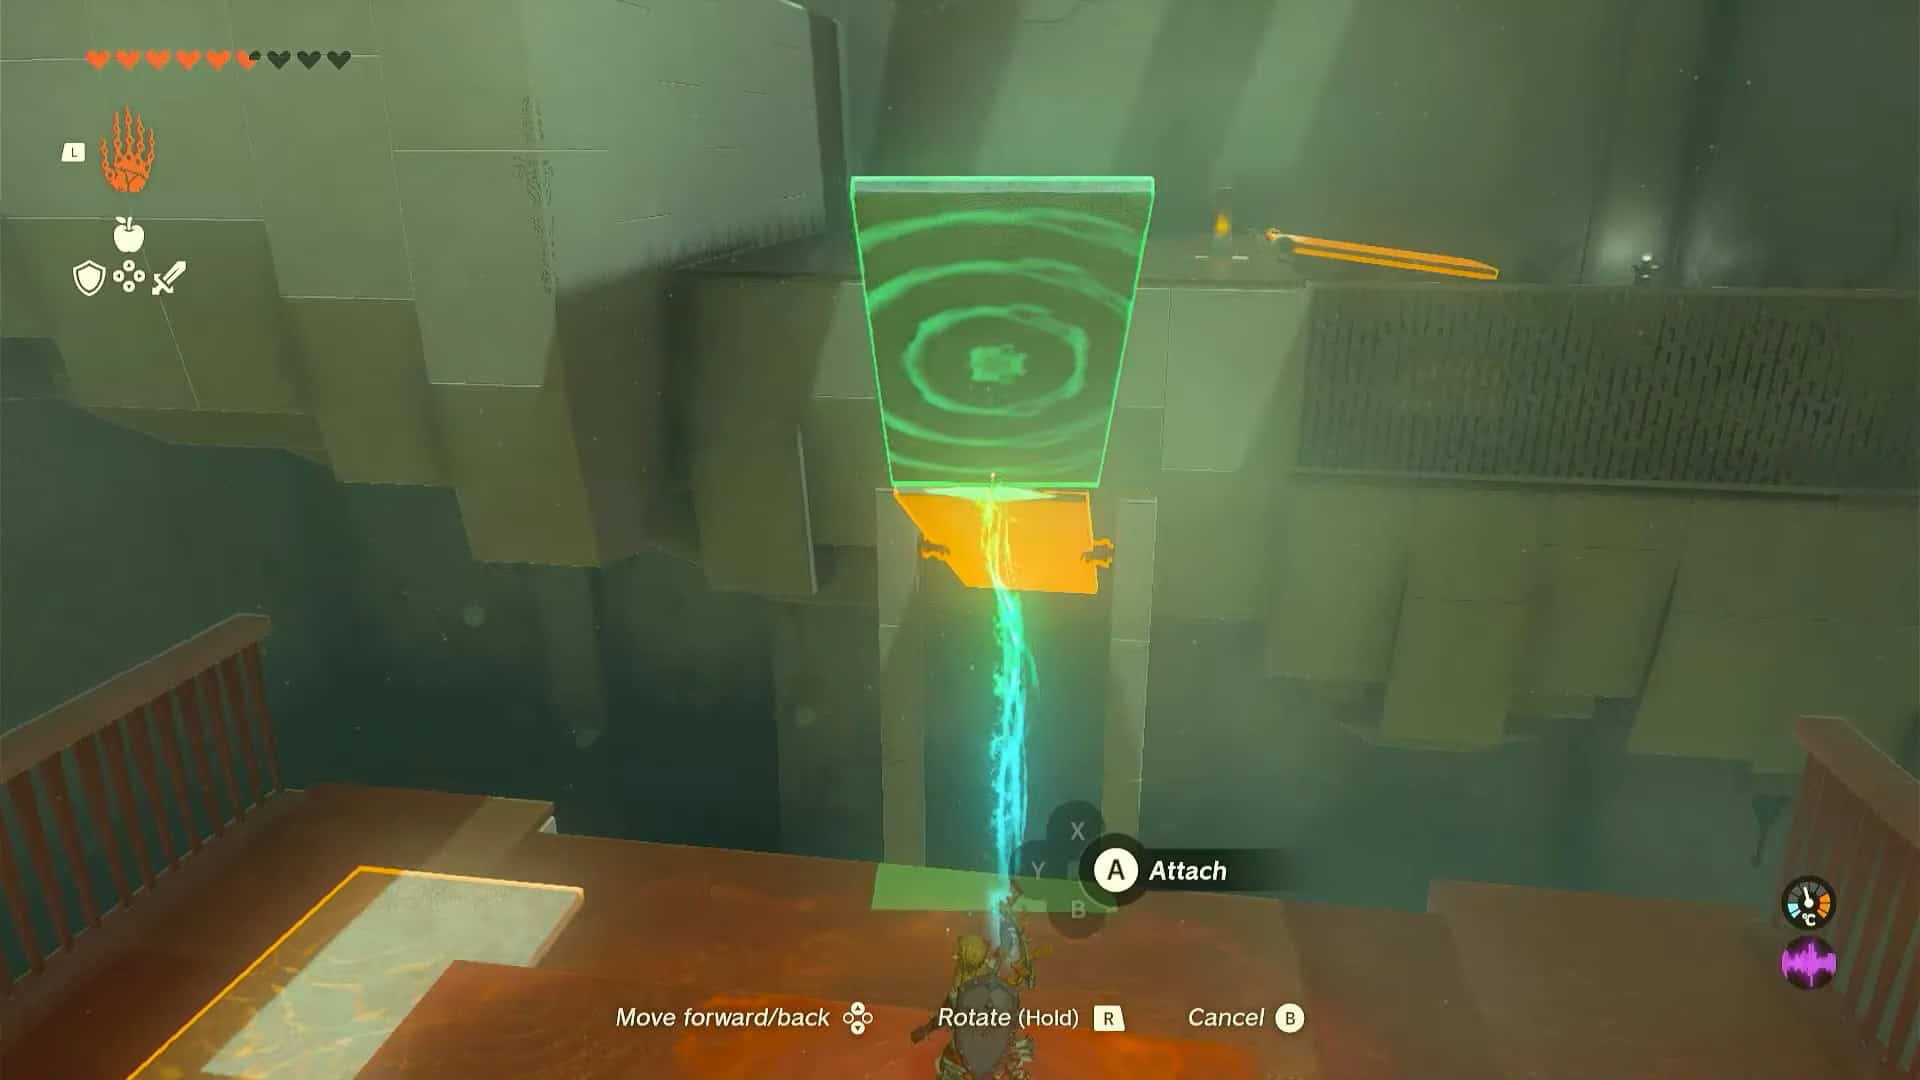
7. Turn the plank into an inclined position (refer to the picture above) and attach it to another plank in the same position.
8. Pick up the third plank and rotate it to make it inclined in the opposite direction. Attach it to the other two planks to create a bridge.
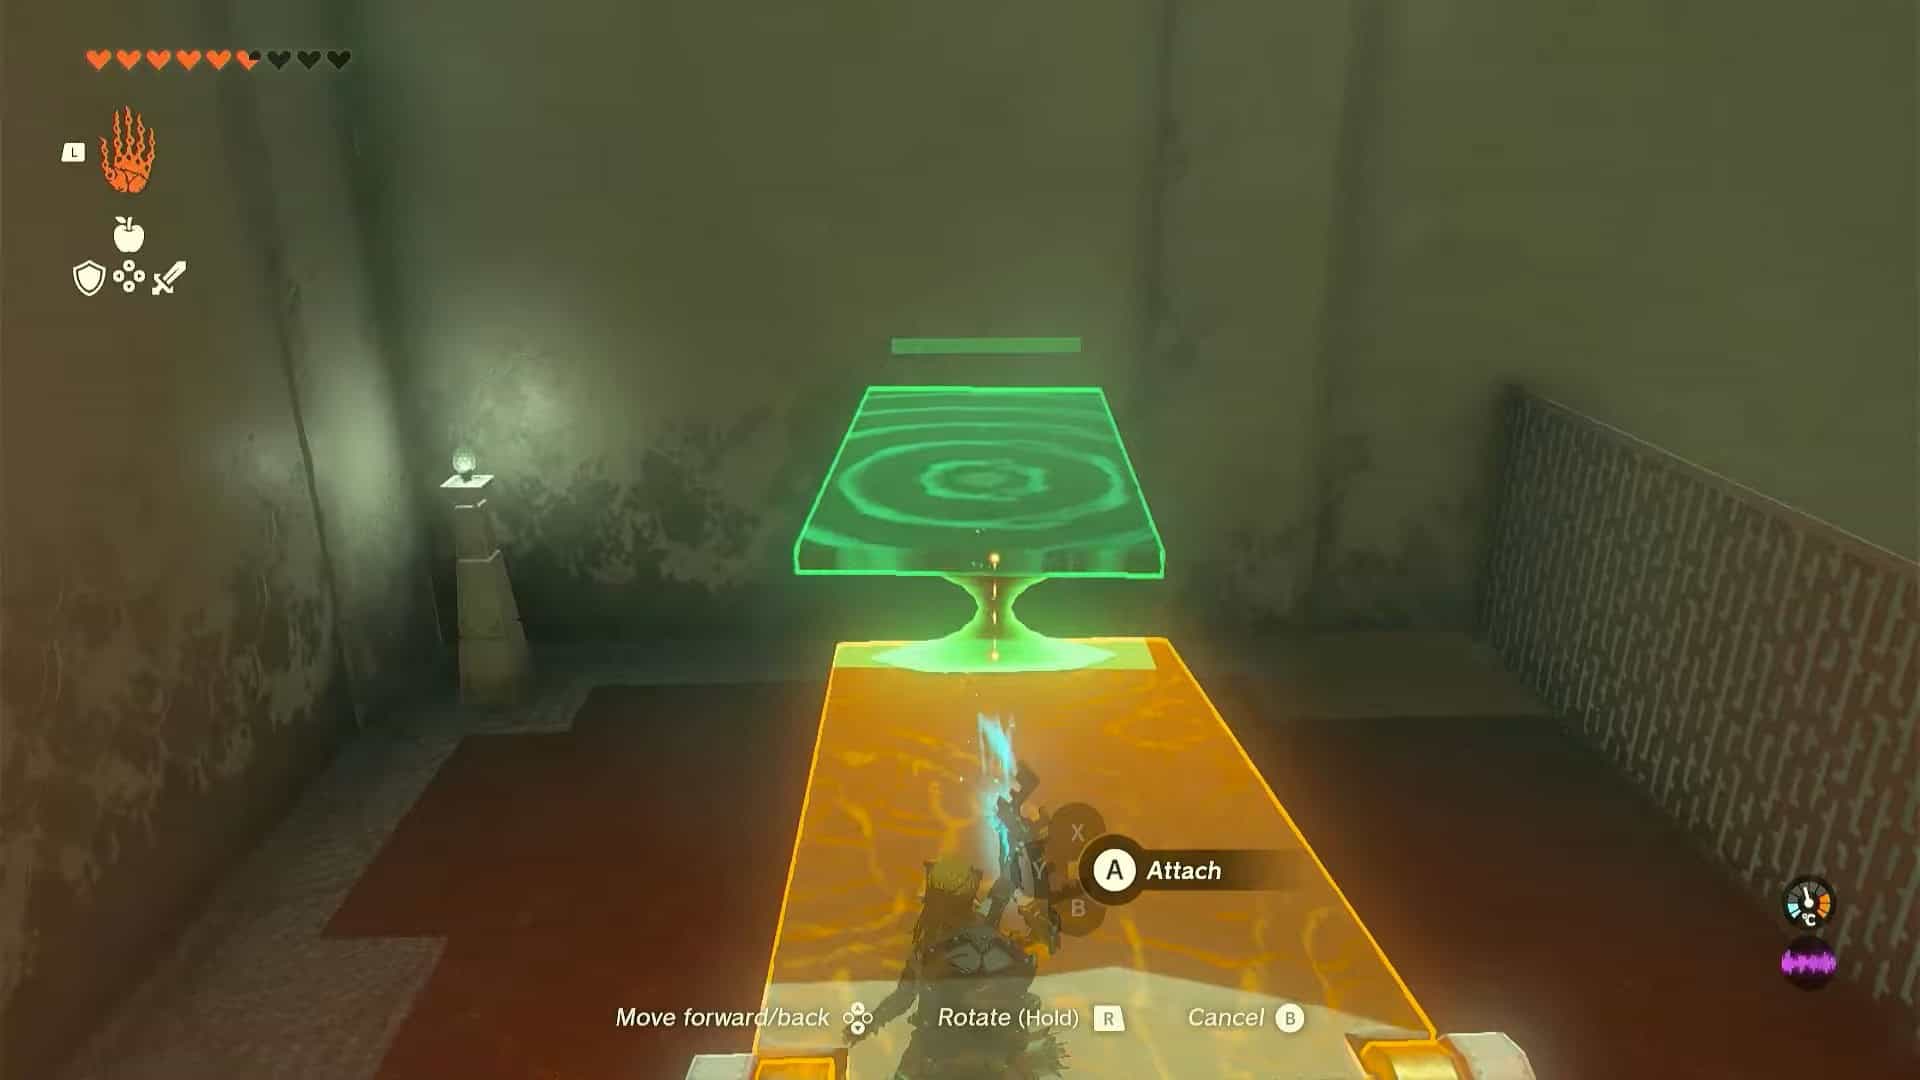
9. Remove the third plank from the previous bridge and attach it to the new one near the orange switch.
10. Stand at the edge of the plank and hit the switch with an arrow. You can also throw a weapon at it if you don’t have any arrows left.
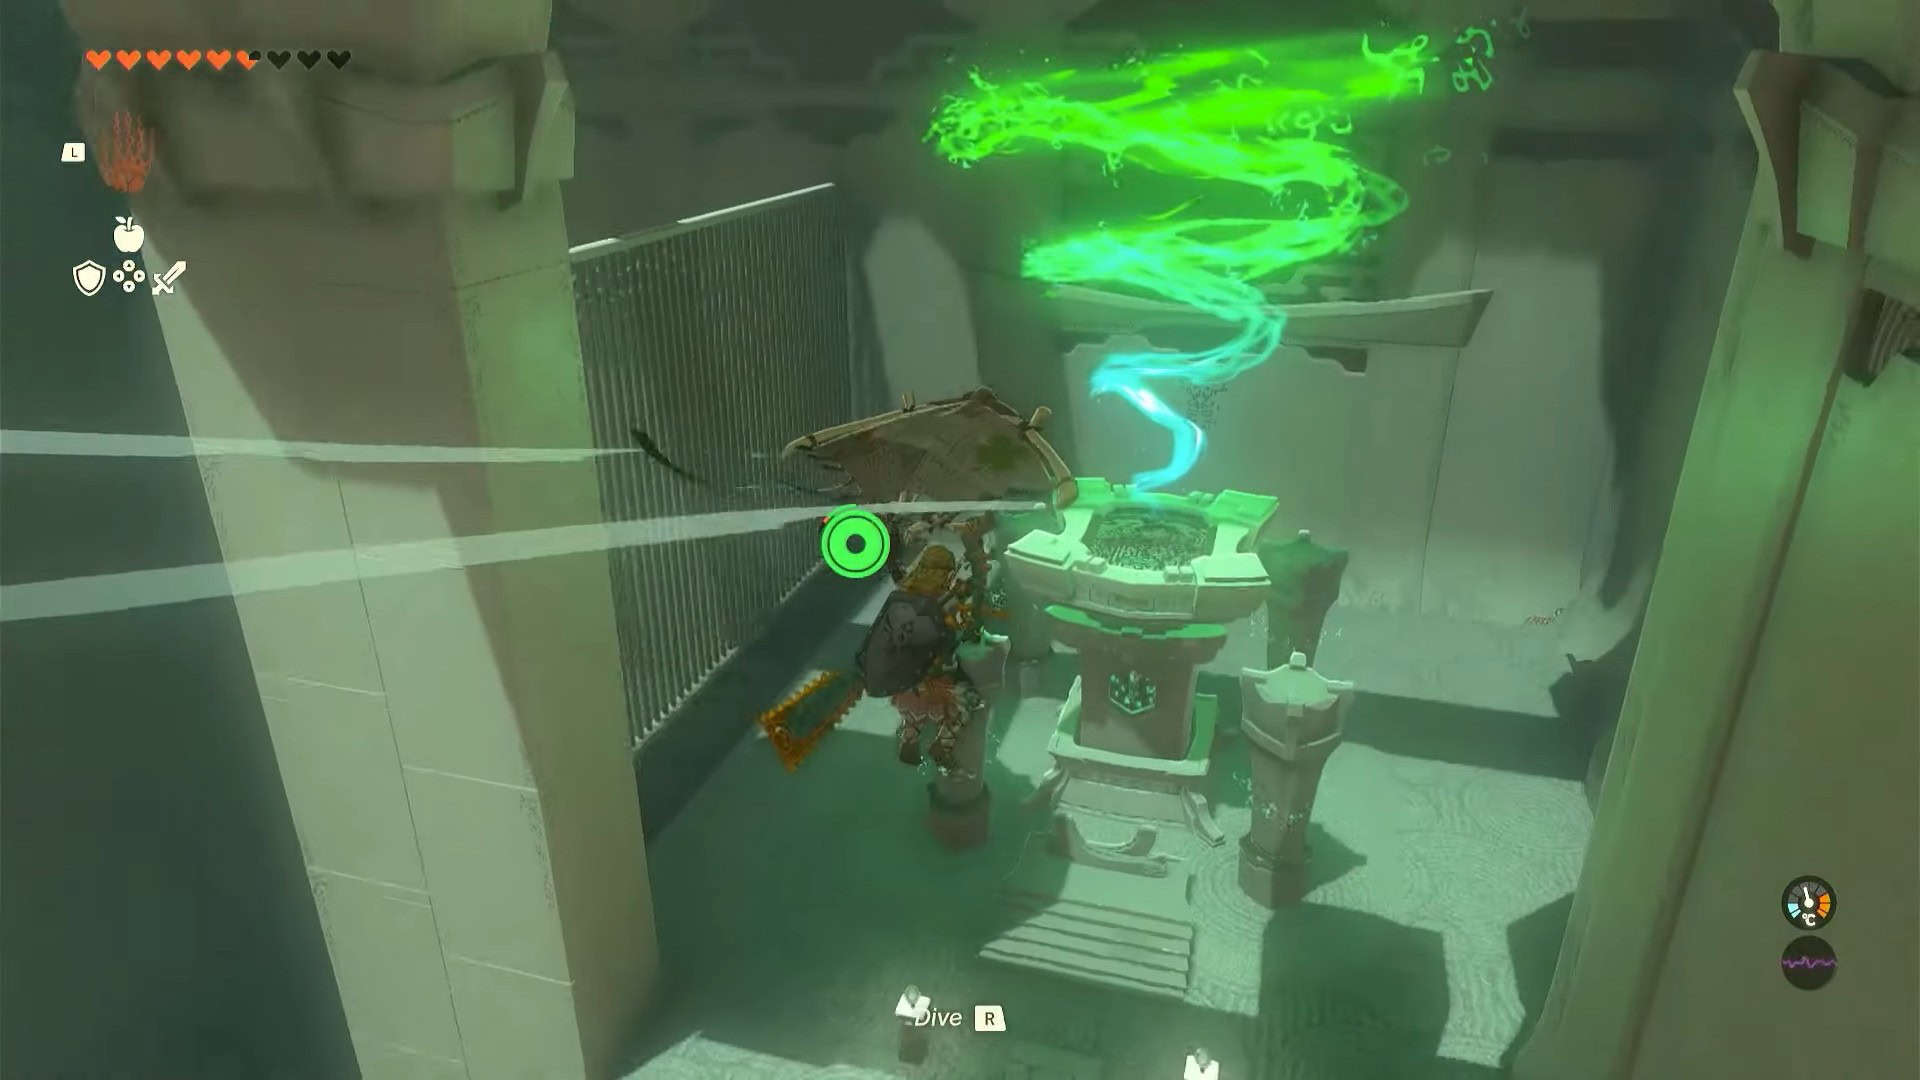
11. This will make you fly into the air. Glide towards the back of the plank to find the altar room.
12. Interact with Rauru and Sonia’s statues to complete the trial and earn a Light of Blessing as a reward.