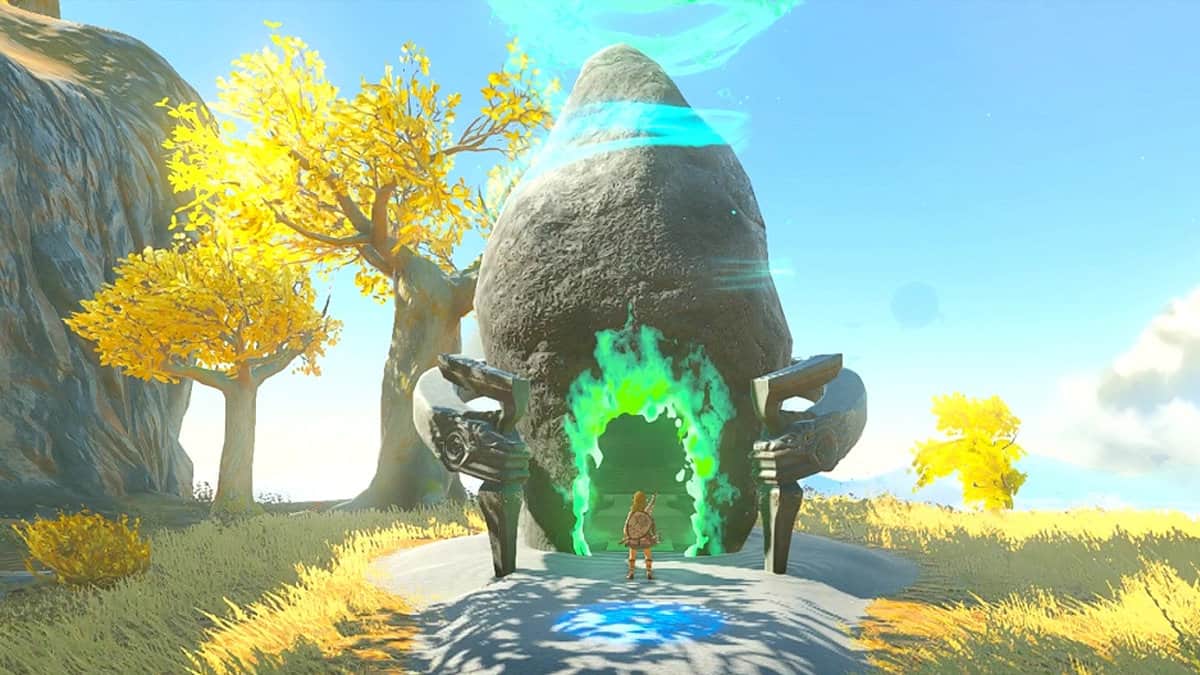
In-Isa Shrine is the second shrine in the Great Sky Island of Zelda: Tears of the Kingdom that you will find as a part of The Closed Door‘s main quest. This shrine can be found right after solving the Ukouh Shrine puzzle.
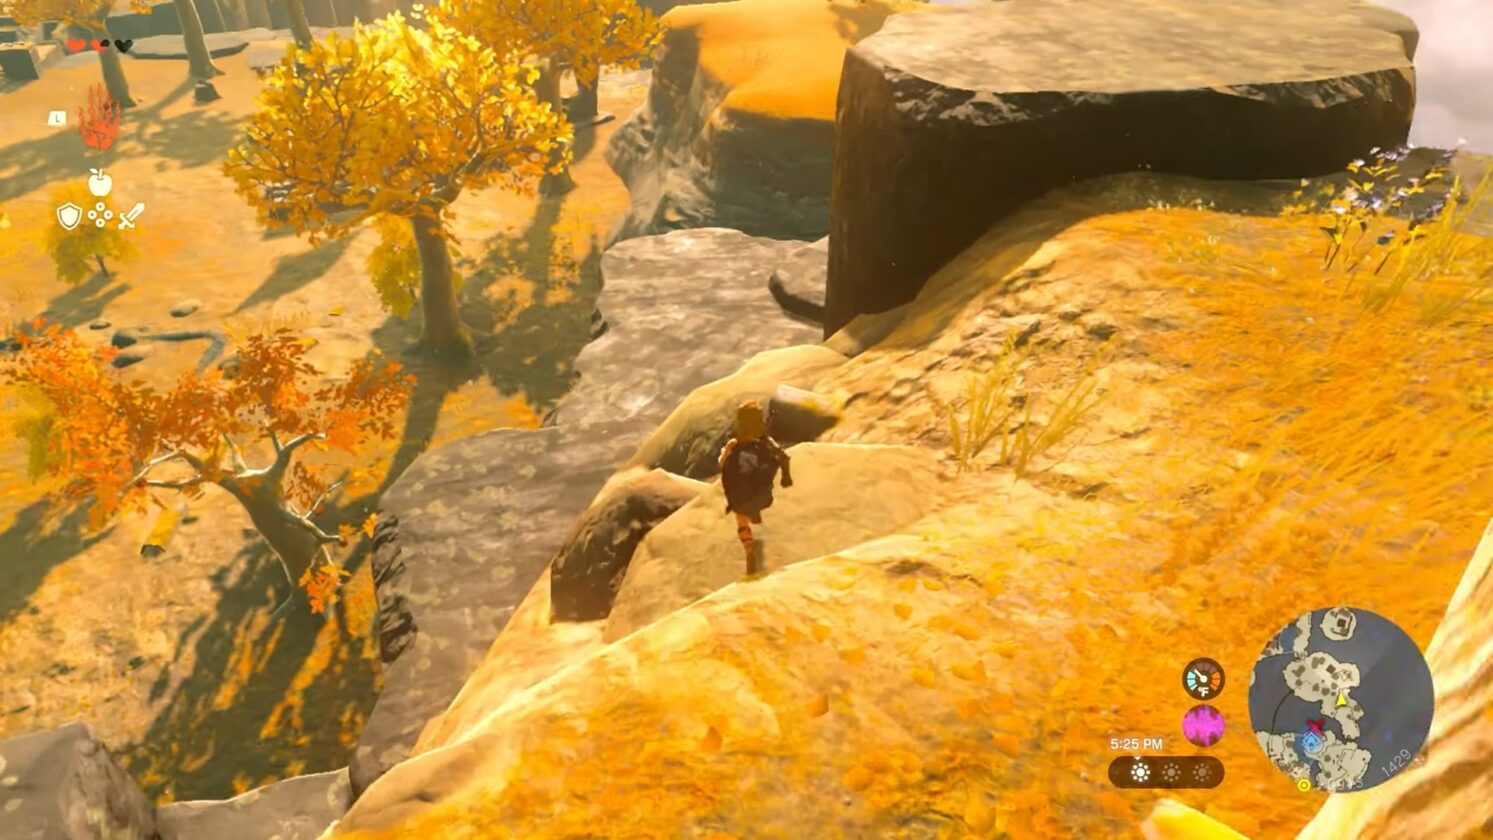
Since you do not have the Fast Travel ability or Paraglider yet, you must travel through the vast map and hop onto various islands to reach In-isa Shrine in Zelda: Tears of the Kingdom.
Like other shrines, In-Isa Shrine has its puzzle to solve, and considering how unique these objectives are, you will have difficulty solving them.
In-isa Shrine Location in Zelda: TotK
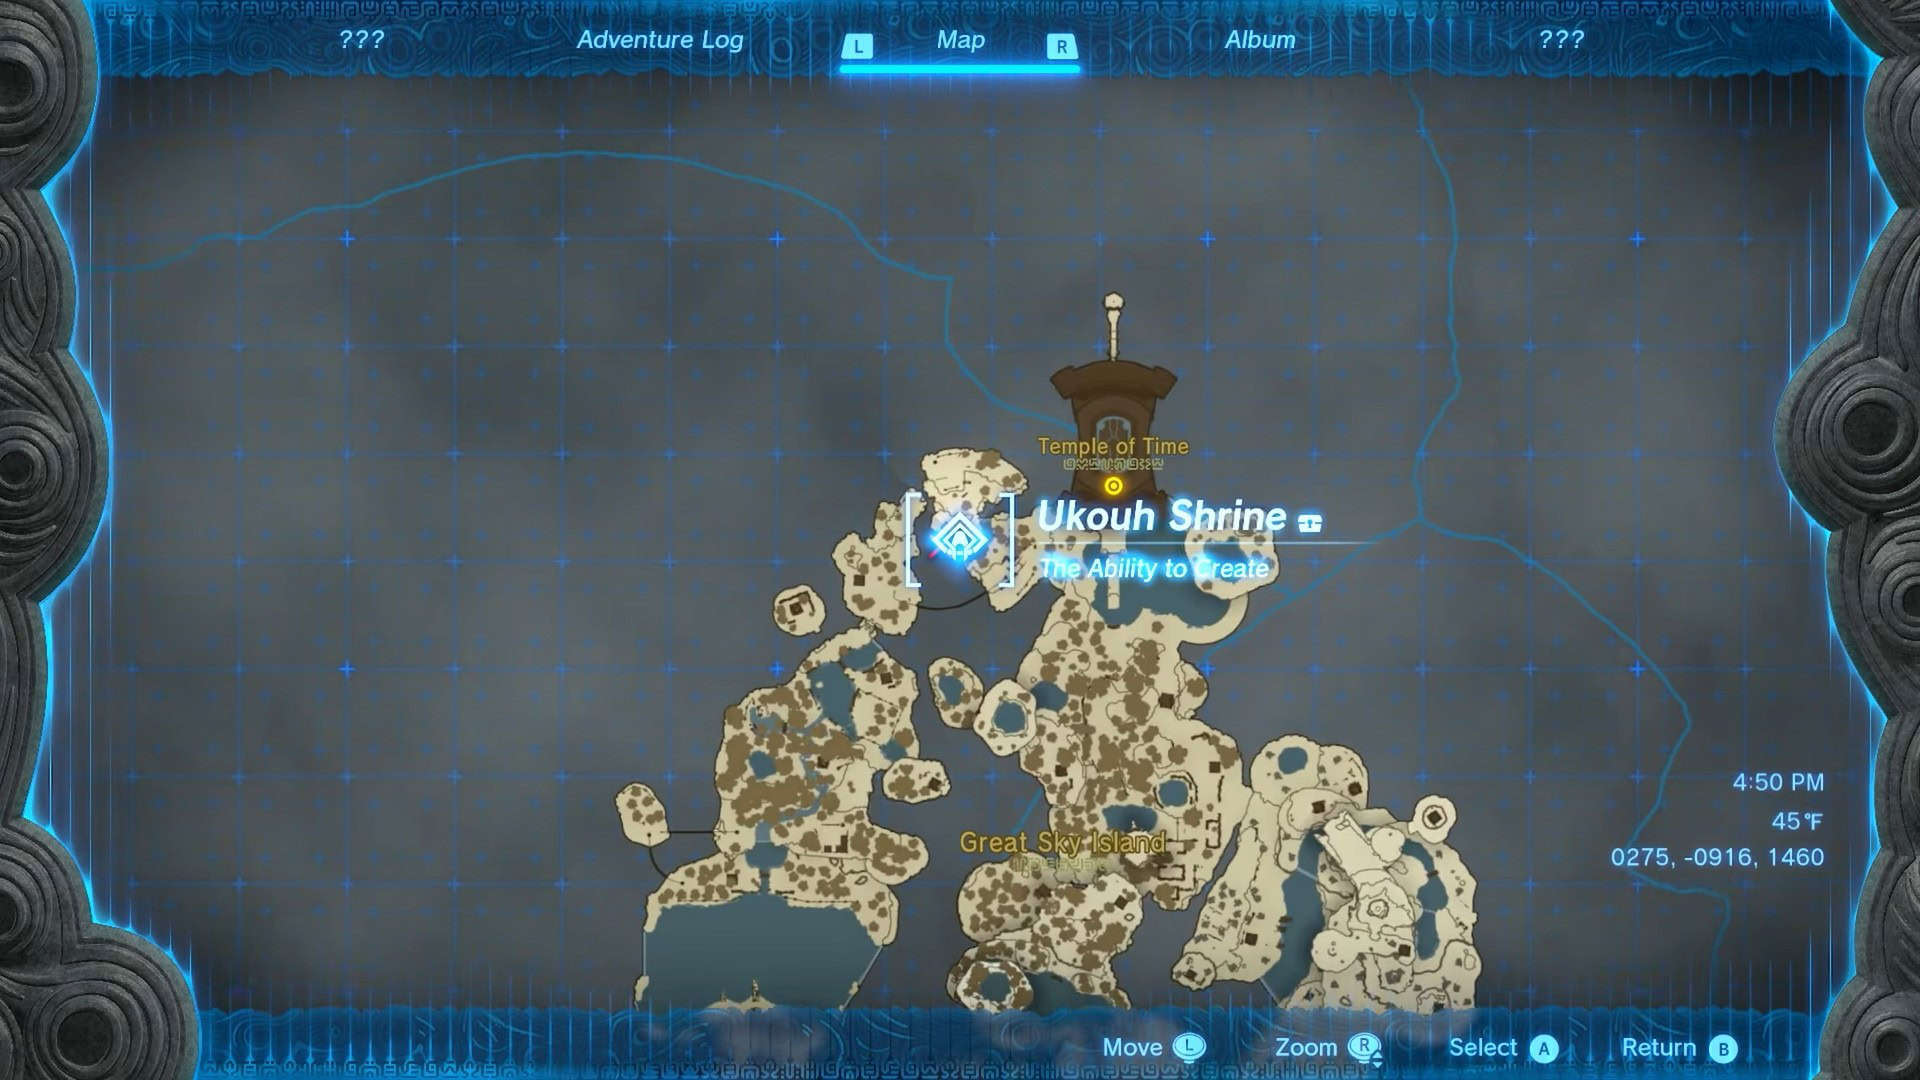
In-isa Shrine is in the southwest corner of the Great Sky Island map. As this is the second shrine you must visit, we will start our journey from the Ukouh shrine near the Temple of Time.
The exact coordinates for In-isa Shrine in Zelda: Tears of the Kingdom are (0026, -1505, 1408).
1. From the entrance of Ukouh Shrine, drop down towards the west to find three wooden planks. Attach these planks with your newly acquired Ultrahand ability to create one long bridge.
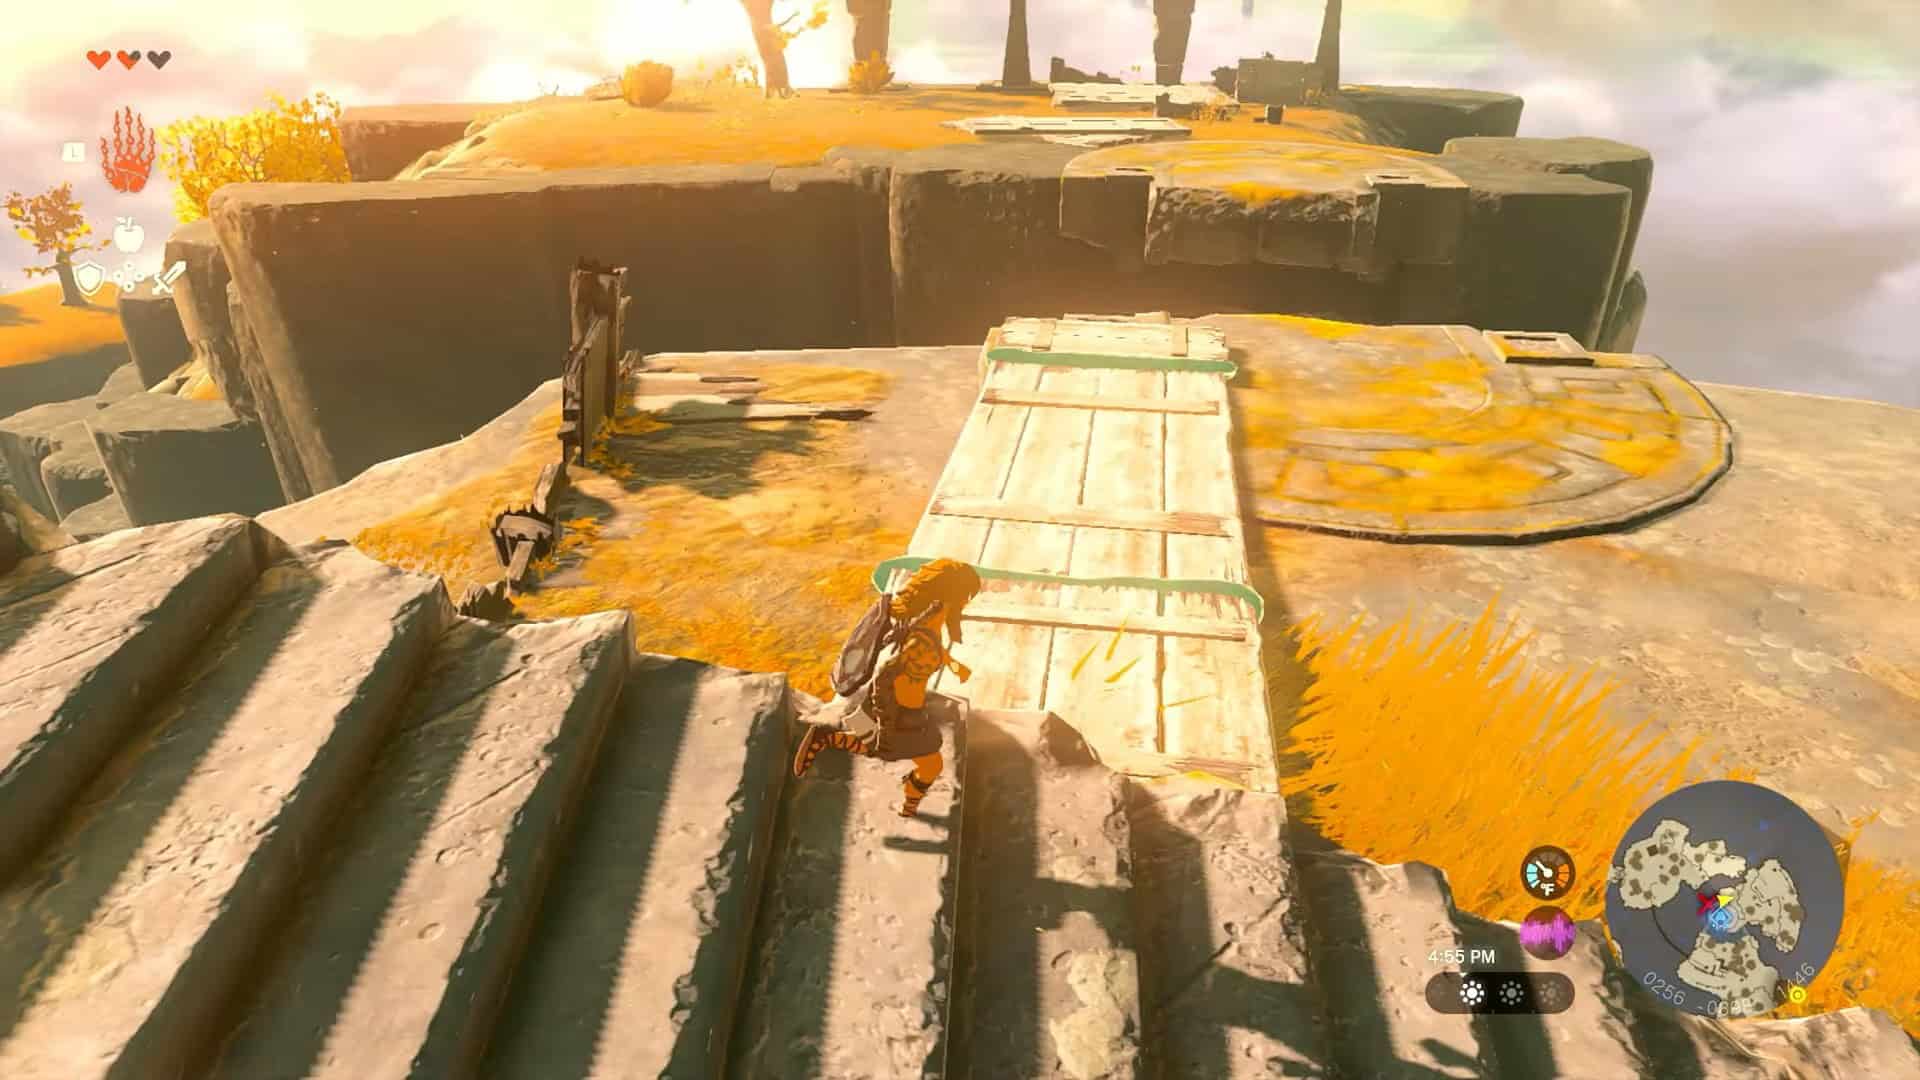
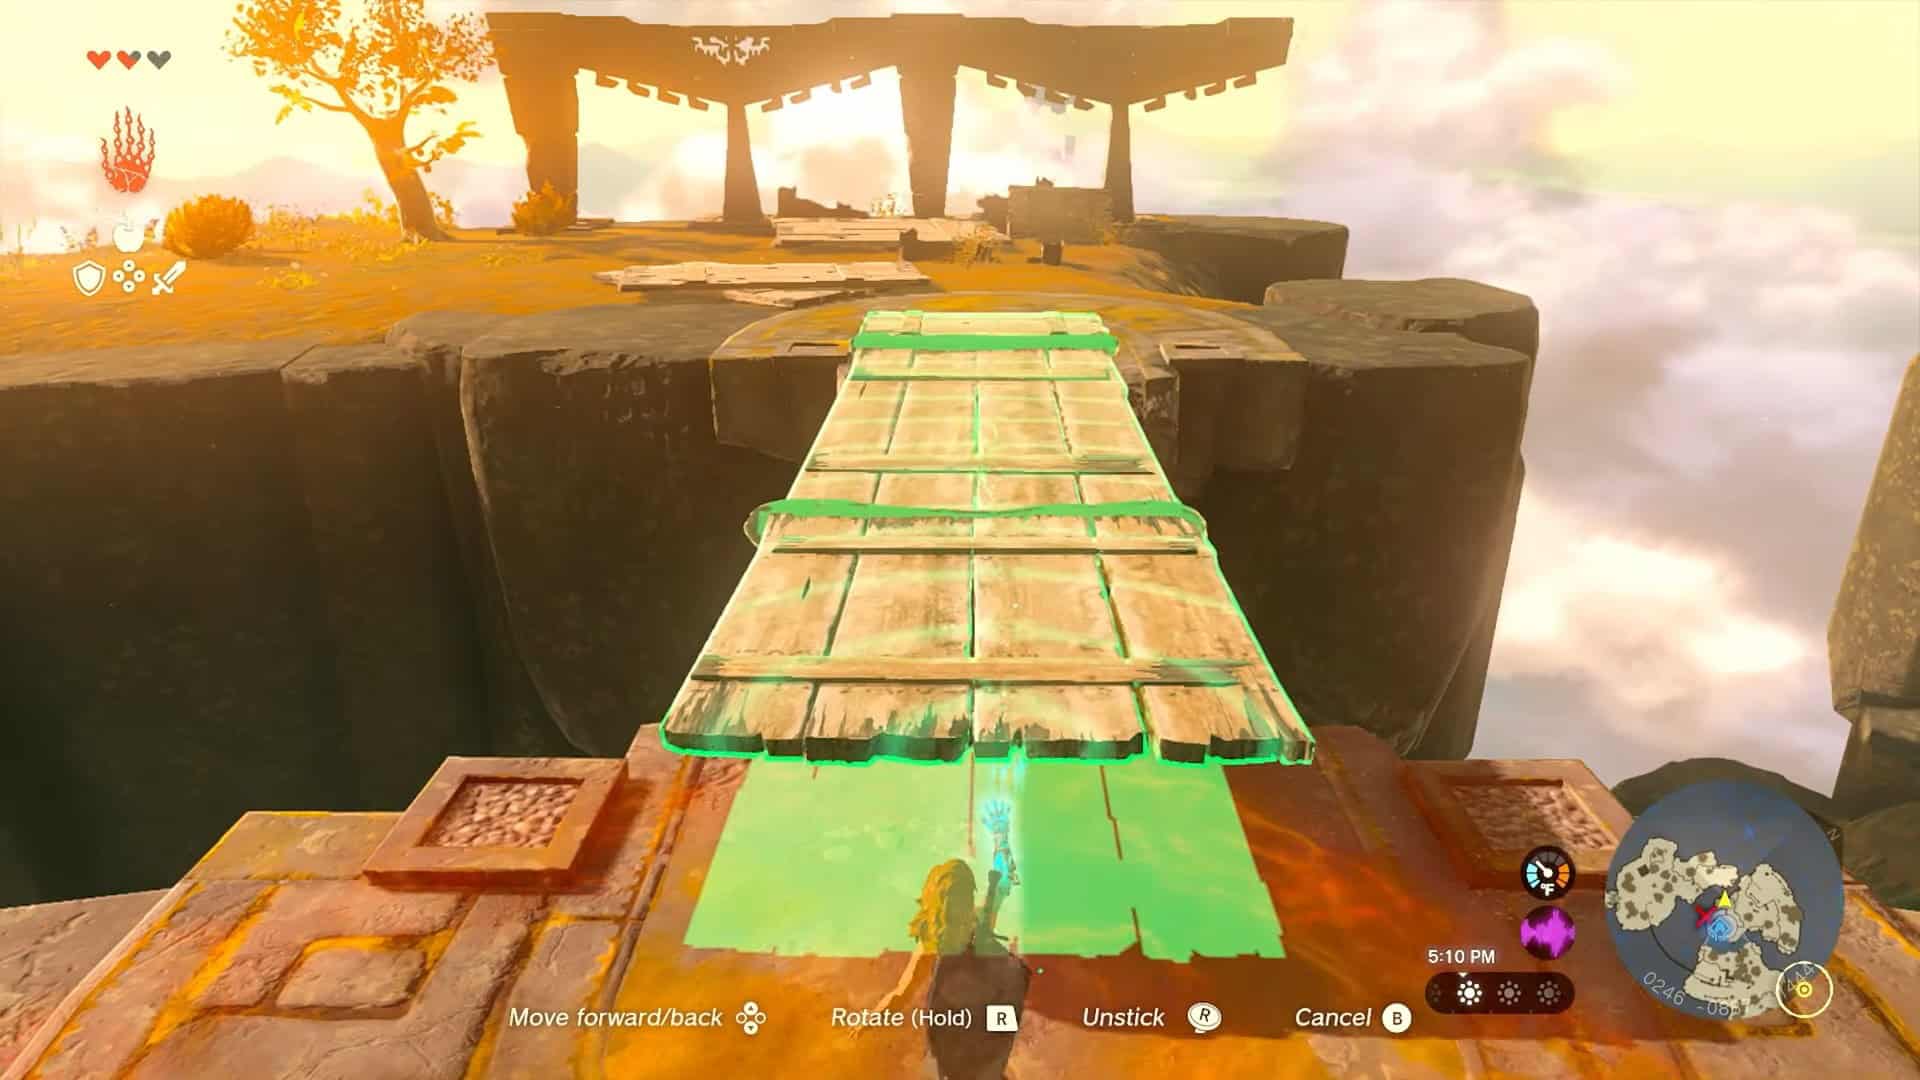
2. Place the bridge over the gap and cross it. Don’t attempt to jump, as you don’t have a glider yet.
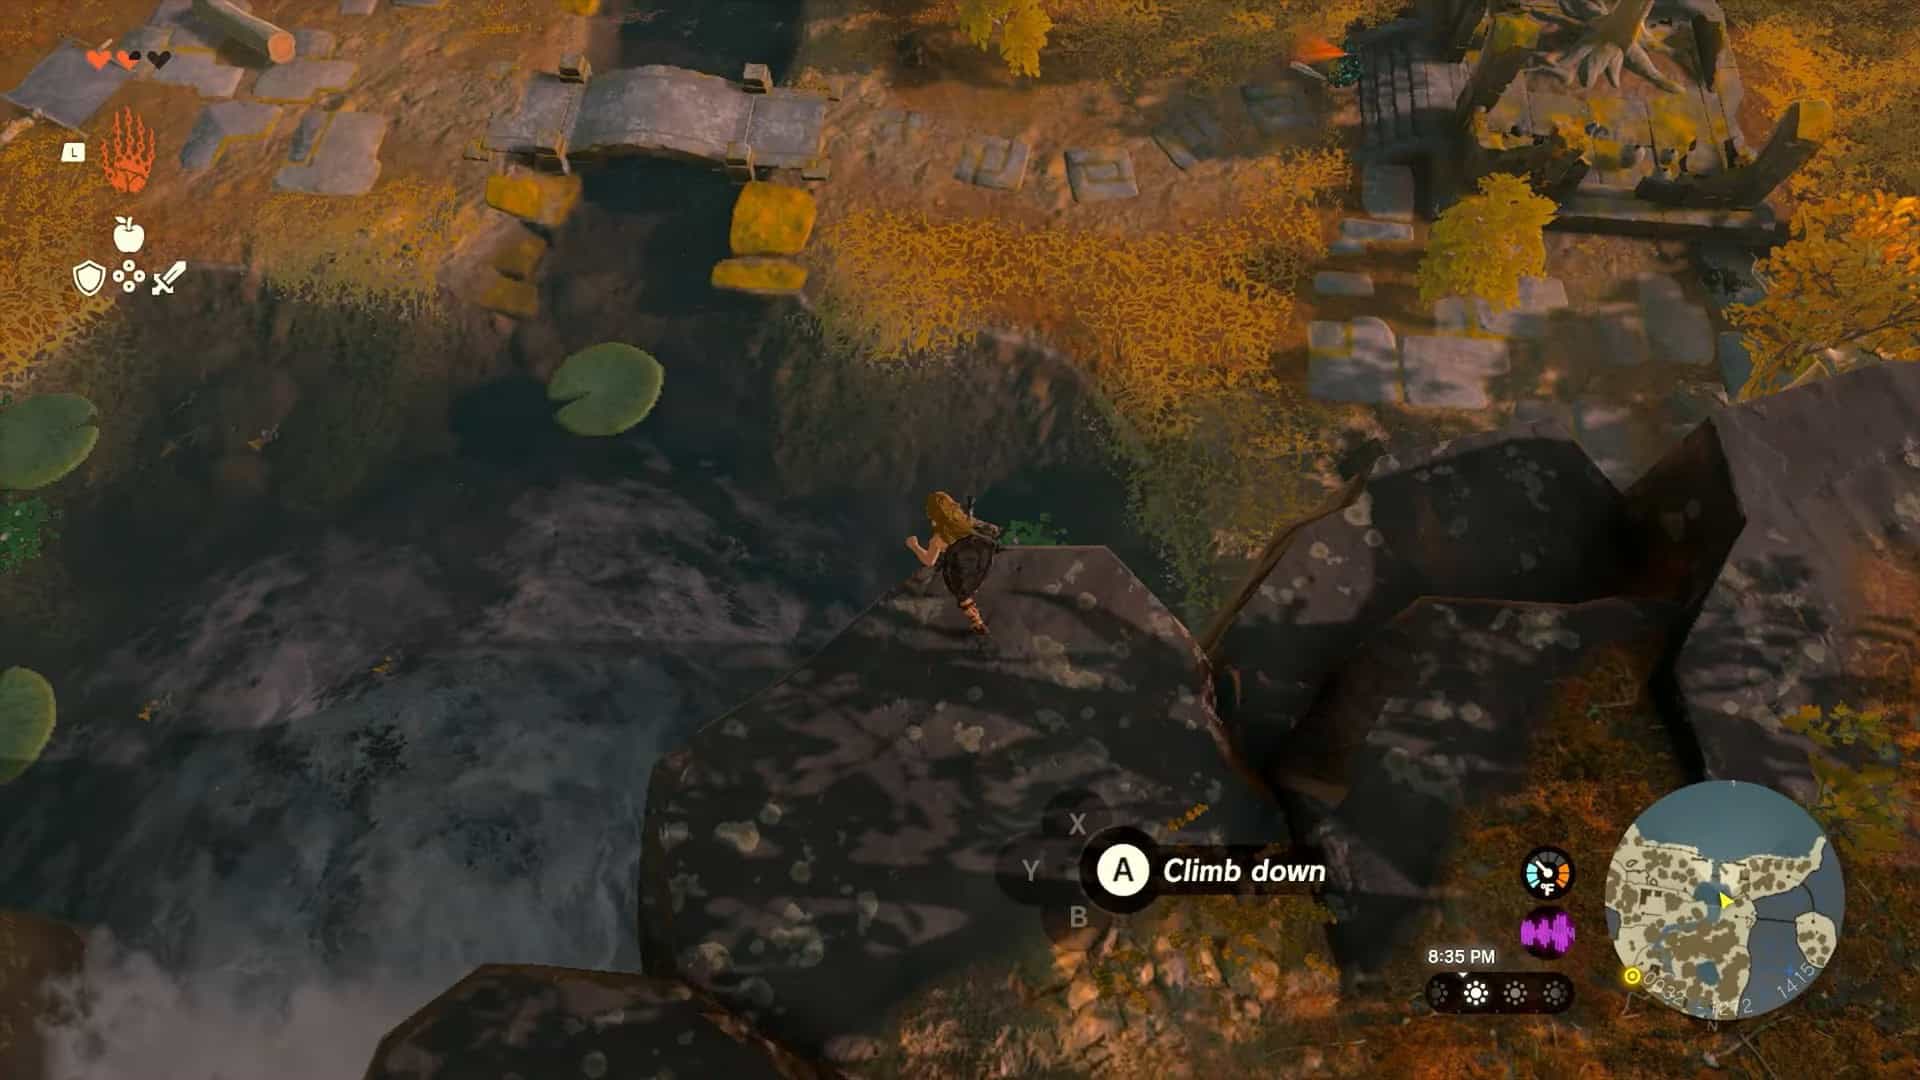
3. In the next area, there is no need to craft another bridge. Turn left and drop the ledges to proceed.
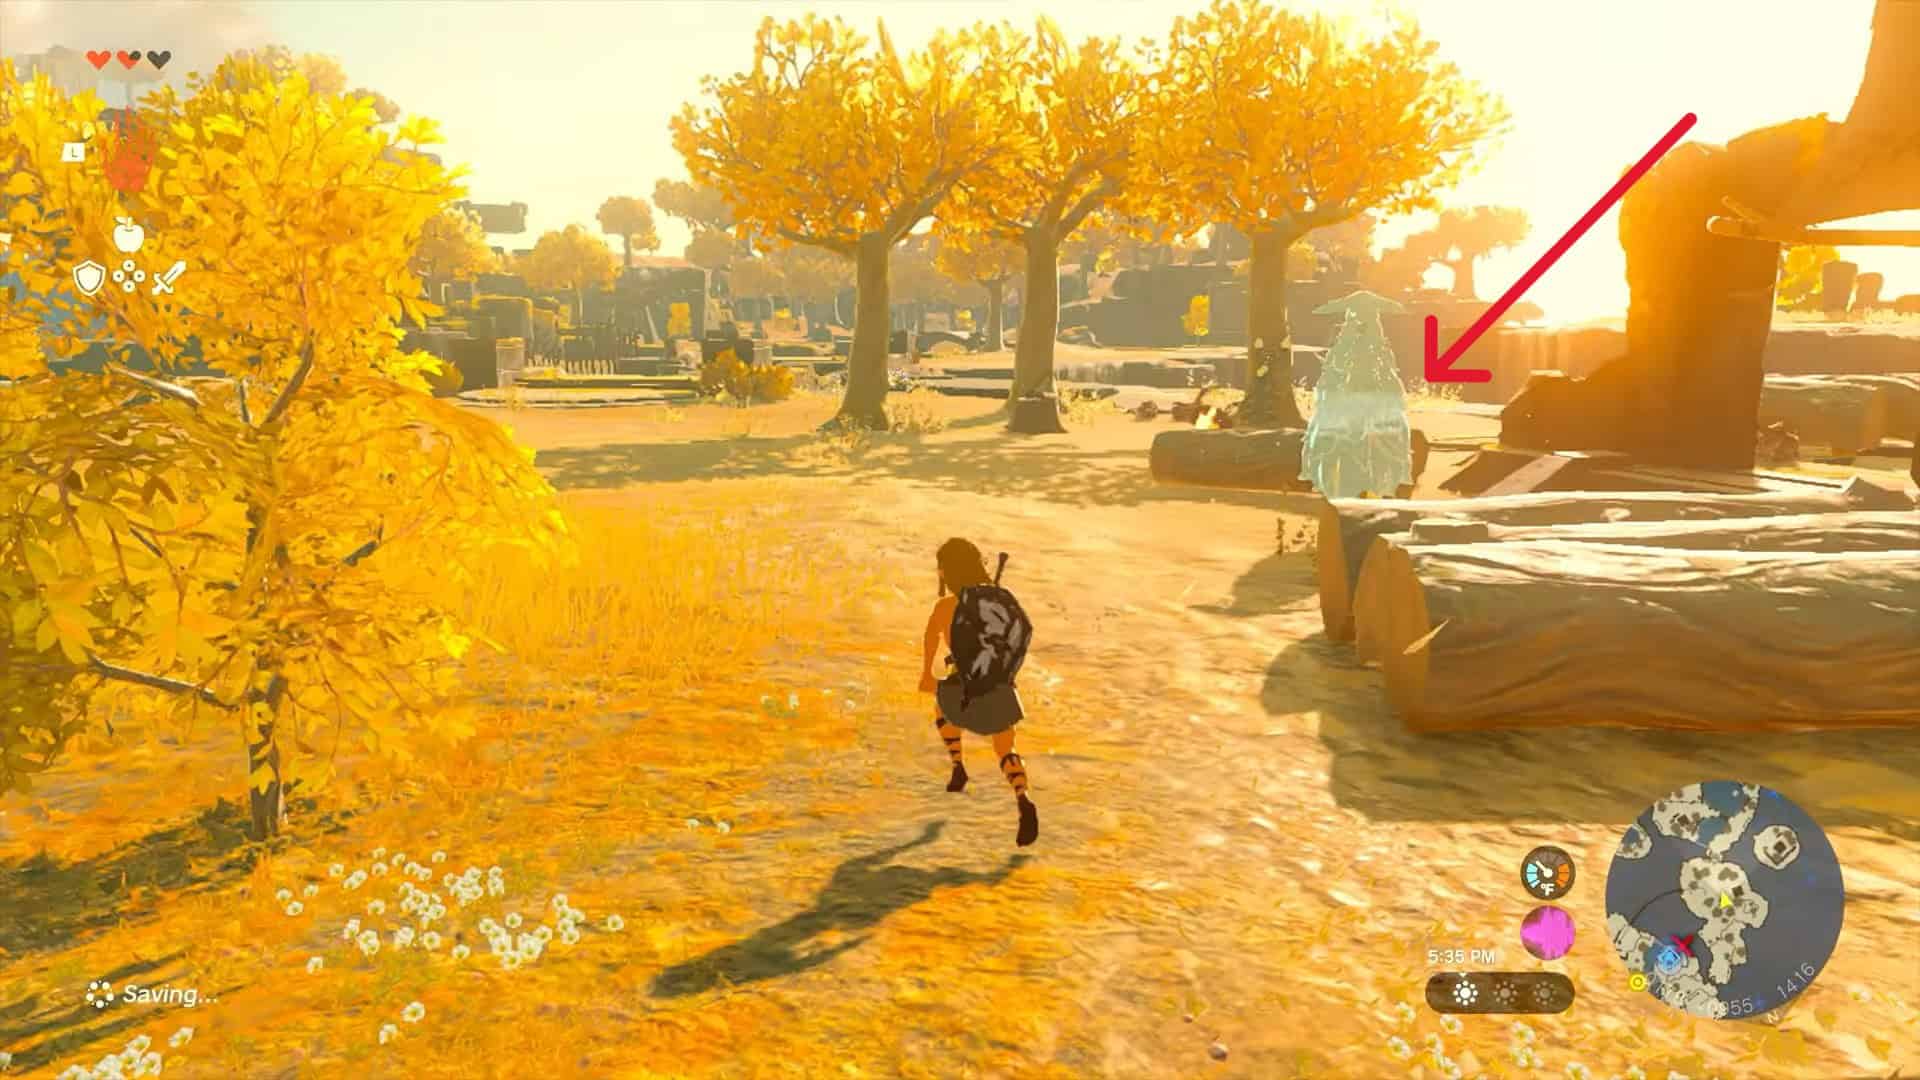
4. Keep going straight until you pass a makeshift boat and the illusion of Rauru next to it.
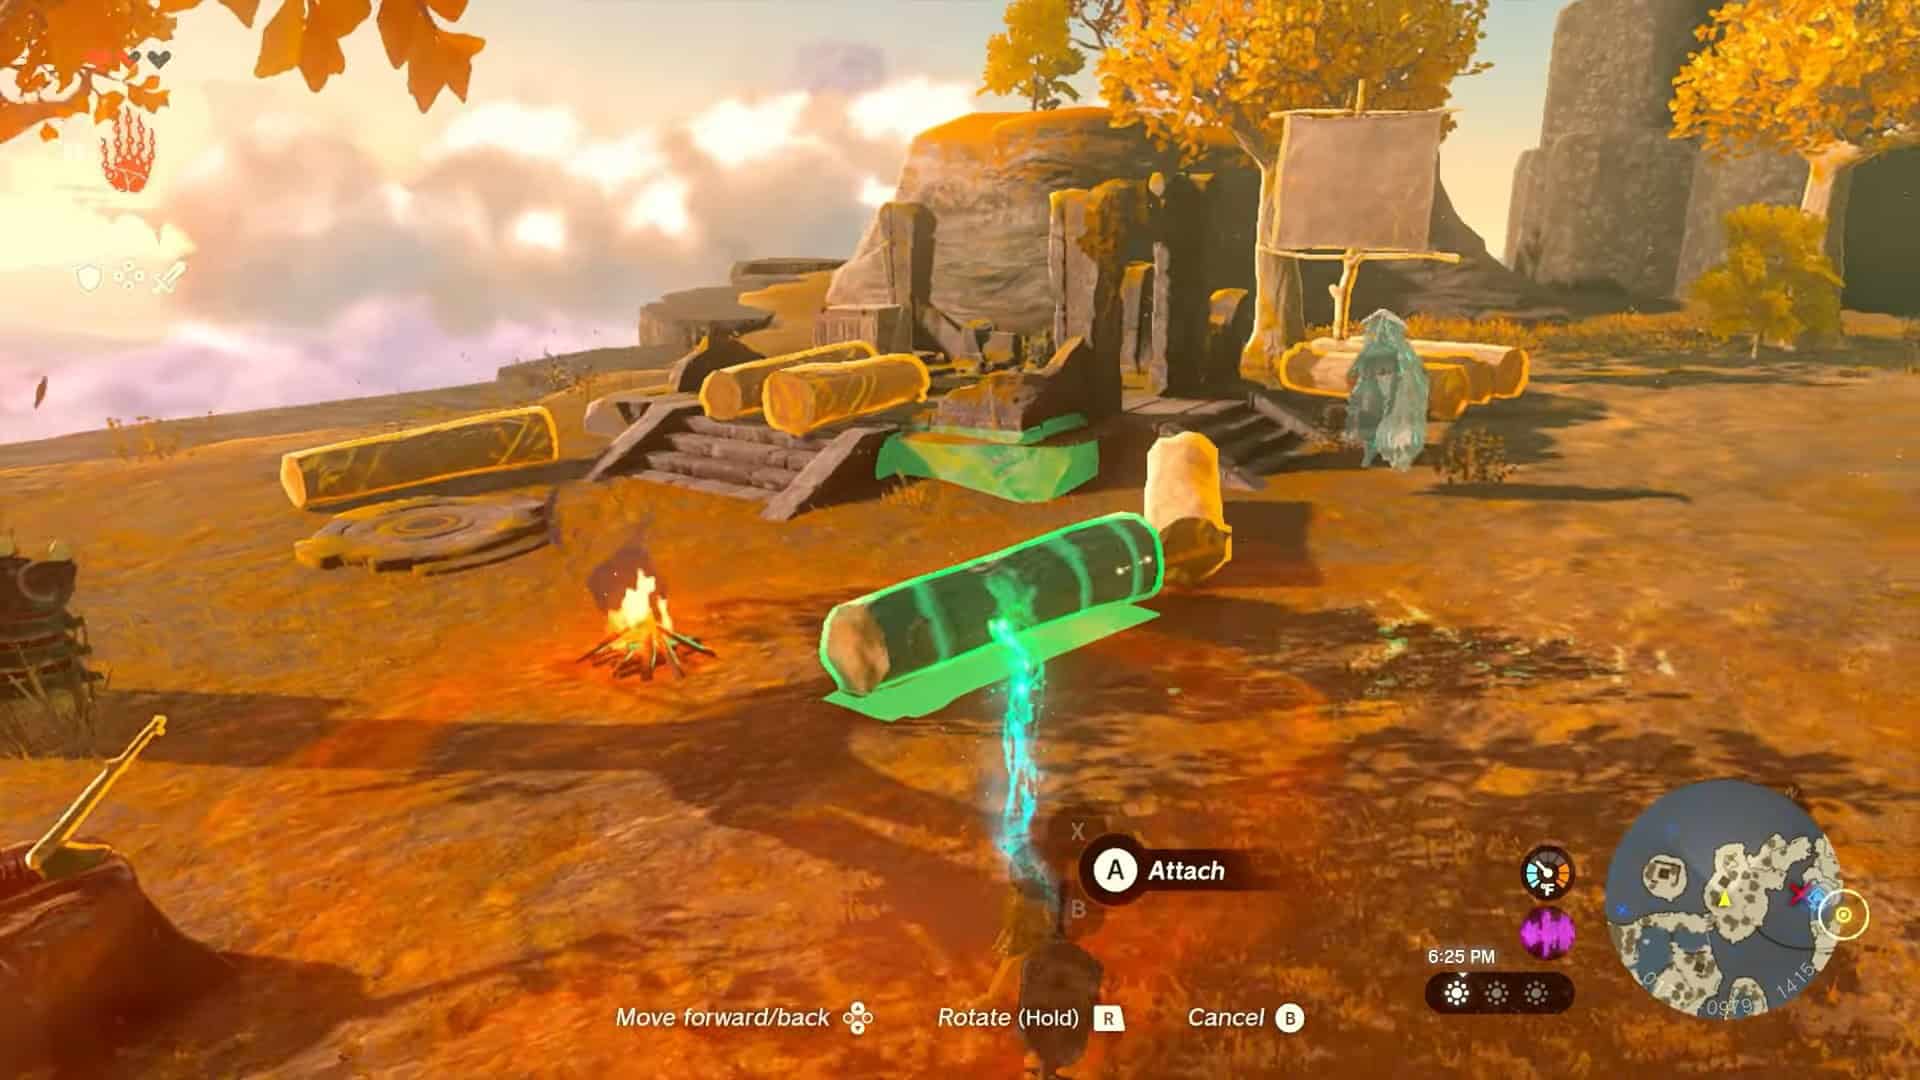
5. Pick up the logs near Rauru’s illusion and combine them to create a long bridge.
6. Place this bridge over the gap and use it to cross to the next Island of Great Sky Island.
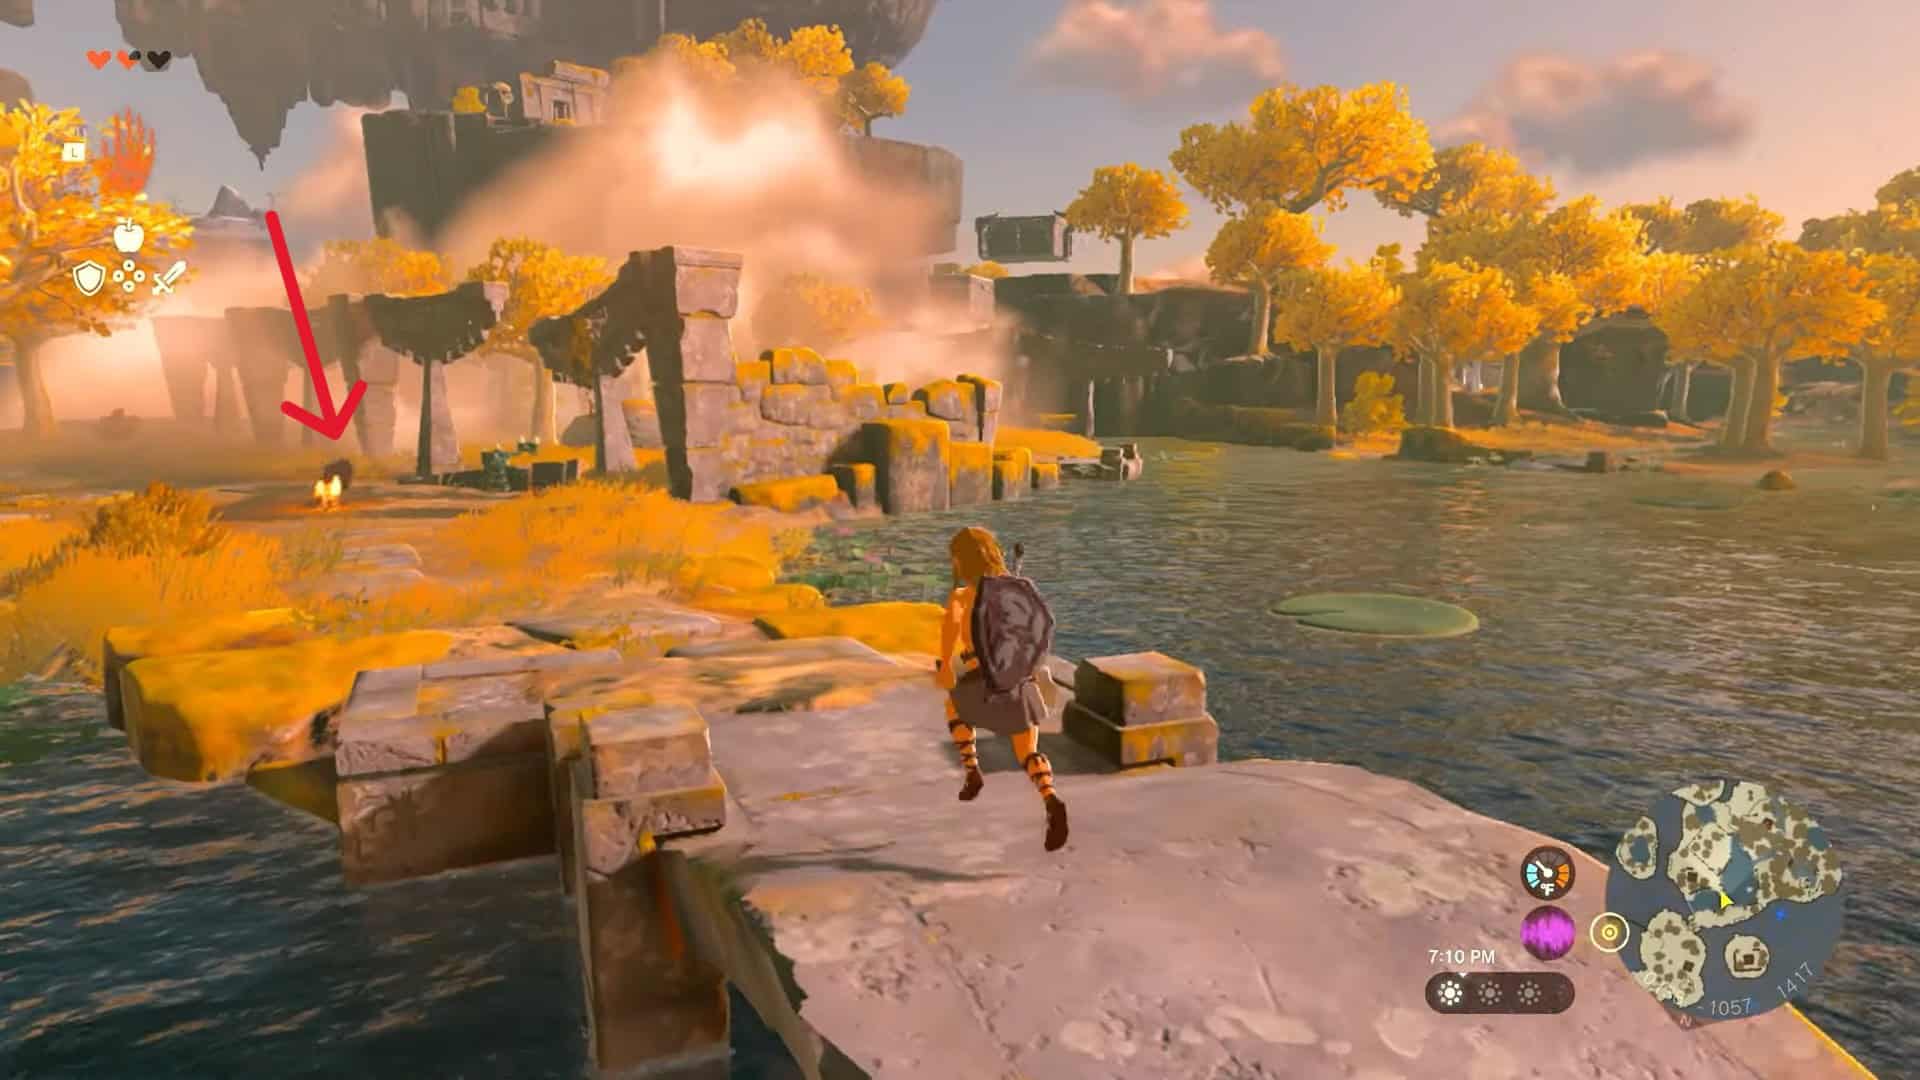
7. Take the bridge to the left to reach the two constructs near a small campfire.
8. Turn right from the camp and cross the pond. Once you reach the other end, turn right and go up the hill.
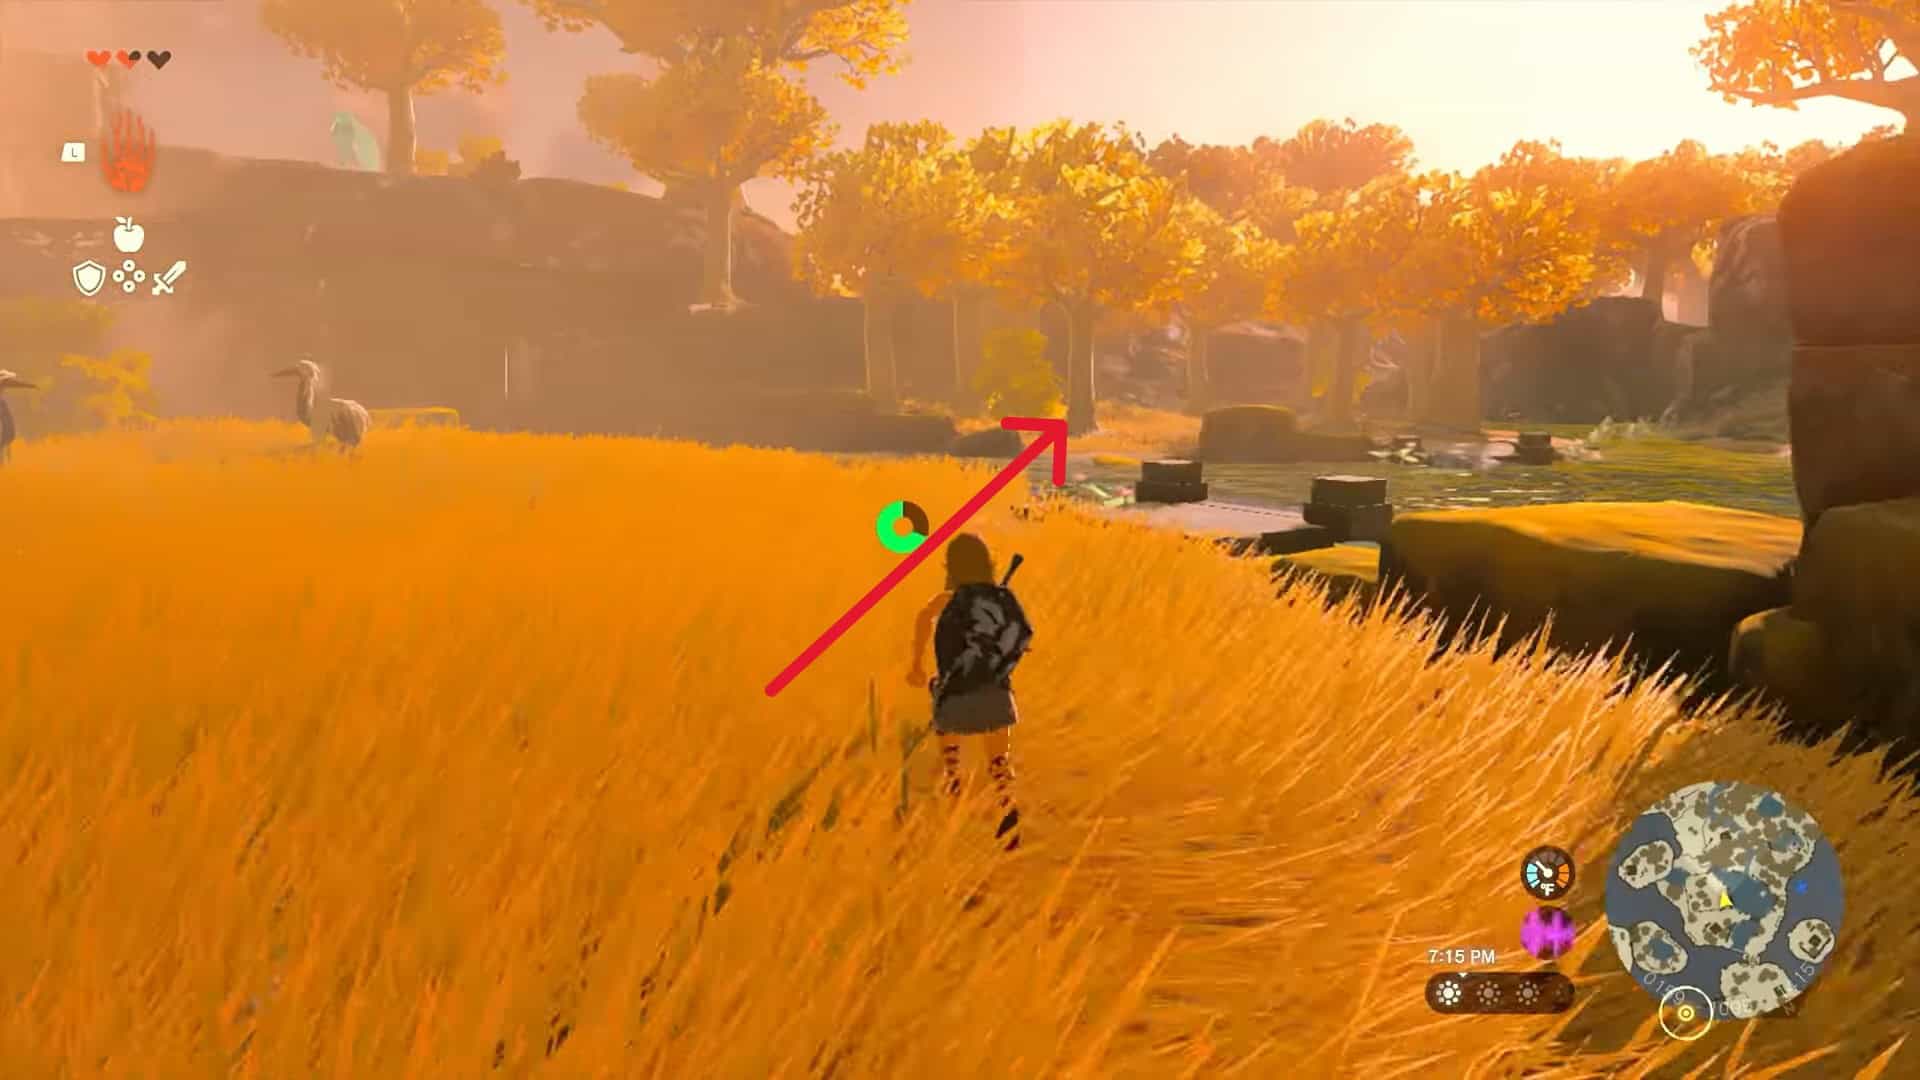
9. Drop down from the hill and keep moving Northeast along this island.
10. Keep going until you see a rail track above the lake and the In-isa shrine on the horizon.
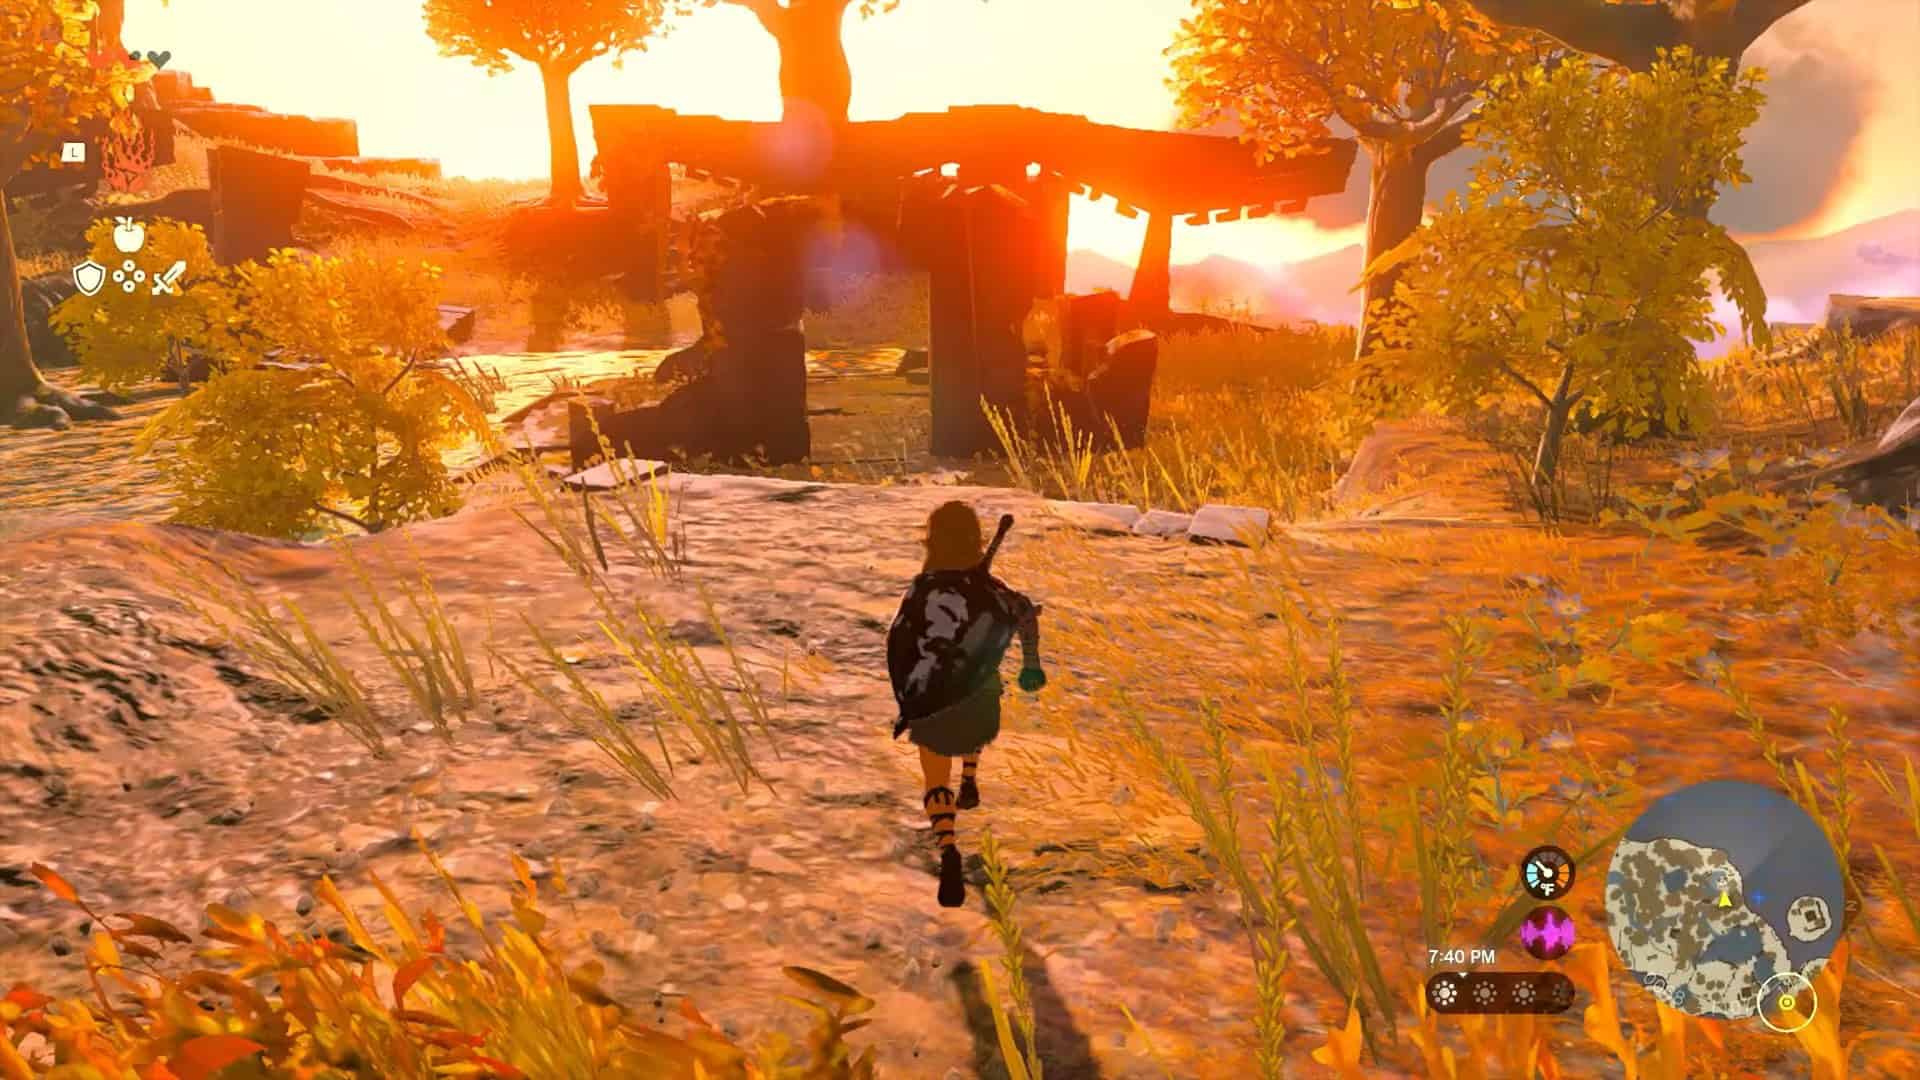
11. Ignore all the structures in the area and drop down into the lake near the waterfall.
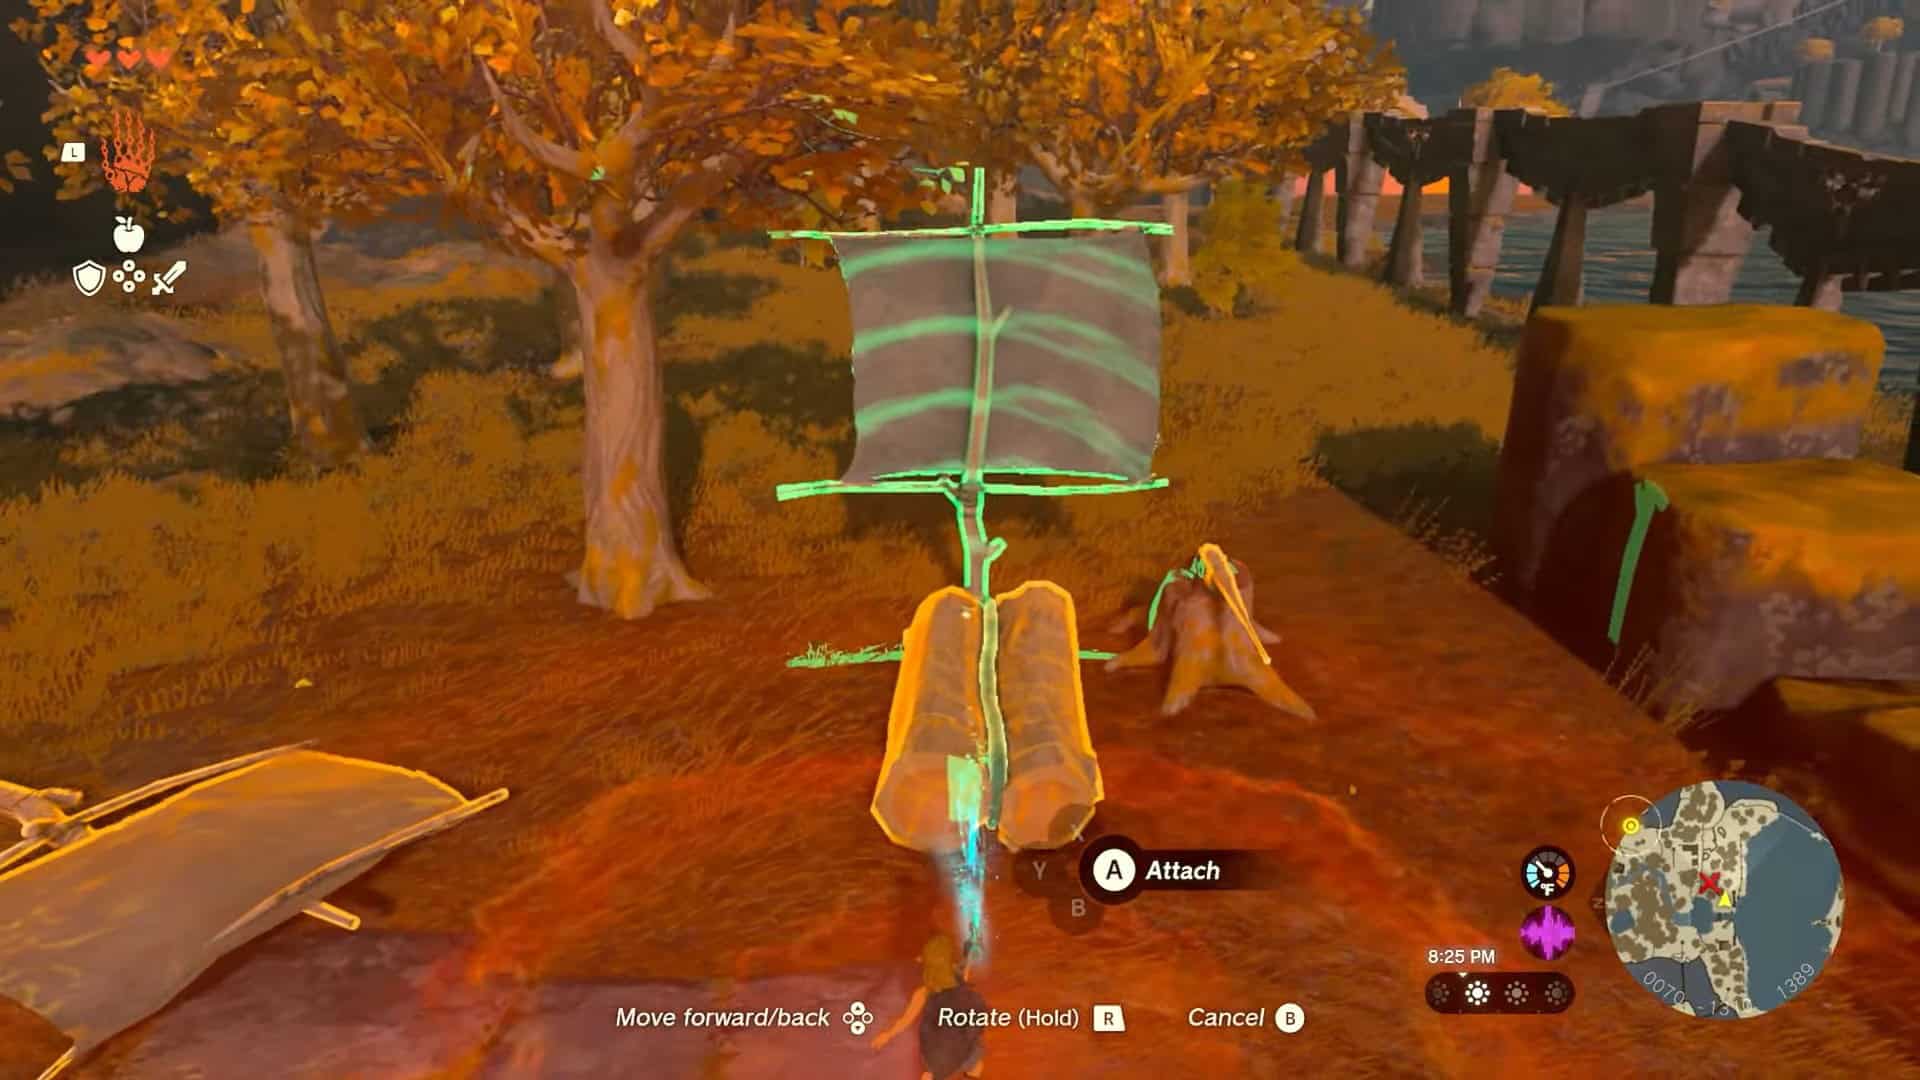
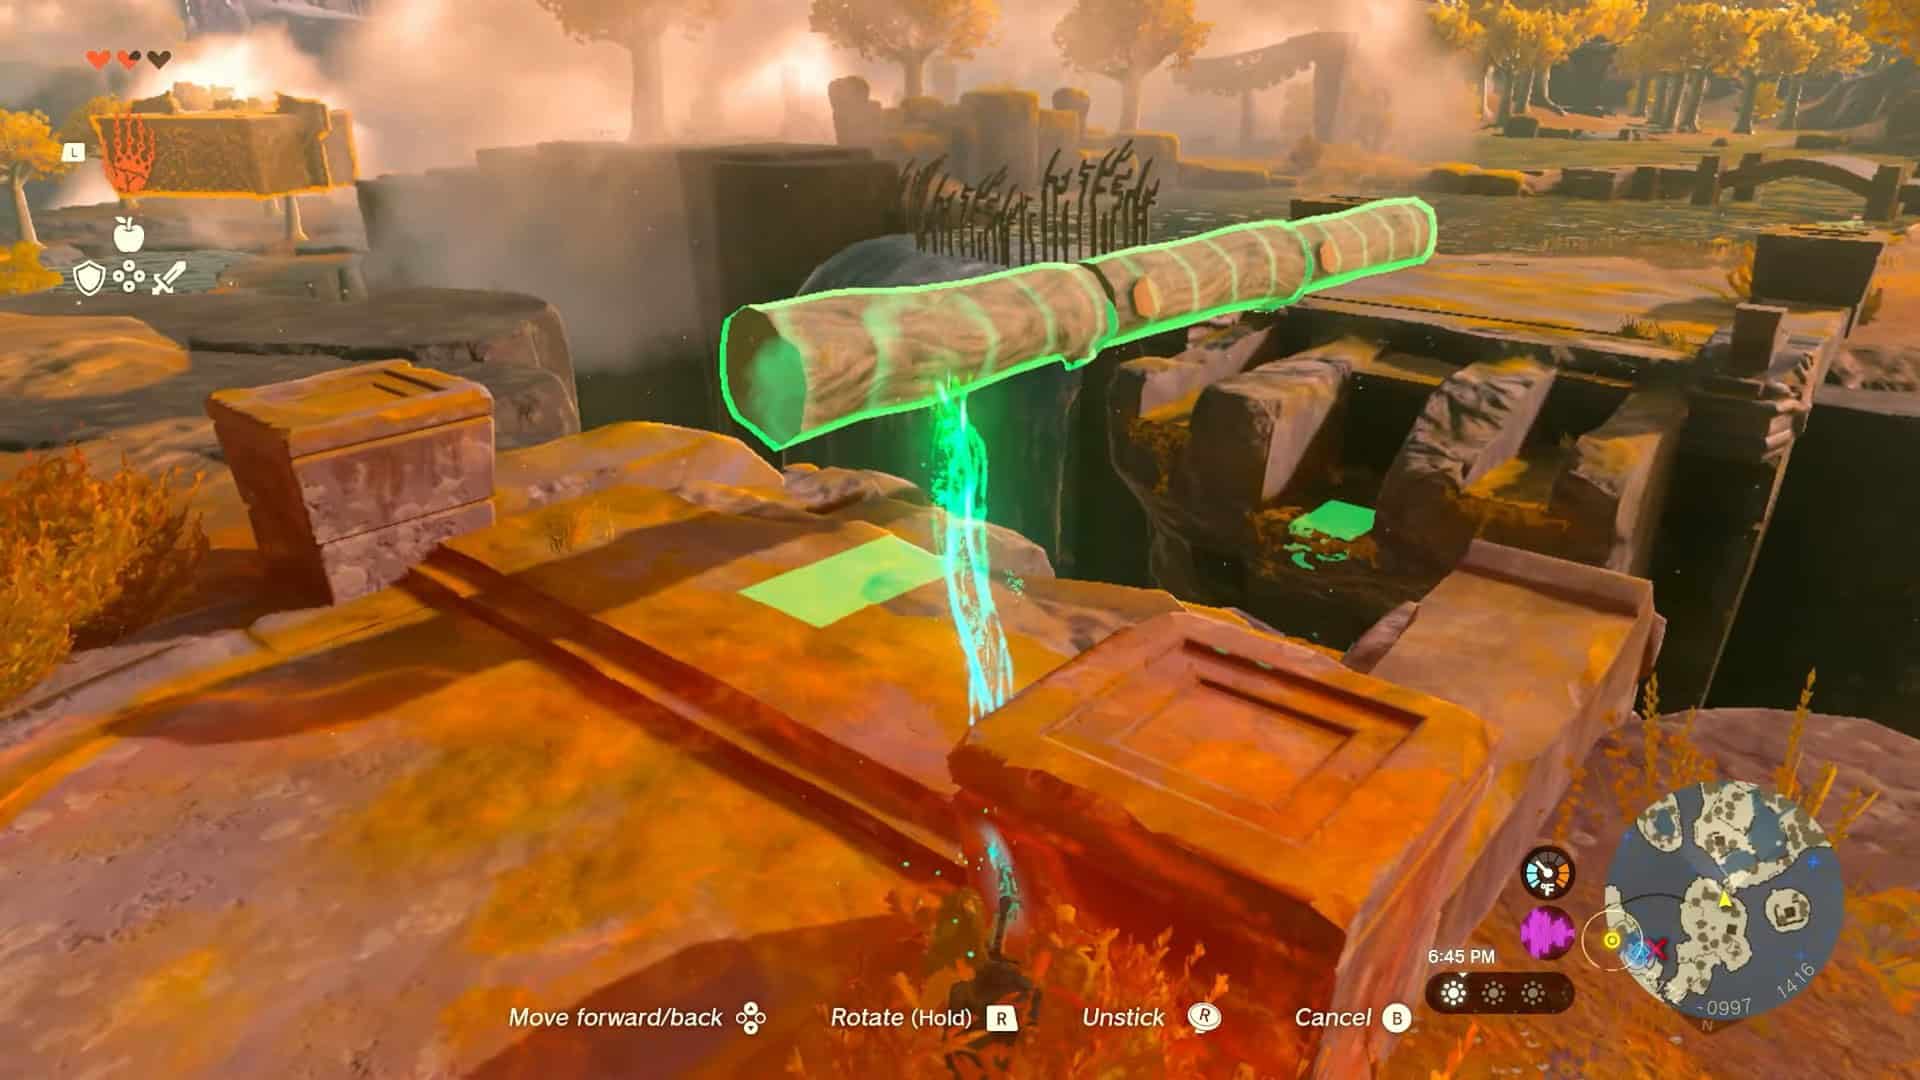
12. Defeat the construct enemy in the area and use the logs to create a boat. Make sure to attach the sail to it.
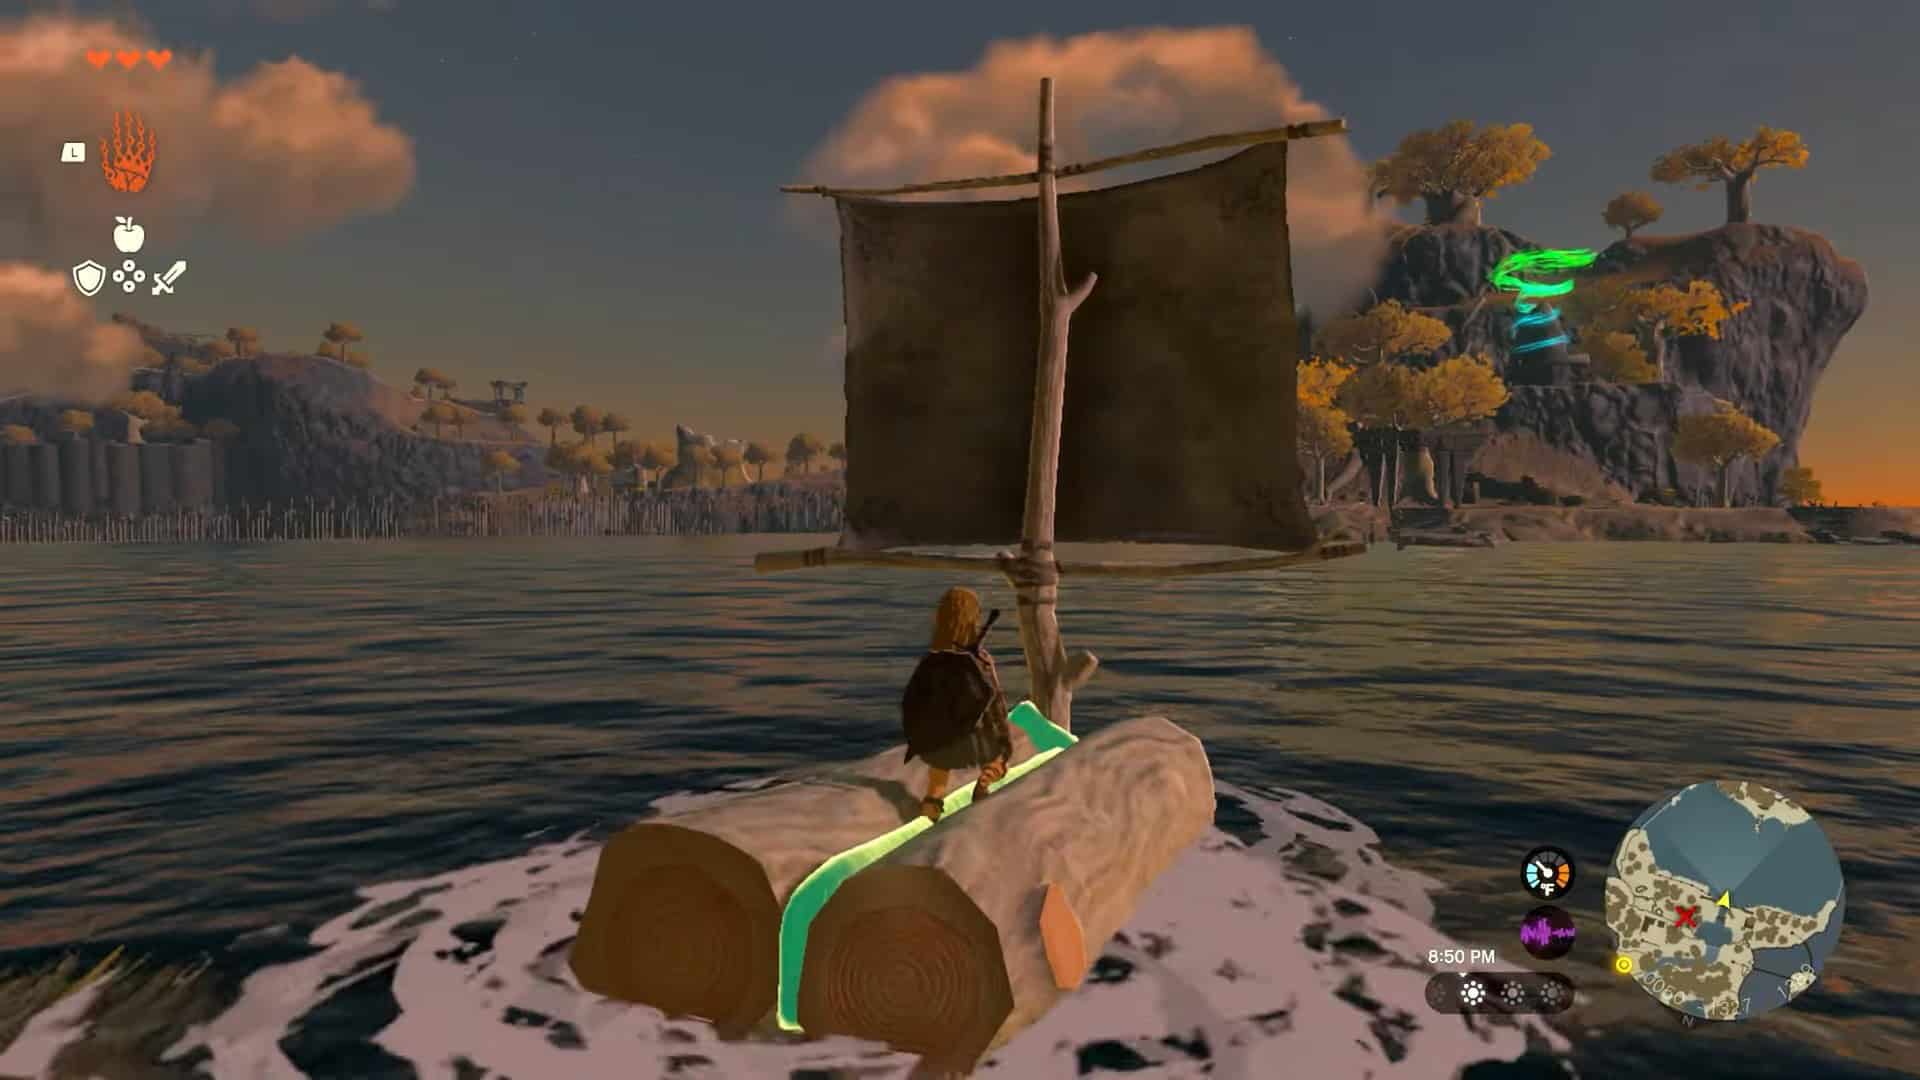
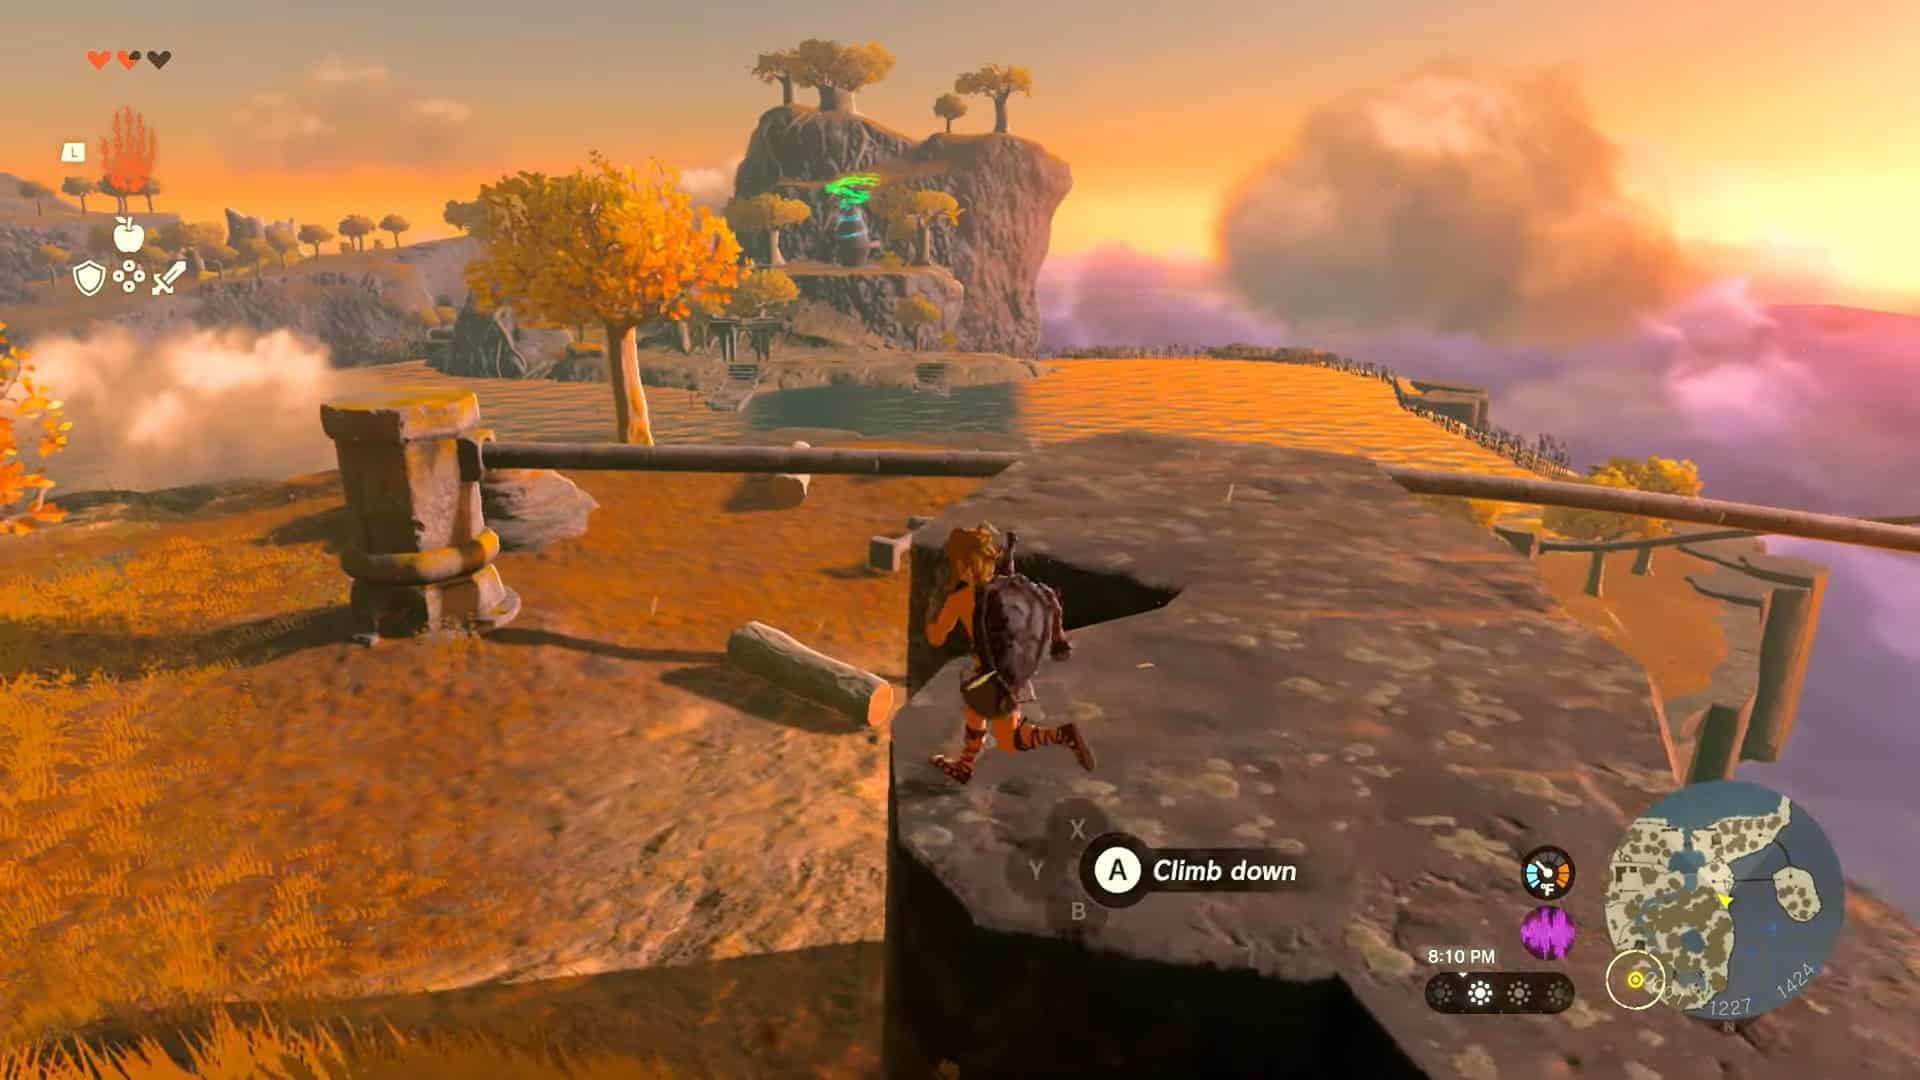
13. Ride the boat all the way across the pond to reach the next island housing In-isa Shrine.
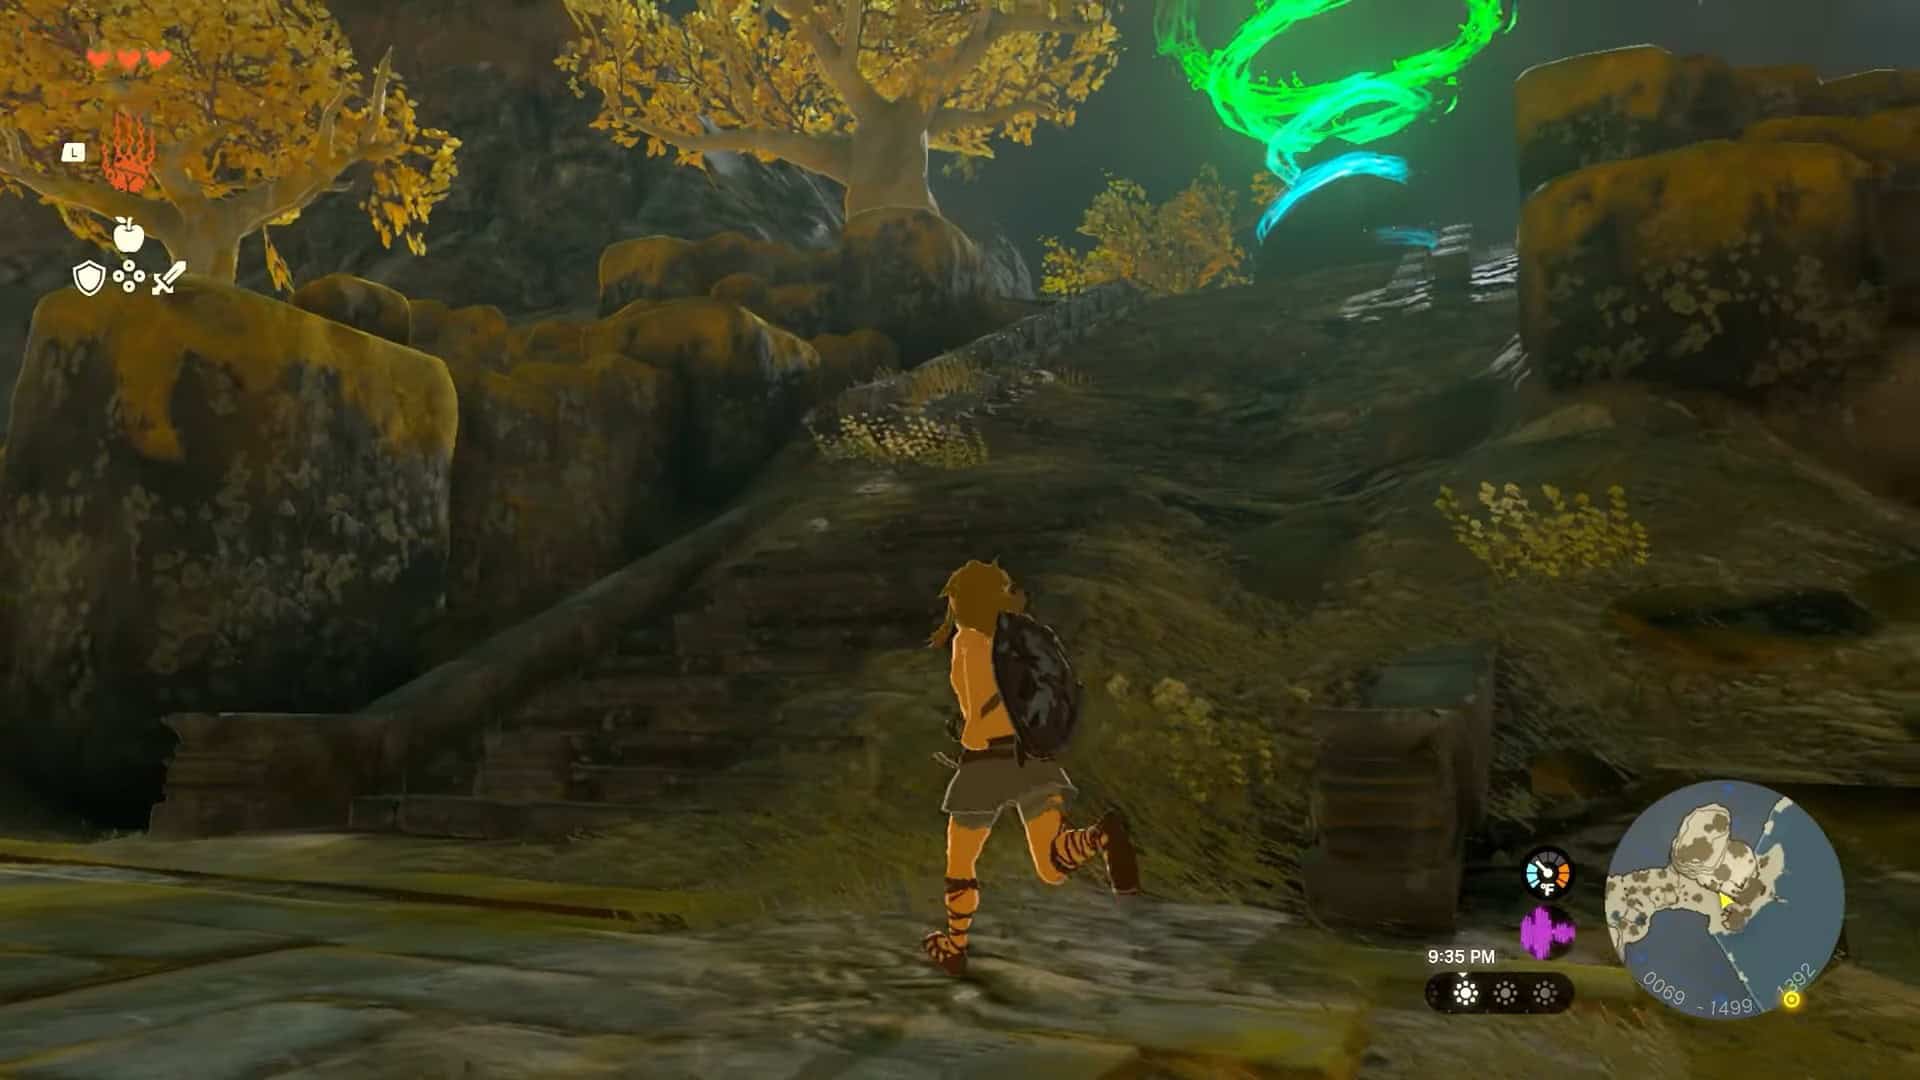
14. Turn left to proceed and climb the stairs to reach In-isa Shrine in Zelda: Tears of the Kingdom.
In-Isa Shrine Walkthrough
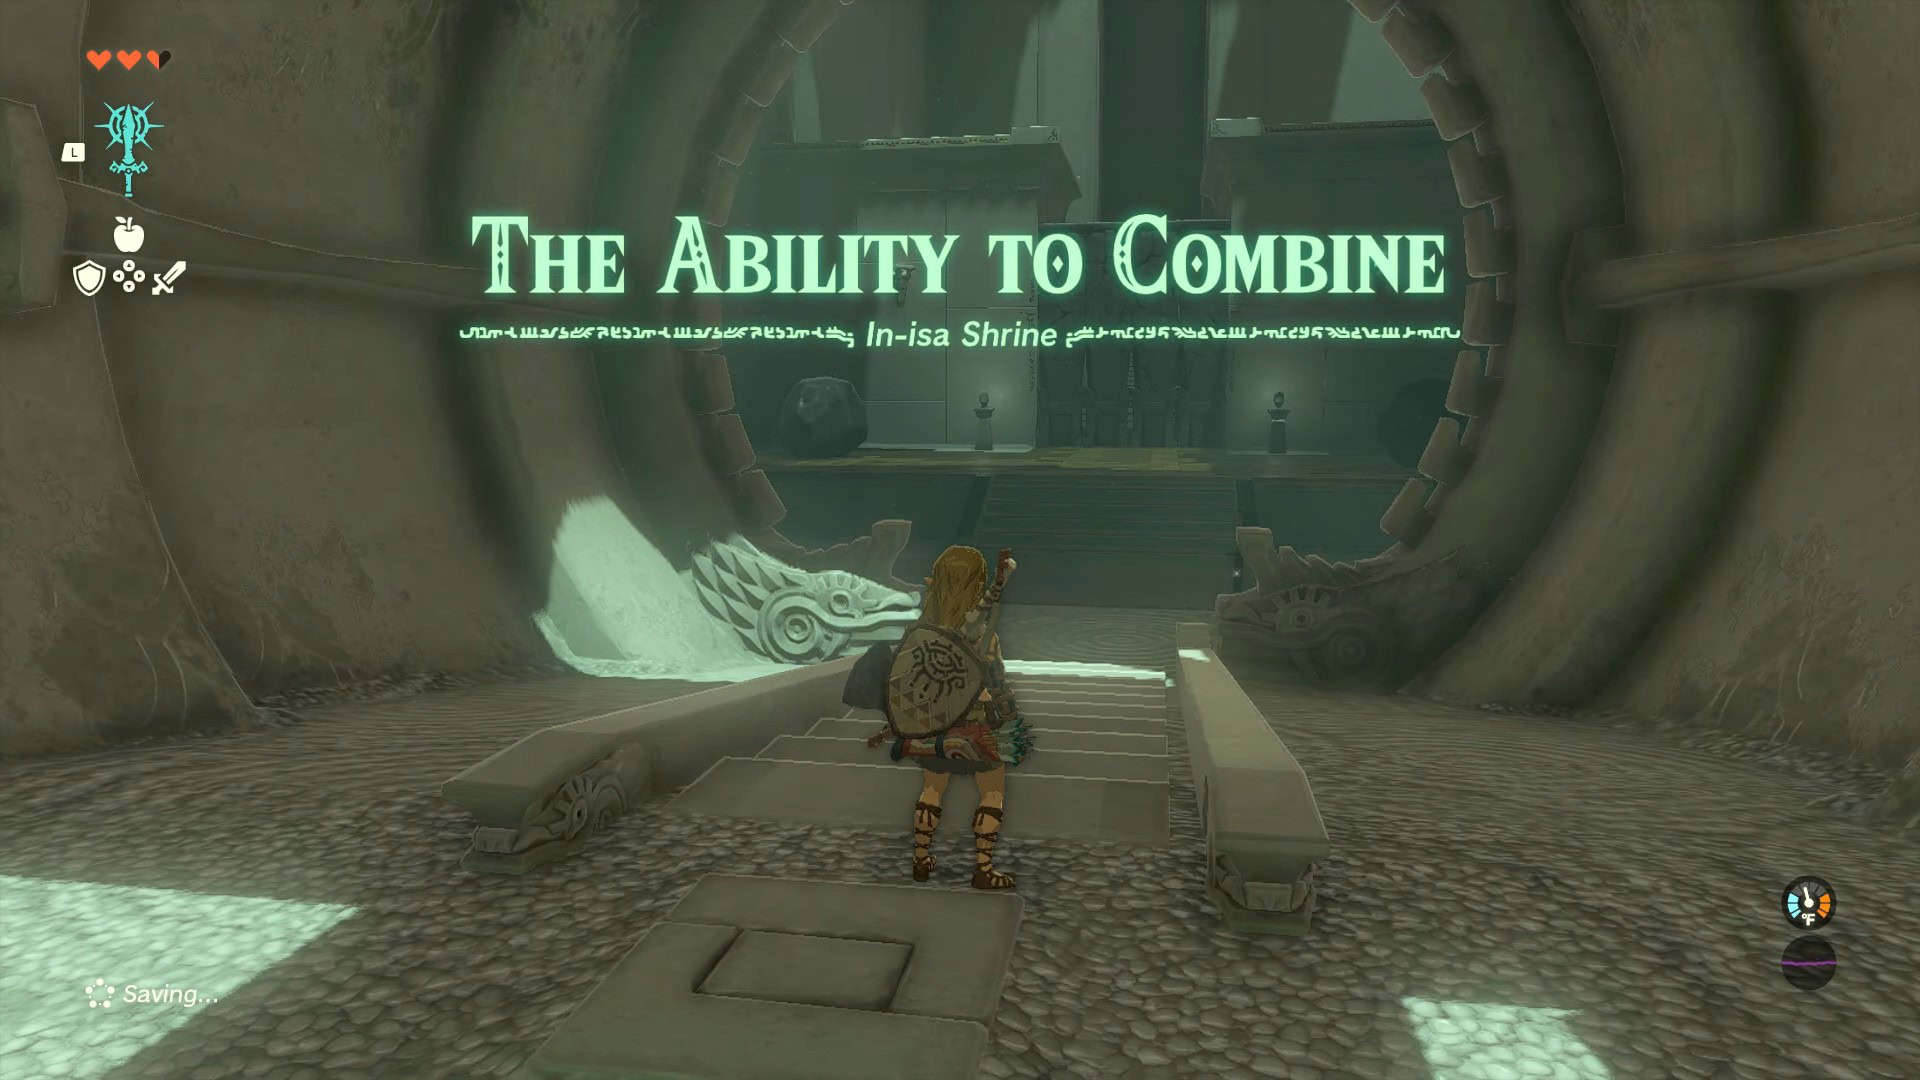
When you enter the In-isa shrine in Zelda: Tears of the Kingdom, a cutscene will trigger, and you will get Fuse ability from Rauru’s projection. The trial presented by this shrine is called The Ability to Combine.
The objective of this shrine is to combine your weapons with rocks to craft rock hammers, which you can use to destroy the boulders and move forward.
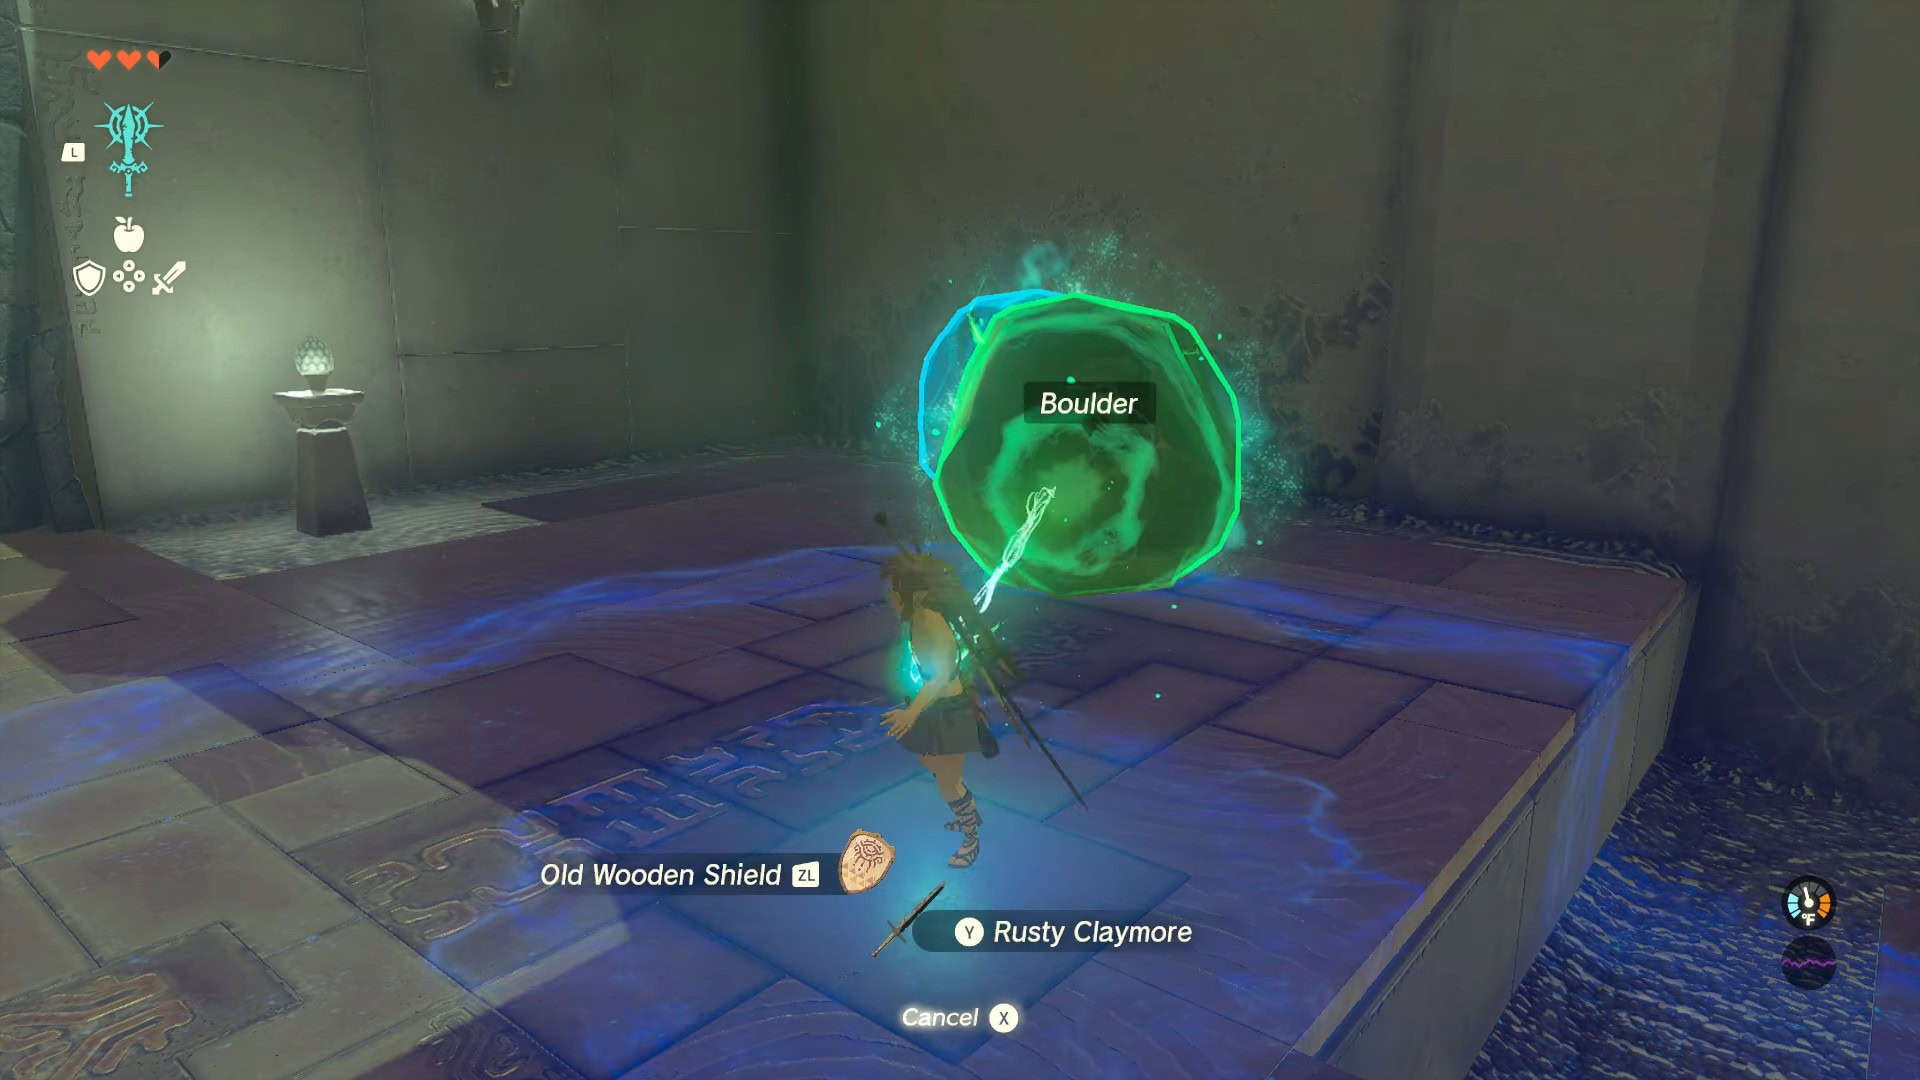
1. In the first area, combine your melee weapon with any rock you come across to craft a rock hammer.
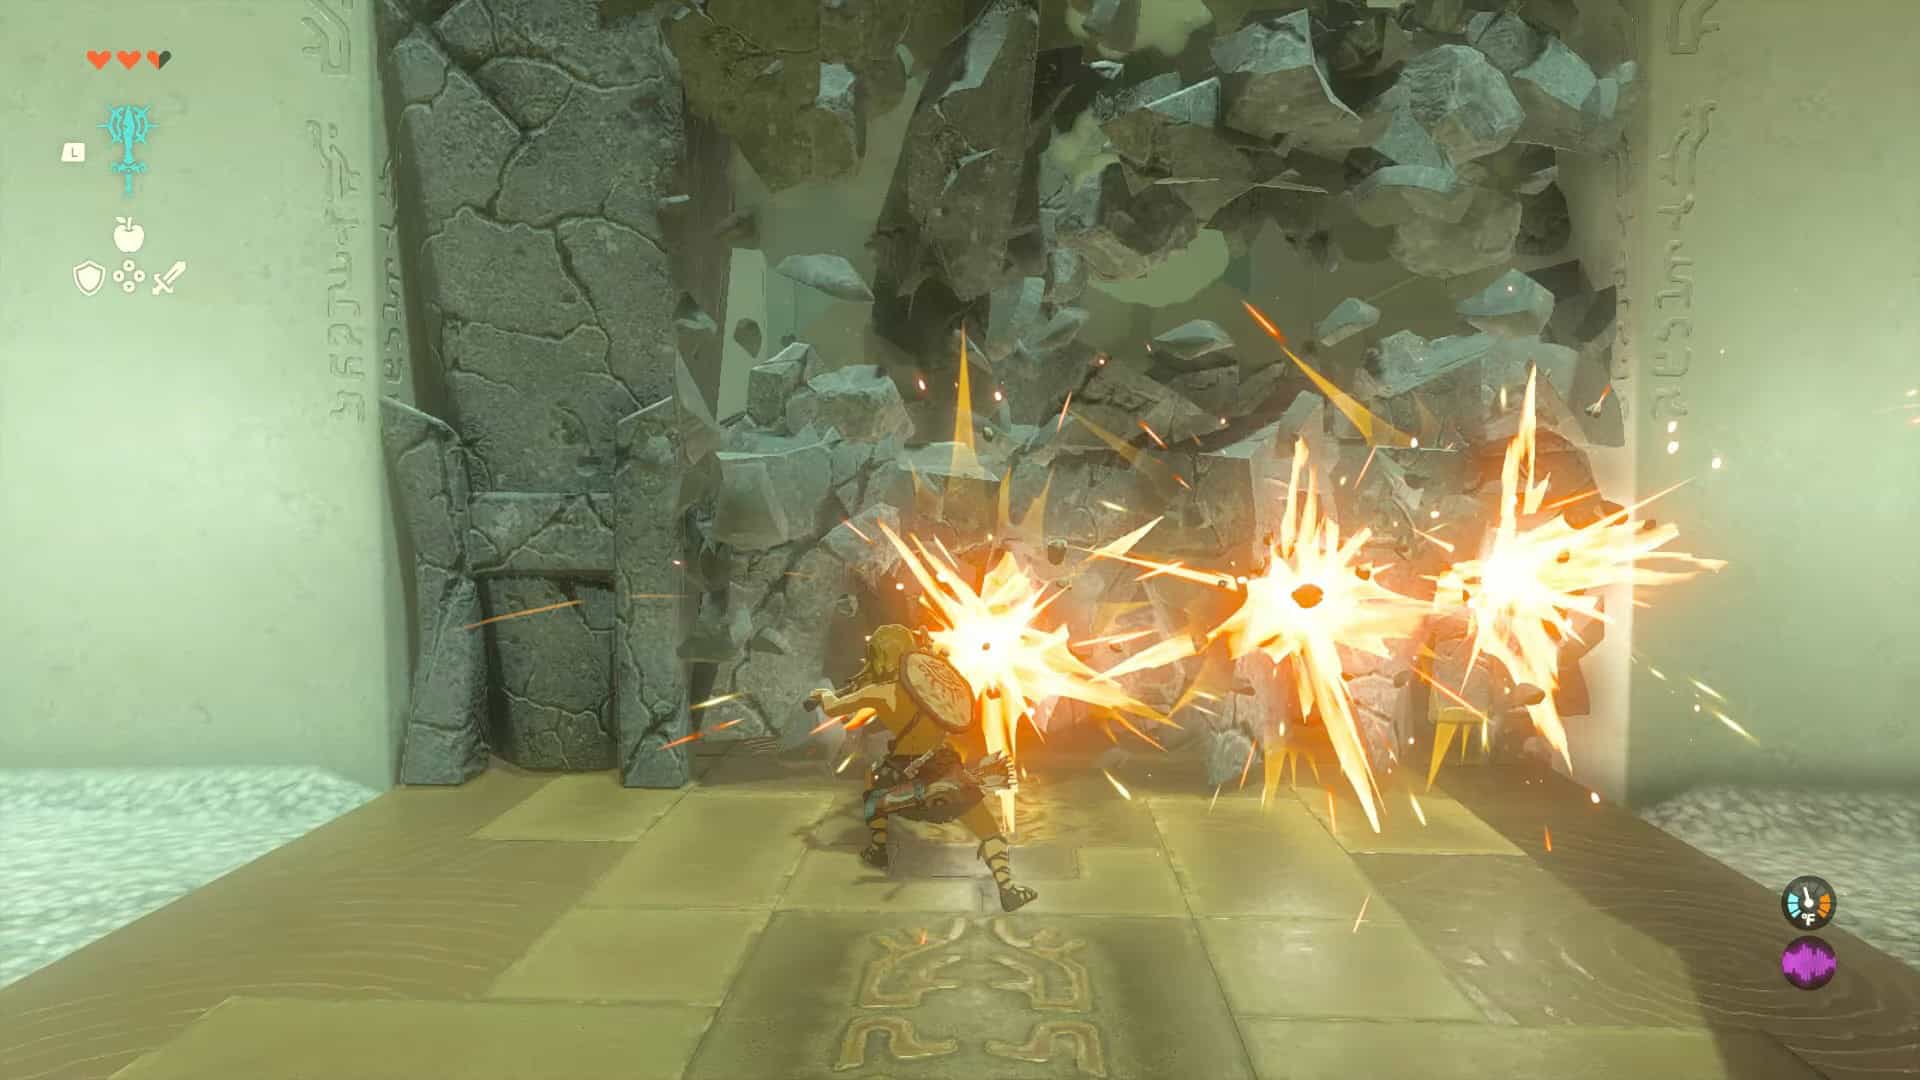
2. Use this hammer to destroy a wall of boulders blocking your path.

3. Destroy a pillar to the left housing a treasure chest. Open the treasure chest to obtain 5x Arrows.
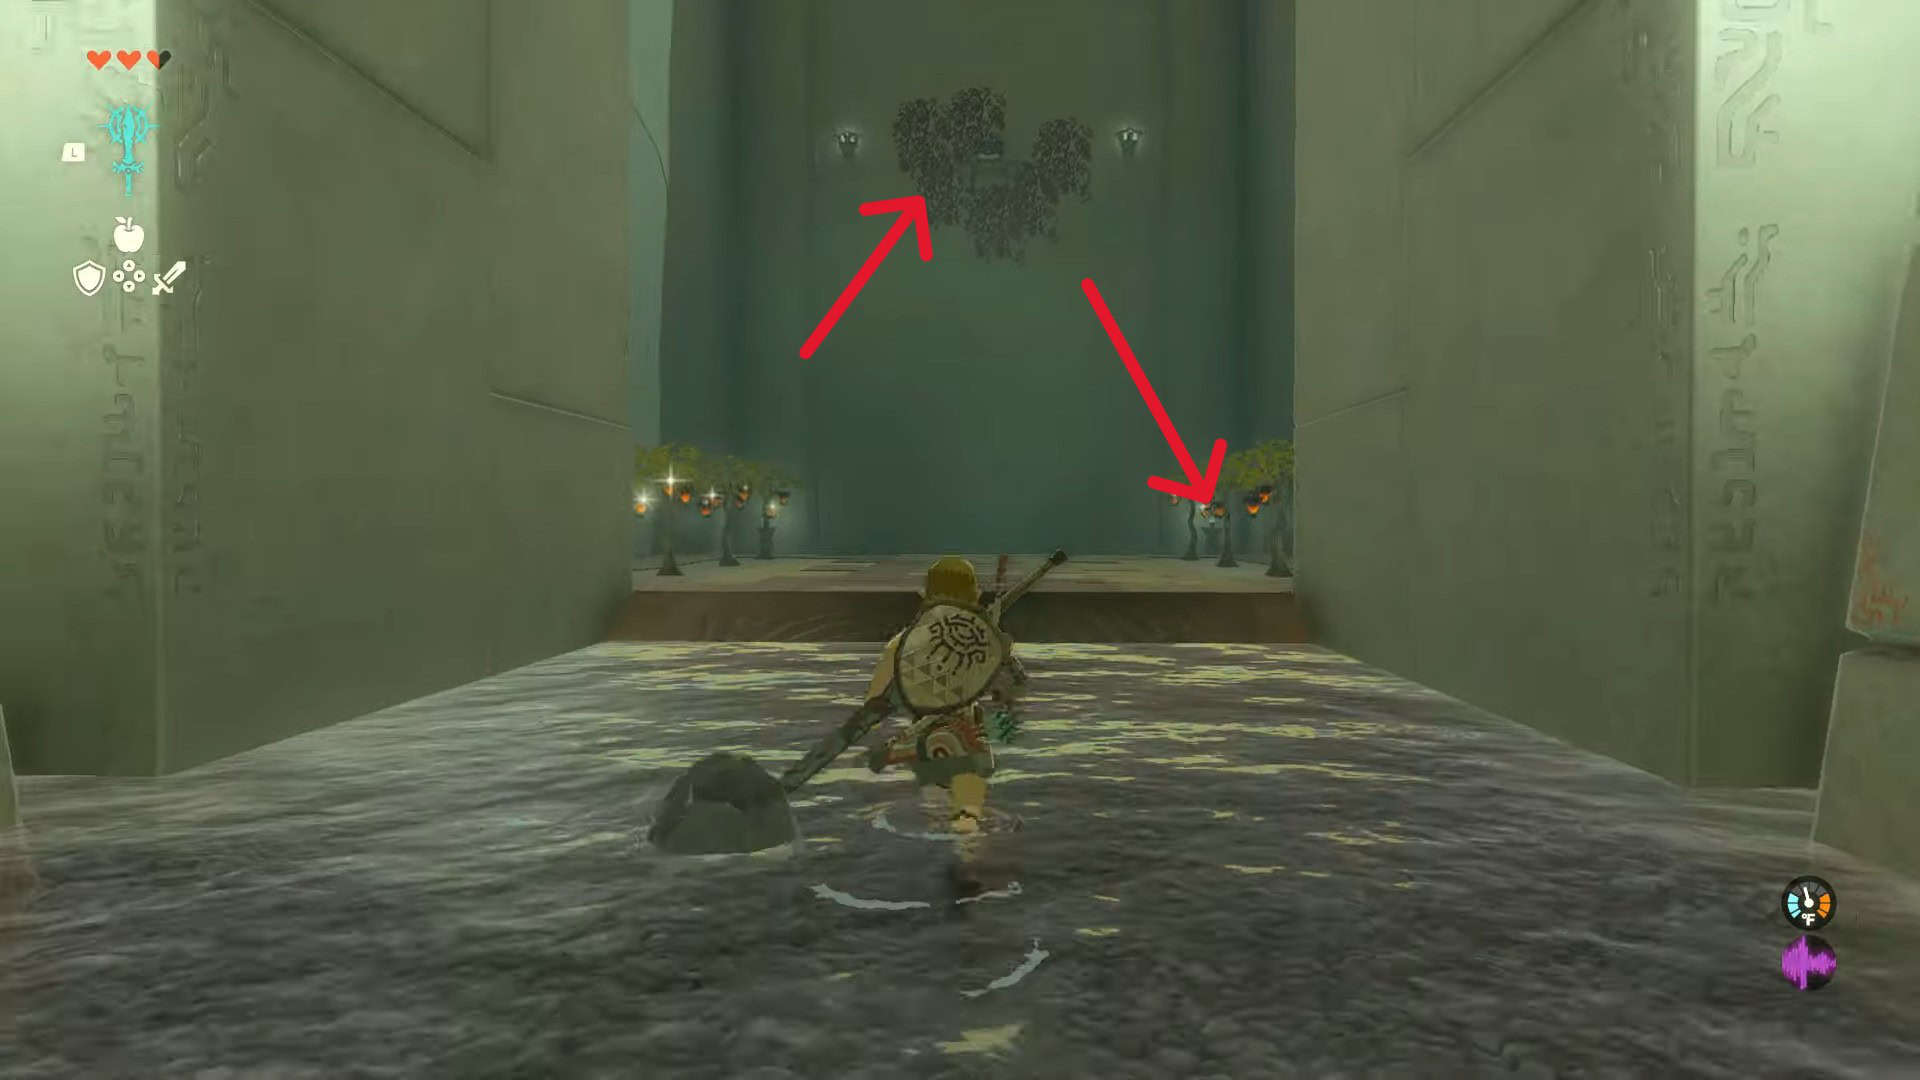
4. Turn right to find Fire Fruits before a bush on the wall. Pick up these fruits, as you will need them shortly.
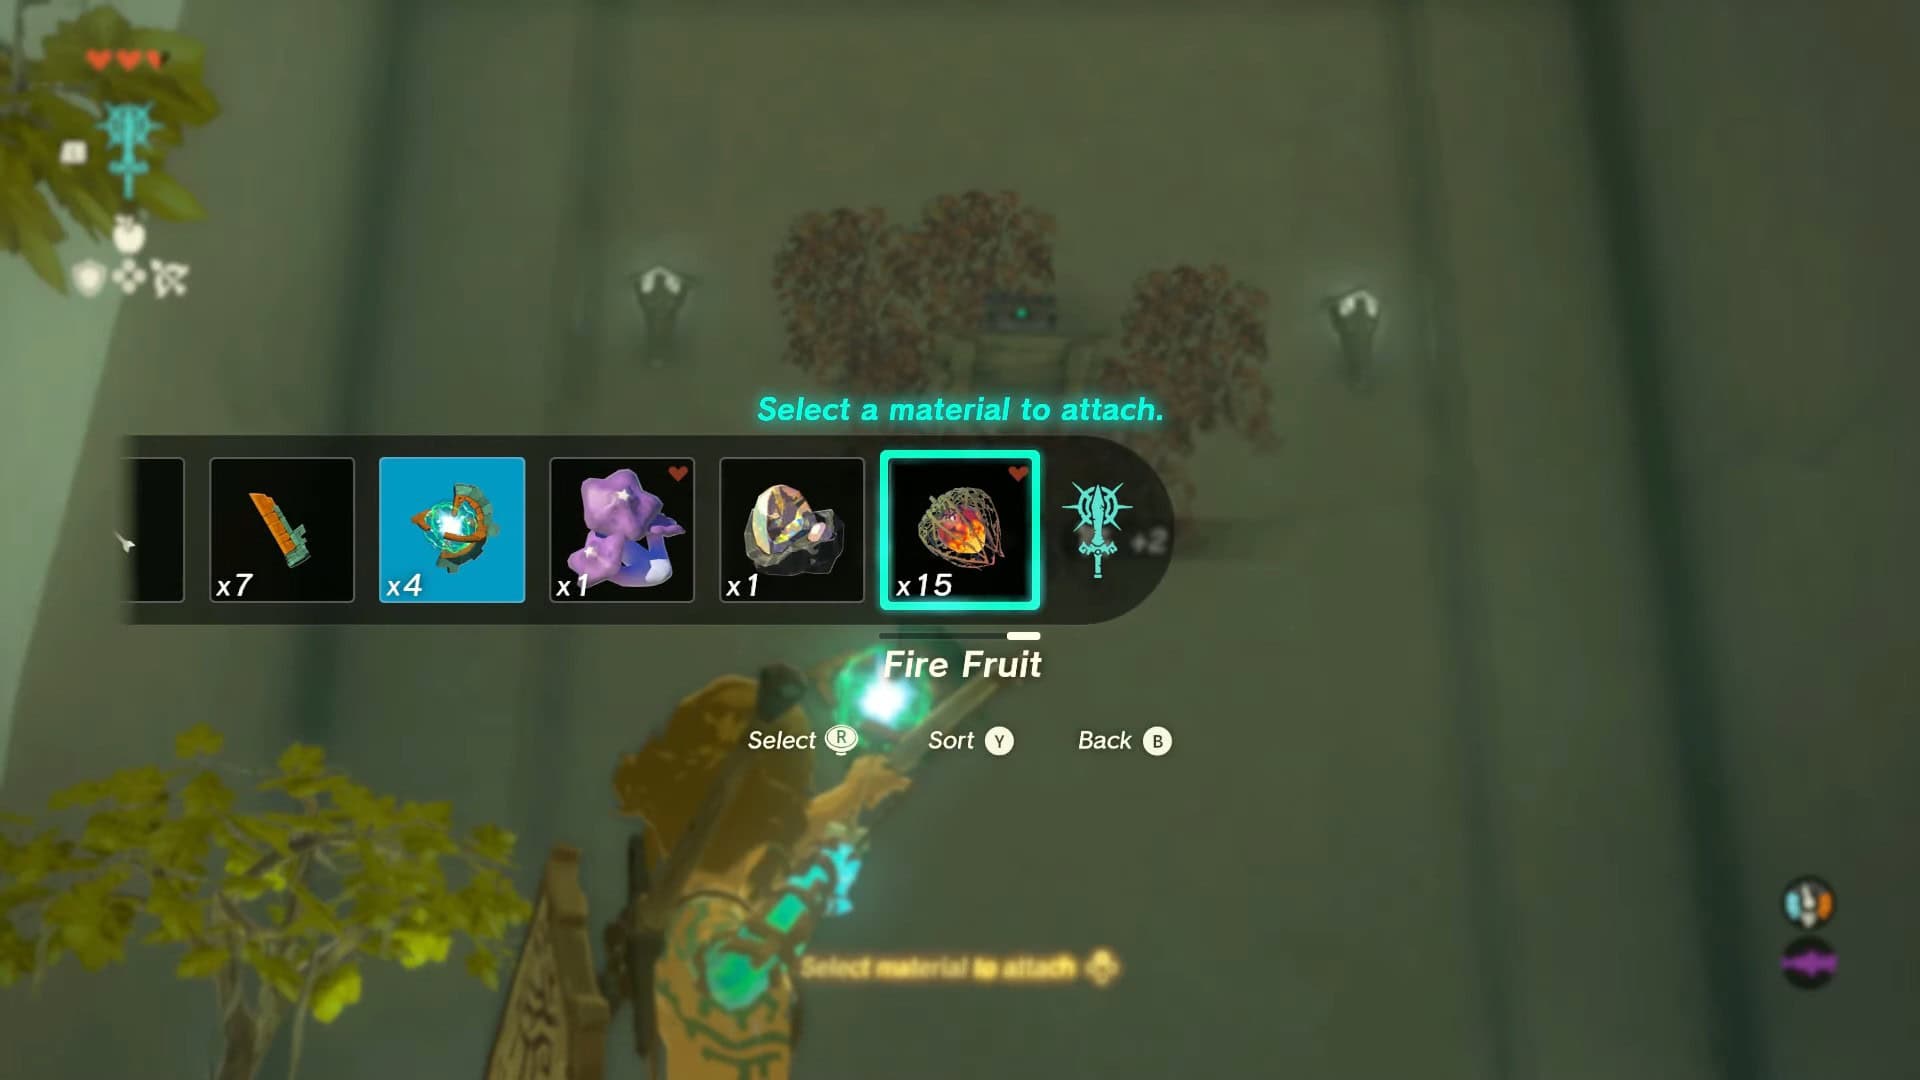
5. Take out your bow (press and hold the ZR button) and then press UP on the D-pad. This will show a selection of items in your inventory that you can fuse with your arrows.
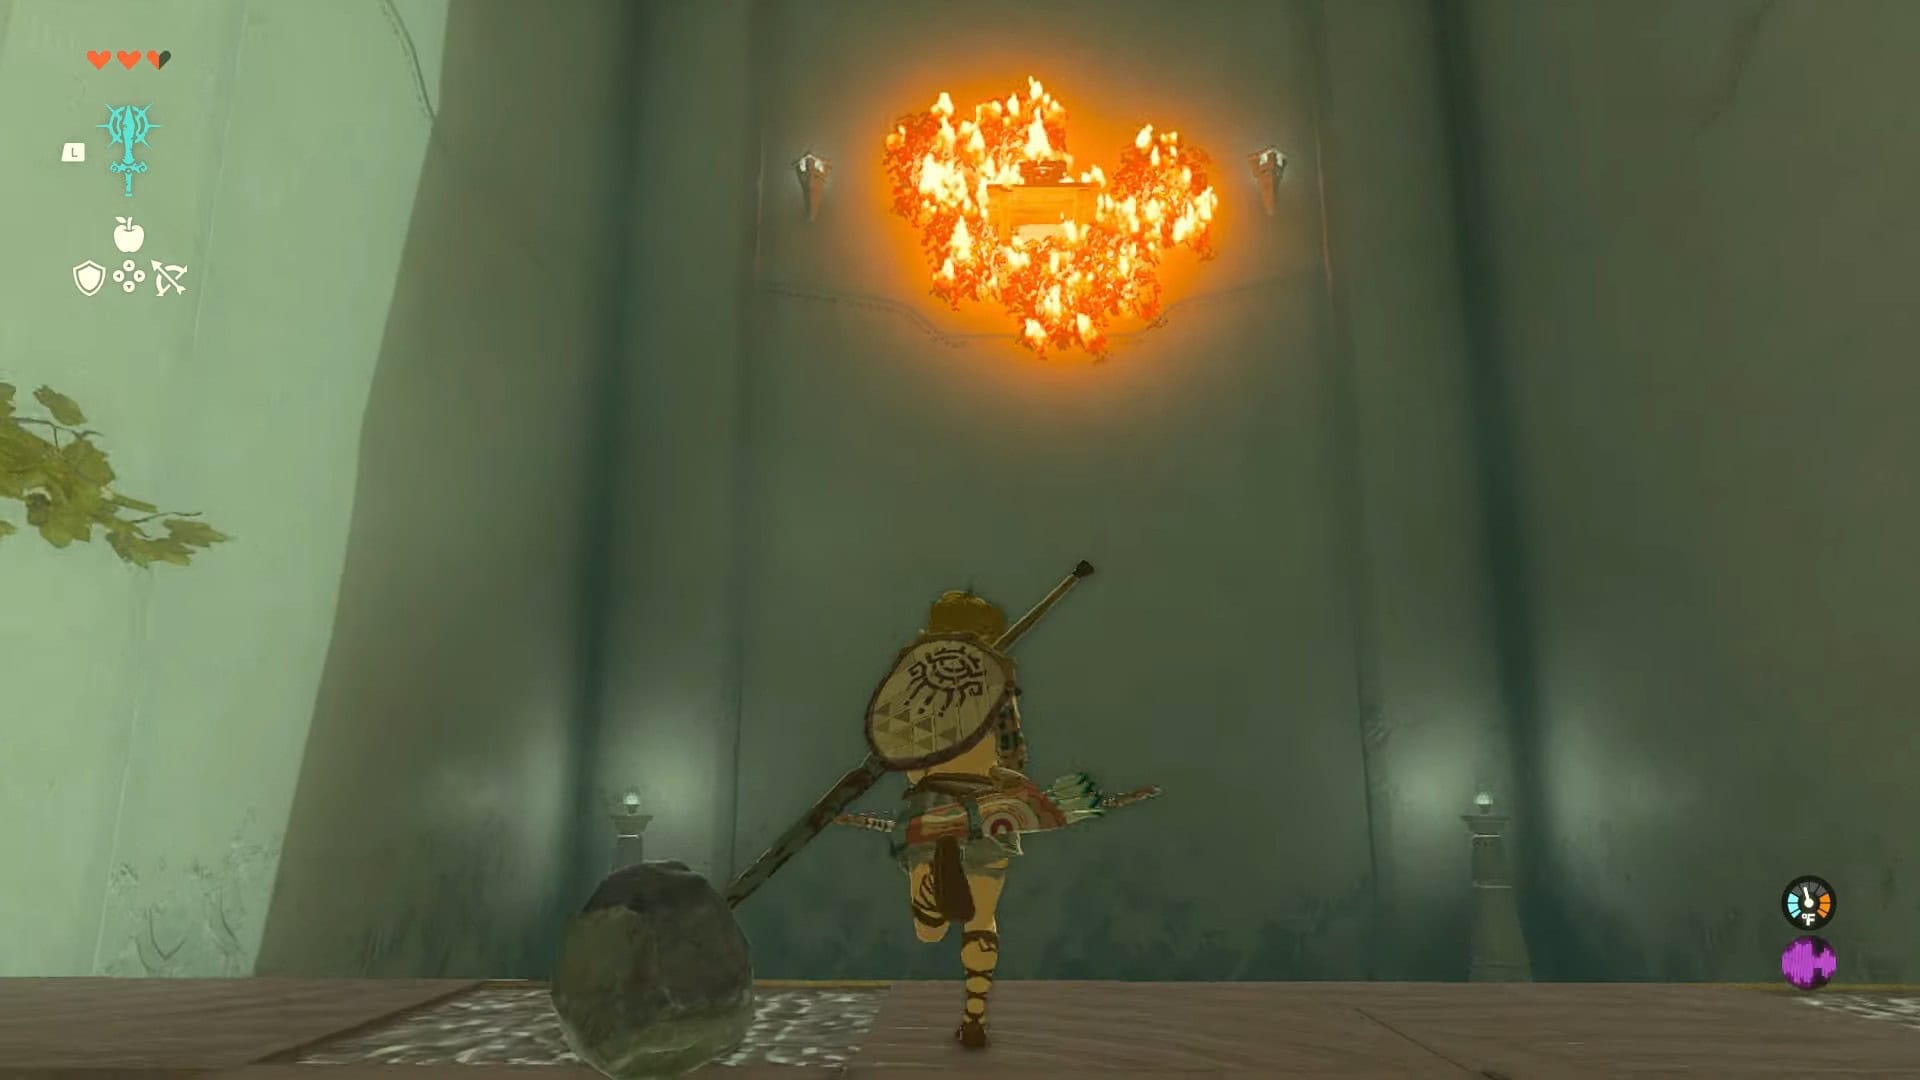
6. Select the Fire Fruit and aim at the bush. Release the ZR button to hit the bush with a fire arrow. It will burn, and the treasure chest will fall.
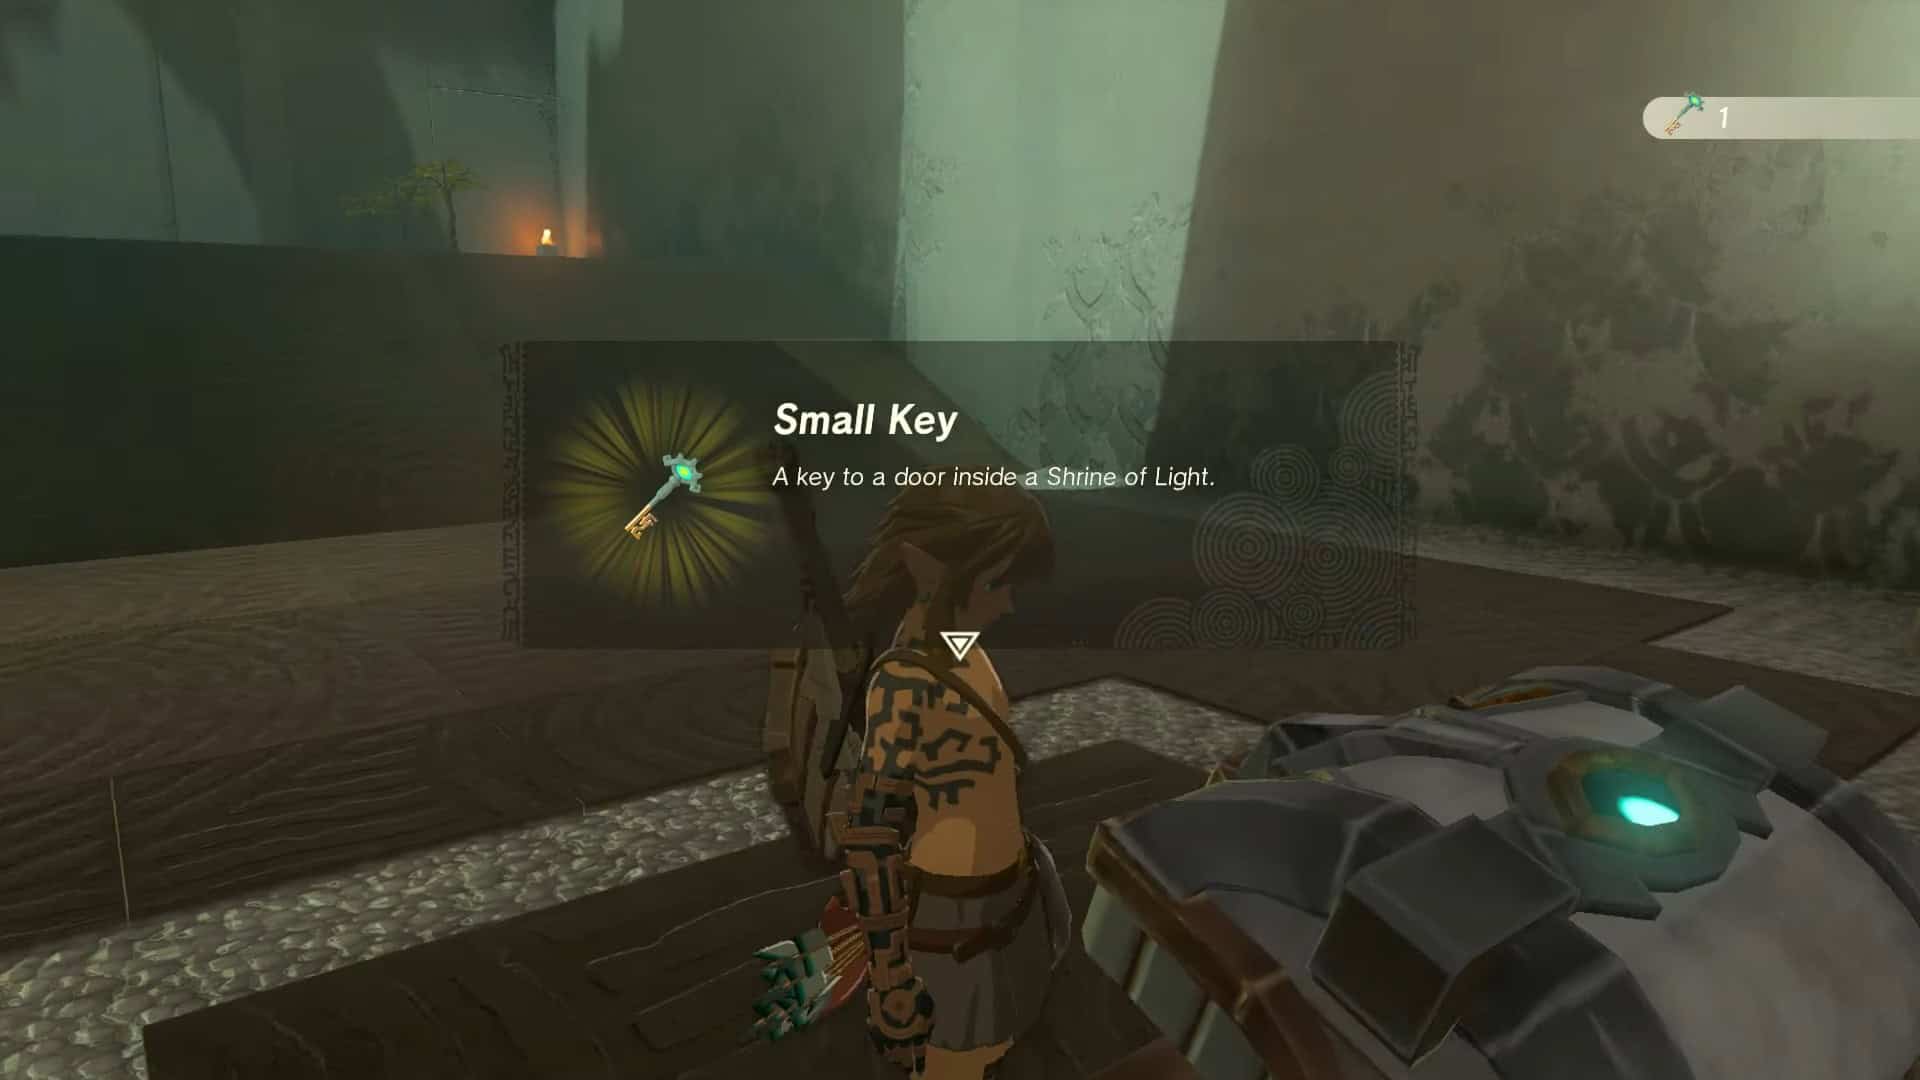
7. Open the treasure chest to obtain a Small Key. Use this key to open the locked door in this area.
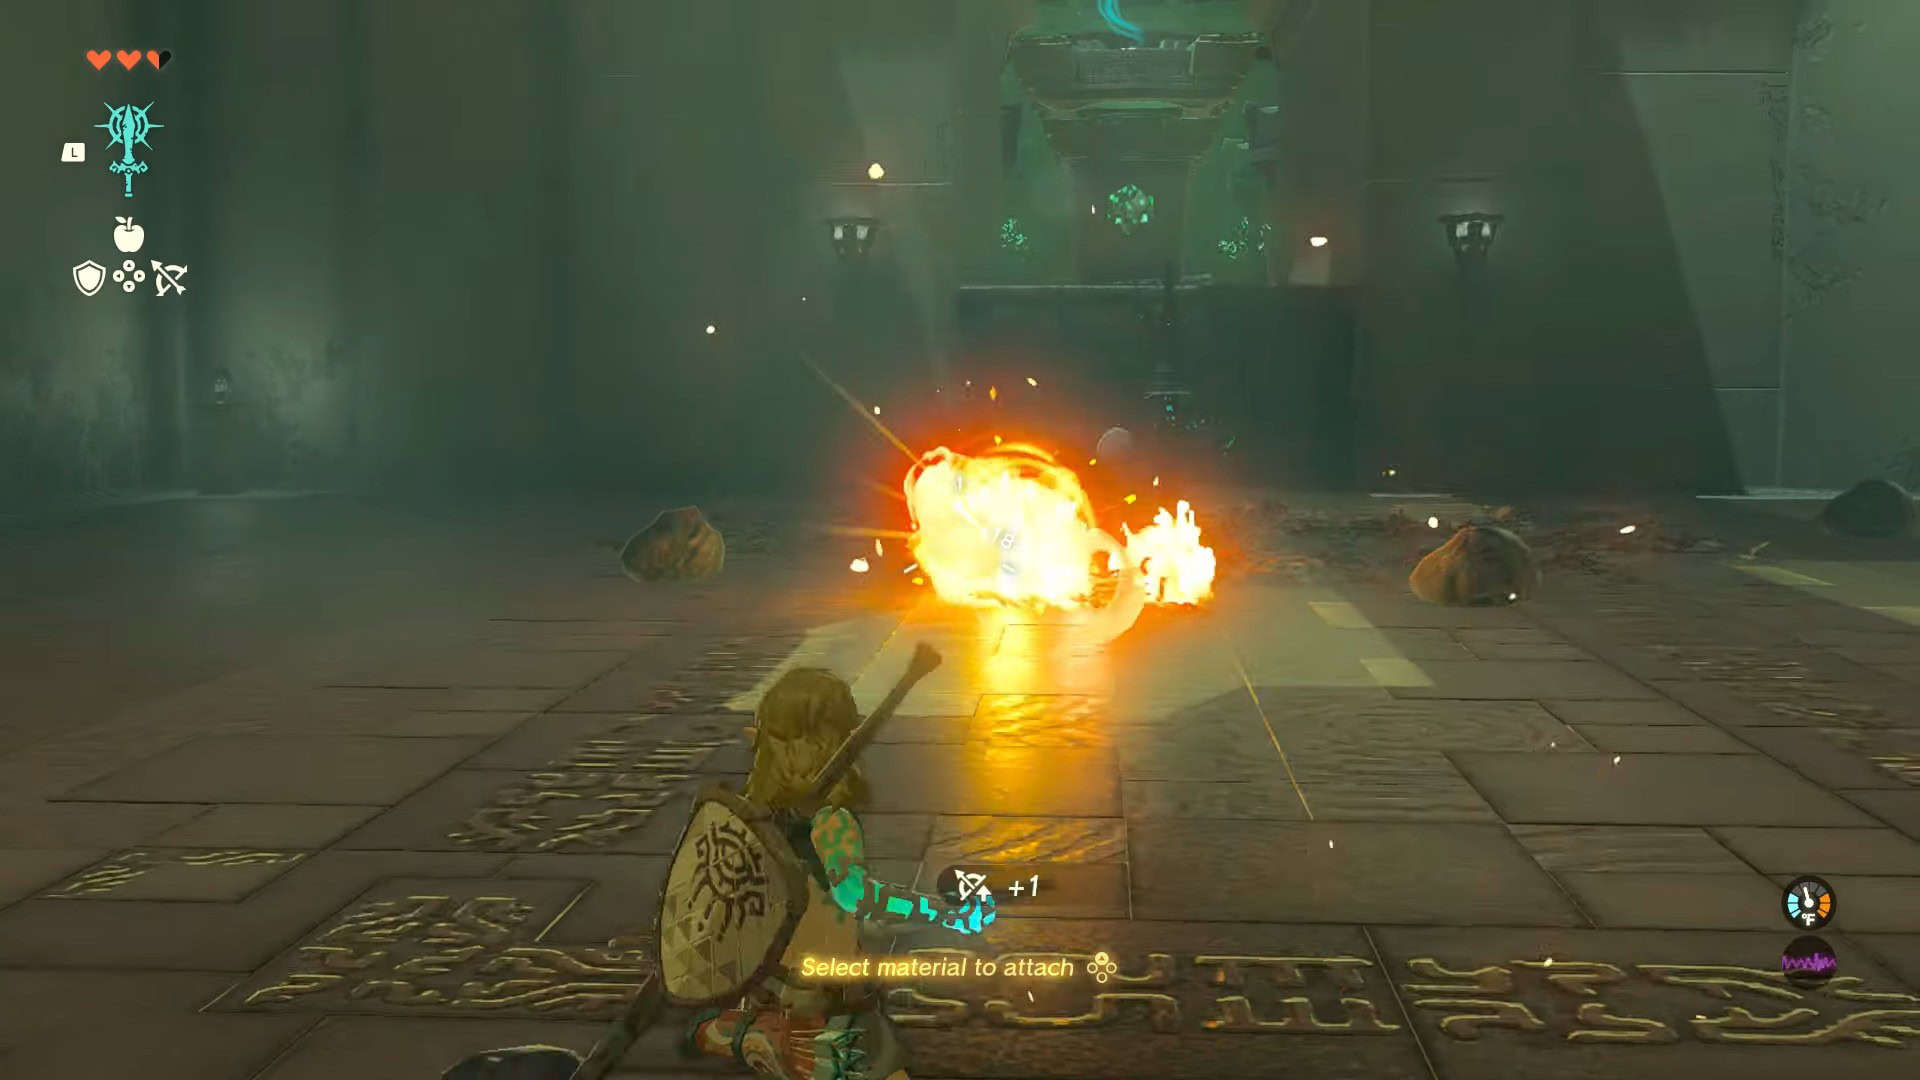
8. The next area has you fight a construct enemy that also uses the fused weapon. Burn the bushes beneath it with another fire arrow.
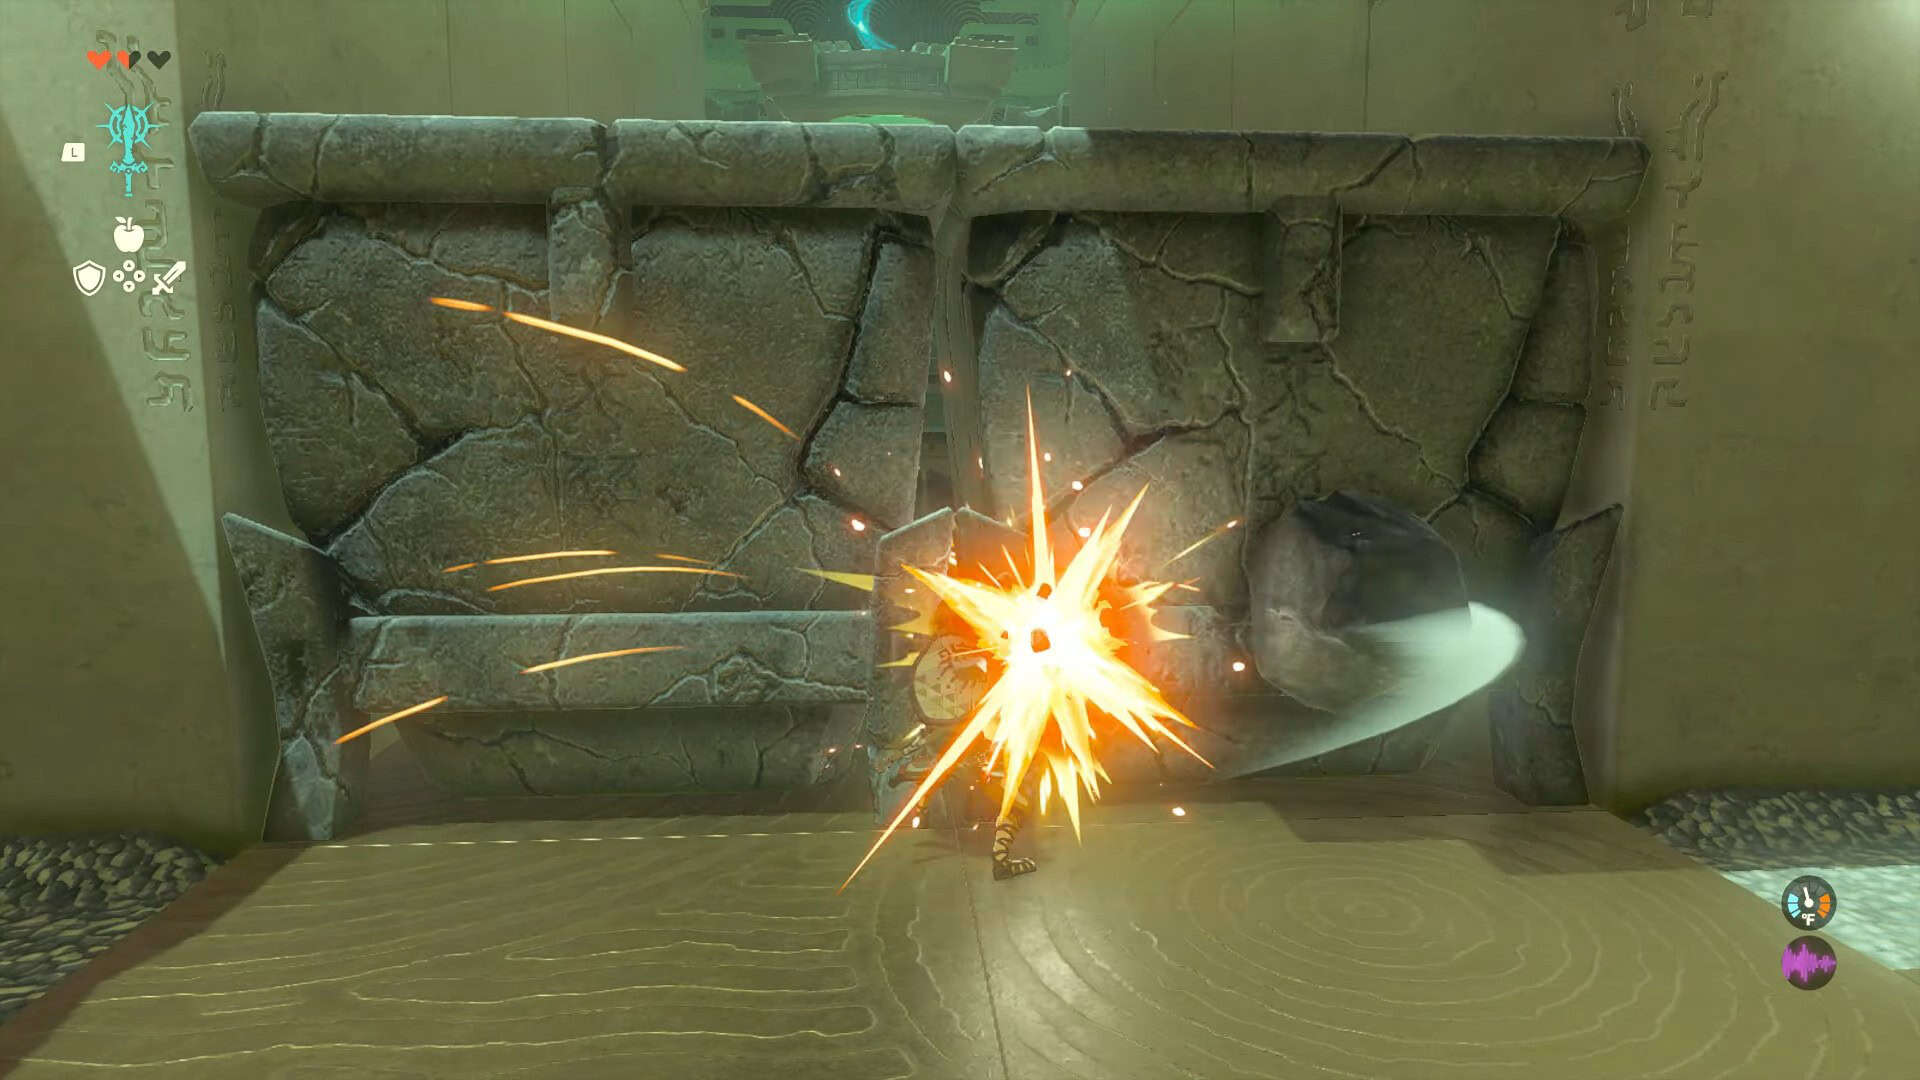
9. Once the enemy is defeated, use the hammer weapon to break the boulders blocking your path forward.
10. Proceed forward to the altar room. Interact with Rauru and Sonia’s statues to complete the puzzle and earn a Light of Blessing as a reward. You are one step closer to opening the door to the Temple of Time. Our next stop is the Gutanbac shrine.