Ga-ahisas Shrine in Zelda: Tears of the Kingdom belongs to Rauru’s Blessing category. These shrines offer no challenges in the form of combat or puzzles. The only challenge here is to locate the shrine by solving the Lightcast Island puzzle.
While reaching Lightcast Island is a bit of a chore, its puzzle is no slouch either. In this guide, we will help you reach Lightcast Island in Zelda: Tears of the Kingdom without needing Zora Armor and help solve its puzzle with our guide aided by visual clues.
Ga-ahisas Shrine Location in Zelda: TotK
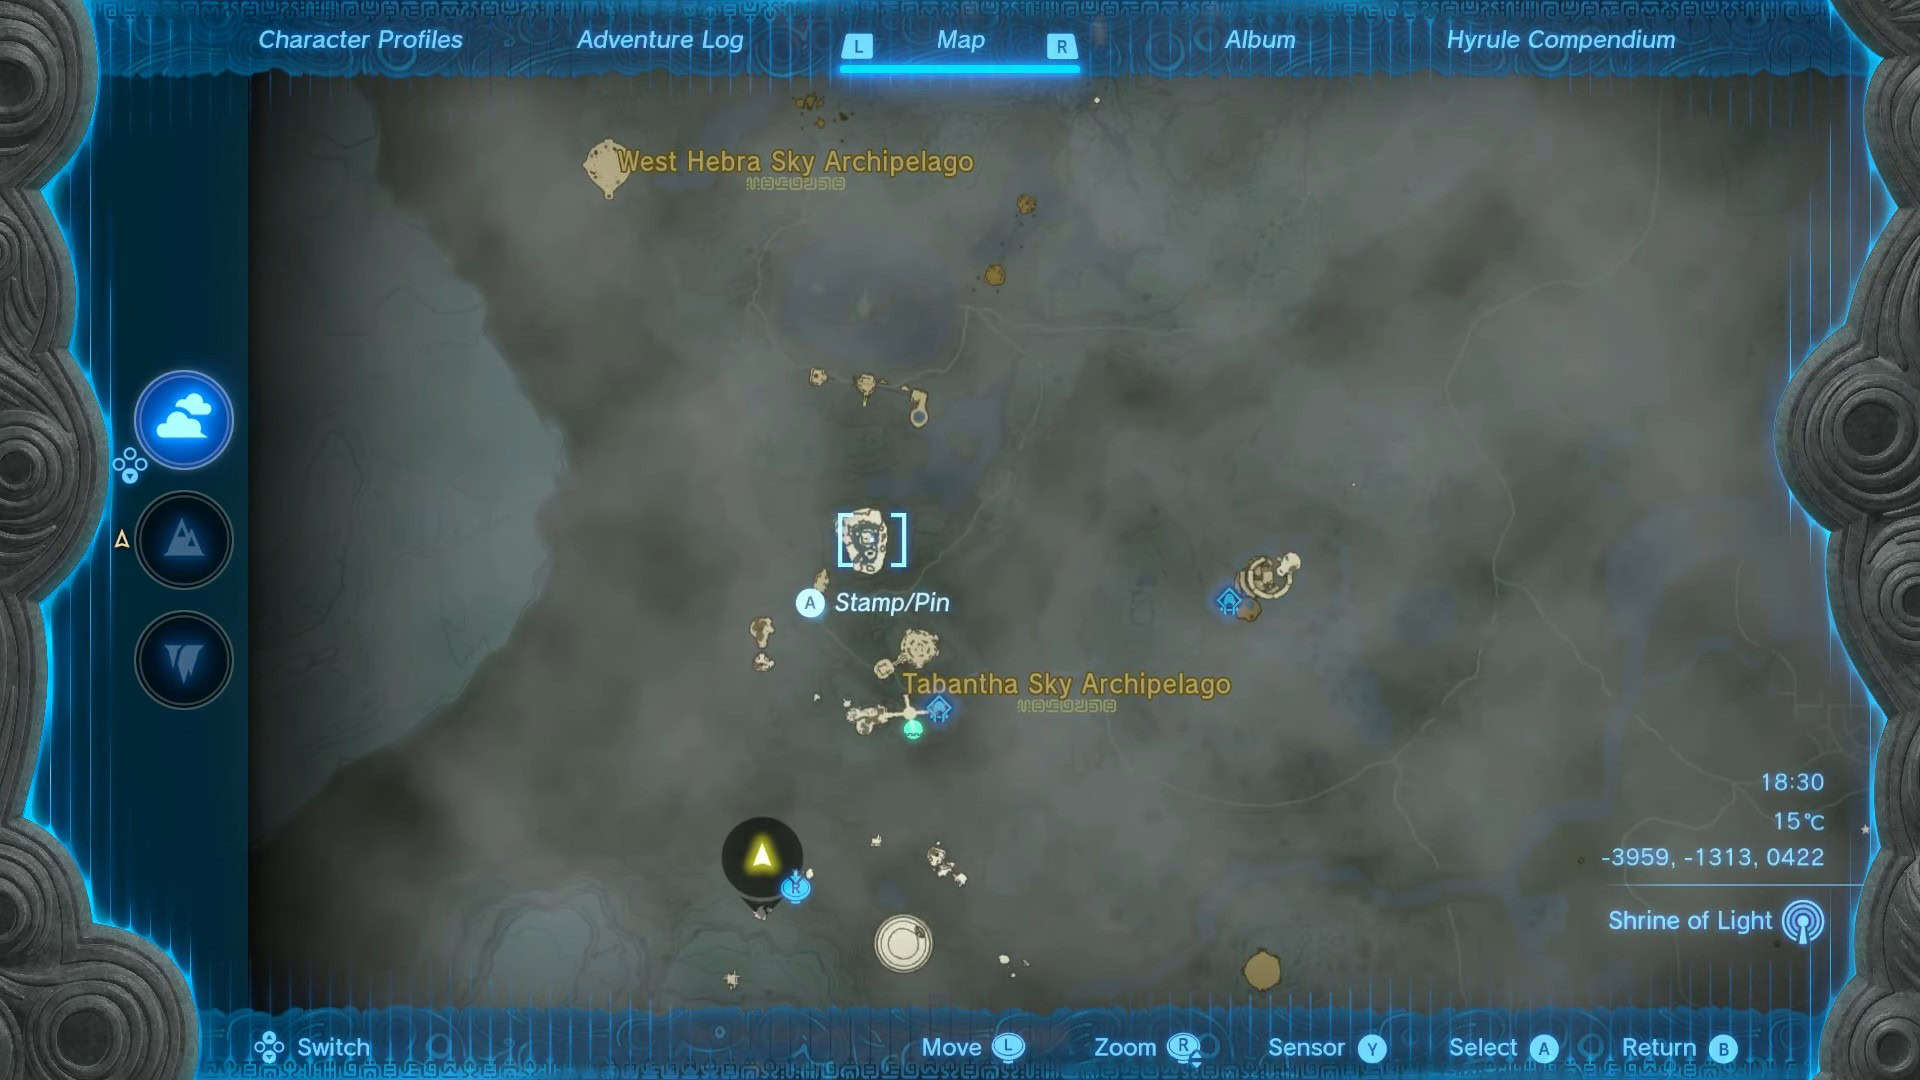
Ga-ahisas Shrine is hidden inside the Lightcast Island of Tabantha Sky Archipelago. Reaching this island is not an easy task, and we have the complete step-by-step guide below.
Before you start on this journey, we recommend that you purchase the Snowquill Armor and unlock Tulin’s Gust ability. The latter can be done by completing Tulin of Rito’s main quest.
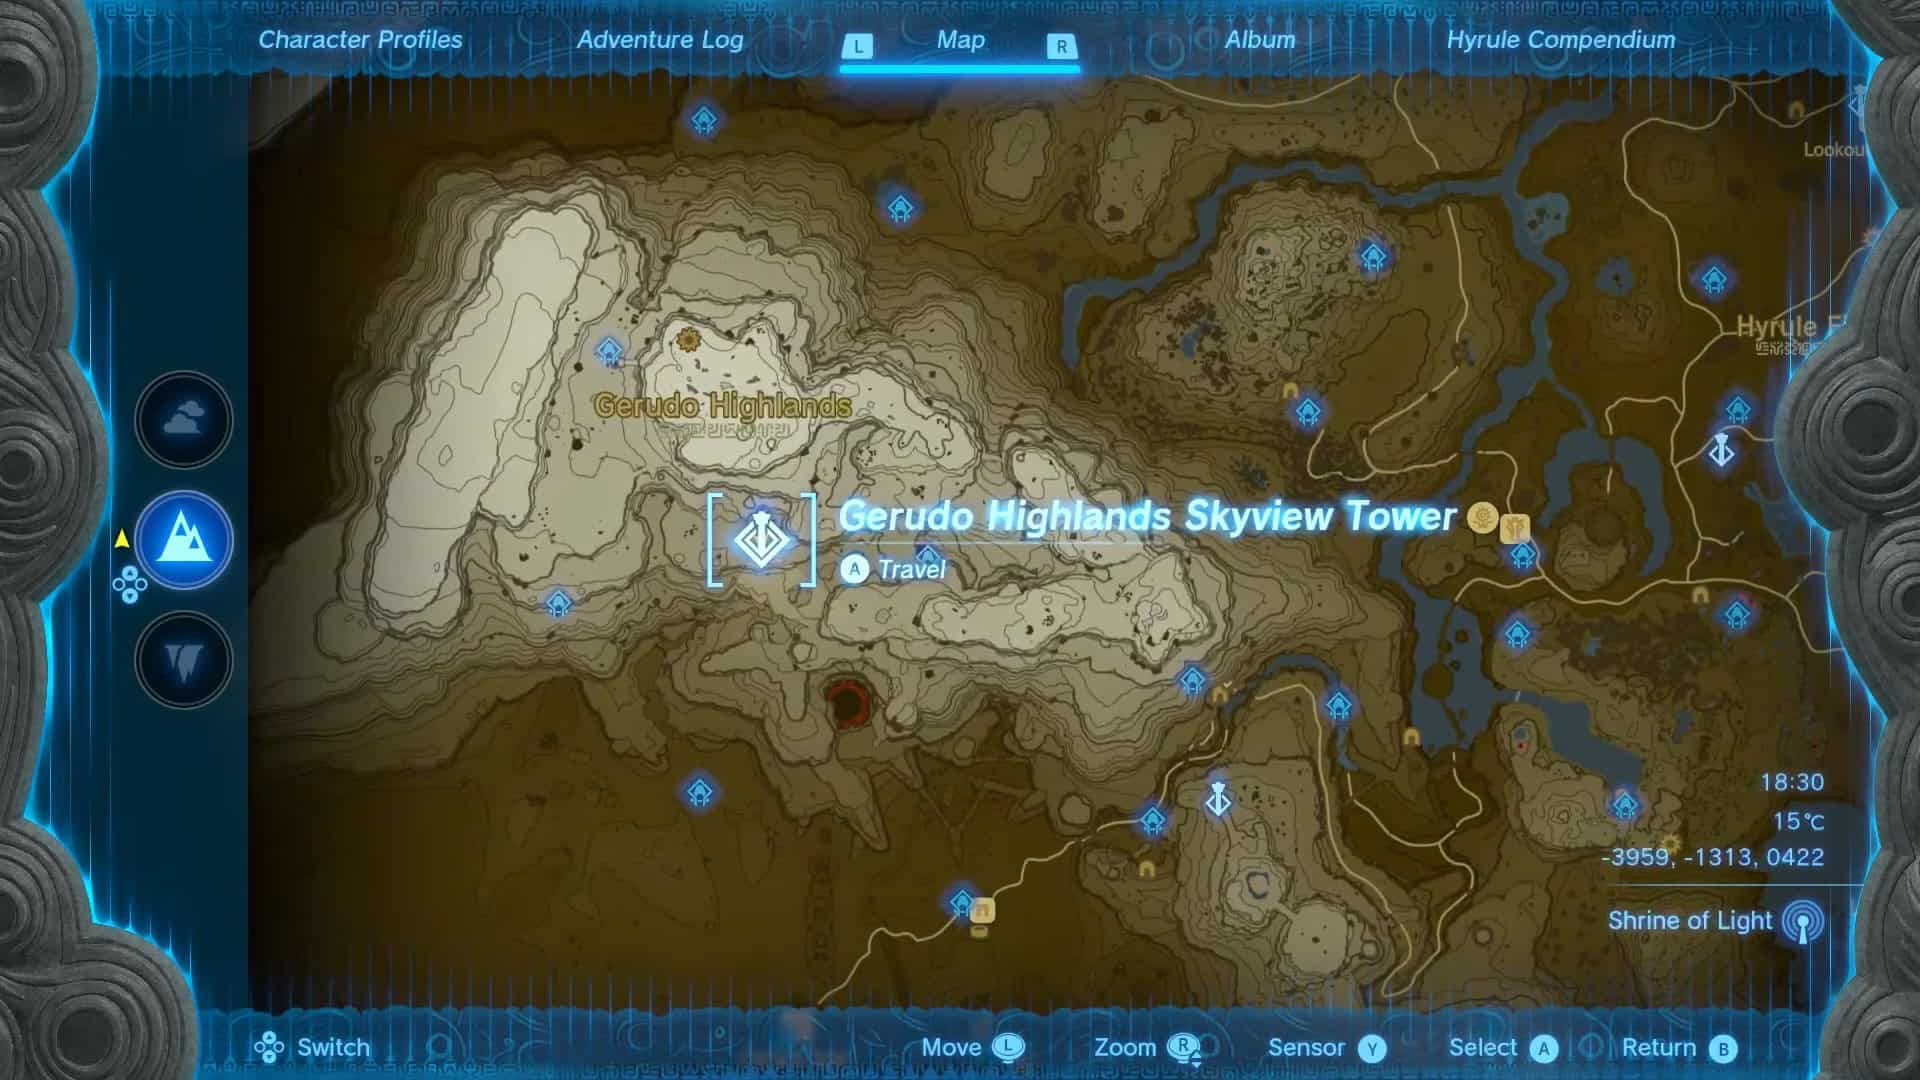
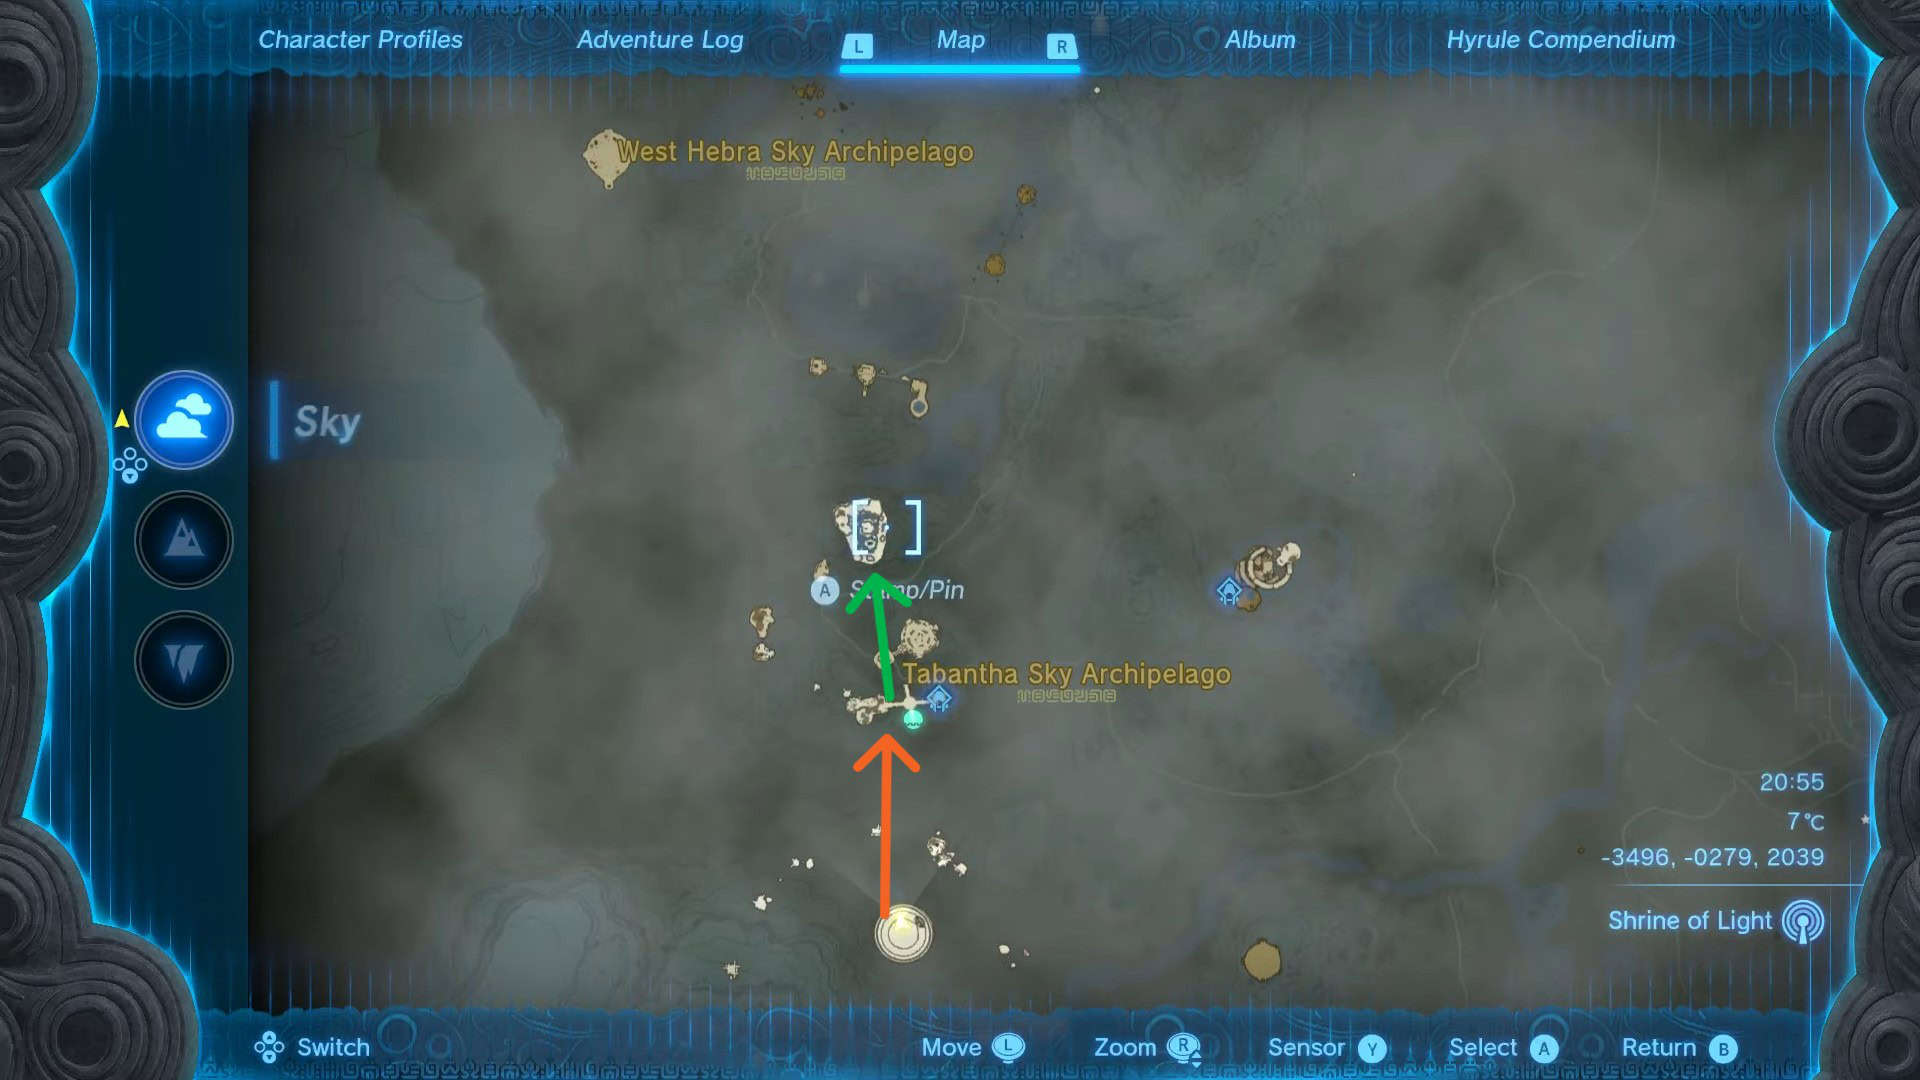
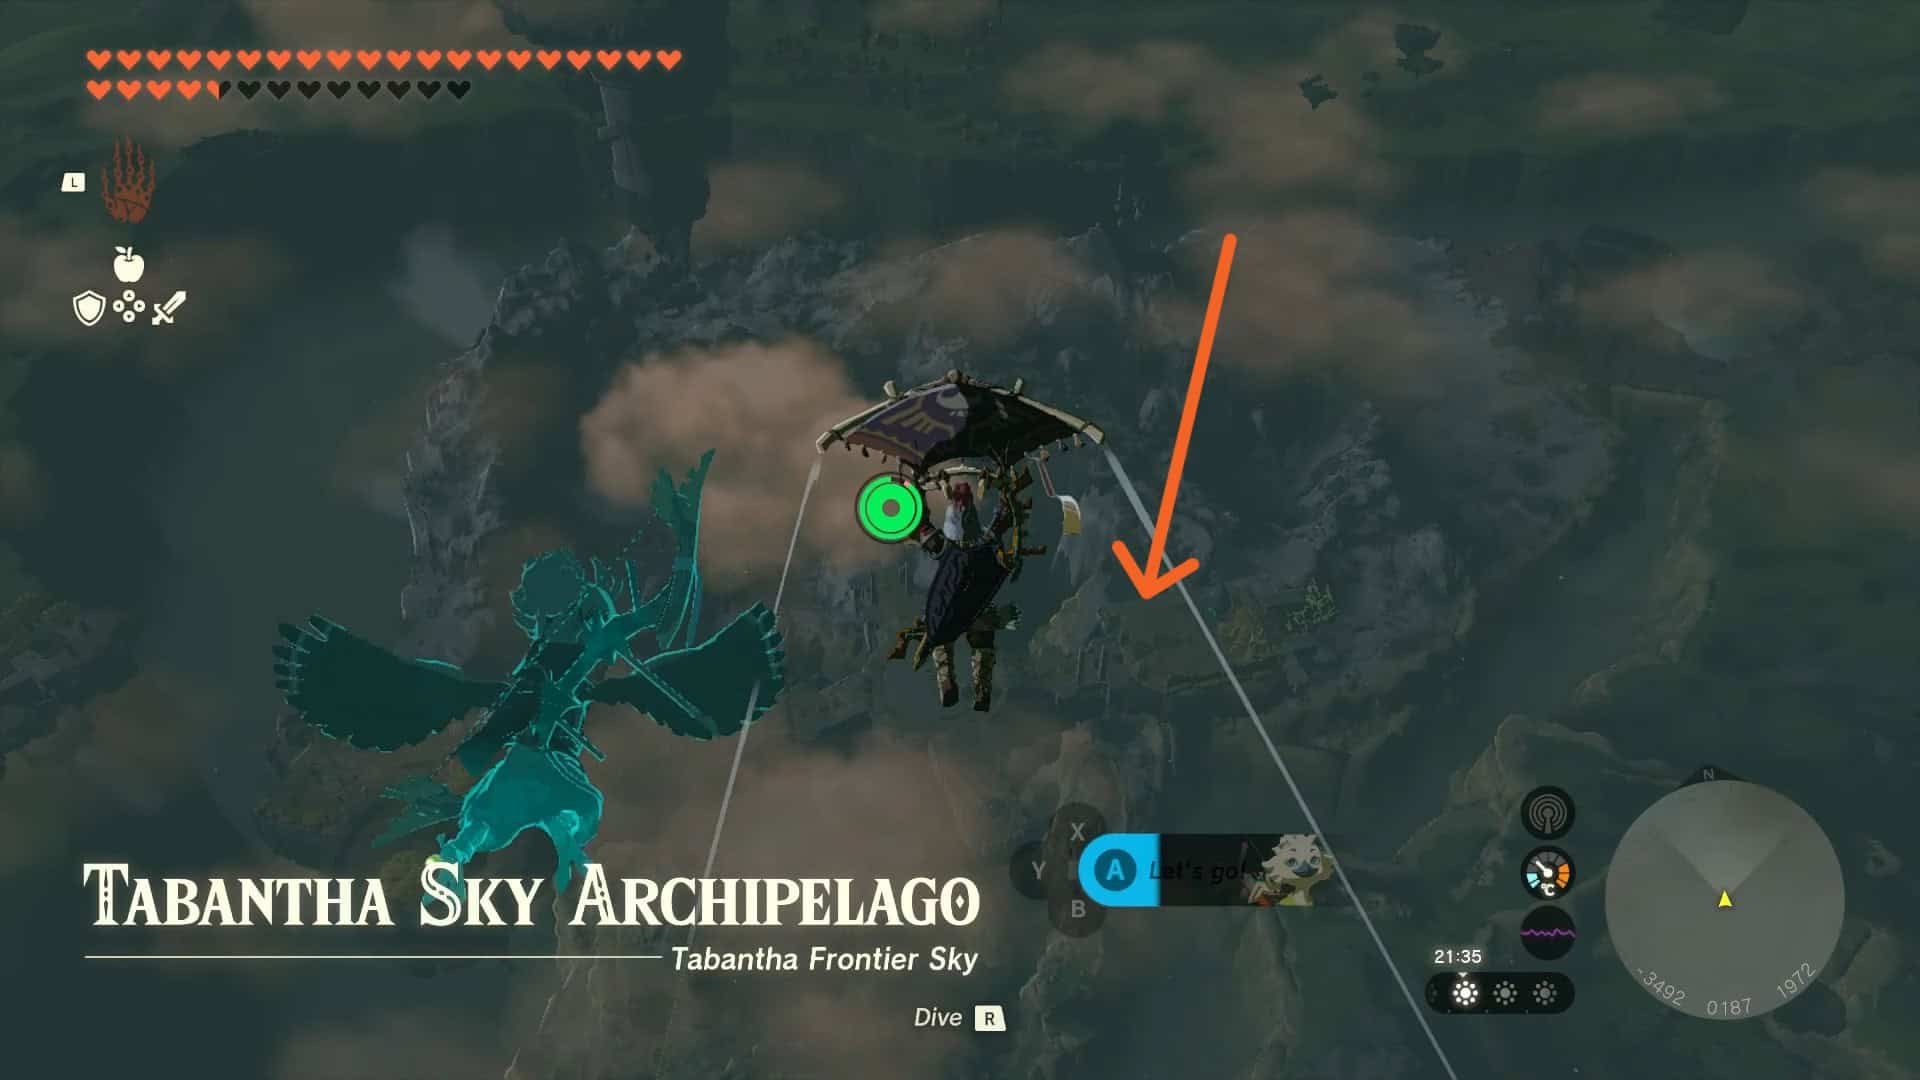
1. Start from the Gerudo Highlands Skyview Tower (-3959, -1313, 0422) and use it as a launchpad.
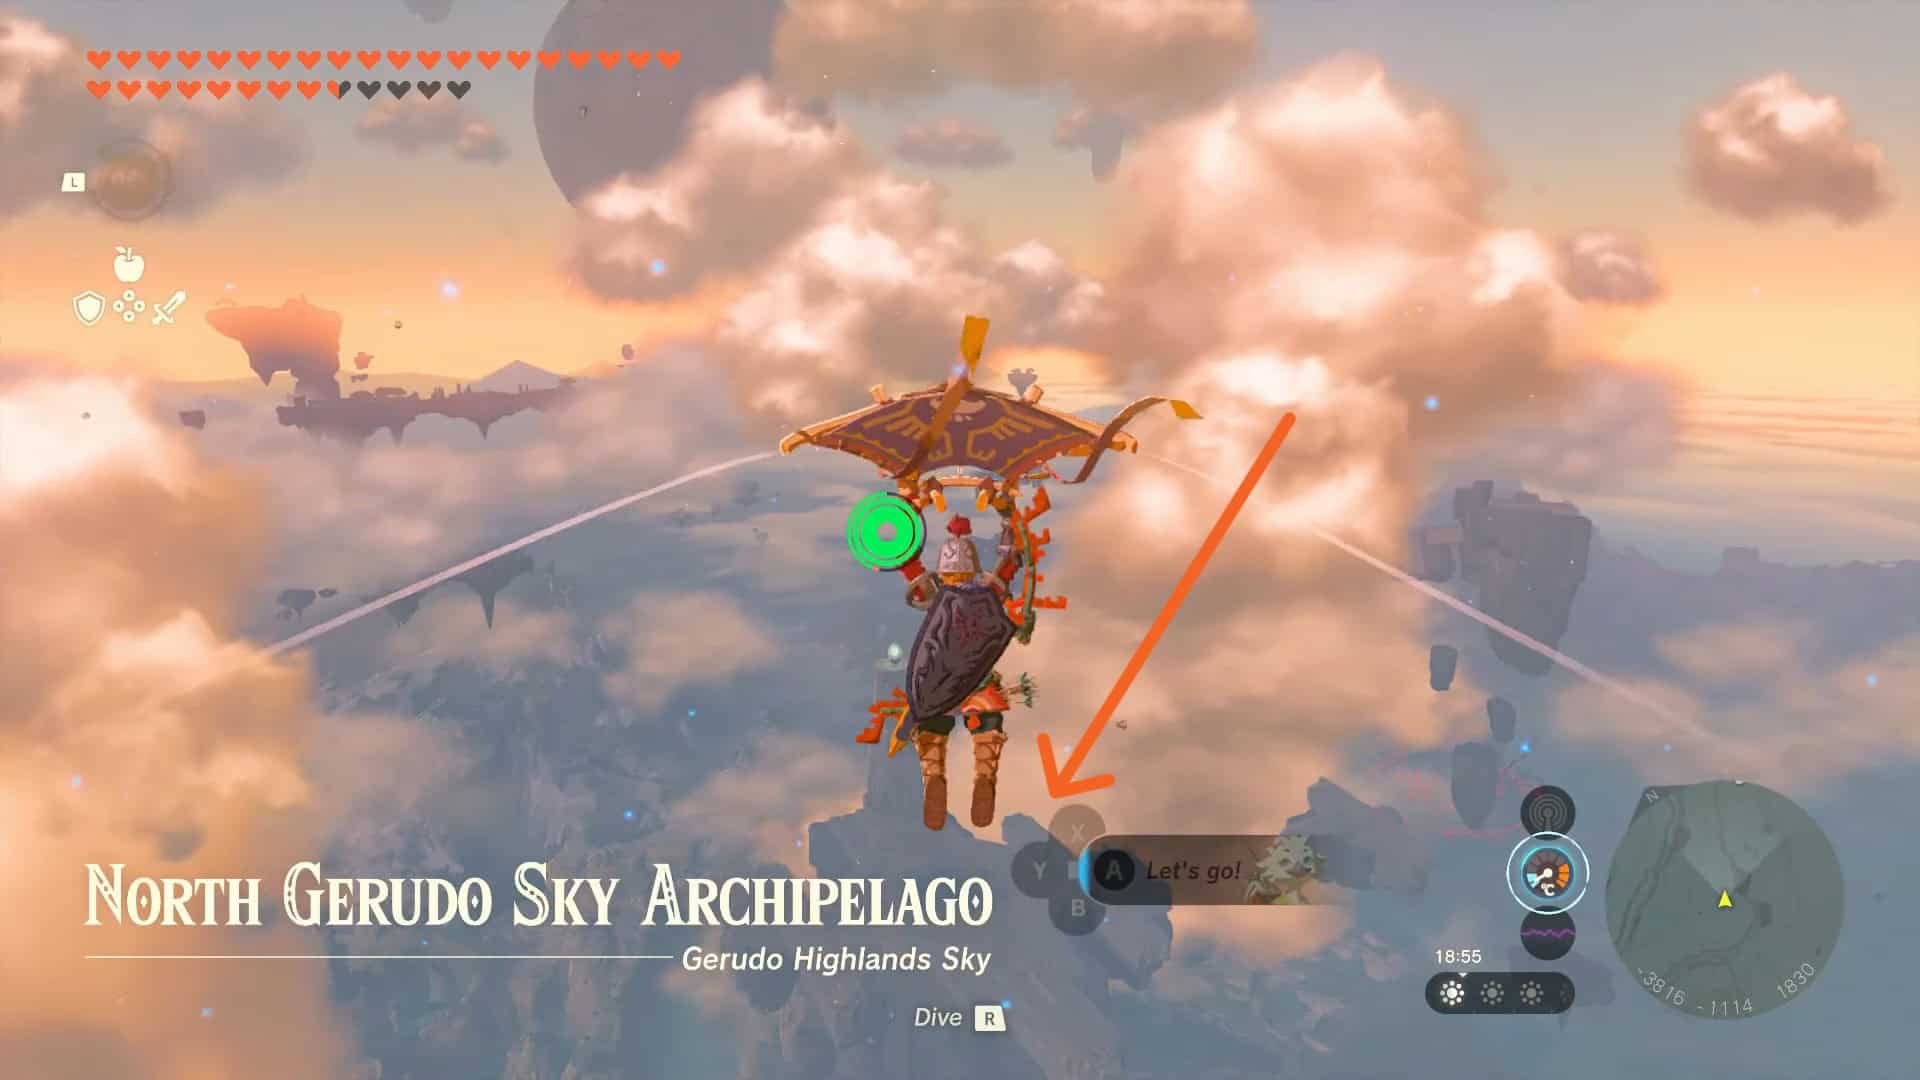
2. Start gliding Northeast as soon as you hit the highest point in the sky, as this is where Ga-ahisas shrine is.
3. Your first stop will be a small island in the form of a ship. This island is at the following coordinates (-3668, -0953, 1716) and is inside the North Gerudo Sky Archipelago.
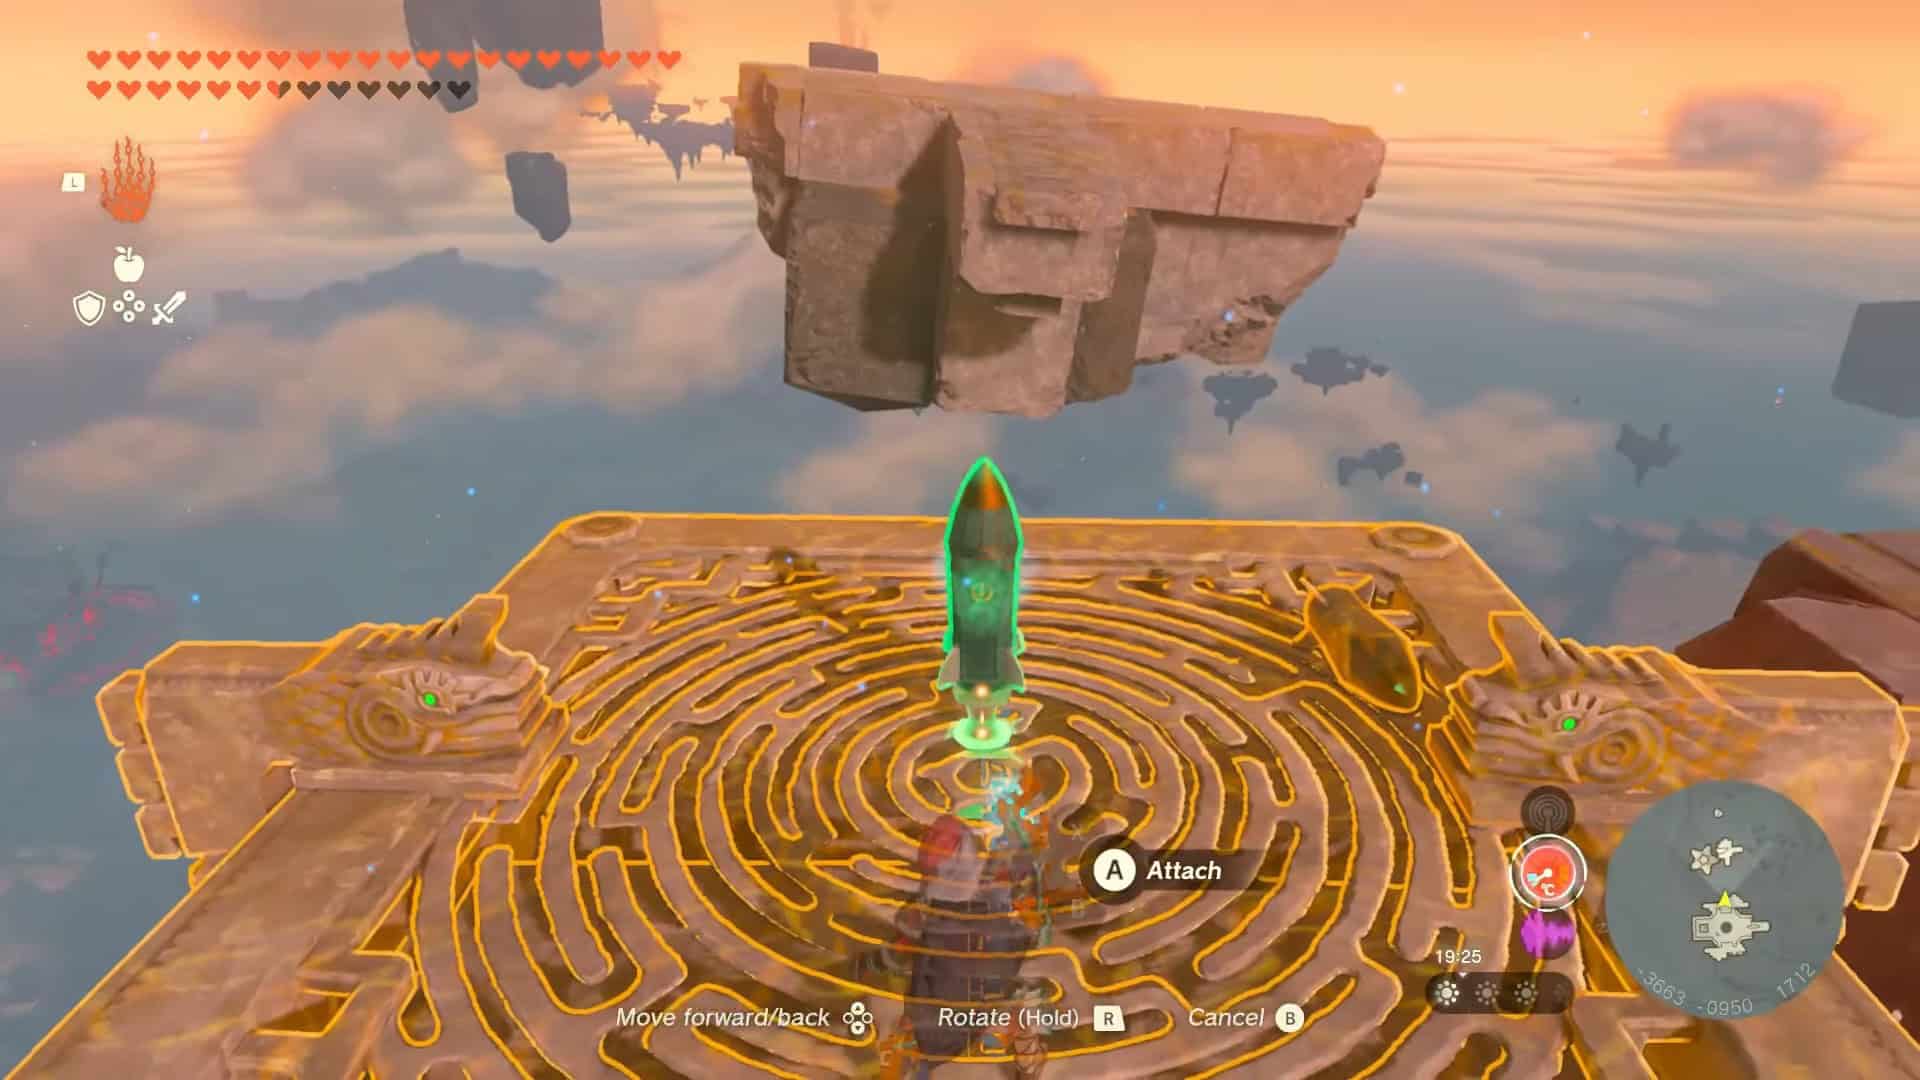
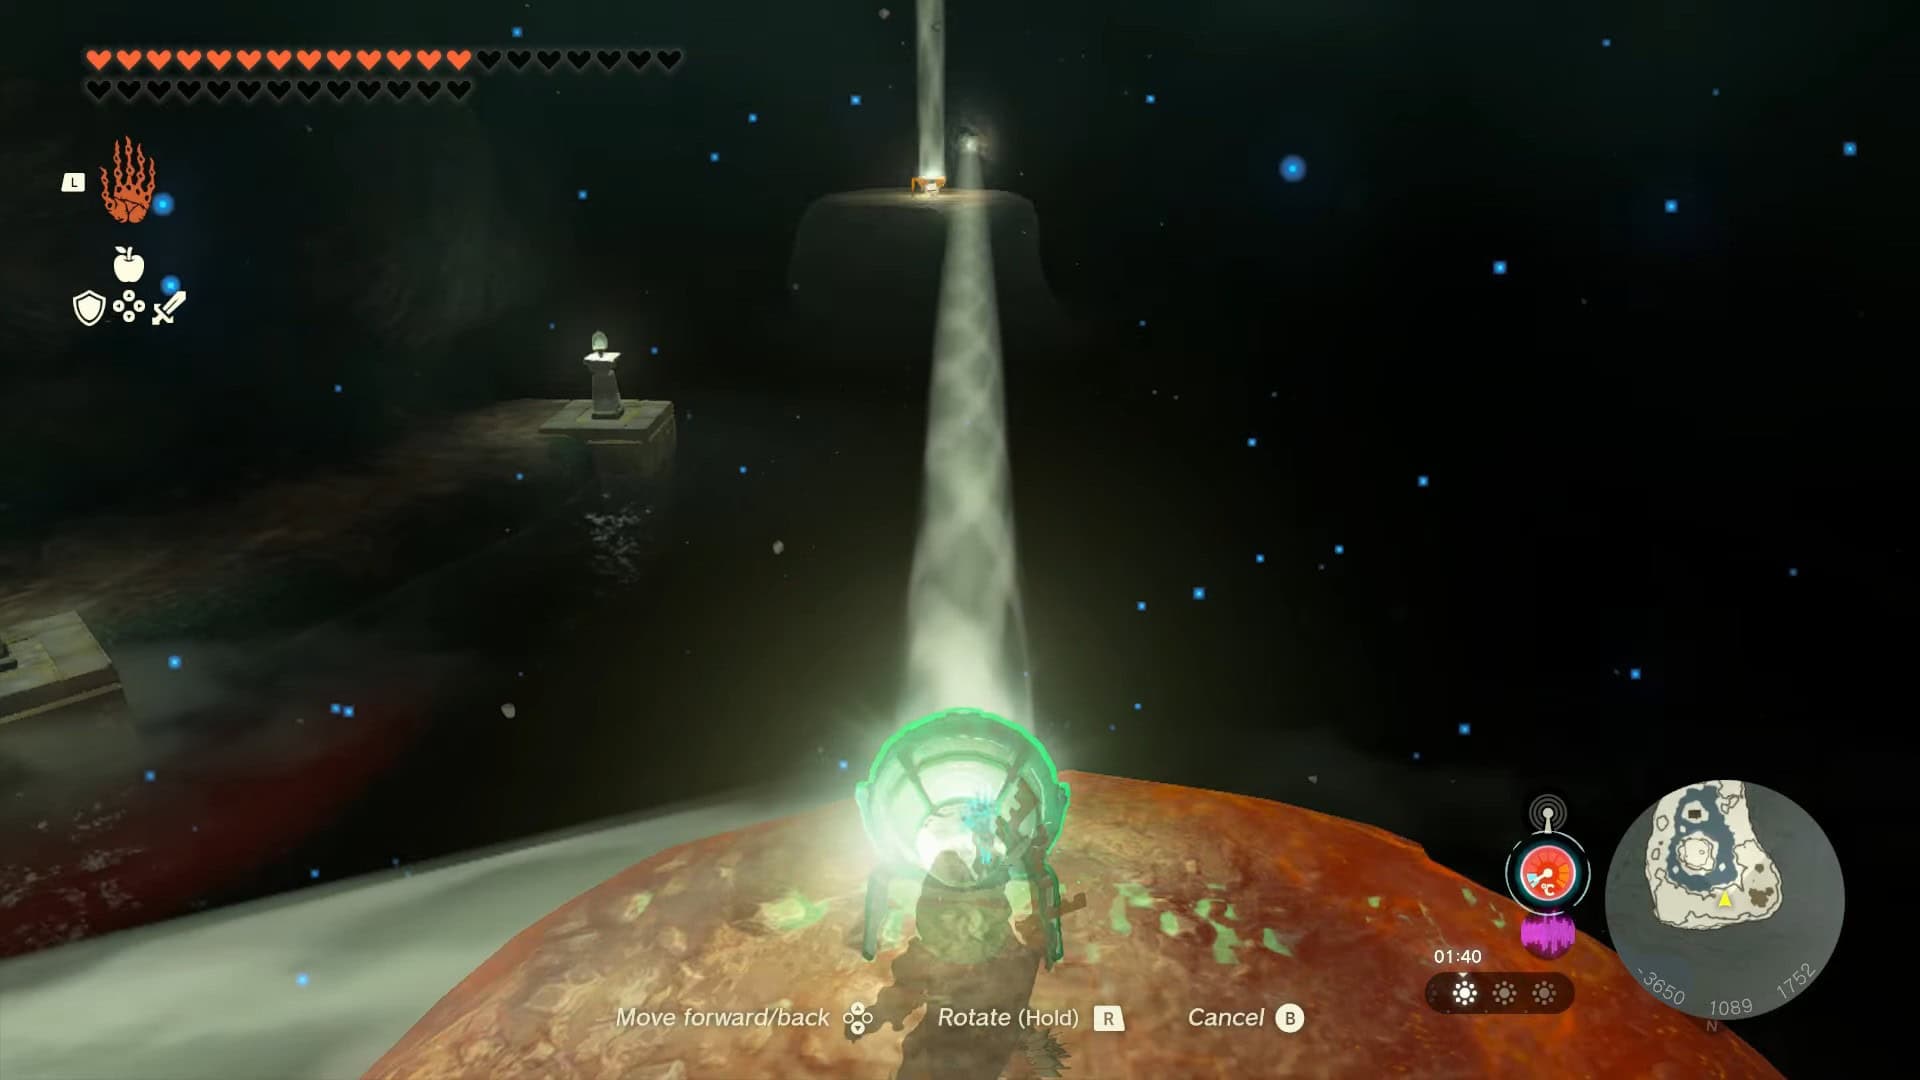
4. Climb on a zonai hover platform and attach a rocket to it. Hit the rocket to gain some altitude.
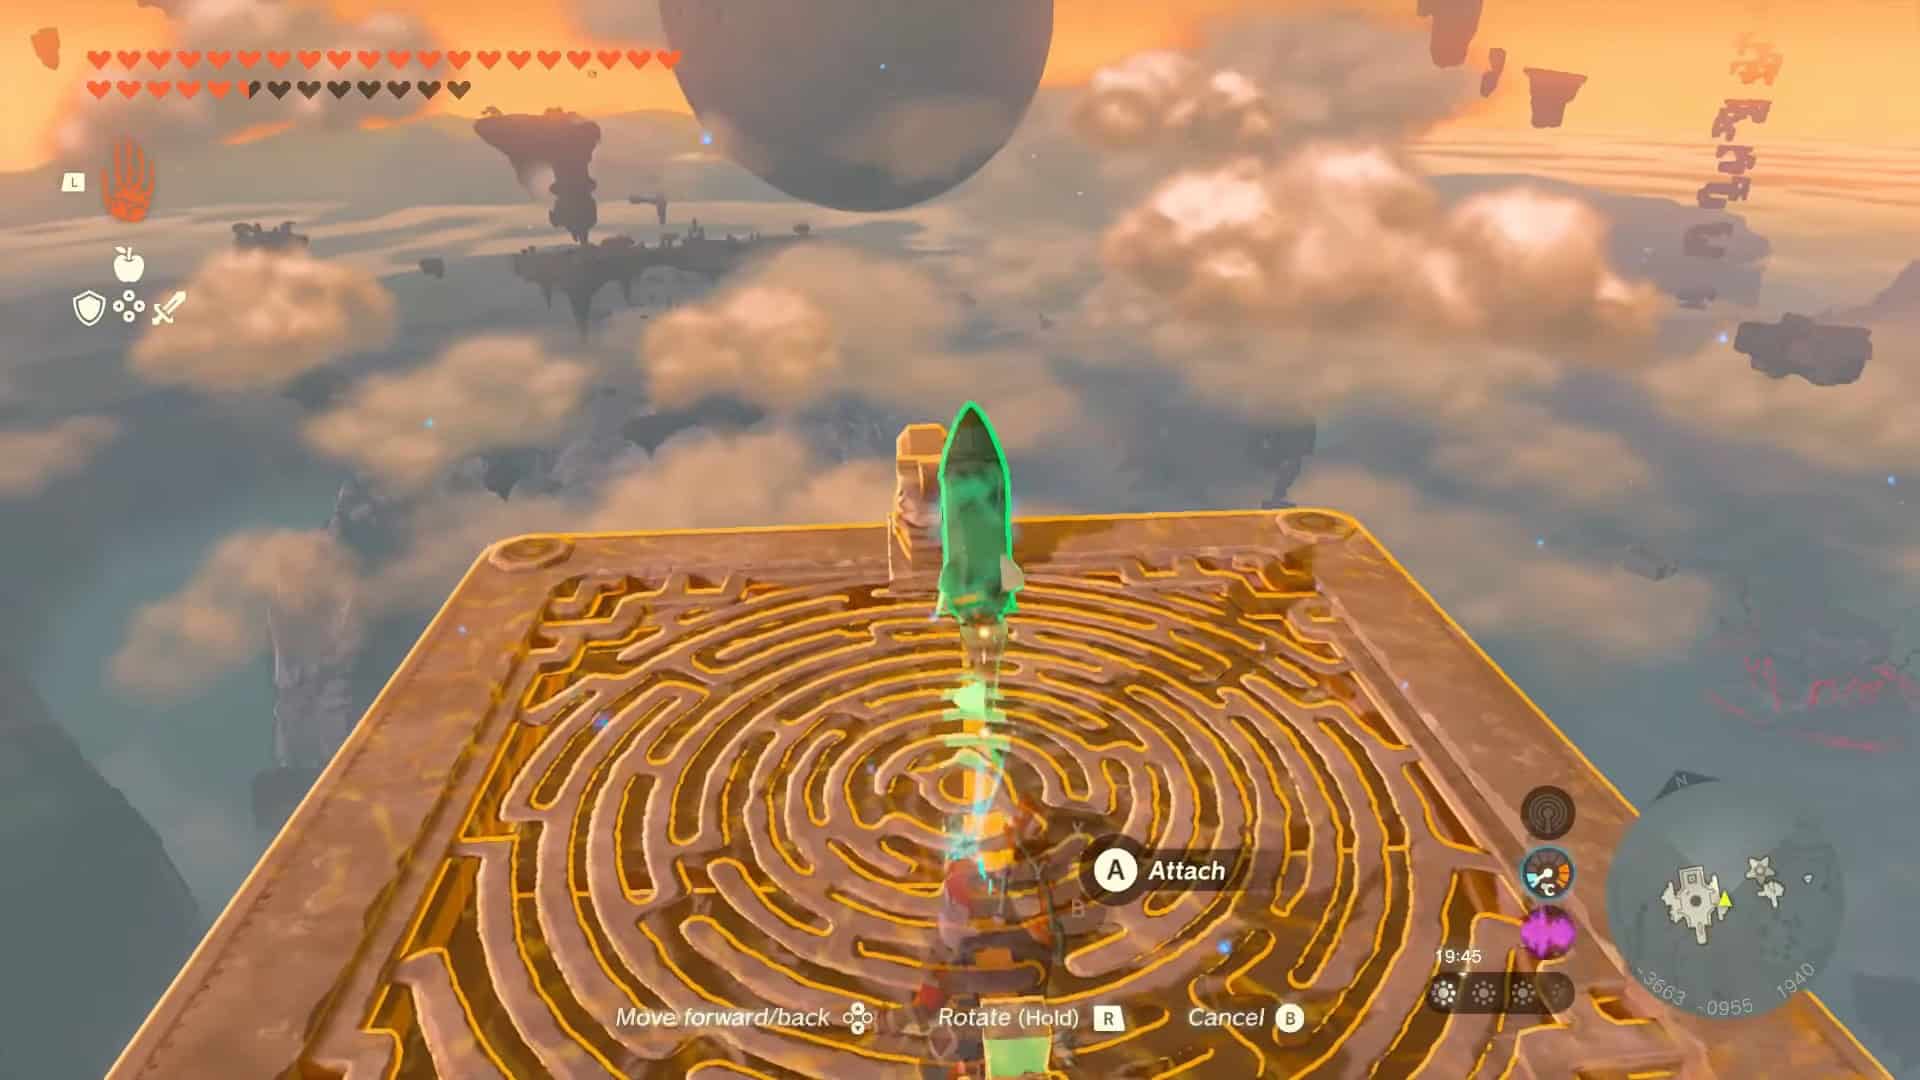
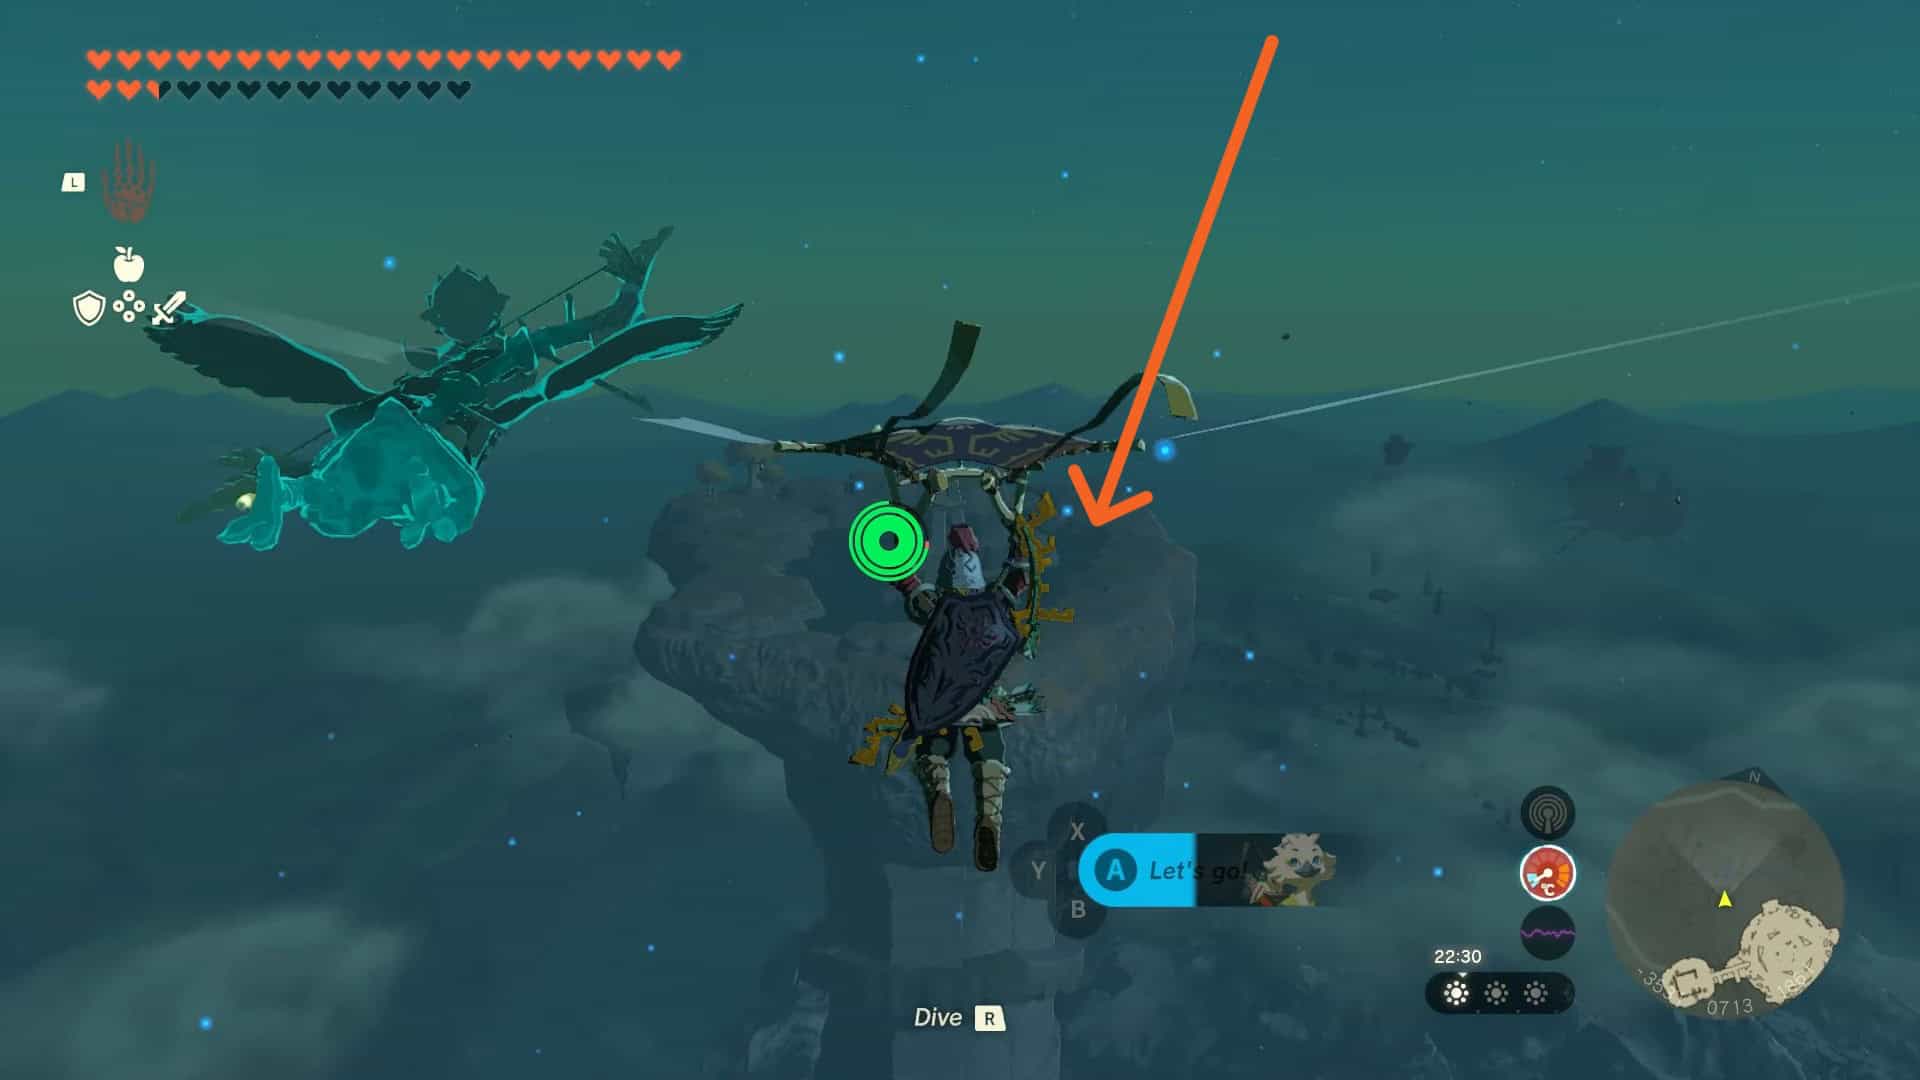
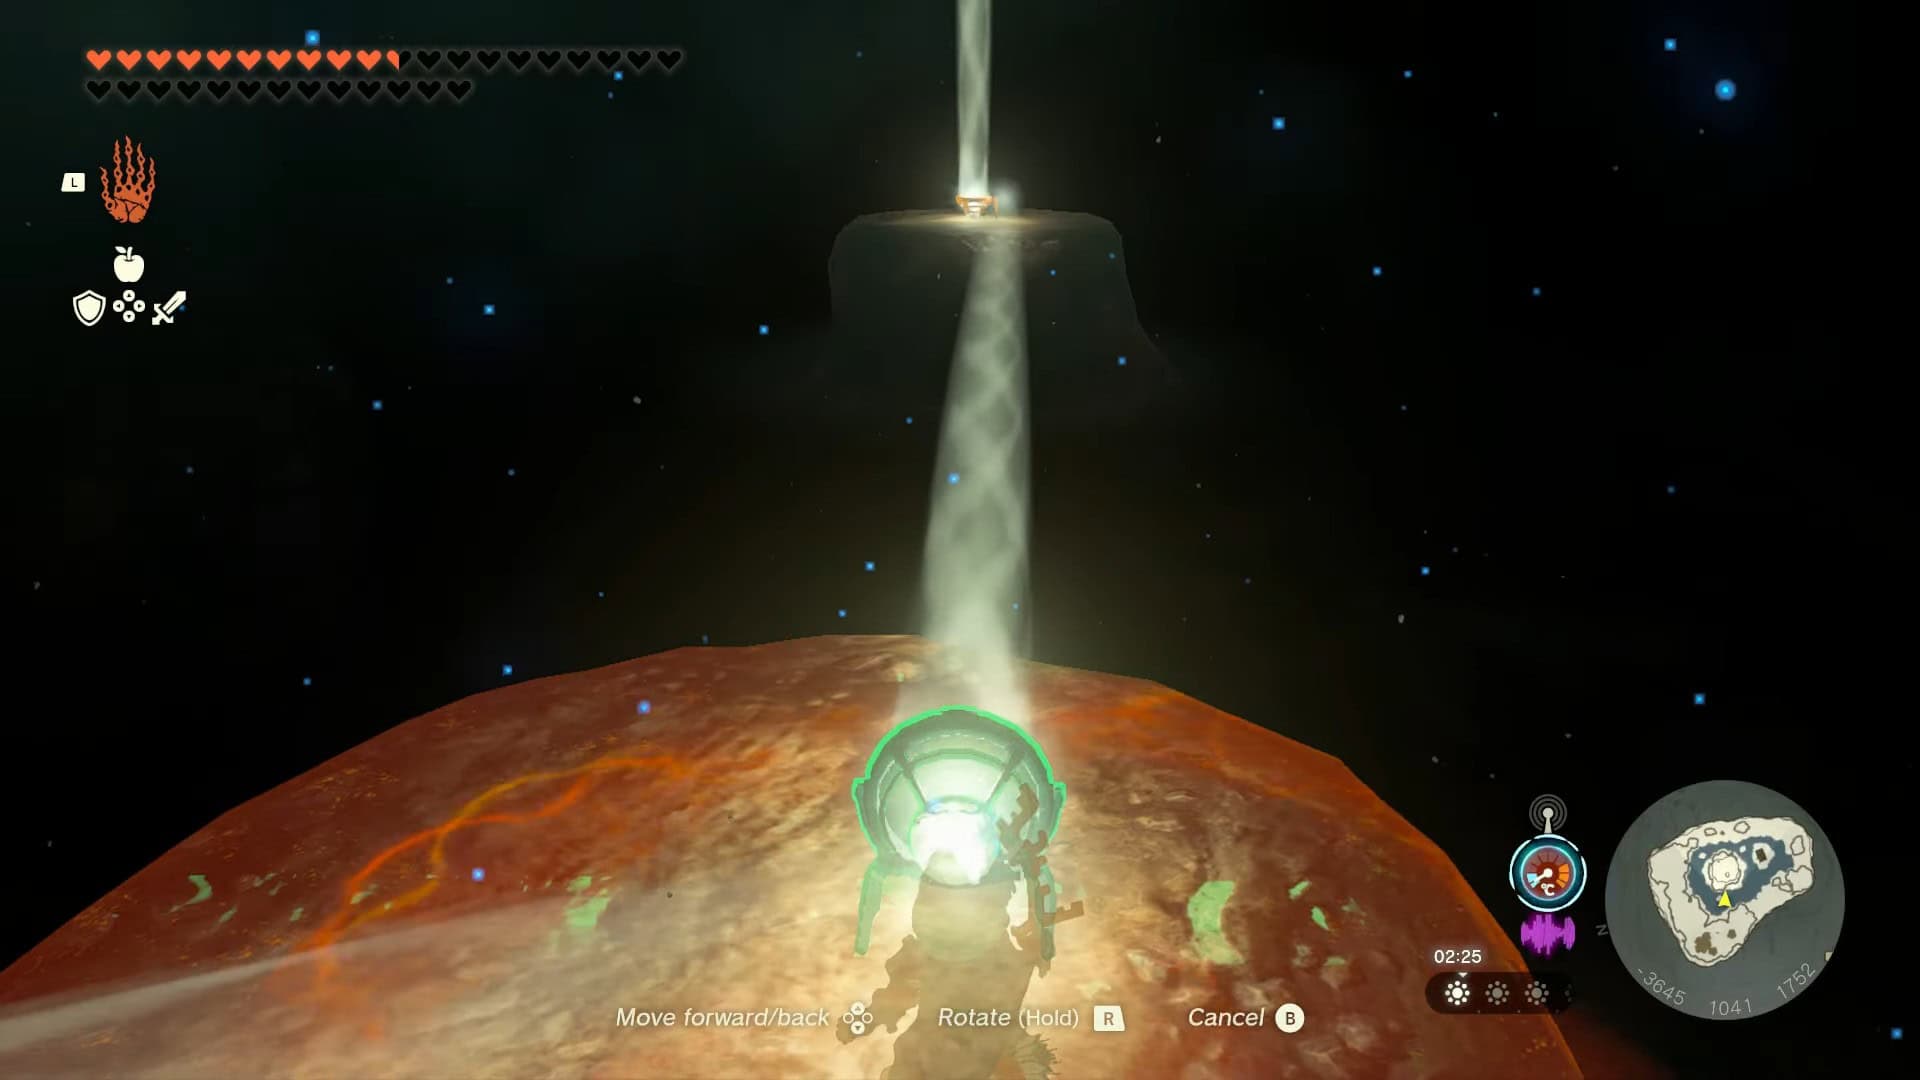
5. Attach another zonai rocket and place it in such a way that it propels you north towards a planet-shaped body in the sky.
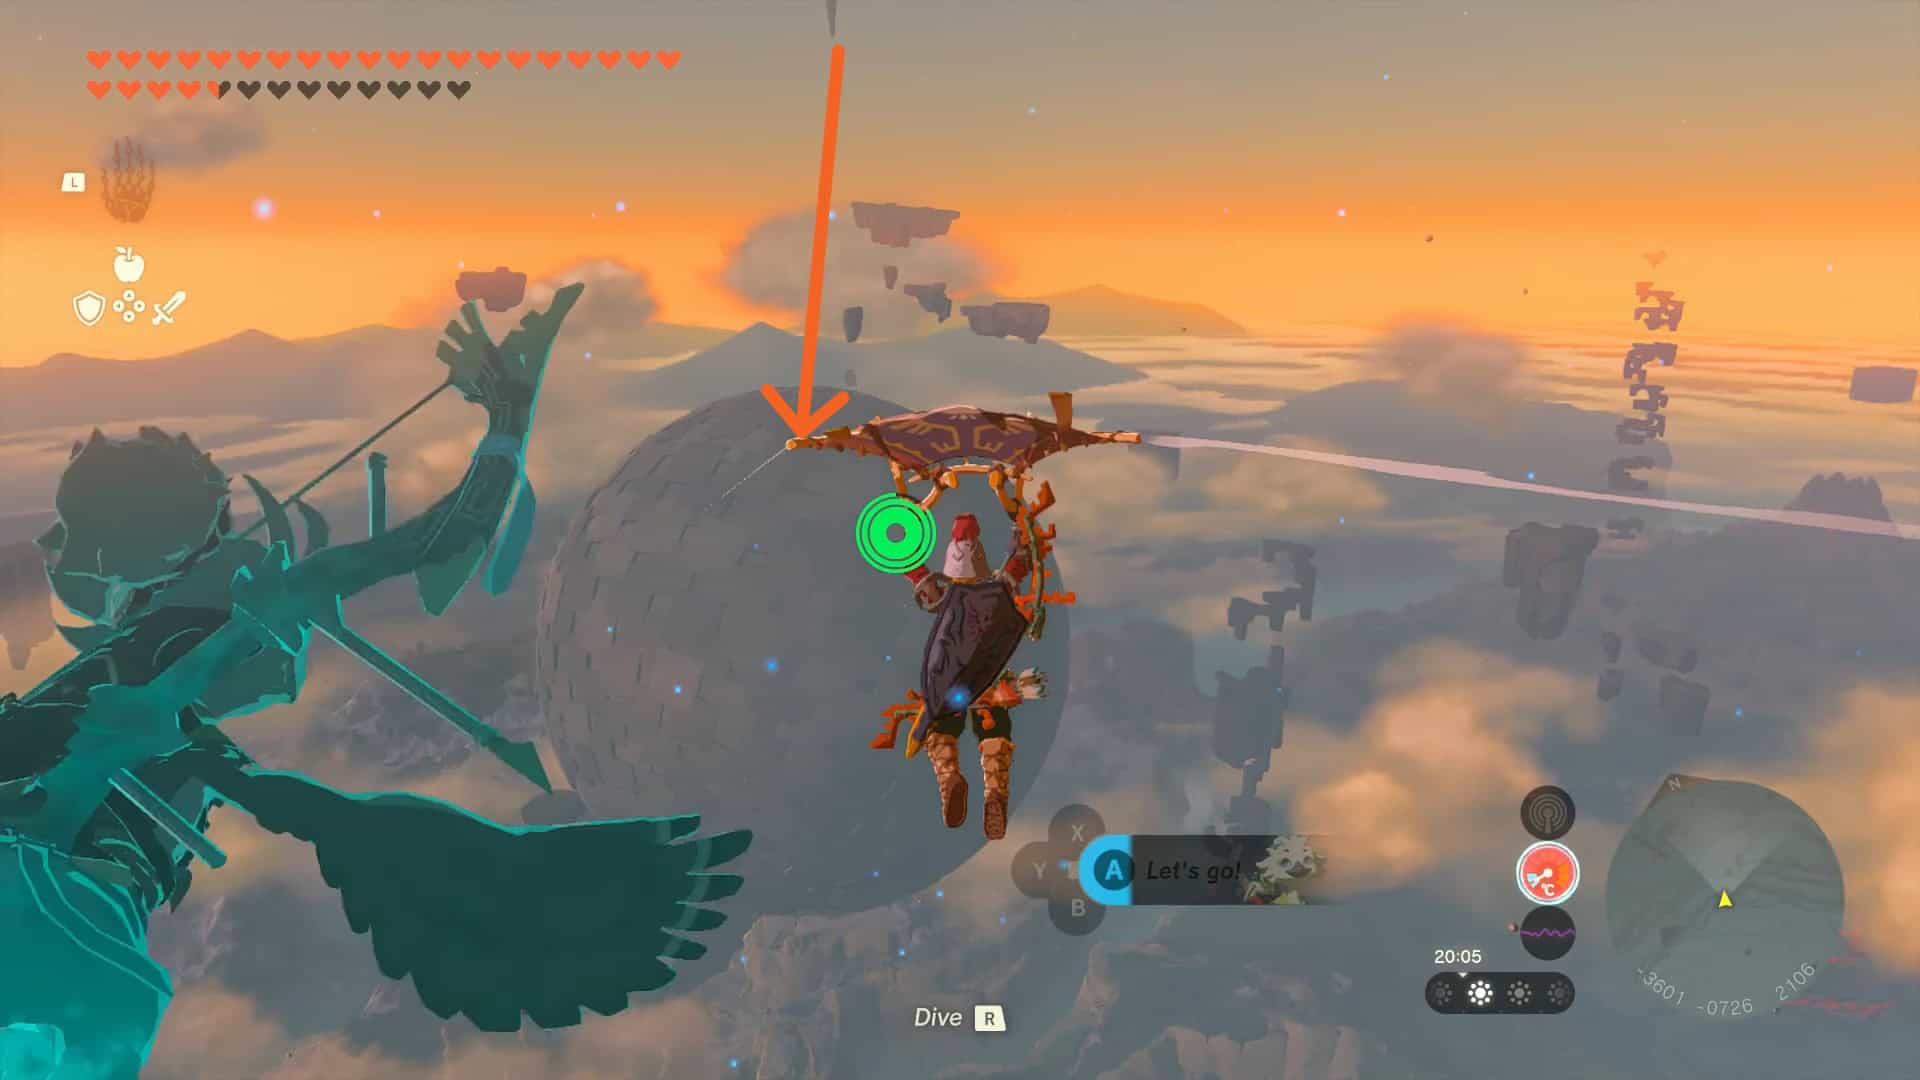
6. Jump from the platform and glide to reach the planet-shaped body. It is Starview Island (-3496, -0329, 2048), home to another shrine.
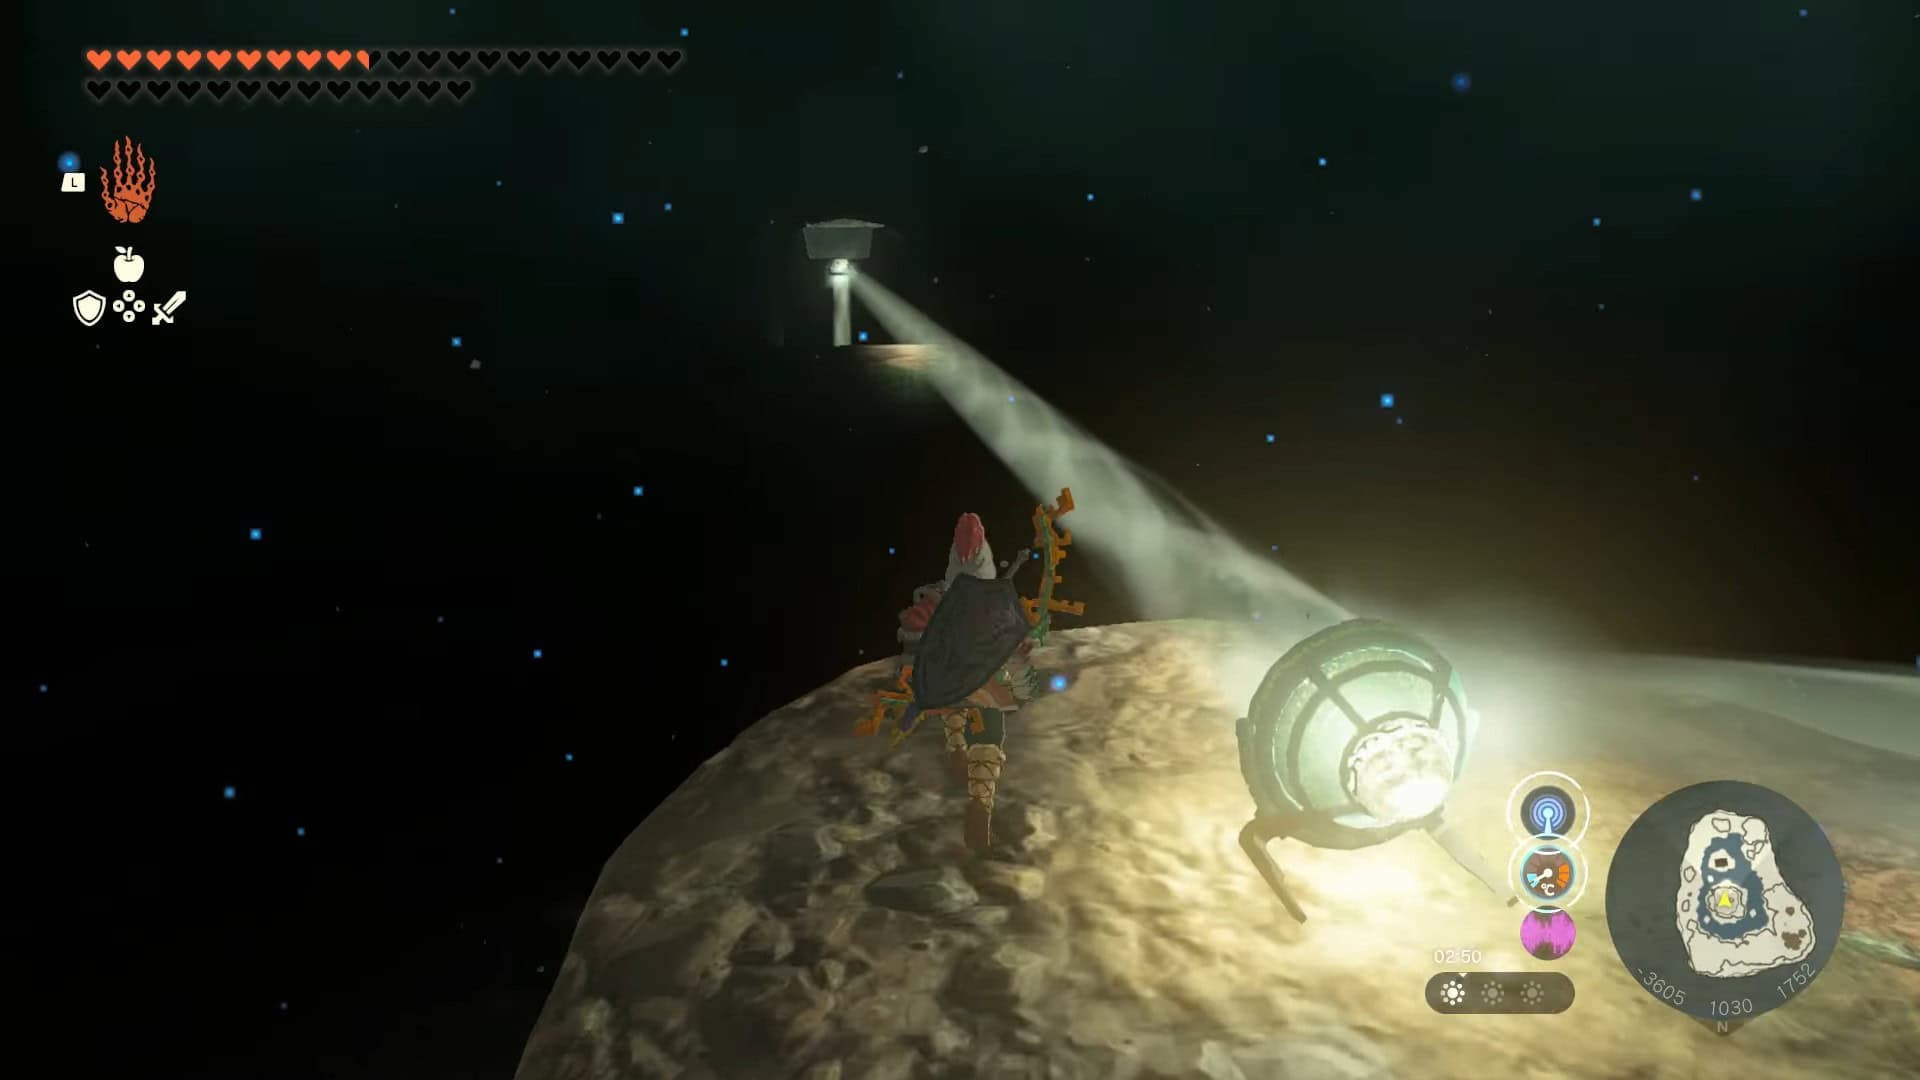
7. Jump north from Starview Island and glide to reach a massive island (-3470, 0446, 1700) with a lever and a launching pad in its center.
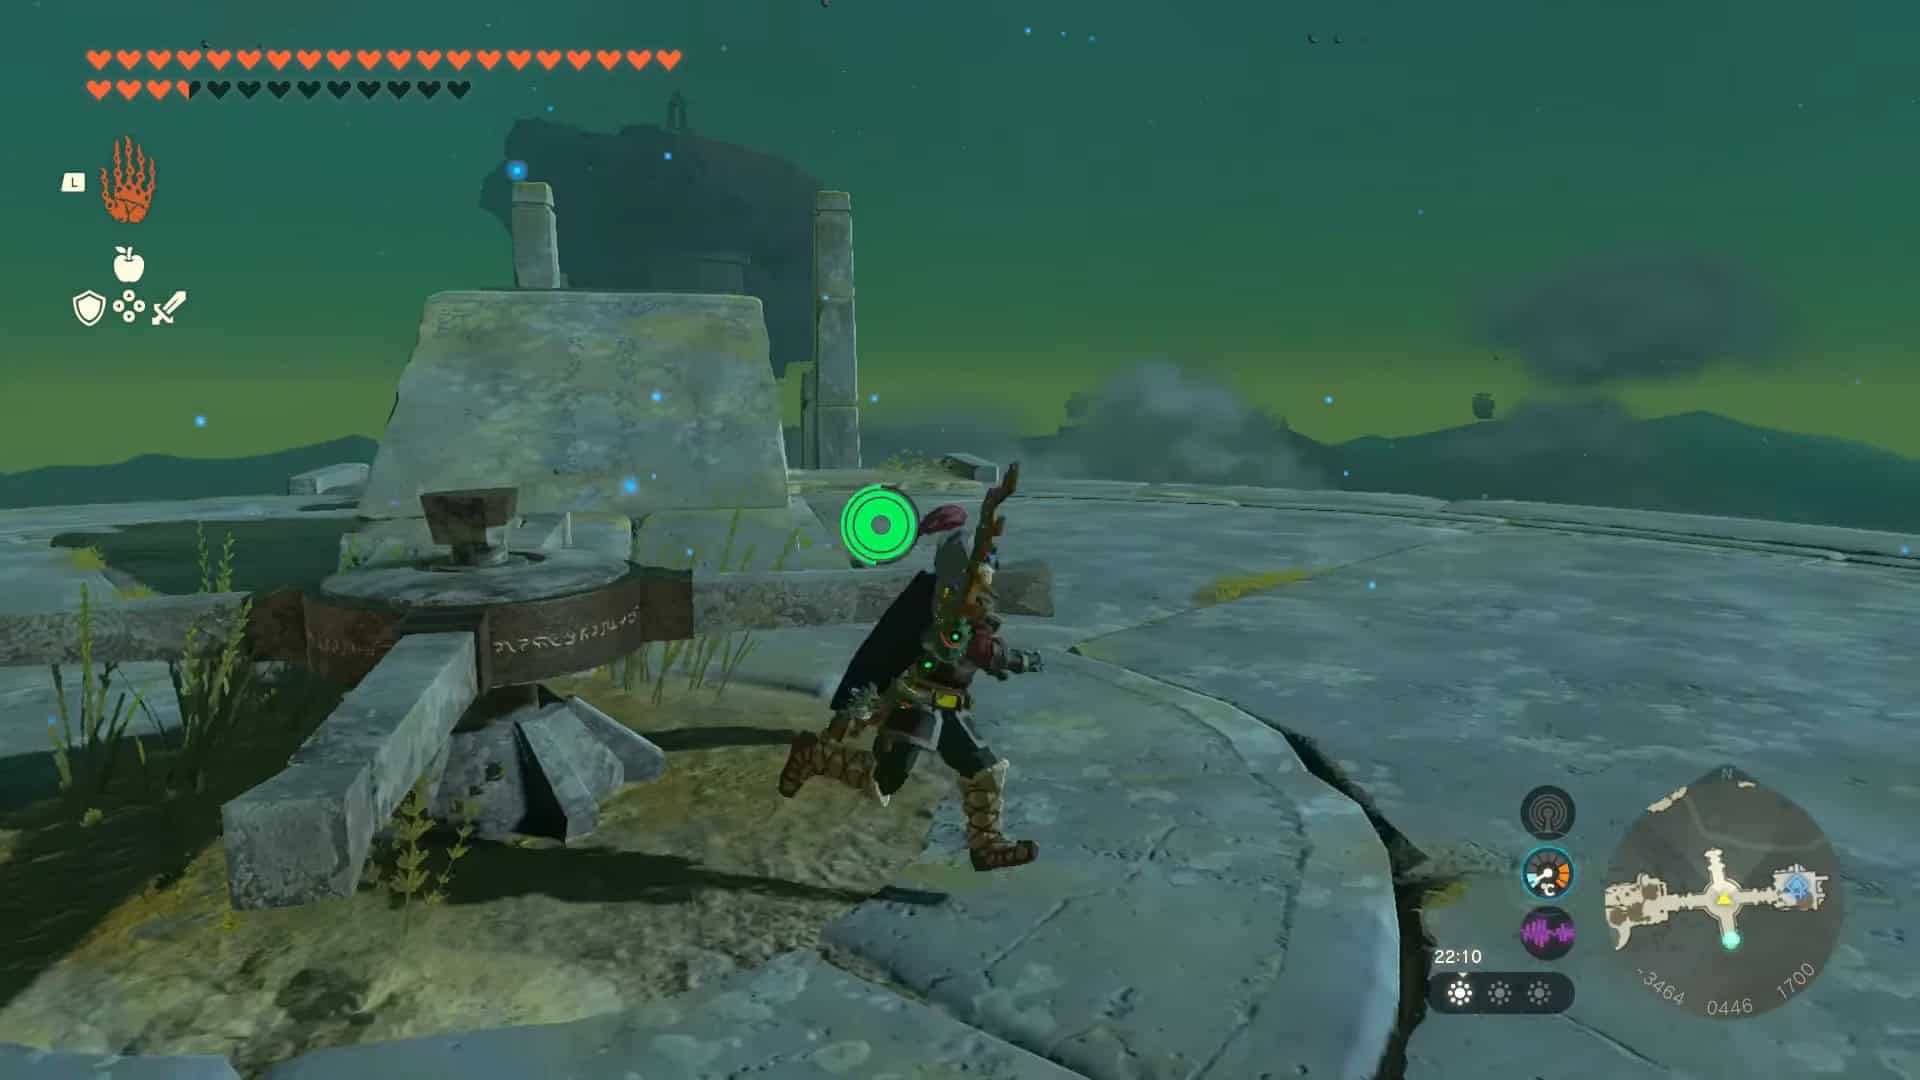
8. Rotate the lever so that the launching pad now faces North.
9. Climb on the launching pad and wait for it to throw you towards Tabantha Sky Archipelago. This area has low gravity and will allow you to glide and safely reach the Lightcast Island without falling.
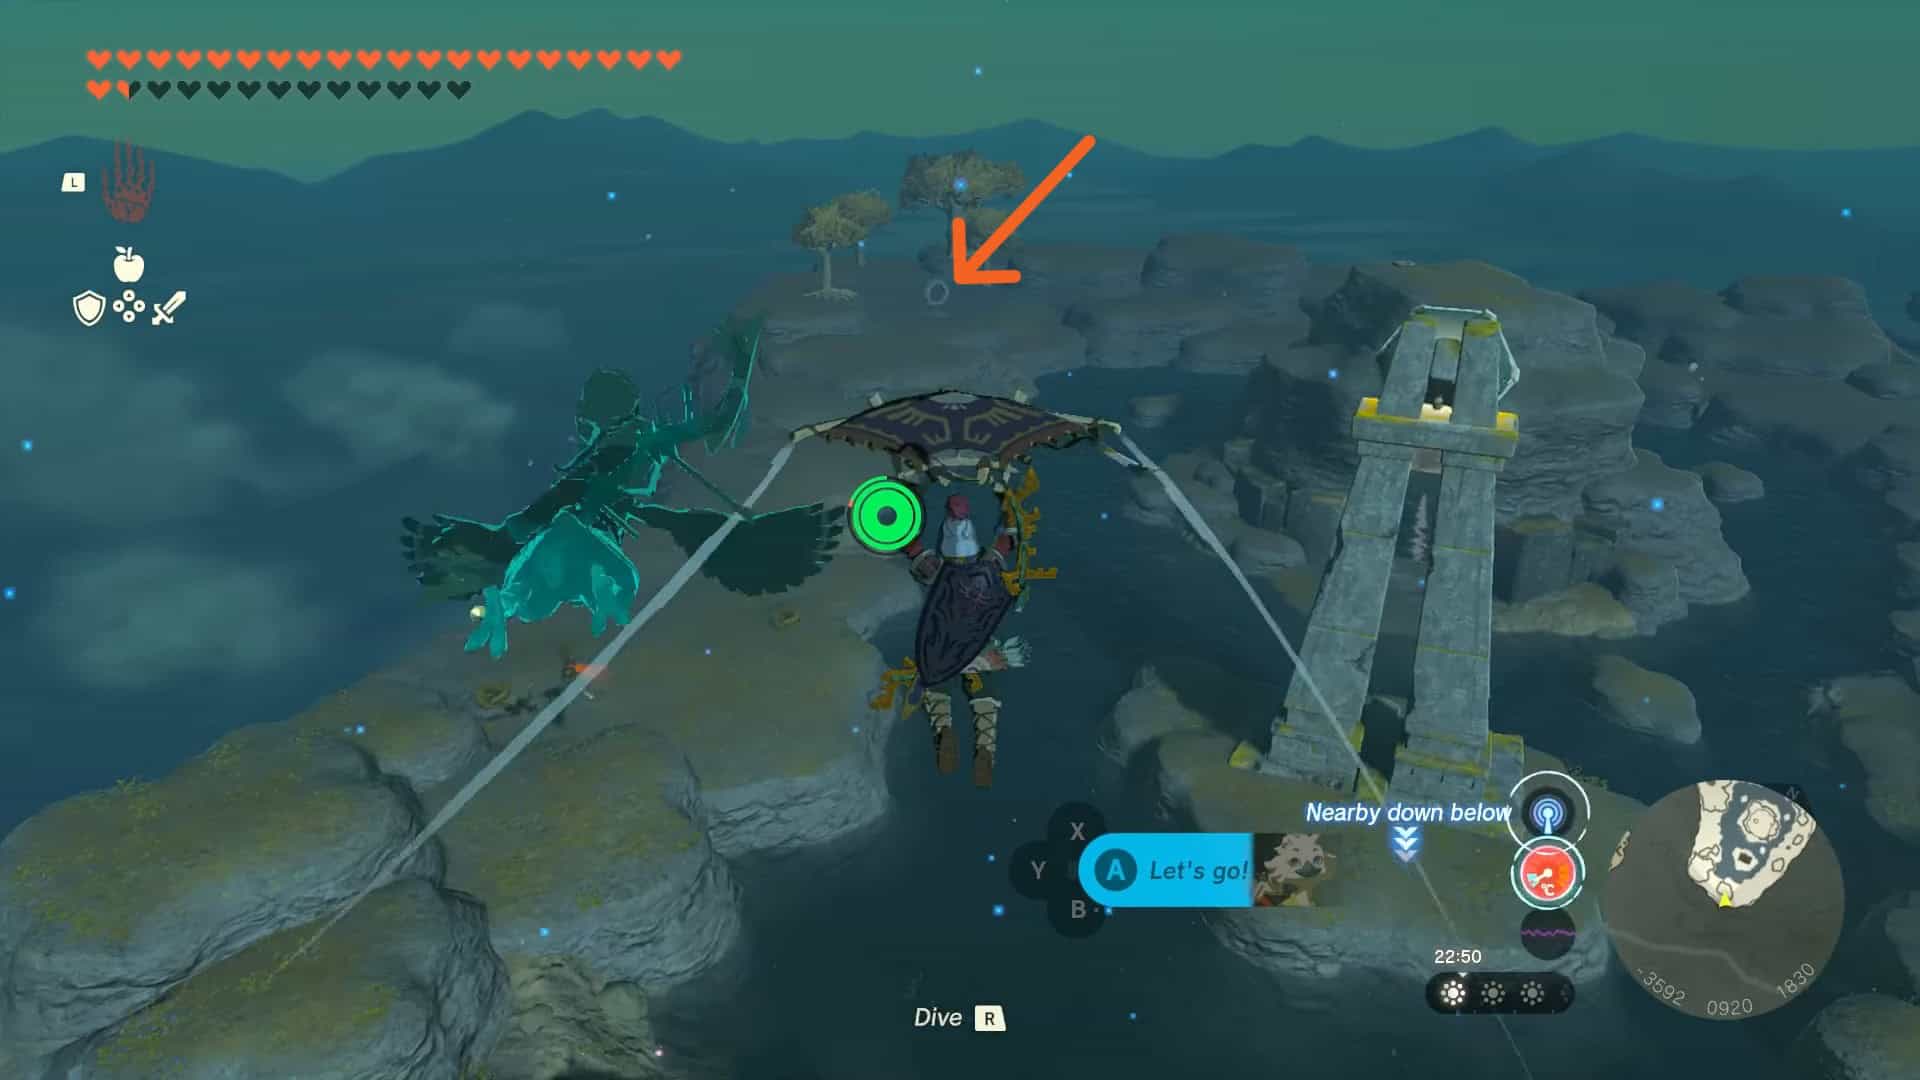
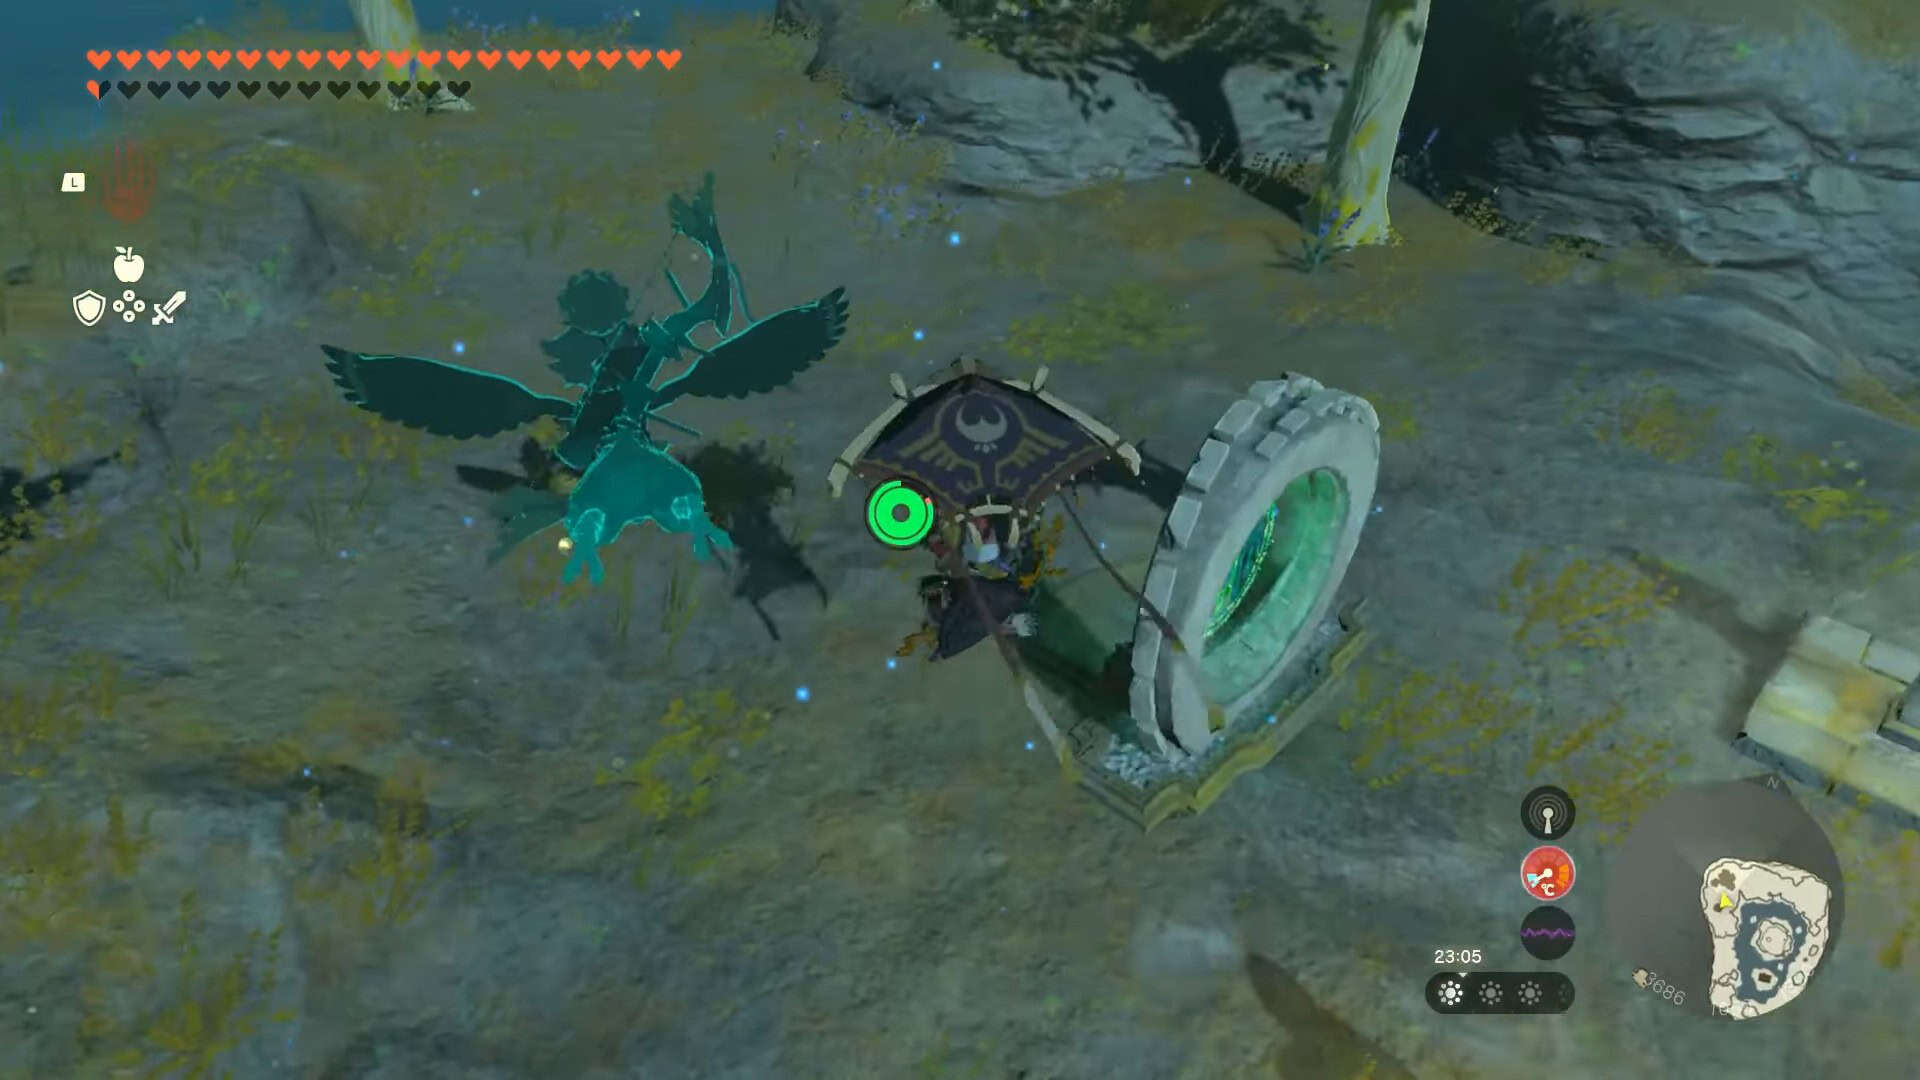
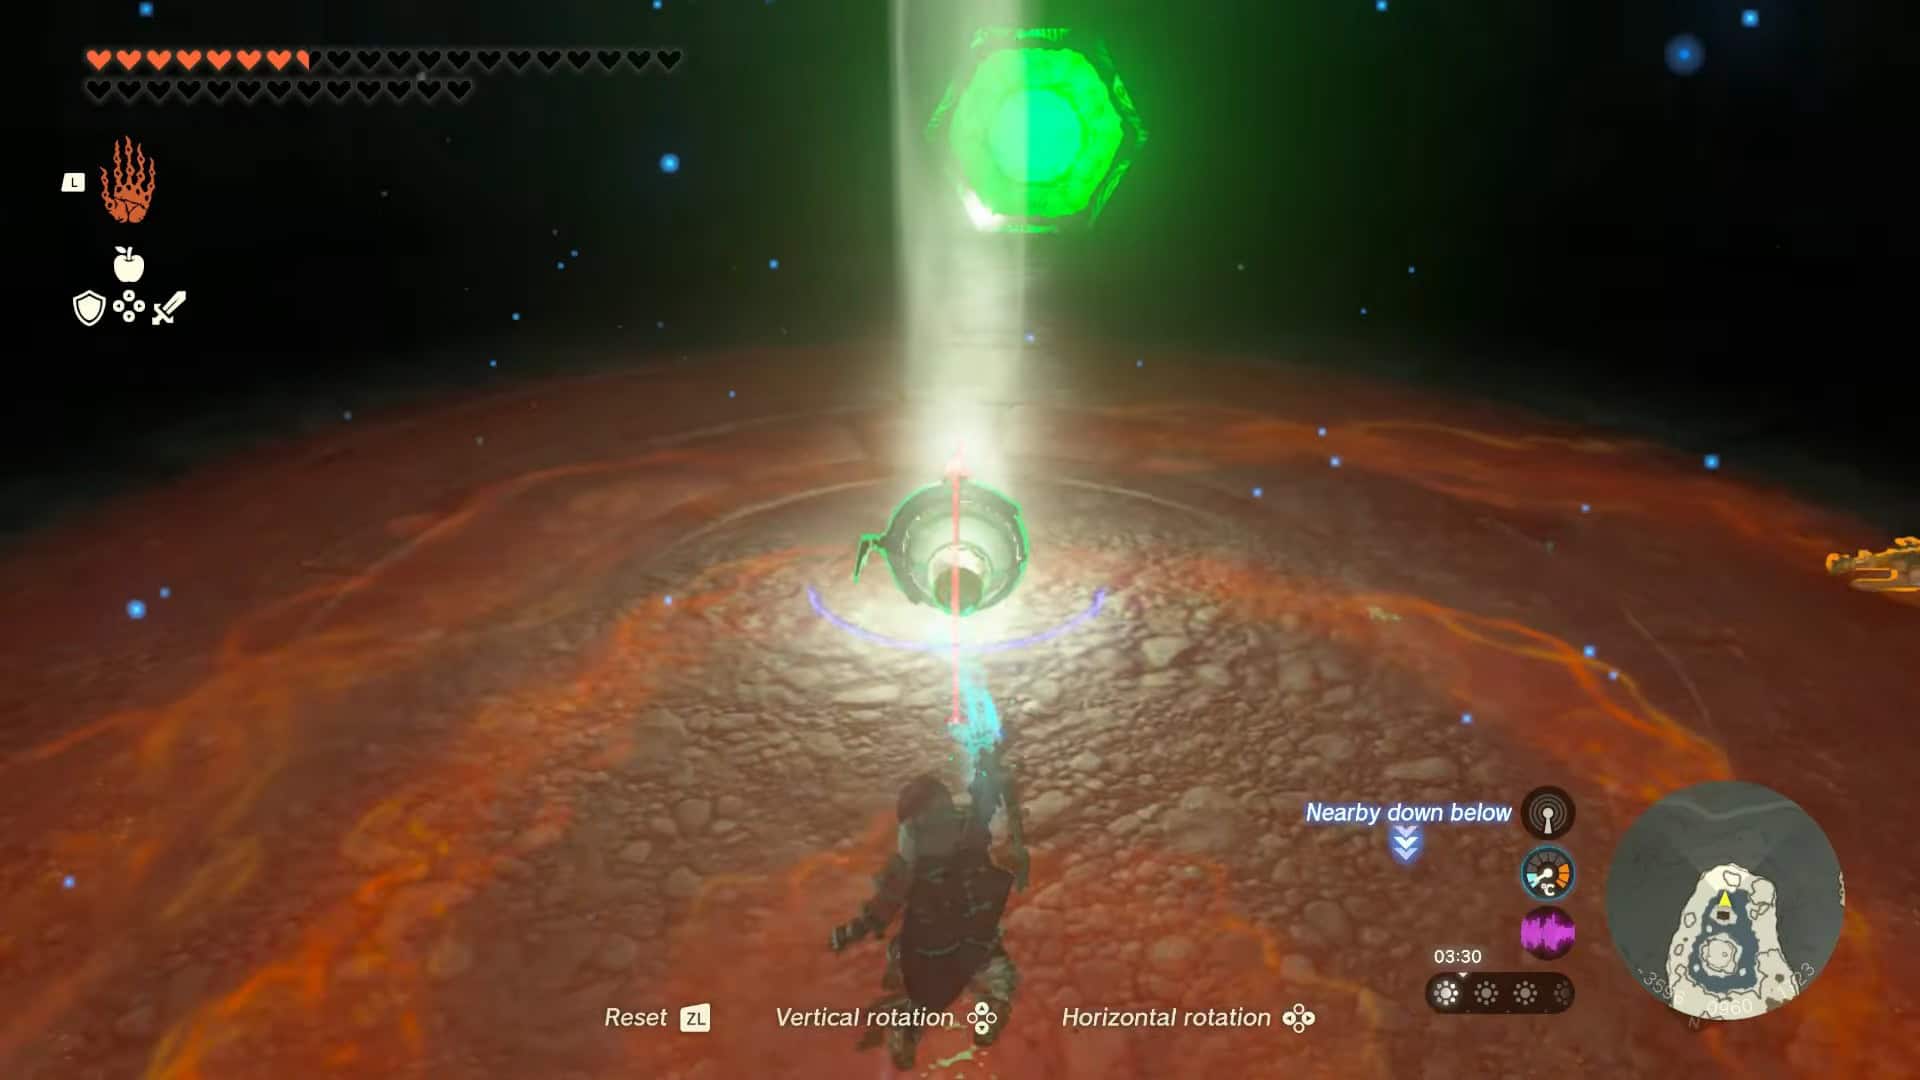
10. Interact with the zonai mechanism (-3687, 1062, 1797) on Lightcast Island to activate its puzzle.
Ga-ahisas Shrine Walkthrough
As Ga-ahisas Shrine is a blessing shrine in Zelda: Tears of the Kingdom, it offers no challenges or puzzles. However, you must solve the Lightcast Island’s puzzle to locate it.
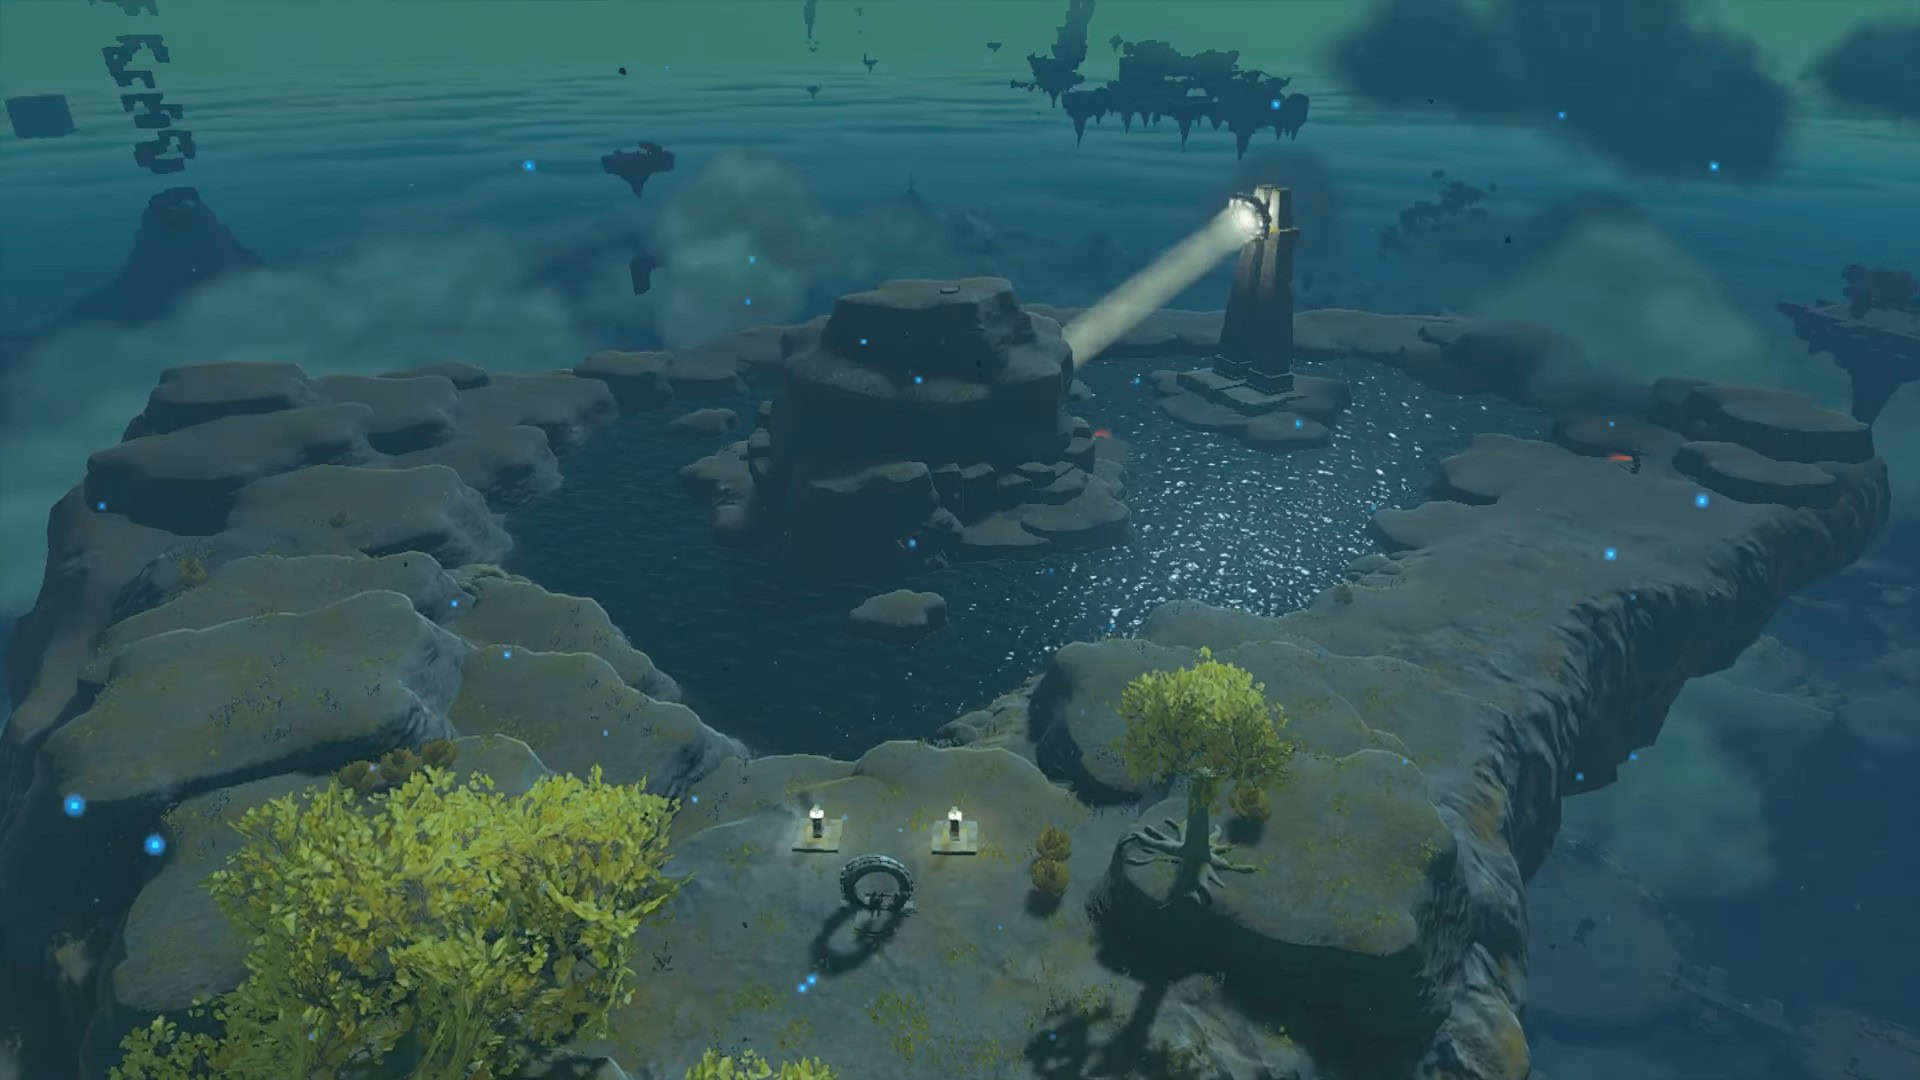
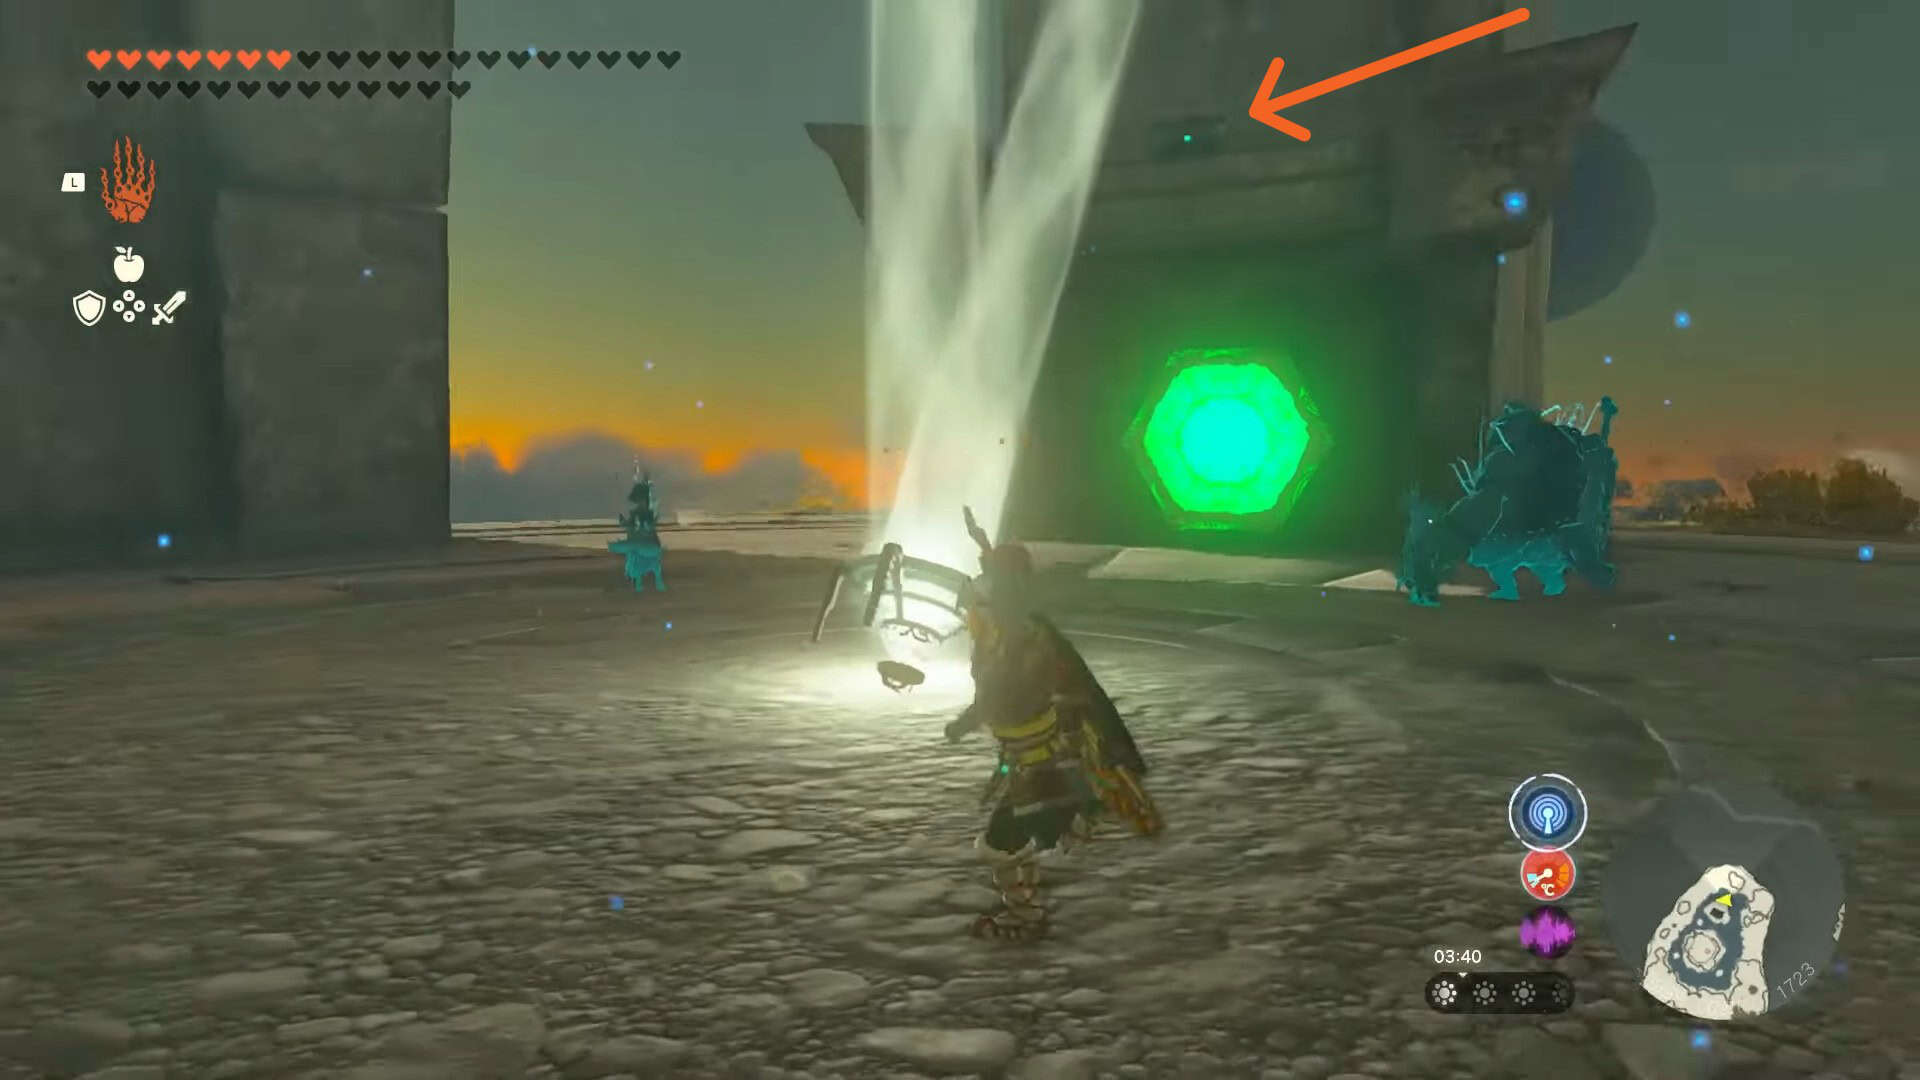
1. Activating the zonai mechanism will drain all the water on island and grant you access to the entrance of the inner sanctum (where the massive light source is pointing at).
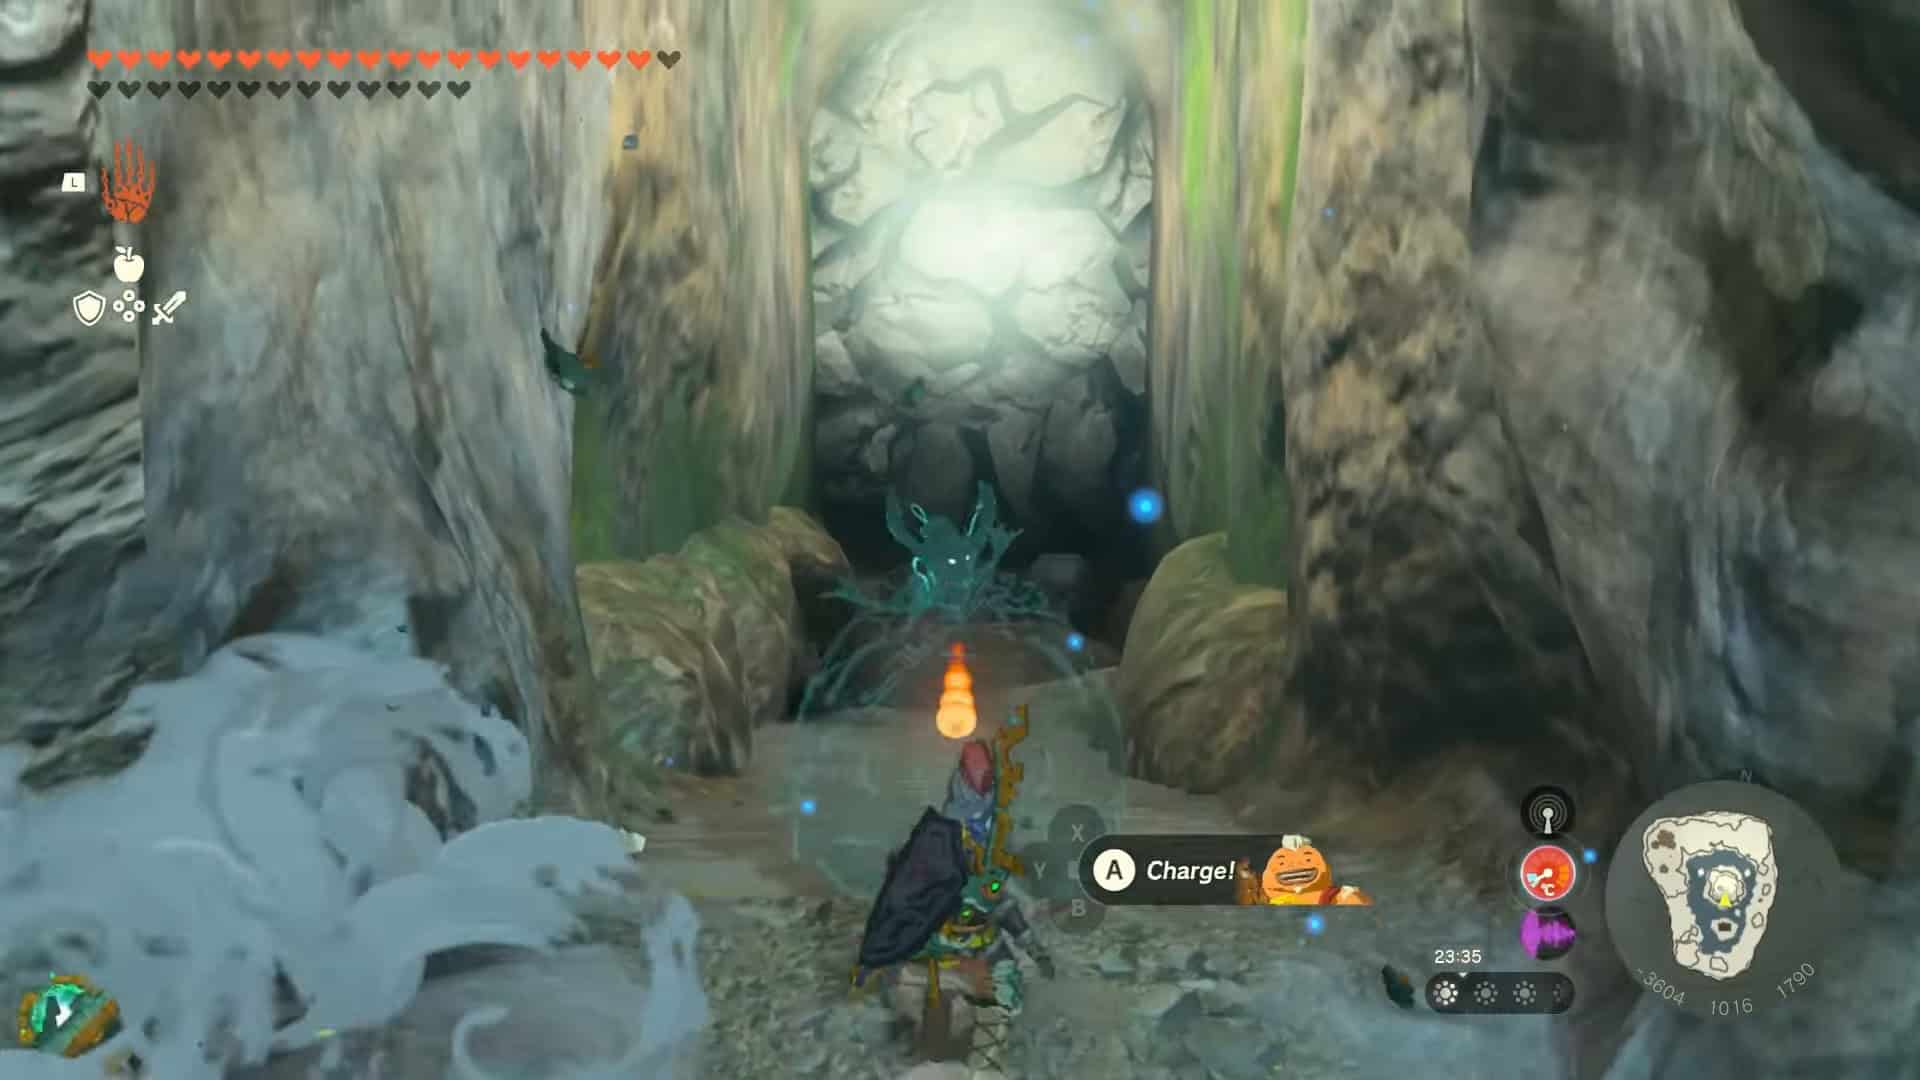
2. Defeat some construct enemies in your path and use Bomb Arrows (Bomb Flowers + Arrows) to open the path to reach the inner sanctum.
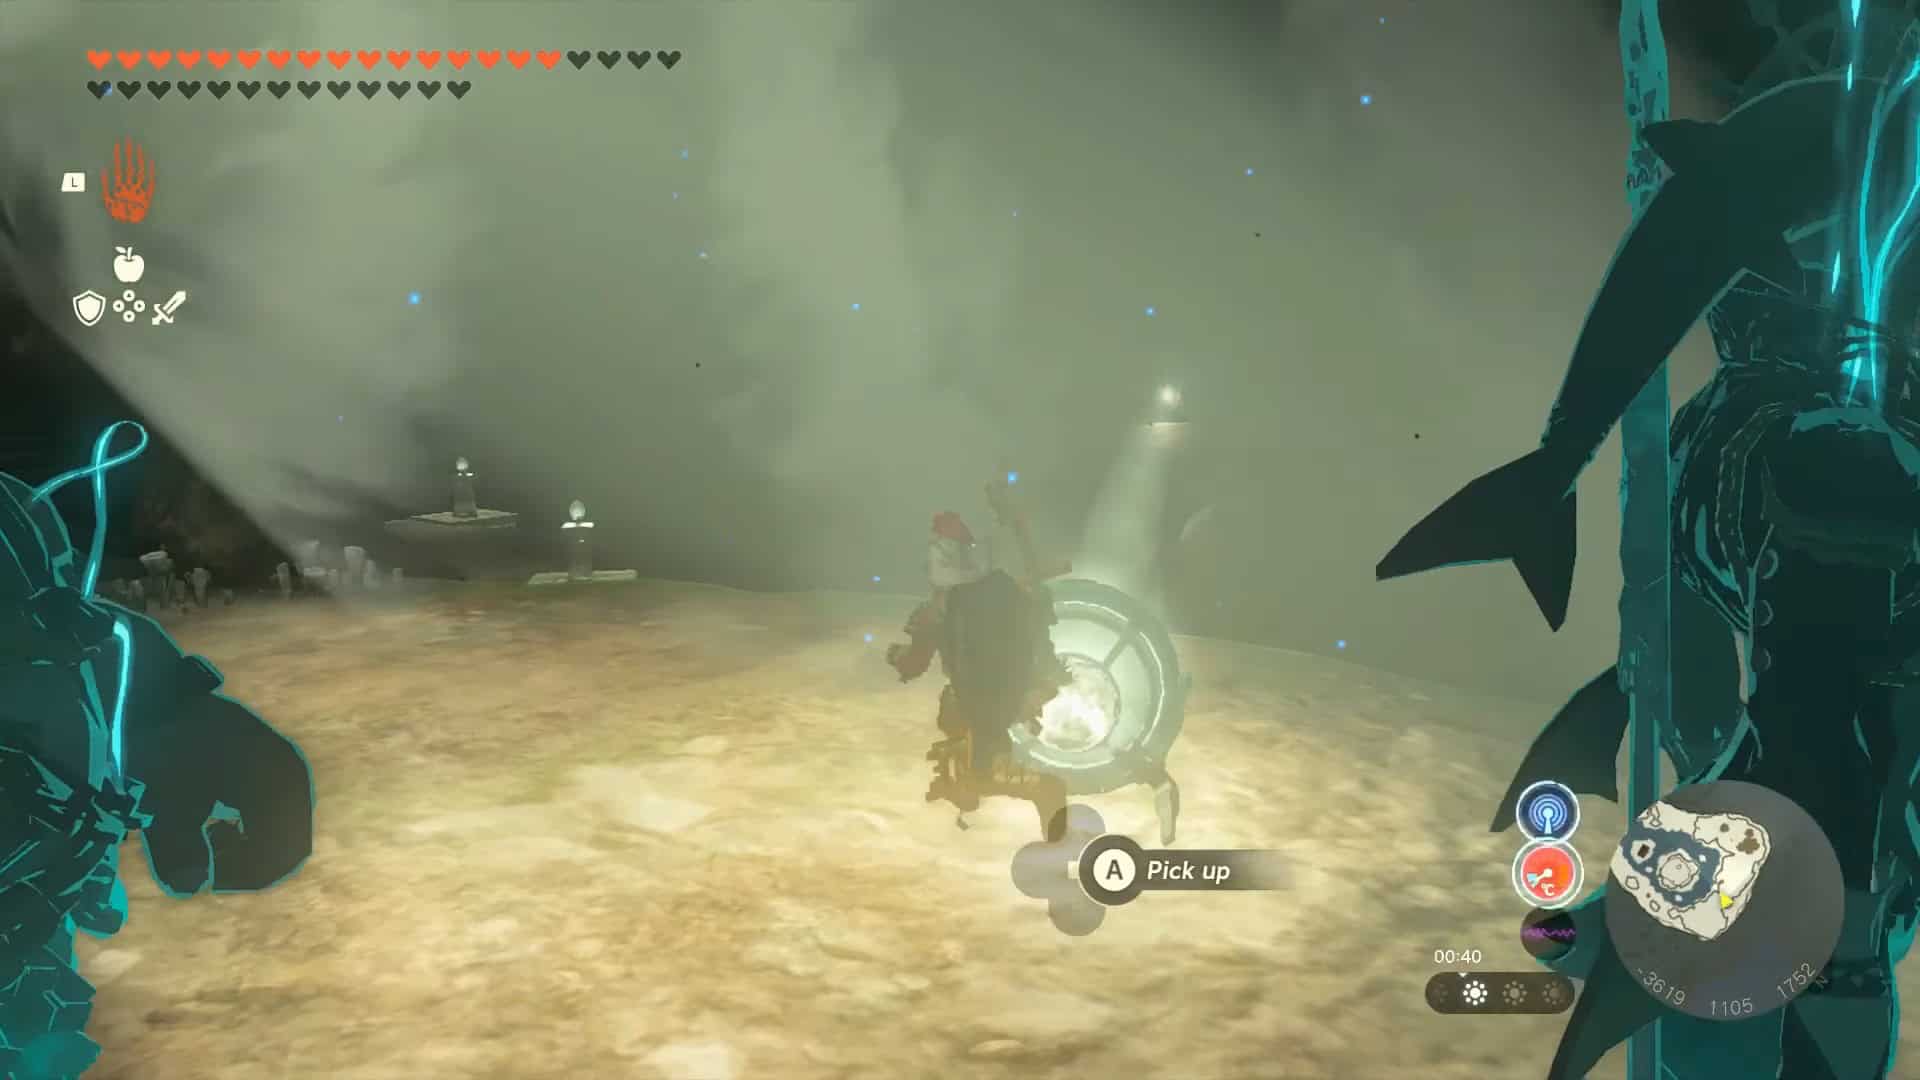
3. The cave is extremely dark, making it impossible to progress. Pick up a zonai mirror and place it inside the light beam.
4. Rotate the mirror to the left until the light beam hits another mirror.
5. Jump and glide to reach the platform with the second mirror. Pick it up with Ultrahand also and place it inside the light beam. Rotate it until the light beam hits the third mirror.
6. Glide to reach the third mirror and repeat the process until the light beam from the fourth mirror hits a mirror deep inside the cave, across a tunnel.
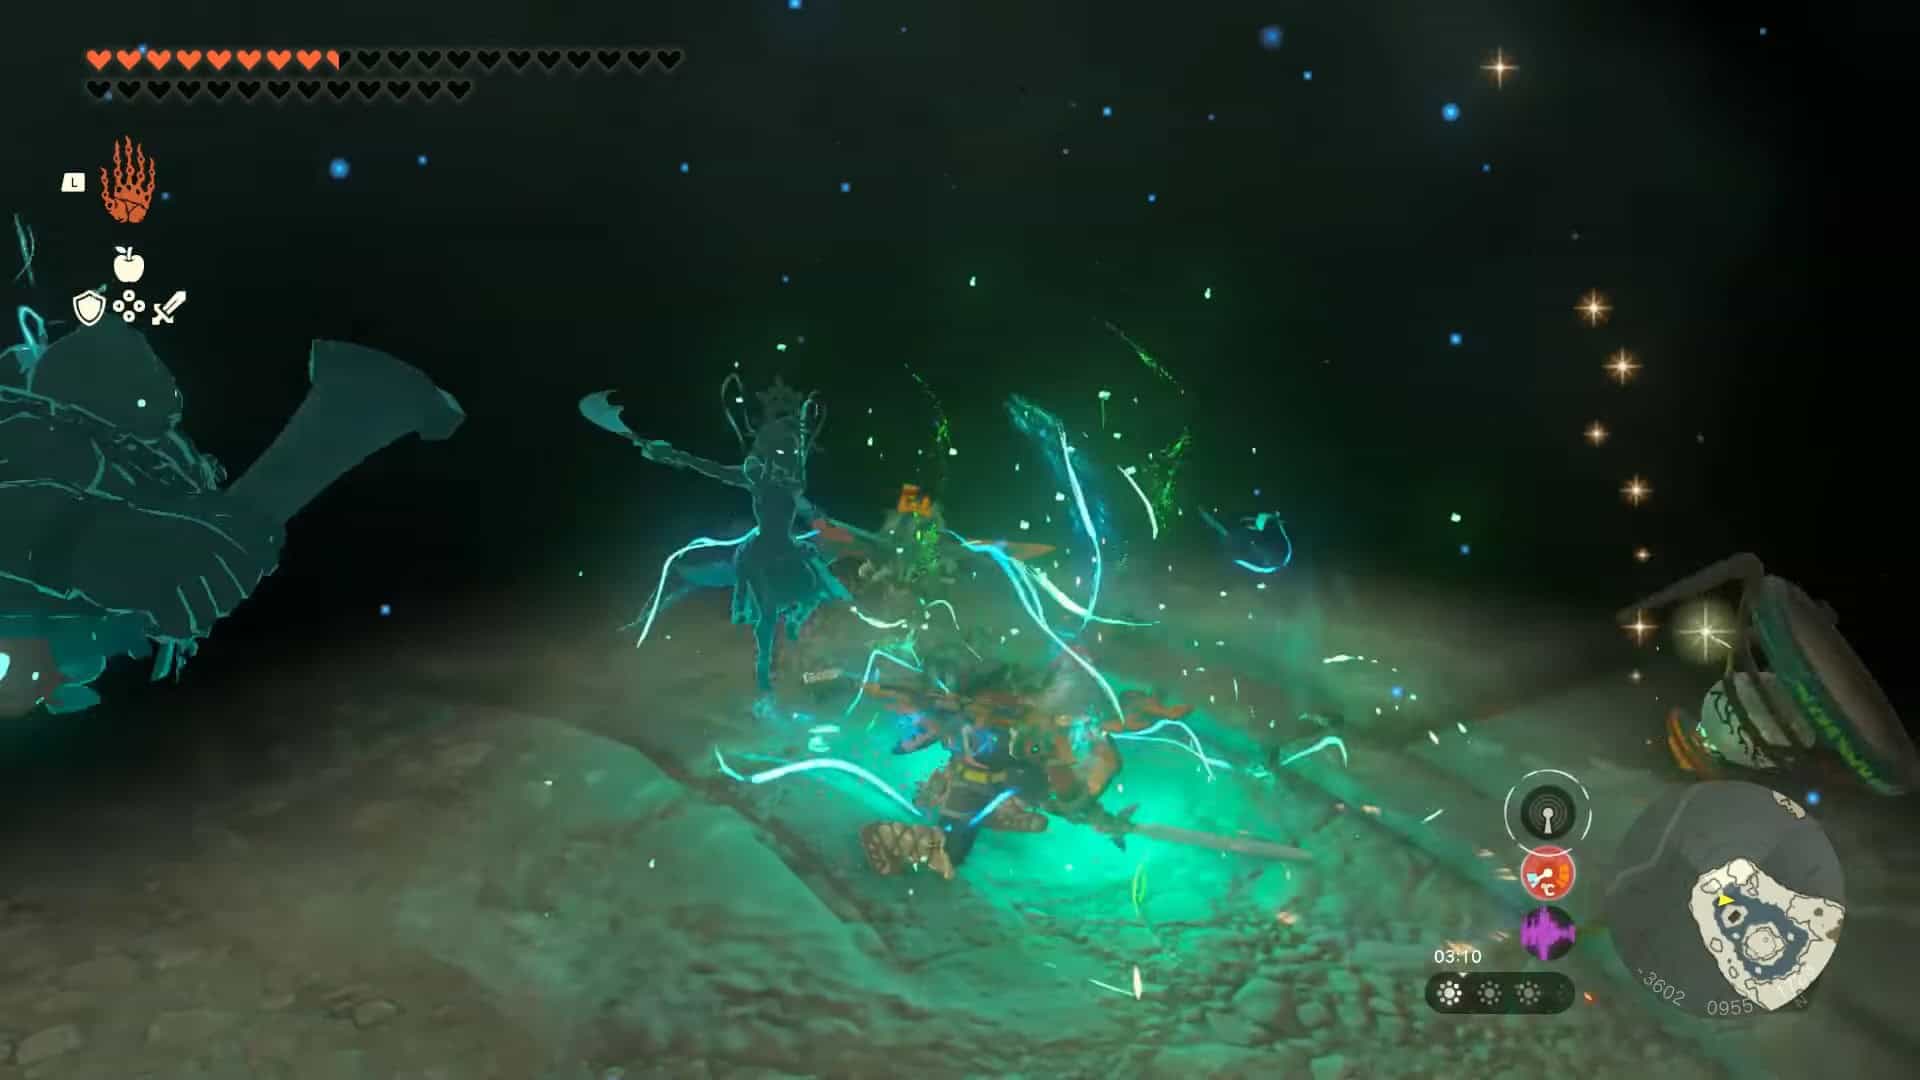
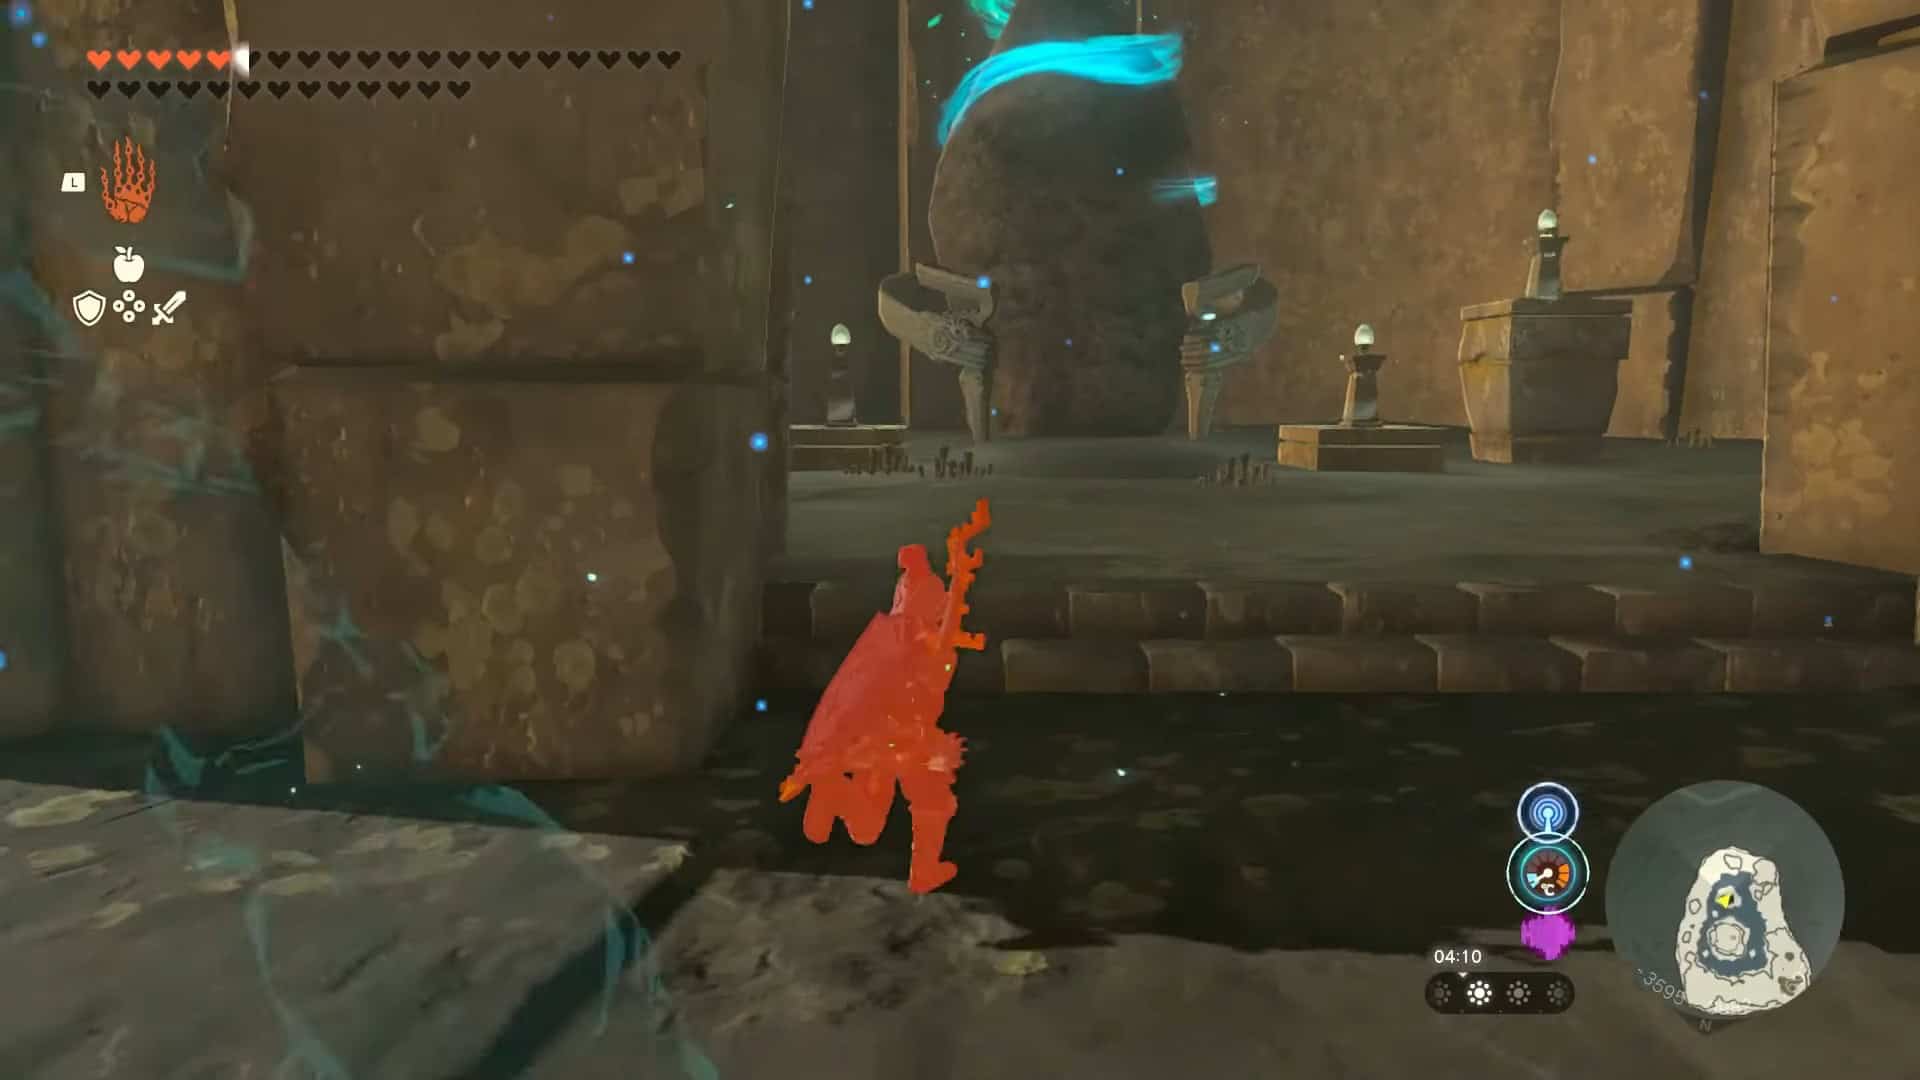
7. Once you reach the area, you will be confronted by a soldier construct with a Mirror Shield. Defeat the enemy and use its mirror shield to reflect the light on the orange crystal.
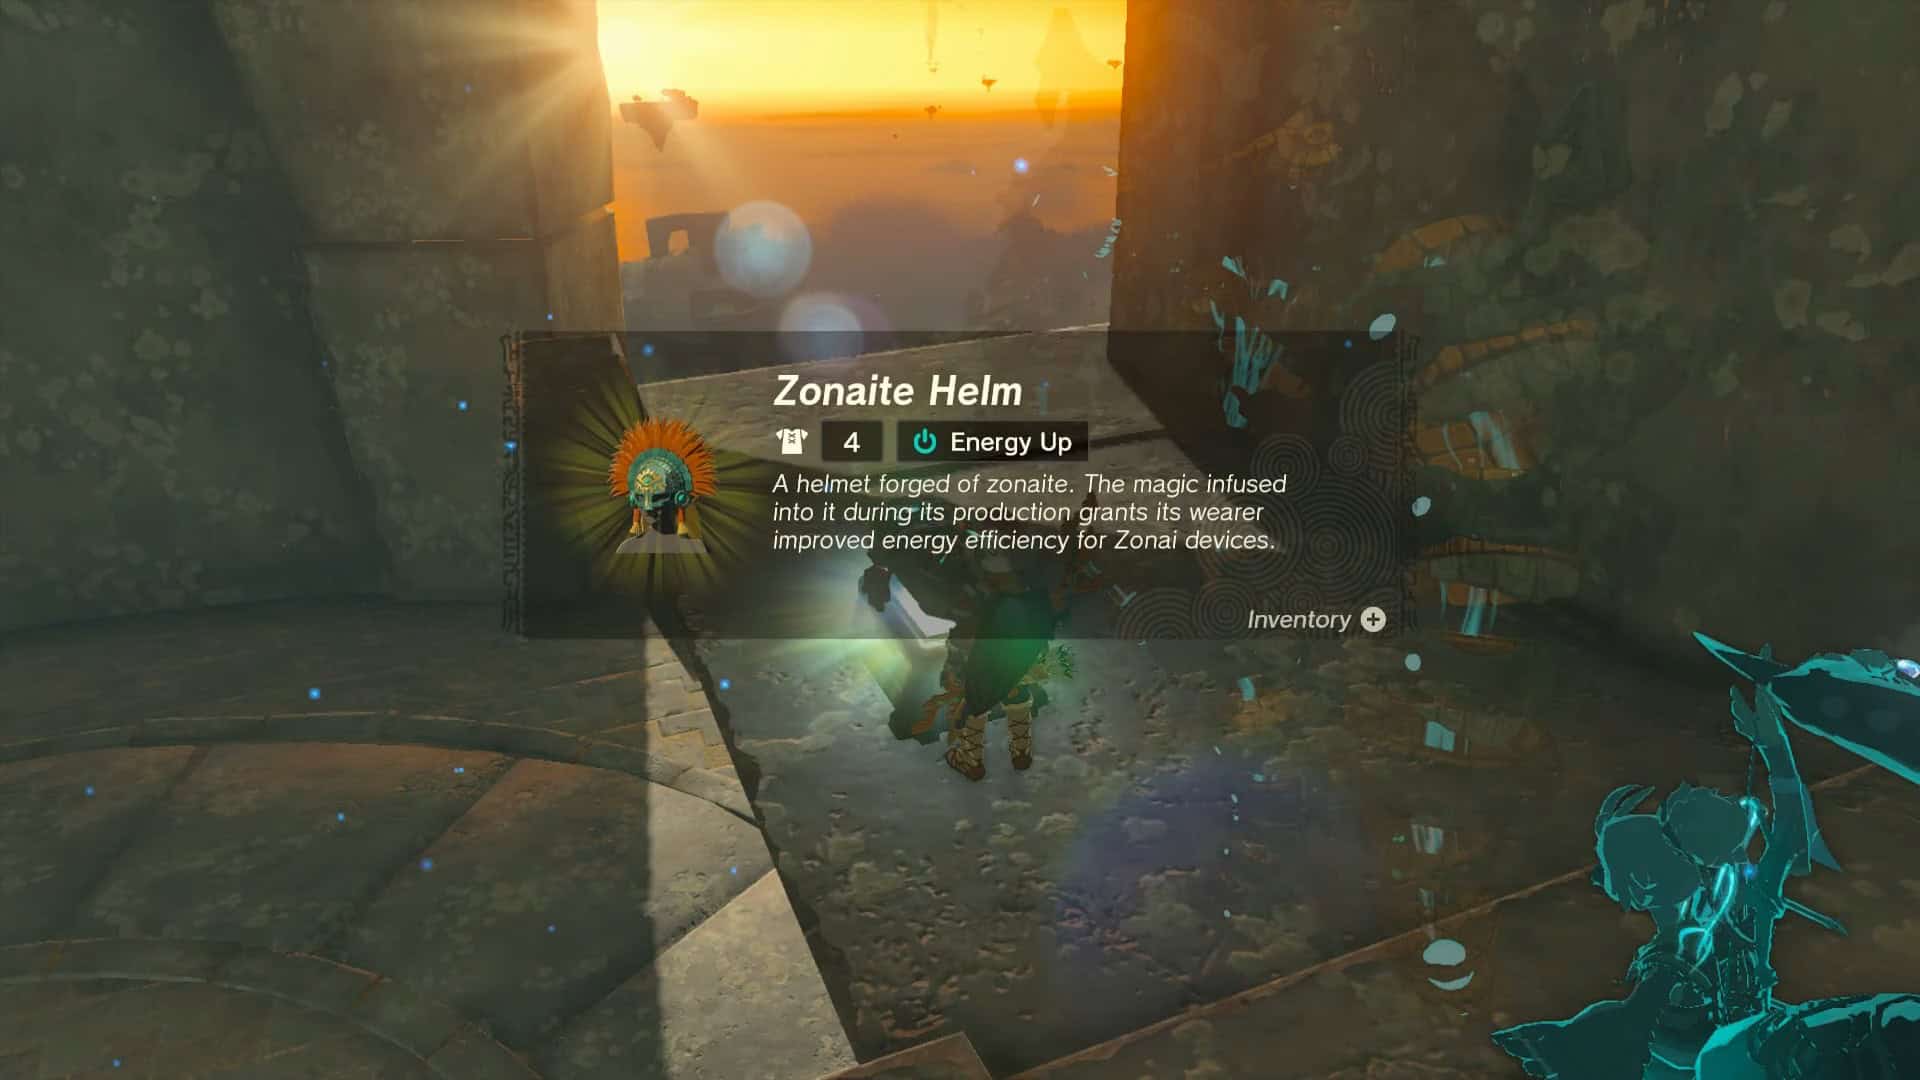
8. As soon as the crystal turns green, the whole platform will rise above. Use the Ascend ability right below the orange crystal to find a treasure chest. It contains the Zonaite Helm.
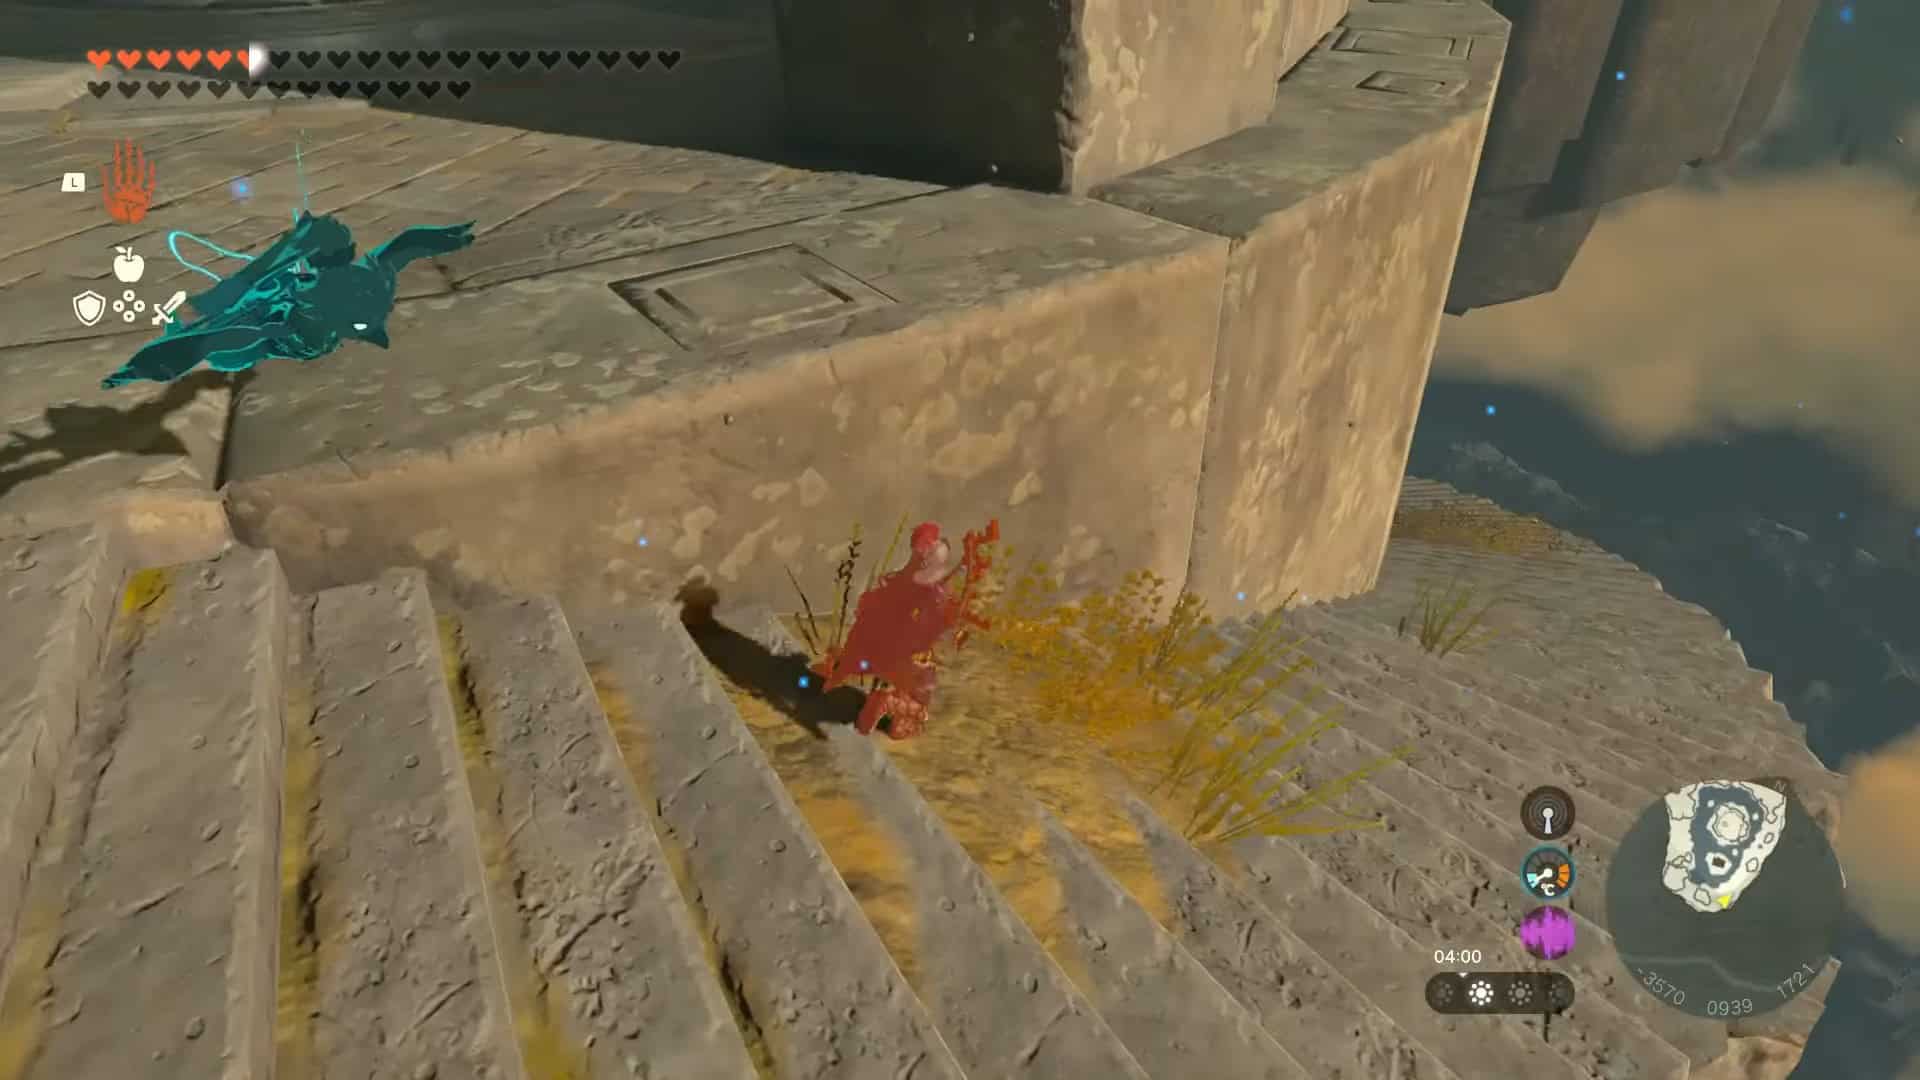
9. Drop down and take the stairs to the left. You will notice a zonai device dispenser machine on the right and an opening on the left.
10. Go left to locate Ga-ahisas Shrine in Zelda: Tears of the Kingdom. Interact with its entrance (-3596, 0985, 1699) to unlock a fast travel point and enter the shrine.
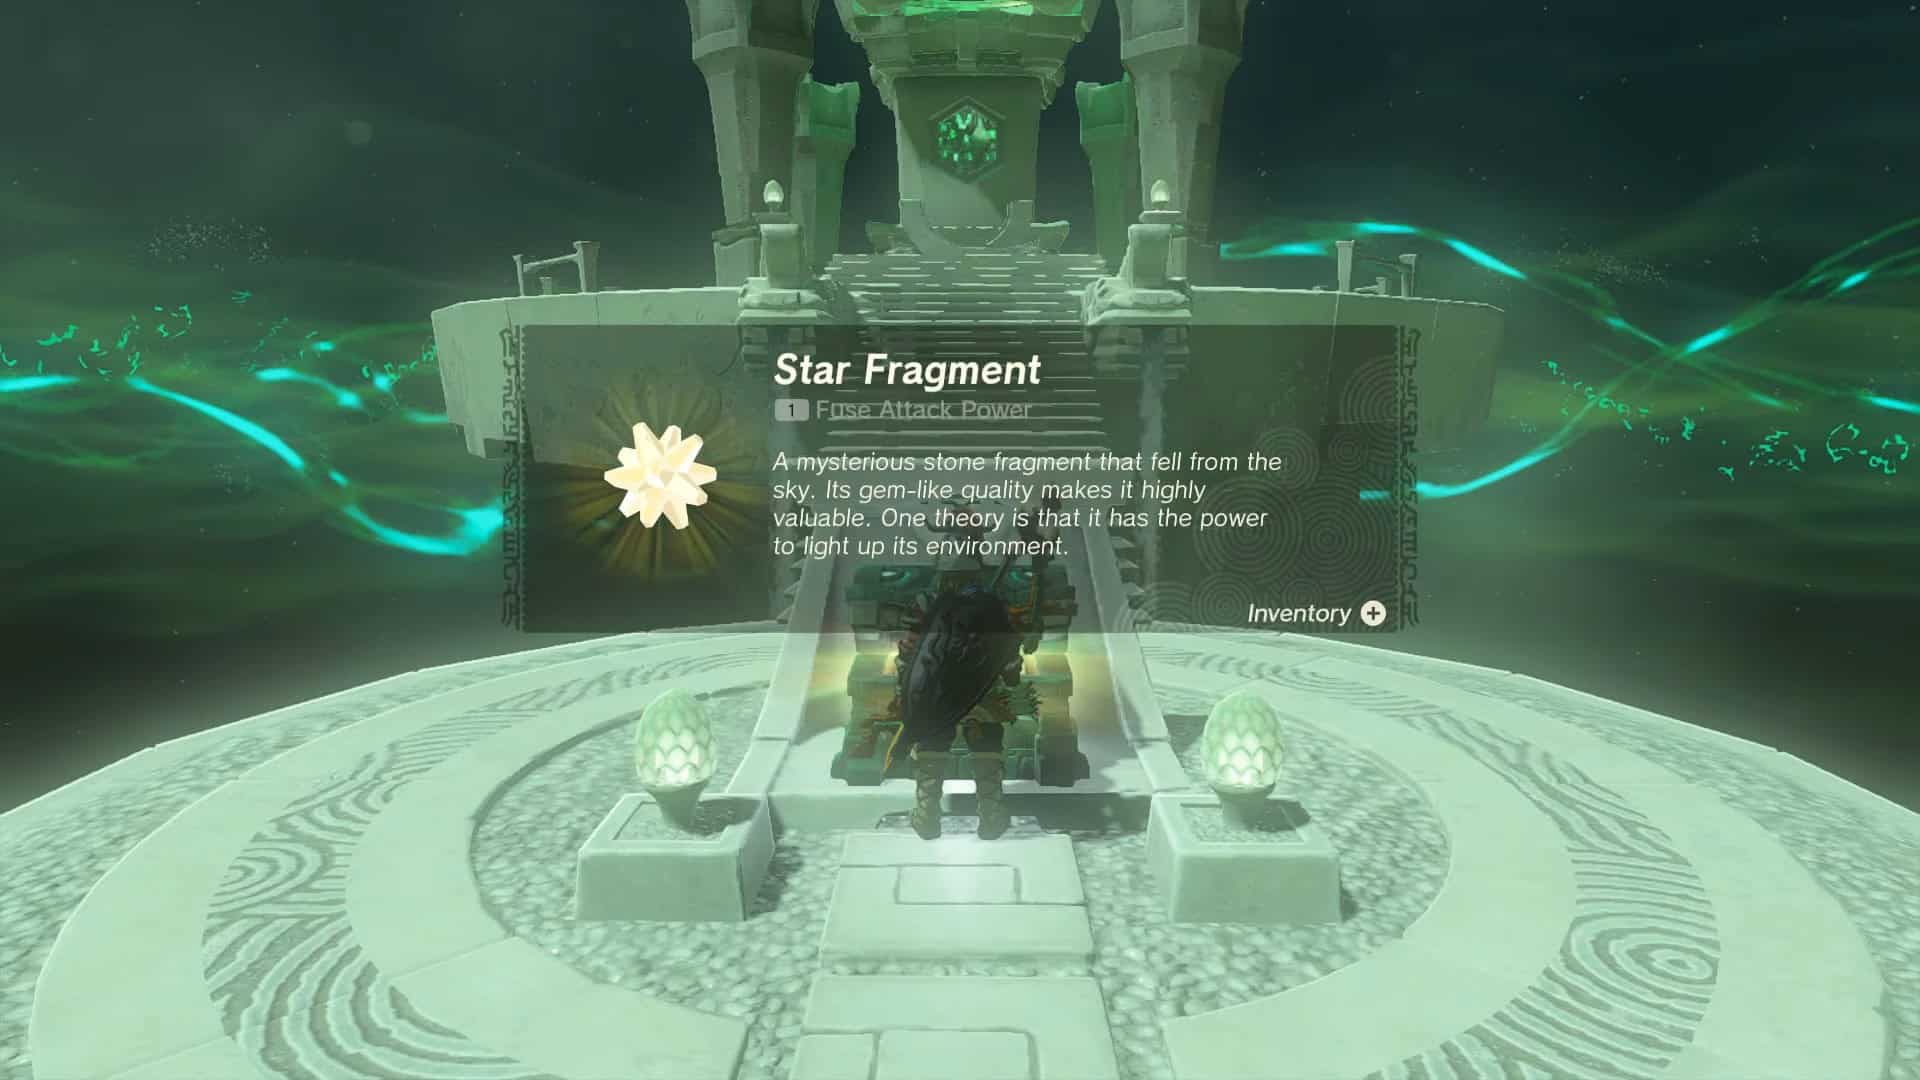
11. Open the treasure chest at the center of the shrine to obtain a Star Fragment.
12. As this is a blessing shrine, you won’t face any combat challenges or puzzles. Interact with Rauru and Sonia’s statues to complete Ga-ahisas Shrine in Zelda: Tears of the Kingdom and earn a Light of Blessing as a reward.