Eutoum Shrine is a combat-oriented shrine in Zelda: Tears of the Kingdom. Hidden deep inside the Hebra Mountains, it offers an advanced combat challenge with difficult enemies and traps.
While combat shrines are mostly self-explanatory, the Eutoum Shrine in Zelda: Tears of the Kingdom offers a unique way to complete it instantly. You can access and complete this shrine even with a low number of hearts by following our guide.
Eutoum Shrine Location in Zelda: TotK
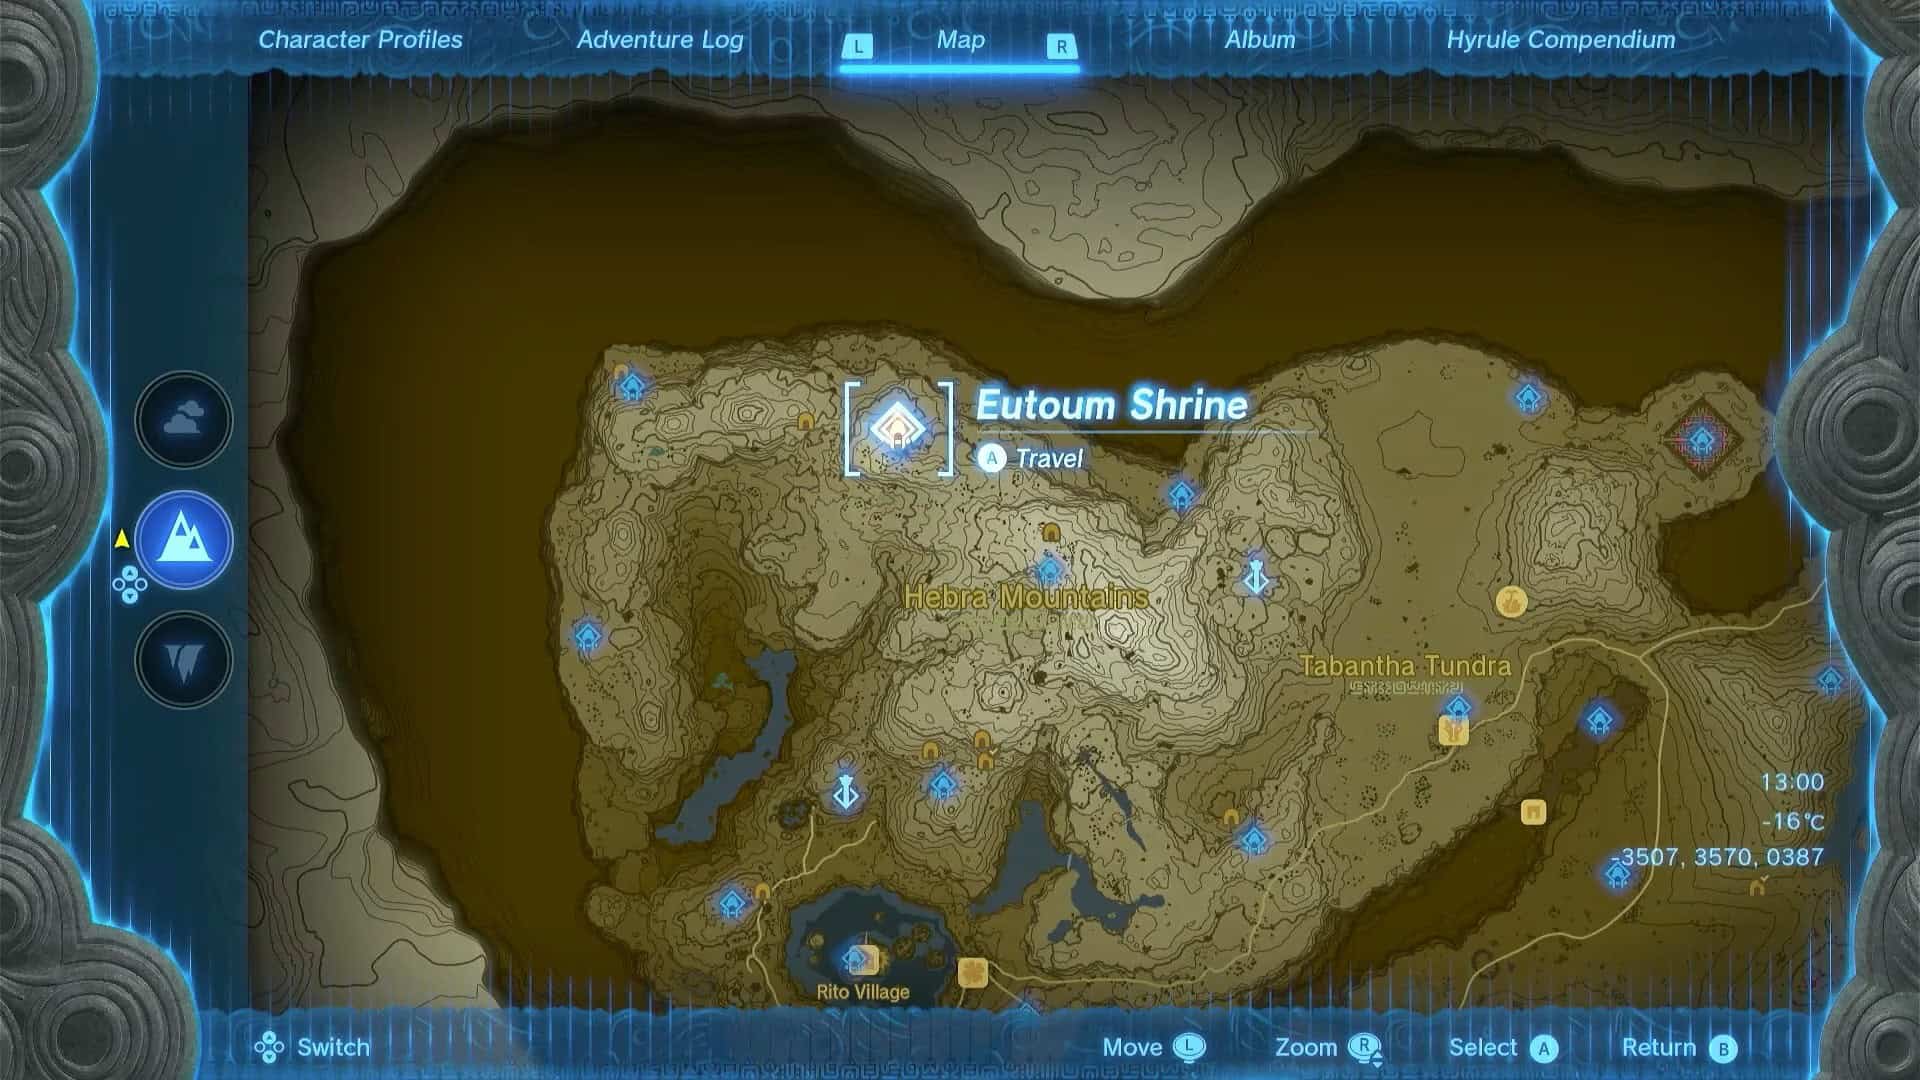
Eutoum Shrine is in the Northwest of the Hebra Region, to the north of the Hebra tundra and south of Hebra North Crest.
The nearest Skyview Tower is to the South, called Rospro Pass Skyview Tower. The easiest way to reach Eutoum Shrine in Zelda: Tears of the Kingdom is by using this tower and gliding north. This shrine is hidden inside Goflam’s secret Hot springs and is surrounded by ice Lizalfos.
The exact coordinates of the Eutoum shrine are (-3506, 3570, 0387). This area has freezing cold weather, so we recommend that you purchase and equip Snowquill armor before venturing there.
Eutoum Shrine Walkthrough
Eutoum Shrine in Zelda: Tears of the Kingdom is a combat shrine, which means you can’t use any of your weapons, armor, shields, or zonai devices inside it. The challenge presented by this shrine is called Proving Grounds: Infiltration.
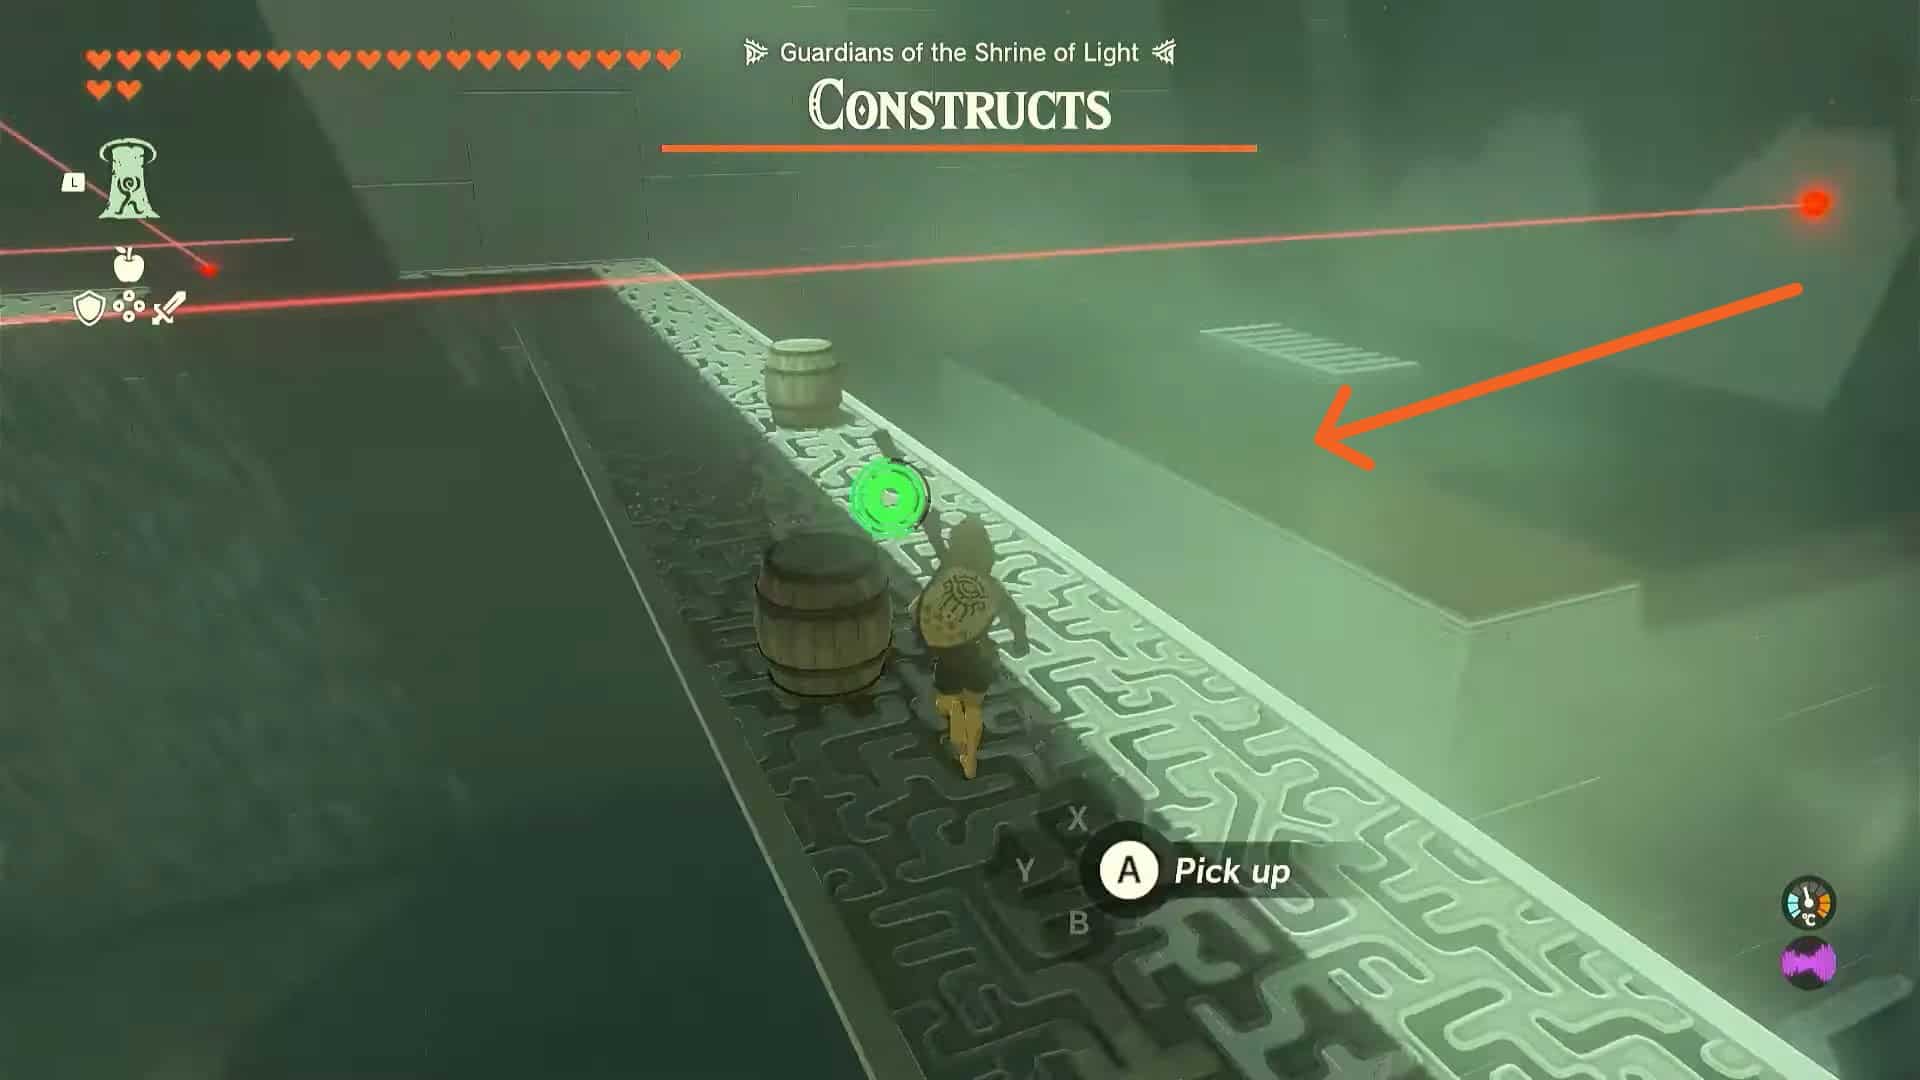
1. Pick up weapons and a shield from near the entrance and turn right.

2. Use the Ascend ability to reach the top of the building.
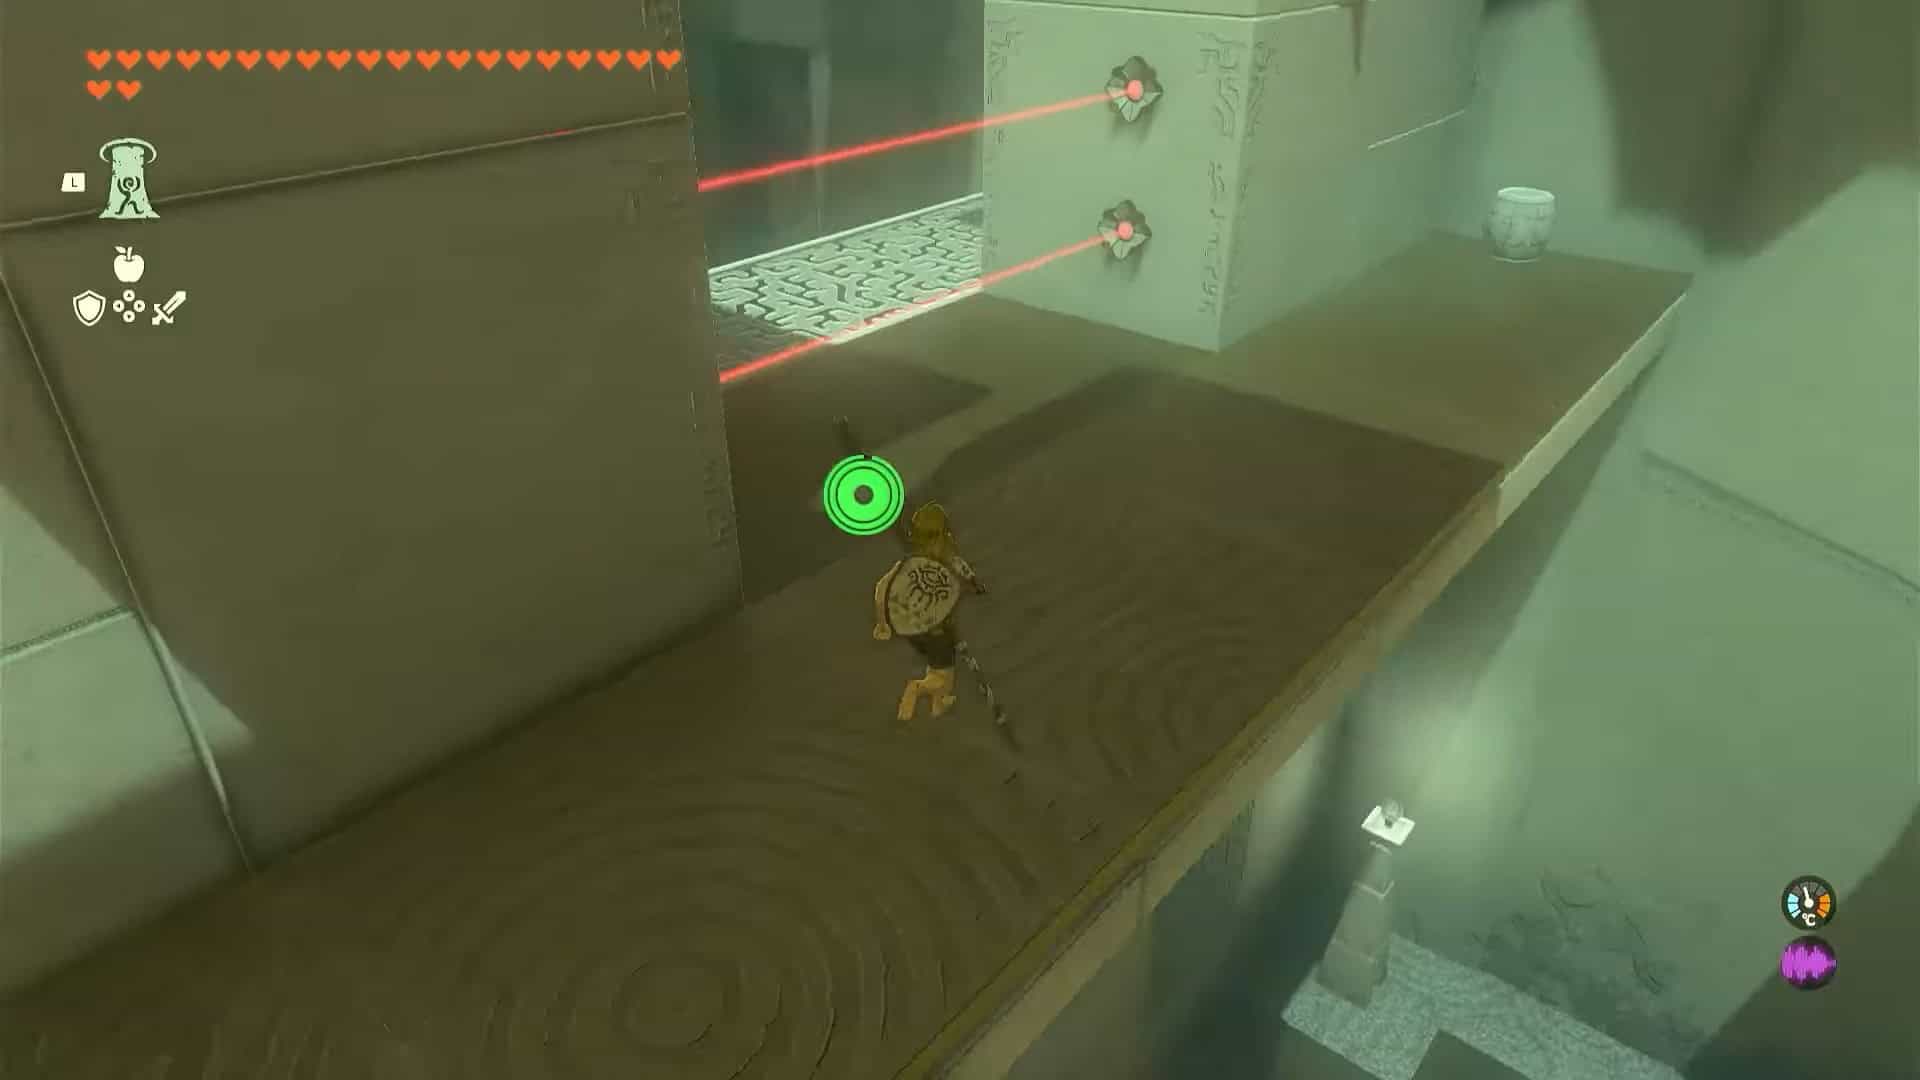
3. Cross the gap and turn left to go through lasers (that activate the traps).
4. Turn left on the rafters and then jump on the building to the right.
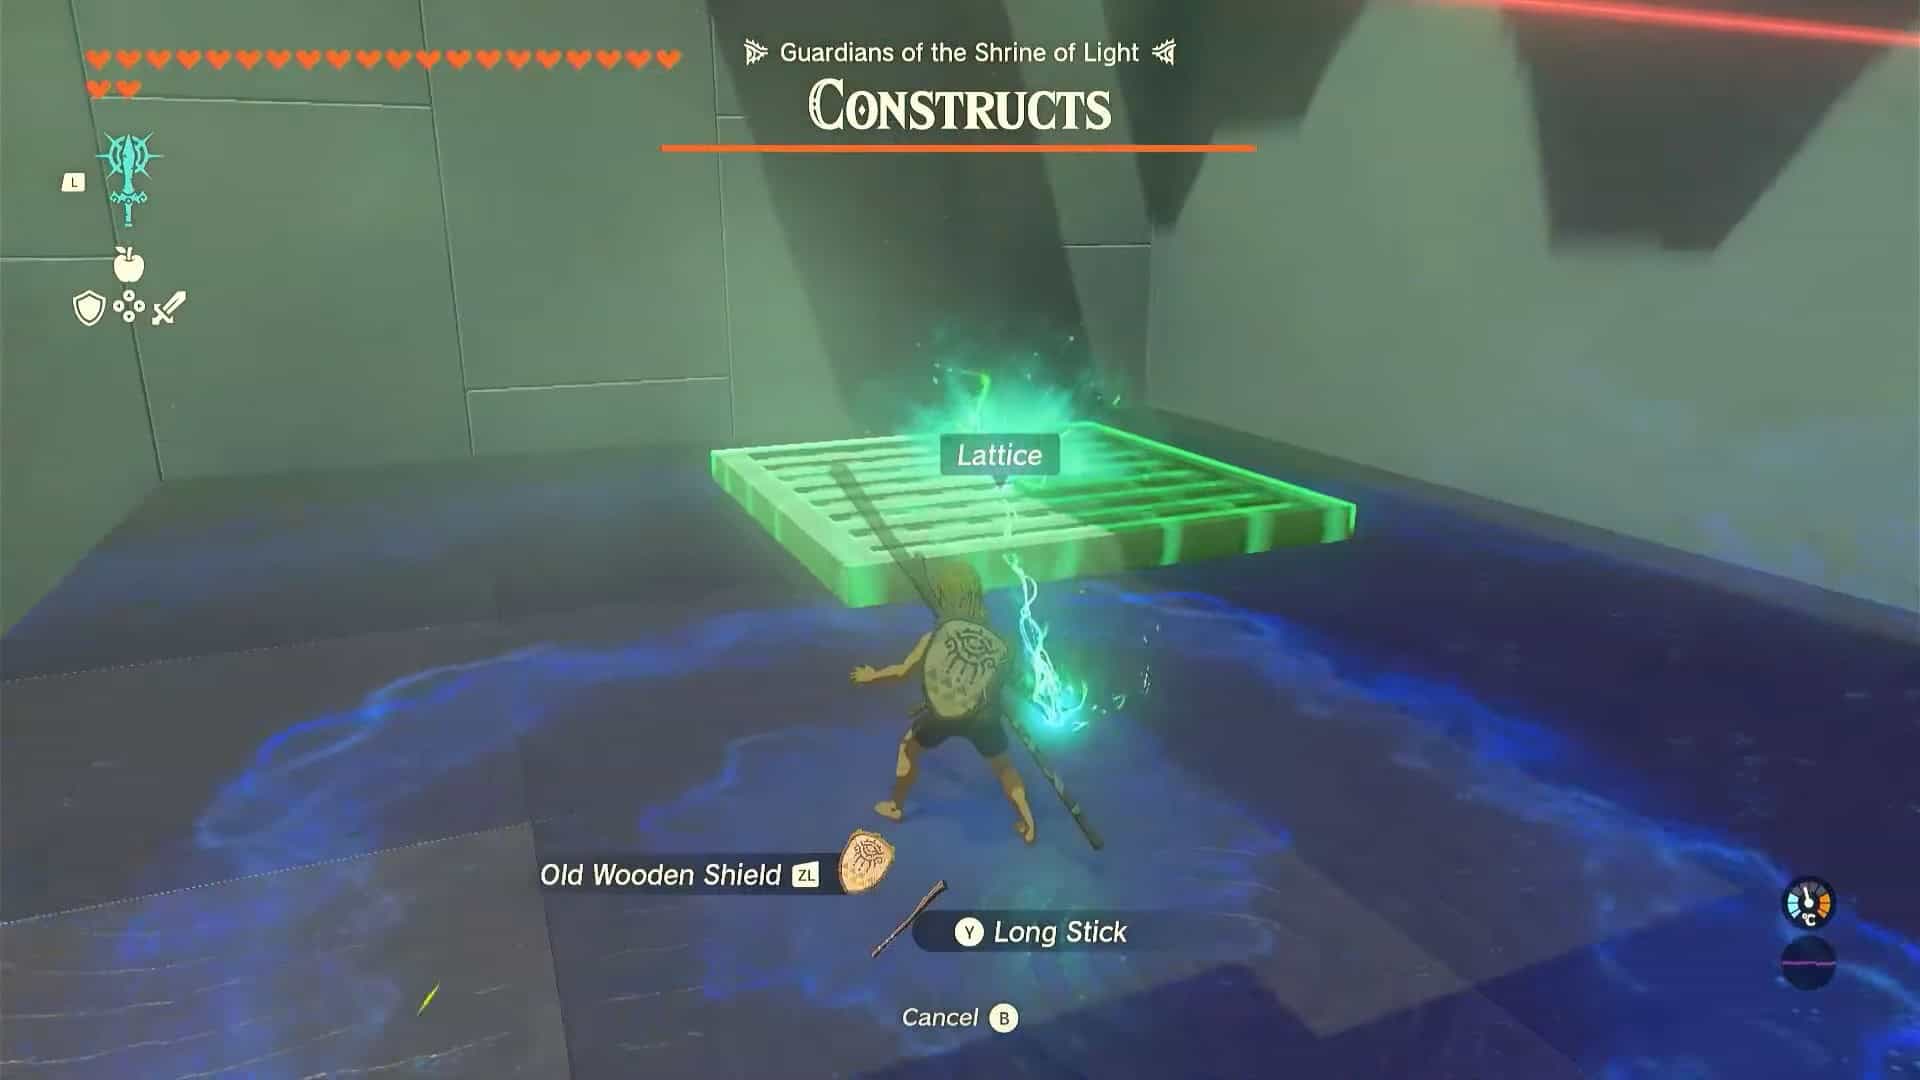
5. Use the Fuse ability to attach a lattice to your weapon. This will open a path to the room below.
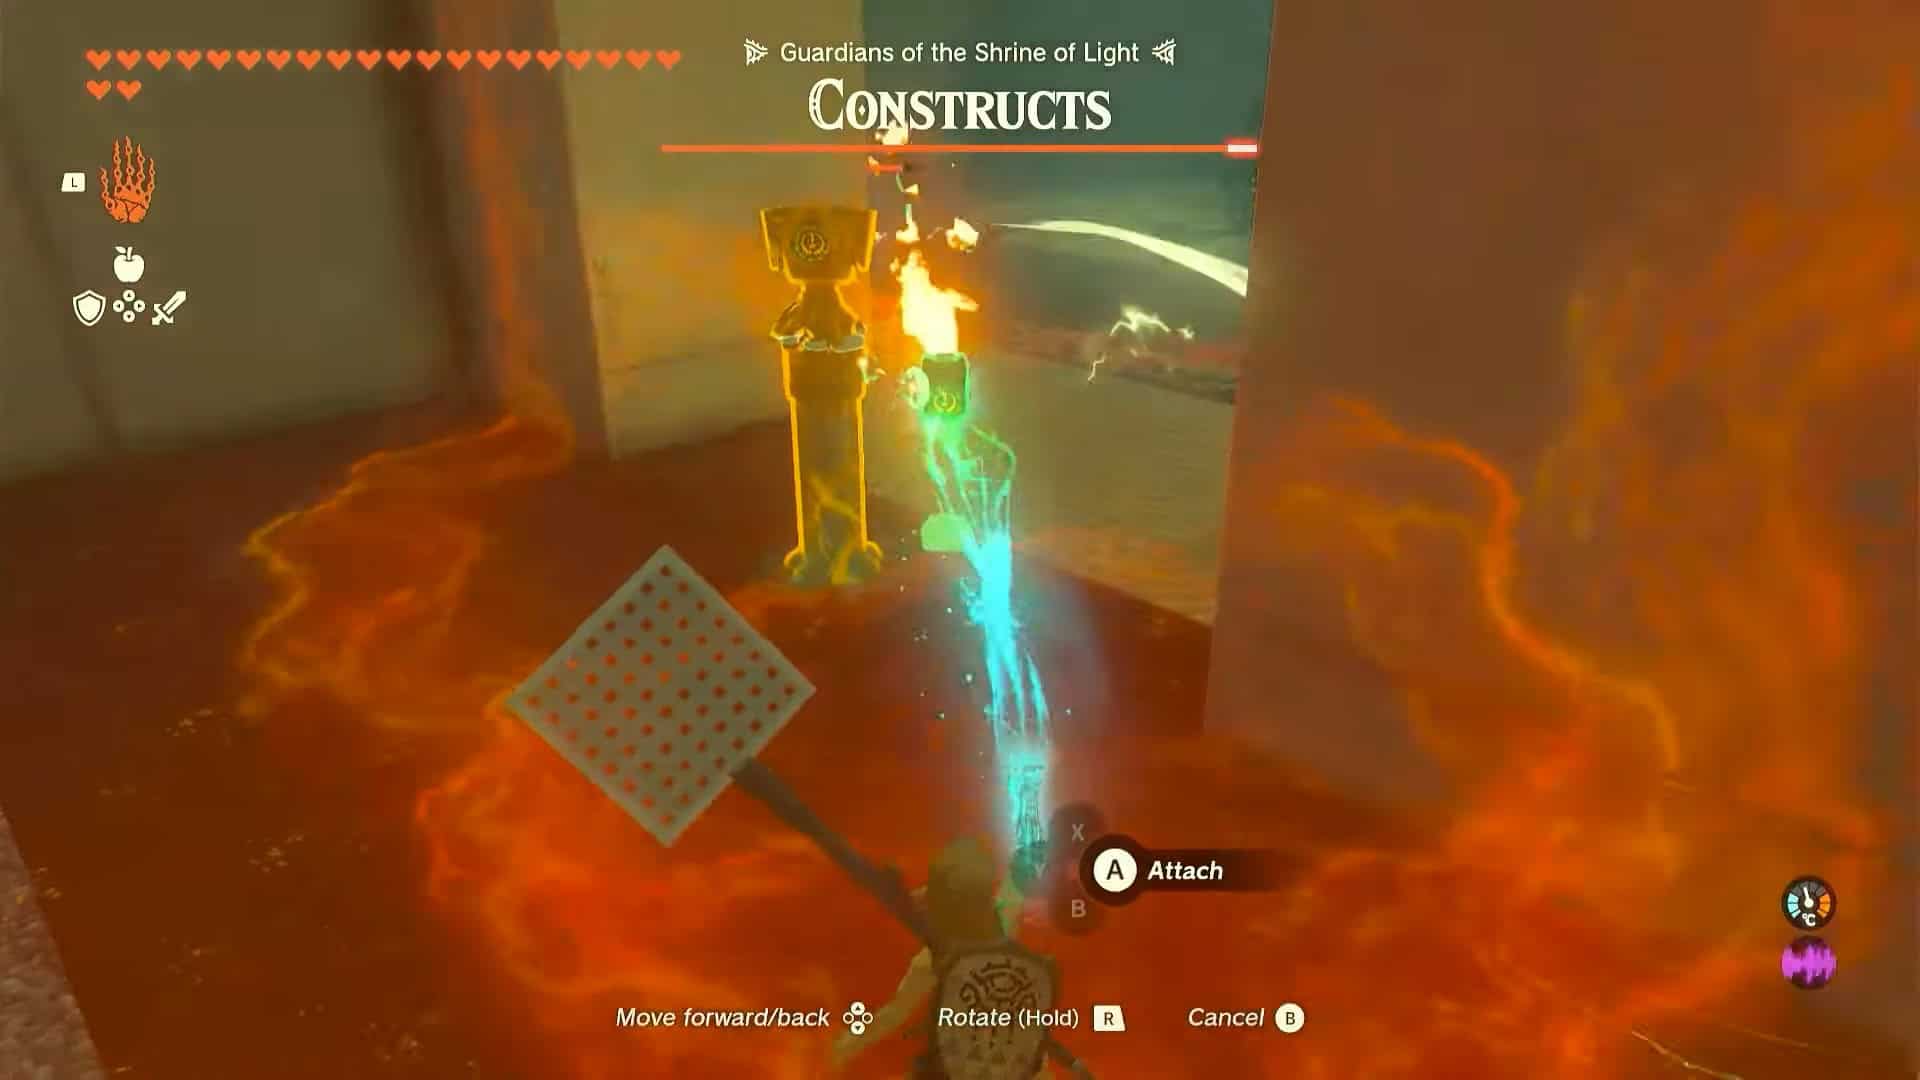
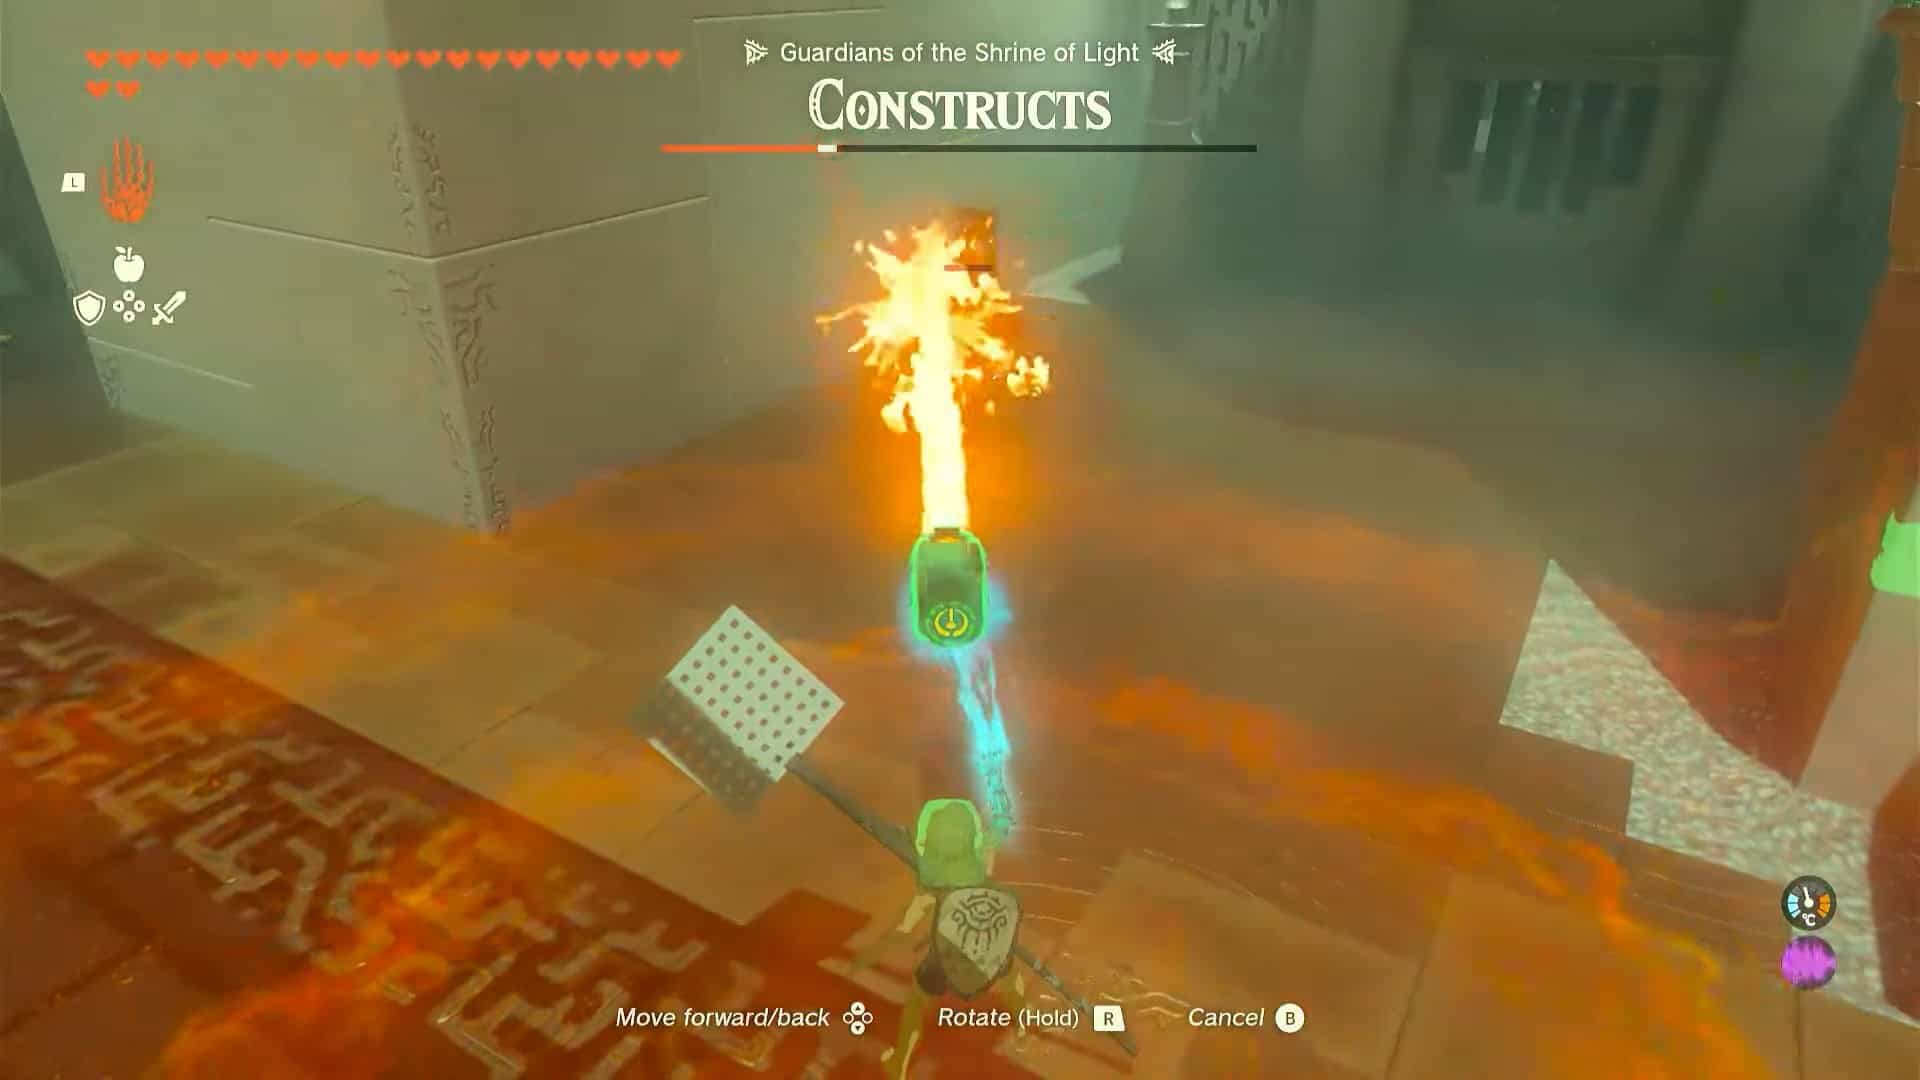
6. Drop down and pick up the flamethrower dragonhead with the help of Ultrahand ability.
7. Most of the construct enemies will zone in on to you. Use the flamethrower to kill them all and pick up their body parts.
8. Once all the enemies are killed, your gear will be returned to you, and the door to the altar room will open.
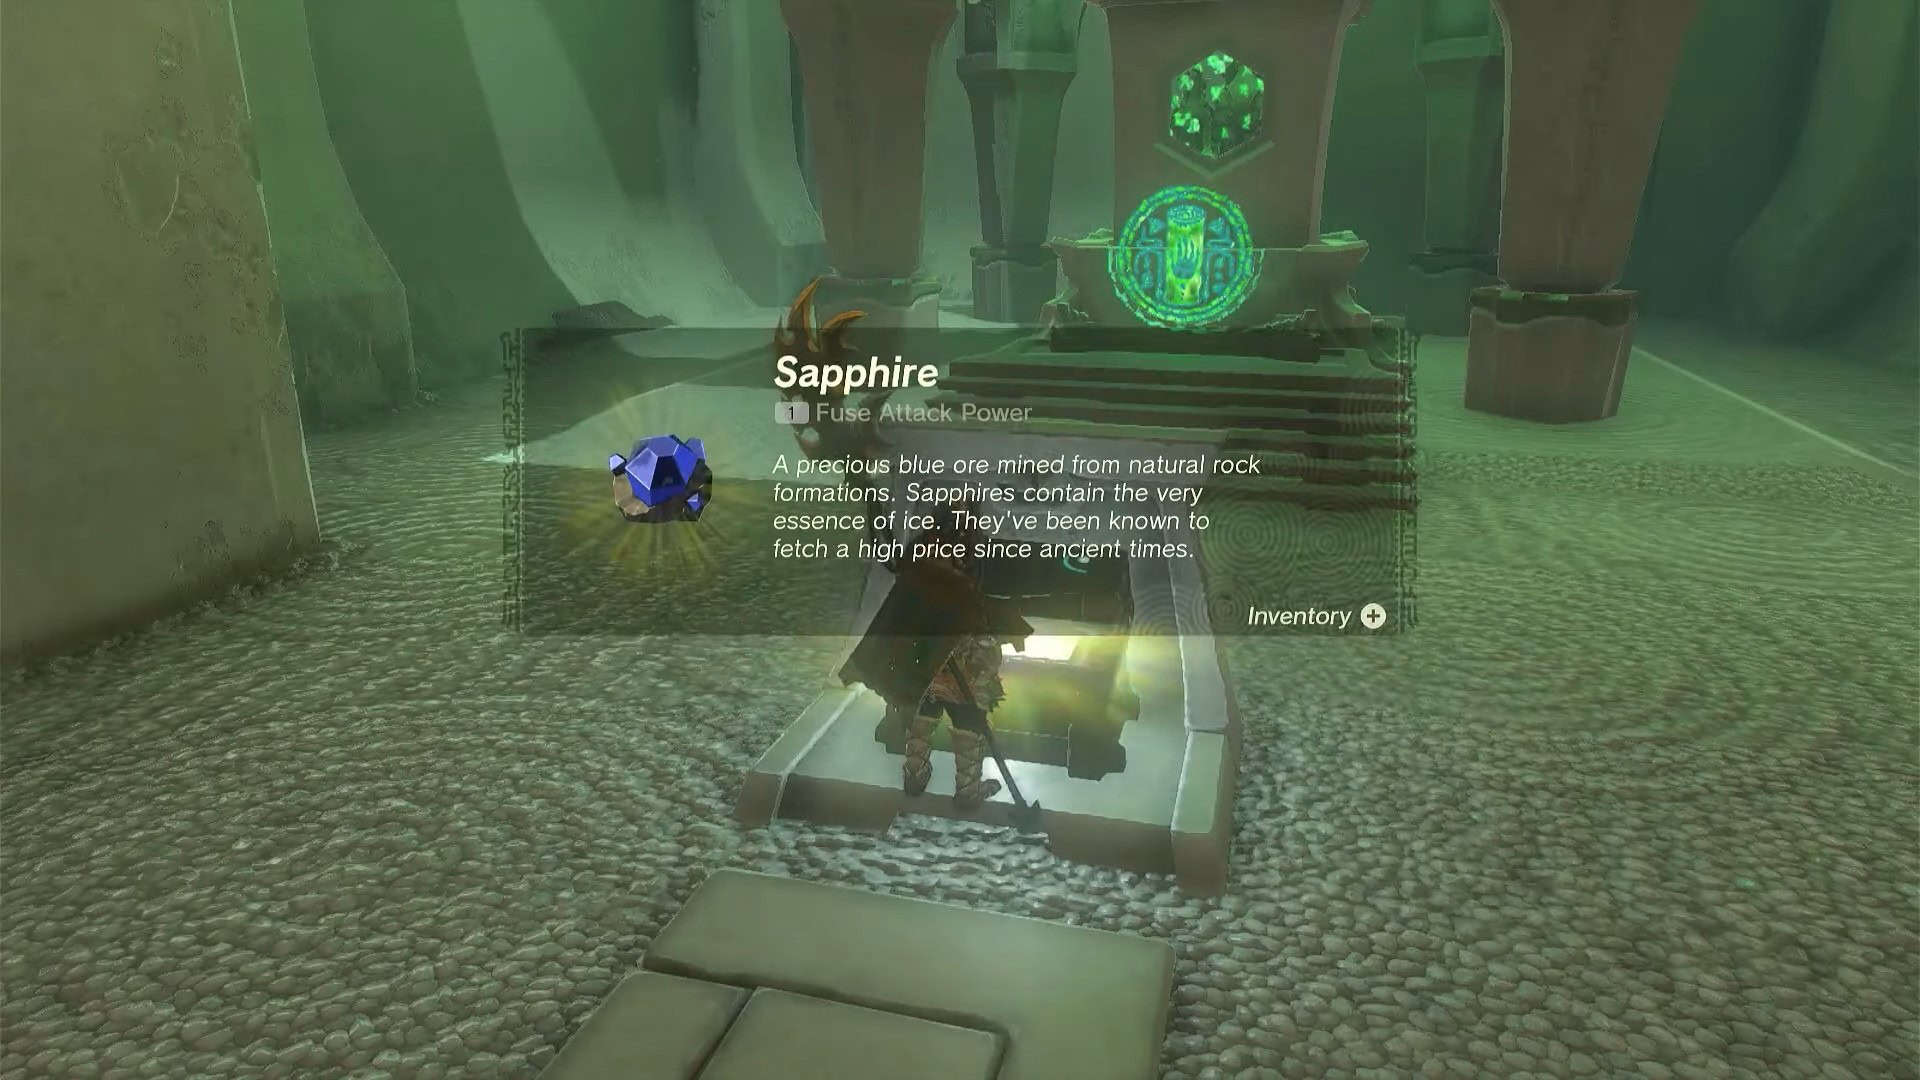
9. Go inside the altar room and open the treasure chest to obtain a Sapphire.
10. Interact with Rauru and Sonia’s statues to complete the trial and earn a Light of Blessing as a reward. Use four of these Lights of Blessing at any Goddess statue to either increase your stamina or health.