You will unlock the High Price to Pay main mission in Starfield after stealing an Artifact from Captain Petrov per Vladimir’s demands during the No Sudden Moves mission.
During the mission, both the Lodge and the Eye are under attack. However, you can choose only one of them to defend. Which will it be? The Lodge or the Eye?
Starfield High Price to Pay Mission guide
After listening to the distress call from The Eye, speak with Noel and the others to decide your next move. You will have two ways to complete the mission.
You can defend the Lodge and its members from the Hunters or go to the Eye and help the Constellation members onboard. Whichever decision you make, there will be a literal High Price to Pay in Starfield.
Spoiler alert: One of your companions will die by the end of this mission regardless of whether you choose to defend the Lodge or the Eye.
If you choose the first option, someone on the Eye will die. If you choose the second route, someone in the Lodge will die. This is inevitable. There is no way to save everyone on the Lodge and the Eye.
We recommend picking the companions you want to save.
Choice 1: Defend the Lodge
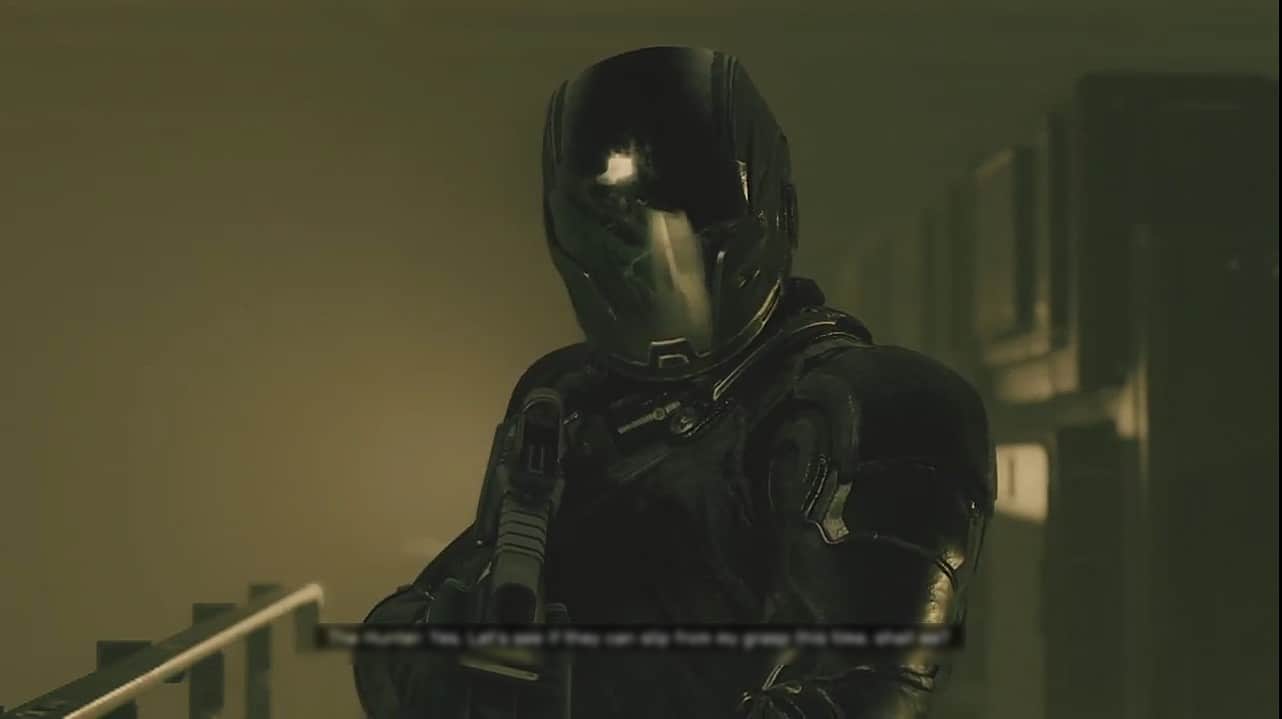
If you decide to stay and defend the Lodge, a call for help from Walter will be heard. Walter has been attacked by the Hunter on the second floor of the Lodge near the bar.
Head to the second floor, where you’ll see that the Hunter has spawned and is strangling Walter. Shoot the Hunter when his health bar shows up.
Don’t try to kill him; instead, just hold him off until Noel and the Constellation members have escaped the Lodge through the Well.
Escape the Lodge
You will find the basement entrance below the main staircase. Follow the path to the Well and find Noel on the area’s eastern side near the staircase. She informs you about hiding the Artifact.
However, during her explanation, you will see the Hunter on the staircase above. He is after the Artifact and will kill Noel to acquire it. This is your queue to flee the scene.
Escape to your ship
Escaping the Well during the High Price to Pay in Starfield can be challenging. The Hunters are multiple and can deal tons of damage using their elite weapons. You must keep them busy while Noel and other constellation members escape to the ship.
Once they have exited the area, you must head to the eastern part of the Well district to find an Exit. However, you must go through the Hunters and reach the Exit to take you to the Spaceport.
Initiate take-off
After exiting the Well, you must reach the Ship. Sam and Noel are inside the ship, waiting for your arrival.
Make sure not to get caught in the crossfire of the Hunter, who has also raided the Spaceport. Reach the eastern part of the spaceport, hop onto the pilot start, and initiate the takeoff
Head to the Eye and check on everyone
You can head up to the Eye with the Lodge and its members safe. However, it will be too late as one of the members of the Eye couldn’t make it.
Who the person was is solely dependent on your affinity with them, but for us, it was Sarah who we had the highest affinity with.
Talk to Vladimir
You will find Vladimir in the Scanning Control Room in the Eye. Talk to him and mention the death of Sarah or whoever it was who died.
This is where Vladimir insists that you keep the Artifact away from the hands of the Hunter. You must place it safely since the Hunters will return once you have all the required pieces.
Choice 2: Go to The Eye
If you decide to leave the Lodge to its fate, head to the Eye following Vladimir’s transmission. The Eye will already be under attack by the time you reach there.
Kill the Hunters and then search for the Eye crew members. Each of them will be found in a different room. You need to explore each section of the Eye. However, it is currently not possible to kill the Hunter permanently. Therefore, it is best that you flee to your ship and escape the carnage.
Find everyone in the Eye
You must go straight and into Crew Quarters 801. Here, you will find Andreja leaning on the wall ahead. Talk to her as she explains the activities during your absence from the Eye. convince her that everything is under control.
After talking to Andreja, head to the eastern quarter to find Battern lying on the floor. He explains how he couldn’t help anyone in this situation.
Once your conversation with Barret has ended, head over to the Scanning Control and find Sarah Morgan on the ground of the control room. Talk to her and find Vladimir resting on the scanning section just west of Sarah.
Go to the Lodge
After rescuing everyone in the Eye, you must return to the Lodge. However, your team couldn’t keep the barricades shut, resulting in the Starborn getting inside and killing a few crew members. Hence, the remaining members are now scattered around the Lodge.
Find everyone in the Lodge
You will find Cora Coe and Sarah at the eastern part of the Lodge with a corpse with them. Cora will be saddened over her father’s death, Sam Coe, and how he couldn’t survive the damage.
The death of your companions depends upon your relationship levels with them. You can save them as a part of the NG+ mode.
Furthermore, in the book section, you will find Vasco and Matteo in the garden area west of the robot.
Walter is found on the upper level on the ground of the bar. Talk to him, and he will guide you to the basement area that leads to the Well District. You must take the route to find the missing Noel.
Find Noel
Noel will be present in the Well. speak with her, and take the artifacts to Vladimir in the Lodge, where he’ll ask you to hide them safely.
The quest will exactly play out the same from here on out as it did in the first choice of defending the Lodge in A High Price to Pay main quest in Starfield.
Build the Armillary on your ship/outpost
Since the Artifact is now labeled as unsafe, you can either build an armillary on the ship or head over to a planet to make an outpost to place the armillary there. I built an armillary on the ship as it was easier than finding a planet and building an outpost.
Therefore, if you choose to build it on your ship, head over to your ship, interact with the Armillary screen in your cockpit, and select “Build Armillary”.
Return to the Lodge
After you have built the Armillary, head over to the Lodge and talk to Matteo. He is anxious about what Hunter said about the Unity.
Therefore, he is eager to visit the Sanctrum to learn more about what it truly means. Thus ending the High Price to Pay main mission in Starfield.
High price to pay Rewards
After completing High Price to Pay in Starfield, you will be rewarded with 800 EXP and 11800X Credits. You will also find access to the Unity main mission in Starfield.
High Price to Pay choices explained
Both choices have the same results, but we believe that protecting members of the Constellation on the Eye is a much better choice than defending the Lodge.
Should you defend the Lodge or go to the Eye?
As heartless as it sounds, the High Price to Pay takes how much affinity you have with the interactable NPCs, and most of them will be quest givers, which can grant you high levels of XP and Rewards.
In our case, Sarah lost her life at the Eye. Sarah was also a quest giver through which we could play the mission known as In Memoriam where Sarah expresses her feelings about you and start a romantic relationship with you.
Deciding who dies in High price to pay mission
During High Price to Pay in Satrfield, you do have to pay a high price. However, this comes at the expense of your companions. You have two choices: either to defend the Lodge or the Eye. Depending upon your choice, you will face the consequences of your companions dying at your abandoned location to save the other. In short, you must choose to die in Starfield during the High price-to-pay mission.
Can you save everyone from the Hunter Starfield?
Despite the only two options you get during High Price to Pay, there is an alternate ending to this mission. During this alternate ending of High Price to Pay, you can save every one of your companions in Starfield. However, you can only choose to save all by unlocking the New Game Plus-exclusive story mission: Foreknowledge.
Starfield High Price to Pay mission bug
During the High price-to-pay mission in Starfield, you may face a bug where you can’t land on New Atlantis to access the lodge and receive the “not cleared for landing” error message on your screen. This bug can prevent you from progressing in the quest and soft-lock you into a frustrating predicament. To fix this problem, you can try the following:
- Jump to another system and come back. If you cannot access the planet, you can try jumping to another system, spending a few seconds there, and then jumping right back.
- If the first fix doesn’t work, try completing a side quest or landing on a nearby planet and then coming back. In most cases, this fix works like a charm
- If the above two fixes do not work, you may need to reload a previous save. This will cause you to lose progress, but until a proper patch is released, this may be the only way to bypass this bug.