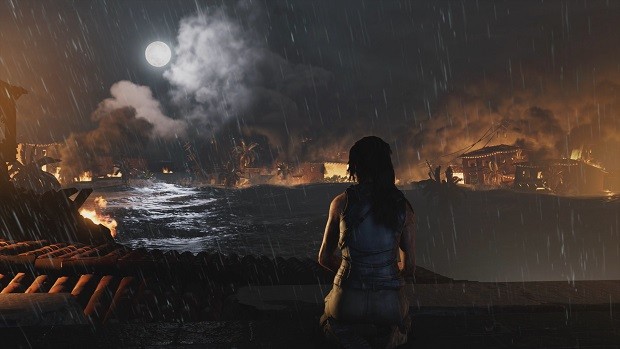
Our Shadow of the Tomb Raider City of the Serpent Walkthrough Guide will be guiding you through each and every single aspect of the aforementioned mission as you edge nearer and nearer to the end of the story campaign. Our Tomb Raider City of the Serpent Walkthrough Guide will guide you through all the parts of City of the Serpent in a step-by-step manner.
Shadow of the Tomb Raider City of the Serpent Walkthrough
The main objective of this area is to move through the area until you get to Etzli and speak with him. Let us go ahead and see how to do that and then deal with all that ensues post your conversation,
Speak with Etzli
You return to Skull Cave to talk to Etzli and Uchu. You can explore Paititi or fast travel somewhere else.
Remember that once you speak to Etzli, you will be sent to the City of the Serpent and will not be able to return until the game is complete, so be sure you know what you are doing before you proceed.
The Irrigation System
Move through the hole and then go to the path on your right. Use the metal hook to get to the wall and keep on going to the next ledge.
Cross the log ahead and use the grapple axe to get to the next wall. Then, continue going right and make a lateral jump. After that, use the tether rope and zip line down.
Heading to the Pyramid
Go through the gate and then keep on springing, going over the gap and up the wall. Go left and get to the walkway above you. Keep running and jump down, constantly running as the surface crumbles until you get to Trinity.
Defeating Trinity
Shoot the urn on your right and continue fighting all of the soldiers that come your way. It is best to have Puma’s Feint skill, as it can be very helpful as you come up against the boss.
Keep on moving forward and defeating all of the enemies. Use the tightrope to get to the end of the beam and then jump to the ledge.
Keep on using your axe to get from one ledge to the next until you are at the platform. Here, once again use your axe to be to the wall ahead (make sure you grab onto it).
At the platform, wall run left and then right to get to the metal hook which gets you to a wall which you can climb and get onto the surface. Keep on moving through the corner and use the grapple axe to get to the next portion.
Dominguez
The last part of this area has you battling Dominguez. Destroy the back of the statues and then use bushes, walls, and mud to escape and kill all of the extra warriors stealthily.
You can use all of the weapons that you have at your disposal and take our all of them to proceed.
Once all the statues are destroyed, create instability in Dominguez’s powers by shooting him and staying far away. When the shield is unstable, use fear arrows and then move in and stab him.
You will need multiple takedowns in order to defeat the boss, so repeat the process. There will be more enemies which you need to pick off one by one before you focus on the boss once again.
Simply use your stealth and the explosives to take them down.
3 Takedowns will take out the mask of Dominquez and he will now be able to teleport to you. When you see a flash of light, run away but stay within sight as he teleports to you if you are in stealth.
Overall, repeat the takedown process in order to defeat the boss and end this area.
That is all we have for our City of the Serpent Walkthrough Guide. Let us know if we missed something using the comments section below!
Shadow of the Tomb Raider Wiki
Cozumel
Peruvian Jungle
The Hidden City
Box of Ix Chel
Cenotes
Return to the Hidden City
Porvenir Oil Fields
Mission of San Juan
City of the Serpent
Outfits Unlocks
Difficulty Modes Explained
Beginners Guide
Gear and Equipment
Skill Trees and Recommended Skills
Weapons
Challenges Guide
Crypts Locations
Side Missions
Puzzles Solutions
Cozumel Collectibles
Peruvian Jungle Collectibles
Trial of the Eagle Collectibles
Kuwaq Yaku Collectibles
