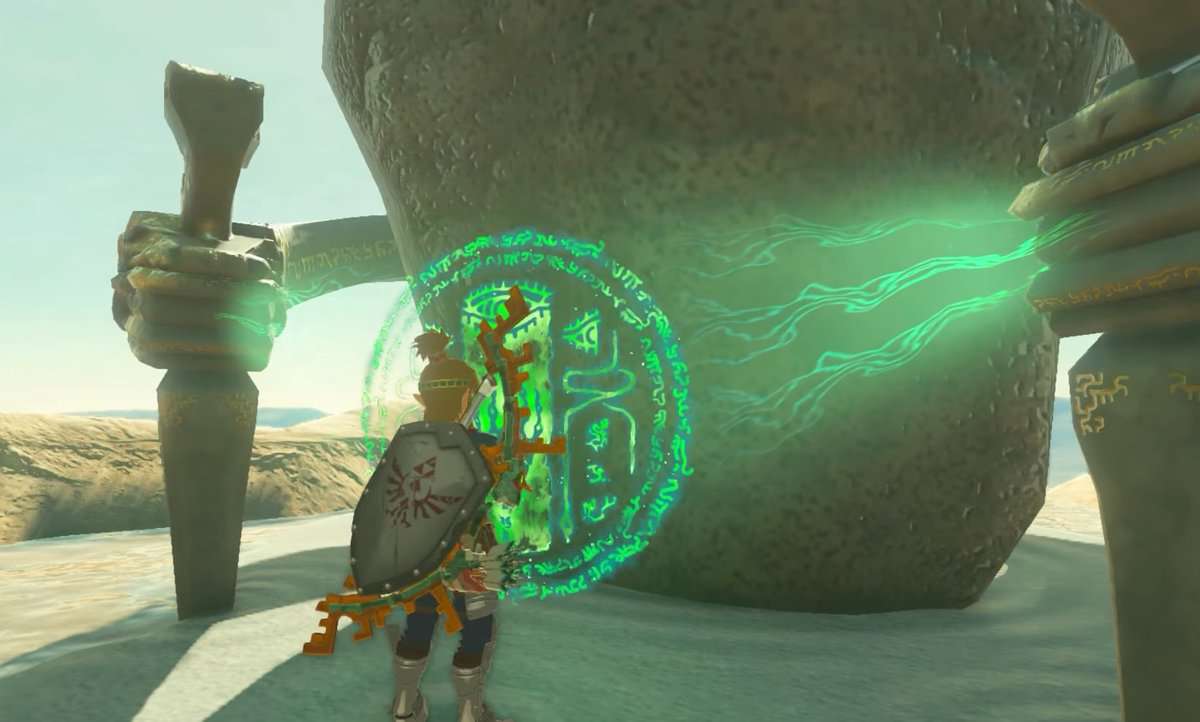
Soryotanog Shrine in Zelda: Tears of the Kingdom uses two game mechanics in conjunction to create an interesting puzzle. This shrine is all about understanding how you can use fans to blow away dust piles and mirrors to direct light in your desired direction.
Reaching and completing the Soryotanog Shrine is a difficult task in Zelda: Tears of the Kingdom. Let us help you in achieving both tasks with our step-by-step guide below.
Soryotanog Shrine Location in Zelda: TotK
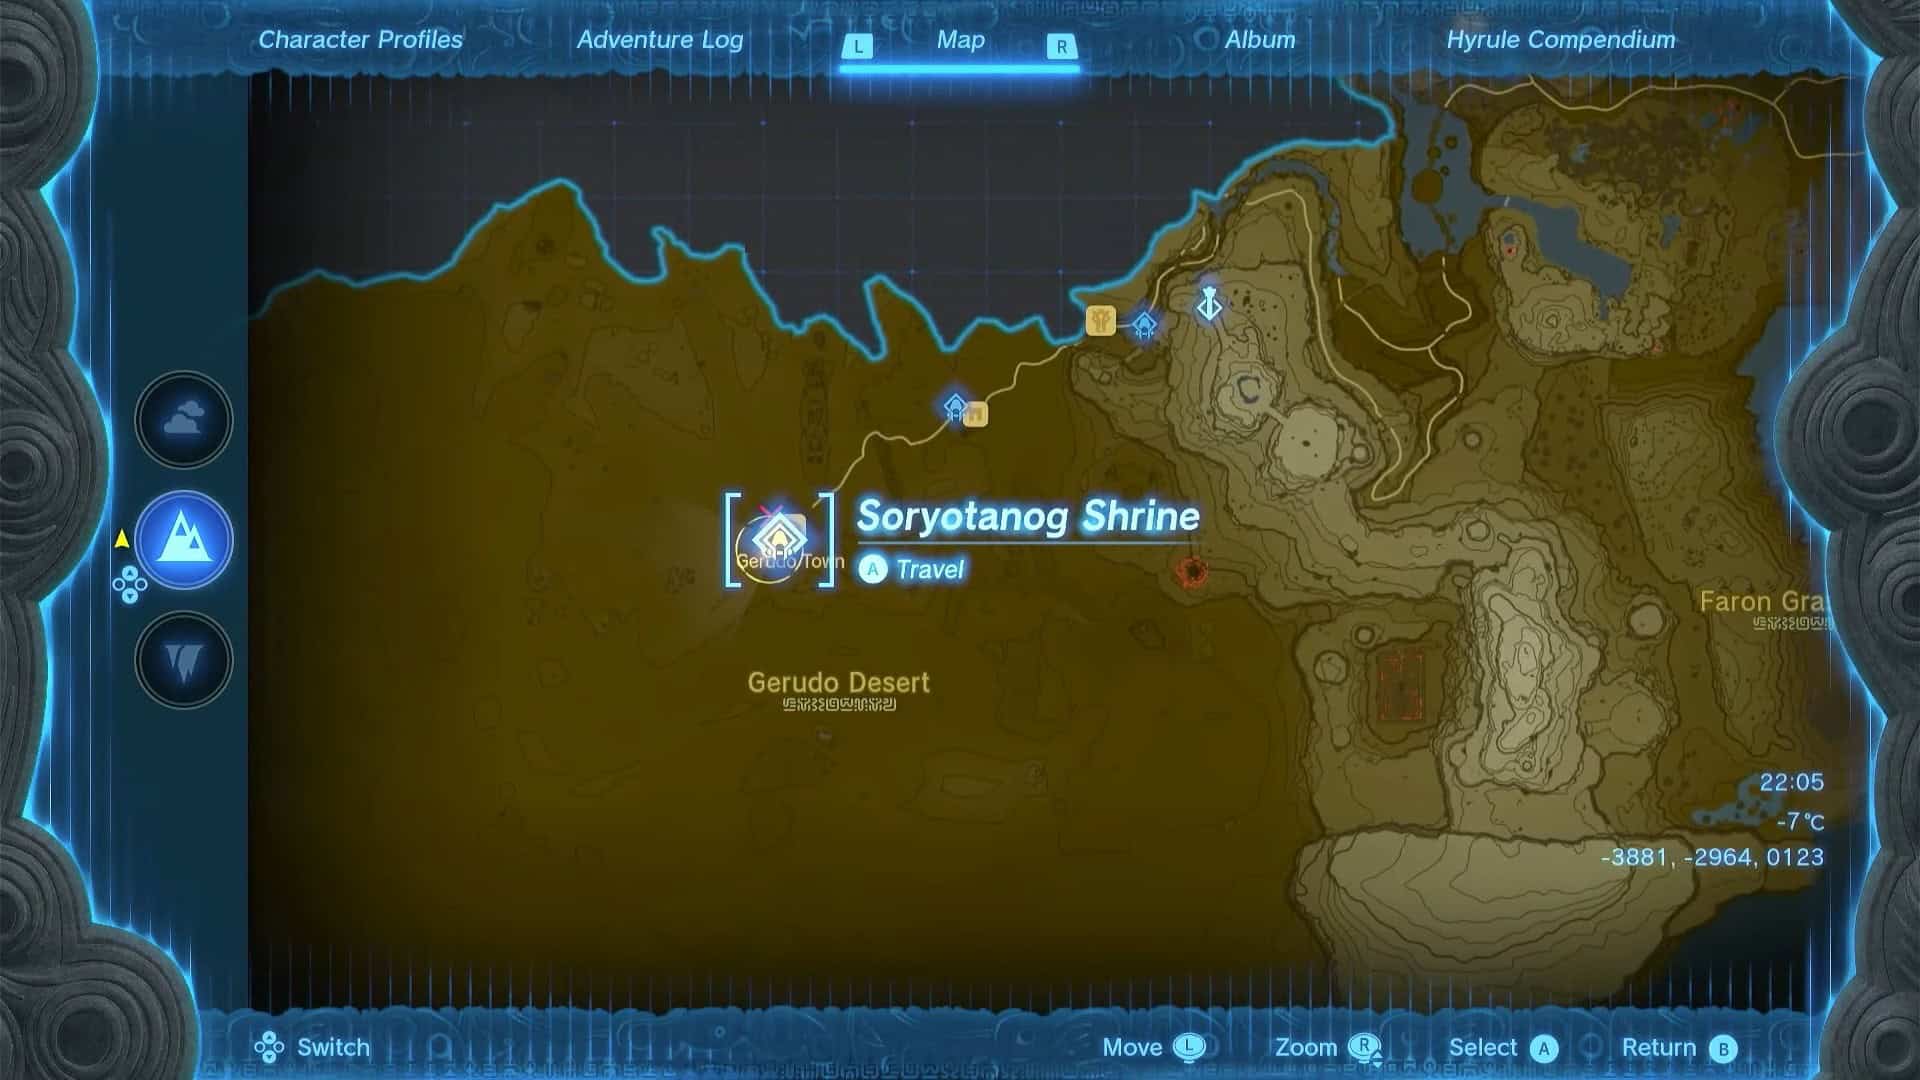
Soryotanog Shrine is on a hill inside Gerudo Town. This is a town shrine that serves as a fast travel point for Gerudo Town. The nearest Skyview Tower to the town is Gerudo Canyon Skyview Tower.

You will need a lot of stamina to climb the hill to reach it. The exact coordinates for Soryotanog Shrine in Zelda: Tears of the Kingdom are (-3881, -2964, 0123).
Before venturing into the Gerudo desert to reach Gerudo Town, make sure that you cook meals or brew elixirs that provide Heat and cold resistance, as this area is sizzling hot during the day and freezing cold at night.
Soryotanog Shrine Walkthrough
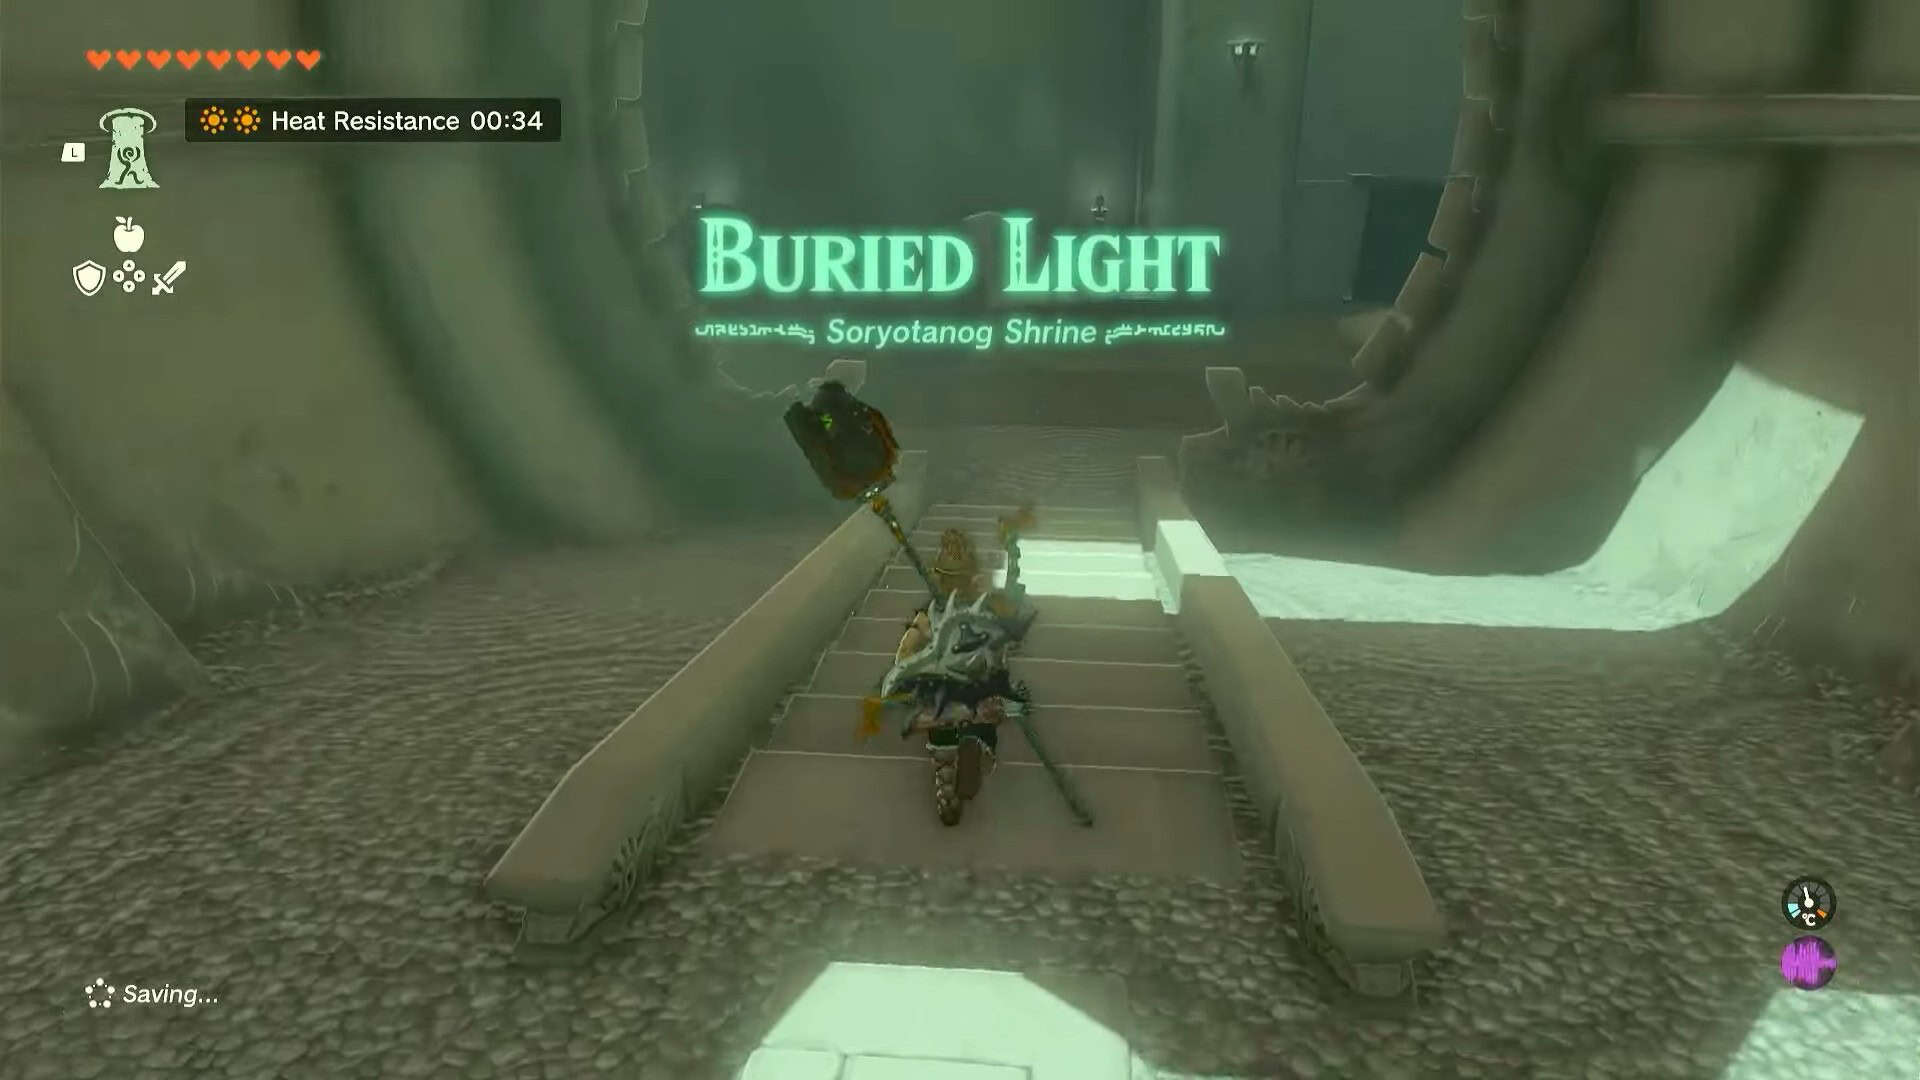
The trial presented by the Soryotanog shrine in Zelda: Tears of the Kingdom is called Buried Light. The objective of this shrine is to free the light sources and reflect them to activate orange crystals.
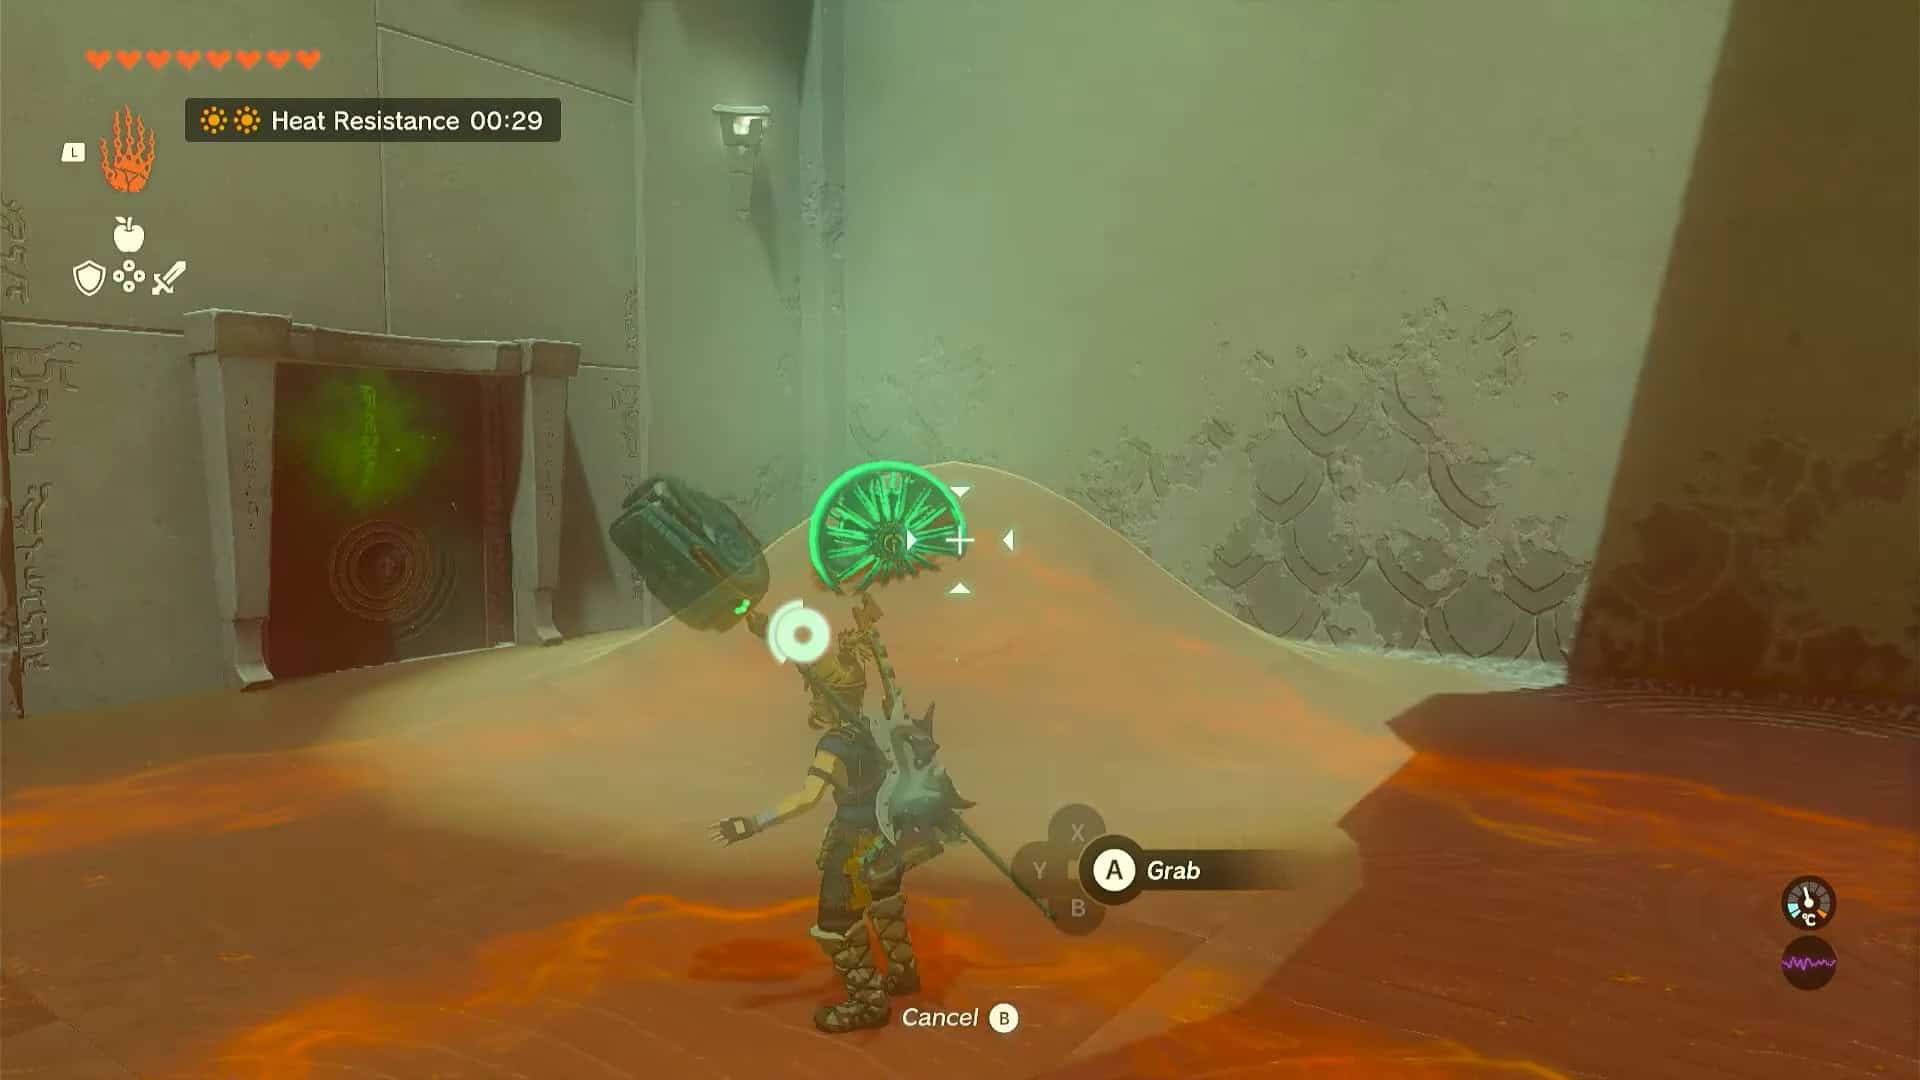
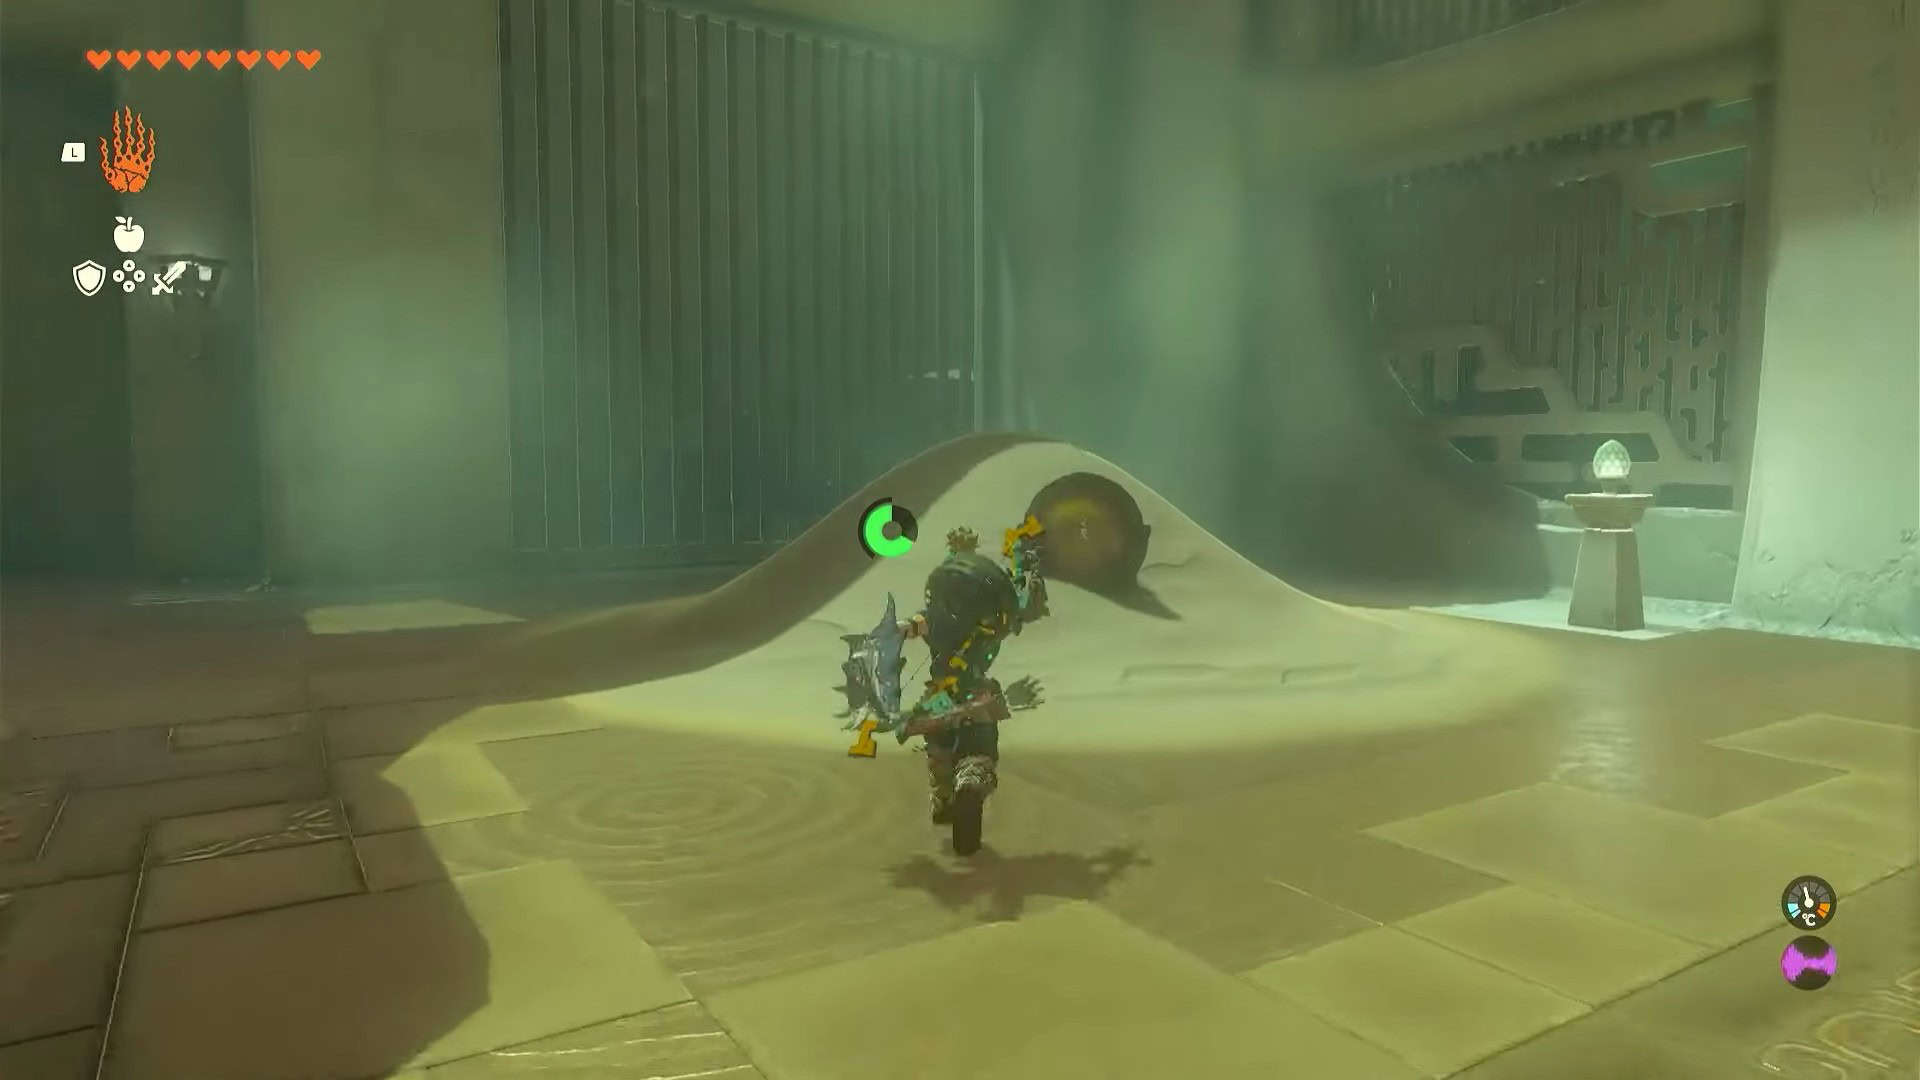
1. In the first area, remove the fan from the dust pile with the help of Ultrahand.
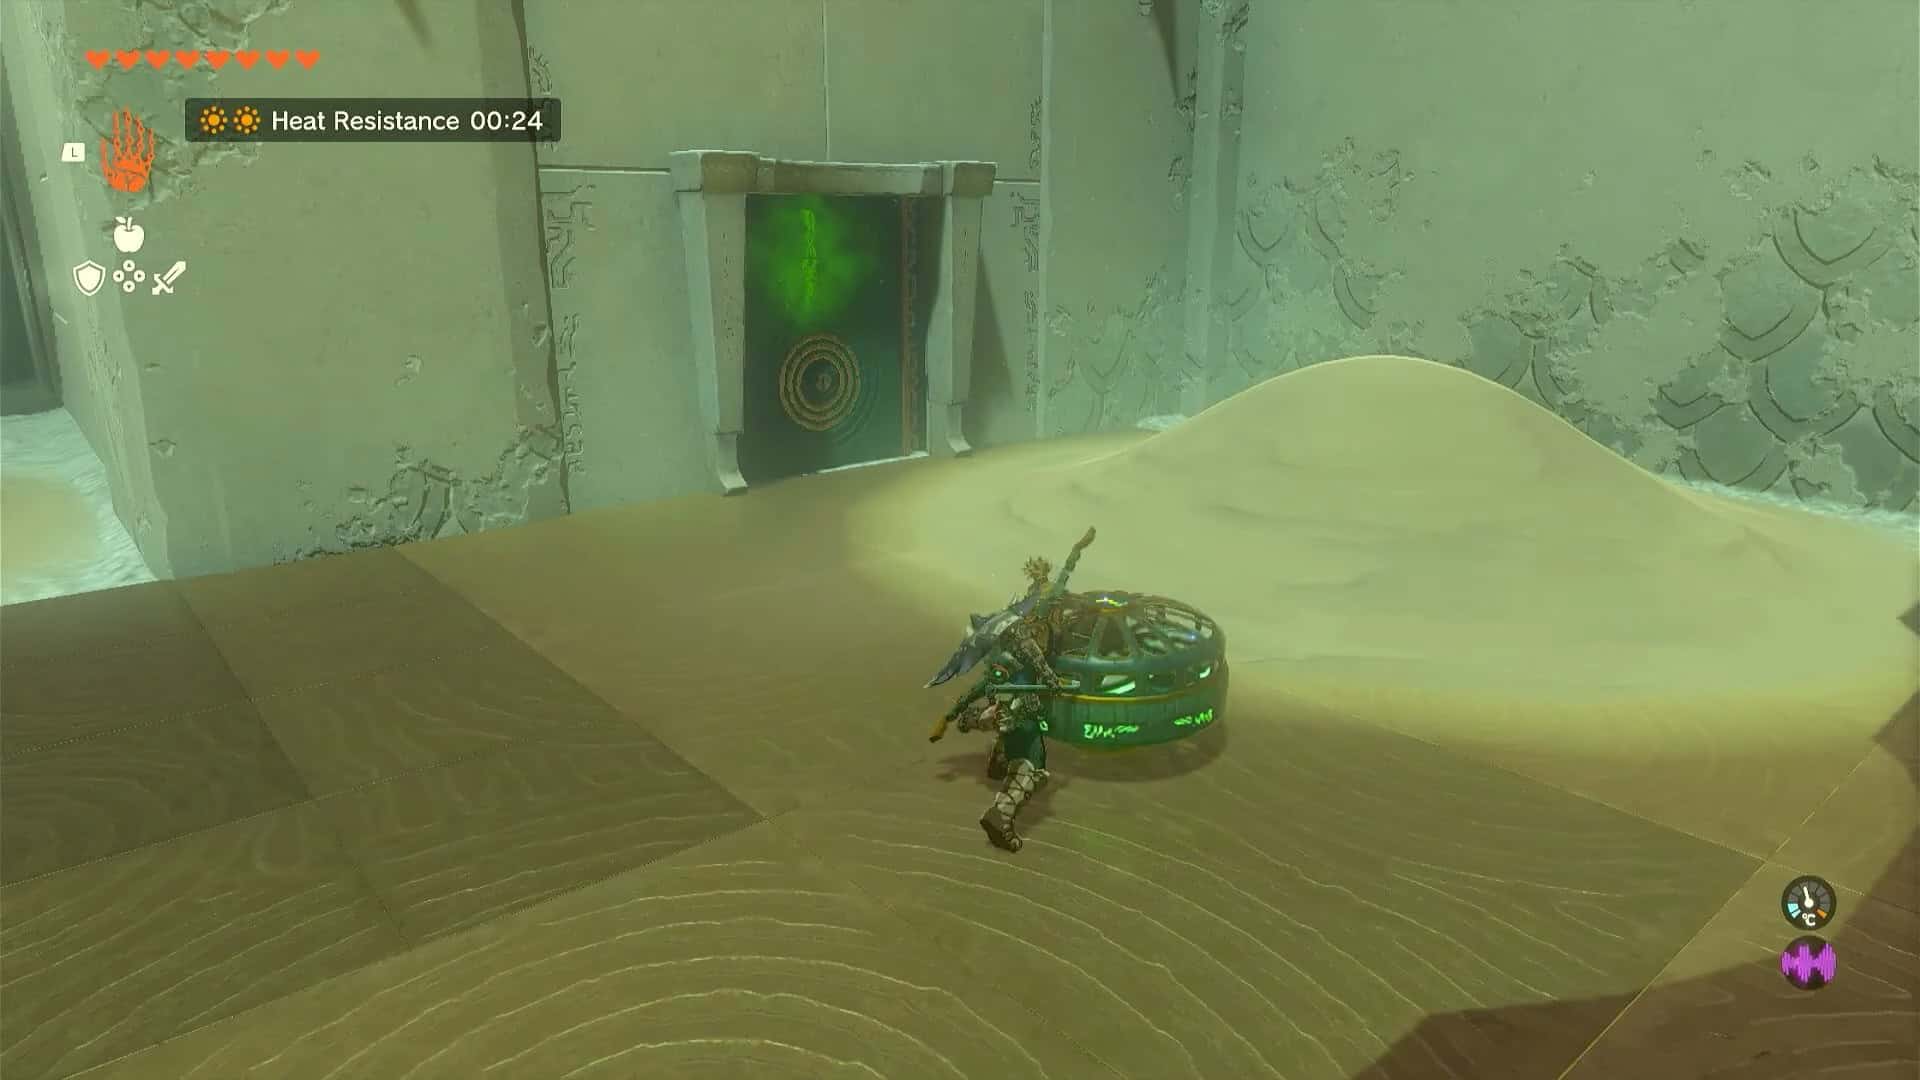
2. Turn on the fan by hitting it with a weapon. Then, pick up the fan again and blow away all the dust in the area.
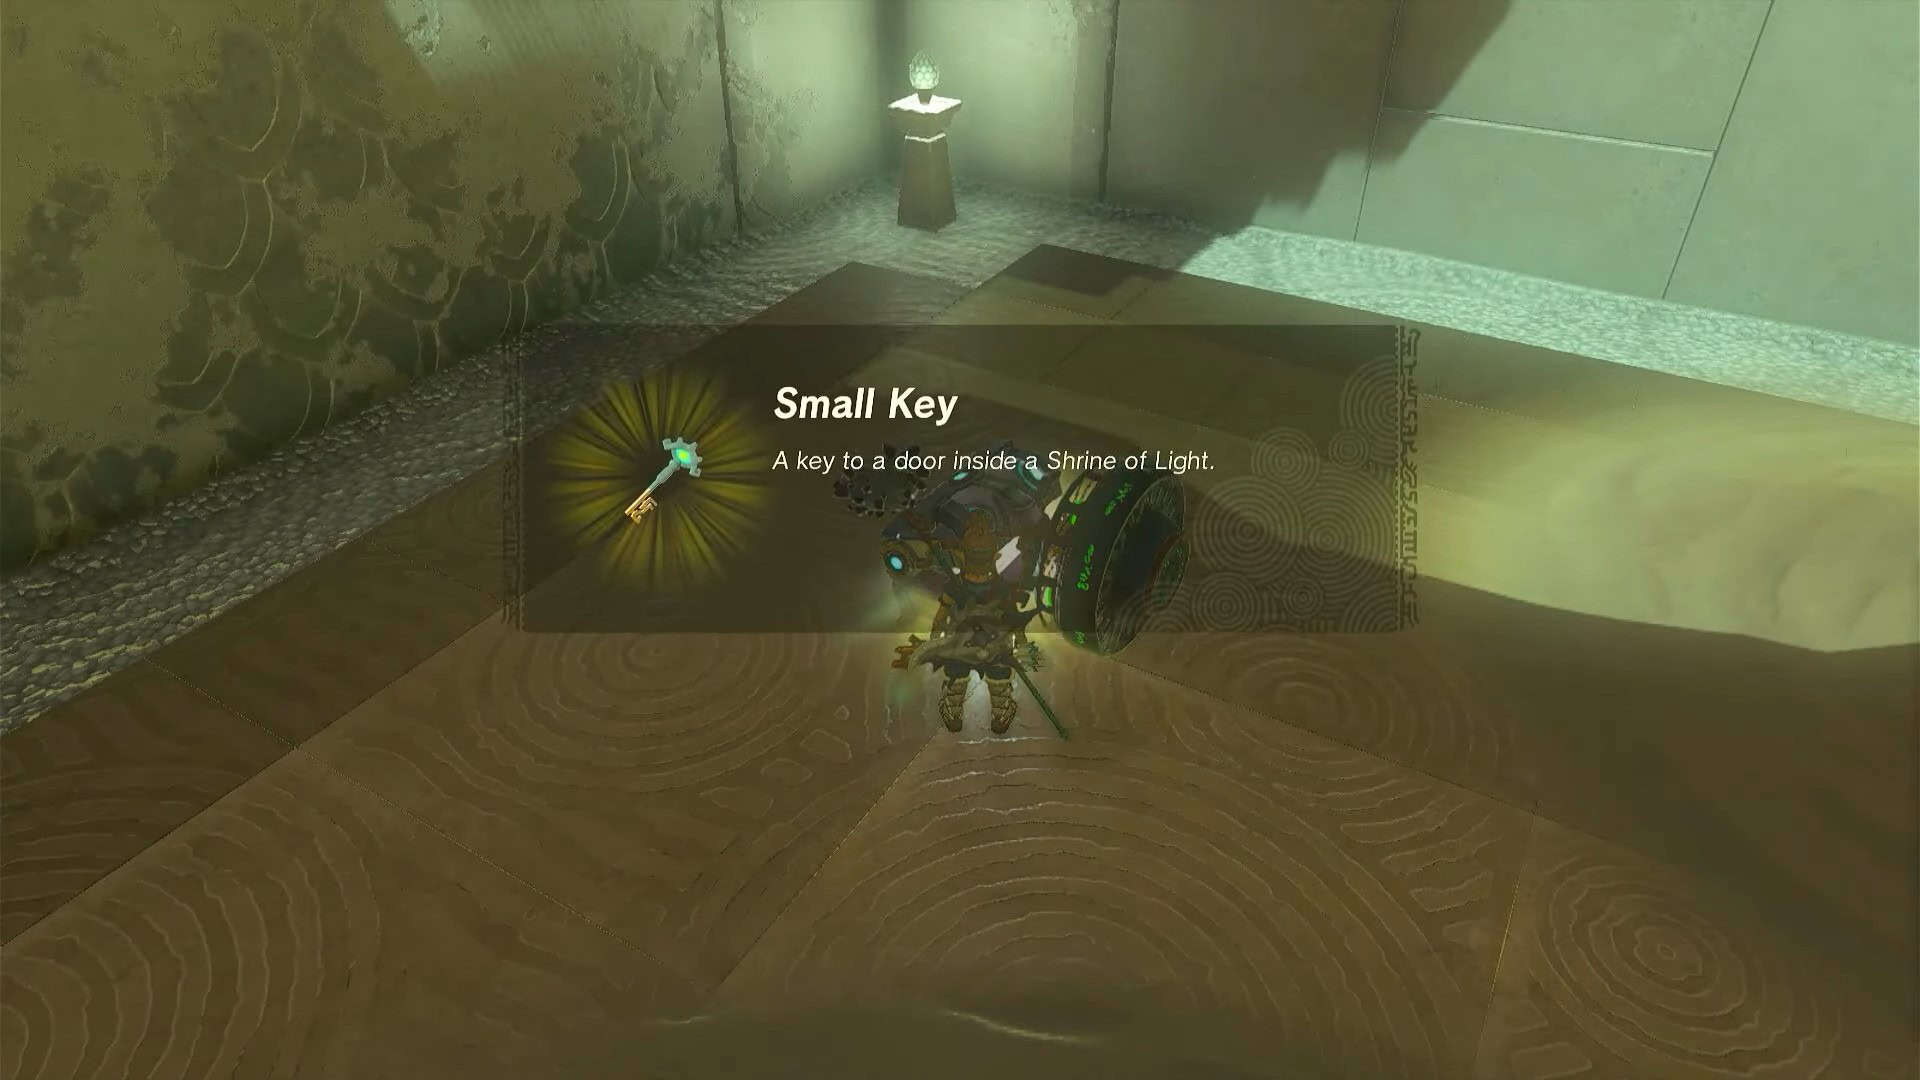
3. This will reveal a hidden treasure chest from the central dust pile. Open it to obtain the Small Key.
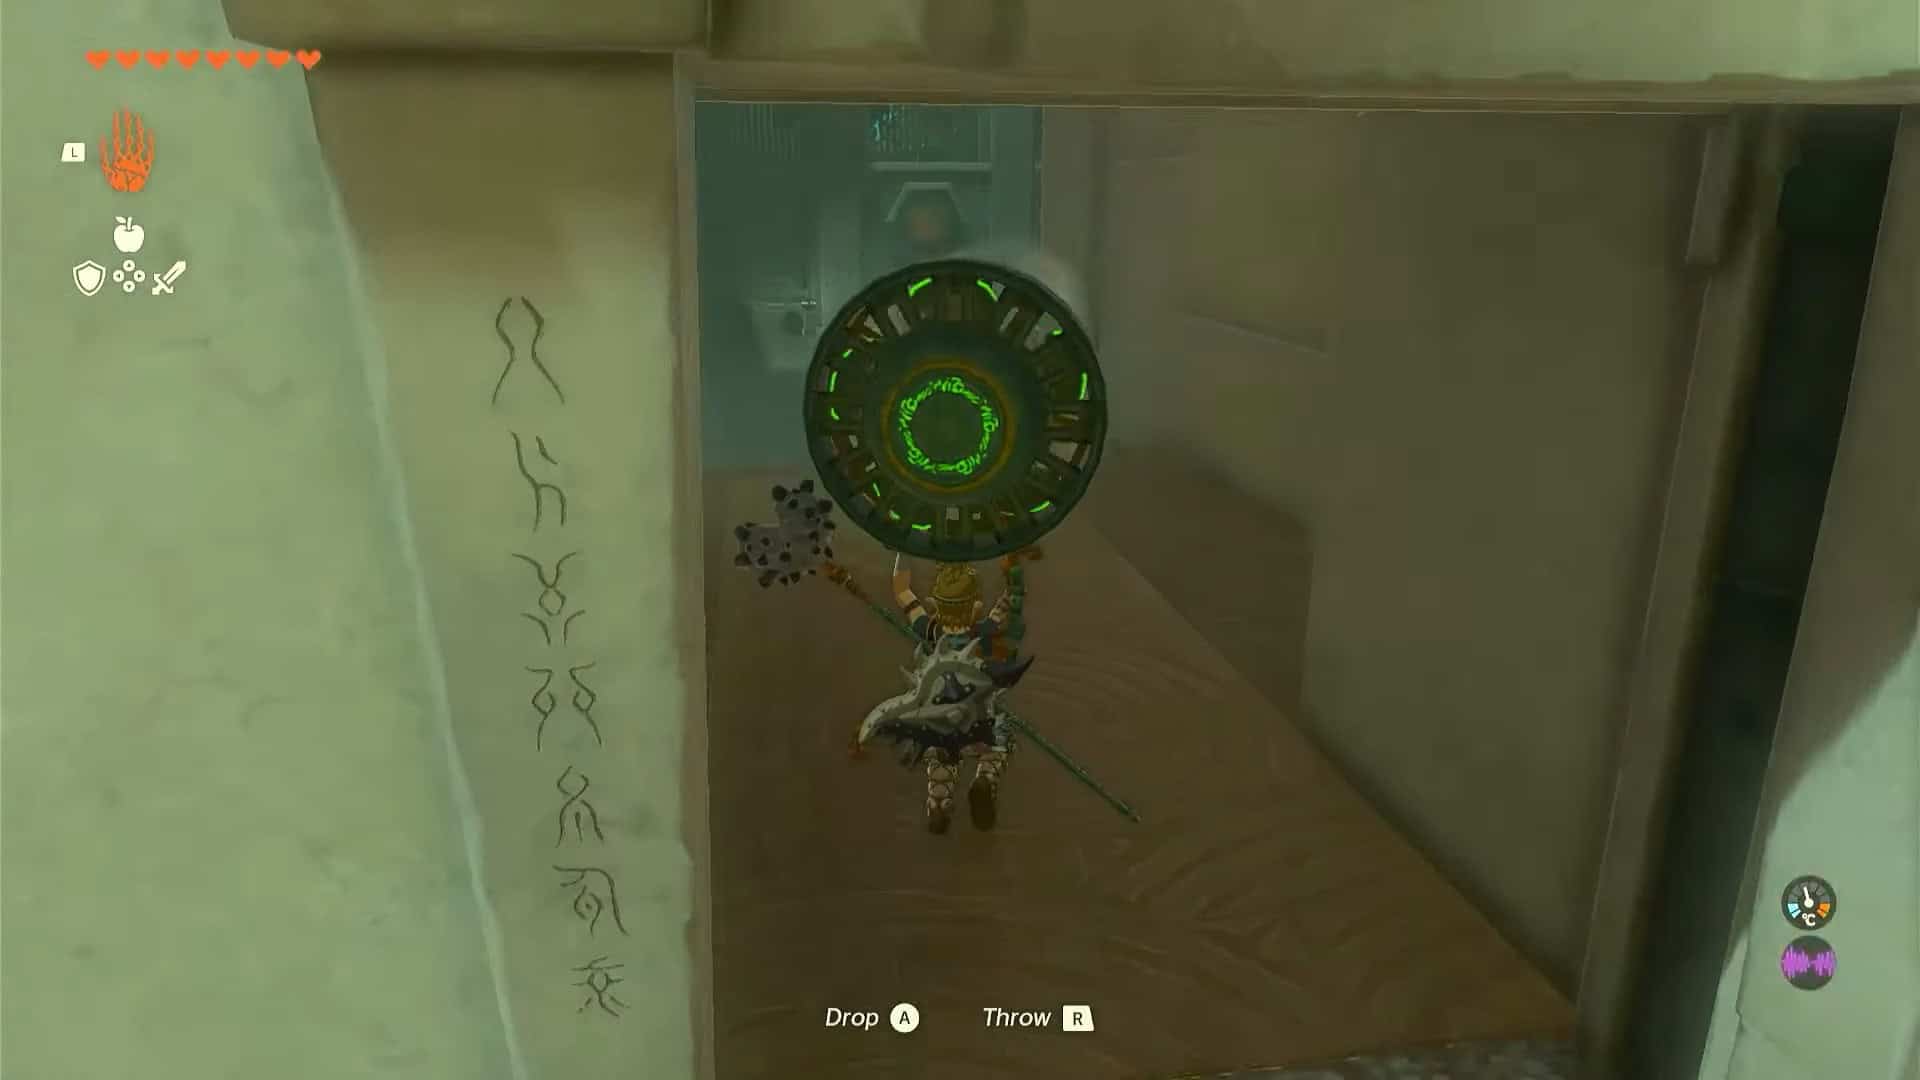
4. Use this small key to open the locked door near the first dust pile. Carry the fan to the next area.
5. Defeat the enemy construct in this area and use the fan to blow away the dust from the right corner of the room.
6. This will create a small opening you can pass through. Two dust piles are in this small room.
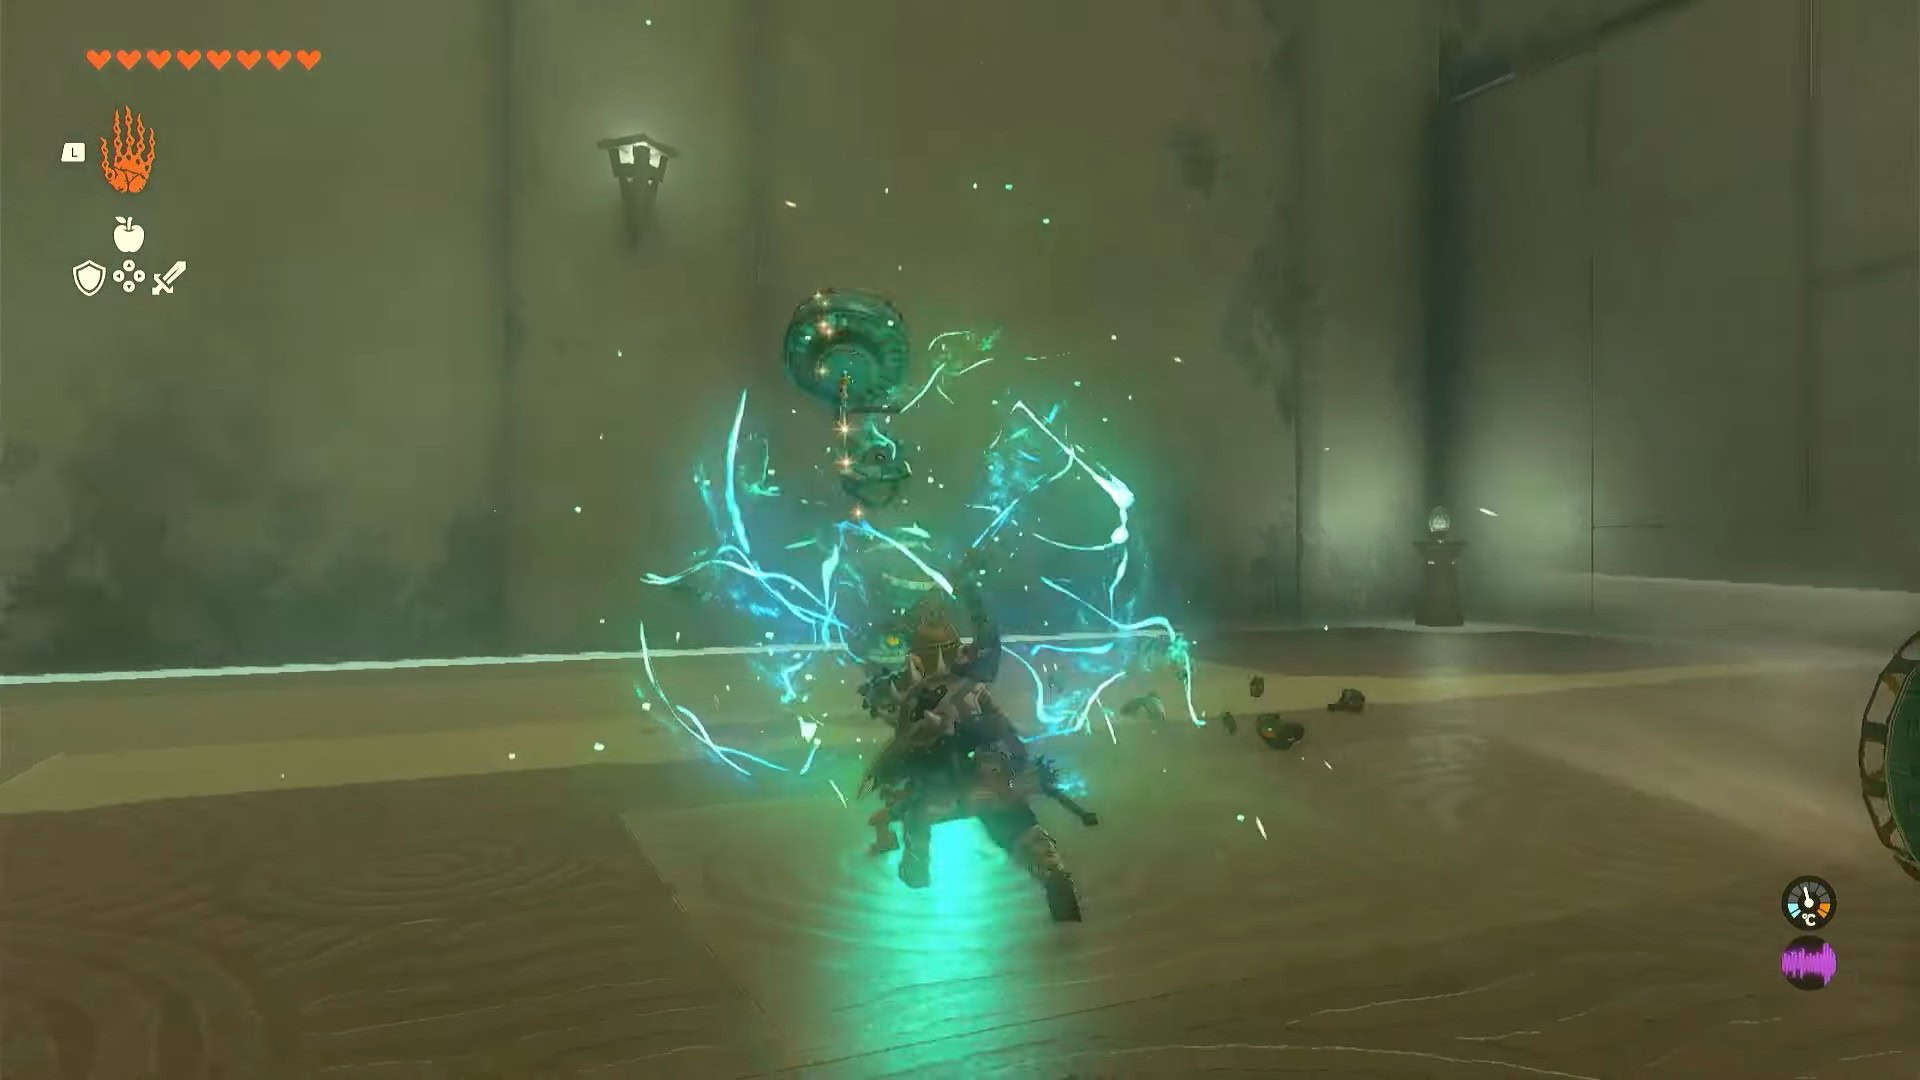

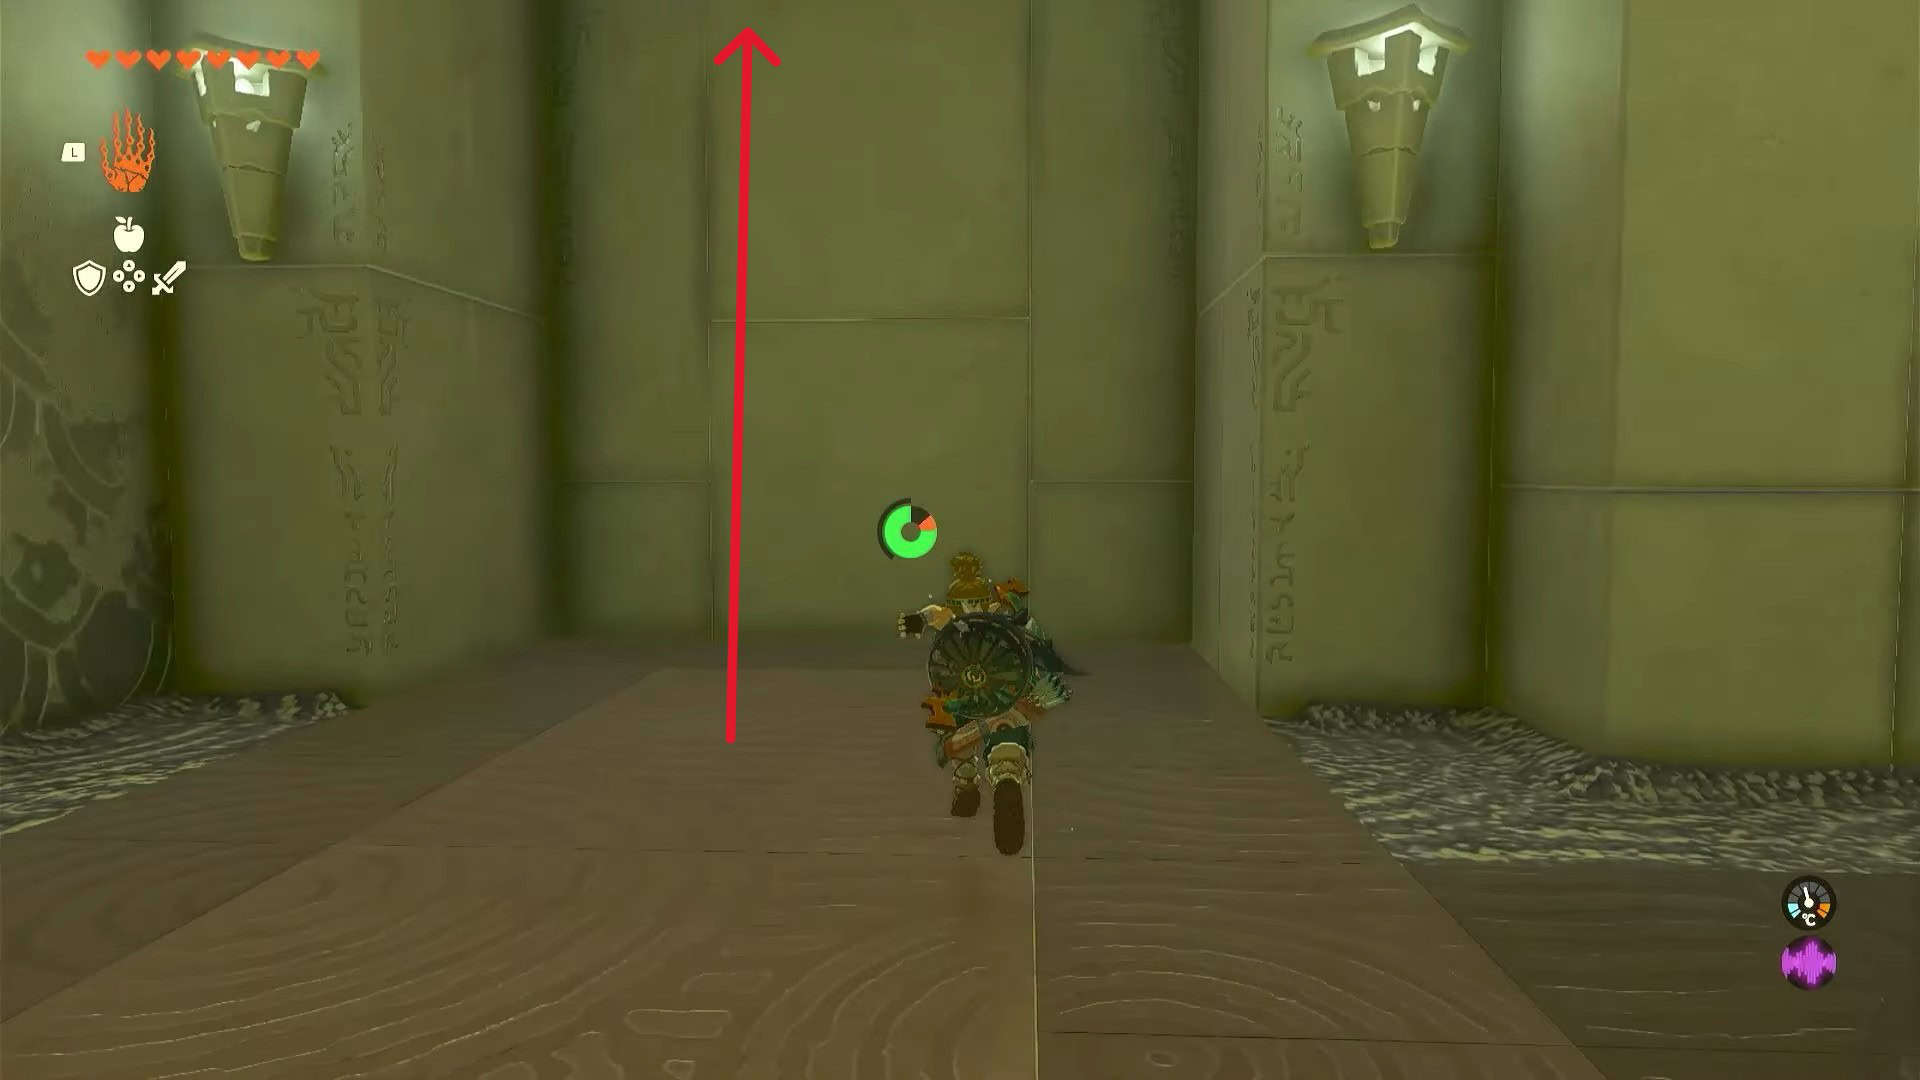
7. Blow them away and defeat the enemy construct here. Place the fan near the far end and activate it by hitting it.

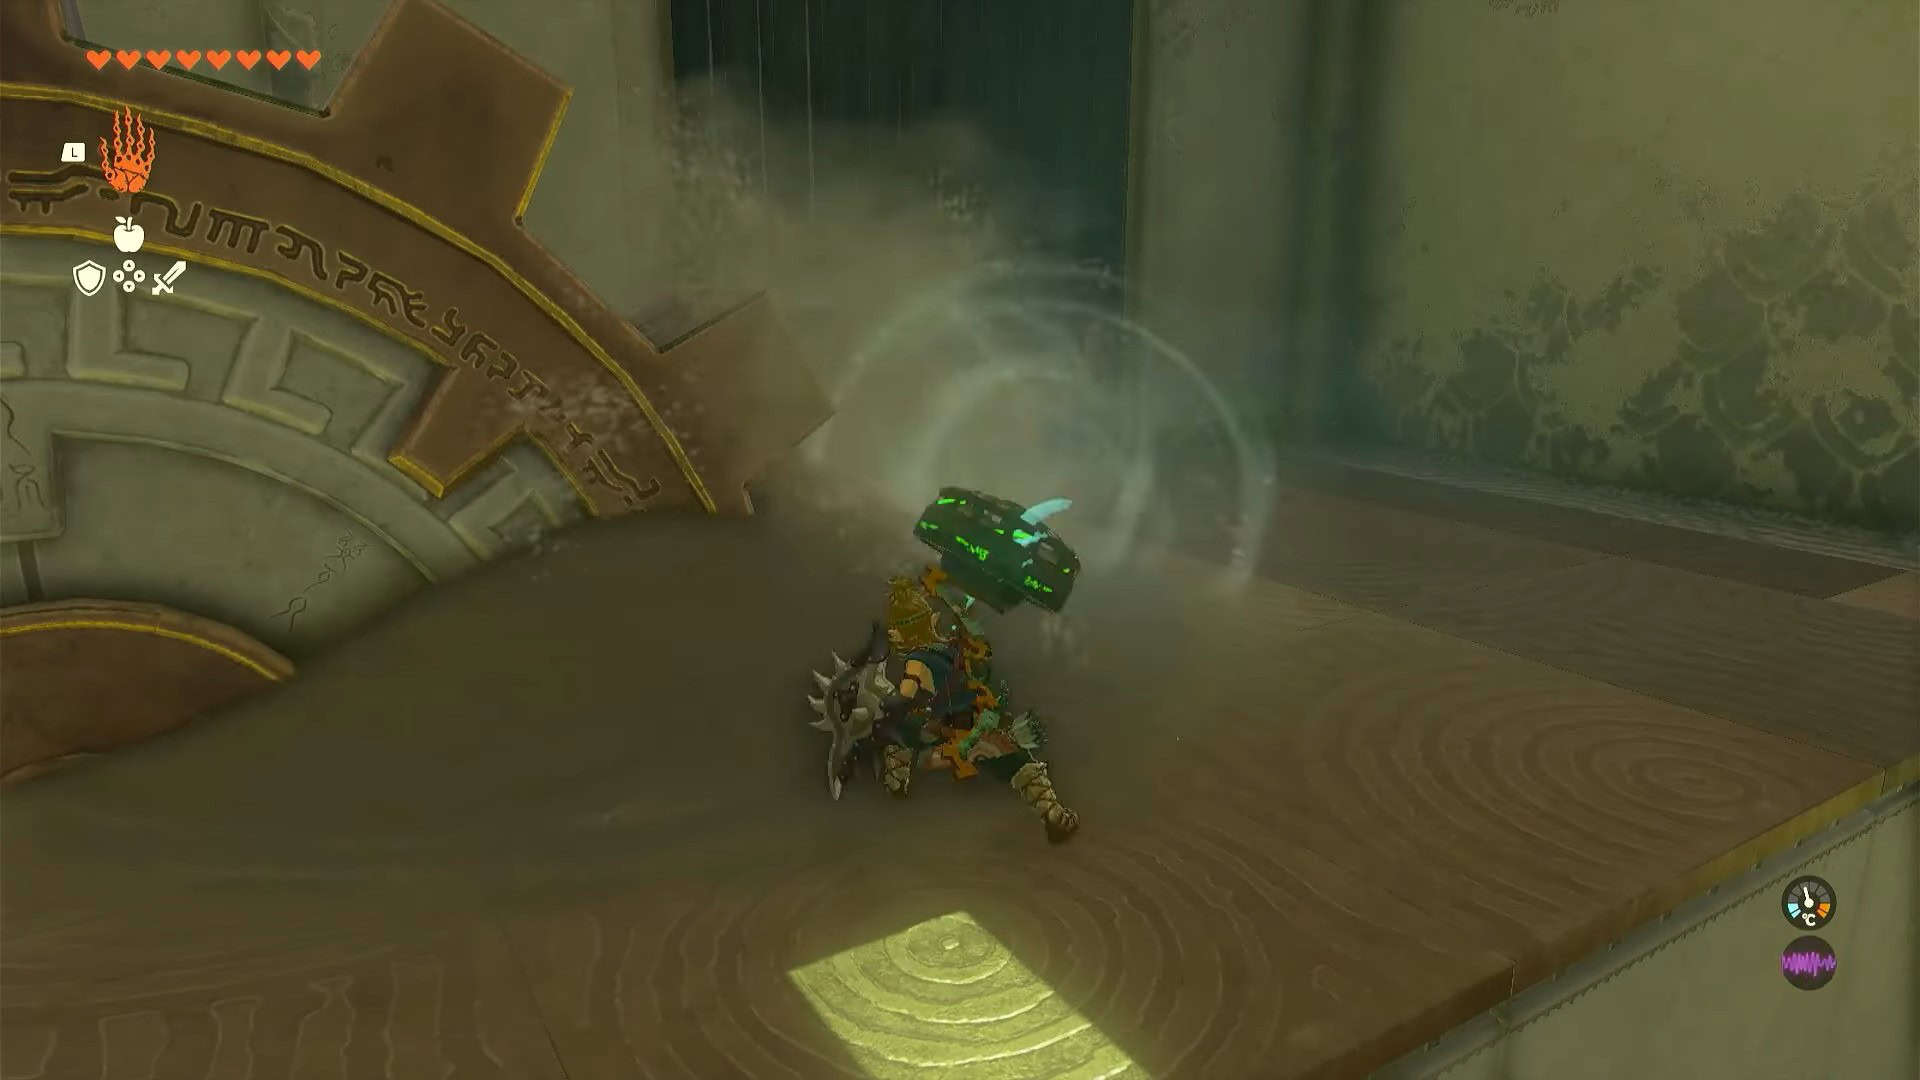
8. Use the air current to glide to the ledge on the top. Use the Fan Gusher weapon that you obtained from the enemy to blow away the dust near the large gear.
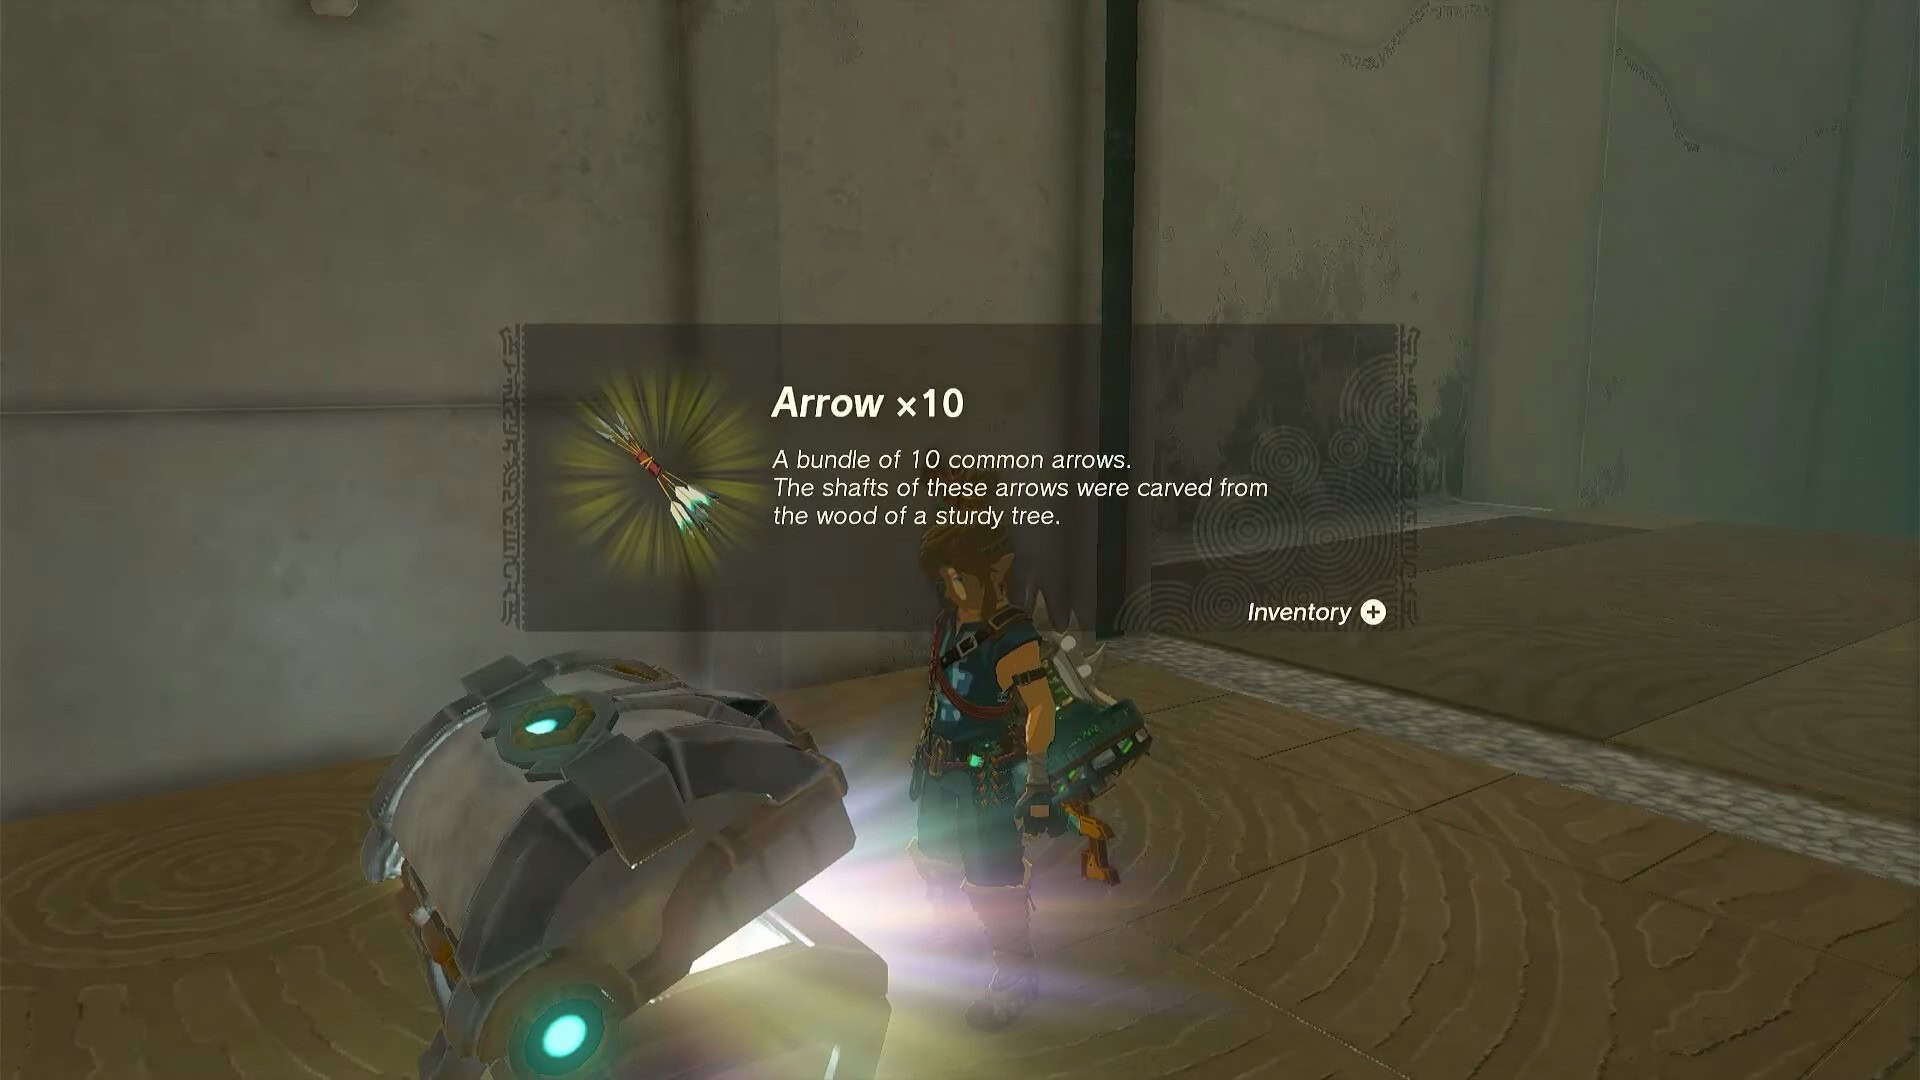
9. This will make the gear rotate and open the door to the treasure chest. Open the treasure chest to obtain 10x Arrows.
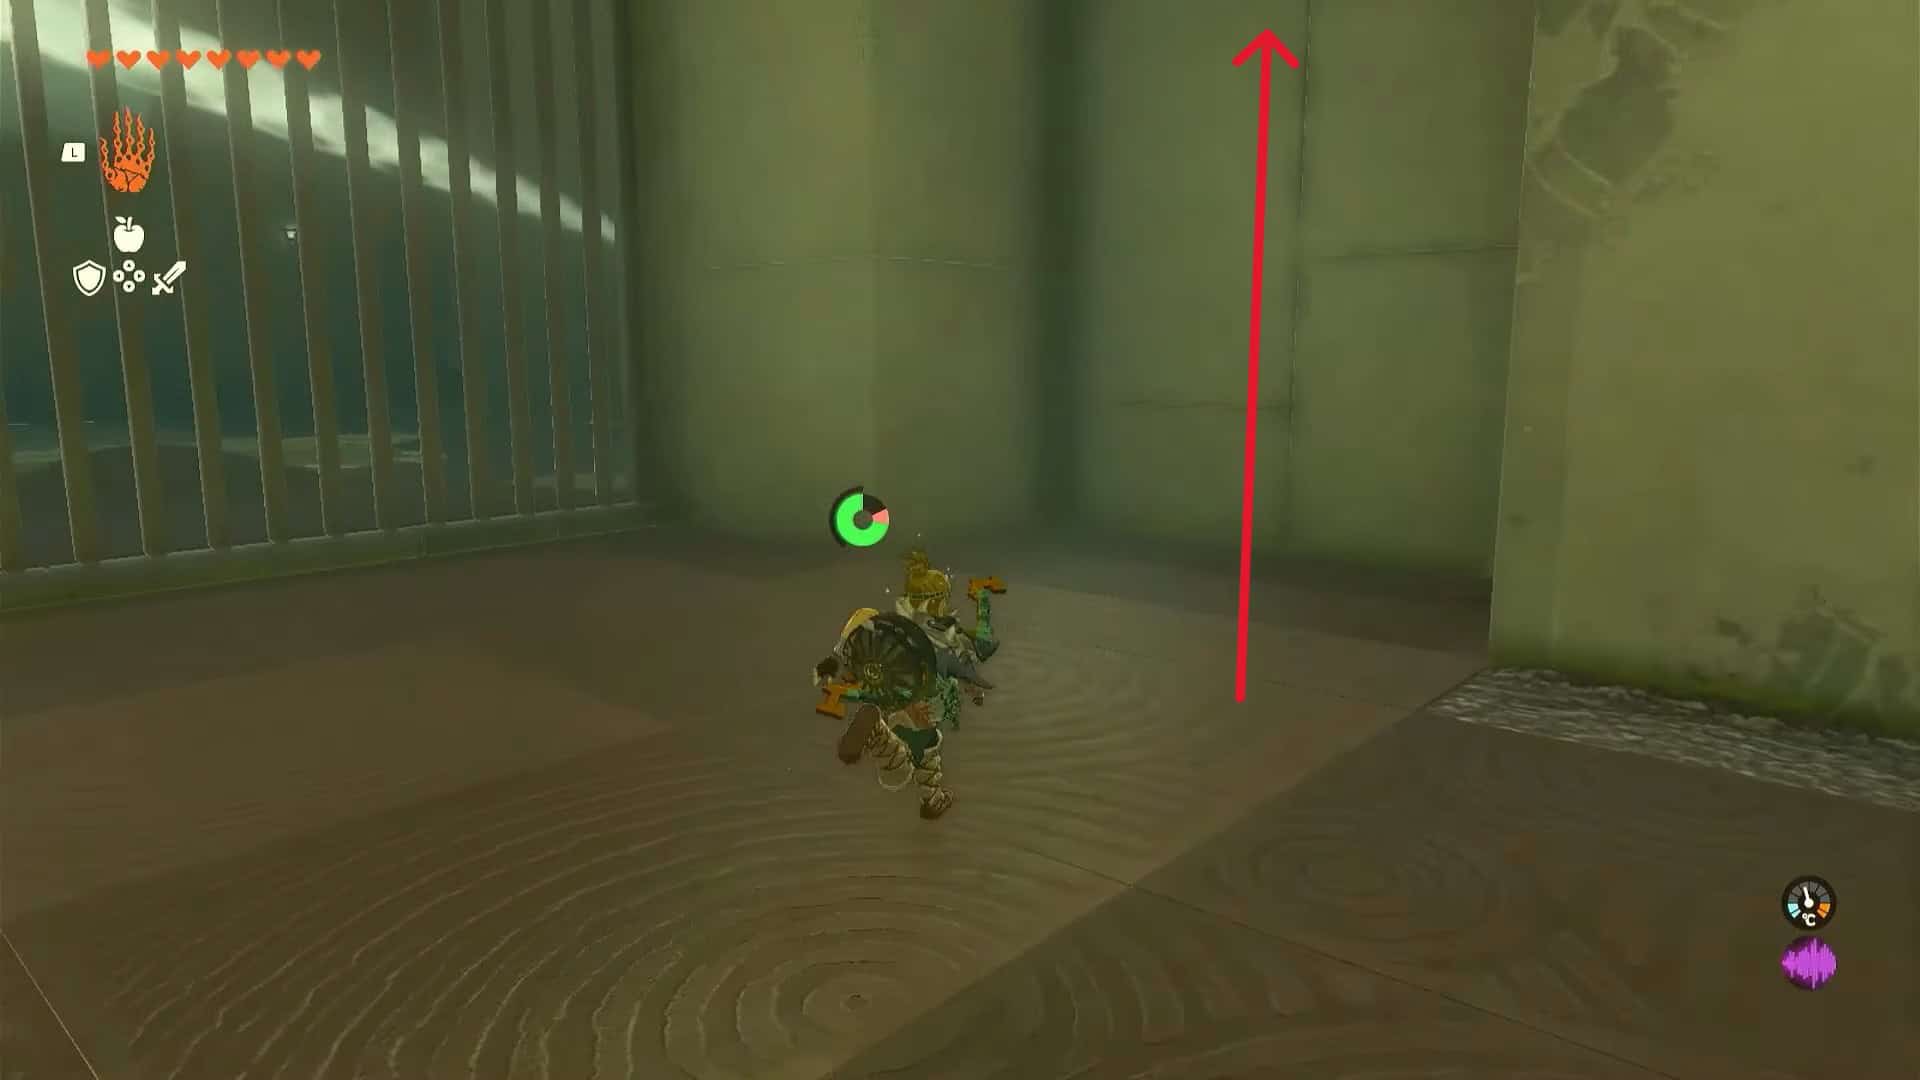
10. Remove the dust pile with the mirror inside it. Turn left and use ascend to go above.
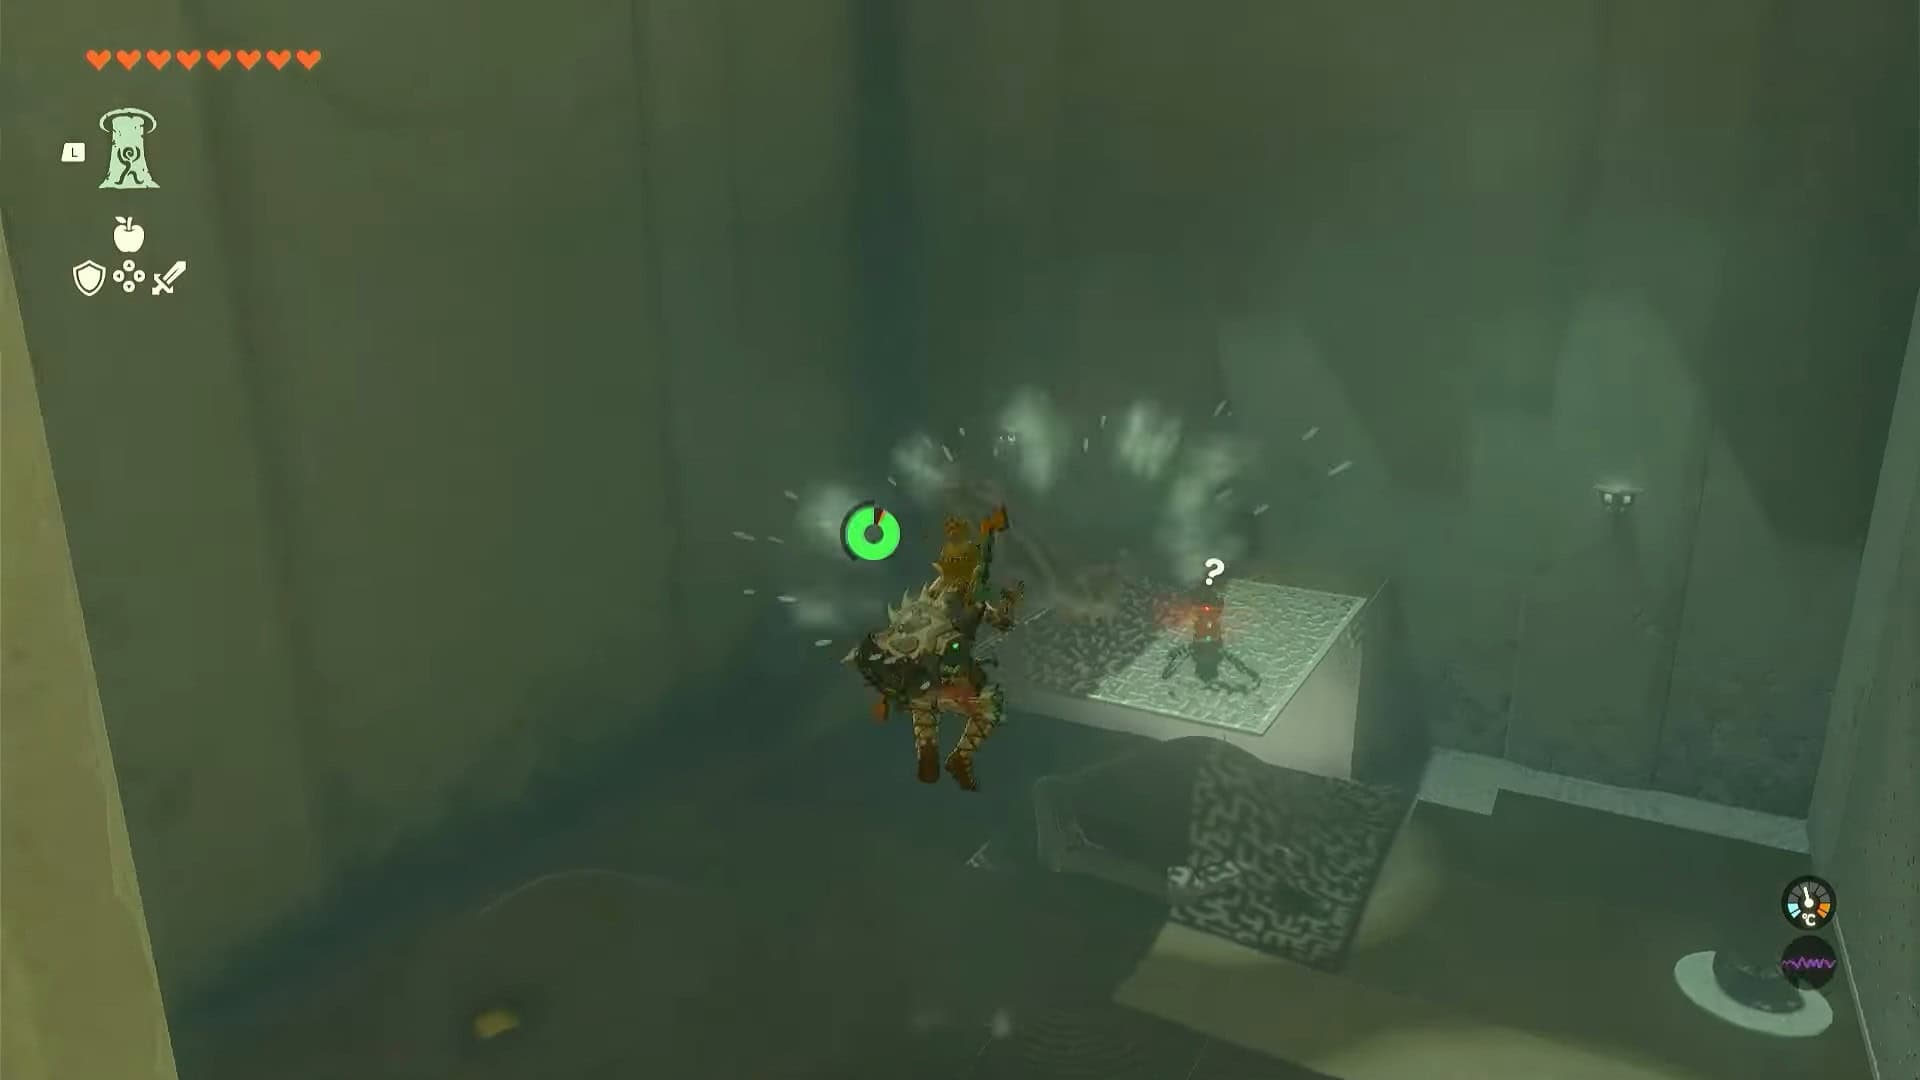
11. Turn right and drop down. Defeat the enemy construct in this area.

12. Remove the dust pile from the large mirror in this area.
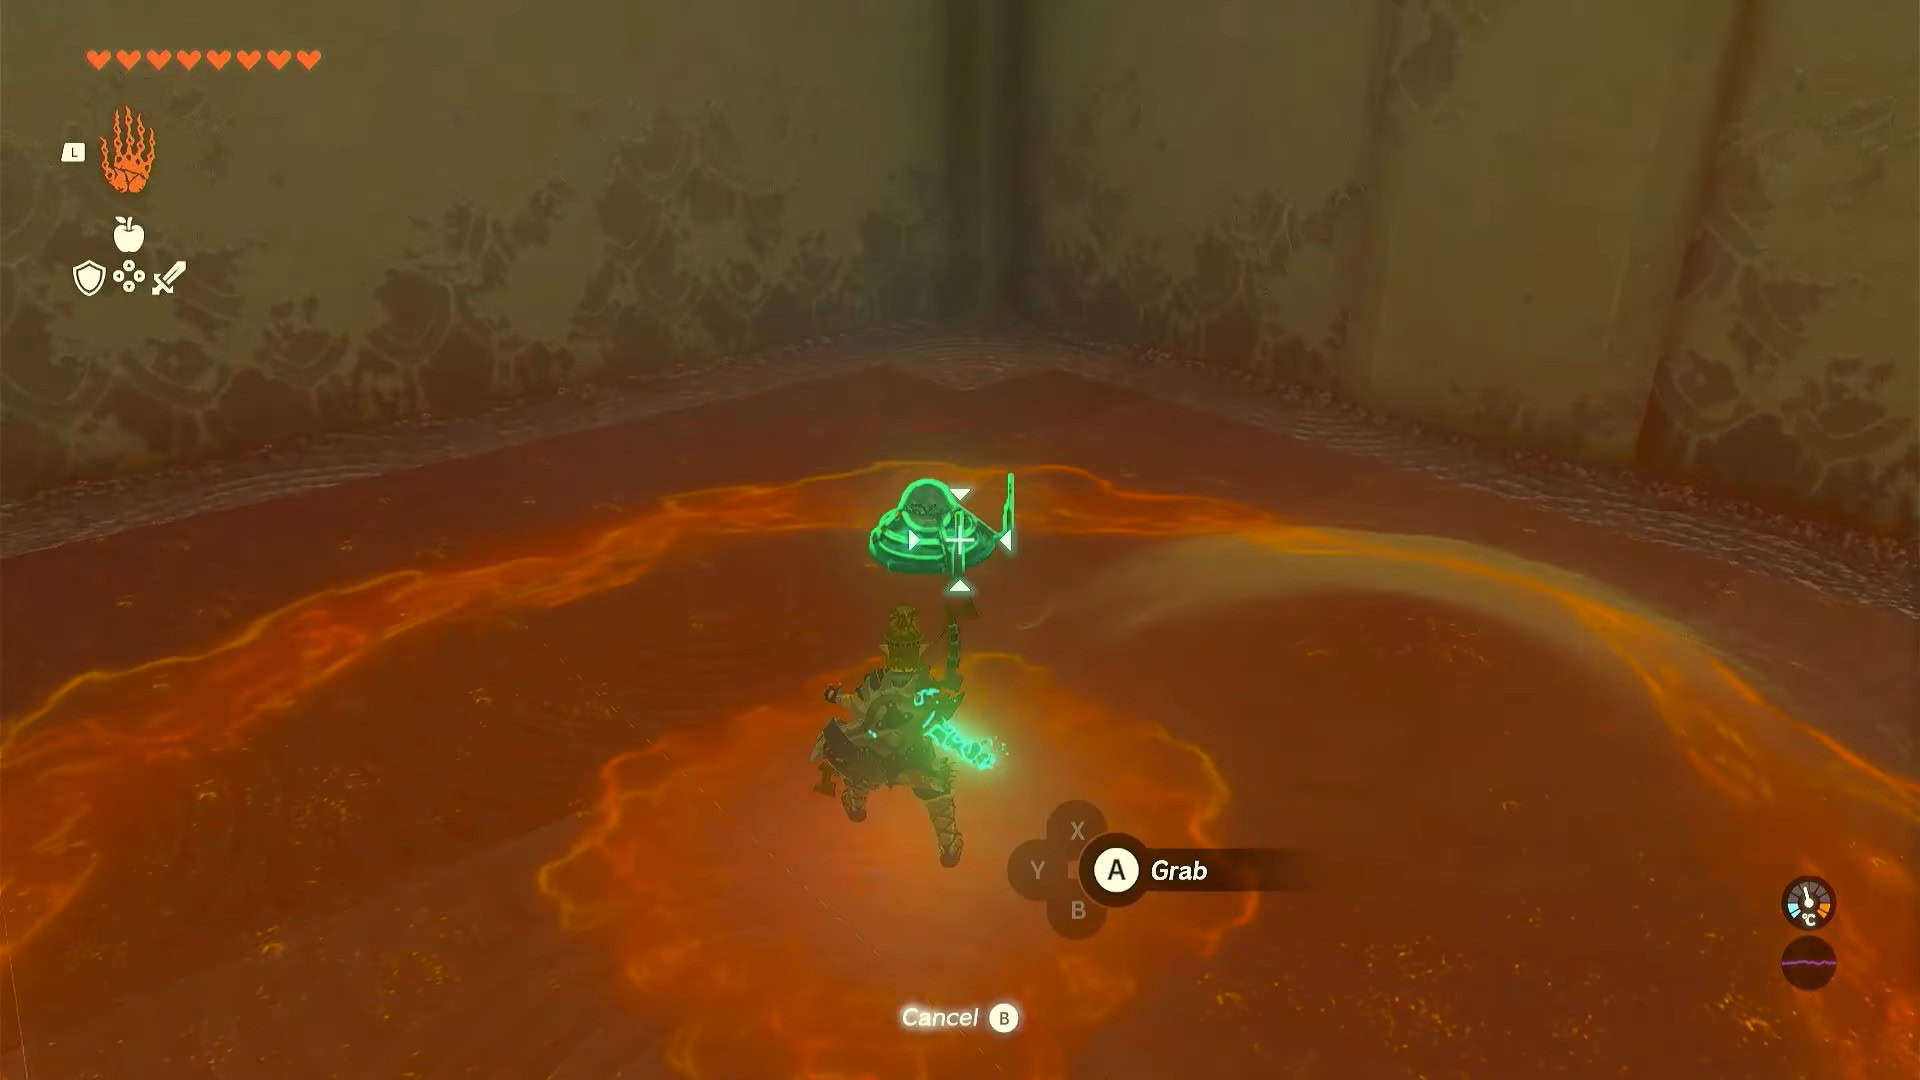
13. Turn left to blow away the other dust pile and pick up the mirror by using Ultrahand.
14. Place this mirror on the top ledge so that it reflects the light beam into the previous room.
15. Use Ascend once more to return to the previous room.
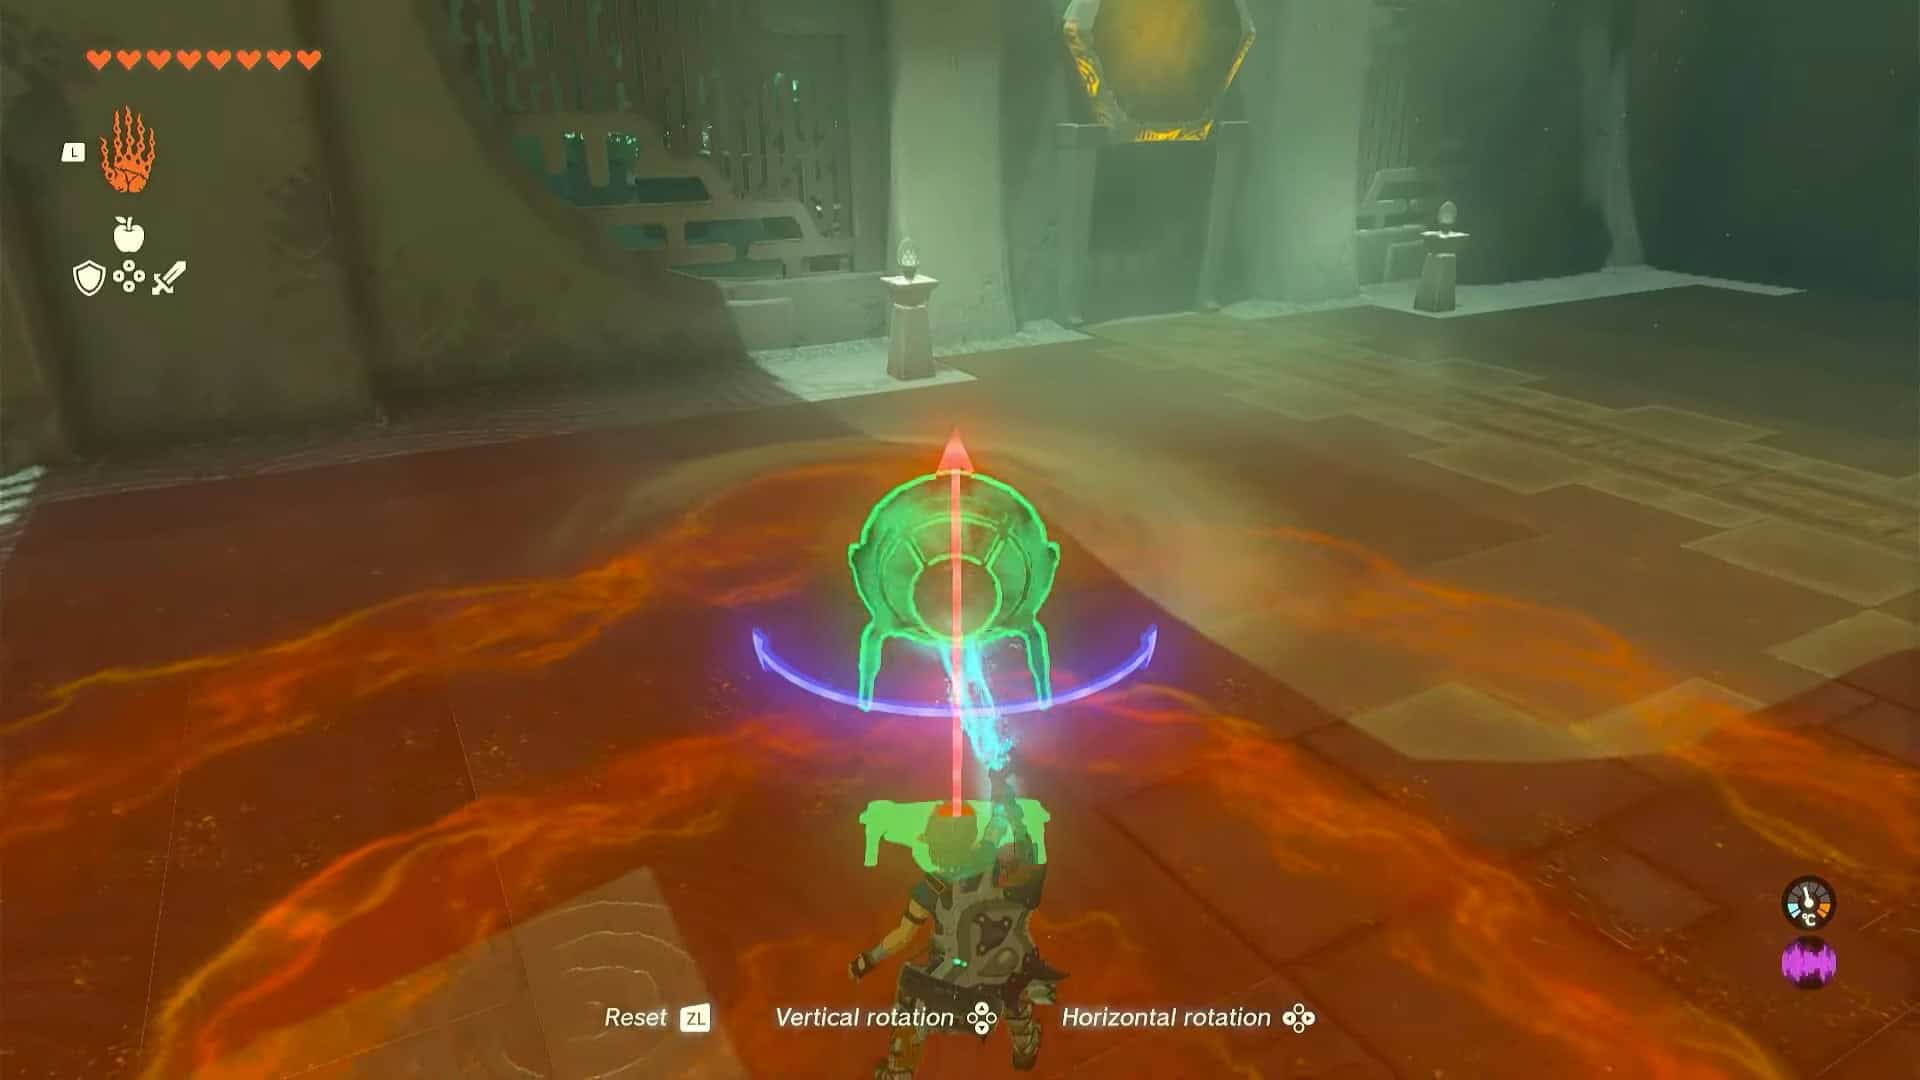
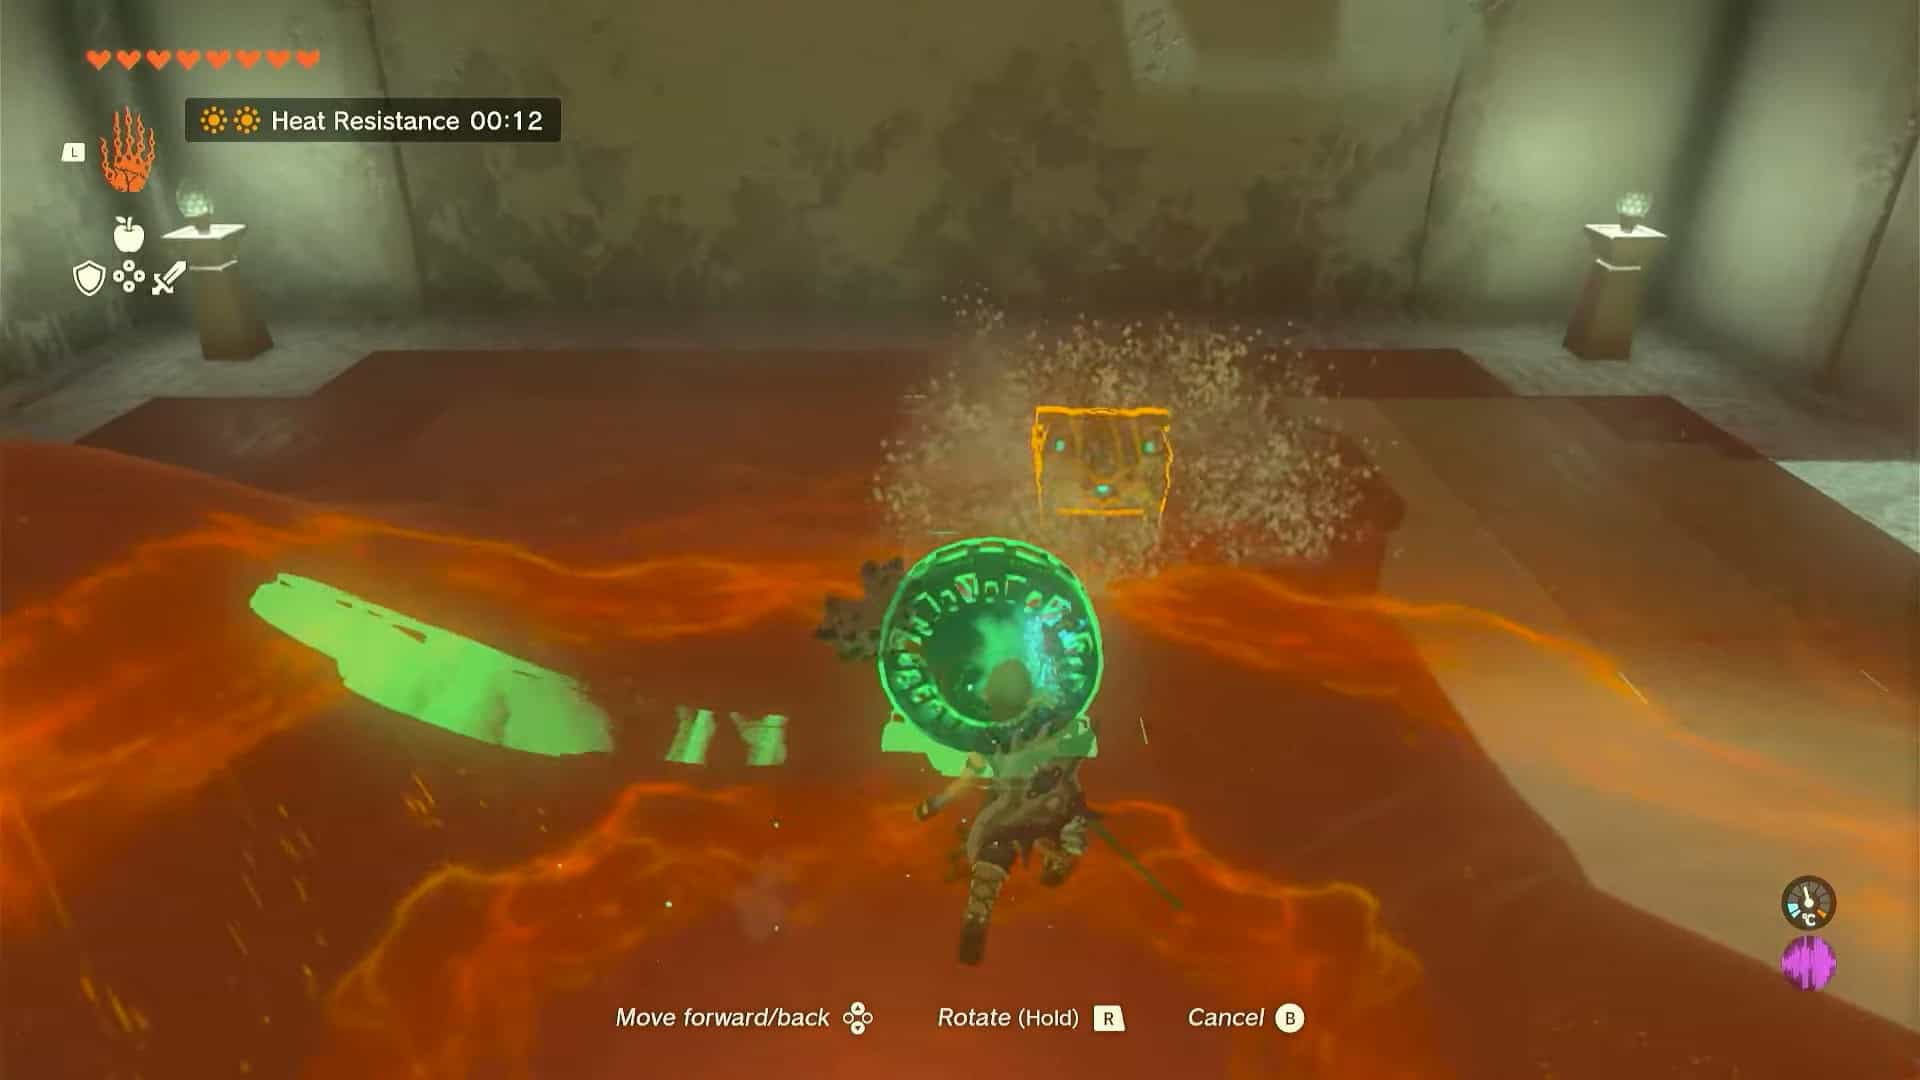
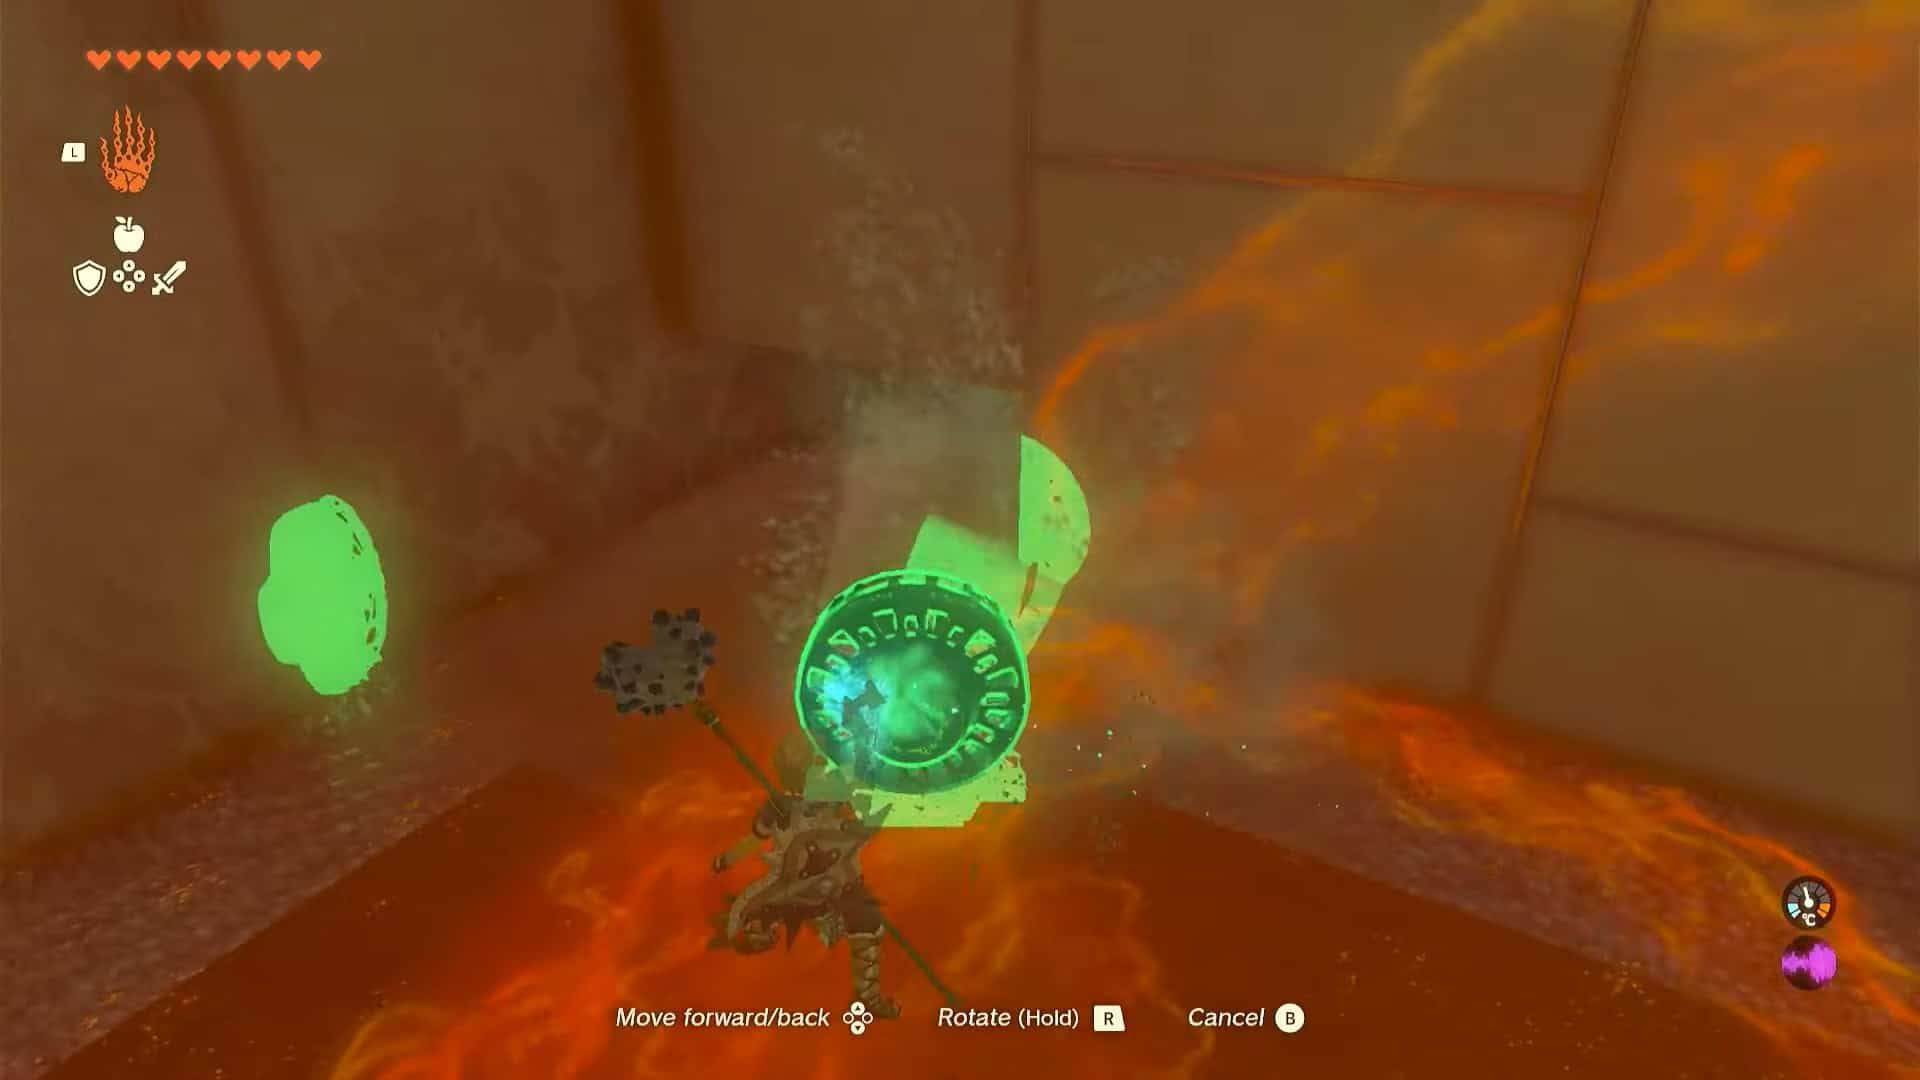
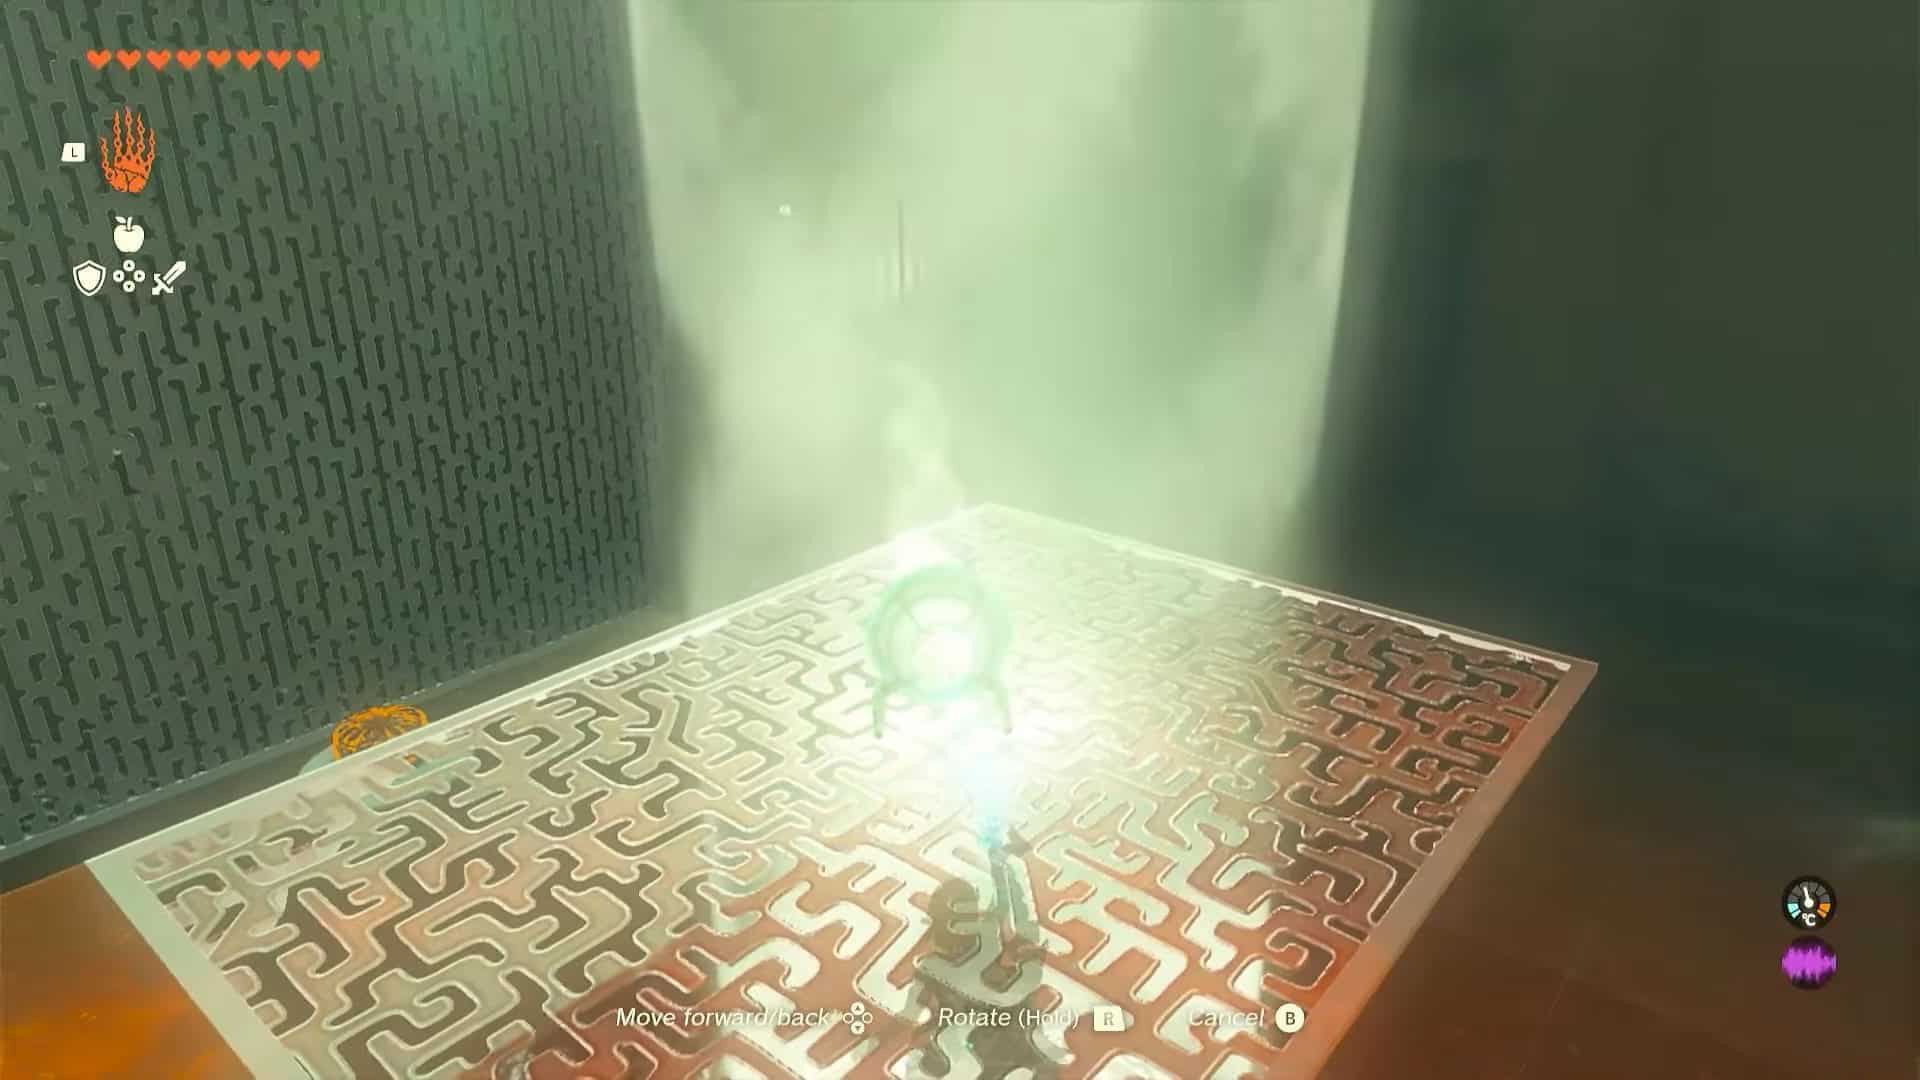
16. Pick up the mirror and rotate it forward.
17. Raise it with Ultrahand to reflect the light towards the orange crystal above the door.
18. The altar room’s door will open once the crystal turns green. Enter the room and interact with Rauru and Sonia’s statues to complete the Soryotanog shrine in Zelda: Tears of the Kingdom.
19. This will let you earn a Light of Blessing as a reward which you can use at any goddess statue to either increase your stamina or health.