Jiukoum Shrine in Zelda: Tears of the Kingdom presents one of the most challenging puzzles of the game. This shrine tests your ability to overcome impossible odds and craft unique structures that allow you to move forward.
While finding Jiukoum Shrine in Zelda: Tears of the Kingdom is rather easy, solving its puzzle is not. Unless you know how physics works and how you can make a slab move across multiple sliding rails, this shrine will prove to be a massive pain.
In this guide, we will help you solve the puzzle with our step-by-step guide in addition to the visual aid.
Jiukoum Shrine Location in Zelda: TotK

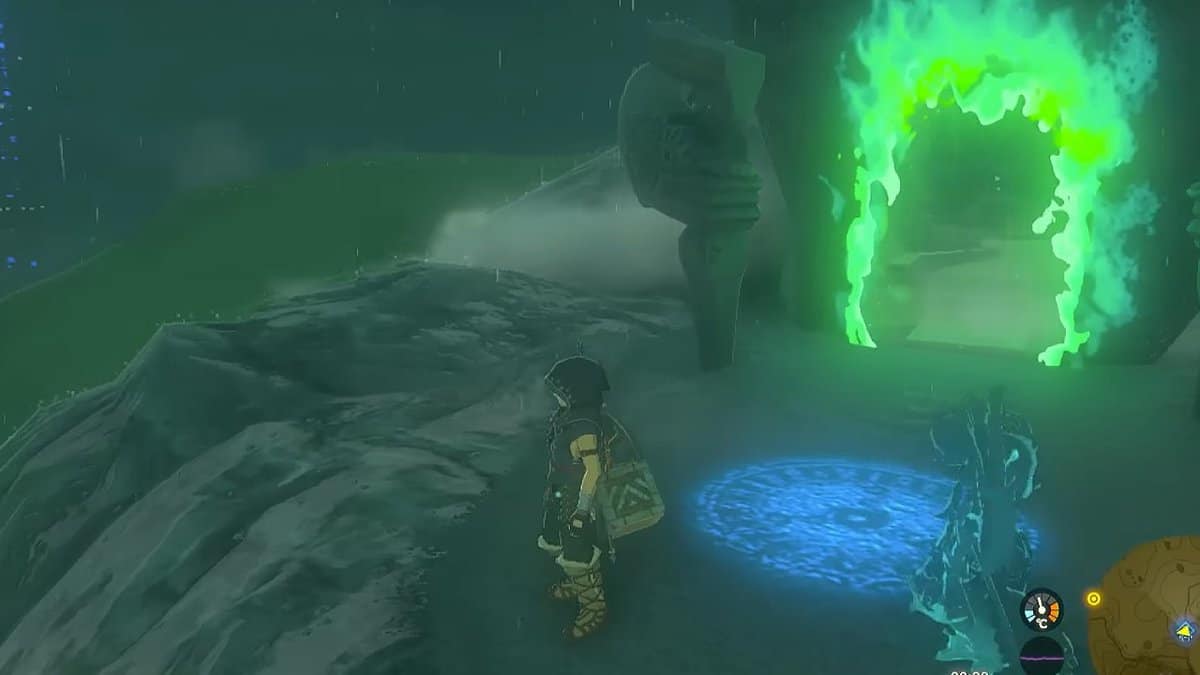
Jiukoum Shrine is in West Necluda, right next to the Popla Foothills Skyview Tower.
The exact coordinates for Jiukoum Shrine in Zelda: Tears of the Kingdom are (0866, -2281, 0141) and it is north of Dracozu Lake.
Jiukoum Shrine Walkthrough

The trial presented by Jiukoum Shrine in Zelda: Tears of the Kingdom is called Built for Rails. The objective of this puzzle is to craft structures that can move on the sliding rails without falling to the sides.
1. From the shrine’s starting point, go straight and pick up a metal plank on the left.

2. Attach it to the other metal plank with Ultrahand.


3. Place the newly constructed long plank on the rail and climb on it. The plank will move down the rail due to gravity and allow you to get across the large gap in the floor.

4. In the next area, there is a large plank on the rail and three small ones on the floor.


5. Attach all planks on the ends to craft an ultra-long plank. Place it along the ledge to the left at an angle. It will serve as a ramp for you to reach the treasure chest.

6. Climb the ramp and open the treasure chest to obtain a Sticky Elixir.

7. Unstick the planks (grab with Ultrahand and wiggle the right analog stick) and now attach two small ones vertically (refer to the picture).

8. Pick up the third small plank and attach it vertically to the other end of the horizontal plank as shown in the picture above.

9. Pick up the new structure and rotate it with Ultrahand. Make sure the horizontal plank is on the top and the vertical planks serve as the legs.
10. Place the structure on the sliding rail and climb it.

11. This new structure will take you all the way across the room to reach the next area without falling into the abyss.
12. Climb the stairs and create the exact same structure once more. Use the large plank for the base and attach two small ones vertically on its sides.

13. Pick up the third small plank and attach it vertically in the middle of the horizontal plank. This is extremely important.

14. Pick up this structure with Ultrahand and turn it upside down. Place it on the sliding rails in the middle of the room.

15. Pick up the three zonai fans present in the area and attach them to the top of the horizontal slab (as shown in the picture above).

16. Climb the structure and hit the fans to activate them.

17. This will cause the structure to move across two railings without falling. Just keep standing on the horizontal plank until you reach the altar room.
18. Interact with Rauru and Sonia’s statues to complete Jiukoum Shrine in Zelda: Tears of the Kingdom and earn a Light of Blessing as a reward. You can exchange four Lights of Blessing at any Goddess statue to either increase your health or stamina.