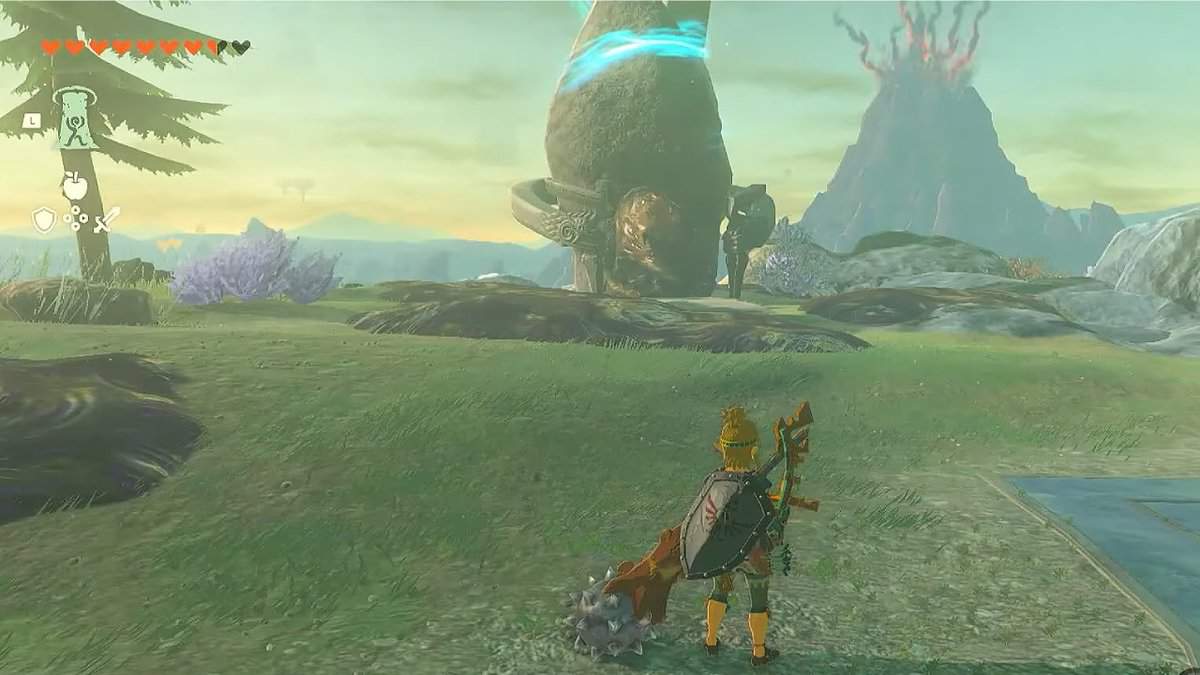
Ihen-a Shrine in Zelda: Tears of the Kingdom teaches the importance of zonai hover devices. To solve its puzzle, you must manipulate the hover devices in multiple ways to emerge victorious.
While finding Ihen-a Shrine is easy in Zelda: Tears of the Kingdom as it serves as a checkpoint to Mipha’s court, its puzzle is among the most difficult. Let us help you solve it gracefully and in no time.
Ihen-a Shrine Location in Zelda: TotK
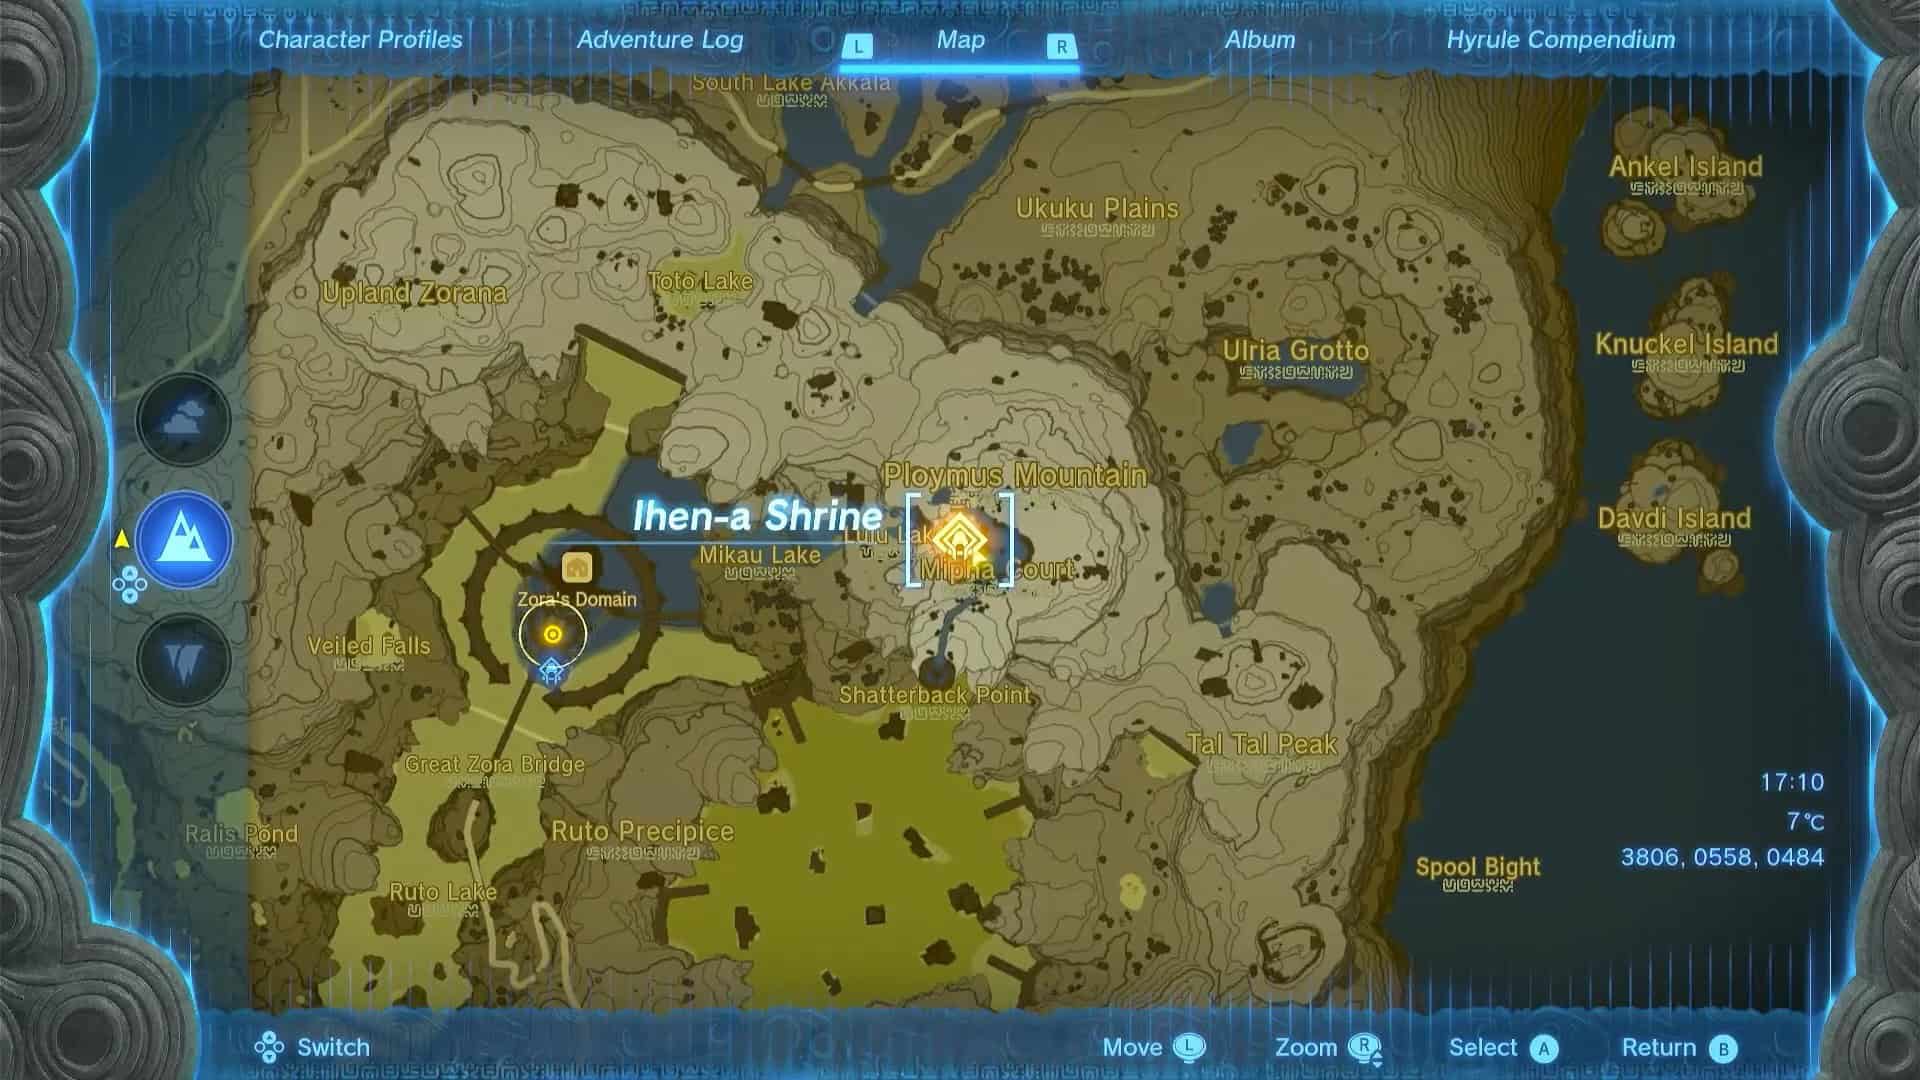
Ihen-a shrine is in the Northeast region of Lanayru Wetlands. It is near Lulu Lake, east of Zora’s Domain and next to Mipha’s court.
The exact coordinates for Ihen-a Shrine in Zelda: Tears of the Kingdom are (3806, 0558, 0484).
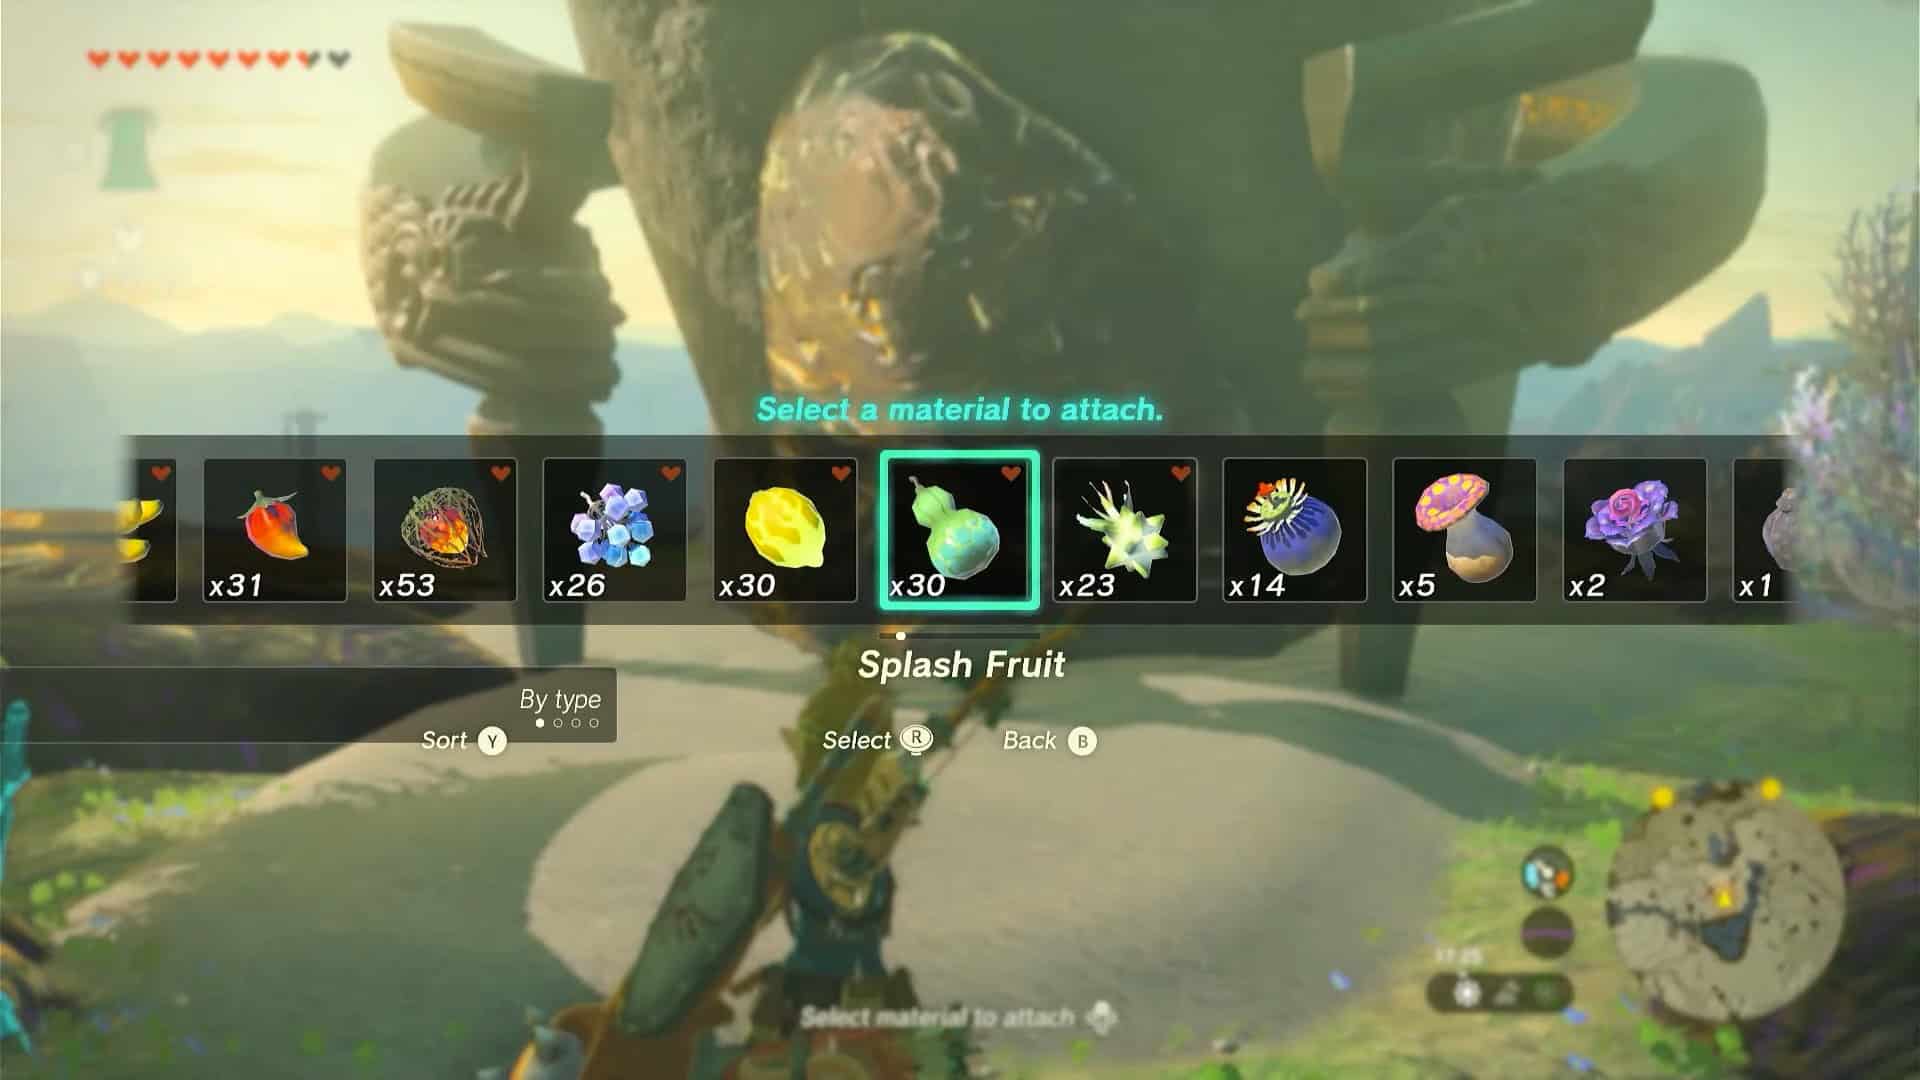
The entrance of the shrine is covered with sludge. Hit it with a water arrow (Splash Fruit + Arrow) to clear the entrance and enter the shrine.
Ihen-a Shrine Walkthrough
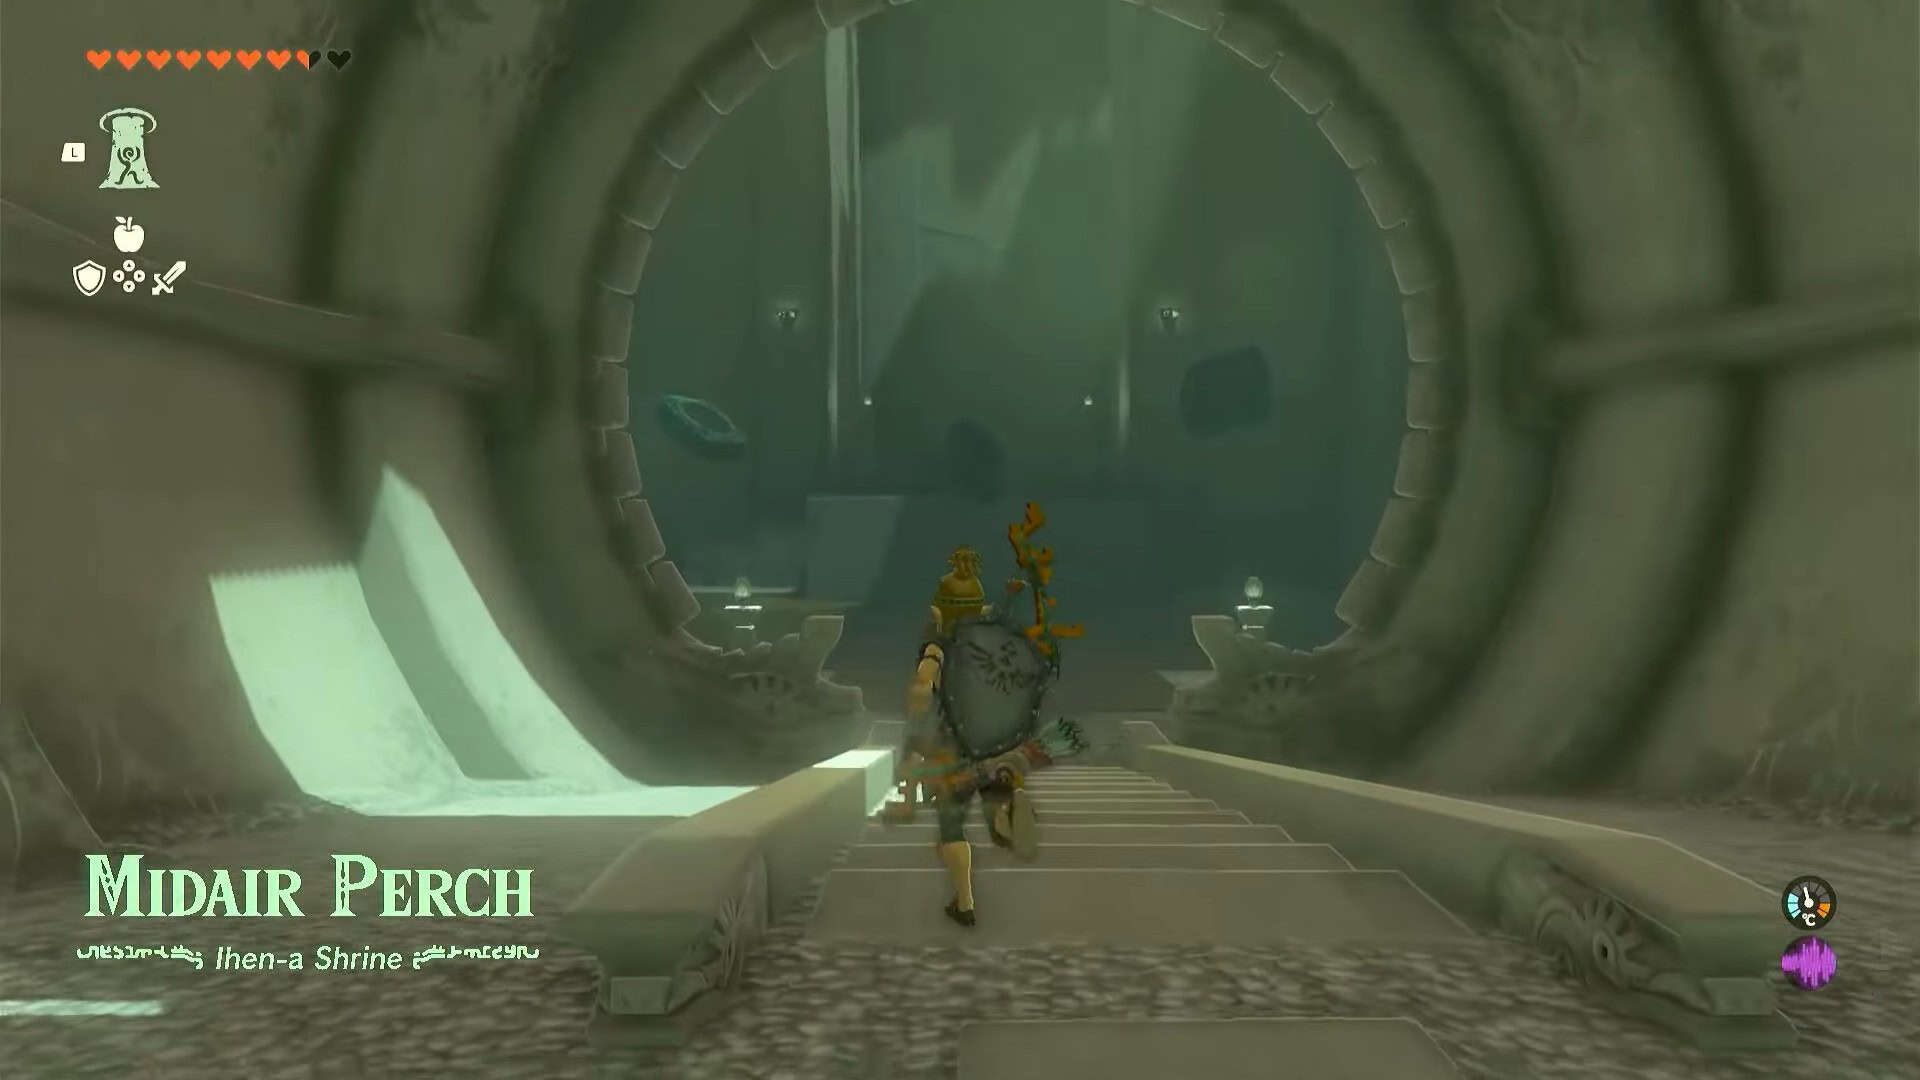
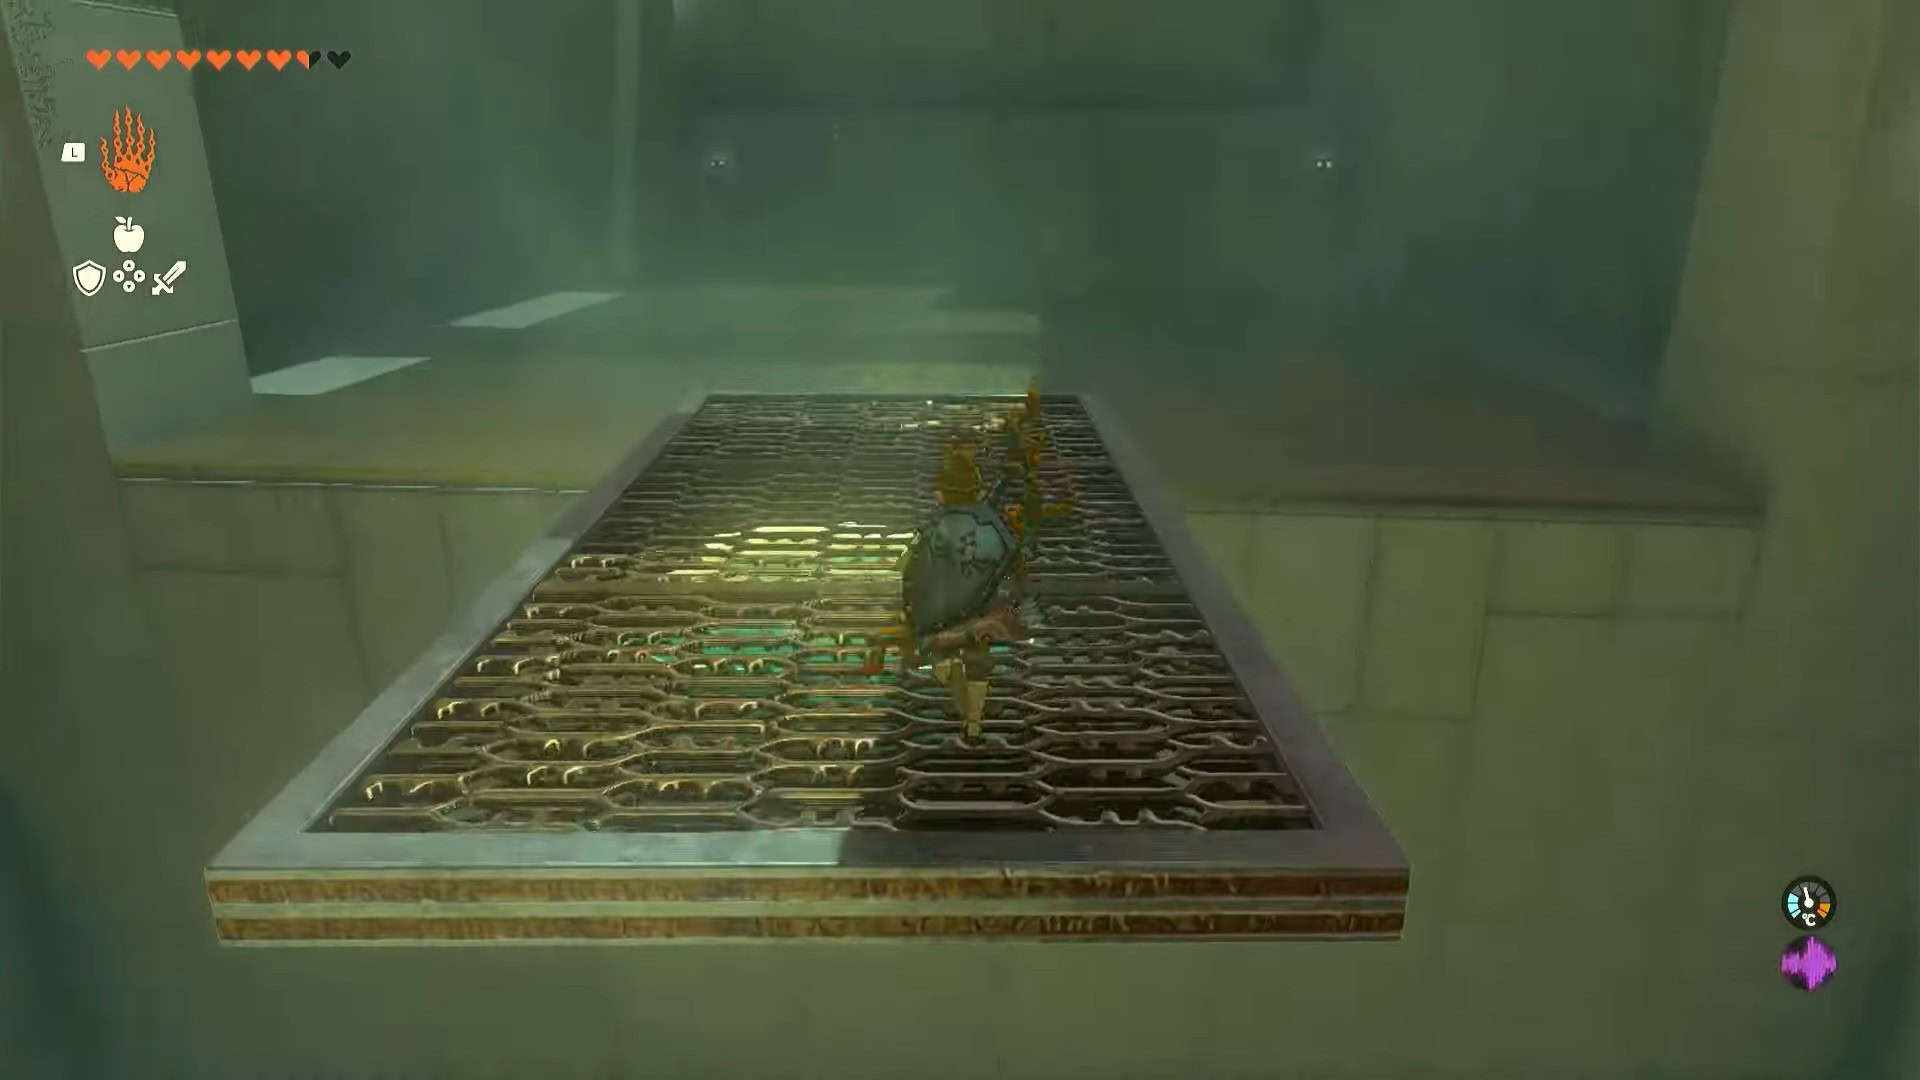
The trial presented by Ihen-a Shrine is known as Midair Perch. The objective of this puzzle is to use zonai hover devices and learn how to manipulate them.
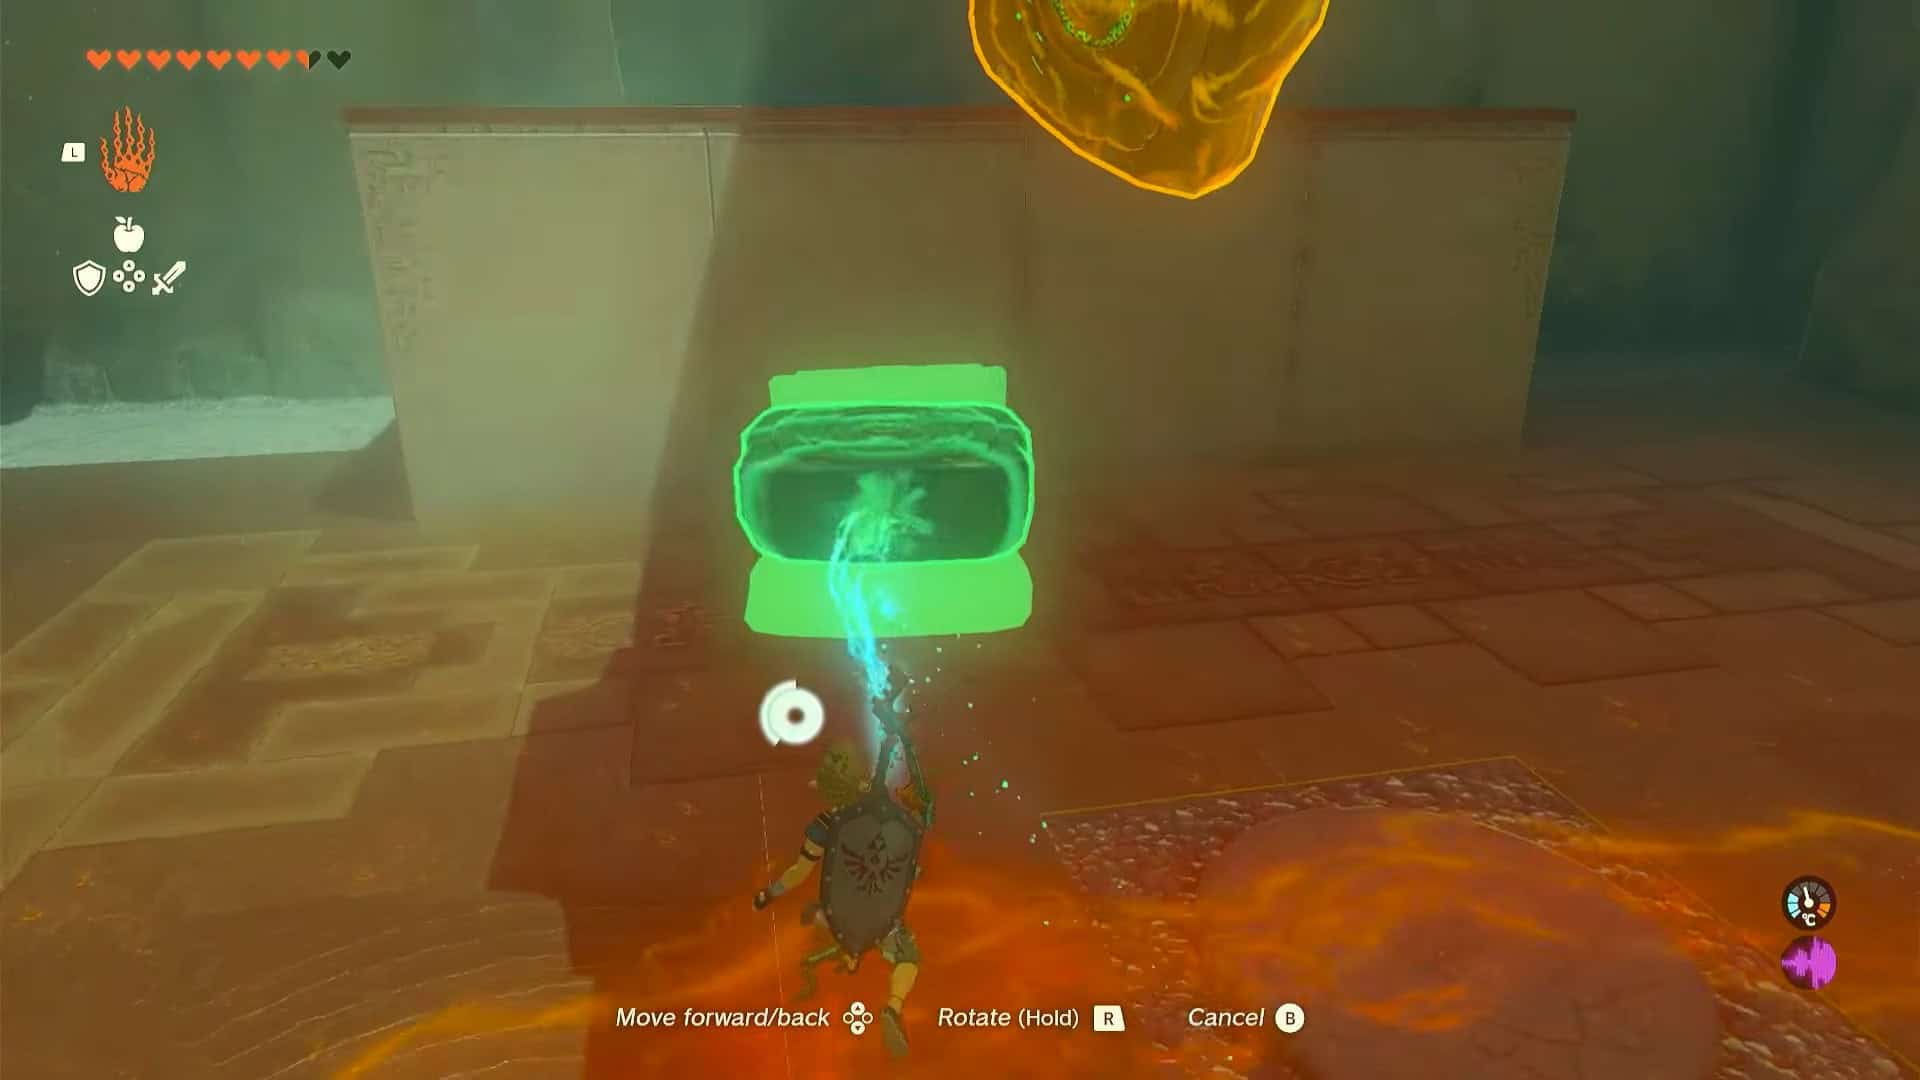
1. From the starting position, pick up one hover device and place it alongside the platform.
2. Hit the hover device to activate it. Now pick it up with Ultrahand and place it a bit in the air.
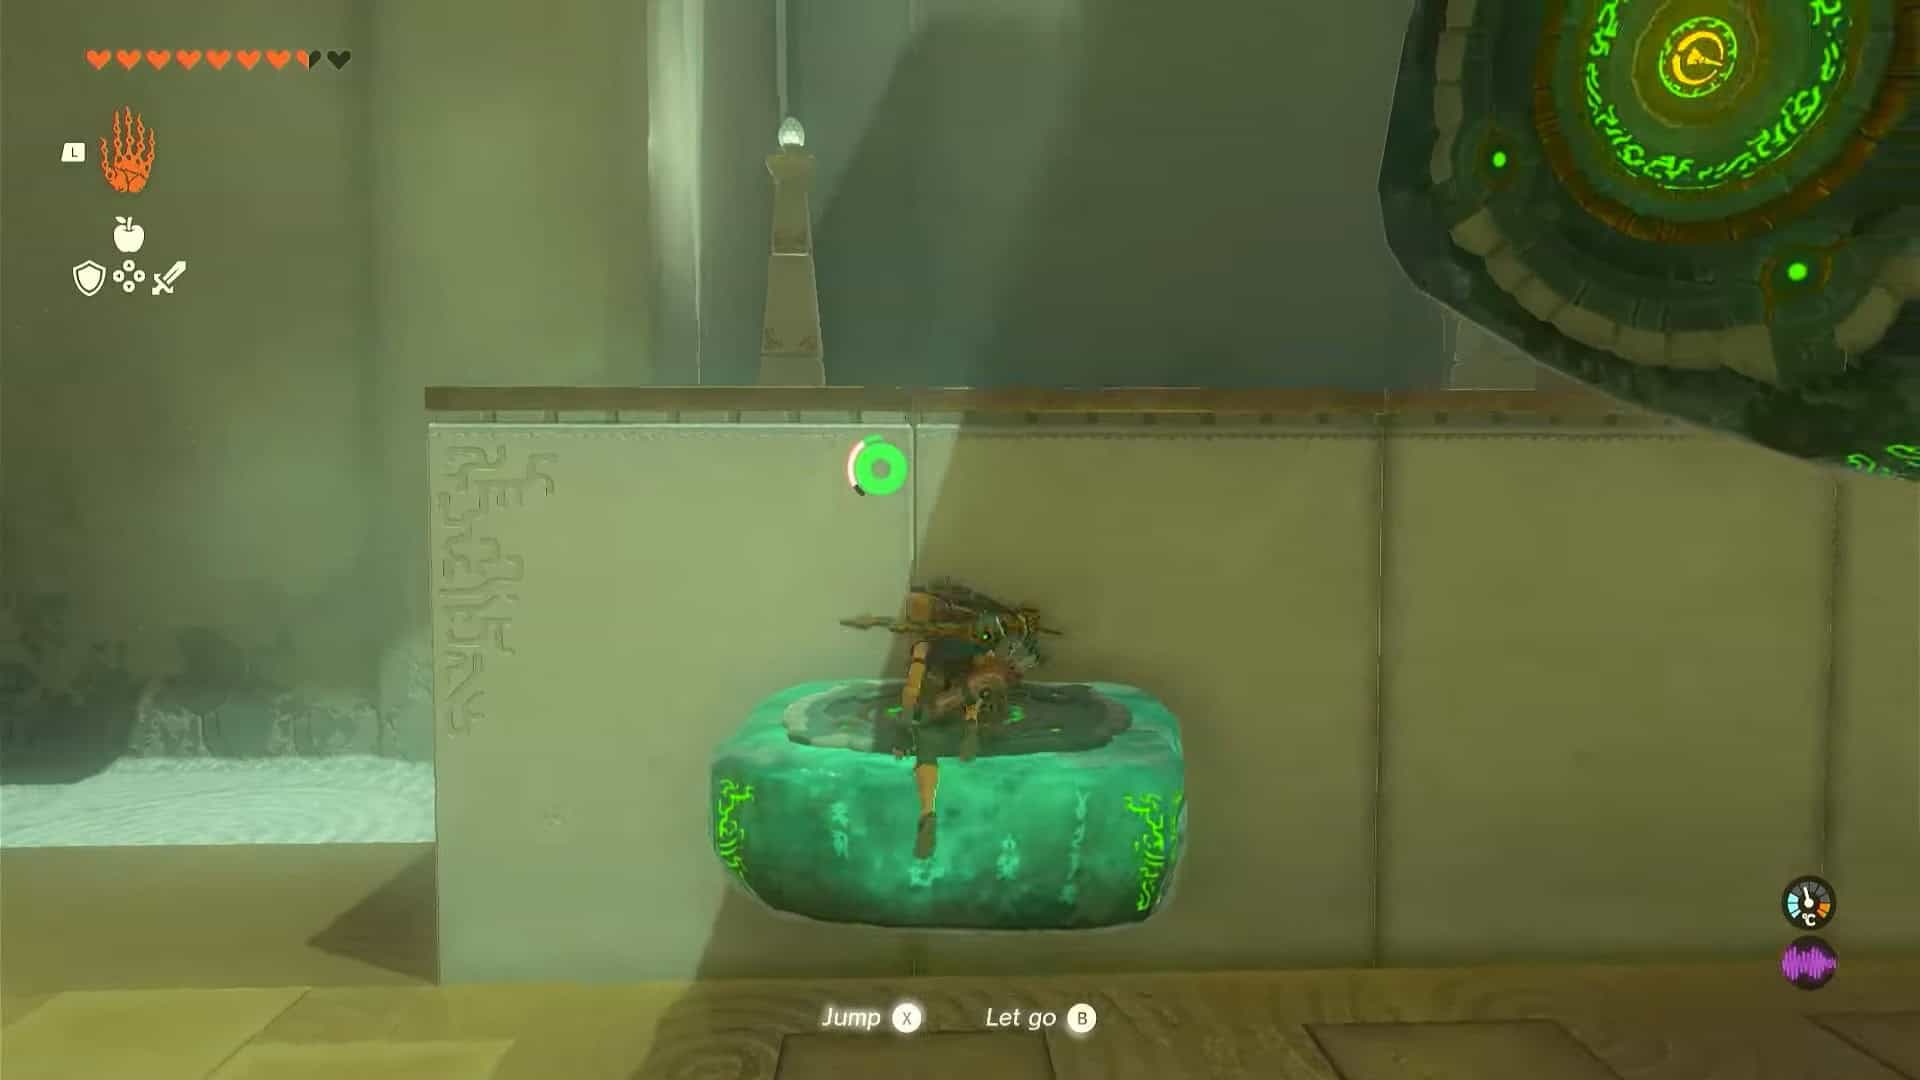
3. Climb the hover device and move to the next area with its help.
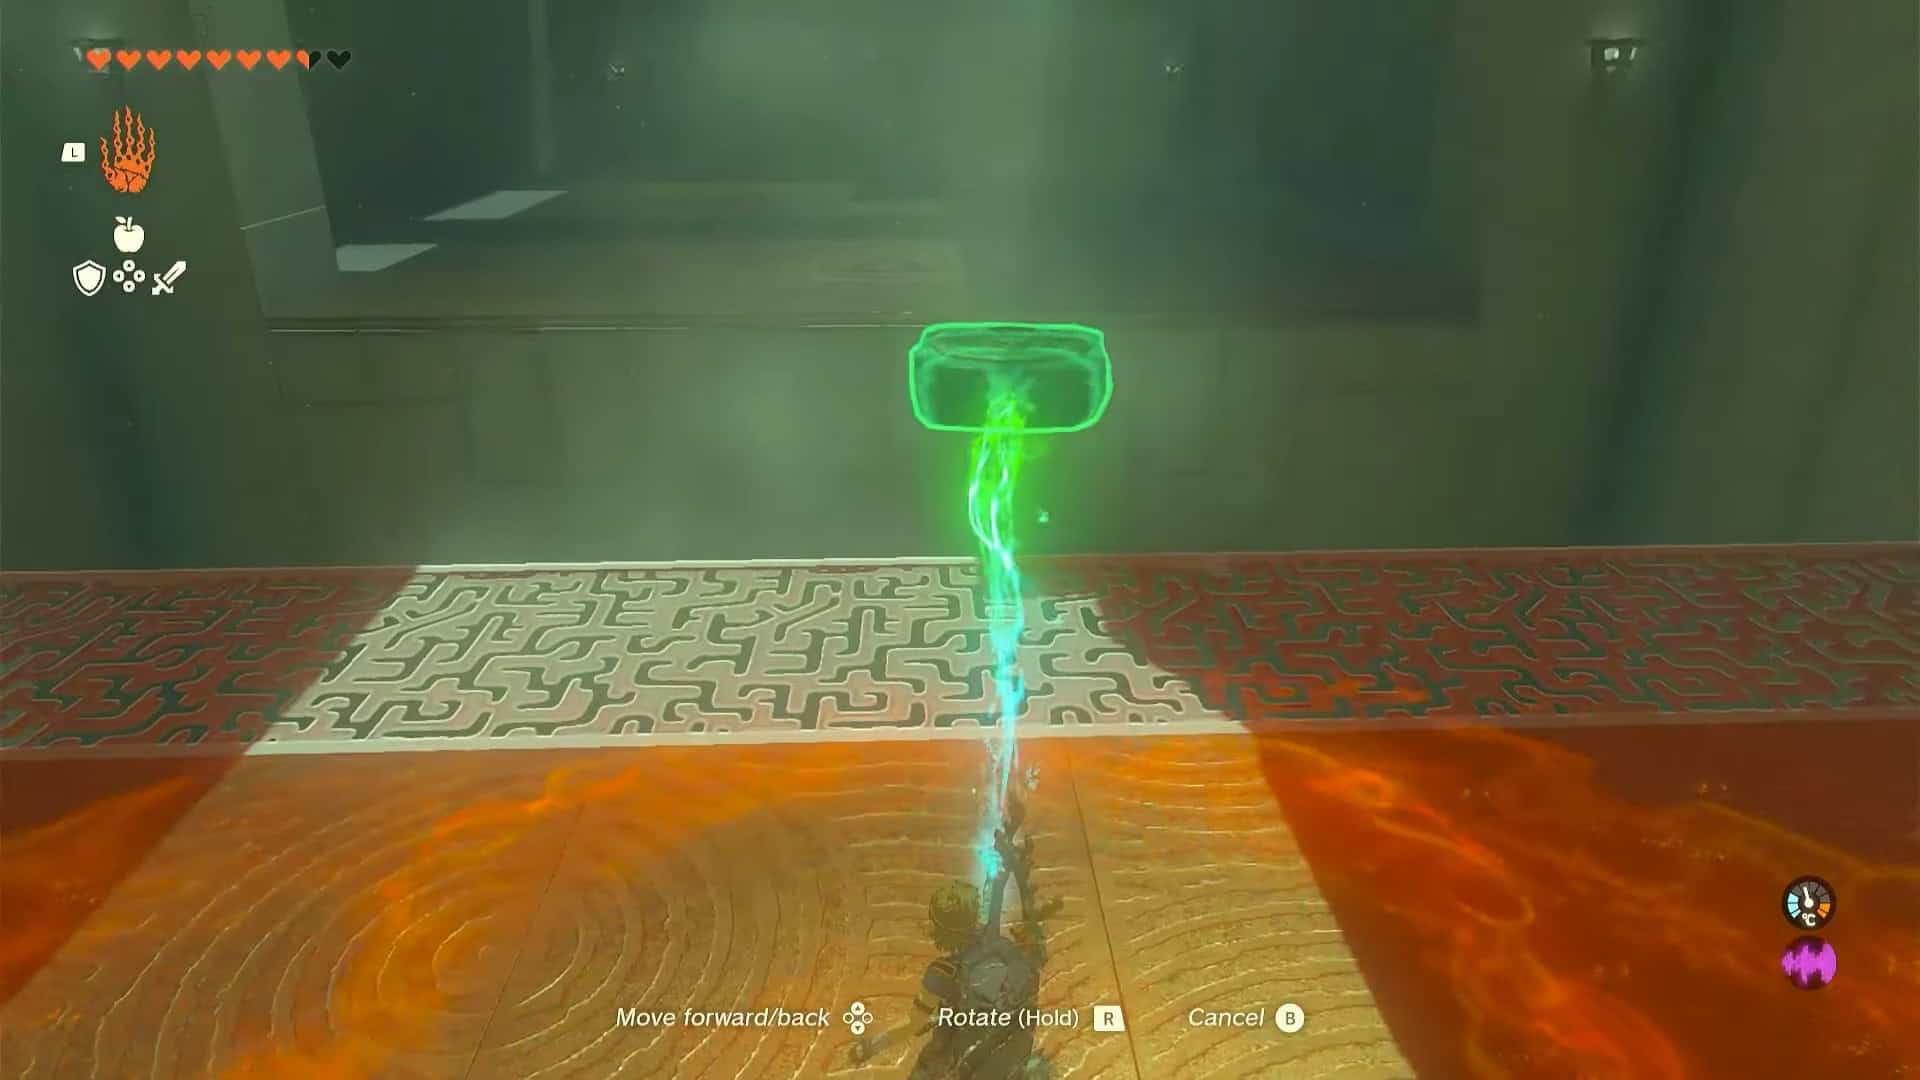
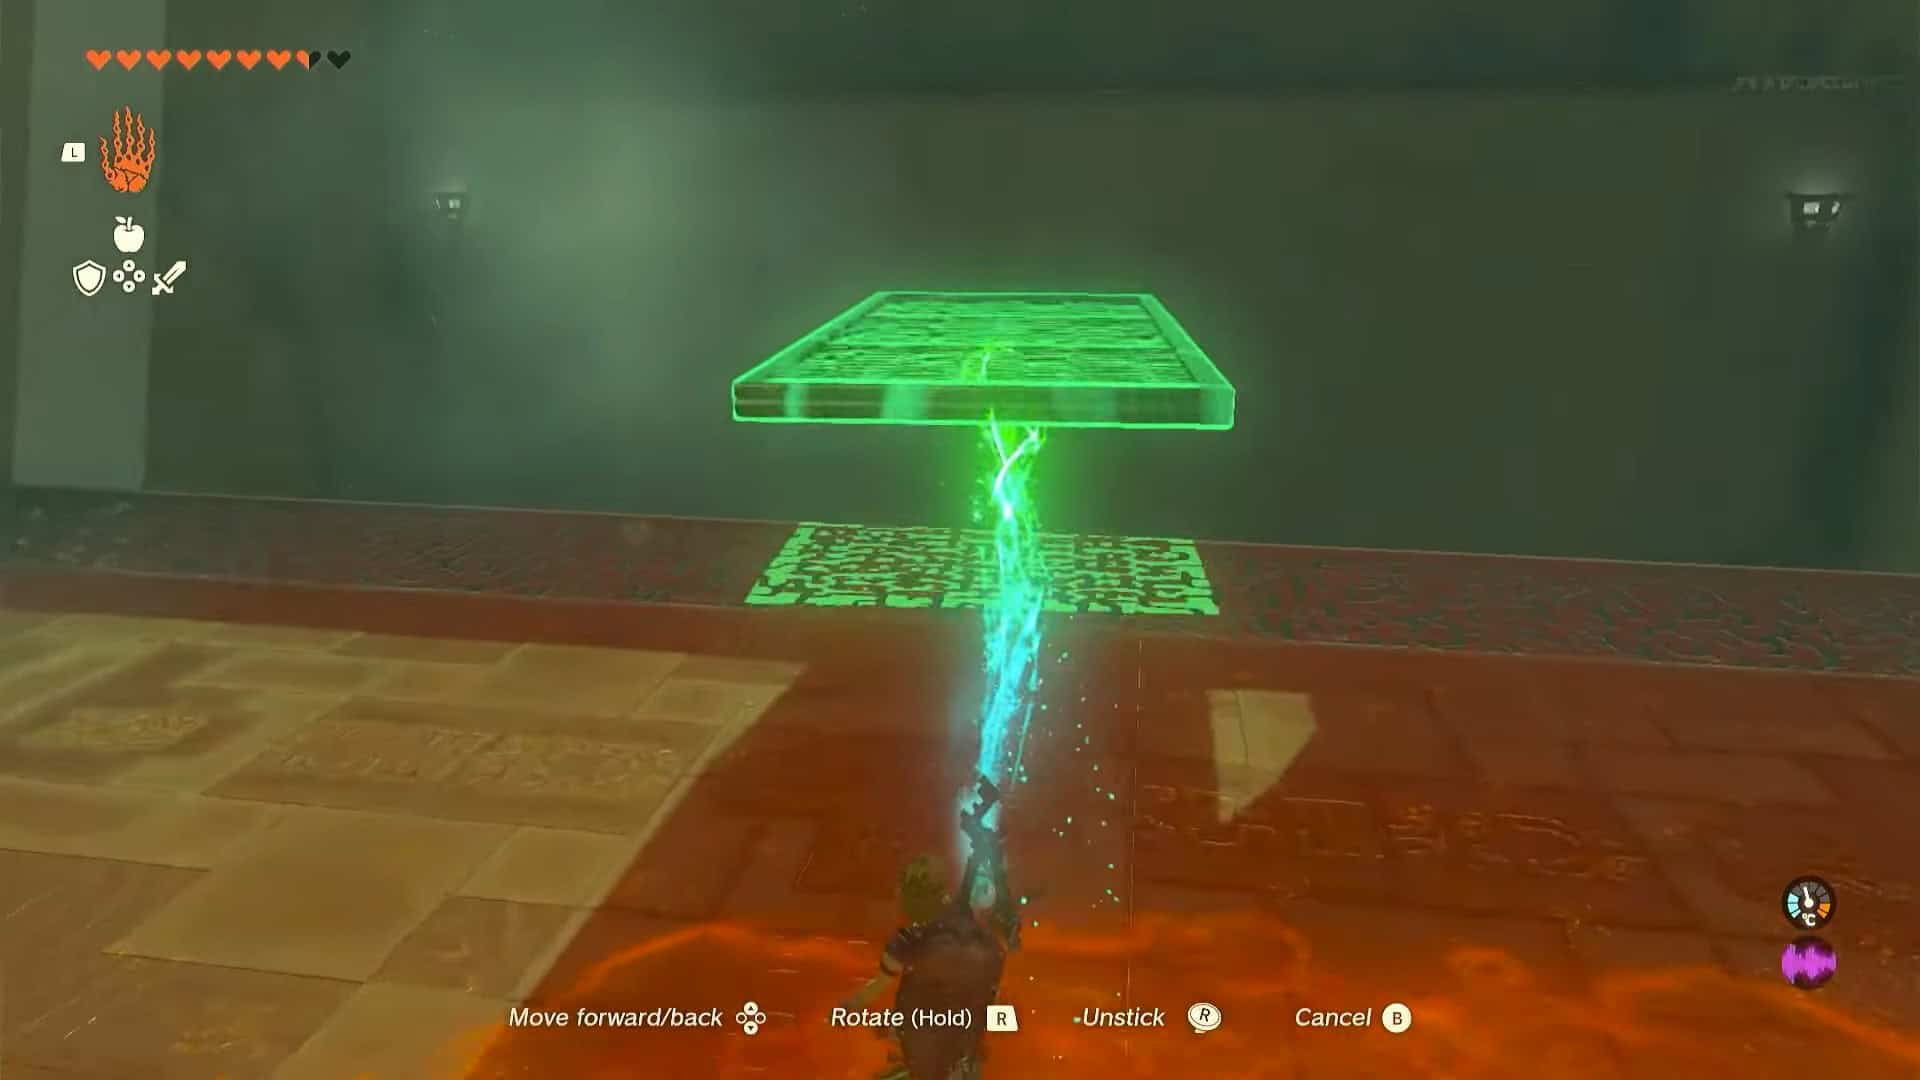
4. Activate the zonai hover device in the next area and place it in the middle of the gap.
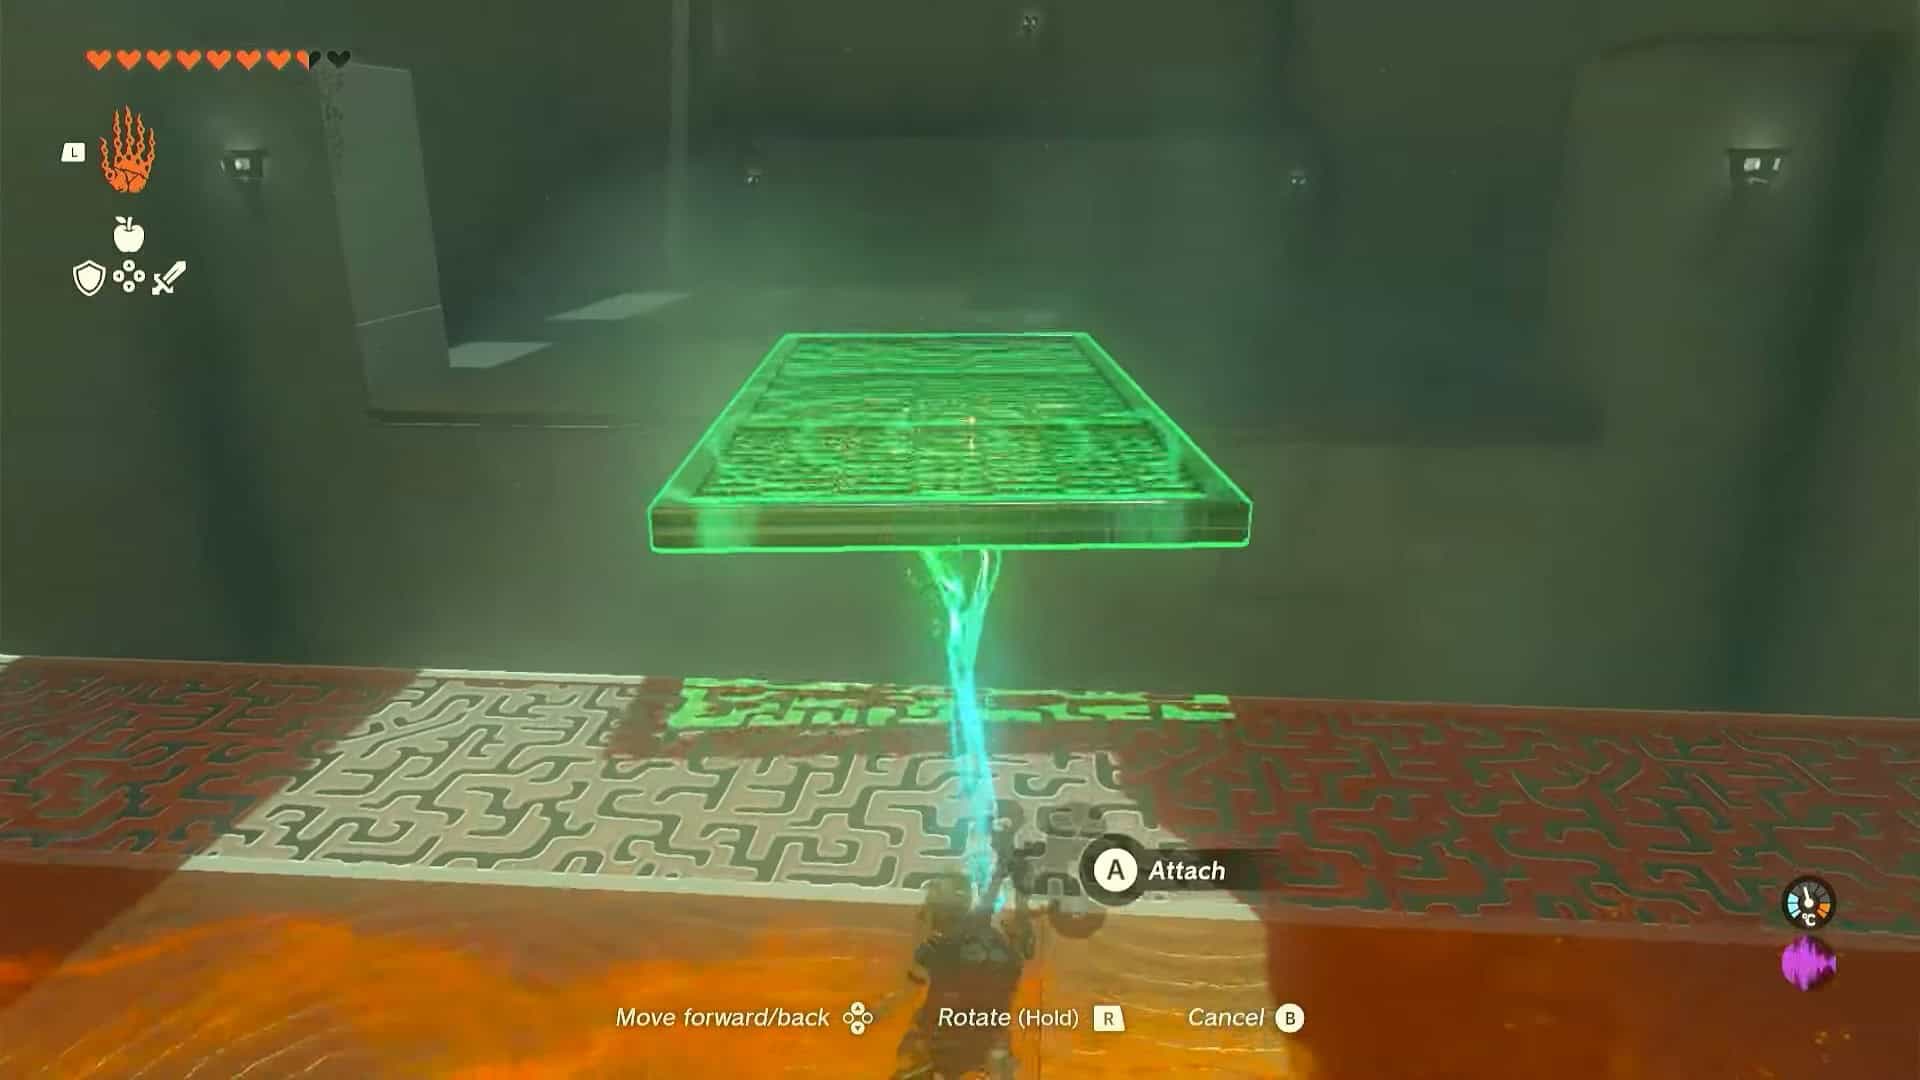
5. Pick up a meshed rail from the right, rotate it horizontally, and attach it to the top of the hover device.
6. Jump on the platform and cross the gap.
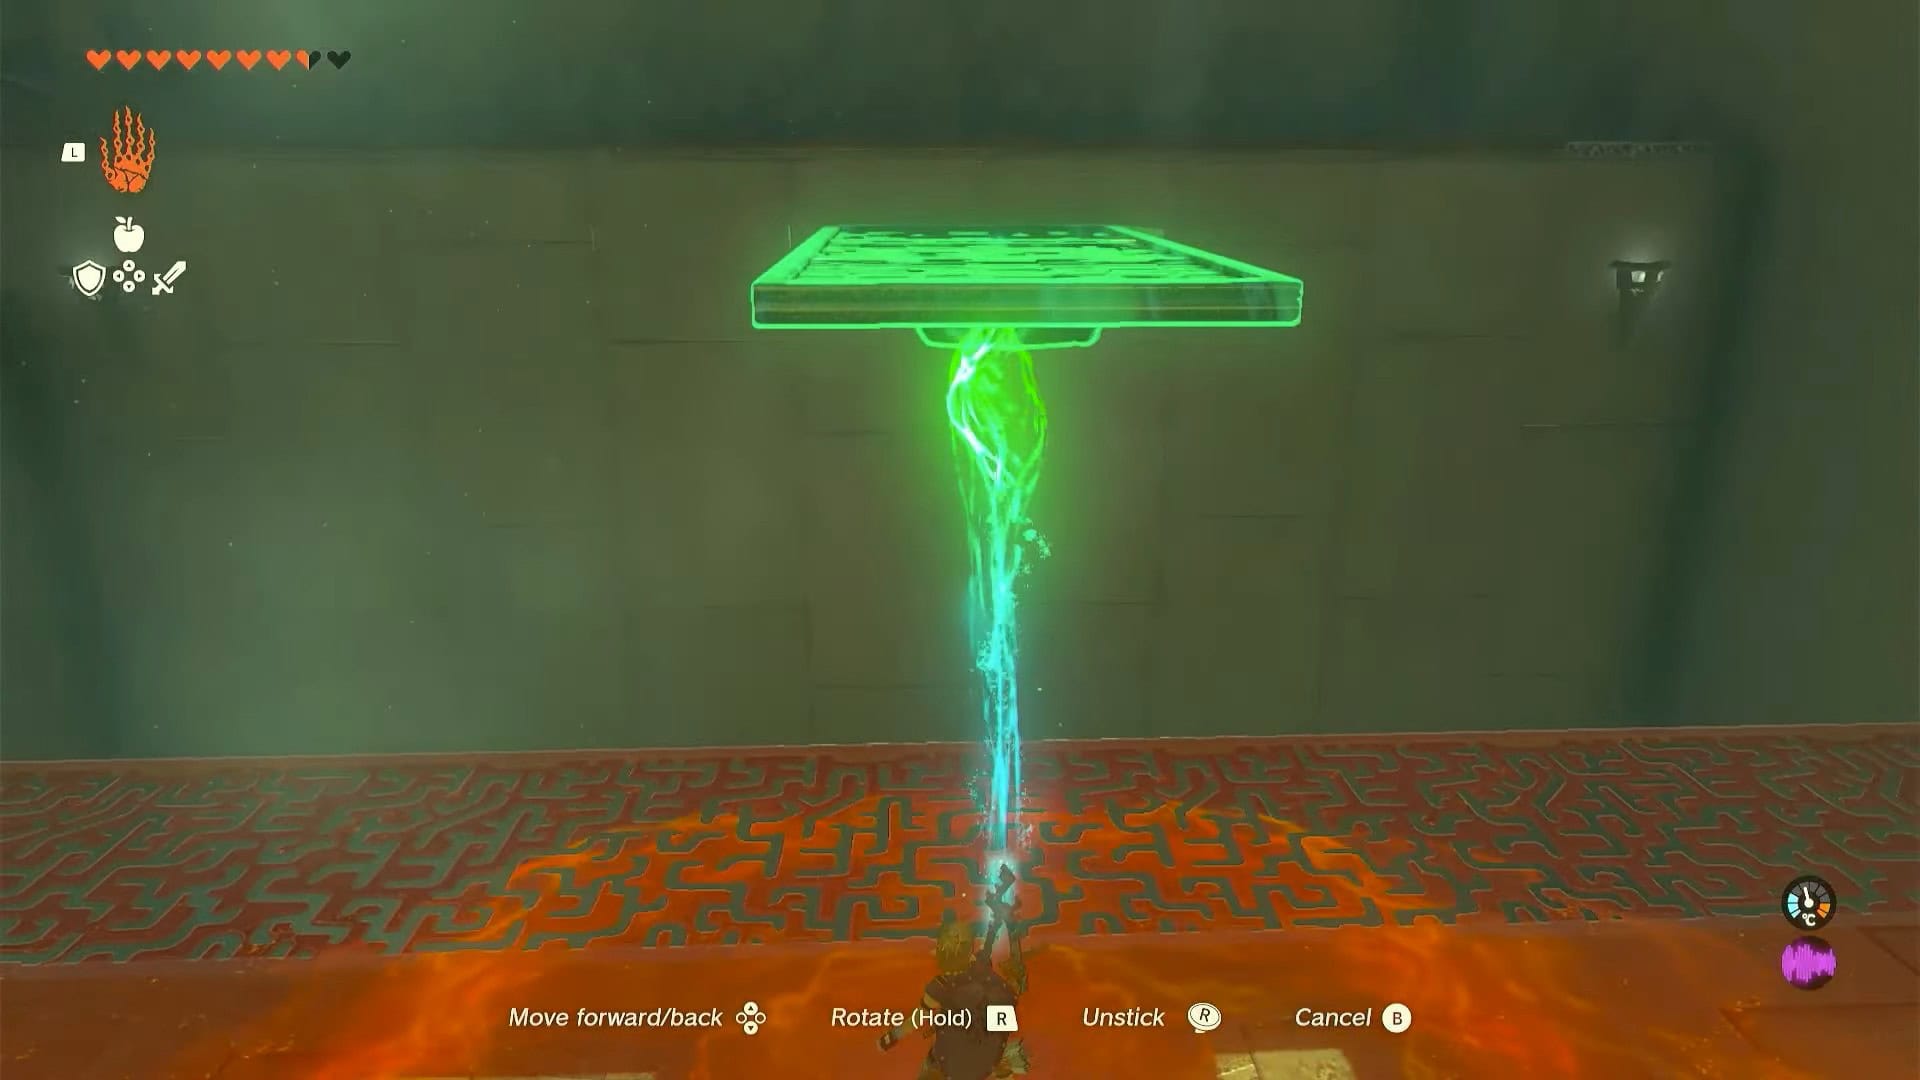
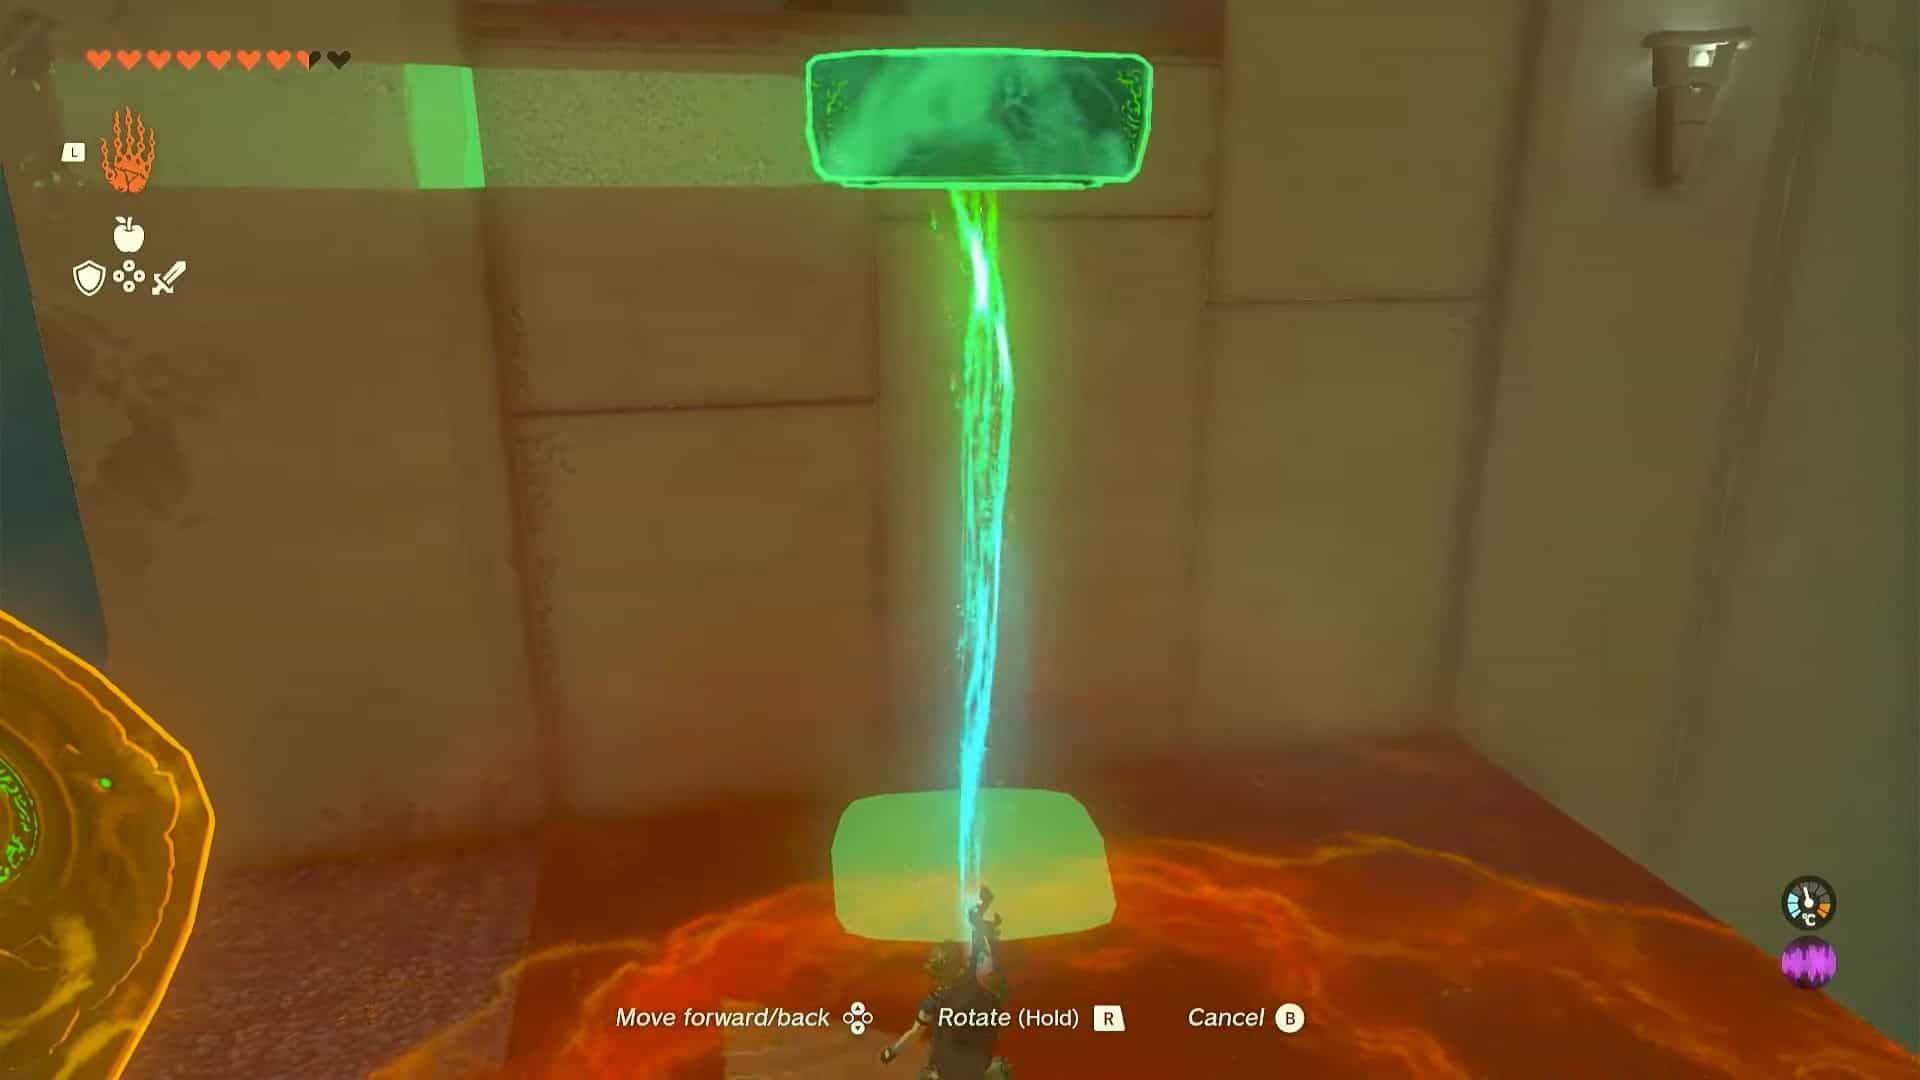
7. Pick up the structure with Ultrahand and place it near the top ledge with Ultrahand.
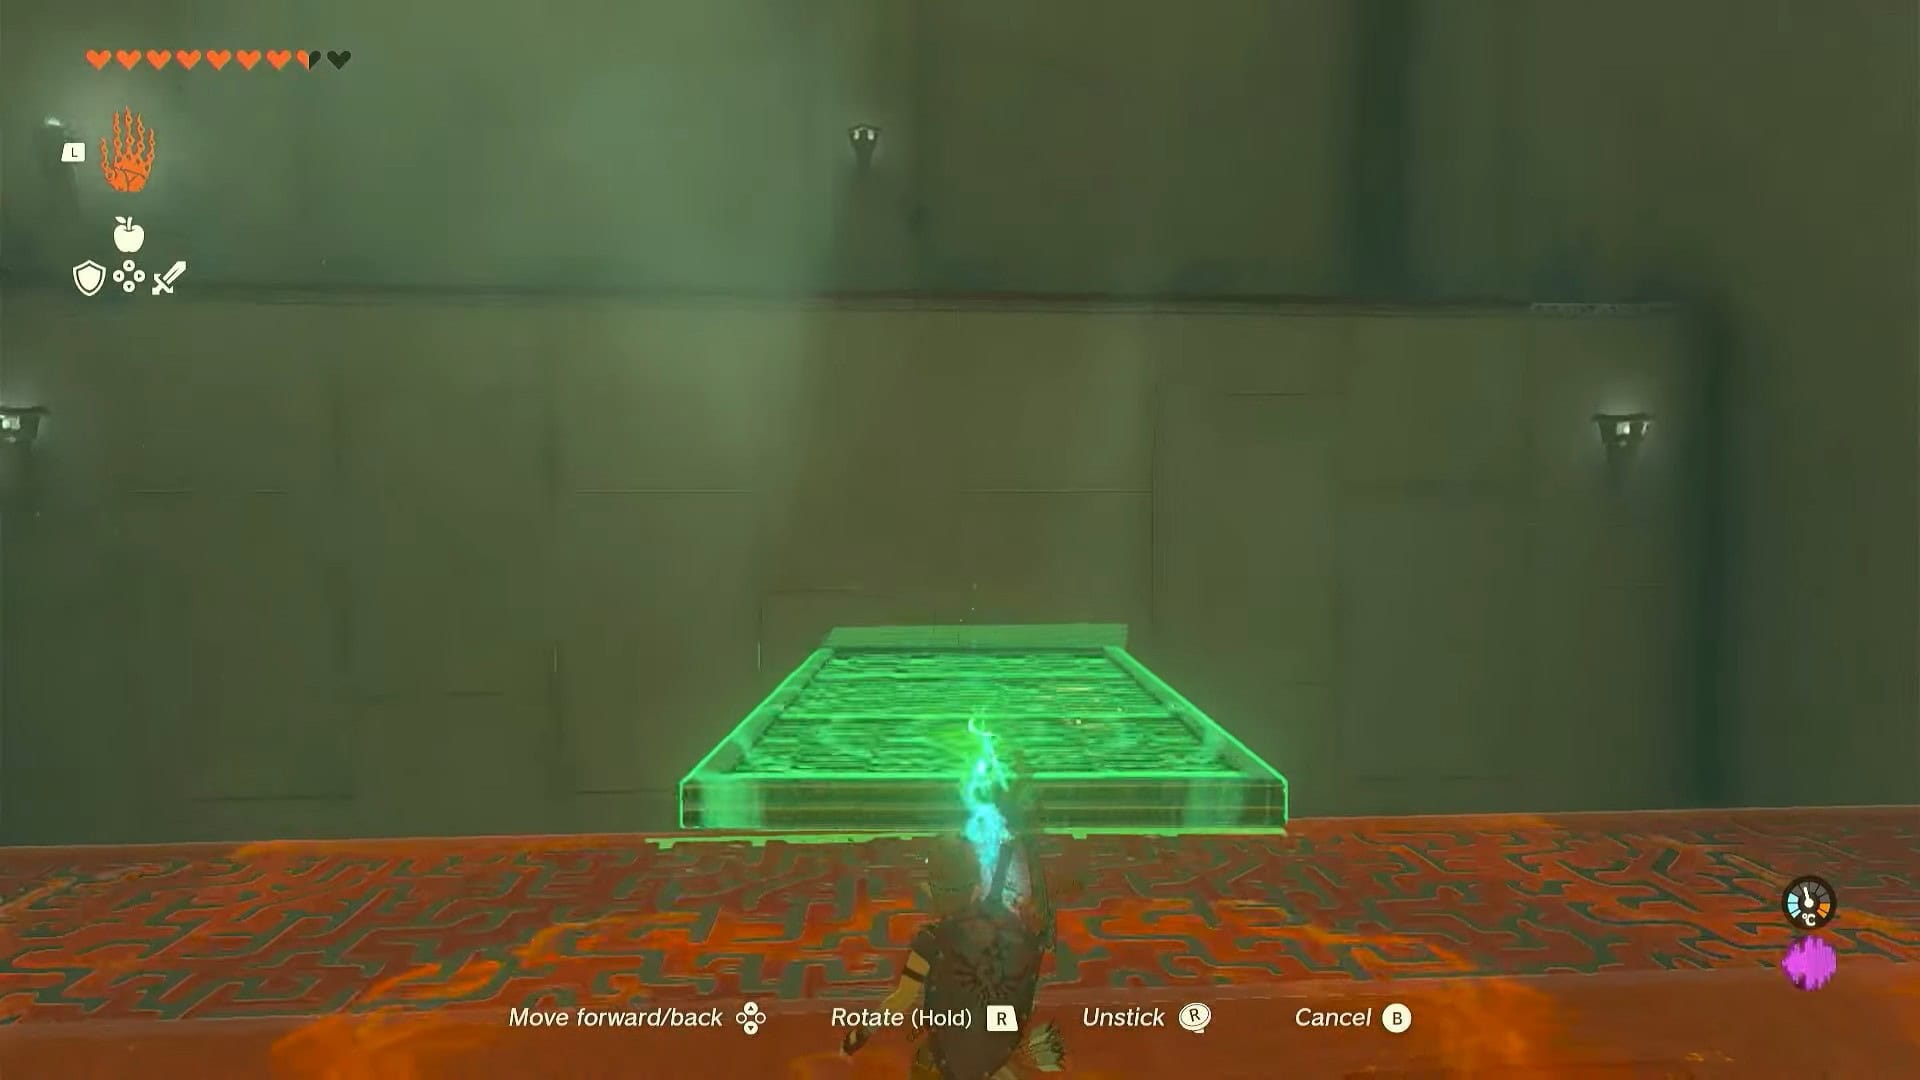
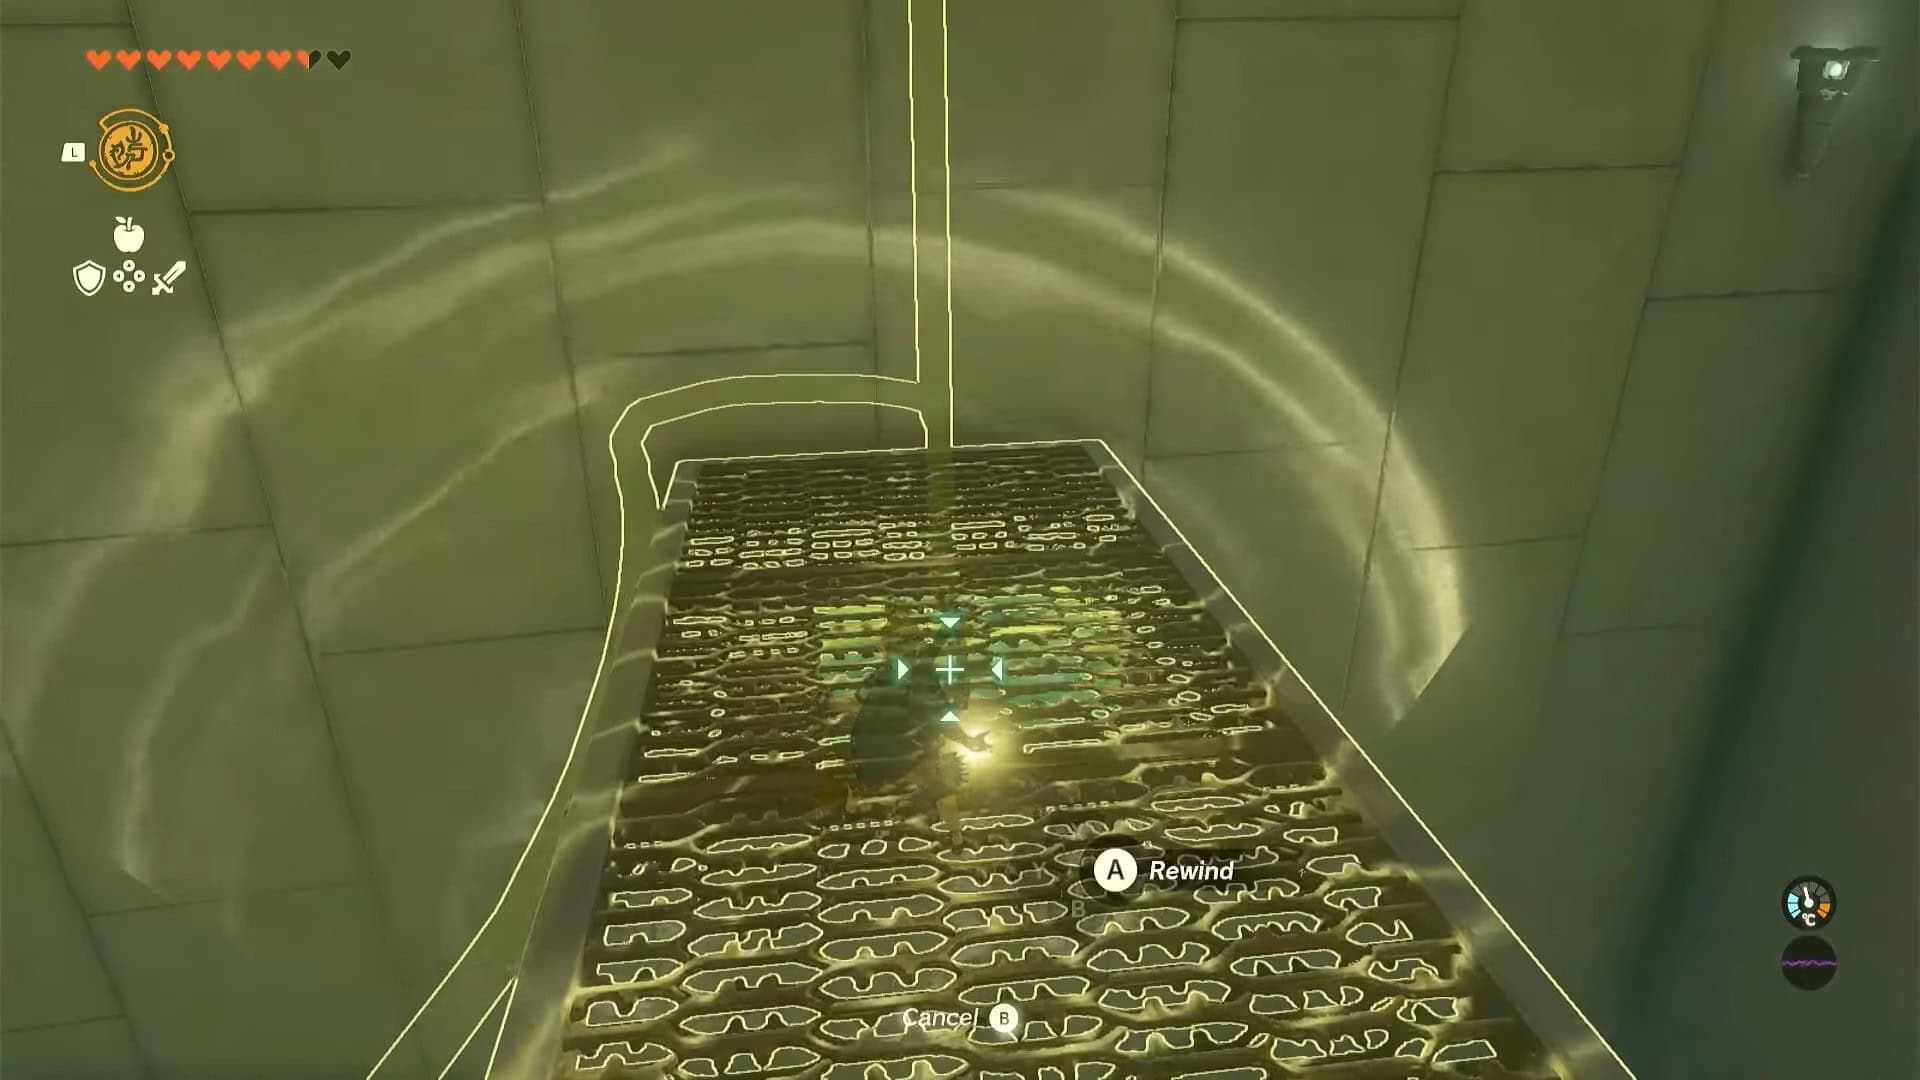
8. Now lower the whole structure and climb on it. Use the Recall ability on the structure to make it go back up and make your way across.
9. Turn left to reach the next area. Pick up an activated hover device and place it alongside the left wall.
10. Stand beneath it and use the Ascend ability to climb it.

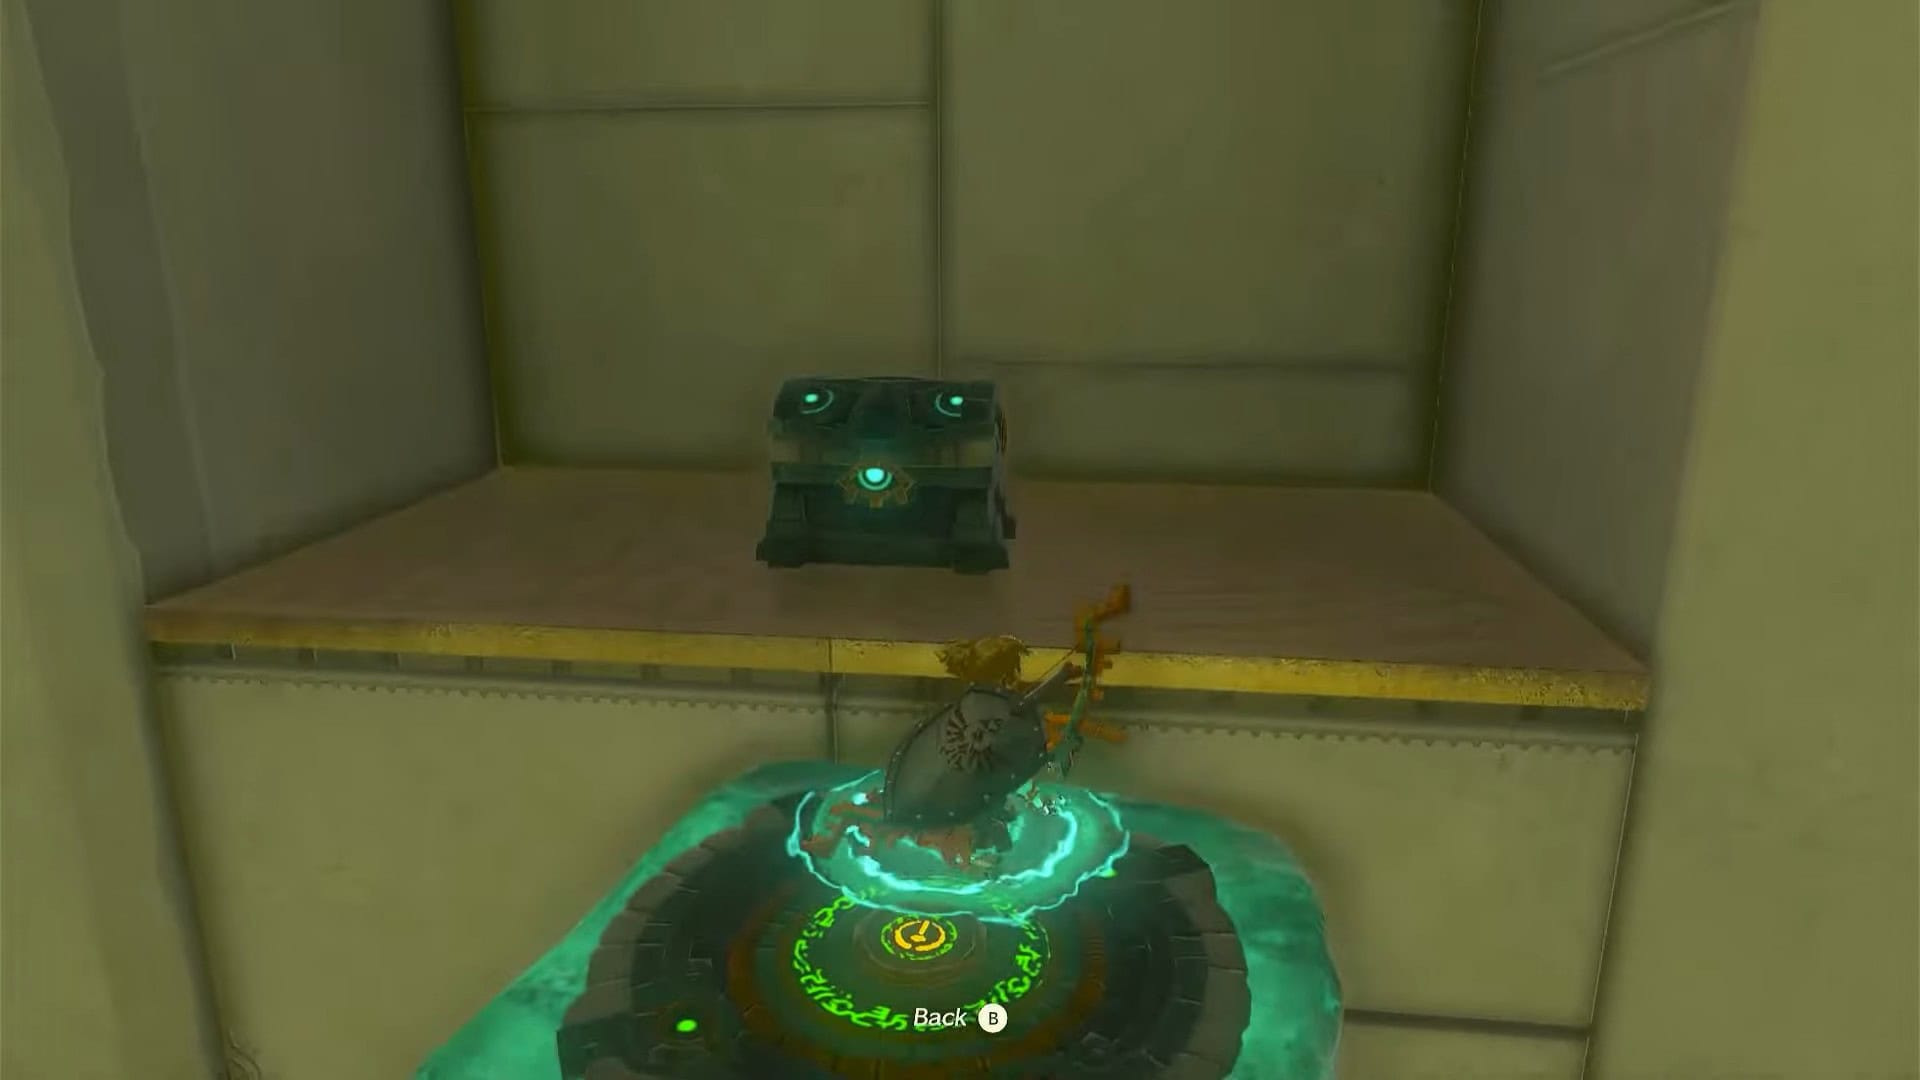
11. Open the treasure chest in this area to obtain 5x Arrows.
12. There is a platform right next to the orange switch. Hit the zonai hover device right next to it to deactivate it.
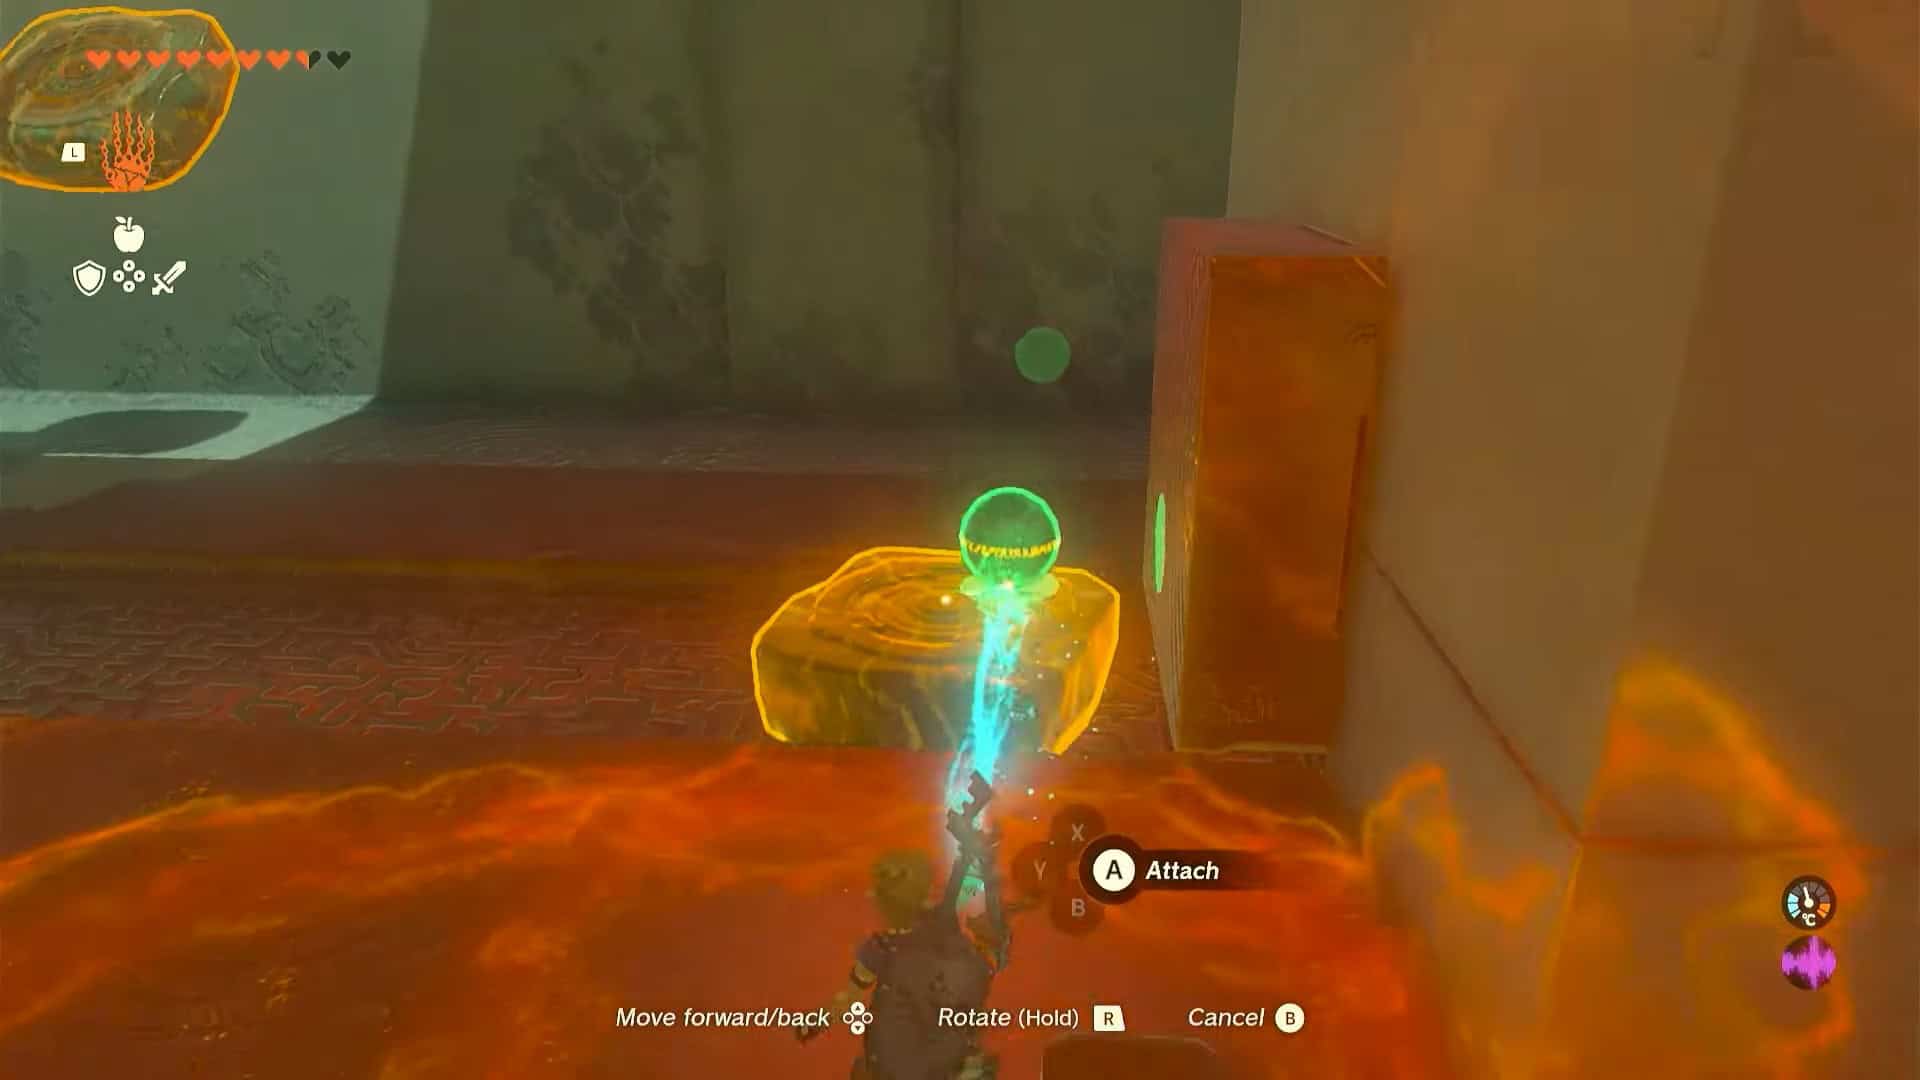
13. Pick up the ball and attach it to the hover device.
14. Stand on the hover device and hit it to activate it. Now hit the orange switch with an arrow.
15. This will throw you alongside the ball across the gap to the other side.
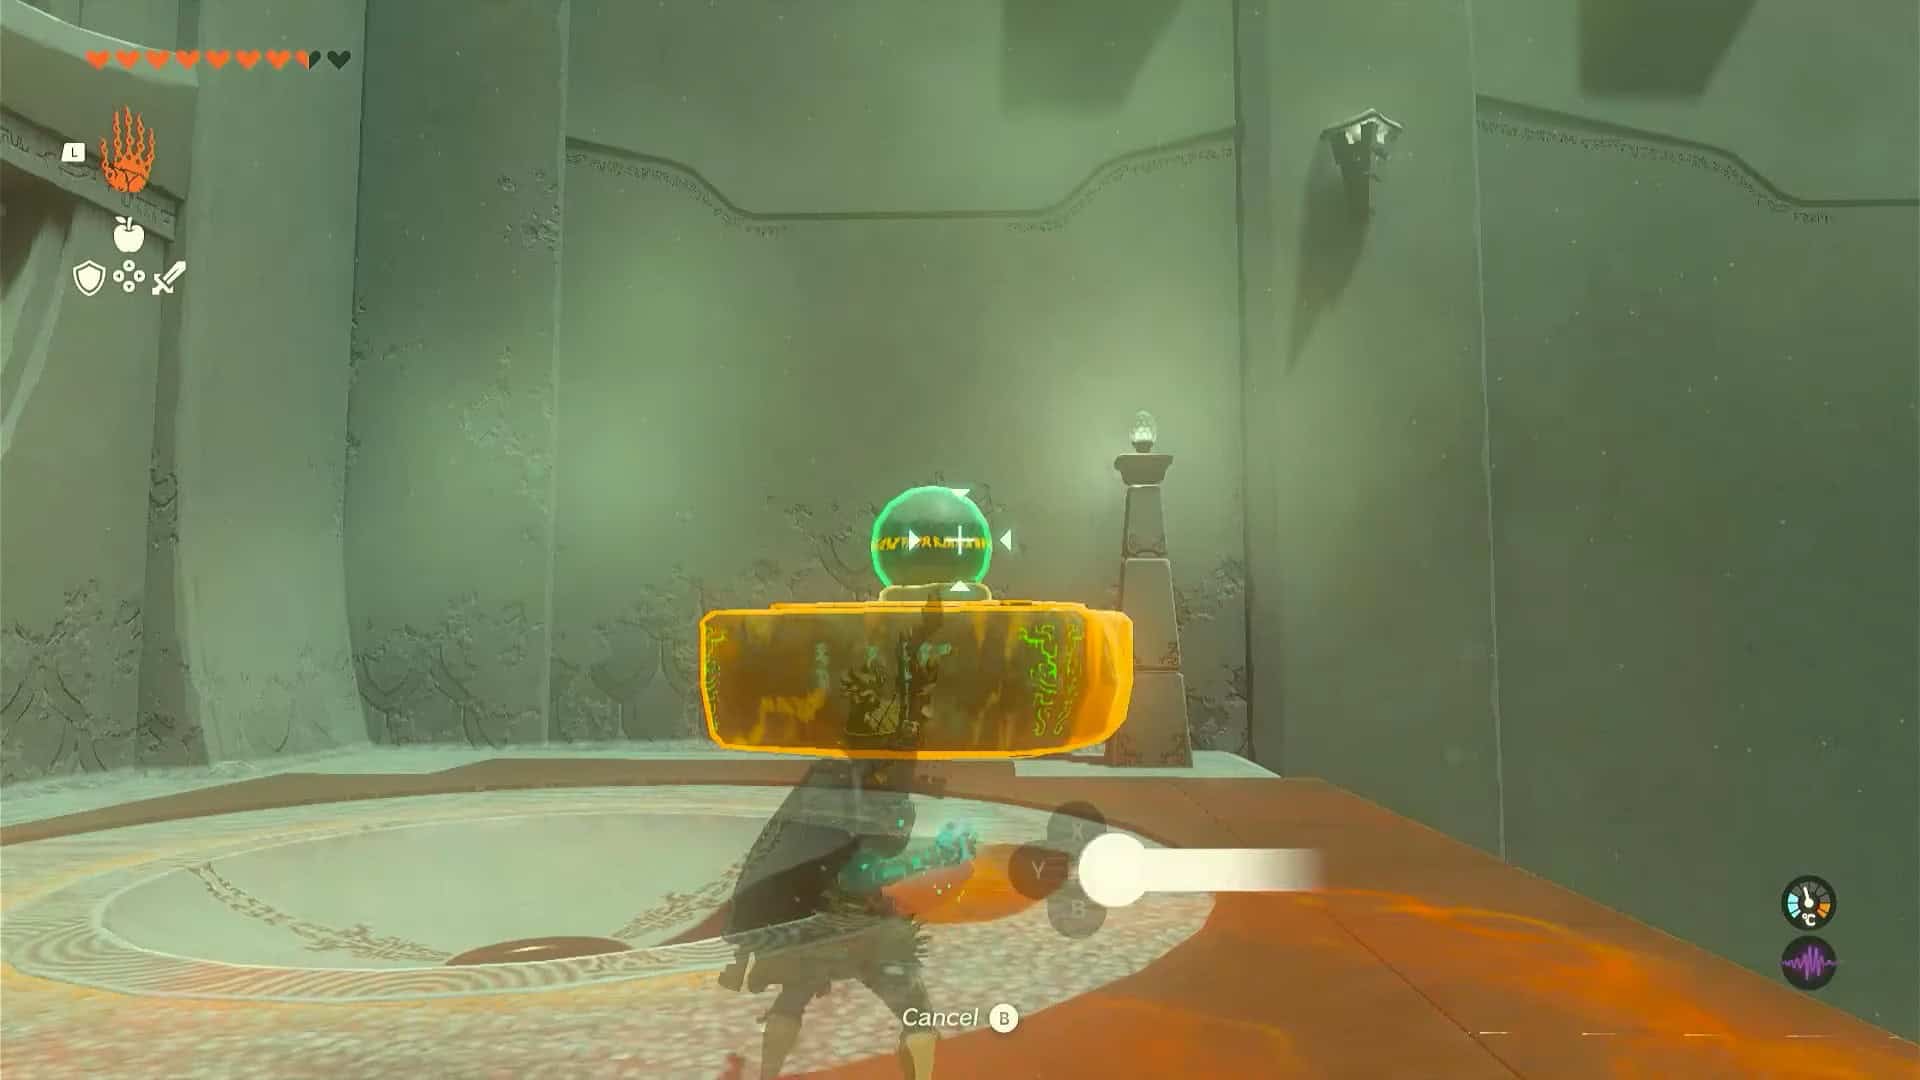
16. With Ultrahand, remove the ball from the hover device (grab and wiggle the right analog stick) and place it inside the receptacle.
17. This will open the altar room’s door. Enter the room and interact with Rauru and Sonia’s statues to solve the puzzle of Ihen-a Shrine in Zelda: Tears of the Kingdom.
18. Collect the Light of Blessing as a reward. You can use four Lights of blessing at any Goddess statue to either increase your stamina or health.