The Road Rage heist is the only heist in Payday 3 that you can only do in Loud. There is no stealth option and for good reason. You will encounter a lot more enemies than usual. This makes the heist highly difficult.
Despite the difficulty though, you are granted very little XP for completing this heist, but the money you obtain is significantly increased to compensate for that.
This is why completing the Road Rage Heist is one of the fastest ways to make money in Payday 3. If you plan to do the same, let us show you how to complete the Road Rage Heist in Payday 3, grabbing all the loot you possibly can.
Table of Contents
How to complete Road Rage in Loud for Payday 3
Before you get started with this heist, know that this one is going to take a lot of effort to complete. That is why we would advise you to bring the best Payday 3 Loud build with you in Road Rage.
Moreover, we also highly recommend adding an ammo bag to your loadout. This is because with the sheer number of enemies attacking you, a lack of ammunition may deem this heist insurmountable.
Prepare the ambush
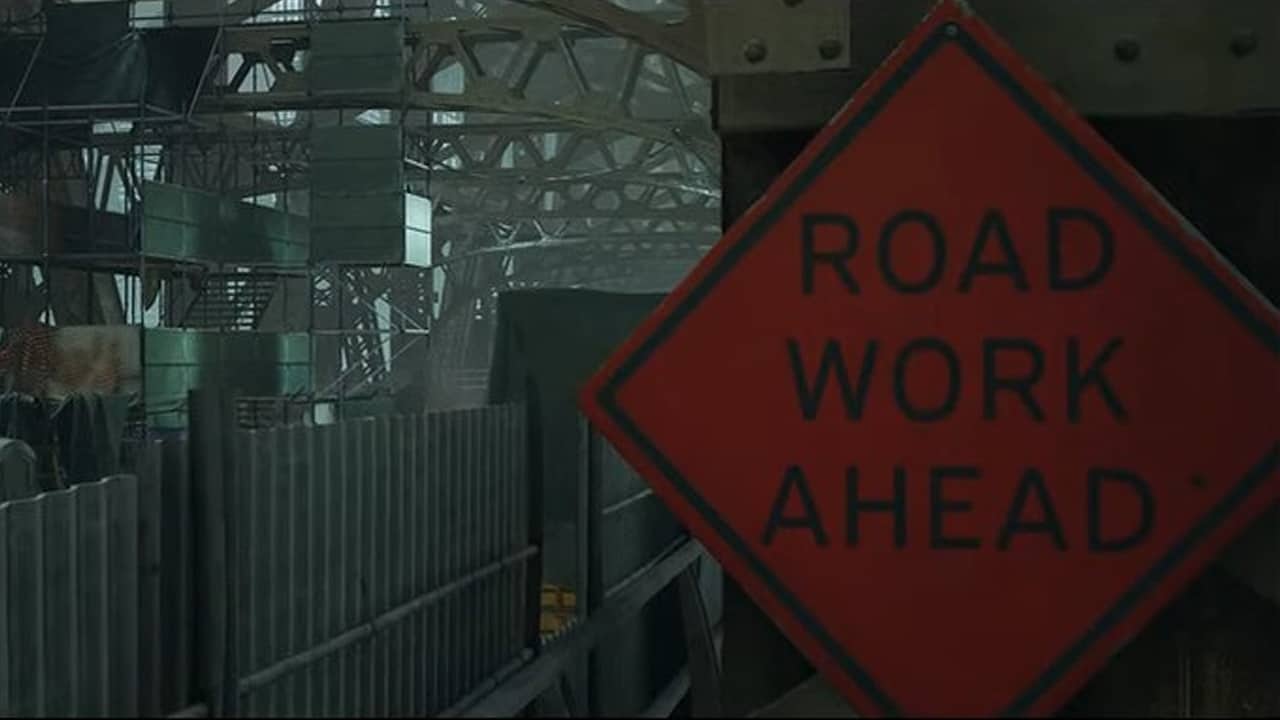
When you’re ready, jump into the heist and you’ll spawn on an under-construction bridge. Here, you have to rob an armored truck that will arrive soon.
However, you do need to stop the armored truck in order to loot it, which means you must be quick to prepare your ambush – you have exactly 90 seconds.
In the yellow box right in front of you is an EMP that you must pick up. The area where it must be placed is just up ahead and will be marked on your screen.
There is a slight problem here though. On your way to the EMP placement site, you will encounter a lot of construction workers, mostly on the sides of the bridge.
You must not let any of these civilians escape, which is why we recommend that you take them as hostages and tie them up as quickly as possible.
Do note that if you are playing Road Rage on hard difficulty or above, you can unlock the Crowd Control achievement by not letting a single civilian die, escape, or get traded.
As soon as you get to the specified site, throw the EMP down and interact with it to activate it. When that’s done, your next objective will be to wait for the Armored Truck to arrive.
Override the Armored Transport
When the Armored Truck rolls over the EMP, it will detonate, and the truck will stop, followed by the alarm being raised. You now need to get it to a secure place with Shade’s help. For that, you will need a Remote Steering Device.
This Remote Steering Device is stashed somewhere within the construction site and is randomly generated. However, its location will be marked on your HUD, so getting it isn’t a hard job.
Once you grab it, head up to the passenger side of the truck and throw it in the white box presented on the ground. Next, you need to interact with the steering device to activate it.
By this time, the police assault will have started, so you must be careful of any surprises. Moreover, Shade needs some time to connect the steering device.
Stick around for a moment until Shade is done connecting, then head back over to the steering device and start it when she’s done.
Escort the Armed Transport
When the steering device is functional, a small white circle appears on the ground next to it. One of your crew members must stay within this circle to retain the connection with the steering device.
If you stray out of this circle, the connection will be lost, and the truck will stop moving. This is going to be tricky since you’ll be swarmed by police forces from all sides.
We would recommend taking a civilian as a human shield to make things easy for you – especially if you have a great secondary weapon equipped. However, you will also encounter snipers from time to time in the towers on either side.
When you need to get rid of the snipers, you can let go of the civilians and pull out your primary weapon to shoot the snipers with more accuracy.
Apart from the police, there is one more problem at hand. Since the bridge is still under construction, there are small potholes in the truck’s path that prevent it from moving forward.
To get the truck past the potholes in the Payday 3 Road Rage Heist, you will need wheel ramps. These can be found within the construction sites – most often in other potholes.
When you find them, place them on the potholes to clear the path for the truck. After the truck has passed the pothole, we would say it’s best to grab the wheel ramp you placed just in case you need it afterward.
With all of that out of the way, the last thing you need to consider is the route of the truck. The truck may either take the left route or the right route.
If the truck takes the right route, be prepared for a lot of potholes in the truck’s path. You will have to keep a sharp eye out for wheel ramps along the way. Moreover, near the end, the truck is blocked by a forklift which must be removed from its path.
If the truck manages to take the left route instead, your job becomes a little bit easier. You encounter less number of potholes but there are more snipers that must be taken down. Near the end, the truck will be blocked by a fence which can be closed by interacting with its switch nearby.
Lastly, the steering device may malfunction from time to time, in which case you will have to interact with it to get it running back up again. If you have a team, it would be a good idea to let one person do the steering and the rest try to flank the police.
Breach the Armored Transport
Regardless of the route that the truck chooses, it will finally arrive at an elevated ramp where it stops. Now it’s time to breach the truck and get your hands on all the loot.
To do that, you must first place a drill underneath the truck and let it cut through the base. In the meantime, you can spend your time collecting dropped ammunition for the next wave of police, which is going to be even more dangerous.
When the drill is done cutting through, open the hatch and cut the wires to open the truck’s back doors.
You can now begin looting. Pick the lock on the compartments one by one and take all the rare elements inside. These look like silver pieces of stone which are very easy to identify.
You need a minimum of five, but you can grab all of them to get the maximum profit. When you’re done looting, signal the getaway chopper and wait for it to arrive.
If you’re informed that the chopper will arrive from the north, then you must look towards your right and vice versa. When the chopper arrives, throw the bags you grabbed over the railing towards the chopper to sucre the loot.
Secure more loot (optional)
After you have completed the main objective of grabbing enough rare elements, you can make the most of your Road Rage heist by stealing all the bags in Payday 3.
To do that, head back over to the truck and grab all the money you can from each compartment. We would recommend assigning one or two of your crewmates to get the loot while the rest try to defend themselves and grab ammo in the process.
When you have everything you need, throw the bags into the chopper to secure the rest of the loot and maximize your profits.
Escape
When you are satisfied with your loot and ready to escape, wait for the chopper to arrive and make your way to the extraction point. This is going to be at the other end of the bridge, so it’s best to make haste.
This is going to be difficult though, as the last wave of cops you face will be the strongest. You can summon your Overkill weapons here too if you’re having too much trouble.
When you do reach the escape point though, you must cut through the scaffolding and head down the stairs to finally complete the Road Rage Heist.
Road Rage heist changes in Overkill difficulty
The Payday 3 Road Rage Heist doesn’t really change much depending on your difficulty level. Even in overkill, your objectives remain pretty much the same. The only difference you do notice is in the strength and the number of policemen.
For example, in the Escape phase of the Road Rage Heist in Overkill mode, you mostly encounter stronger policemen like SWAT, Bulldozers, and Cloakers. Getting through them would be a difficult job, which is why we recommend that you save your Overkill weapons for this moment.
There is another achievement tied to the Road Rage Heist as well but is only available in the Overkill difficulty. This is the Traffic Control achievement, which can be obtained if you prevent the truck from stopping until the end of the heist in this difficulty.