There are many legendary weapons in Horizon Forbidden West and one of these legendary weapons is Ancestor’s Return. This guide will explain how to Unlock Ancestor’s Return in Forbidden Horizon West to arm Aloy with one of the most devastating weapons in the game.
How to Get Ancestor’s Return Secret Weapon in Horizon Forbidden West
It’s not that easy to get your hands on any Legendary Weapon, and unlocking Ancestor’s Return is quite challenging as well.
Getting Ancestor’s Return in Forbidden Horizon West will require you to complete all 9 of the Relic Ruin challenges. Each Relic Ruin challenge contains an ornament to collect to complete the challenge.
Once all 9 of the ornaments have been collected, you’ll have to hand them over to Stemmur. Stemmur is found in Hidden Ember.
Turning in all the ornaments to Stemmur will unlock a chest nearby. The chest will contain some rewards, one of which would be the Ancestor’s Return secret weapon.
Horizon Forbidden West Ornament Locations
Let’s start collecting all the ornaments in Horizon Forbidden West without any further ado.
Gizmo Ornament
This ornament requires you to complete the Nights of Lights and The Sea of Sands quests. During the Sea of Sands quest, you’ll come across a locked door in Dunehollow.
The ornament is located on a stone table on the other side of the door. The password for unlocking the door is 739135.
Let’s Get This Started Ornament
This ornament will be found during The Daunt Relic Ruin challenge. Head inside the ruin, and you’ll find a locked door on your upper right (upper left if you turn around and face the opening from where you just entered).
A box nearby can be dragged and used to climb up to the door. The door requires a password and a key to be opened. The ornament is on the other side of the locked door.
To find the key, head in the opposite direction of the door and turn right towards the end of the passage.
You’ll find a vent and a ledge nearby if you look up. You can use the Pullcaster ability to open the vent and drop the ledge.
Next, look around for another box and drag it into position so you can climb up to the vent. Then, head through the vent and drop down on the other side.
Once on the other side, there’ll be a slightly broken wall behind you. Pullcaster can break down the wall. This is needed to bring the box on this side of the wall.
Then, head to the basement and break the floor beneath the cube to bring it down. This is also done using Pullcaster.
Finally, drag the box against the wall behind you in the basement and then use it to climb onto the roof.
The key to the door is present on the roof. Head back to the door and unlock it. The password for unlocking the door is 1705.
Emergency Pit Stop Ornament
The Emergency Pit Stop ornament is found during the No Man’s Land Relic Ruin Challenge. When you begin the challenge, look around for a box blocking a small entrance.
Pull that box to the opposite wall and use it to climb on top of the wall. There’s a Firegleam on the wall nearby that needs to be ignited. Make sure you’re at a safe distance after igniting Firegleam since it’ll explode the wall.
Head through the newly-opened hole in the wall, and you’ll see a wall that can be crumbled using Pullcaster on your left.
Break down the wall and head through. Towards the end of the passage, there’ll be another Firegleam on the wall.
Break down that wall as well to come across an energy cell. There’re two slots in the vicinity where you can plug in the energy cell. However, make sure you don’t carry it into the water.
Once done, climb on the level above, and you’ll come across a locked door. The password for unlocking the door is 2204.
Head through the door, and you’ll find the ornament lying on a table in the room.
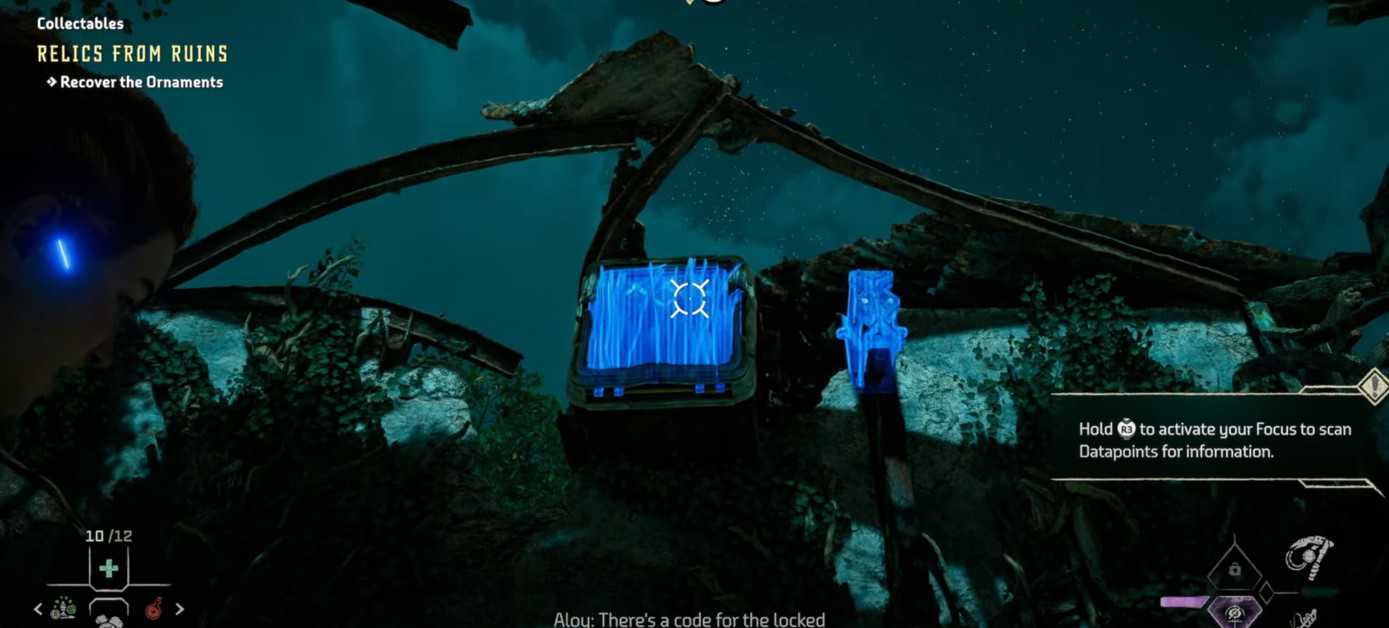
Weekend Gateway Ornament
Completing the Restless Weald Relic Ruin challenge in HFW will unlock this ornament. So look around for an old car when you’re at the site.
You’ll have to pull the track using Pullcaster. The cart can be pulled along two tracks. One of the tracks is leading you to a wall, and another one is going along the side of the ruins.
Pull it along the track that is not leading you into a wall. If the cart is not moving in the required direction, pull the switch nearby to switch tracks.
Then climb on top of the cart to climb to the roof of the ruins. Walk across the rope and then shoot the ladder on the other end. You’ll come across the key to the locked door along the way.
Use the ladder to climb onto the roof across from you. the locked door will be on your left. The password for unlocking the door is 1923.
Once you head through the door, you’ll find the ornament lying on your left. However, to get to that ornament, you’ll have to pull the cart inside the ruins.
Use Firegleam to break the wall and then pull the cart along the tracks inside the ruins. Use it to climb to the ornament.
Stanfort Days Ornament
This ornament is earned as a part of the Dry Yearn Relic Ruin challenge in Horizon Forbidden West. Head inside the tunnel until you come across a gate of metal flowers on your left.
Open the gate, and you’ll find a crate inside. Pull out the crate and use it to climb on the ledge above you.
The ledge will contain a wheel that opens the giant metal gate in front of you. At the end of the tunnel, there’s a wall that can be broken down using Pullcaster.
Breaking the wall will reveal a cart; the cart will later be used to keep the giant metal door open. Towards the right of the tracks (if the metal gate is behind your back), there’s a ledge above you that contains a key. The key unlocks the door on the ledge on the left.
The door will lead you back to the wheel that you used to open the giant metal gate, and to the left of the wheel will be another ledge. On that ledge is the ornament that you’re looking for.
Go Big Ornament
You’ll find the Go Big ornament once you complete the Stillsands Relic Ruin challenge in Horizon Forbidden West. Locating this ornament is easy if you swim right!
Jump through the giant hole in the middle of the ruins, look for a wall with a Firegleam, blow apart the wall, and head inside.
Inside you’ll find a wheel for opening the water flow. You’ll need a crate to get up to the wheel. Later, use the crate to block the only gutter in the room. This will help the water fill up the hall, and you can get to ledges above your reach.
Get out of the room and swim towards the staircase on the other end of the giant hall. There’s a key on that staircase.
The key would open a door in the same hall to reveal another crate. Let the water level rise and pull the crate underneath the giant hole in the ceiling. You’ll have to move from pillar to pillar to pull the crate in the right direction.
Climb up through the hole to spot the ornament.
The Bill Ornament
The Bill Ornament is found during the Long Coast Relic Ruin challenge in HFW. This ornament is located on top of the elevator shaft. However, getting up there is a bit challenging.
The elevator is driven using an energy cell. Once the energy cell is in position, place a crate on top of the elevator and another one inside of the elevator.
You can bring up one of the crates using the elevator, push it out, drop the elevator back down and push the crate back down on top of the elevator.
Once that is done, place another one inside and use it to access the opening on top of the elevator. Bring the elevator to the topmost position and then climb out of the opening to access the top of the elevator.
Then use the crate on the top to climb even higher, and you’ll eventually spot the ornament.
A Church Really Ornament
Complete the Runner’s Wild Relic Ruins challenge in HFW to obtain this ornament. The ornament is located on one of the towers of the church, opposite the locked door.
The key to the locked door is present in another tower. You’ll have to stack up two crates on top of each other to get to the key. Then get the crates as close to the locked door as possible and unlock the door.
Enter the room, and you’ll find a breakable wall on your left. Break the wall and bring the crates to the other end of the hole. Finally, you’ll be able to slide one crate into the room.
Next, slide the crate all the way to the tower on the opposite side of the door. Finally, climb up into the tower to find the ornament.
Isle of Spires Ornament
Complete the Isle of Spires Relic Ruins challenge to earn this ornament in HFW. Climb up the wall of the ruins that have grapples and climb up as much as you can.
Next, enter the ruins and proceed to the far end until you come across a vent in the roof. Open the vent and climb up.
Explore the vent and drop down into the room that has a Firegleam wall. In the same room, there’s a place for the energy cell. The energy cell is located in the next room that’ll become accessible once you break the wall.
There’s another outlet near the elevator where you can insert the energy cell. Then use the elevator to climb to the next level.
There’ll be a ladder nearby, climb the ladder, and you’ll find the key on a ledge on the opposite side. Use the key to unlock the only locked door in ruins. The code for unlocking the door is 2109109.
You’ll find the ornament when you enter the door. It’s placed on a table in front of you.