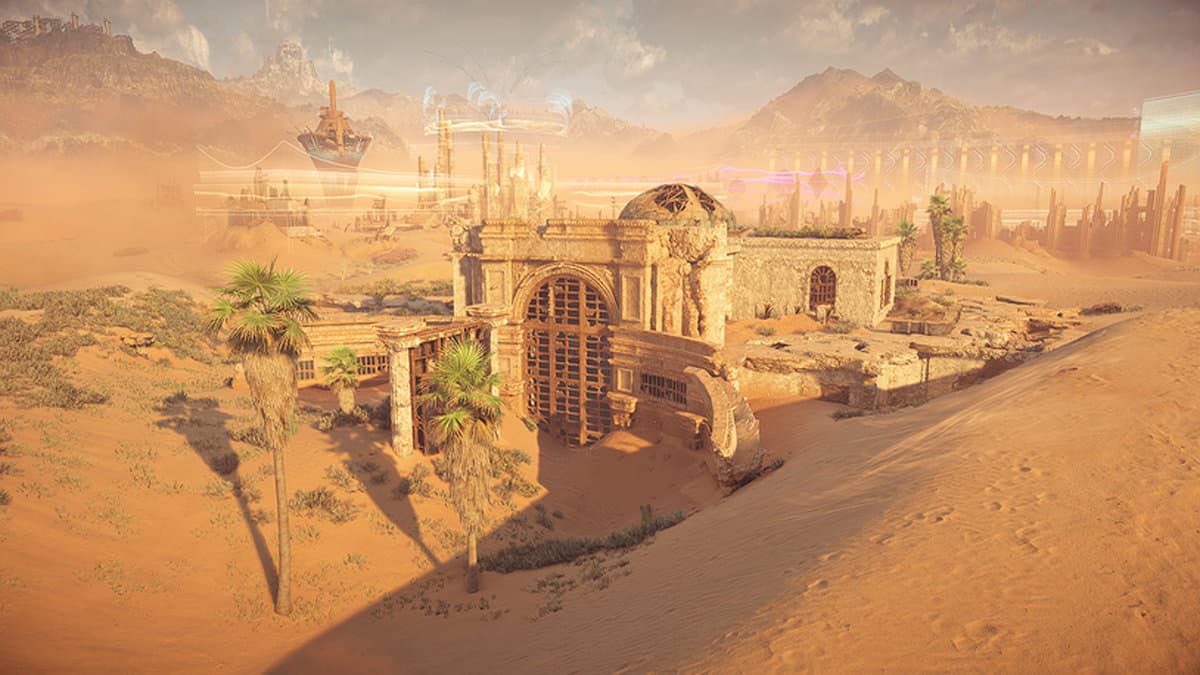
The Stillsands has one of nine relic ruins that you can complete for an Ornament in Horizon Forbidden West.
Relic ruins are puzzles that you can solve as a side activity to earn all of the Ornament collectibles in the game. In addition to reaping bonus experience points from each relic ruin, Aloy can also unlock a legendary weapon by finding all Ornaments.
To solve the Stillsands relic ruin puzzle, Aloy must hurry back and forth to flood and drain the building to reach ledges that are initially not reachable.
The following guide will explain how to complete the Stillsands relic ruin in Horizon Forbidden West.
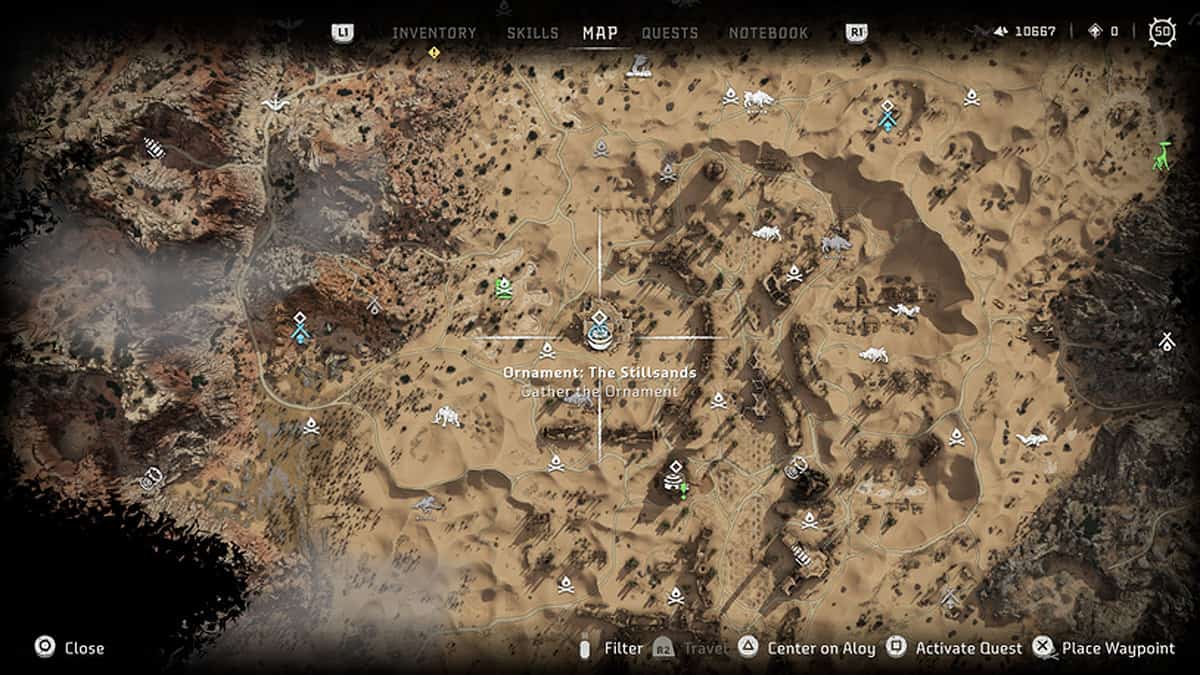
Where To Find The Stillsands Relic Ruin
The player can find the Stillsands Relic Ruin east of the Salvage Contractor in the same area. For further clarification, the relic ruin is located northwest of the Hidden Ember and northeast of the Tremortusk site.
You can also, lastly, find the Stillsands relic ruin by spotting the ruin with a big + on its top.
How To Complete The Stillsands Relic Ruin
There are several ways to approach the Stillsands ruin. To the northwest of the ruins, you will find an opening to a room. Break into it and make your way to the top. You will find a big hole there on the northern tip of the cross. Rappel down and get inside the building to begin solving the relic ruin puzzle.
Your goal is to make your way to the southern part of the building, by solving the puzzle of course. The puzzle here involves raising the water levels to help you reach the grappling points.
Start by igniting and blowing the Firegleam crystals on the wall to enter the Pumping Room. There is a ledge alongside a walkway inside but how to reach it?
Forget the Pumping Room for now and make your way north. Spot a crate on your left and pull it down using the Pullcaster. Push the crate all the way back into the Pumping Room so that you can use it to grab the ledge.
Now spot the Valve on the other side of the walkway and open it to start flooding the water below.
Raise The Water Level
The puzzle is not completed though since you need to flood the entire ruin and for that, you need to increase the water flow.
There is a drain nearby that you must now block by pushing the crate. Congratulations, the entire building is now flooded, allowing you to explore the rest of the rooms and ruins for loot.
Get The Store Key Module
Once you are ready, find the staircase in the southeast corner of the building to pick up a Key Module. Head back and then swim to the north of the building to discover a locked door.
Use the Key Module to open the door to reveal another crate inside. Pull the crate over to the balcony outside and then push it onto the flooded room below. You are finally done with the Stillsands relic ruin puzzle.
Make your way back to the Pumping Room below. You must now drain all of the water. Use the Pullcaster to free the crate from the drain. This will drain all of the water in the room.
You now have two crates on hand. Spot the yellow ledge on the balconies above and push the second crate beneath it. Now place the first crate back on the drain to flood the room again.
Once the water levels are back to maximum, swim over to the second crate and use it to get to the balcony ledge. Continue climbing to the top to pick up the Ornament there.