In this Final Fantasy XV Crestholm Channels Dungeon Guide, we will give you a detailed walkthrough of the Crestholm Channels Dungeon in Final Fantasy XV. Crestholm Channels is one of the many challenging dungeons you will go through in Final Fantasy XV.
We have provided instructions in detail as though how to clear the dungeon including tips and tricks to defeat the two dungeon bosses as well as the loot that you can get in this dungeon in this Final Fantasy 15 Crestholm Channels Dungeon Guide.
For more help on Final Fantasy XV, check out our Keycatrich Trench Dungeon Guide, Balouve Mines Dungeon Guide, and Ulwaat Berries Locations Guide.
Final Fantasy XV Crestholm Channels Dungeon
Crestholm Channels Dungeon is located right at the start where you start the game. Arrive at the Hammerhead Outpost and go back to the area where you started the game.
Once you are at the Crown City Parking Spot, kill all the enemies there and look for a fence at the right side.
Once you see it, look for an open door. Go through the door and follow the path. This will lead you to a sewer entrance. This is the start of the Crestholm Channels Dungeon.
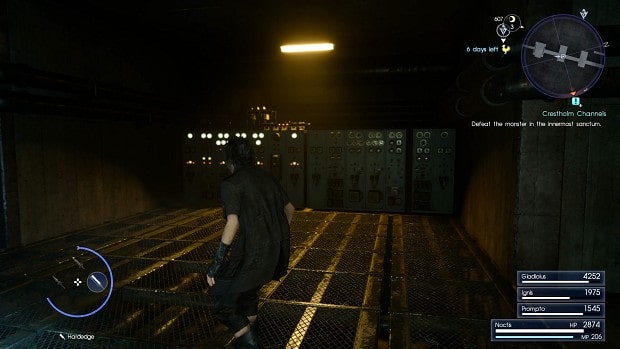
Climb down the ladder to enter the sewer. Once you are down, you need to start four generators and defeat two bosses to complete the dungeon.
You will fight a boss after every two generators that you turn on.
So to start the dungeon walkthrough, once you are down, go left and you will come to some stairs. Climb them and turn on the first generator that is located up there. Near this switch, collect the Elixir lying there.
Once done, head back down to find two Bussemands waiting for you at the end of the stairs. Kill them both and continue forward in the small passageway. Here pick up the Red Choker.
Look to the right side and slide down the pipe. This will lead you to a room full of enemies.
Kill all the Gelatin and Bussemands here. At one point, a Yojimbo will also spawn. Kill them all, proceed further, and turn left. Keep on going straight to the upper level.
Eventually, you will drop down in a room where the second generator is located.
Turn it on and go back to the first room on the lower level. Once there, go left and slide down another pipe and kill all the enemies there. Once done, get ready for the first boss fight.
Boss Fight #1
Continue onward in the room until you see an opening. Enter and you start the first boss in this dungeon. The first boss is Nagarani. It is a very tricky boss because the area in which you fight with it is very small so there is very little space to dodge its attacks.
Continue to damage the boss and dodge all of its attacks. If you are wearing a Moon Pendant, Nagarani cannot use its toad turning ability.
Deal with the boss and collect all three magic sources in the room.
Once you are done with the boss, first half of your dungeon is complete. Go up the stairs and go to the area above the boss fight arena.
From here, continue on ahead crossing the narrow ledge and across the sewer pipe. From the next room, you will find a locked beyond which sits the final boss of this dungeon.
Before you can access that door, you need to turn on the last two generators and collect the Blood Sword.
From this room climb up the ladders to get to the room where Black Flan is present. Kill it and advance to the ladders.
You will be back in the Nagarani boss battle room. Here climb up the ladder to the third generator room and turn it on. After you are done, open the door and go ahead.
At the crossroads, the left path will lead you to the start of the dungeon with some loot along the way.
Go there and pick the Wyvern Lance. Come back and go straight. Do not bother with the right path as it only leads to a locked room. Go straight, jump over the fence, and enter the middle passage.
From here go down the stairs and you will end up in the room where the last generator is located.
Turn it on and you are all set for your final boss battle. Head back to the room where you found that locked room and enter the door.
Boss Fight #2
The last boss is the Jormungand. It has a snake body with a dragon head. The looks match the damage it does. Do not stand near to it, take advantage of the big arena and dodge its attacks from a distance.
Keep some fire resistant gear handy as the boss loves fire and will deal massive damage with its fire attacks.
Keep dodging the attacks and hit him and you will be fine. After defeating this boss, you will be done with the Crestholm Channels Dungeon.