Conquering Naval Forts in Assassin’s Creed 4 Black Flag is not only fun, it is also the main way you can open up otherwise restricted regions of the sea for exploration.
There are 10 different Naval Forts located in the game. All of them need to be assaulted first by sea, and then taken over by land through a series of assassinations.
The sea part will have you assaulting the external parts of the fort with the Jackdaw, weakening it sufficiently for an on-foot invasion.
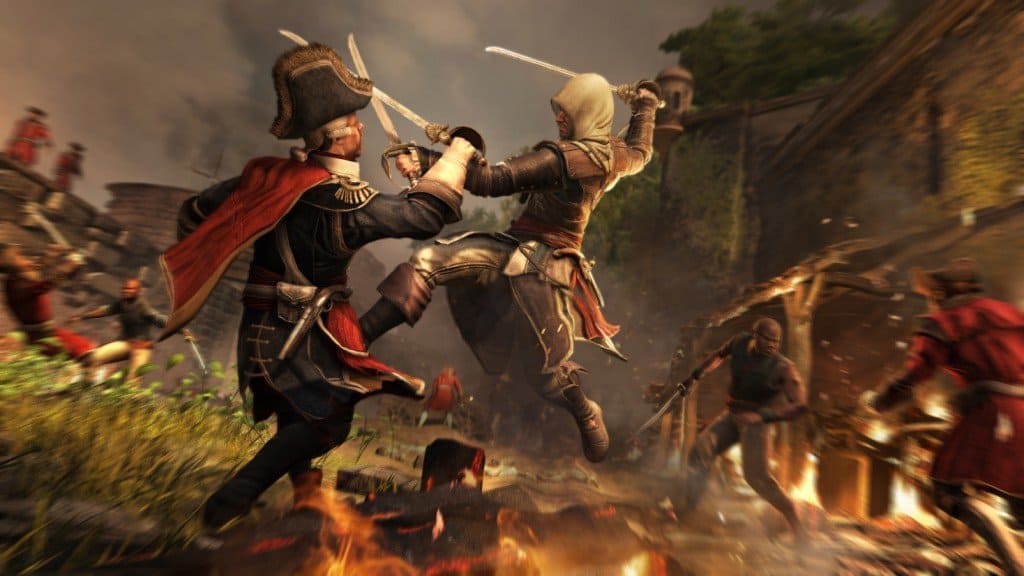
After that, you will need to infiltrate the fort, assassinate at least one Captain (up to three in the more difficult forts), which will grant access to the Fort Commander, who you’ll also need to assassinate.
The area surrounding the fort, and the fort itself will be accessible to you at all times from there onwards.
For more help on Assassin’s Creed 4, Underwater Shipwreck Locations, Buried Treasures Locations and Legendary Ships Guide.
Assassin’s Creed 4 Black Flag Naval Forts
There are three levels of forts in the game. Level 1 forts are easy, enough that you could invade them with barely any upgrades to the Jackdaw and only a handful of items.
Level 2 forts are intermediate, slightly difficult forts that will need Intermediate upgrades (Reinforced armor, Advanced weapon upgrades) for the Jackdaw, and better equipment. Level 3 are the hardest, and will need top-of-the-line upgrades – if you can get your hands on the Elite ones, then they should be a breeze.
For the assassinations, you should always go in with a set of Smoke Bombs, loaded pistols, and ideally Blowpipe ammunition if possible. The first three forts in this guide are Level 1, followed by four Level 4 forts. The final three are Level 3 forts.
Fort Dry Tortuga – Coordinates: 254, 759
Naval Assault: There are three targets to take out. If you have mortars at this stage, then start firing from a distance.
Approach from the east to take out the southern tower, and then continue to the other two targets, using a combo of swivel guns and barrages to take them out. Mortars will make things very easy during this assault.
Assassinations: Climb from the left-central part of the fort, all the way to the top, and then descend downwards from the right.
There are a set of ropes underneath which the Captain is standing. Perform an aerial assassination. You might have to fend off a set of enemies. If you have Smoke Bombs, use them, and head to the waypoint that directs you to the Fort Commander.
Fort Eleuthera – Coordinates: 726, 784
Naval Assault: Approach from the west to the Eleuthera fort to take out all the targets in a single pass.
If you have mortars, initiate from a distance, and then sail slowly past the targets, taking them out with swivel guns and barrages. Dock immediately after to prevent other ships from appearing in the area.
Assassinations: Climb all the way to the top end of the fort with a free run, not stopping for anything in between.
From the top, head back down from the right side. There is a wooden beam, under which the Captain is standing, and also where the war room is. Perform an aerial assassination, and then enter the war room to take out the Fort Commander.
Fort Gibara – Coordinates: 657, 522
Naval Assault: Approach the fort from the north. This fort is quite weak, but it has relatively stronger shots compared to the previous two forts.
Make sure you avoid them to prevent being badly damaged – the best thing to do though is to come into the area with a Hull Armor upgrade.
Assassinations: The Captain for this one is accompanied by two additional guards. If you’ve played AC3 and had your share of battles in this game, then taking them out should be no difficult feat. It’s a fairly easy assassination. Head to the waypoint to take out the Fort Commander after that.
Castillo De Jagua – Coordinates: 356, 556
Naval Assault: Though this is a Level 2 fort, the naval assault is pretty simple if you’re coming in with decent Jackdaw upgrades.
Bombard the fort with mortars once you come in range, and then unleash your broadsides after that. There might be a few gunboats lurking around, but those would stand little chance against your ship.
Assassinations: There are two Captains you will need to assassinate in this fort. The first one is located in the northeastern part of the fort. Free-run from the left building onwards to reach a set of ropes. Perform an aerial assassination to get rid of the first Captain.
The second Captain can be taken out with a similar approach.
Head to the south and you should be able to spot the other Captain. However, there may be a few guards lurking about in this region. Make sure you assassinate the Captain first, and then fight the guards or use smoke bombs and head to the next waypoint.
Fort Carbo De Cruz – Coordinates: 566, 390
Naval Assault: Sail from the west so that you can avoid encountering enemy ships in the restricted region. Start using your mortar immediately when the fort is in their range to weaken the first few zones.
If you have high level upgrades, you will need a single pass to destroy all the targets. Otherwise, you’ll have to make two passes to take them all out. Make sure you have good armor though.
Assassinations: After docking, you will need to kill two Captains. The first one is located directly south of your position.
Try to take him out from the behind, because he’ll run if he spots you. If he does, use your Smoke Bombs and then assassinate him. After this, head all the way to the top of the fort, and then climb down from there to the southern area.
You will hopefully find ropes there that will allow you to perform a simple air assassination. There is a Gunner present here however. Use your Blowpipe ammo on him if possible.
Fort Conttoyor – Coordinates: 102, 545
Naval Assault: The harshness of the weather surrounding the fort make this naval assault challenging.
There will be waterspouts shortly after you engage in combat here, and they will make steering the Jackdaw a miserable job. Thus, it’s best to assault the fort from long range using mortars.
Sail in and use your broadsides from a distance of around 250/200 meters minimum to take out the remaining fort. You will probably miss a lot because of the weather, but a little patience and determination should pay off.
Assassinations: The difficulty of this forth doesn’t end with the docking. You will need to take out three Captains in this one.
The first Captain is found directly to the south. There are two guards with him – take them out along with the Captain. Run north after this one and finish off the second Captain with a ranged attack.
The third Captain also has guards around him, and it’s best not to waste your time with them. Climb back up to the southern wall and make your way to the storage shed. You should be just above the Captain for an aerial assassination here.
Fort Navassa – Coordinates: 728, 219
Naval Assault: This fort is on an island, but unlike Conttoyor you won’t have terrible weather. This should allow you to sail around the perimeters of the island unleash your barrages, making it a very easy naval assault, except there are schooners located everywhere.
Just make sure you aren’t taking many hits from them, and maintain your focus on the fort unless they get too near, after which a few heavy shots should do the trick to get rid of them.
Board the schooners if Jackdaw takes a lot of damage to make some mid-battle repairs.
Assassinations: The first Captain is to the right, so climb to the left wall to stay out of sight. Climb to the building nearby and take him out with an aerial assassination.
The second Captain is located east of the building. You can also perform an aerial assassination on him. Head for the Fort Commander after this. However, you will probably run into a Gunner on the way – assassinate him and use his musket to take out the Fort Commander.
Fort Chinchorro
Naval Assault: Yep, the Level 3 forts have started. If you want to go through the naval battles with ease, you should spend time and give the Jackdaw some Elite upgrades.
Chinchorro’s naval battle becomes harder as it progresses. After a short while into the battle, rain and thunderstorms will begin to agonize your control over the ship, making aiming and steering extremely difficult.
You need to be quick and efficient with your destruction to prevent the workload from transitioning into the bad-weather duration.
Assassinations: The first Captain is straight ahead. Free run to the building above him, and perform an aerial assassination.
The second Captain is surrounded by enemies. Prepare your Smoke Bombs for this area, and use them to eliminate the guards and the Captain himself. The third Captain is located in the far south. He is pretty easy to take out, so you shouldn’t have much problem there.
Fort Serranilla – Coordinates: 347, 140
Naval Assault: Although this is a Level 3 fort, it is actually fairly easy, both the naval assaults and the assassinations.
The fort has a powerful defense, but hopefully it will be no match for the accuracy and lethality of your (again, hopefully) powerful upgrades.
Assassinations: Bring in a Berserk Dart to get two Captains in quick succession. Head up straight to end up directly behind the first Captain. Take him out, and use the dart on the second Captain located to the east.
Turn to the west and climb the building. You will be in a very good position to take out the third Captain from here. Take him out, and then head for the Fort Commander.
Fort Charlotte – Coordinates: 470, 272
Naval Assault: Just like Conttoyor, this fort is in the midst of a terrible storm. The waves here will off-balance your ship and push it around here and there, making it quite difficult to take out the targets easily.
Try staying as close to the fort as you can, and keep aligning yourself to counter the waves. The waves will be less intense near the island, but you will risk being easy-pickings for the enemies.
If you have top-tier upgrades, you should be able to withstand the assault and take them out with your own.
Assassinations: You will find the first two Captains in the same area. That’s a bonus, right? Well, not quite, since they are surrounded by guards.
Hopefully you brought in some Berserk Darts; use them on both the Captains, and then fight the guards till they give up. The final Captain is on the south side of the forth.
You’ll probably come across a Gunner here. Assassinate him in any way that suits you possible, and then sneak behind the Captain to take him out. Head for the Fort Commander, and you will be done.
If you find anything confusing, comment and we will help you out!