This guide includes information about all the recurring types of enemies that you will encounter while playing Half-Life: Alyx. The Half-Life: Alyx Enemies guide focuses on strategies to deal with each type of these enemies that you’re going to face.
Half-Life: Alyx Enemies
Barnacle
These first appear in Chapter 2: The Quarantine Zone. These tend to hang from the ceilings and their long tendrils suck the items, grenades, or even Alyx’s face into their mouths.
It takes at least 4 pistol rounds to take one down, while they’re worth killing as they tend to drop ammo and Resin. You can kill a cluster of Barnacles by throwing any sort of an explosive towards them, like an oil canister.
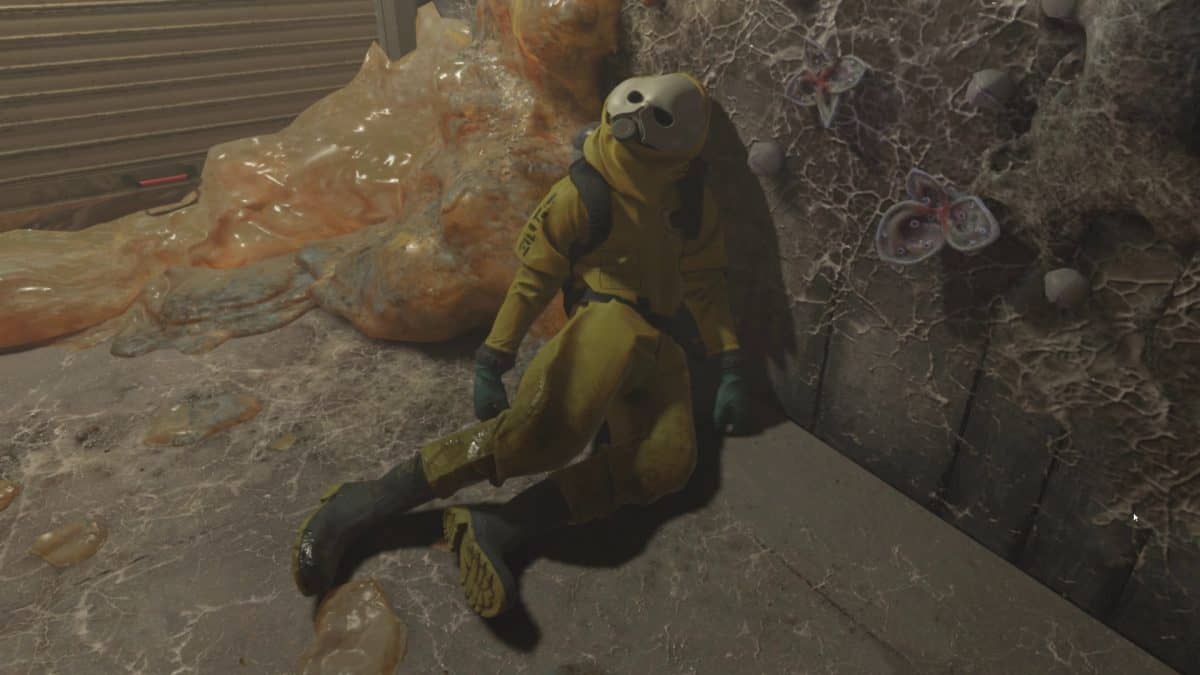
Headcrab
These classic Half-Life enemies first appear in Chapter 2: The Quarantine Zone. The Headcrabs are quite common enemies and you will come across them in Half-Life: Alyx, while you can put them down with around 3 to 4 pistol shots.
However, make sure that you do not let them jump towards you or they can dish a lot of damage. You can try to lessen the damage that they deal by kiting them and placing obstacles in between yourself and them while you’re shooting them. You can pick objects up to defend yourselves from these.
Armored Headcrab
These first appear in Chapter 3: Is Or Will Be. As the name says, the Armored Headcrabs have an armored shell that make them difficult to kill. They tend to jump towards you to dish damage like their unarmored brothers.
You will need to wait for them to reveal their unarmored stomachs/bellies and then you can shoot them right there. You will also need to try and protect yourself from them by placing obstacles in between.
Toxic Headcrab
These first appear in Chapter 3: Is Or Will Be. These have furry legs and they’re toxic headcrabs while they can be quite dangerous when they’re in numbers. Make sure you kill it before it jumps onto you.
They will appear in dark places and you will need to utilize your flashlight so that you can identify them in the shadows. They use a neurotoxic to attack you that can take a lot of your health, and their attacks also tend to blind you, temporarily. You can quickly kill them with shotguns and explosives.
Lightning Dog
These first appear in Chapter 5: The Northern Star. These are tough to put down as they run quite fast while shooting lightning bolts everywhere.
They have a defense mechanism where they can surround themselves with electric fog and you can easily identify them by the reaction of the nearby objects whenever they pass by, or by any sort of electrical discharge.
Try not to fight one unless you’re fully prepared for it as it can deal a lot of damage to you by its electrical attacks. It takes a number of shotgun shells to put one down, and it doesn’t even look like an actual dog.
Lightning Dogs drop an item called a reviver and it fits in the slots for Combine Battery and it also works in the same way as the Combine Battery.
Lightning Dog Zombie
These first appear in Chapter 5: The Northern Star. A usual lightning dog can enter a corpse to become a lightning dog zombie.
These are rather challenging since you have to kill the zombie and the lightning dog attached to it, while you’re also supposed to dodge the electrical attacks.
Make sure that you’re aiming for the parts of the body that’s glowing blue near the limbs and the head. Eventually, the parts will explode and make the lightning dog come off the body.
Headcrab Zombie
These first appear in Chapter 2: The Quarantine Zone. The Headcrab Zombies are slow-moving zombies that are rather easy to put down from a distance with a pistol. Just aim for the head or the green parts of the body.
Armored Headcrab Zombie
These first appear in Chapter 3: Is Or Will Be. These Half-Life enemies are basically the same as their unarmored versions, but with an Armored Headcrab on top of the zombie.
These will deflect the usual pistol rounds whenever you shoot them in the head. Thus, you will need explosives or a shotgun to put these down.
Toxic Headcrab Zombie
These first appear in Chapter 3: Is Or Will Be. These are quite like the other types of Headcrab Zombies, except that they have the Toxic Headcrab on top of the zombie host.
These are reasonably slow and easier to deal with at a range. Just aim for their head as they have increased health and they can be quite toxic if you let them get close to yourself.
Manhack
These enemies first appear in Chapter 3: Is Or Will Be. These are basically drones that fly and spin while carrying a chainsaw blade. These tend to fly towards you with a lot of force. Even a single one of these can dish a lot of damage if you’re not paying any attention to it.
However, they tend to be quite noisy, so you’d know whenever they’re heading towards you. You can take them down with a few pistol rounds. But since they’re flying, rightly aiming at them can be quite tricky. So, try and fire at them from the hip.
Combine Soldier
These first appear in Chapter 3: Is Or Will Be. These can target you from a distance using automatic weapons while shooting from behind covers. The Combine Soldiers can also throw grenades at you to force you out of cover. You can try and take them down one-by-one to deal with them.
Combine Heavy
These first appear in Chapter 3: Is Or Will Be. They are very dangerous when in close range, while they’re quite difficult to kill after they’ve their forcefield deployed.
They can even take a number of grenade blasts and entire magazines. However, you can try and kill them quicker by shooting at their heads.
Antlion
These first appear in Chapter 8: Captivity. They’re large insects that use two legs to walk with the oversized abdomen and scary jaws. They’re relatively easier to face if they’re alone, but they become quite challenging to kill when in numbers.
You will want to cripple them by shooting their legs and then aiming for the large abdomens. They can even fly into the air to explode, dealing an AoE damage to nearby enemies.
Blue Antlion
These enemies first appear in Chapter 9: Revelations. They’re easier to kill as compared to their orange-colored variants.
However, the blue-colored Antlions tend to fire ranged attacks at you that can be so deadly that the attacks may even bring you down to no health, even if it’s a one-vs-one scenario. So, you need to be wary of their ranged attacks and block or dodge them whenever you see them coming towards you.