Mayamats Shrine in Zelda: Tears of the Kingdom is all about balls and illusions. There is strictly one way to solve this shrine, and it is by using the large ball to create platforms.
While it is among the easier ones to access, the puzzle of the Mayamats Shrine in Zelda: Tears of the Kingdom is extremely difficult due to the lack of directions. This shrine teaches the value of anything you can use to create paths.
Mayamats Shrine Location in Zelda: TotK
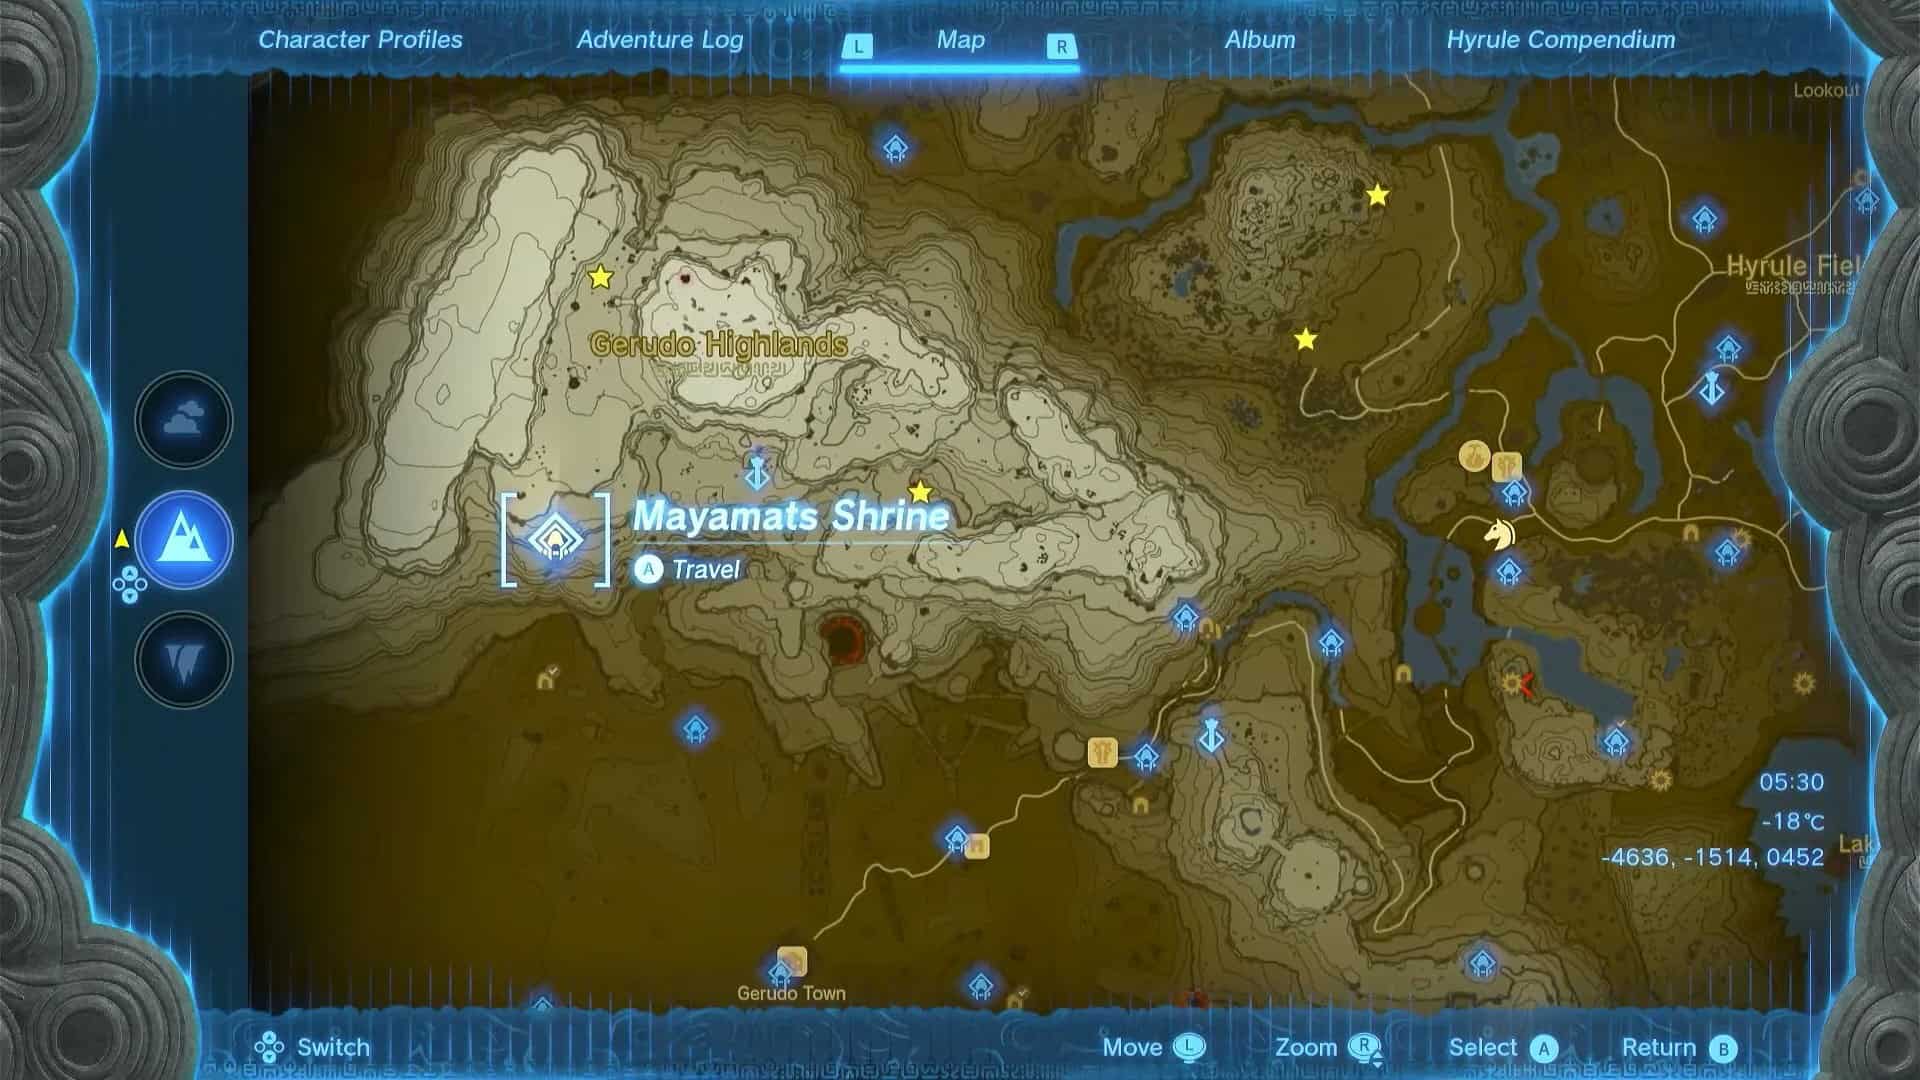
Mayamats Shrine is in Gerudo Highlands, northwest of the Gerudo Desert. It is on Rutimala Hill, southwest of Gerudo Highlands Skyview Tower.
The exact coordinates for the Mayamats Shrine in Zelda: Tears of the Kingdom are (-4636, -1514, 0452). The easiest way to reach this shrine is to use the Skyview Tower and glide west.
As this area is sweltering during the day and cold at night, we recommend bringing Desert Voe and Snowquill armor sets with you.
Mayamats Shrine Walkthrough
The trial of Mayamats Shrine in Zelda: Tears of the Kingdom is known as A Route for the Ball. The objective of this puzzle is to use a large ball to collect a small one from a seemingly inaccessible area.
1. As soon as you enter the shrine, you will notice an orange receptacle where a small ball can be placed.
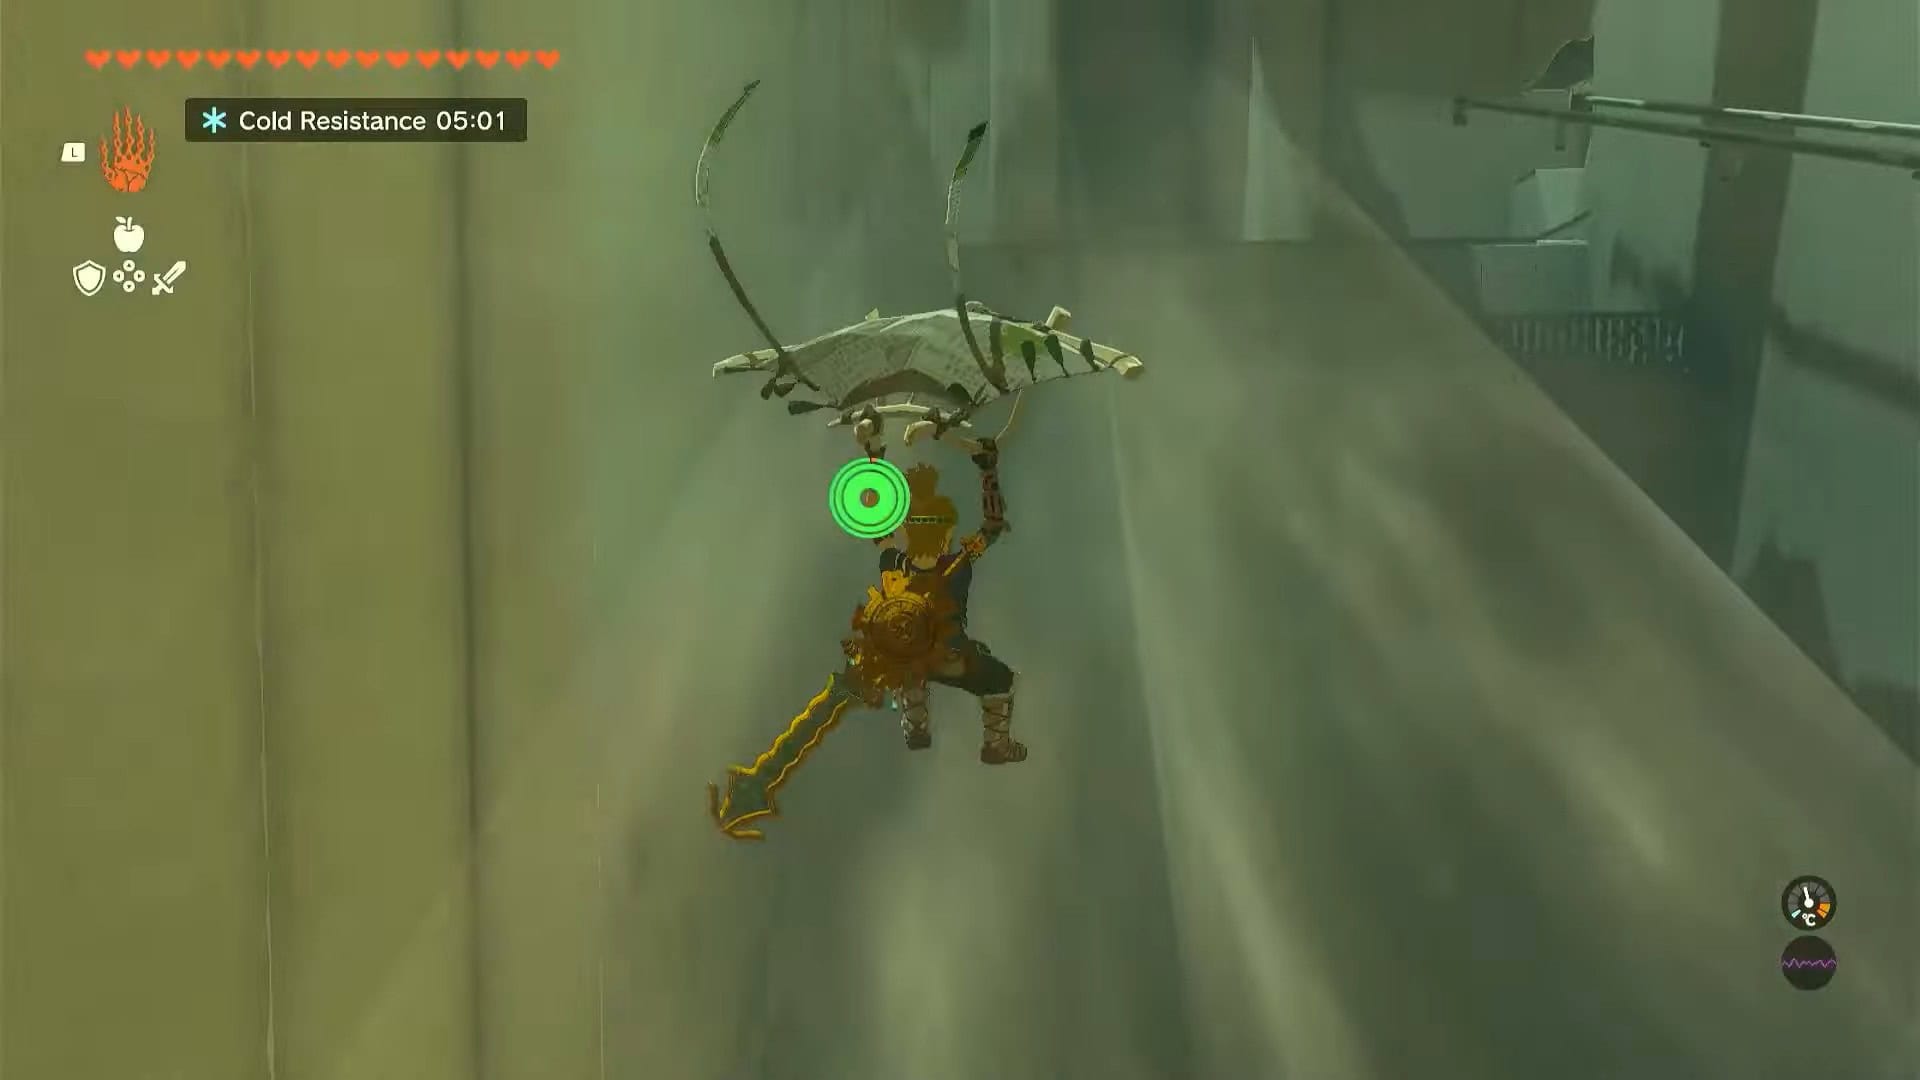
2. Turn left and use the air currents to reach the upper platform.
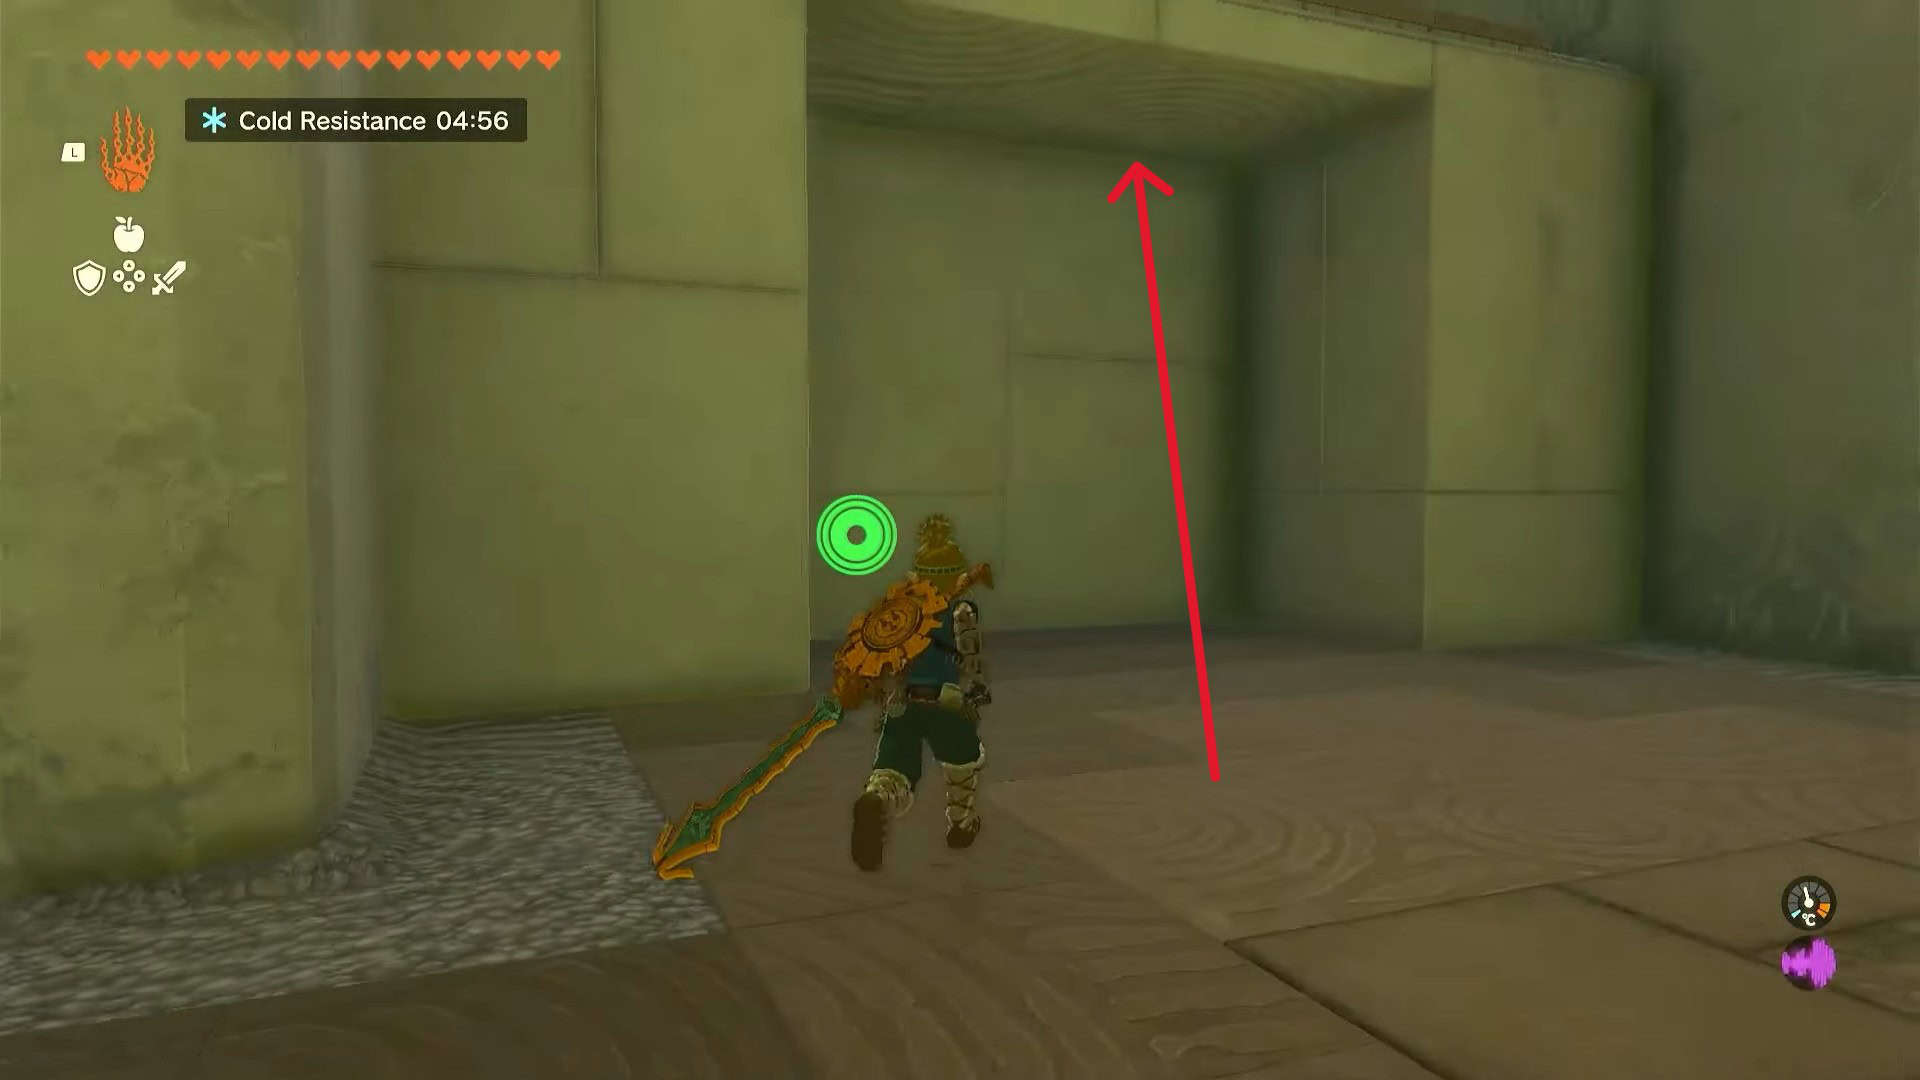
3. Turn right to find a ledge above. Use the Ascend ability to climb it. There is a large ball present here.
4. Pick up the ball with Ultrahand and drop it down.
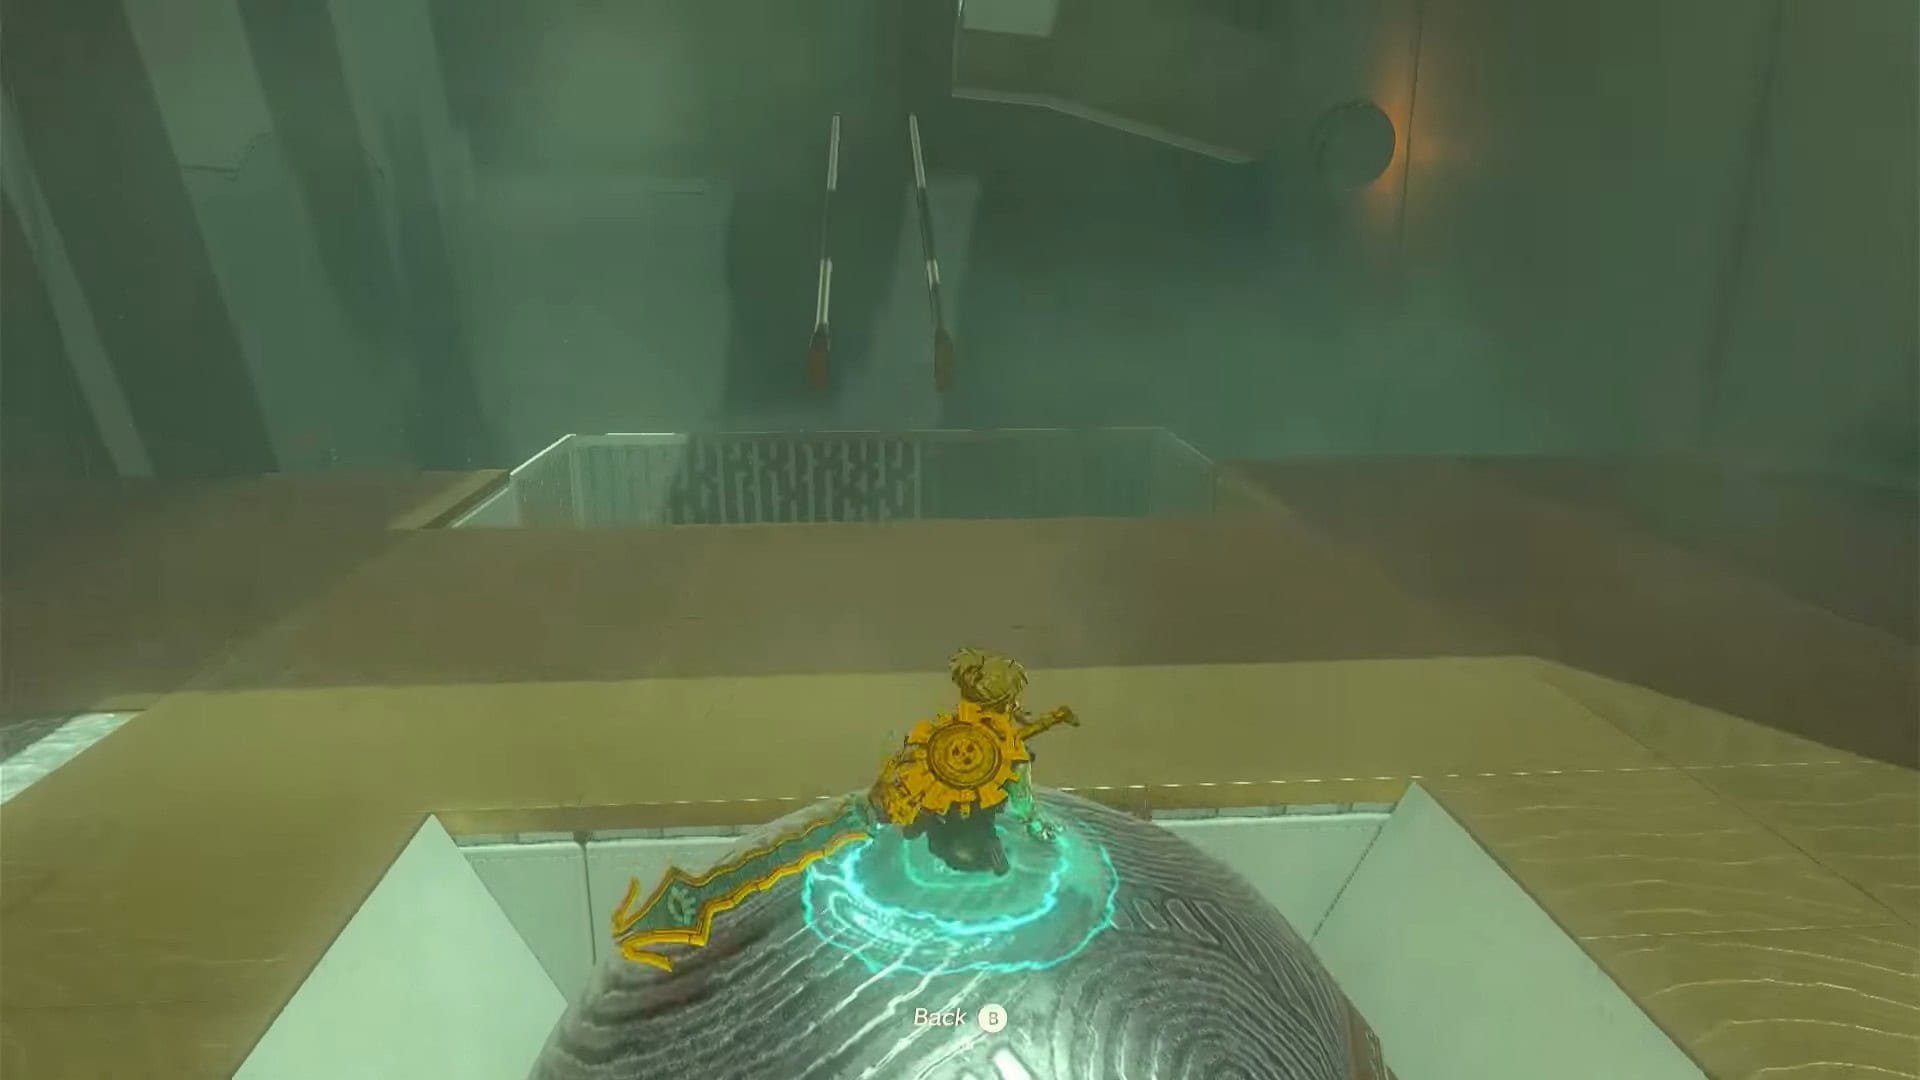
5. Place the ball in the gap leading to the treasure chest. Jump on the ball and make your way across.
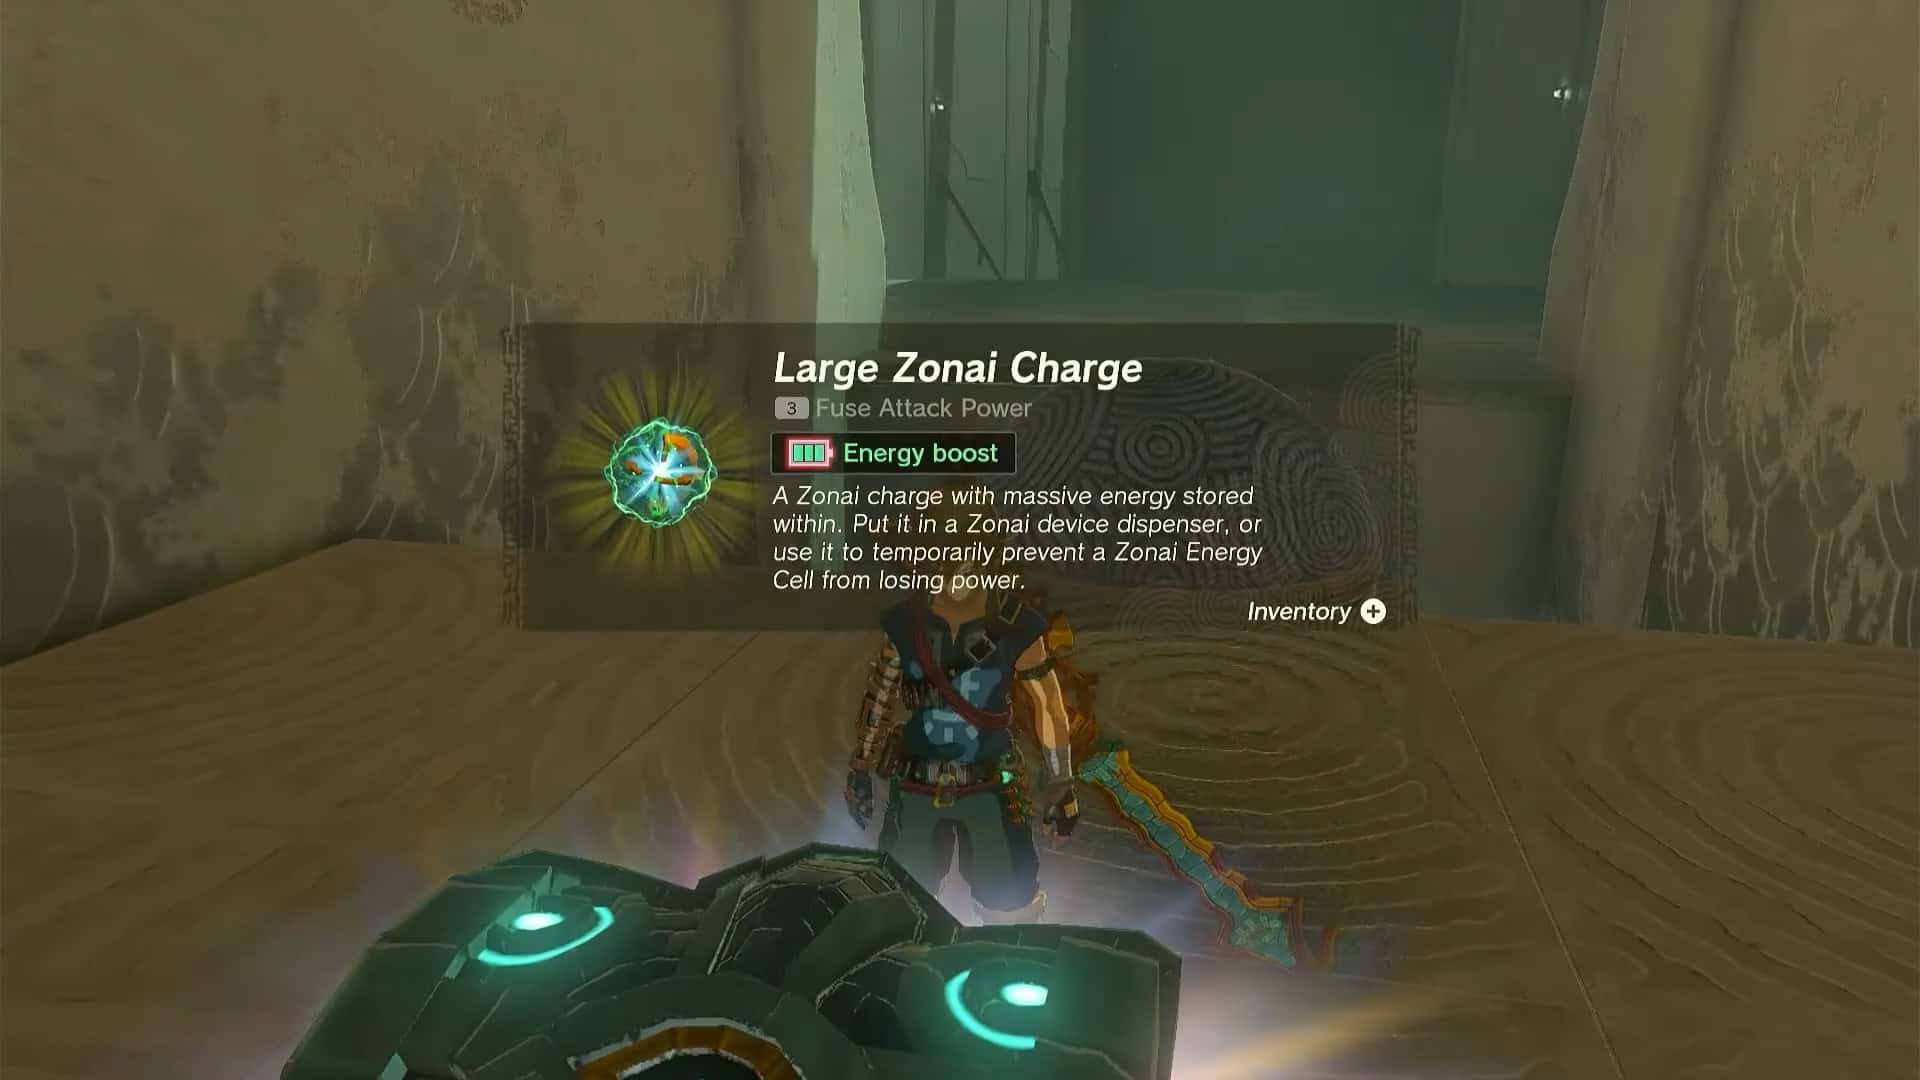
6. Open the treasure chest to obtain a Large Zonai Charge.
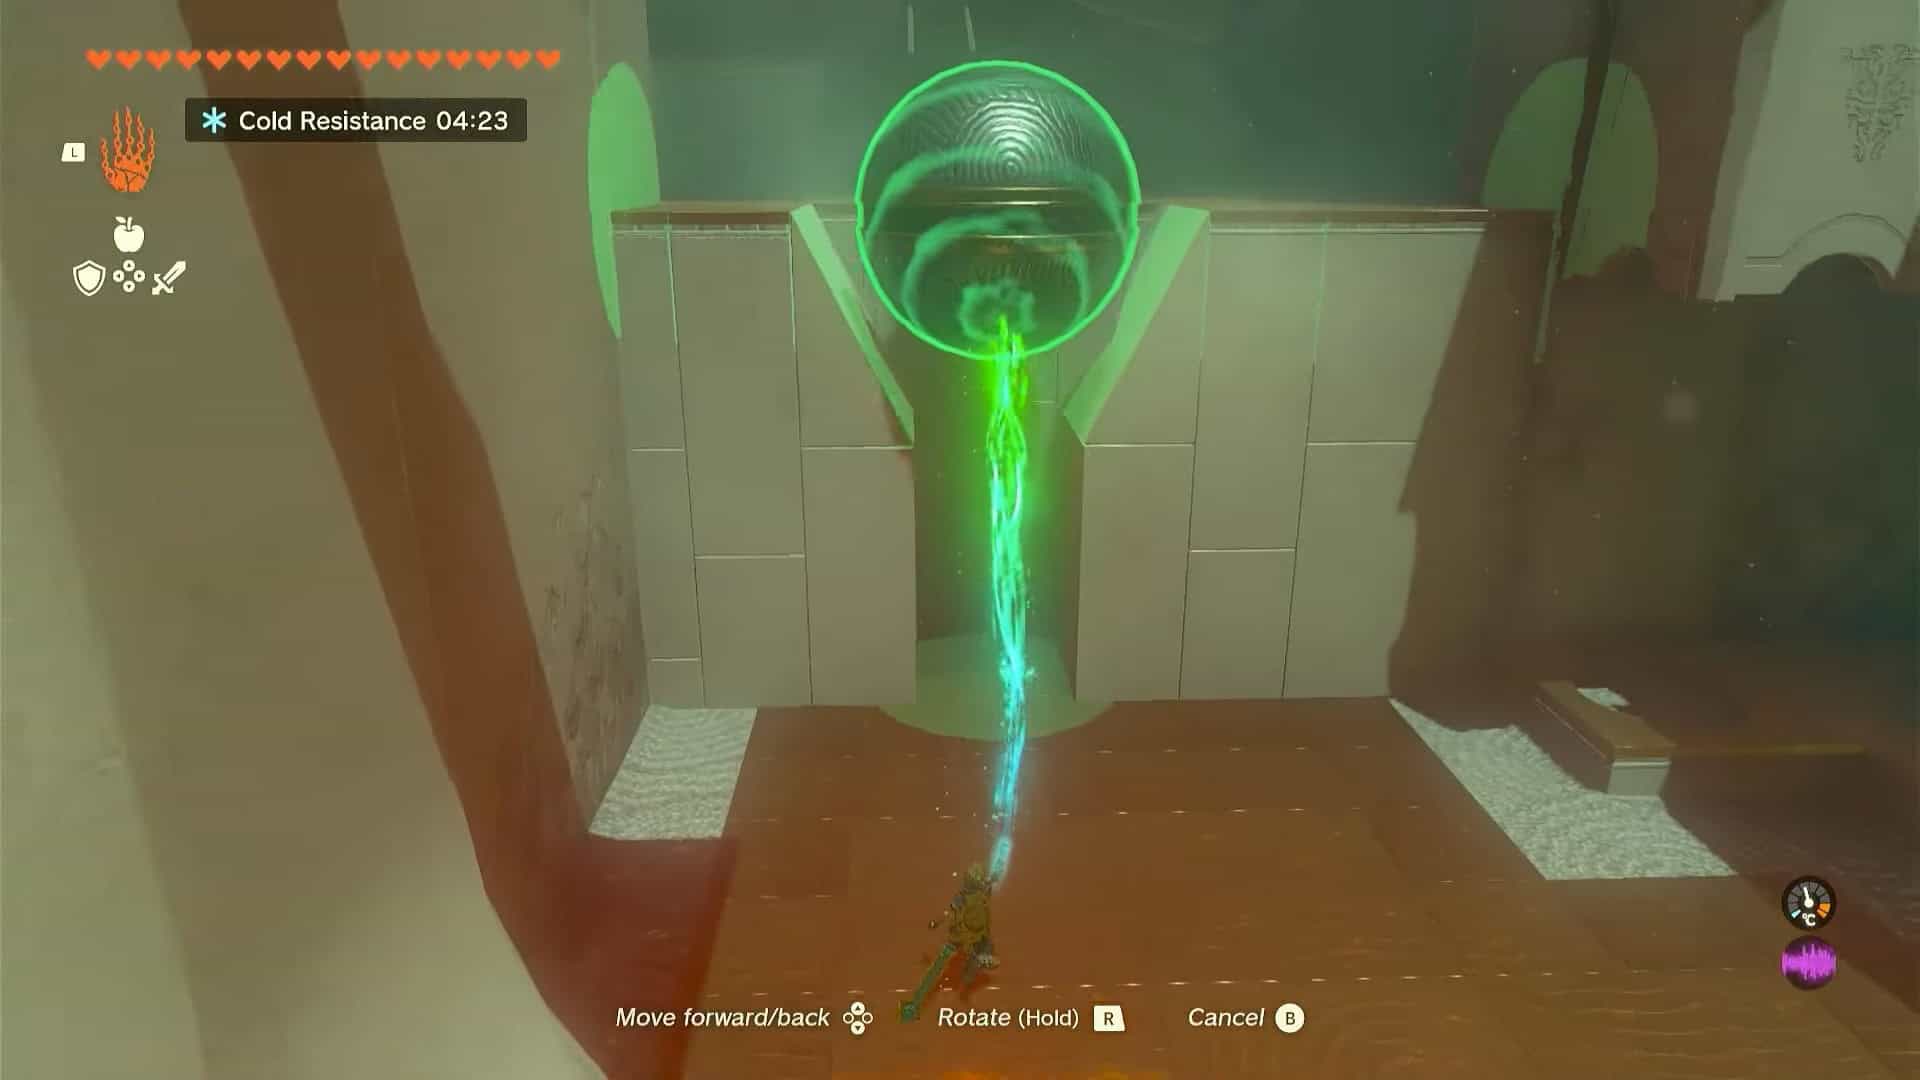
7. Pick up the large ball again and place it in the depression to the right above.
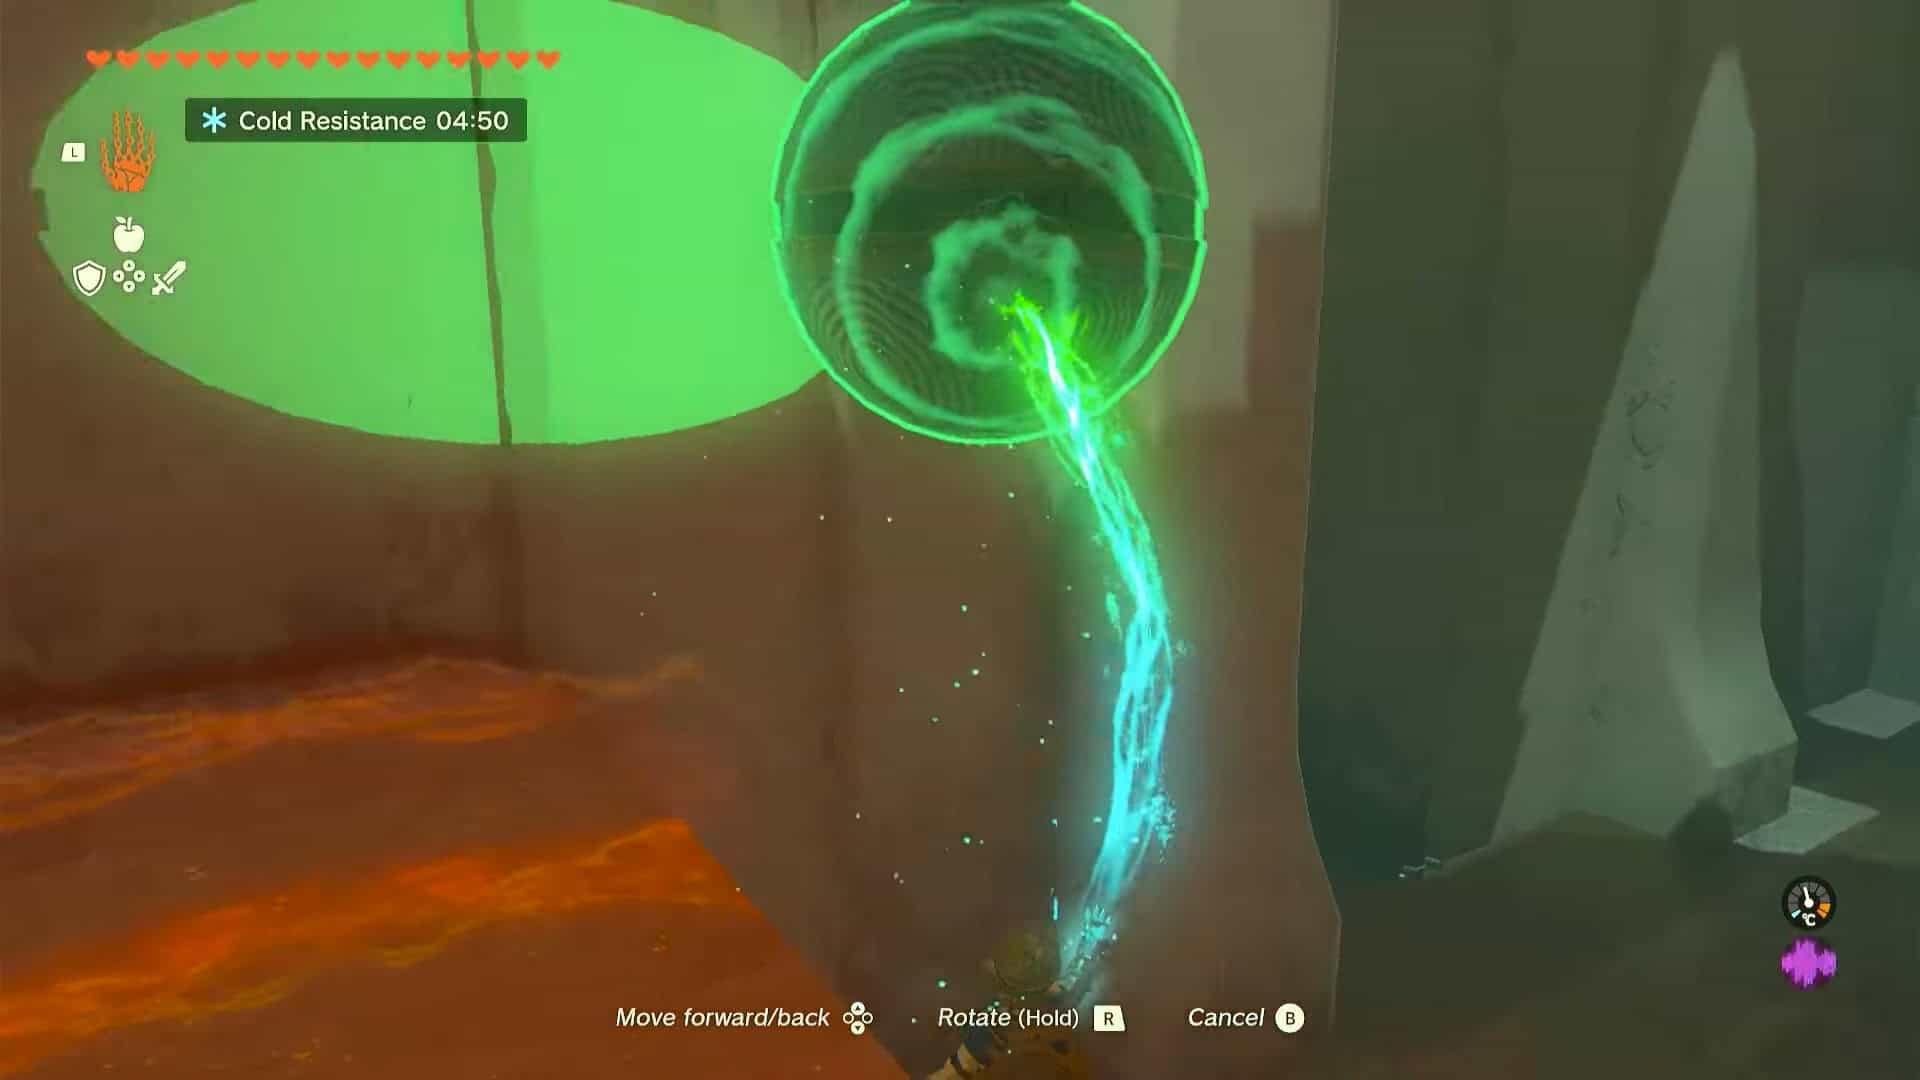
8. Use the large ball as a platform and use the Ascend ability on it to get to the next area.
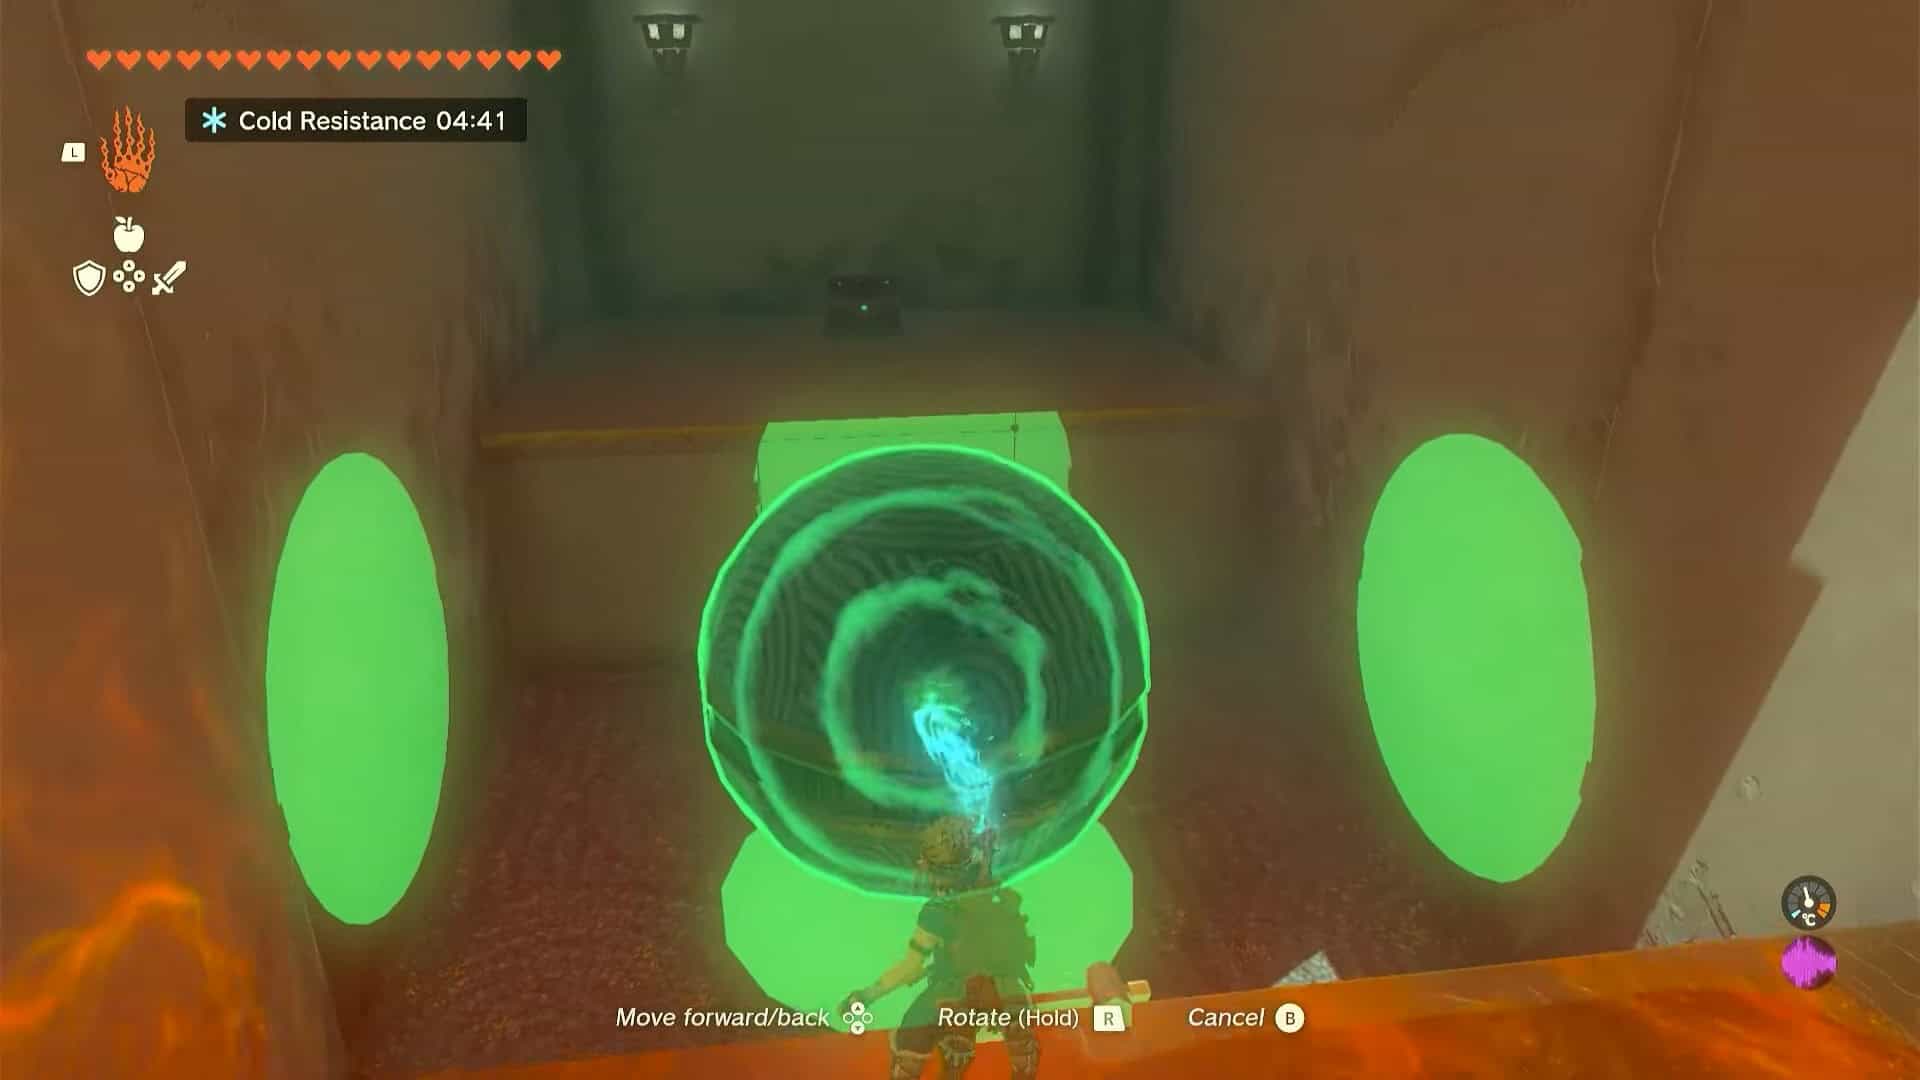
9. There is a small ball in the area that you need. Pick up the large ball with Ultrahand and move it across the rail in the middle.
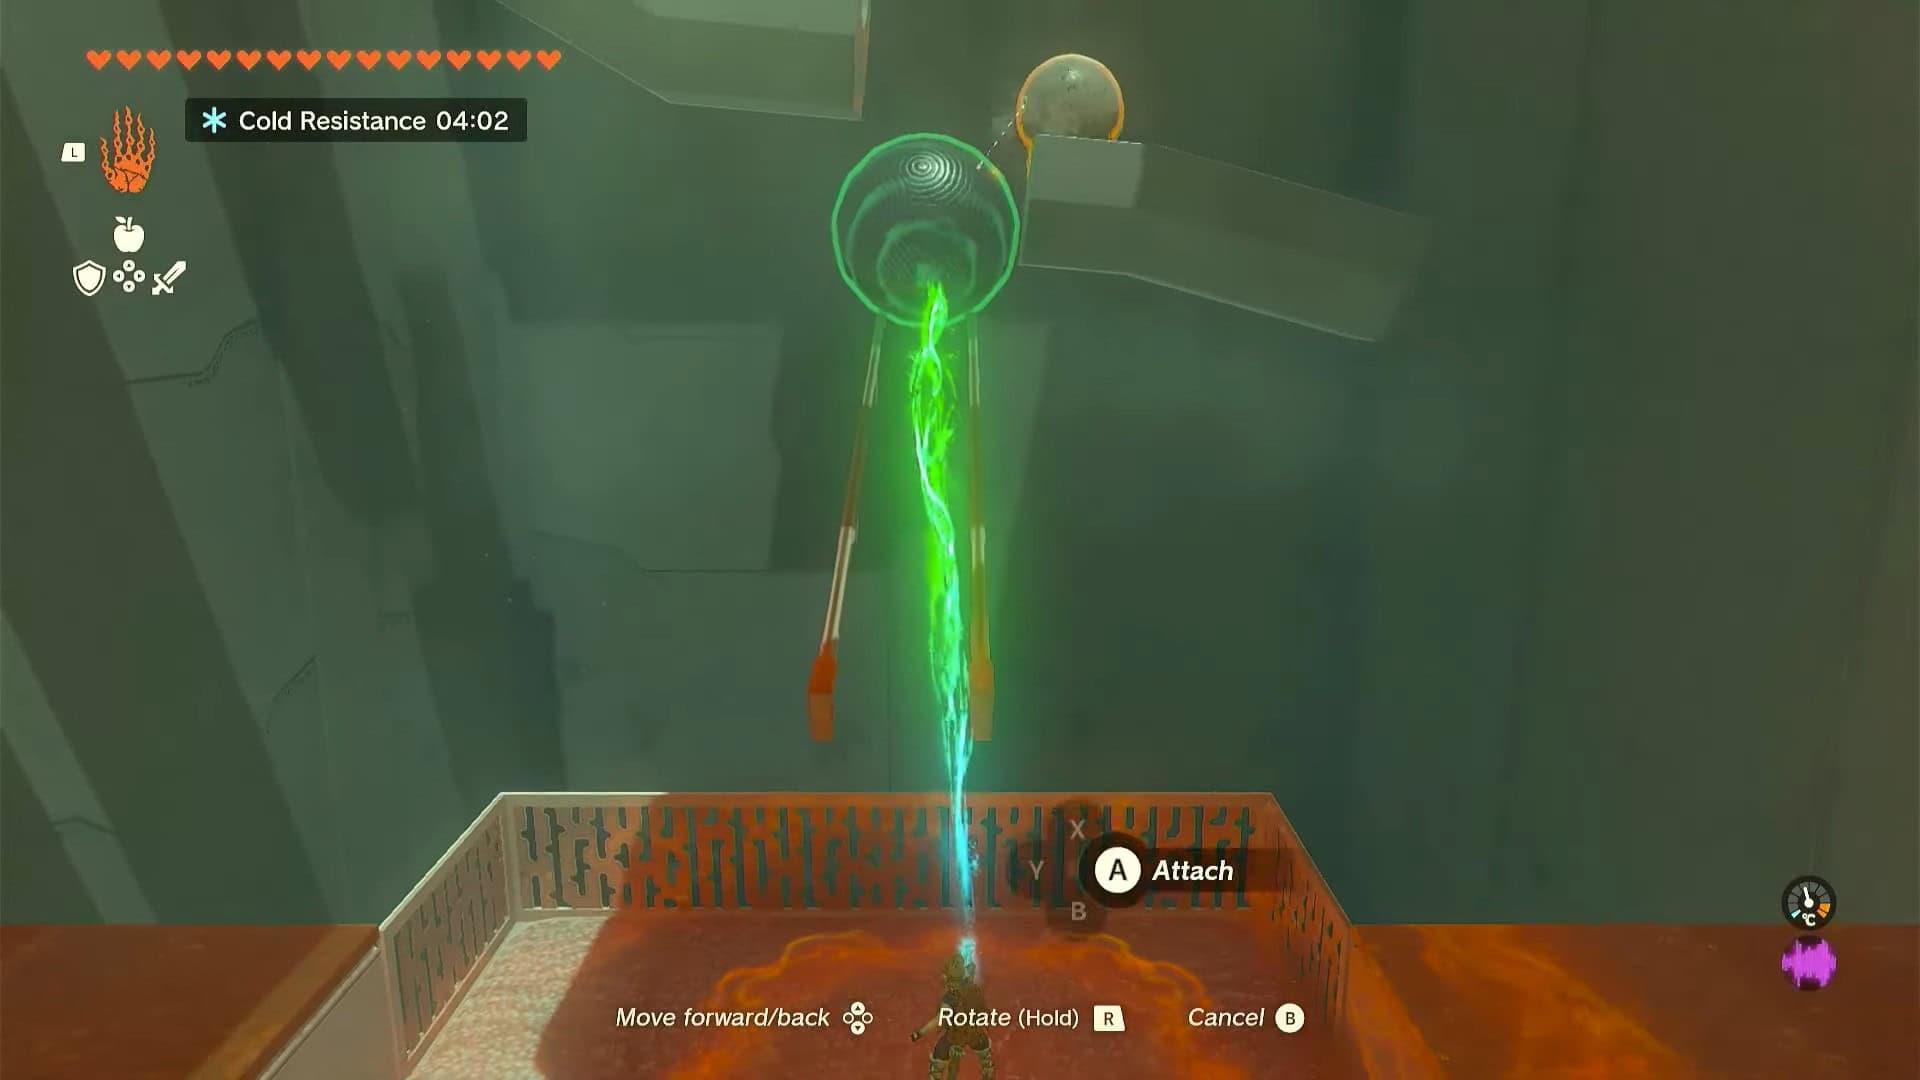
10. Make sure the large ball is at the end of the rail. Once the small ball passes near it, press A to attach it to the large ball.

11. This will break your connection with both, and they will fall on the rail. Pick these balls and take them back to the previous area.
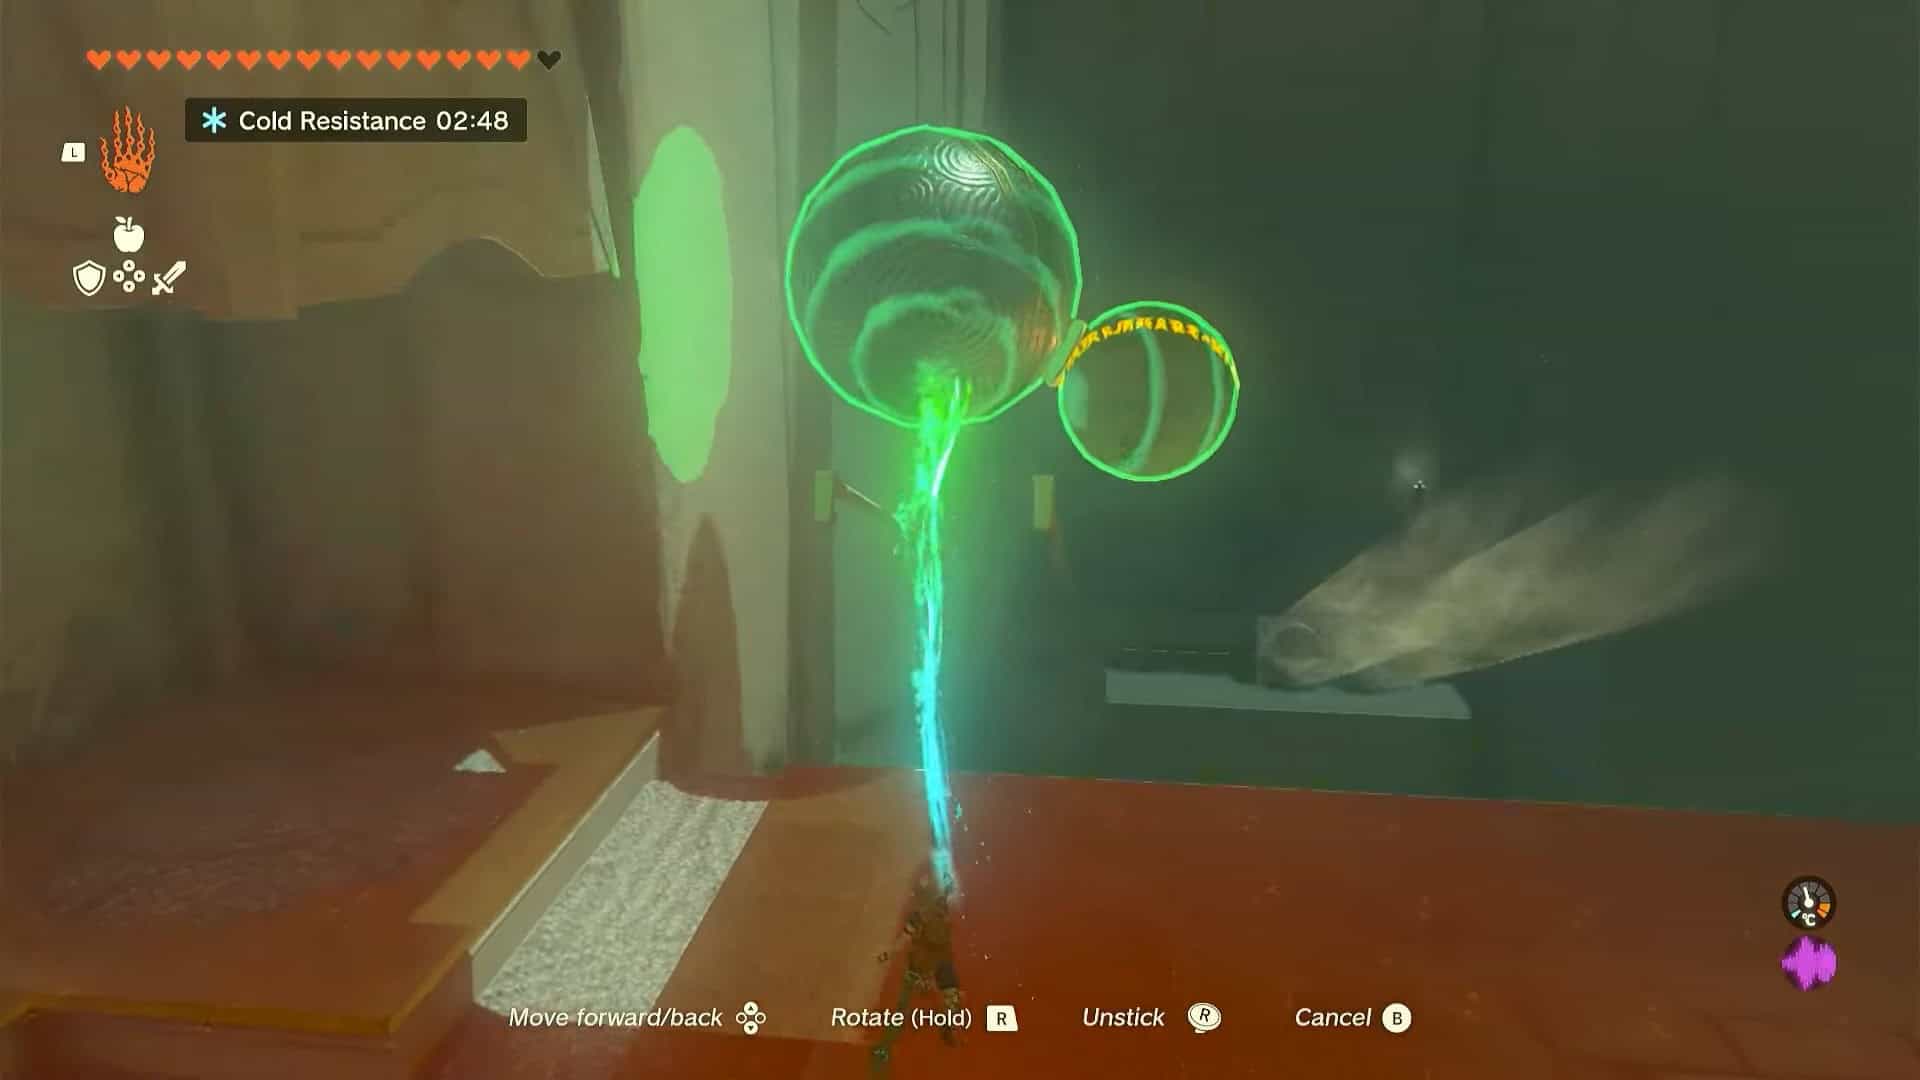
12. Place both balls on the rail exactly as shown in the picture. Otherwise, you will have to start over again.
13. Unstick the small ball from the large one and place it inside the receptacle.
14. This will open the altar’s room door. Interact with Rauru and Sonia’s statues to complete the trial and earn a Light of Blessing as a reward.