The Quarry has several types of collectibles, ranging from pieces of evidence to clues to Tarot Cards that together influence the ending you unlock.
The game has a lot of different endings and hence, bagging all of the collectibles ensures that you unlock the best ending possible.
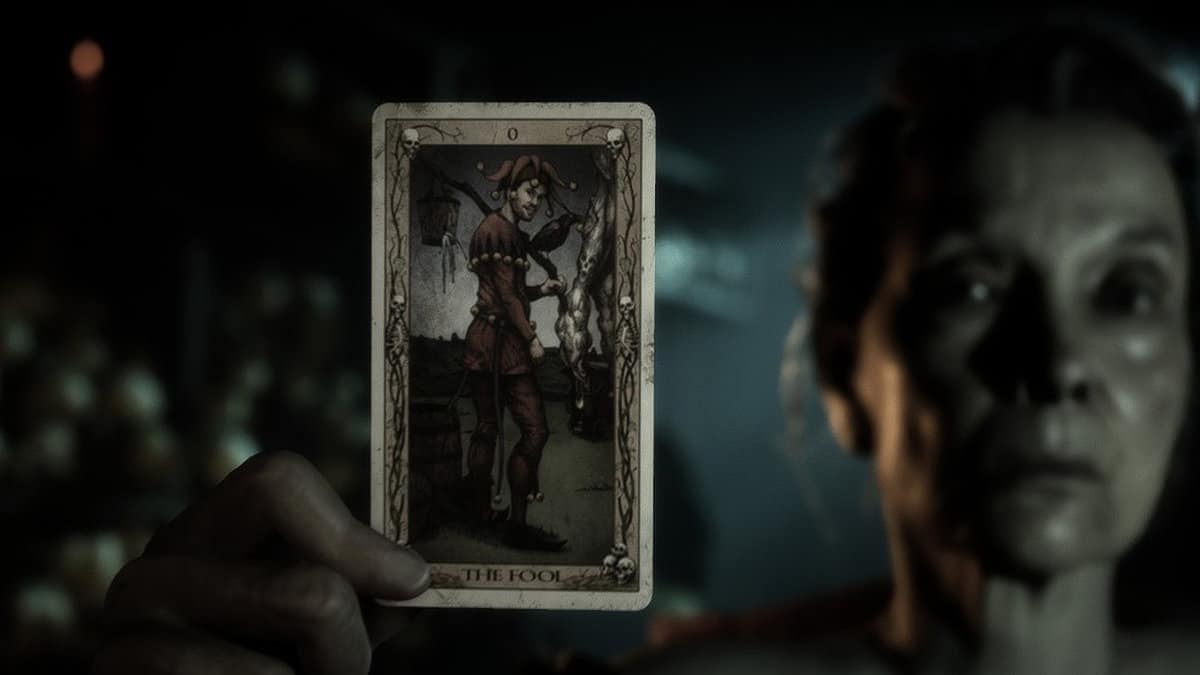
Tarot Cards are not just for show. They provide a little hint about what the future brings. If you find a Tarot Card, you can potentially make the right decision later on to either kill or save a character.
The following guide will show you all of the Tarot Cards locations in The Quarry.
All Tarot Card Locations In The Quarry
There are a total of 22 Tarot Cards spread across all 10 chapters of The Quarry. Some chapters will have only one Tarot Card while others will have multiple Tarot Cards to collect. Nearly all of them require no feat of strengths.
Something to note is that the camera will switch for a few seconds to show you exactly where a nearby Tarot Card is. However, if you mess up or the camera changes back, you can just walk back out before returning for the camera to highlight the Tarot Card once again.
Below are the locations of all 22 Tarot Cards in the game.
- Prologue Tarot Cards
- Chapter 1 Tarot Cards
- Chapter 2 Tarot Cards
- Chapter 3 Tarot Cards
- Chapter 4 Tarot Cards
- Chapter 5 Tarot Cards
- Chapter 6 Tarot Cards
- Chapter 7 Tarot Cards
- Chapter 8 Tarot Cards
- Chapter 9 Tarot Cards
- Chapter 10 Tarot Cards
Prologue Tarot Cards
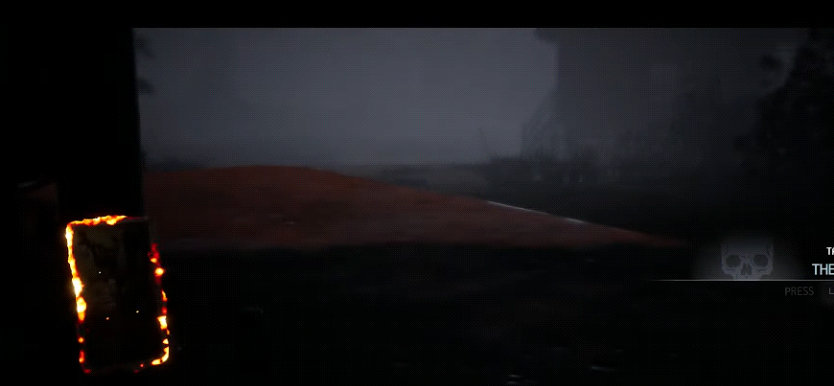
Tarot Card #1
Start walking up the path when you start playing as Laura, near where Max is fixing his car. As soon as you take a few steps up, the camera will change to reveal the “Fool Tarot Card” on the ground.
Chapter 1 Tarot Cards
Tarot Card #1
Make your way to the main front door of the camp lodge as Jacob. Just before the entrance, there will be a small room to your left. Enter this room and head for the kitchen area. The camera will change to show you the “Temperance Tarot Card” on the cooking pot.

Chapter 2 Tarot Cards
Tarot Card #1
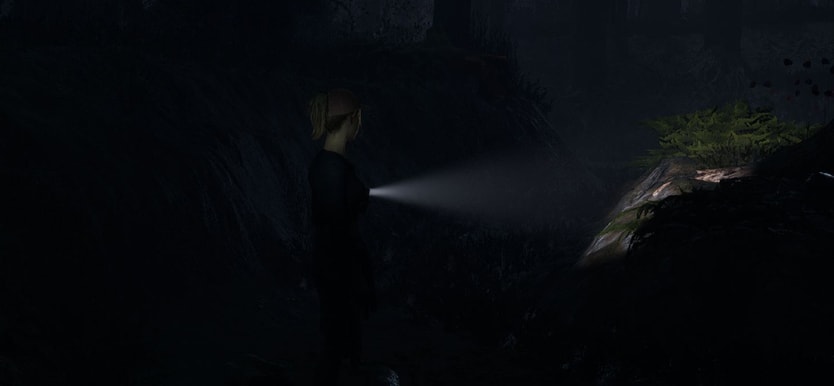
Make your way to the Rocky Road as Nick and take the first left to walk off the main trail. Keep going and the camera will switch to show you the “Hanged Man Tarot Card” on a rock above.
Chapter 3 Tarot Cards
Tarot Card #1
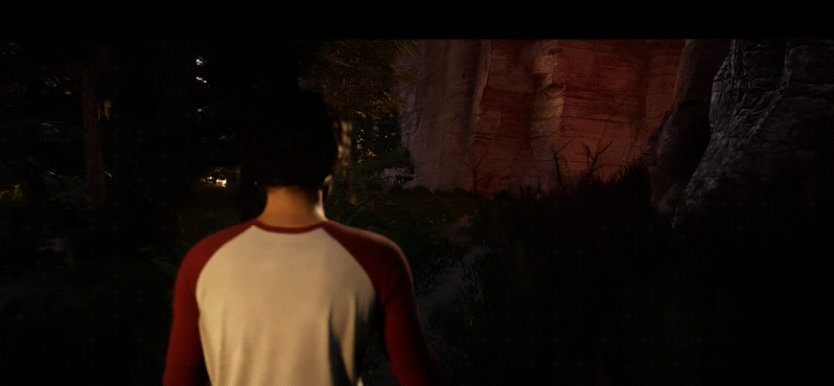
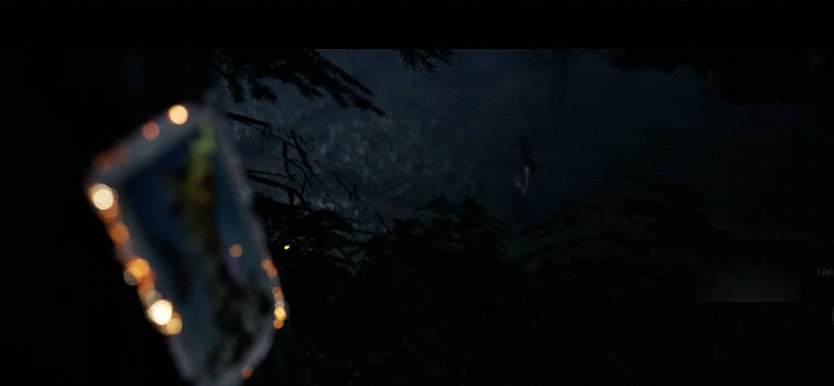
You will hear a voice in the woods as Abigail during the starting sequence of the third chapter, after which the game will guide you through the main path in Shady Glade. Take note that you had a choice to walk through this same path in the previous, second chapter.
Keep walking on the main path to end up on a smaller path with a lot of shrubberies. Keep going and the camera will switch to show you the “Tower Tarot Card” on a tree branch above.
Tarot Card #2
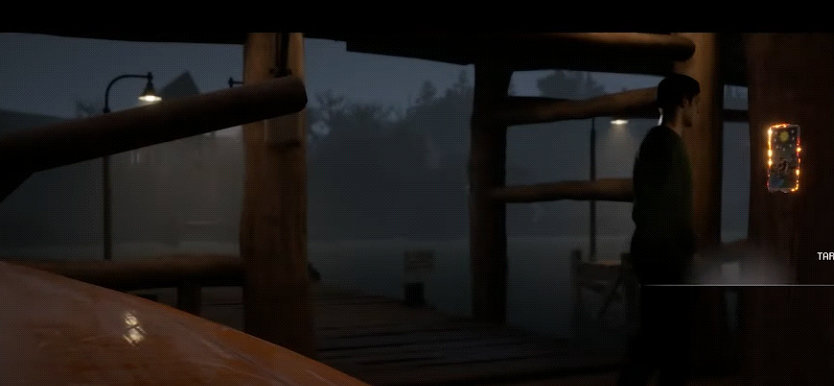
Head into the boathouse when you start playing as Jacob on the deck. The camera will change once you enter the boathouse to show you the “Star Tarot Card” behind the pole.
Chapter 4 Tarot Cards
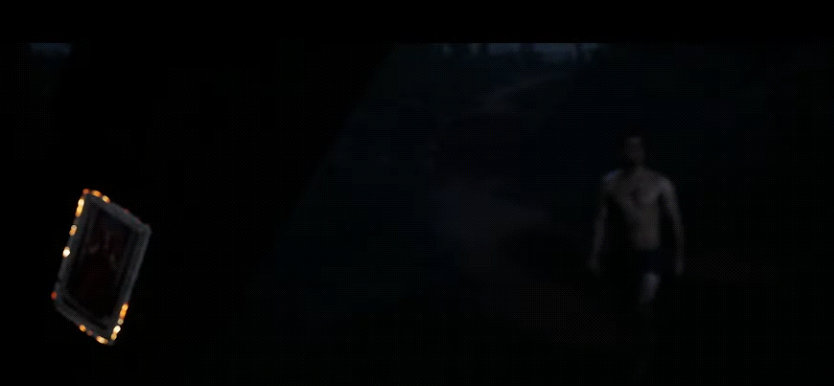
Tarot Card #1
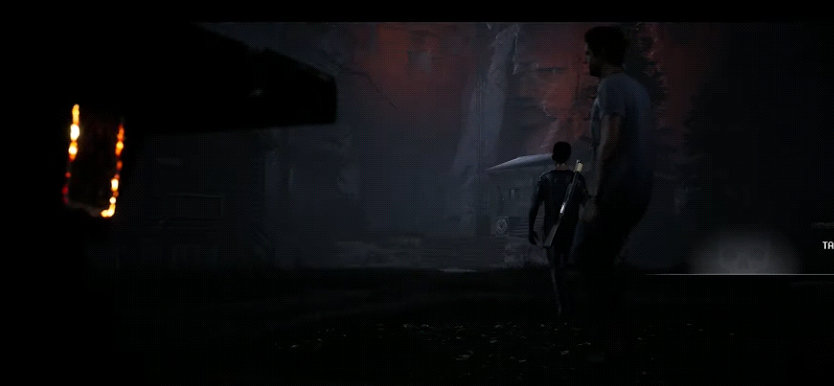
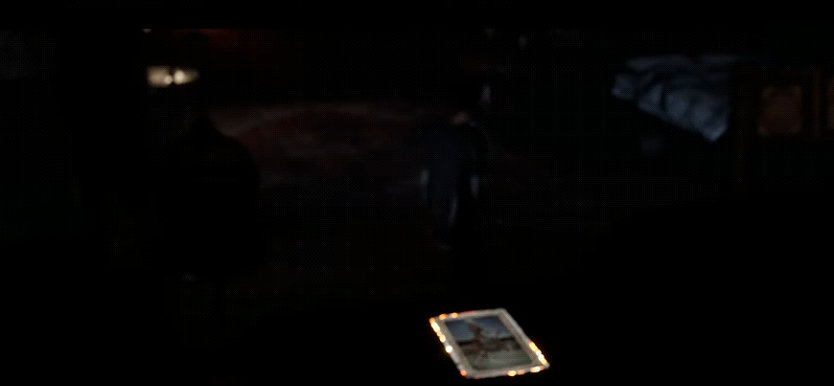
When you first arrive on the island as Emma, turn around and go down to the end of the docks. This is where you’ll find that the camera will flip to reveal the “Magician Tarot Card” on the docks following the cutscene. If you miss it, simply walk away from the dock edge and back to get the camera switch.
Tarot Card #2
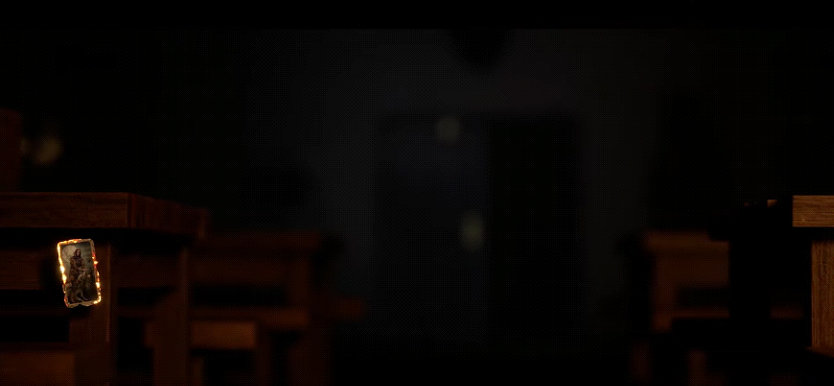
As soon as the main group of advisers returns to the main lodge, the camera will momentarily move inside the lodge to show you the “Strength Tarot Card” on a bench.
Chapter 5 Tarot Cards
Tarot Card #1
Walk past the tree in the center of the area with Ryan and Dylan when you’re at the camp cabins. Look back to where you started at the benches and swing once you’ve gotten a little further. As you approach the swing, the camera cuts to a view from behind the bench, where the “Devil Tarot Card” will be revealed.
Tarot Card #2
The radio broadcast center’s tower can be seen to the left of the building once you’ve exited the building. Walk around the front corner of the tower block before going inside. Now, wander around the tower until the camera cuts to the “Hermit Tarot Card” behind one of the tower’s metal components. If you don’t see it, keep going until the camera cuts back to display the perspective.
Chapter 6 Tarot Cards
Tarot Card #1
You will take control of Jacob and go down a wooden boardwalk early in Chapter 6. You’ll notice a passage ahead once you descend the steps on the far side of this walkway. Before continuing on, pay attention to the walkway’s supporting poles. The camera will cut to show you the “Justice Tarot Card” on the pole beneath the decking at this point.
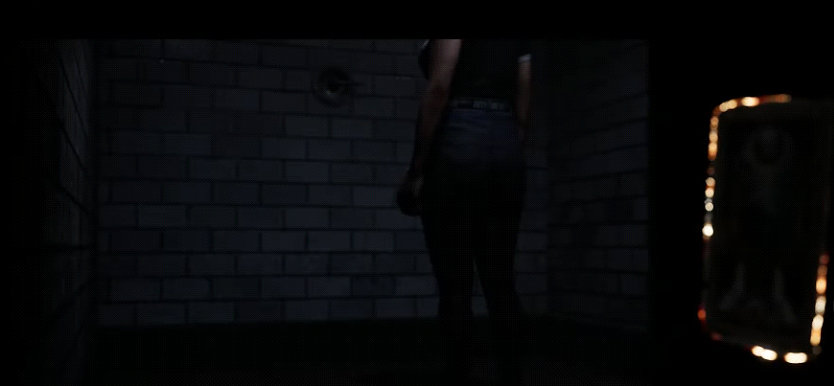
Tarot Card #2
You’ll be able to explore the rooms of the pool house if you’re playing as Abigail. Proceed through the lockers to the showers, and enter the third one on the left. The camera will switch to a view behind the door, revealing the “Moon Tarot Card” as you go in.
Chapter 7 Tarot Cards
Tarot Card #1
While in the jail cell, guide Laura towards the bed at the start of Chapter 7. The camera will flip to reveal the “World Tarot Card” under the bed when you get near.
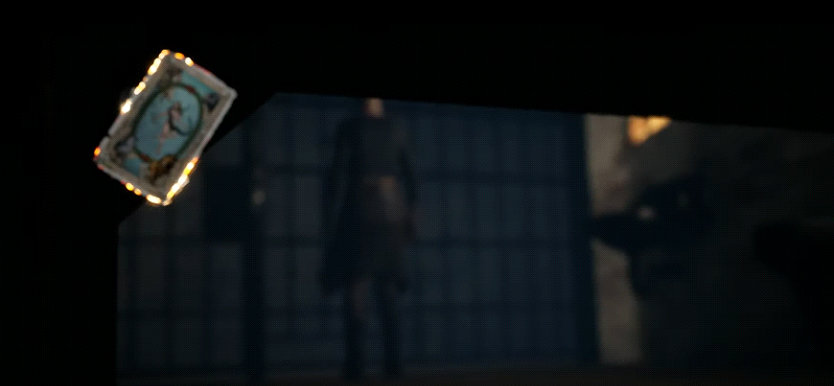
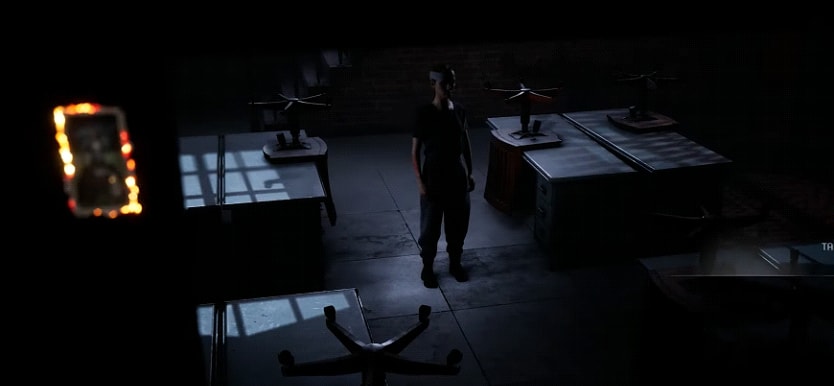
Tarot Card #2
You’ll take control of Laura at the conclusion of the story and be able to move around the police station. When you get to the four sets of desks outside the prison, walk through the middle. The camera will transition to reveal the “Chariot Tarot Card” from the balcony above for a brief moment.
Chapter 8 Tarot Cards
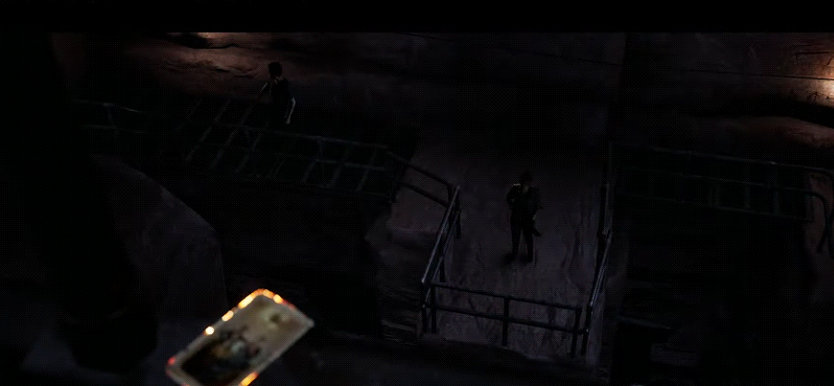
Tarot Card #1
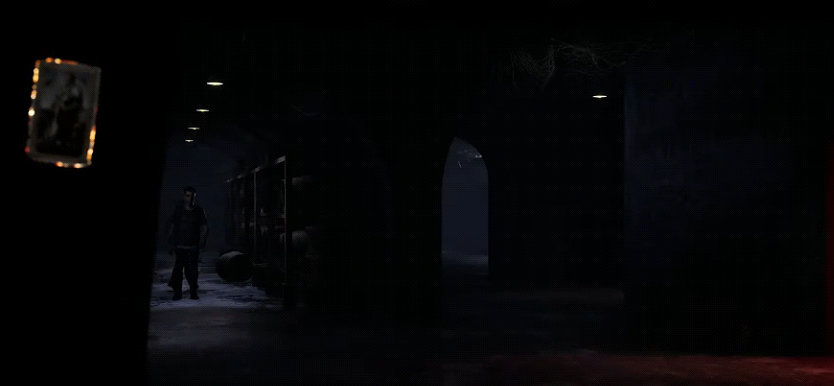
While wandering around the excavation site with Ryan, you’ll come to a short lane with a staircase in front of you. However, there is a view of the flooded quarry down to the left. When you go up to this balcony rail, the camera will change to show you the “Lovers Tarot Card” on a rock above.
Tarot Card #2
You and Ryan will pass into a tunnel shortly after the last Tarot Card. The camera will change places around halfway down the tunnel as you travel through. The “Wheel of Fortune Tarot Card” will be displayed on a piece of wood in this location.
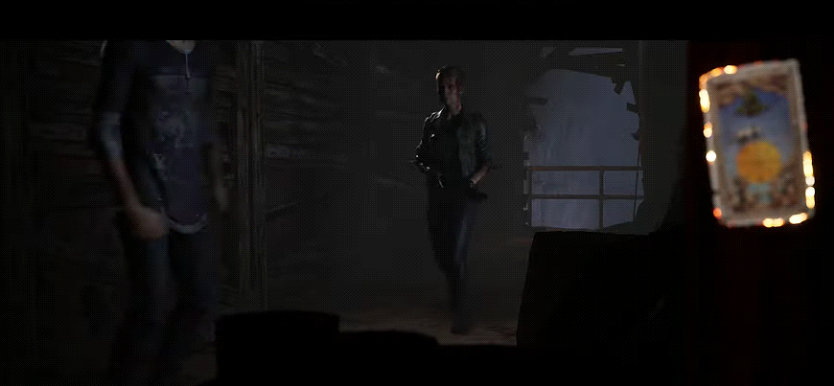
Tarot Card #3
When you take control of Ryan in the house’s cellar, look to your left to discover a doorway leading to another area. Head there to find the “Empress Tarot Card”.
Tarot Card #4
Return to the initial route where you took control of Ryan and continue onward. The camera will switch to display the card on the backside of a wall near where the path opens up. When the camera temporarily shifts, pick up the “Emperor Tarot Card”.
Chapter 9 Tarot Cards
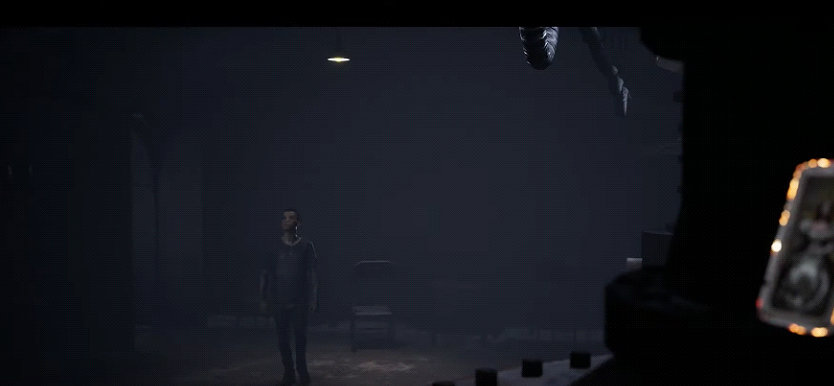
Tarot Card #1
Once you’ve taken control of Ryan in the Hackett House room, walk beneath the chandelier at the room’s center. The camera will flip to show you the “Death Tarot Card” on a shelf against the wall.
Tarot Card #2
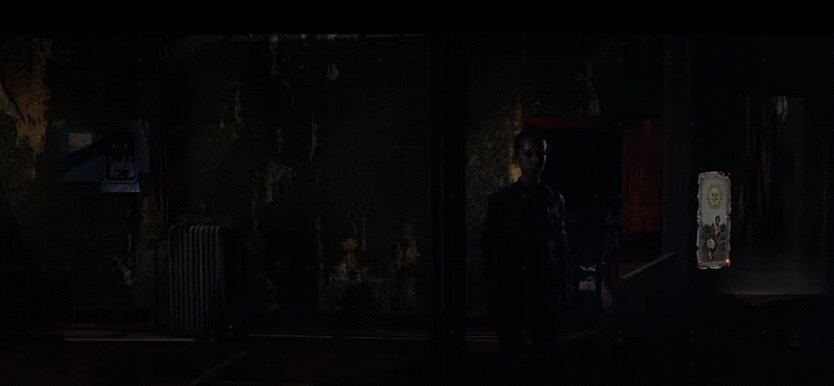
When you take control of Laura, you can either hide or escape. You’ll ultimately wind yourself in a room with a stairway if you run. A door can be seen across from the top of the stairwell. After passing through the corridor and onto the connecting balcony, proceed straight to the window. The camera will then turn to show you the “Sun Tarot Card” on the window outside.
Tarot Card #3
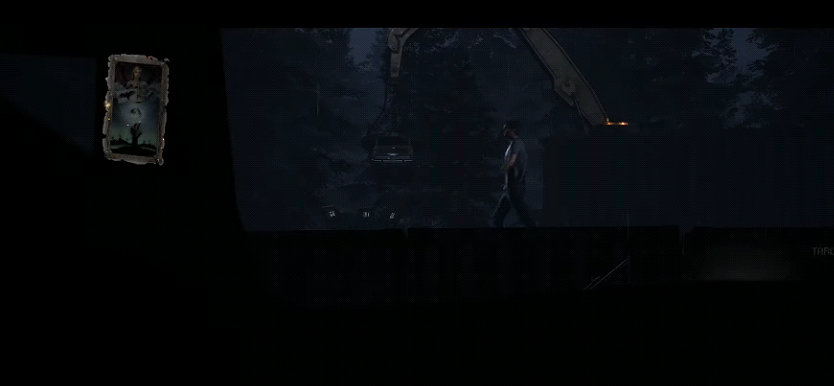
You’ll climb up some steps and stroll on top of some shipping containers later on when you’re controlling Dylan and making your way through the scrap heap. Continue along the route to the left and stay on the left side of the boxes before moving further. The camera will shift to a shipping container’s side to reveal the “Judgement Tarot Card”.
Tarot Card #4
When you’re controlling Abigail in the storm shelter, head towards the stairwell that leads up to the two metal doors. The camera angle will swiftly change to show you the “Hierophant Tarot Carda” on the wall.
Chapter 10 Tarot Cards
Tarot Card #1
Make your way to the first level and to the left while visiting the lodge. A little stairway will be found adjacent to a room. Take this staircase to the top and then turn left to have the camera angle switch to reveal the “High Priestess Tarot Card” on the file cabinets near the window.
