There are many secrets and collectibles available in Chapter 1: Jackson of TLoU 2. We have prepared this guide with all The Last of Us Part 2 Chapter 1: Jackson Collectibles as you make your way through the first chapter of the game.
The Last of Us Part 2 Chapter 1: Jackson Collectibles
The collectibles and secrets scattered around Chapter 1 of The Last of Us 2 have been further categorized into different sections of the chapter you will find them in.
Do note that the locations and descriptions of some of these TLOU 2 Chapter 1 collectibles might contain spoilers.
Waking Up
Trading Card 1 – Seismicayla
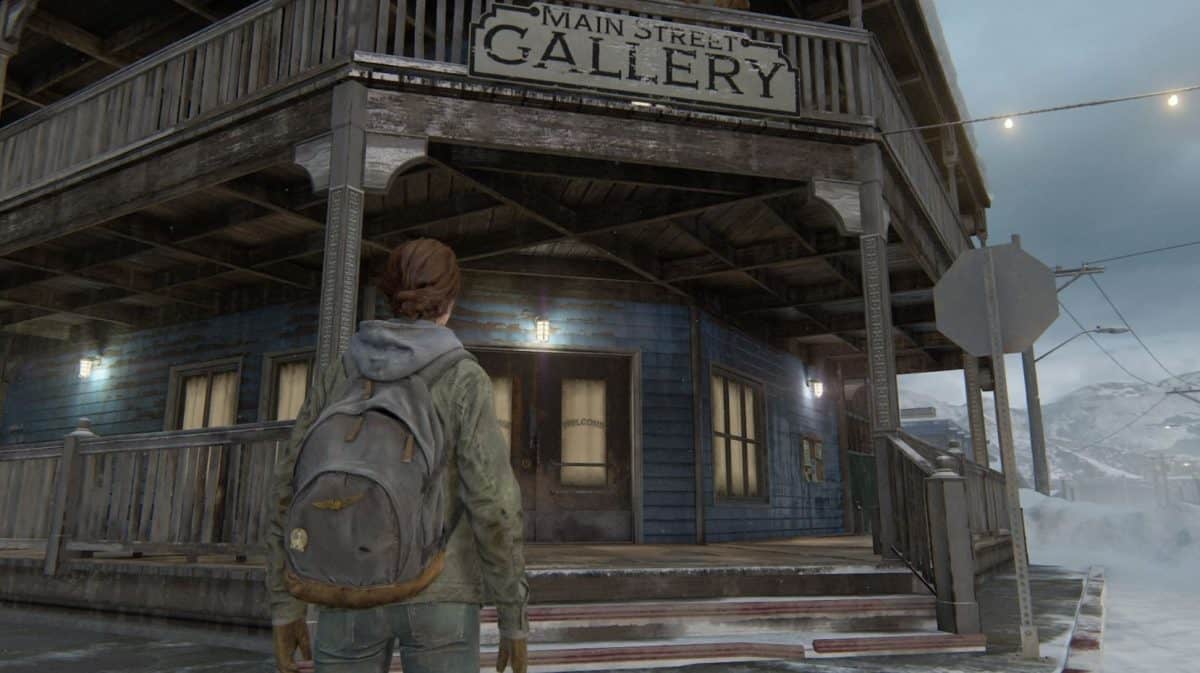
In the very first part of the chapter – Waking Up, you will pass through the greenhouse and reach Jackson’s main street.
Go to the left towards the Main Street Gallery and you will find the Trading Card here. It will be pinned to ‘Help Wanted’ billboard.
Artefact 1 – Volunteer Request
You will then get to the Tipsy Bison bar where Jesse will be waiting for you. You will find here the Artifact on a box next to a ladder.
Trading Card 2 – The Keene Twins
Within the same Tipsy Bison, you will find the collectible Trading Card on a barrel next to the dartboard at the back of the room. It will be after the conversation with Seth and Maria.
The Overlook
Artefact 1 – Letter from Seth
After overcoming the infected ambush, you will crawl under the foundation of the house.
Turn back towards the building and climb through the opened window. You will find the Artefact on the table here.
This is the only collectible you will find in The Overlook stage of chapter 1.
Patrol Collectibles
Journal Entry 1
Once you have dismounted the shimmer and tying her up, follow Dina to a lookout point.
You will have to trigger the optional conversation after which you will be able to log your first Journal Entry.
Artefact 1 – A Note to Santa
After leaving the first lookout tower, you will see a relatively intact house to the left of the road.
Climb up through the stairwell and enter the bedroom through the broken window. You will see a drawer here to the right of the bed and the Artefact will be in it.
Trading Card 1: Tesseracter
There is a trailer to the right of the main road. Look behind the trailer for a truck parked outside a house.
Climb the truck and jump into the house through the window. There will be a cabinet on the left side of the room where you will find the collectible Trading Card.
Artefact 2 – Supermarket Apology
When Dina asks you to help boost her onto the roof of a postal van, follow the path under the abandoned truck.
There will be a building to the right and a truck’s trailer will be rammed through its wall. Enter the trailer and squeeze through the gap of boxes. You will see the TLoU 2 Artefact lying here.
Artefact 3 – Good Boy Combo
After infiltrating the supermarket, you will have to put on your gas mask. Cut through the crack in the wall and head in through the metal door beside the Employee of the month billboard. The Artefact will be lying on a desk here.
Safe No. 1
To the left of the Artefact 3, there is a safe. The combination is 072019 which is written on the ‘Employee of the Month’ billboard. You will get spare parts and supplements from here.
Artefact 4 – Eugene’s Firefly Pendant
When you are in the public library after the storm, break a window to get to the office back room.
Go through the door to the backside of the room and Ellie will pick up a Firefly Pendant collectible that actually belongs to Eugene.
Journal Entry 2
After grabbing the Firefly Pendant, you will see a stuffed giraffe on the bookshelves. Interact with it to score your second Journal Entry.
Trading Card 2
While walking away from the Stuffed Giraffe, head left and enter a crowded storage room. You will find the Trading Card in the middle of the room.
Artefact 5 – Tommy’s and Eugene’s Picture
Follow the children library around and you will find some documents over a desk. Interact with the documents and Ellie will find this picture of Tommy and Eugene’s.
Artefact 6 – Eugene’s Ultimatum
Opposite to the desk of documents will be a bed. There will a chest of drawers next to the bed in which you will find the sixth Artefact.
Workbench No.1
After starting the generator, you will see the workbench in the corridor directly opposite to the generator.
Packing up Collectibles
Journal Entries
There are a total of two Journal Entries at this stage. One is in the kitchen in the form of Joel’s Mug. Interact with it to let Ellie sketch a new Journal Entry.
The second is the Guitar in Joel’s study. Interact with it for the second Journal Entry.
Artefact – Joel’s Watch
You will find this Artifact in Joel’s bedroom in a red box on top of a duvet. This collectible is impossible to miss as it is your main reason to get back to the house in The Last of Us 2.
Weapon – Revolver
Ellie will also discover a Revolver in the same box in which you found the watch.