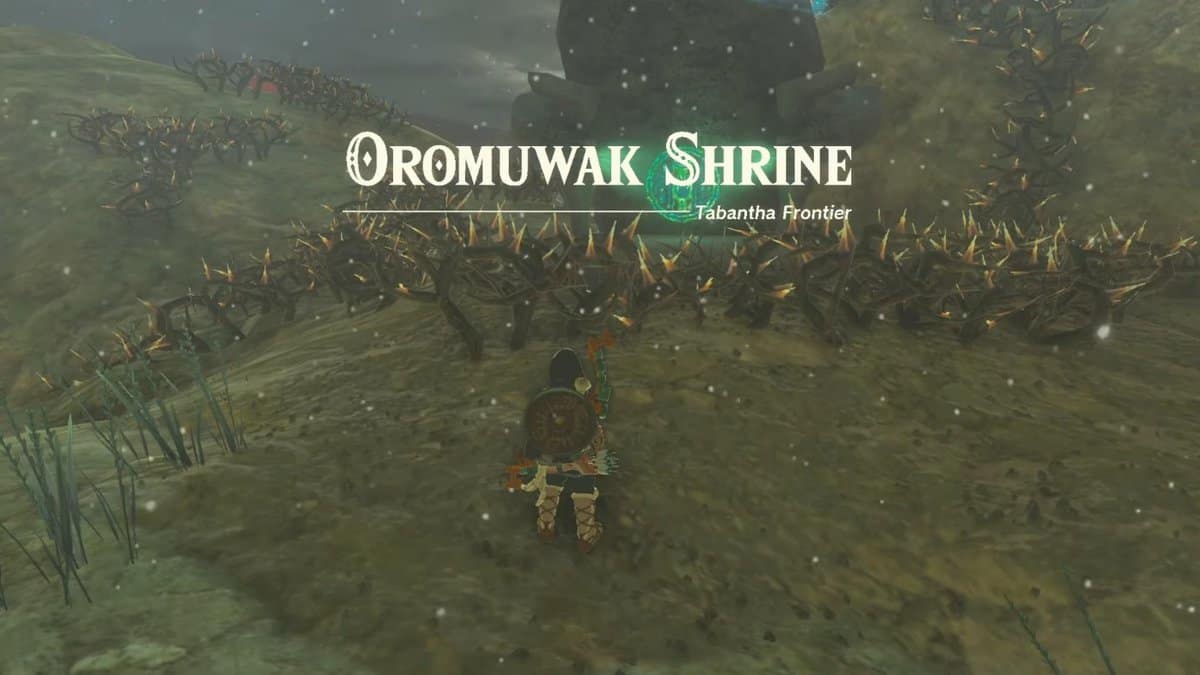
Oromuwak shrine in Zelda: Tears of the Kingdom is about using zonai rockets with vehicles. This shrine teaches you the importance of rockets and how you can use them to propel your vehicles to cover a large distance or even go over gaps.
Oromuwak Shrine is in one of the coldest regions of Zelda: Tears of the Kingdom. We recommend that you purchase and equip Snowquill armor before venturing here.
Oromuwak Shrine Location in Zelda: TotK
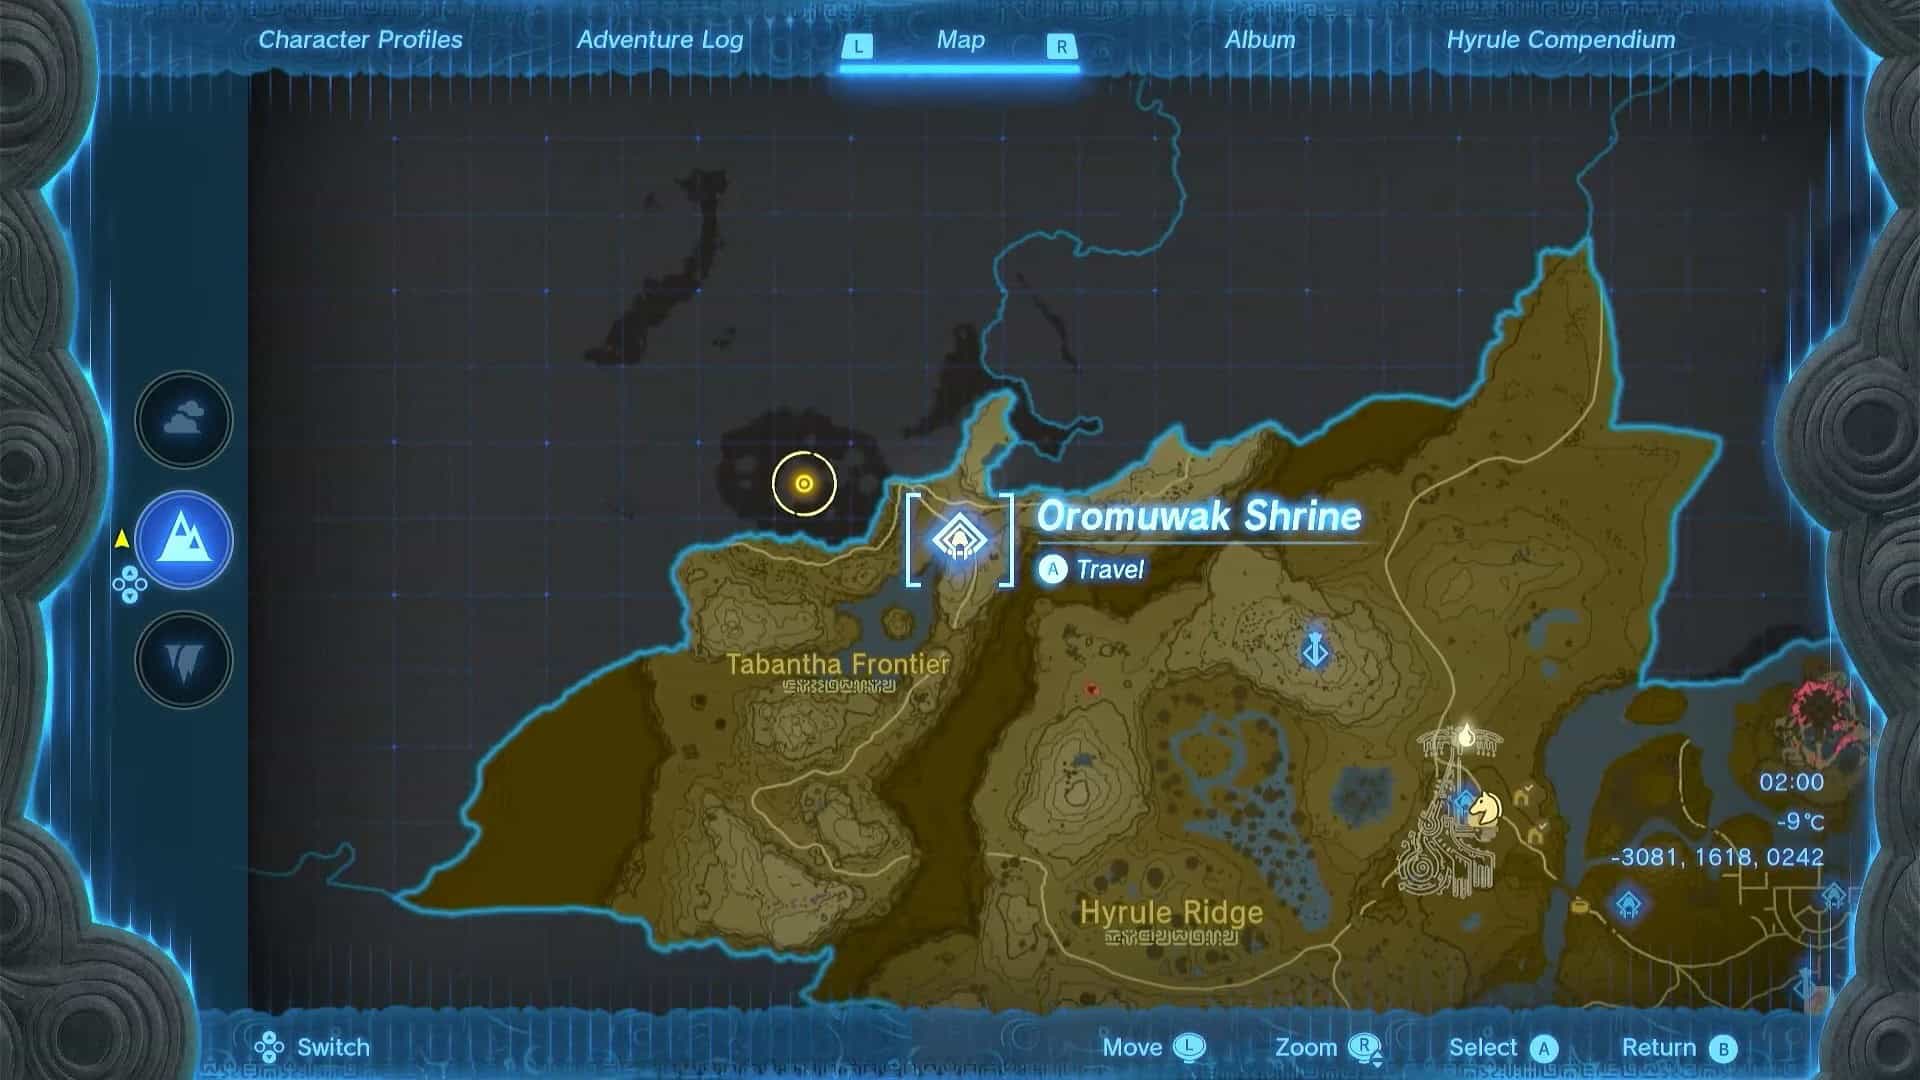
Oromuwak Shrine is in the northern region of Tabantha Frontier, northeast of Central Hyrule. It is to the north of Kolami Bridge and South of Tama Pond.

The exact coordinates for the Oromuwak Shrine in Zelda: Tears of the Kingdom are (-3081, 1618, 0242).
Oromuwak Shrine Walkthrough
The trial presented by the Oromuwak Shrine in Zelda: Tears of the Kingdom is called A Launching Device. The objective of this puzzle is to use zonai rockets to hit the target rings out of your reach.

1. From the starting position of the shrine, go right and pick up a zonai rocket with Ultrahand.

2. Rotate the rocket to put it in an inclined shape and place it between two ramps on the left.


3. Hit the rocket to activate it. The rocket will fly forward and hit the orange target ring. This will complete the first puzzle of the shrine and the door to the next room will open.

4. Pick up the rocket from the first room and attach it to the other one.

5. Take both rockets to the next room and attach them both to a cart.

6. Climb the cart and hit the rocket to activate them. This will propel the cart forward to complete an impossible path.

7. There is a treasure chest on a ledge in this area.

8. Place a cart near where the ledge is. Pick up a rocket and attach it vertically to the cart.

9. Climb the cart and hit the rocket. They will activate and take the cart all the way up.
10. Jump from the cart and glide towards the ledge where the treasure chest is.

11. Open the treasure chest to obtain a Ruby.

12. Pick up a cart and place it on the ramp where the rockets are.

13. Attach a rocket to the cart as shown in the picture above.
14. Climb the cart and hit the rocket. The propulsion force will be enough to carry you across the chasm, all the way to the altar room.
15. Interact with Rauru and Sonia’s statues to complete the trial of the Oromuwak Shrine in Zelda: Tears of the Kingdom and earn a Light of Blessing as a reward. You can exchange four Lights of Blessing at any Goddess statue to either increase your stamina or health.