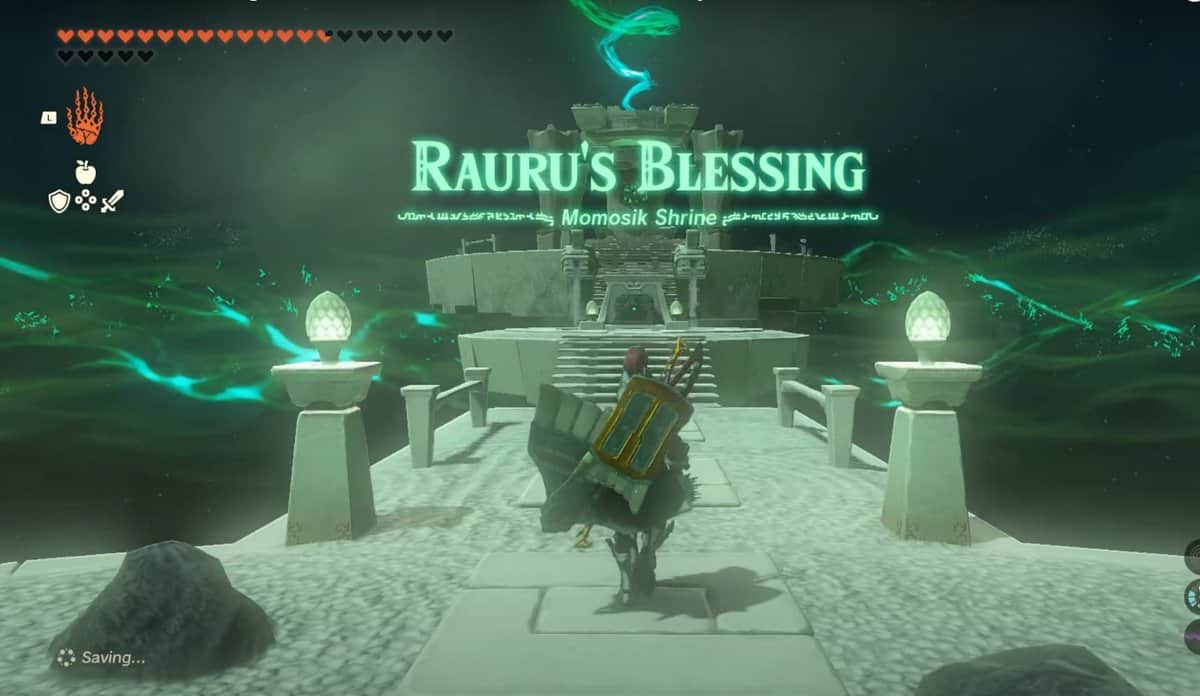
Momosik Shrine in Zelda: Tears of the Kingdom belongs to the category of crystal shrines that require finding and returning their life crystal. While this shrine is easier to find, retrieving its crystal is massively difficult.
As Momosik Shrine is near Death Caldera in Zelda: Tears of the Kingdom, we recommend equipping Flamebreaker armor. Keep some ice fruit with you to survive the encounter with Igneo Talus.
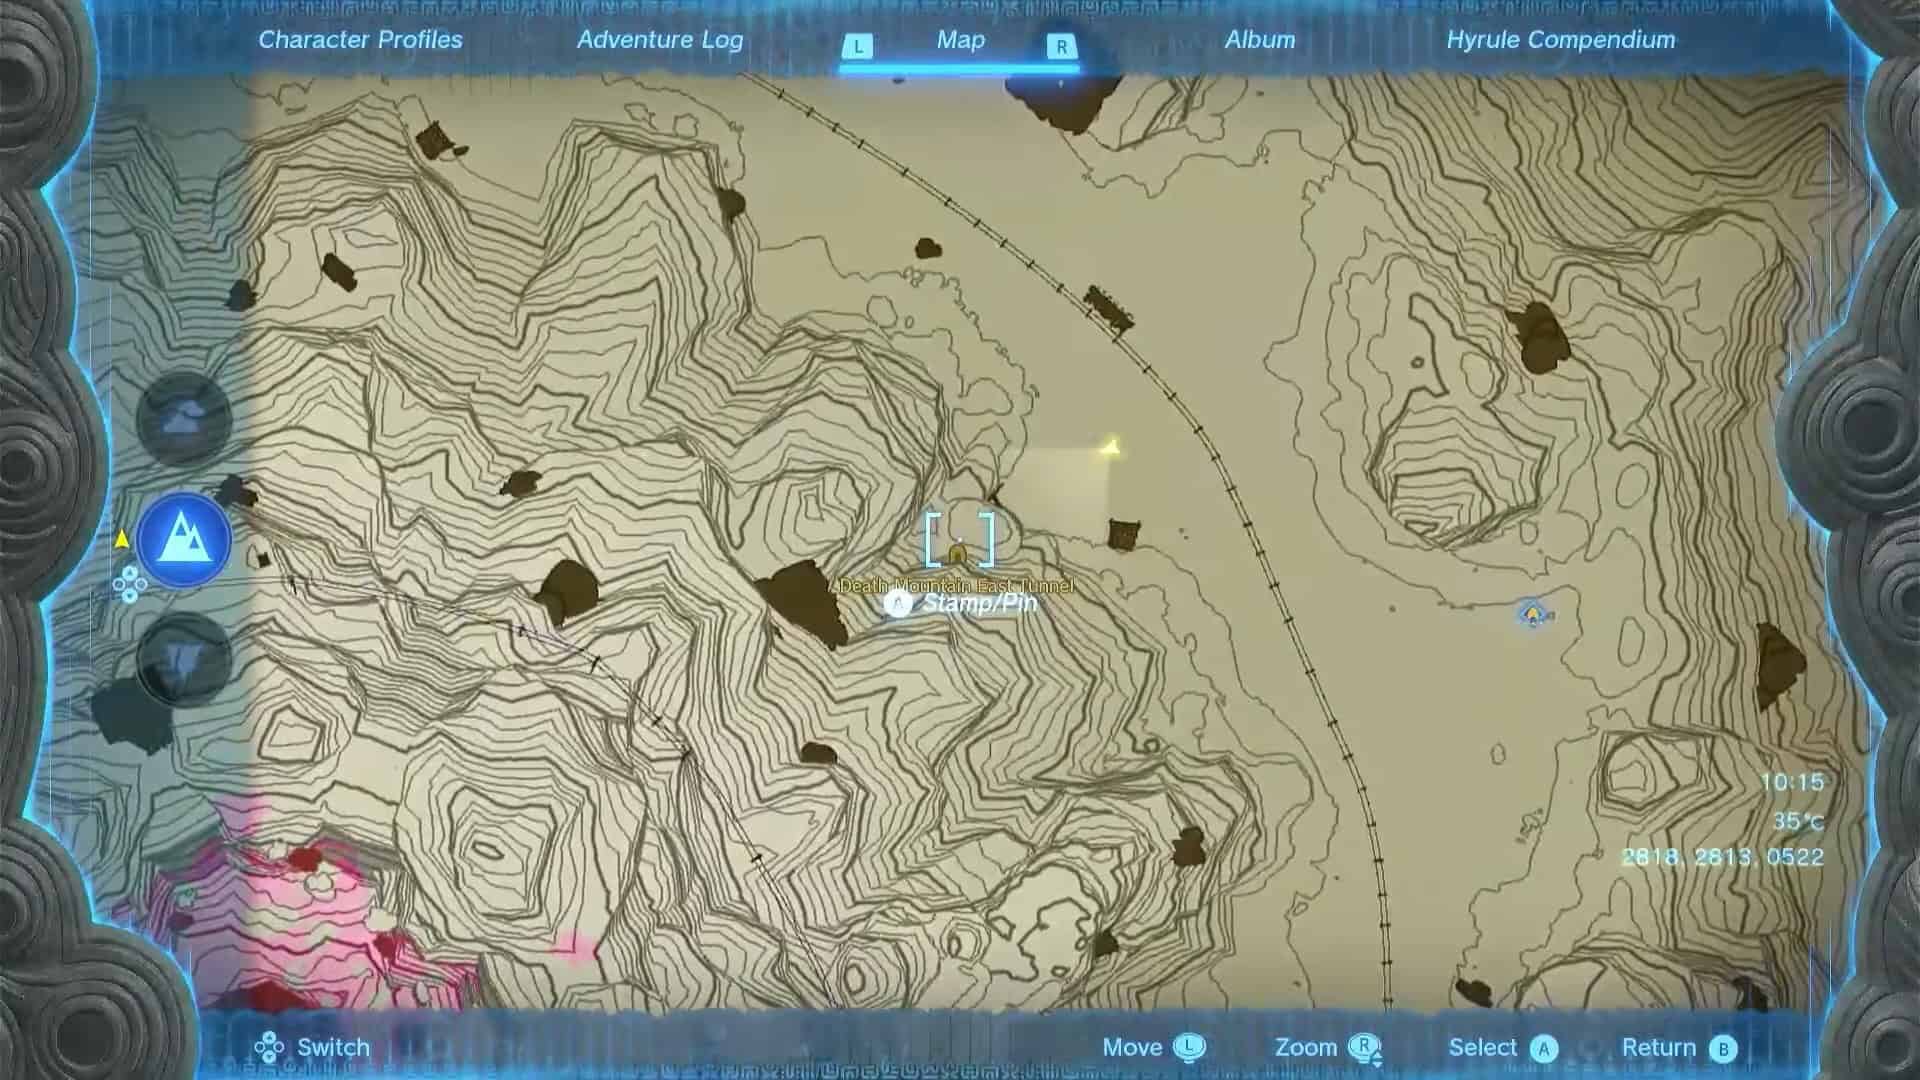
Momosik Shrine Location in Zelda: TotK
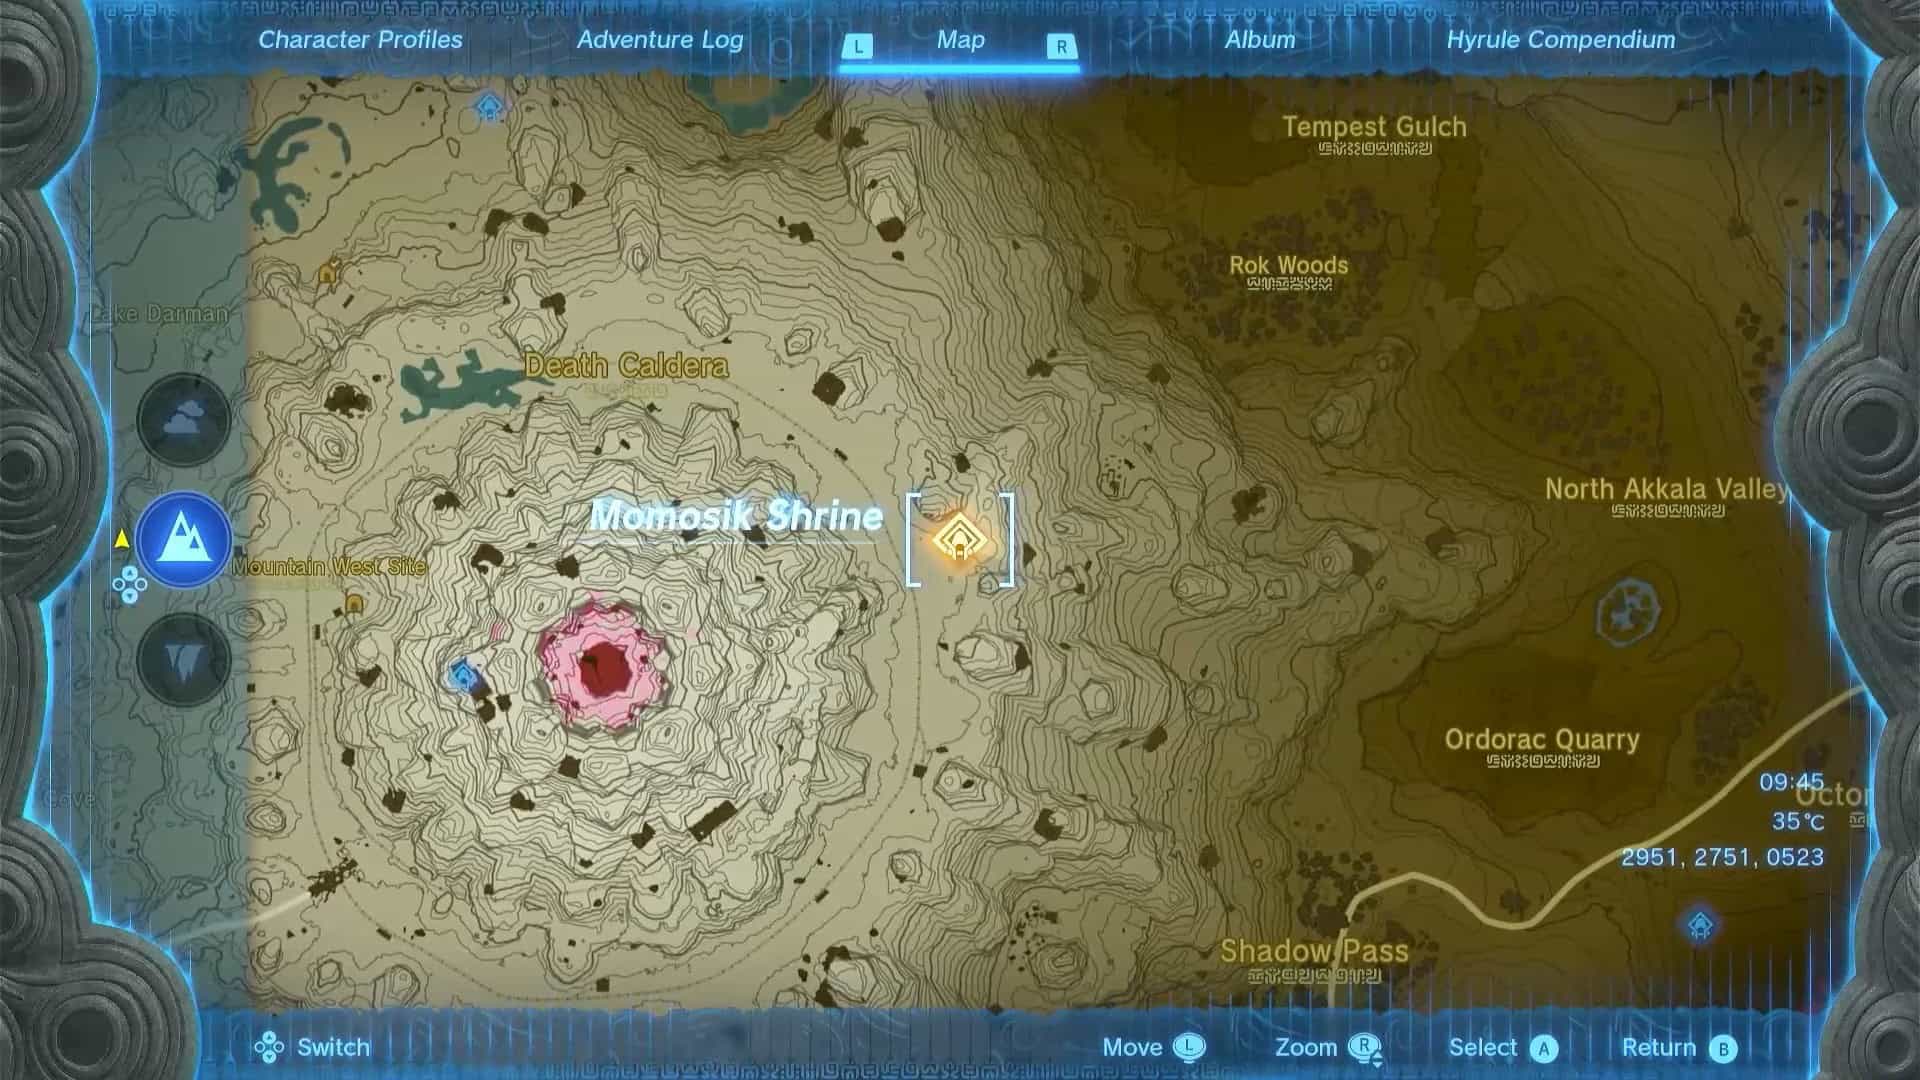
Momosik Shrine is in the Northeast region of Eldin. It is to the east of Death Caldera Mountain and west of North Akkala Valley.
The exact coordinates for the Momosik shrine in Zelda: Tears of the Kingdom are (2952, 2752, 0523).
Momosik Shrine Walkthrough

Momosik Shrine is closed and can only be unlocked by finding its green crystal. Once you interact with the shrine, a fast travel point will unlock, and The Death Caldera Crystal shrine quest will start.
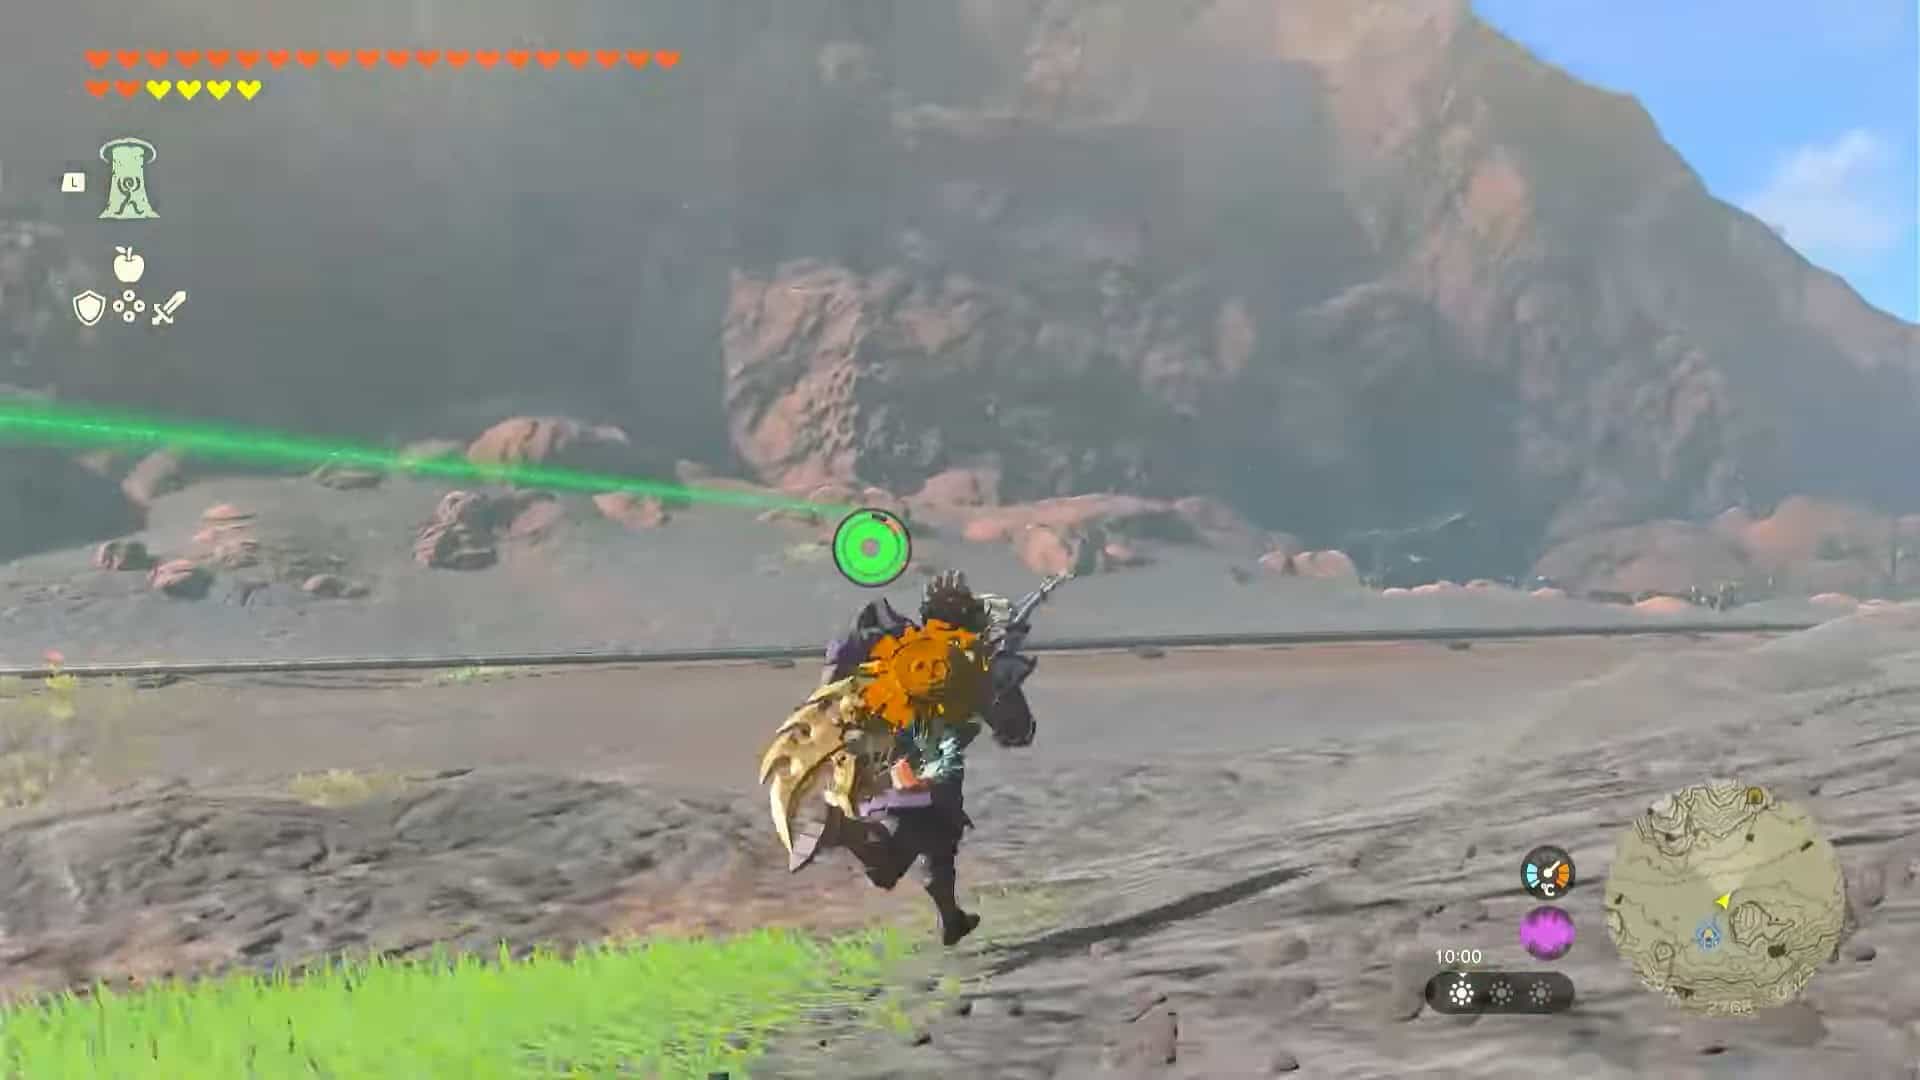
1. Turn back and follow the green light emerging from the shrine.
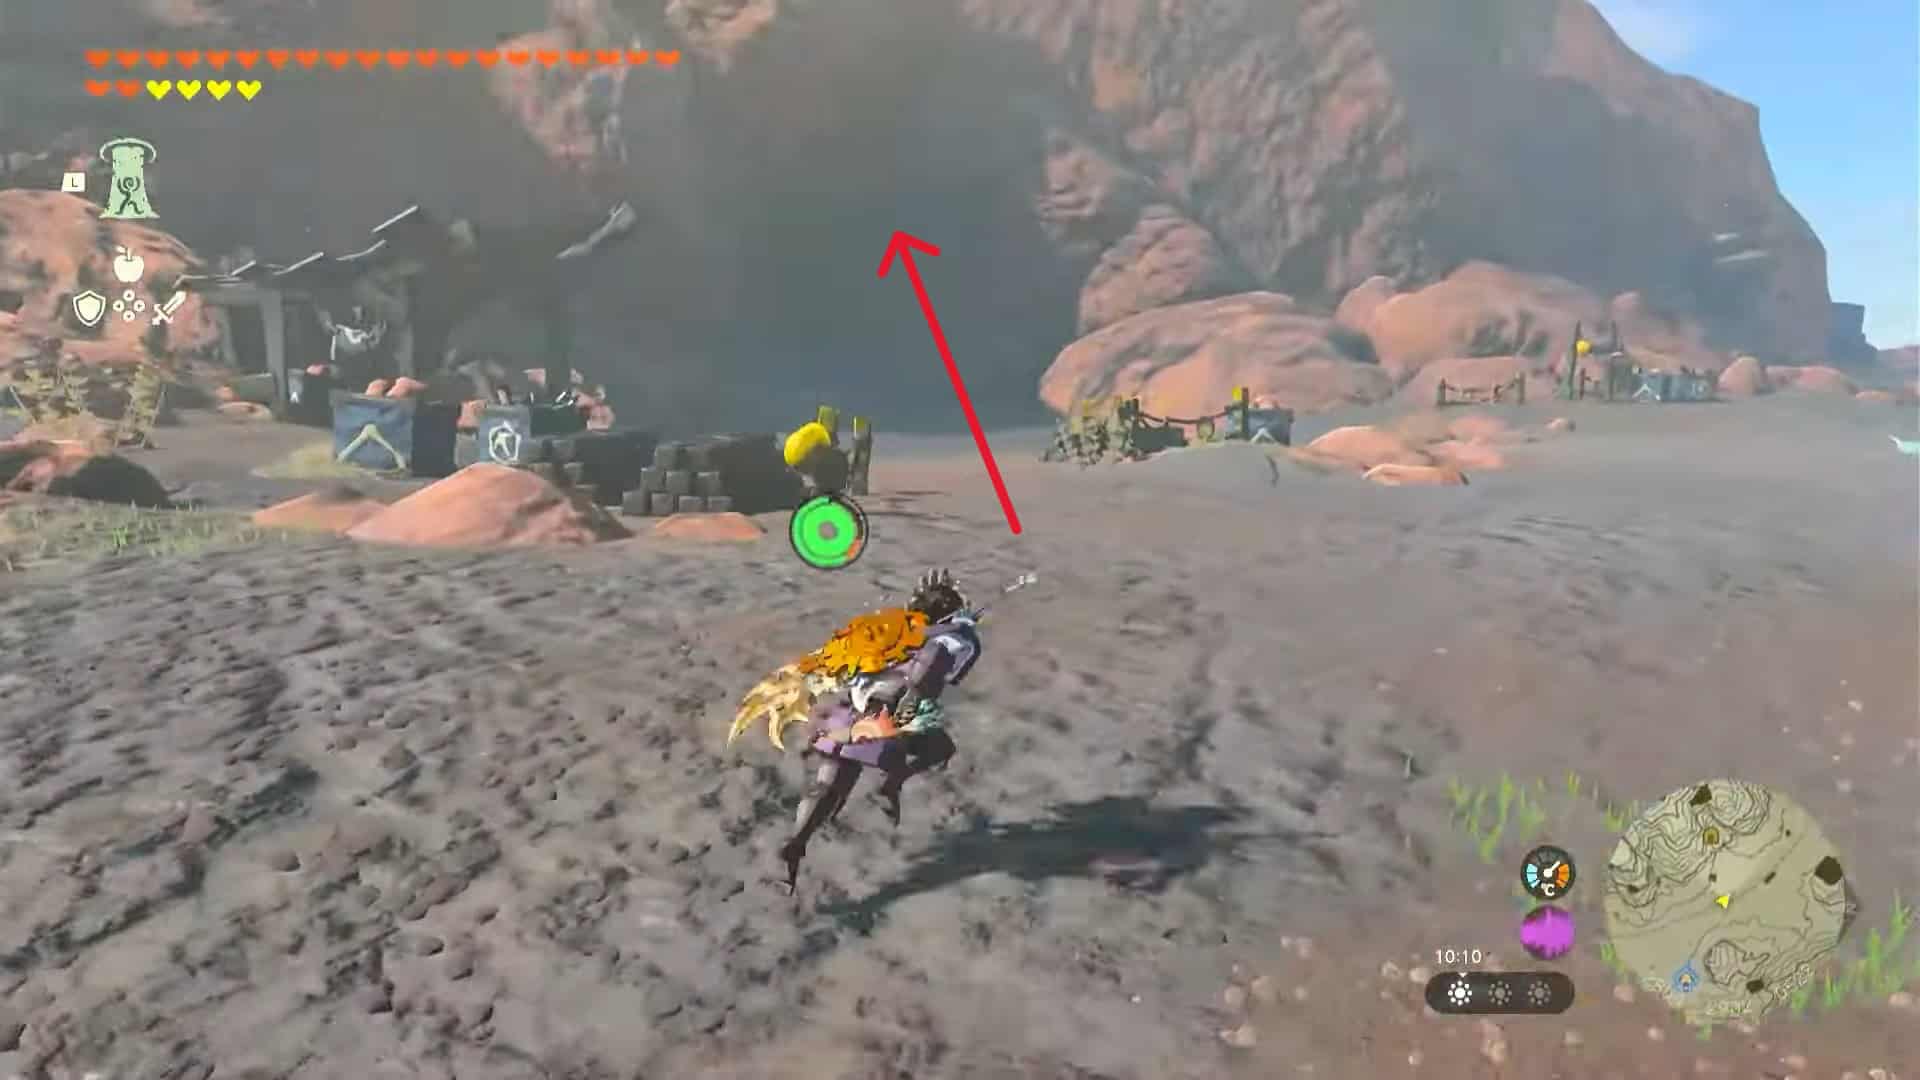
2. You will notice a tunnel entrance surrounded by some explosives. This is Death Mountain East Tunnel. Enter it to keep following the light.
3. Break the blue boulders near the entrance and enter to find a trolley and a zonai fan.
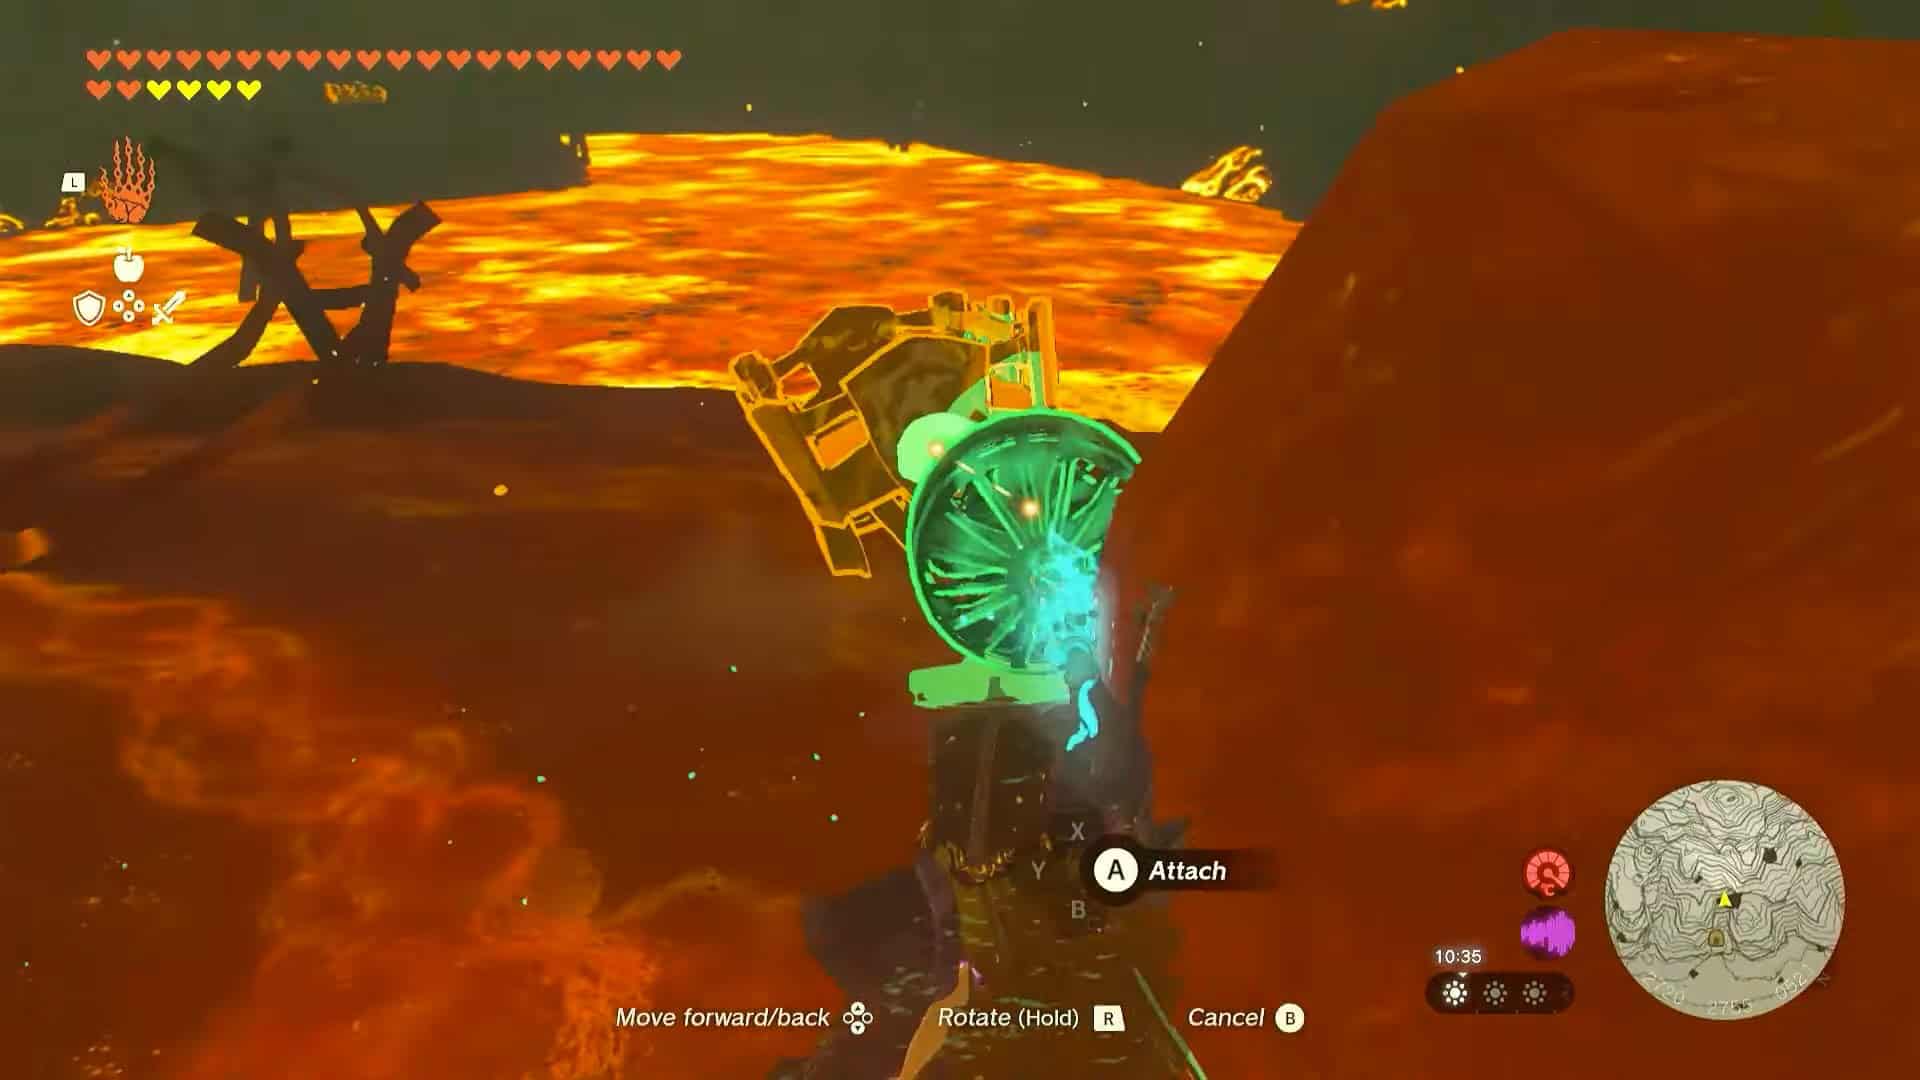
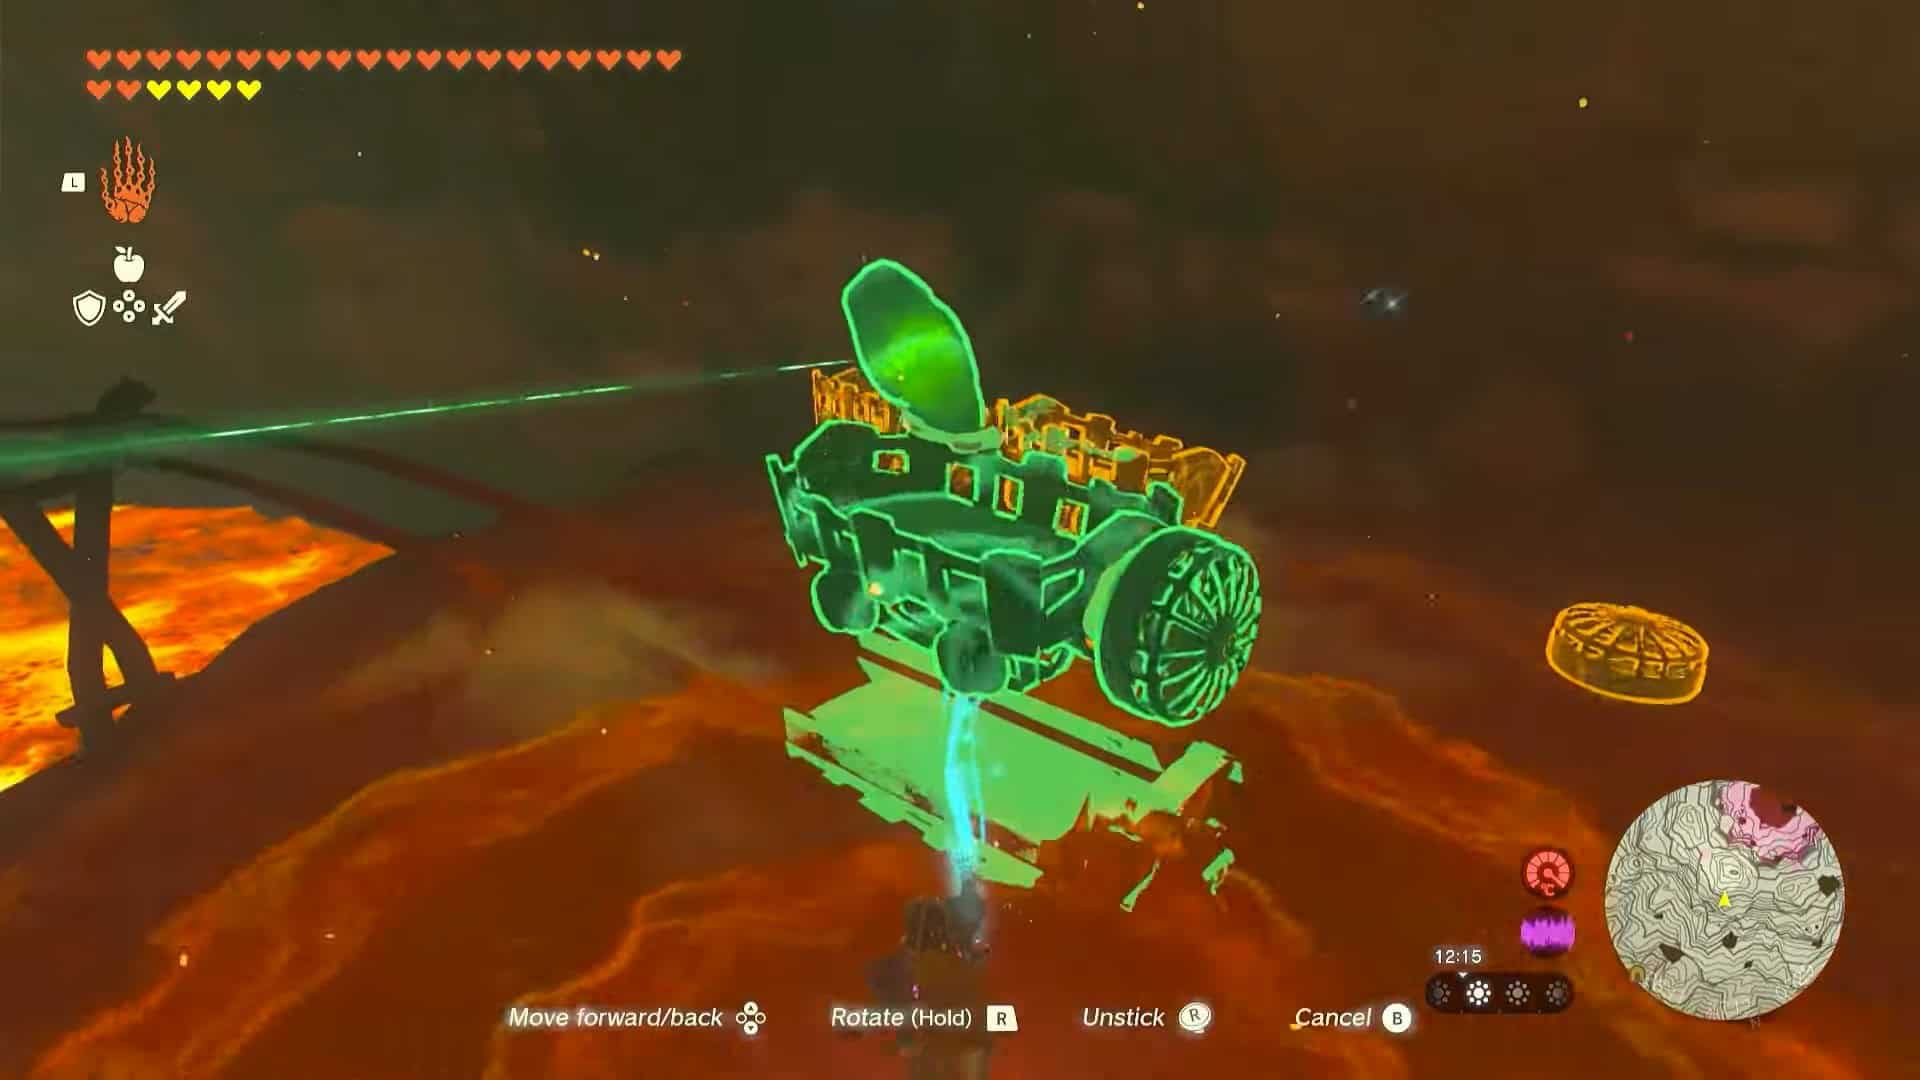
4. Pick up the fan with Ultrahand and attach it to the back of the trolley.
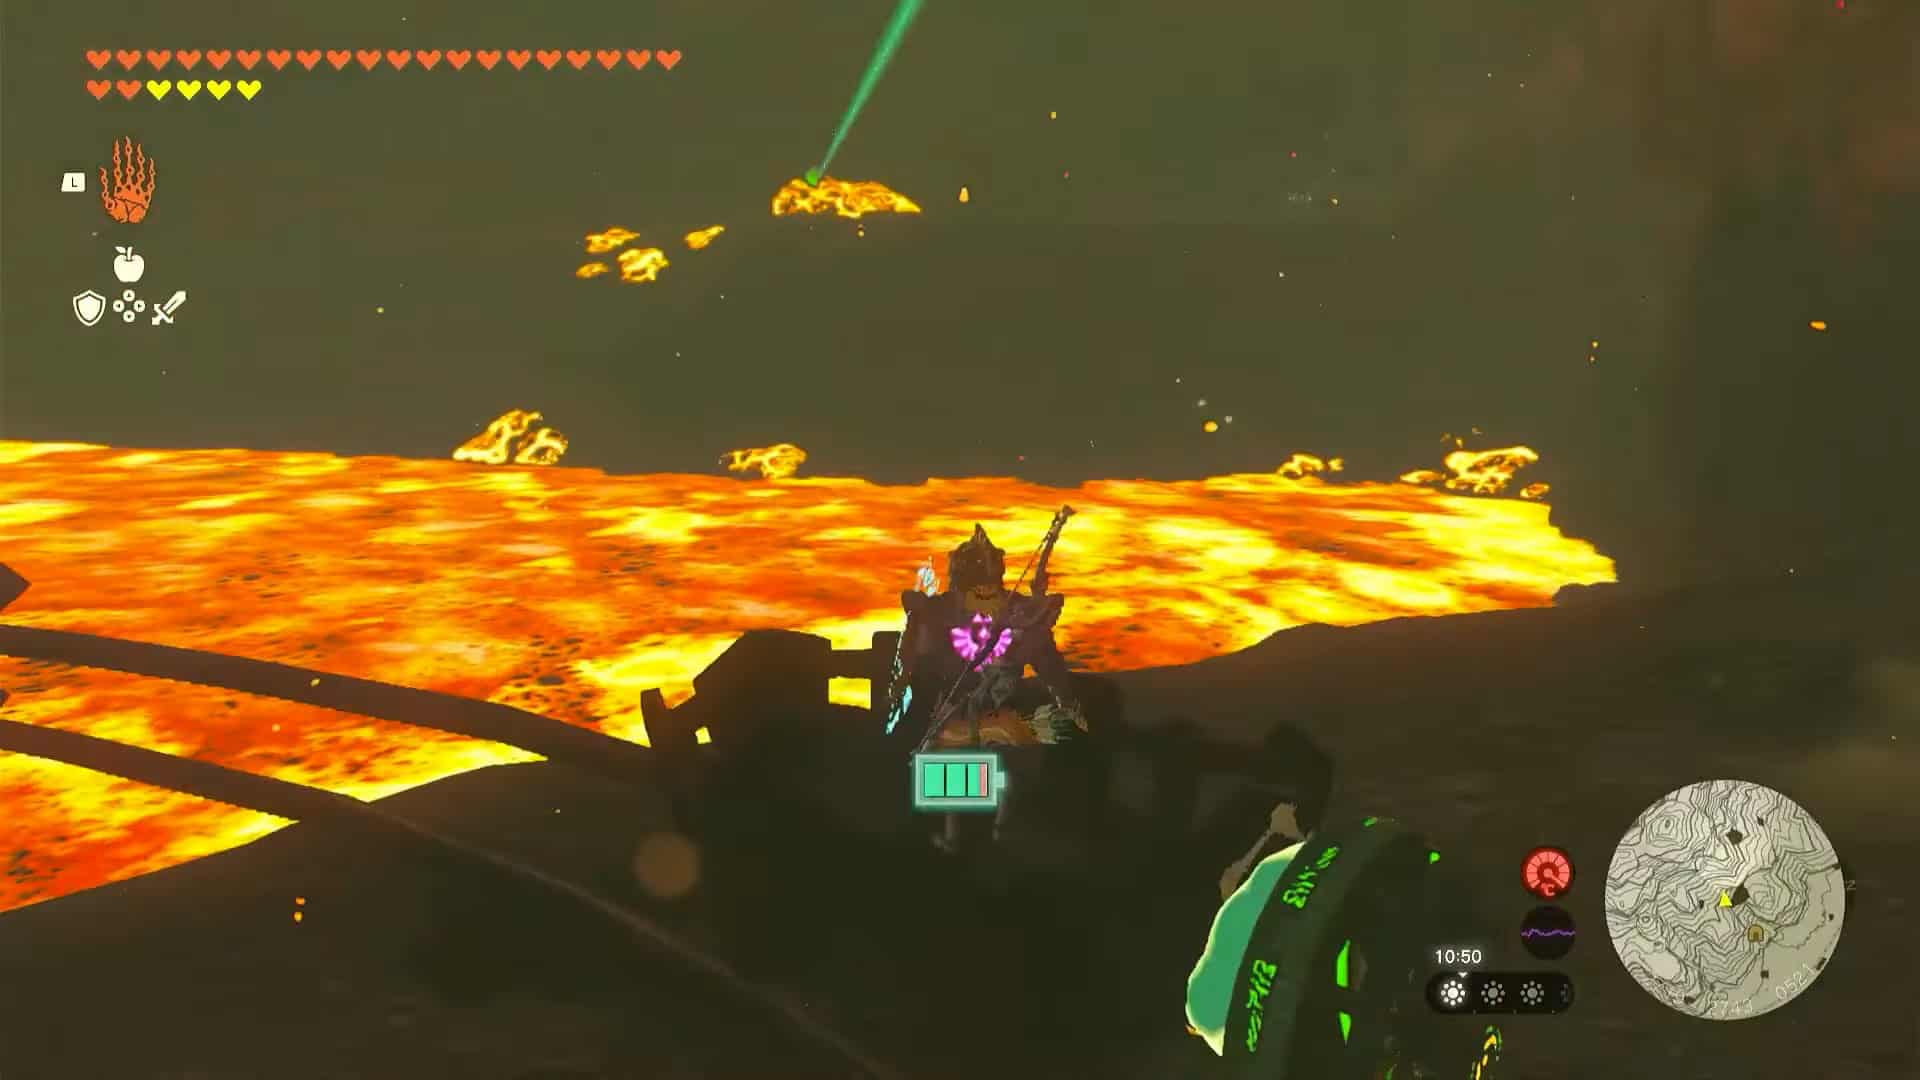
5. Place the trolley on the rails and hit the fan. This will make the trolley go forward and reach the green crystal.
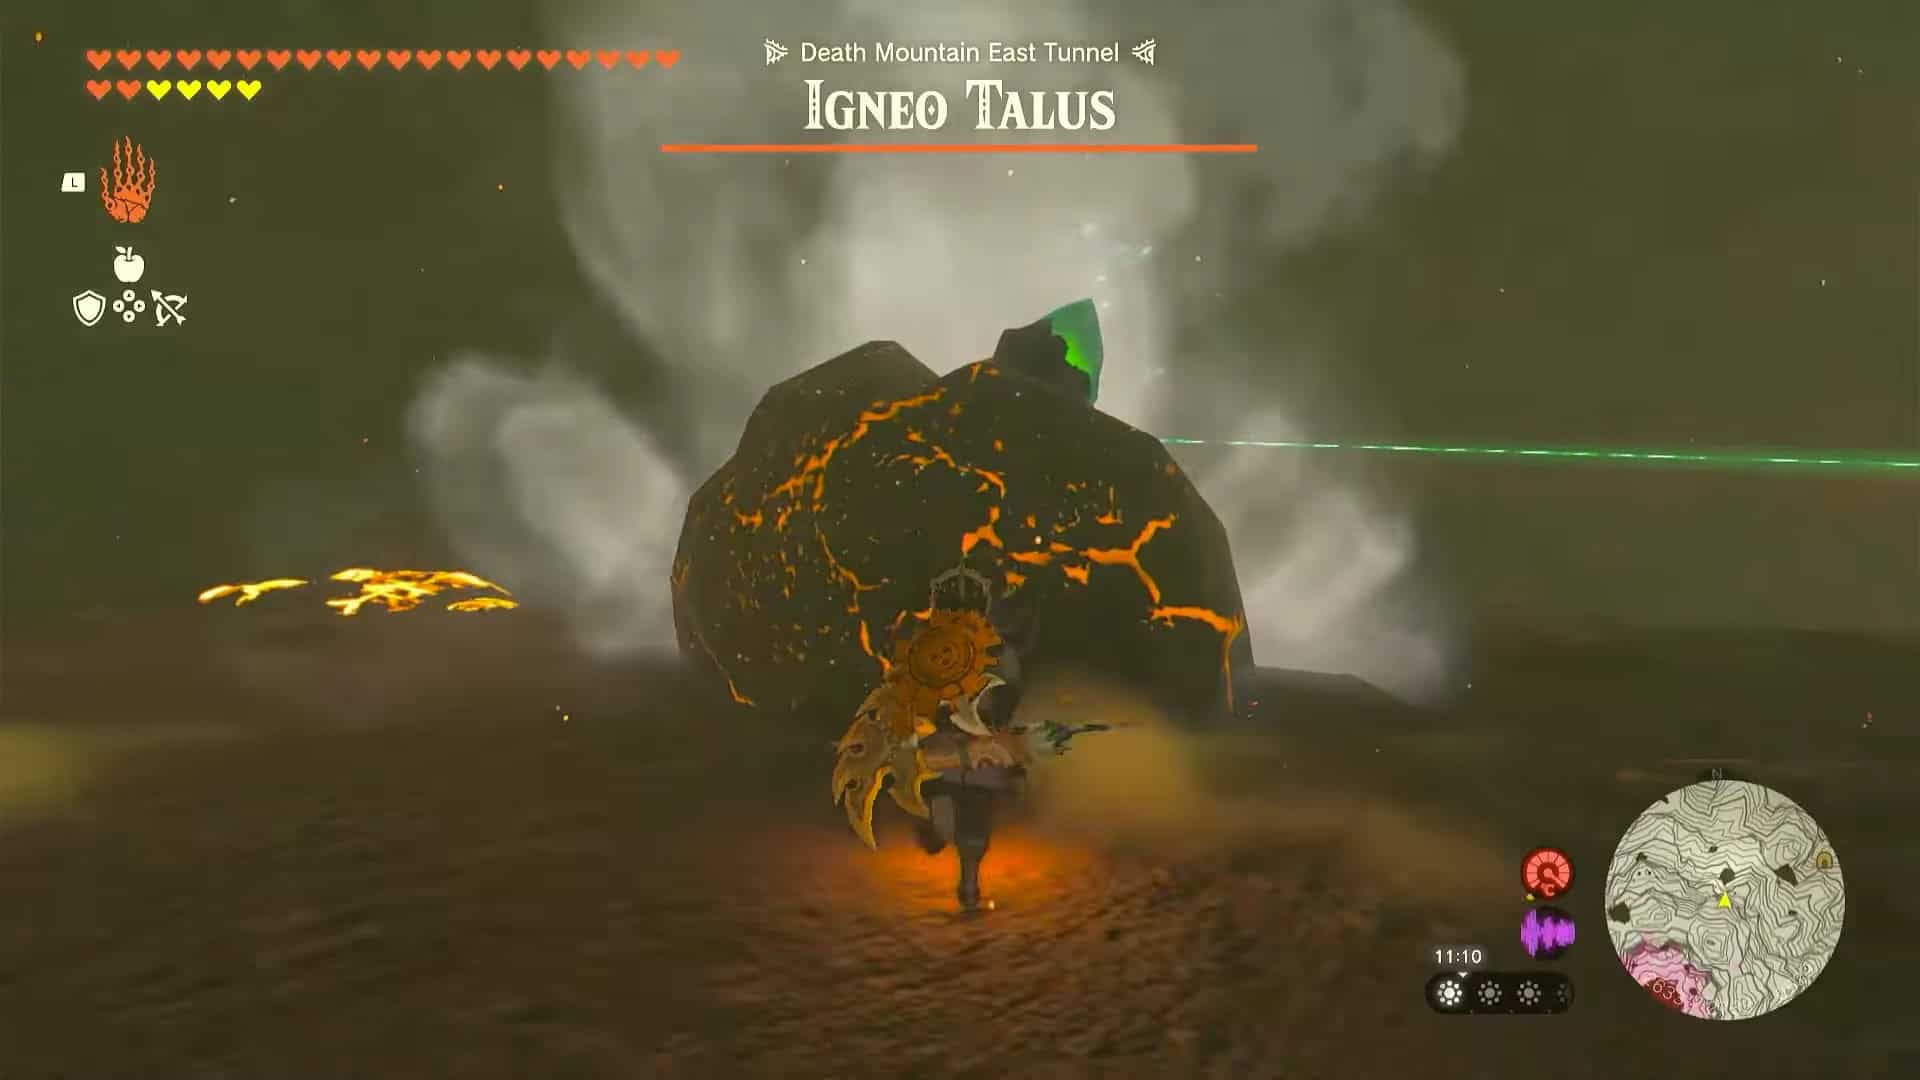
6. The green crystal is embedded into an Igneo Talus enemy. It is a highly formidable foe. Hit it with an Ice Arrow to calm it down.
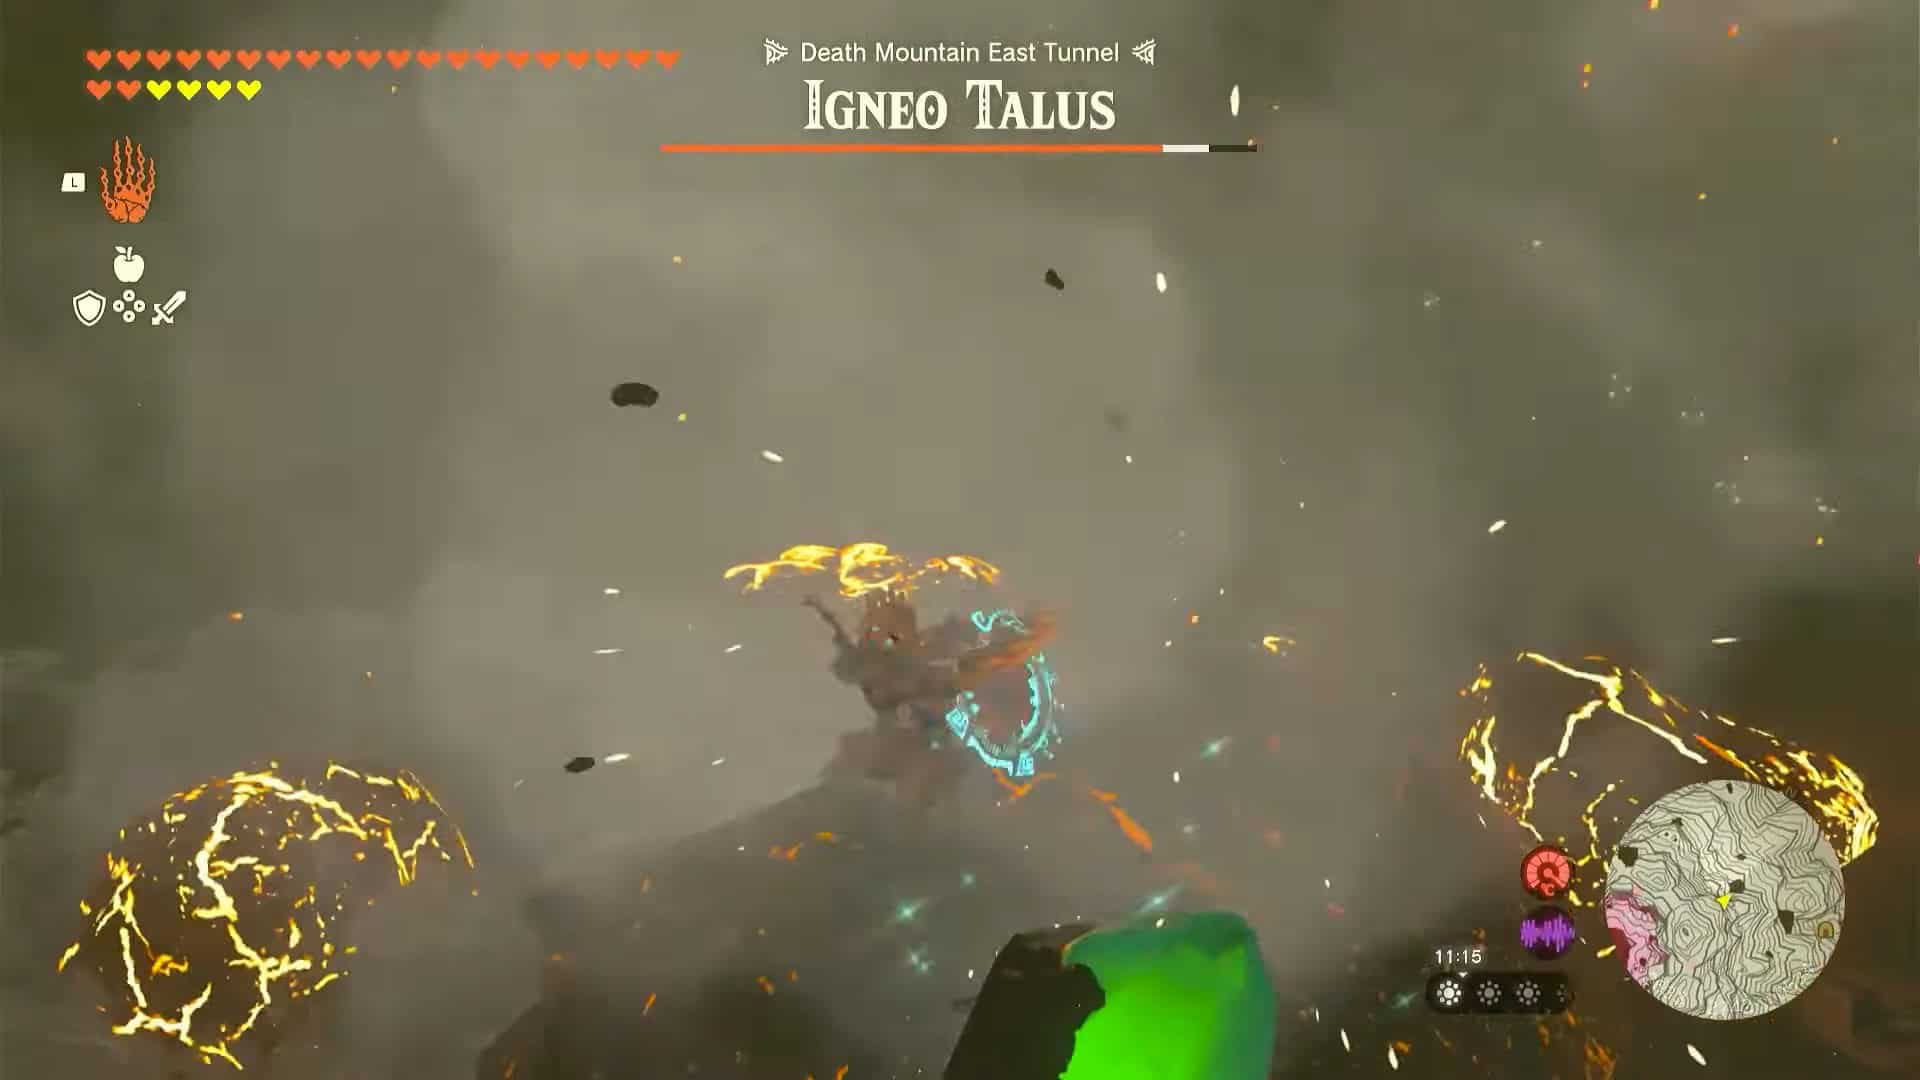
7. Climb on its back and hit the green crystal repeatedly to lower its HP.
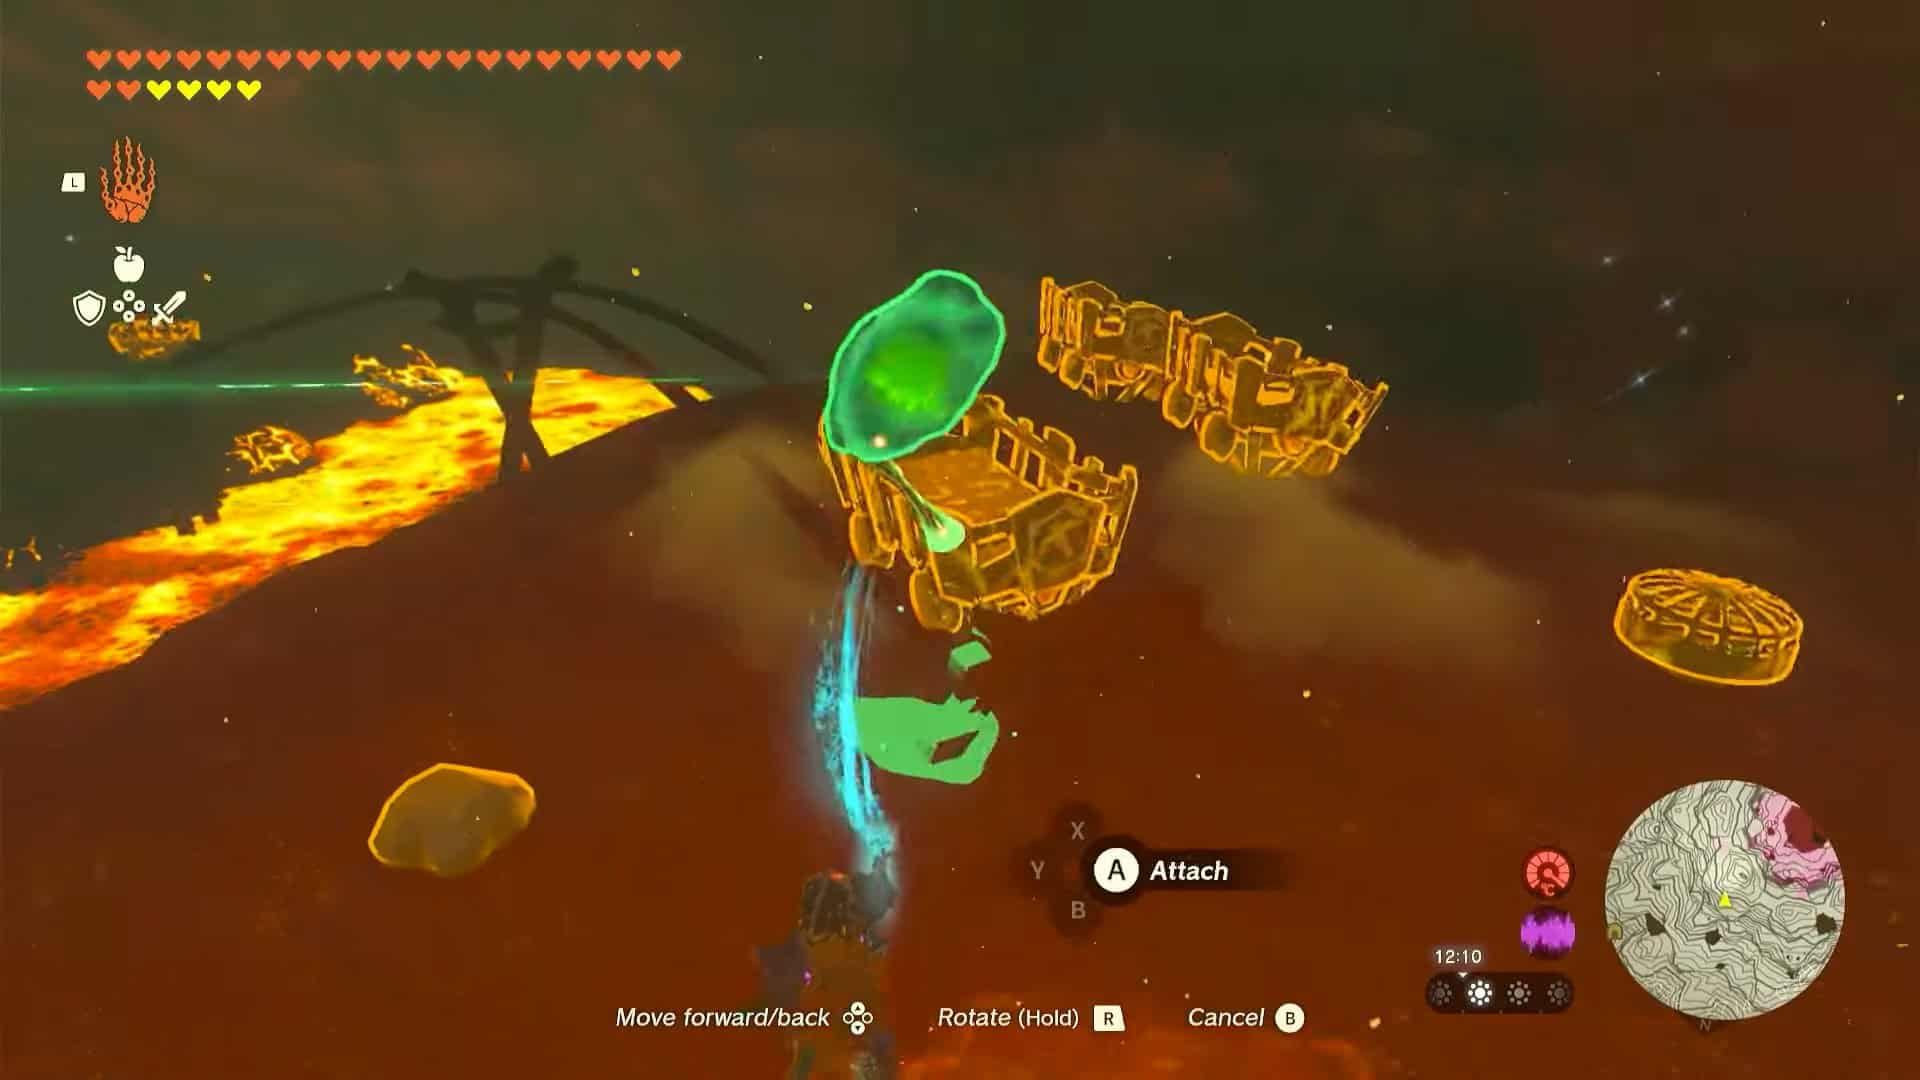
8. Once the Igneo Talus is defeated, pick up the green crystal and put it inside the trolley.
9. Pick up the trolley and reverse its direction. Use it to reach the entrance of the cave once more.
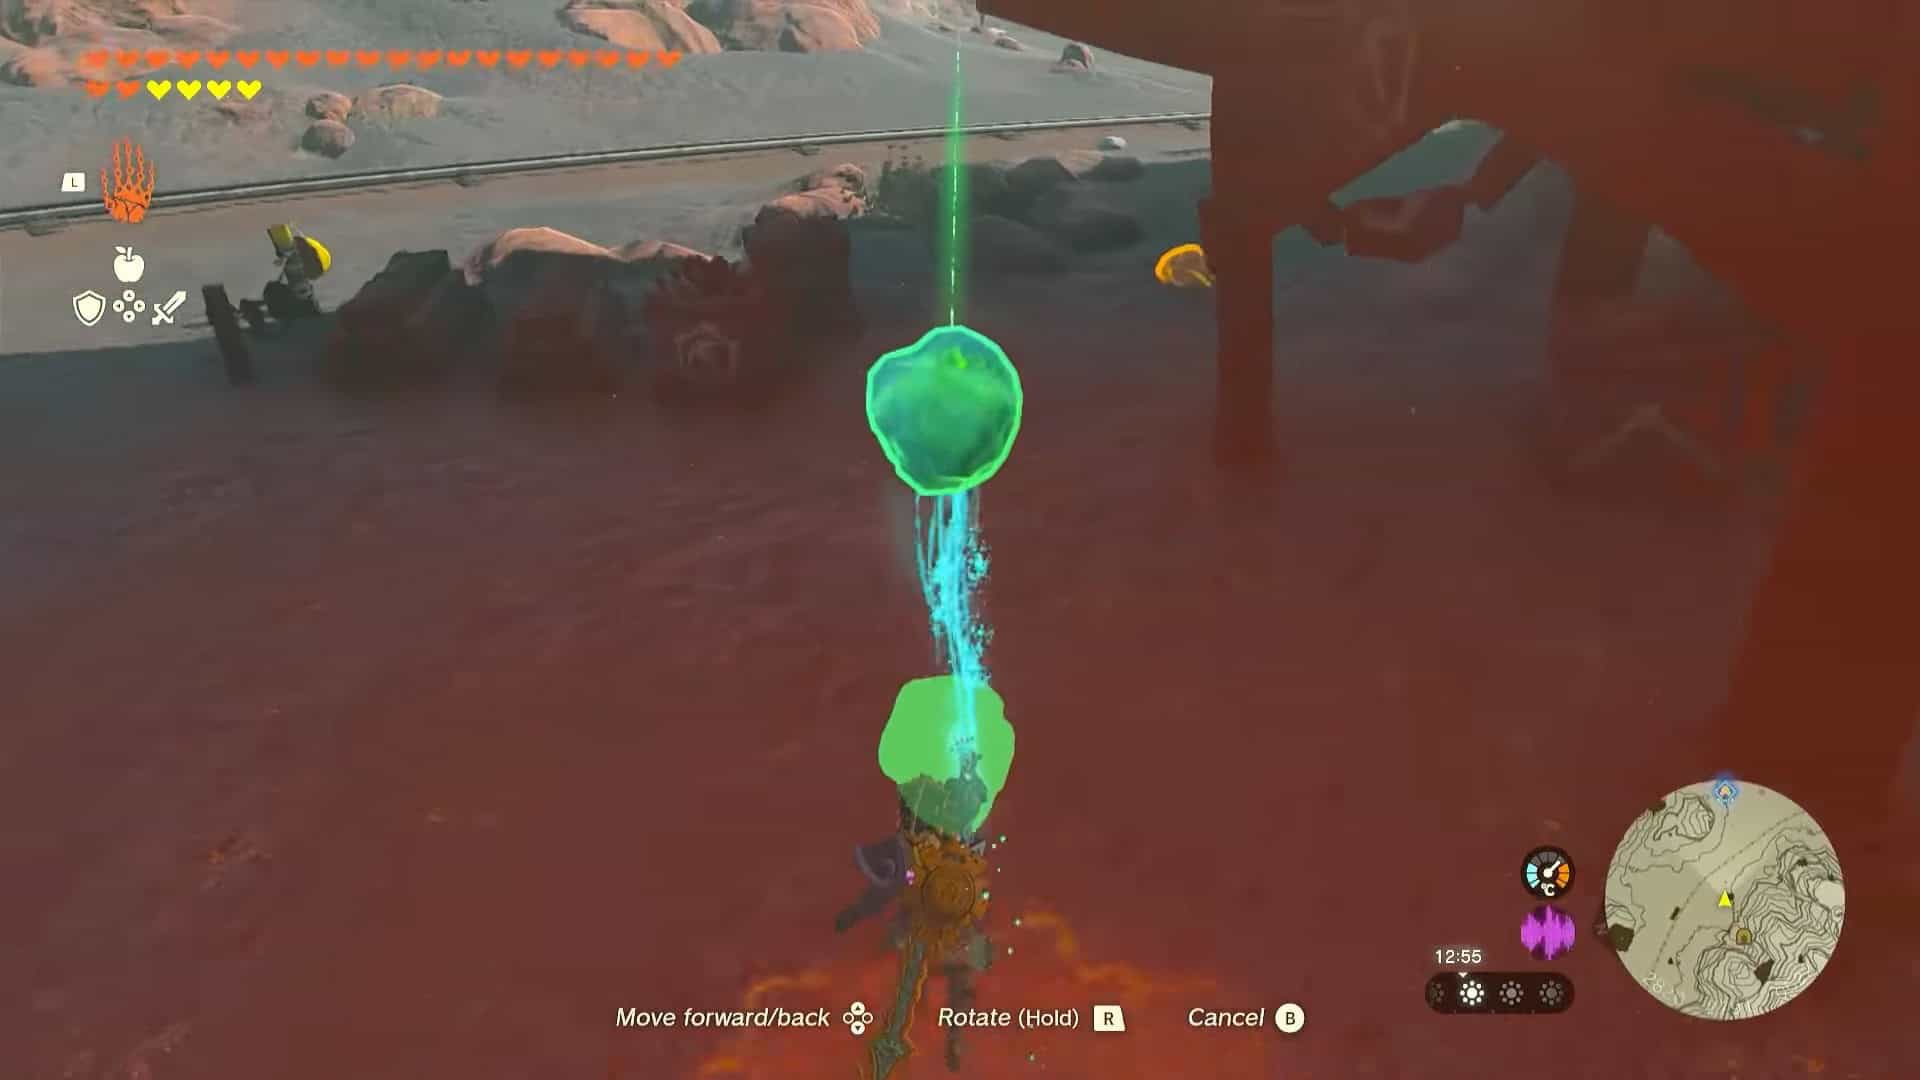
10. Pick up the crystal and return it to Momosik Shrine’s entrance. The shrine will unlock and now you can enter it.
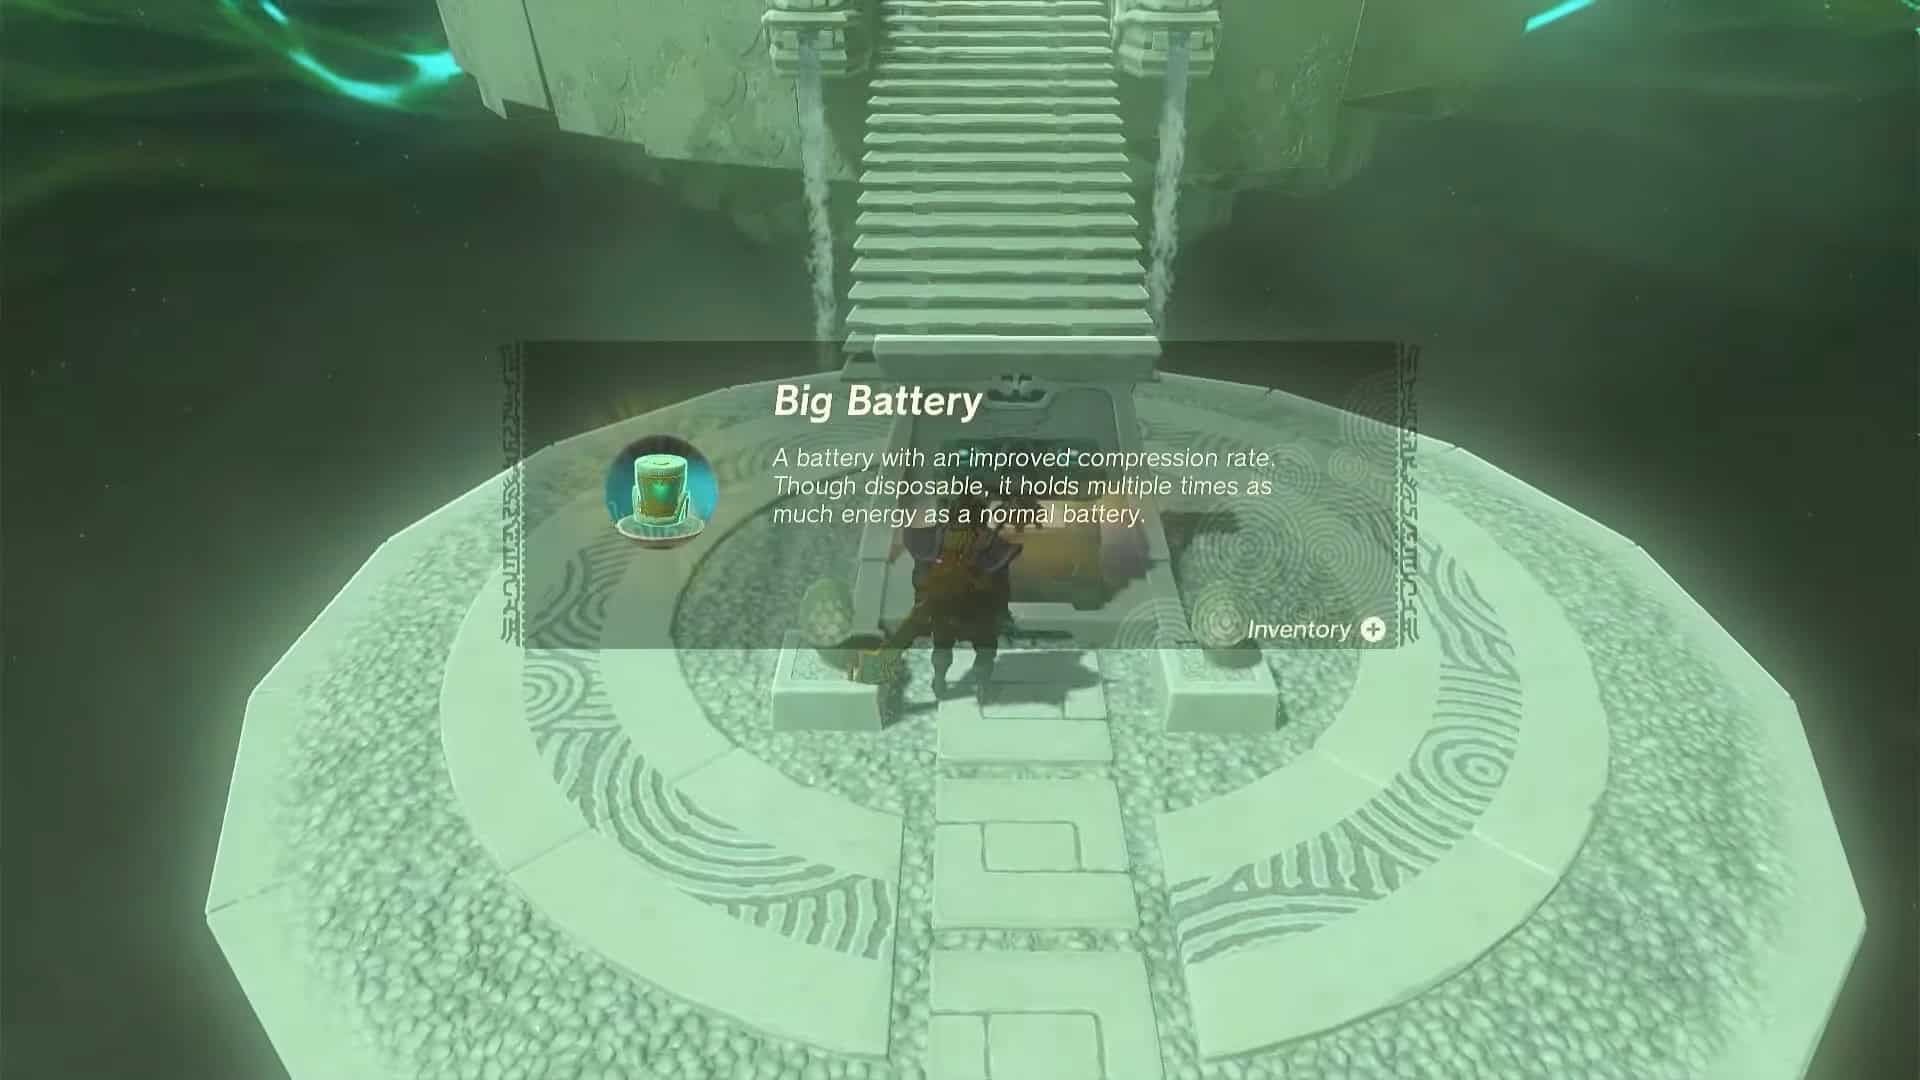
11. As this is a blessing shrine, there will be no combat challenge or puzzle inside it. Open the treasure chest to obtain a Big Battery.
12. Interact with Rauru and Sonia’s statues to complete the side quest and obtain a Light of Blessing as a reward.