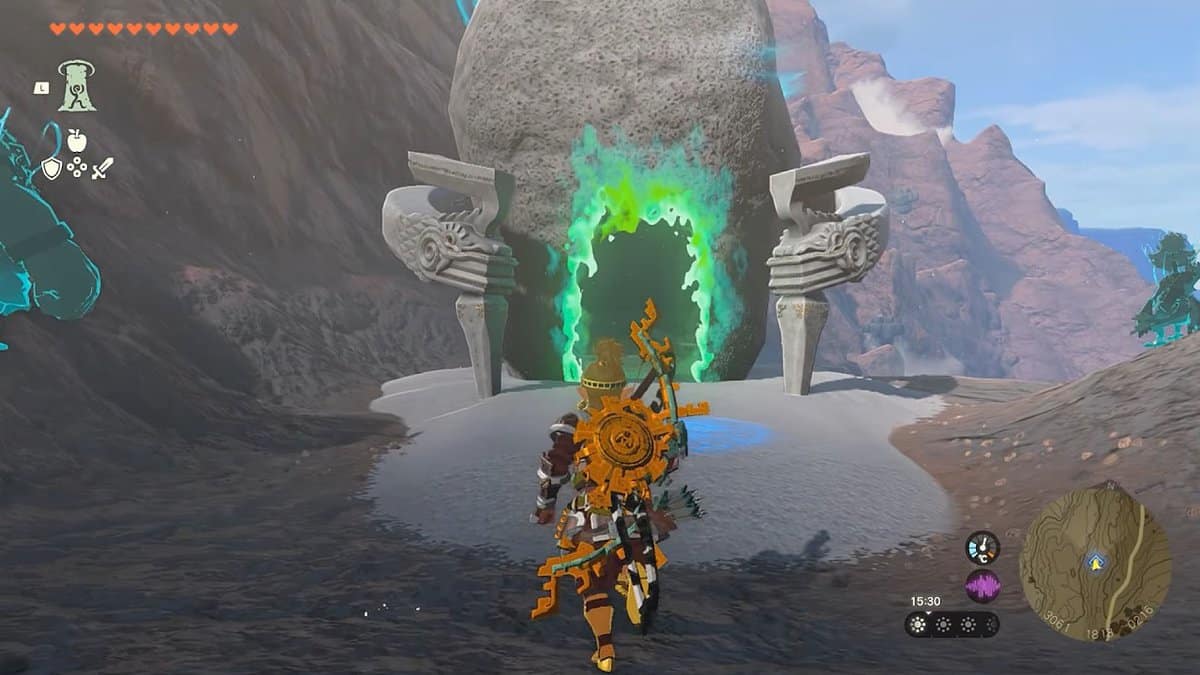
Mayachideg Shrine tests your courage and intelligence. The main purpose of this shrine is to beat the enemies by using the items provided by the shrine. While combat shrines appear easy on paper, they can be brutally tough due to the lack of weapons and health items available. Mayachideg shrine is one of those in Zelda: Tears of the Kingdom, where you are initially pitted against a group of elite enemies with one big bonk.
Let’s teach you how to change the situation in your favor and easily take down the enemies.
Mayachideg Shrine location in Zelda: TotK
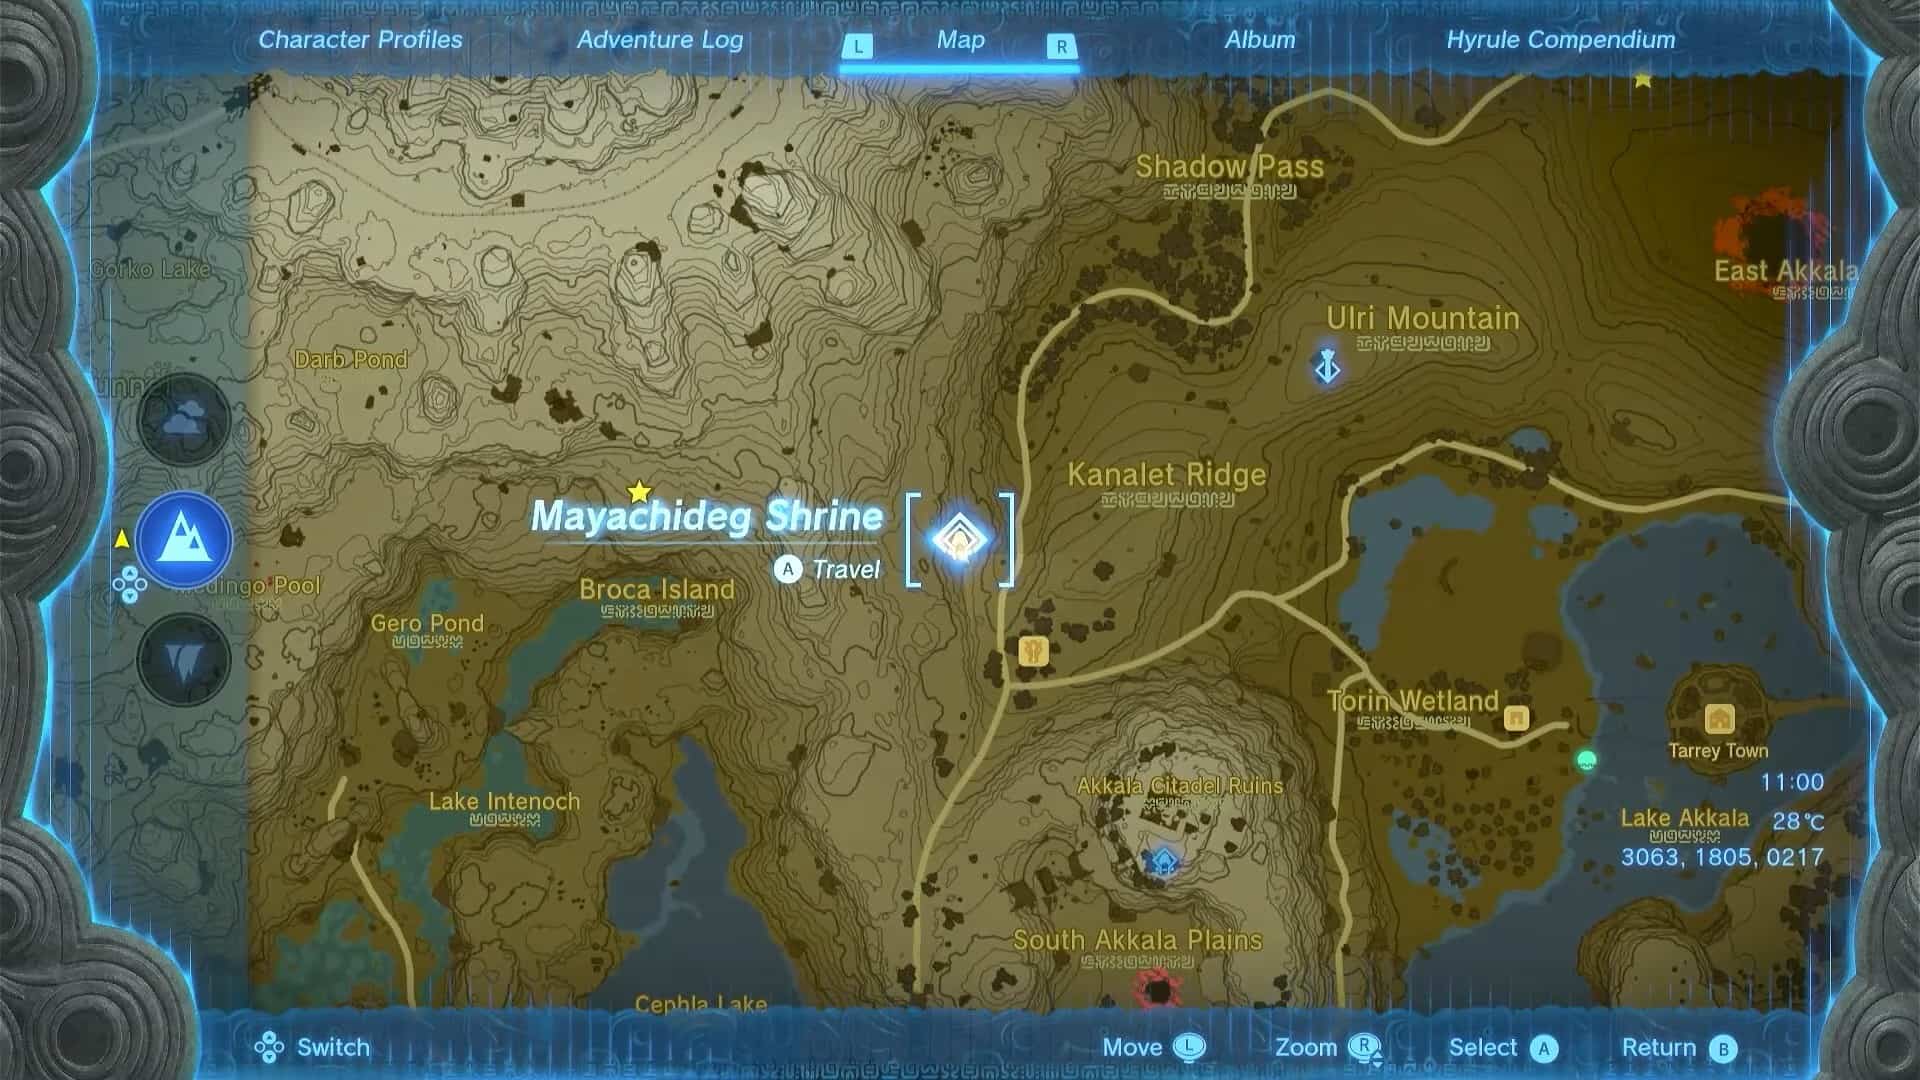
Mayachideg Shrine is in the southwestern part of the Akkala region. It can be accessed by going Southwest from the Ulri Mountain Skyview Tower or Northwest from the Akkala Plains Stable.
The exact coordinates for the Mayachideg Shrine are (3063, 1805, 0217), and it is on top of a hill.
Mayachideg Shrine Walkthrough
Like the rest of the combat shrines, the Mayachideg Shrine in Zelda: Tears of the Kingdom doesn’t allow using weapons, shields, armor, or zonai devices. You will be sent there in your shorts (which means no damage protection), and the shrine will provide the rest.
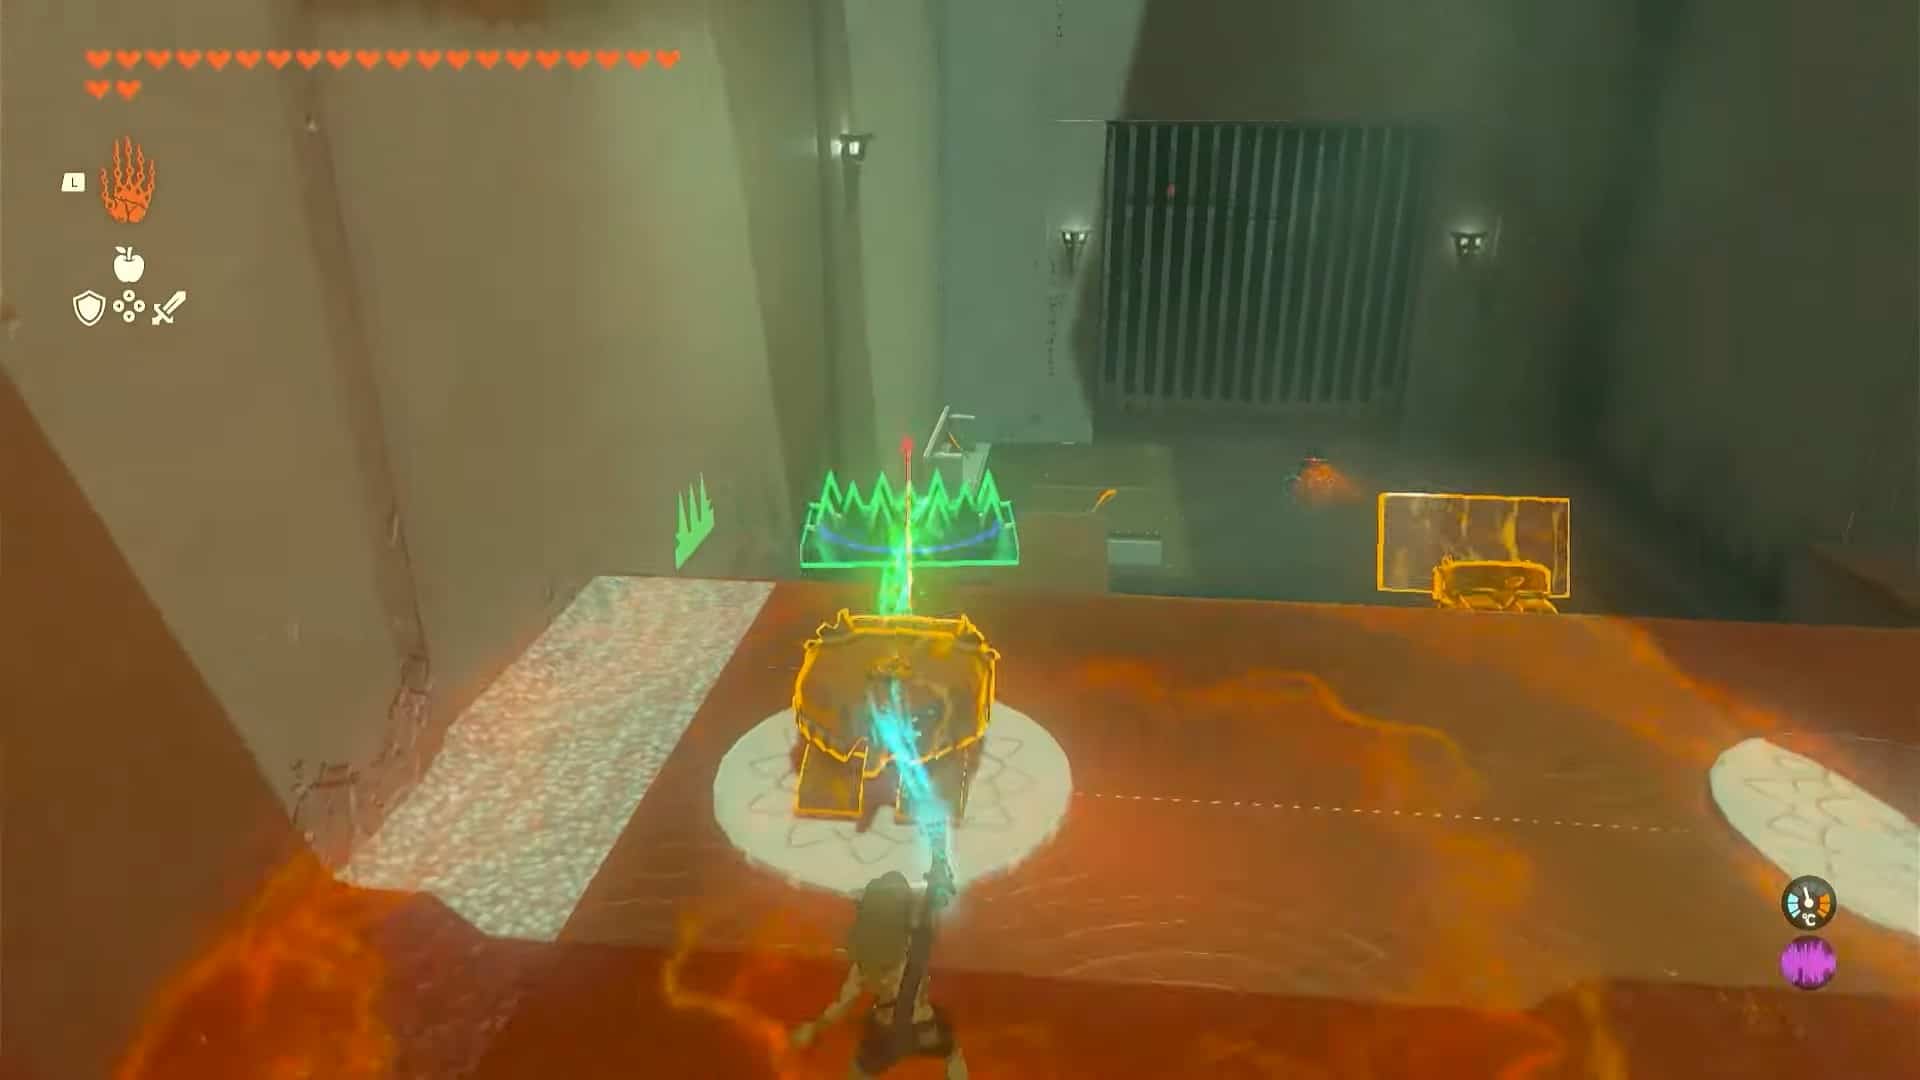
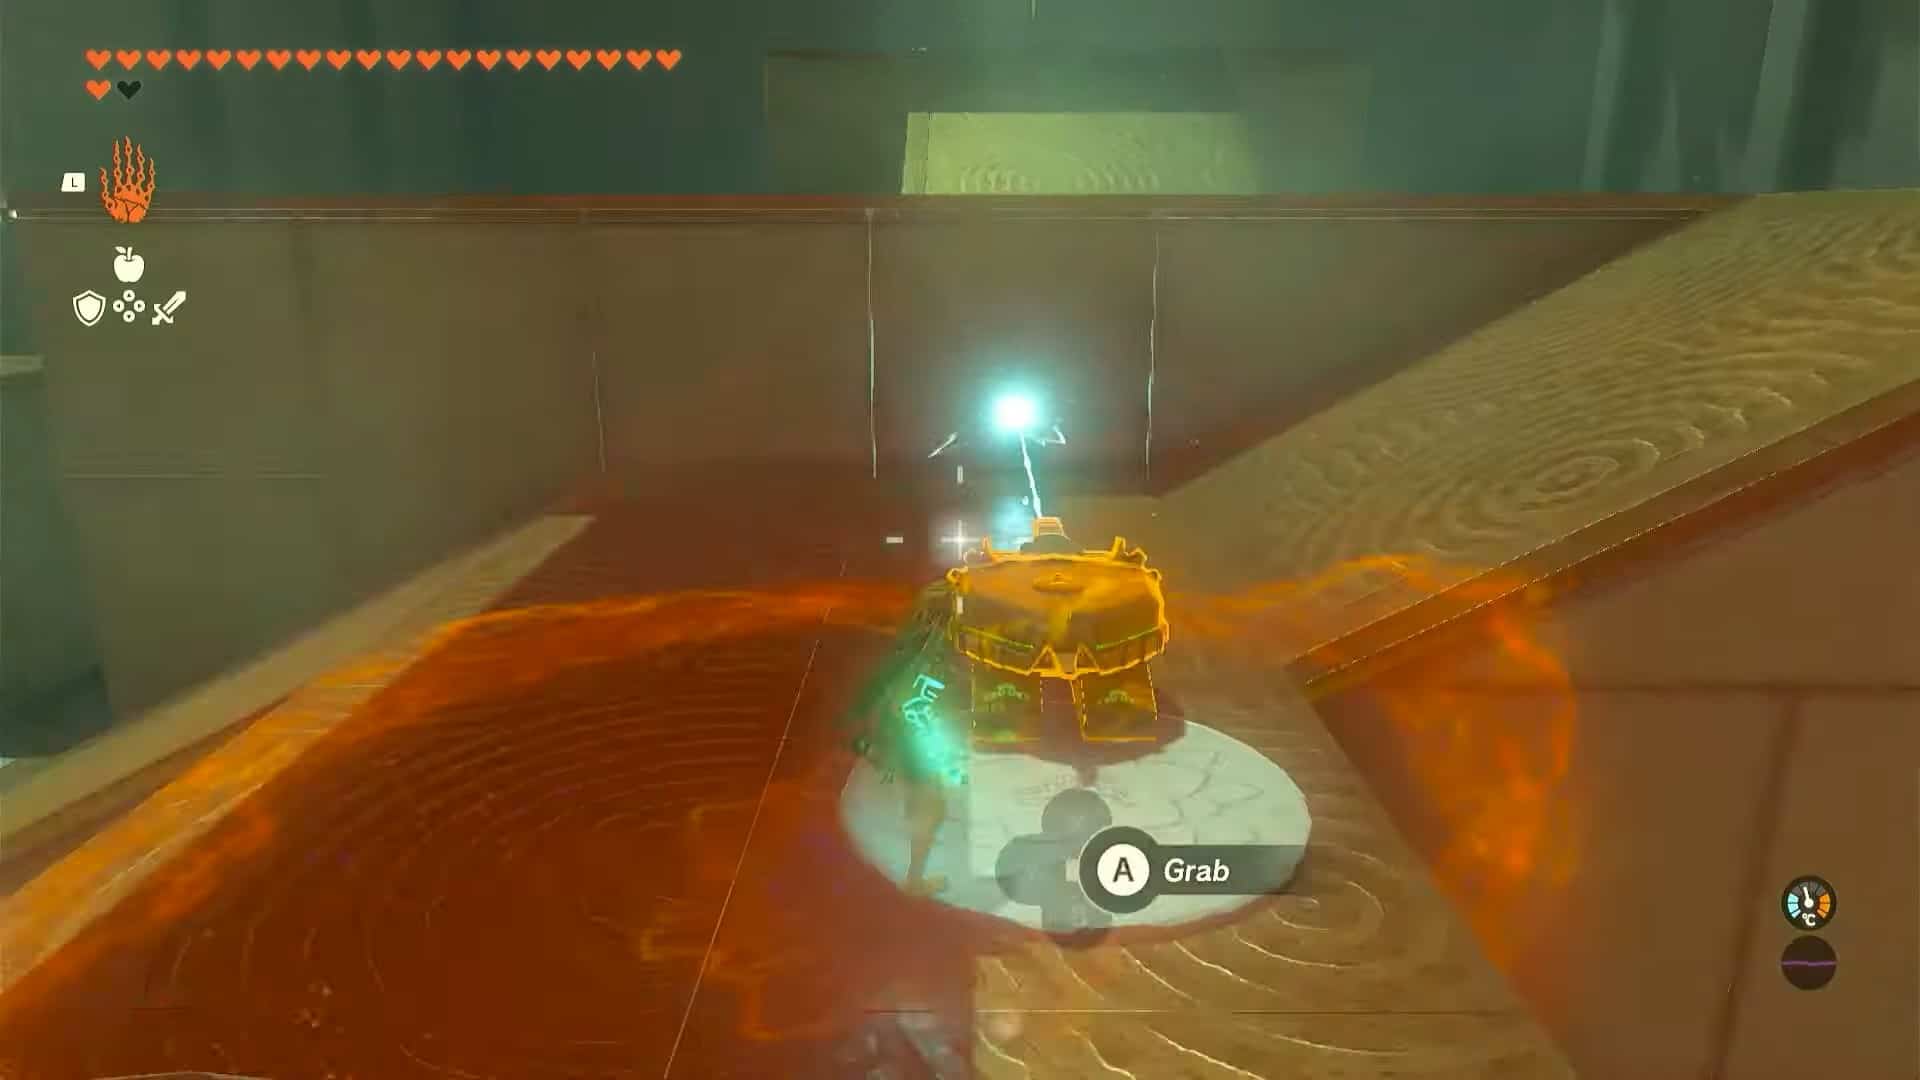
1. The trial associated with this shrine is called Proving Ground: The Hunt. Start the trial by attaching the spiked bed with a machine to create an offensive construct. Send it to distract the enemy while you collect weapons like a club and a bow.

2. Once the soldier construct is defeated, the door to the main chamber will open. Create one more spiked car and send them both to distract the enemies.
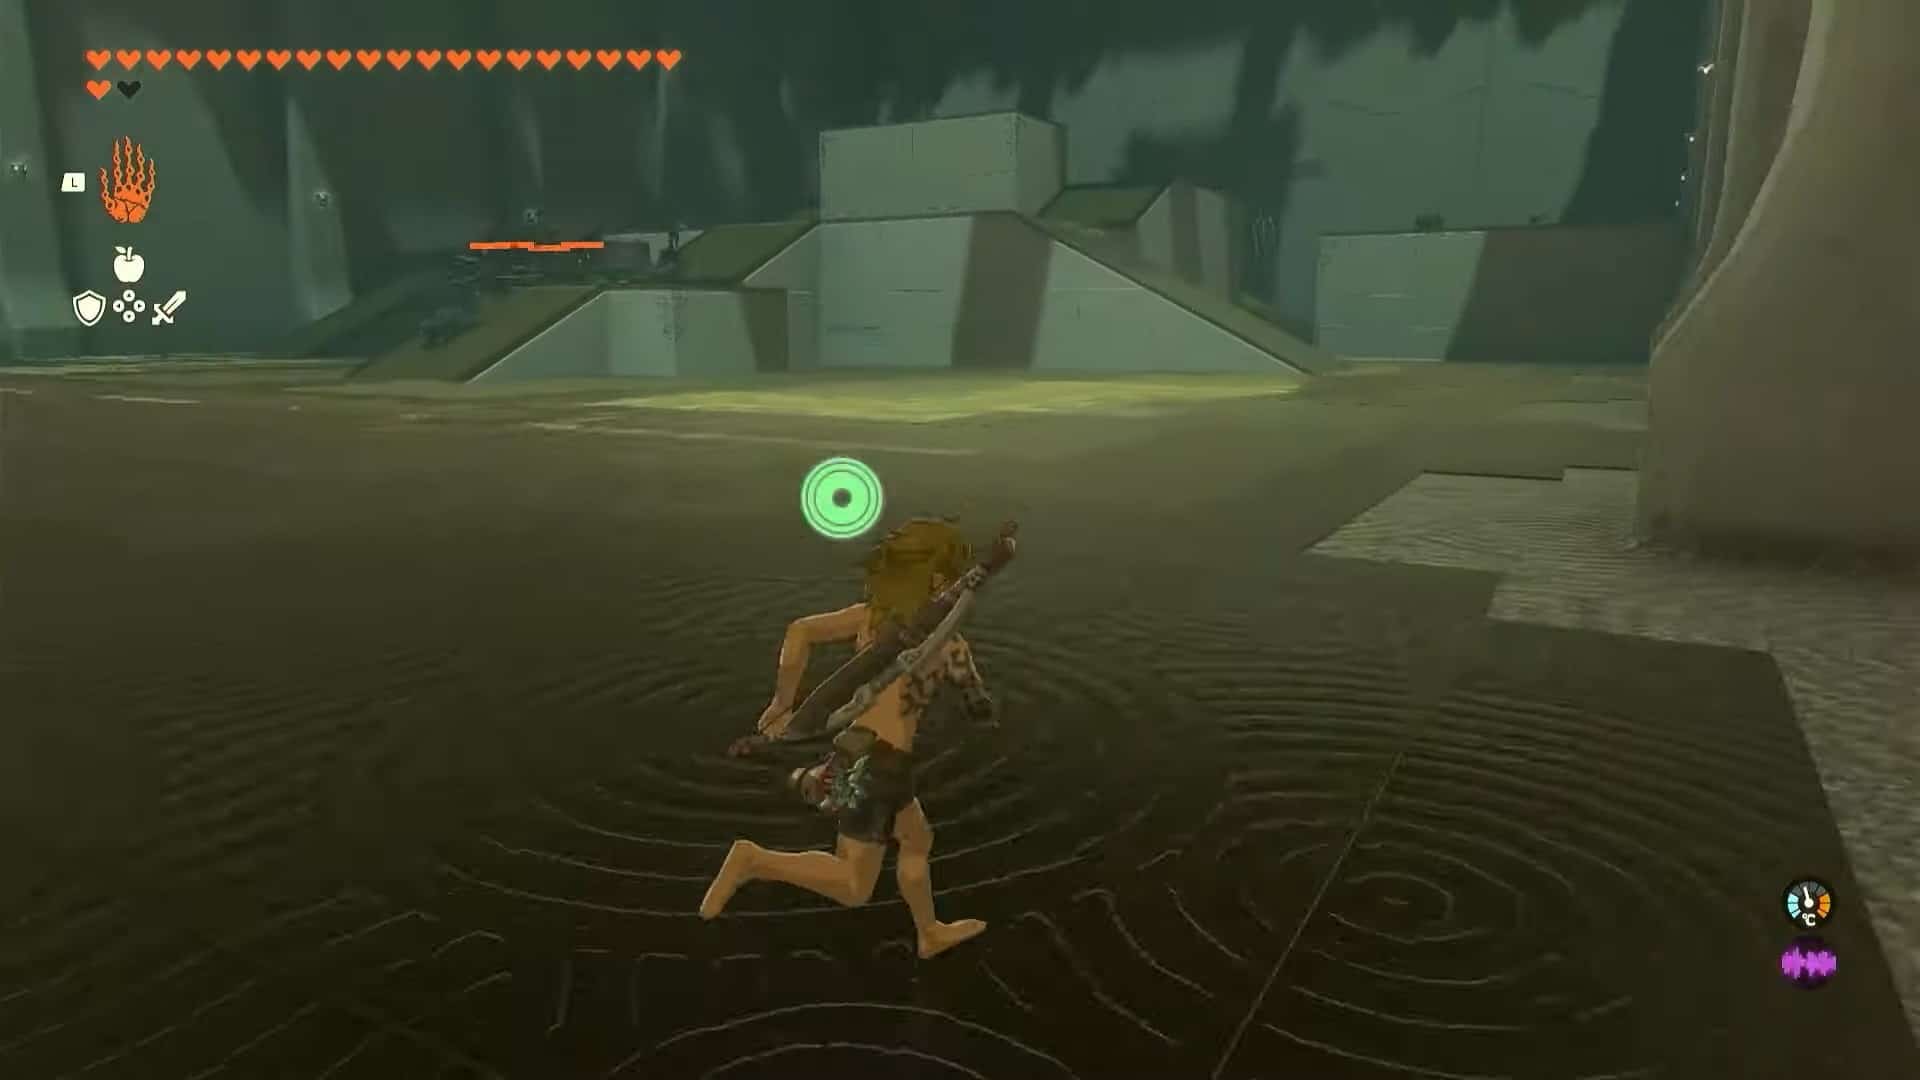
3. Run towards the right by hugging the wall so the enemies won’t be able to detect you.
4. Use a ladder to climb the central platform from behind. This will take you near a laser dragon head that you can attach to another car.
5. Hit the newly constructed machine to activate it. Now, use the Ultrahand ability to pick it up and direct the laser at enemies.
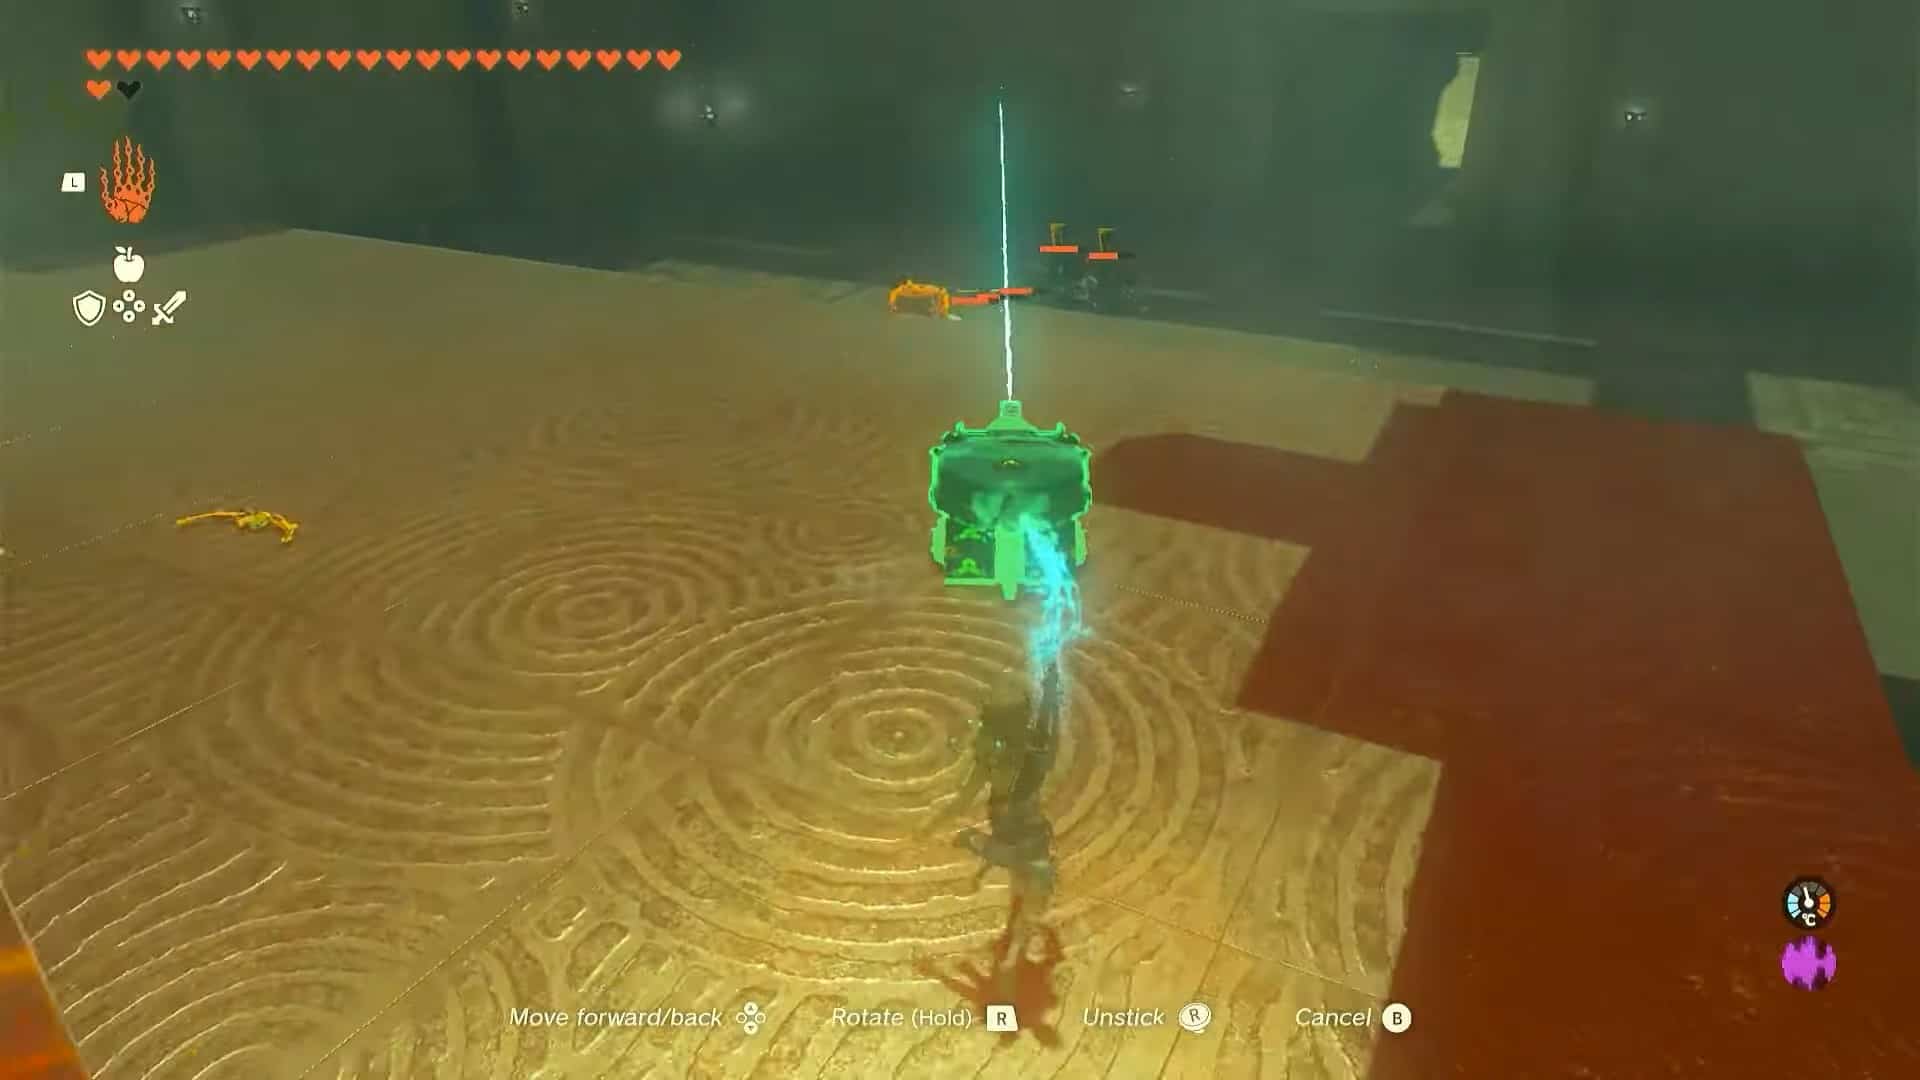
6. Don’t let the device go until you kill all the enemies. The laser is extremely powerful, so you will be able to clear the room in no time.
7. This will open the door to the altar room. Enter the room and open the treasure box to obtain a Captain III Spear. Interact with the statues of Rauru and Sonia to finish the trial and get a Light of Blessing as the reward.