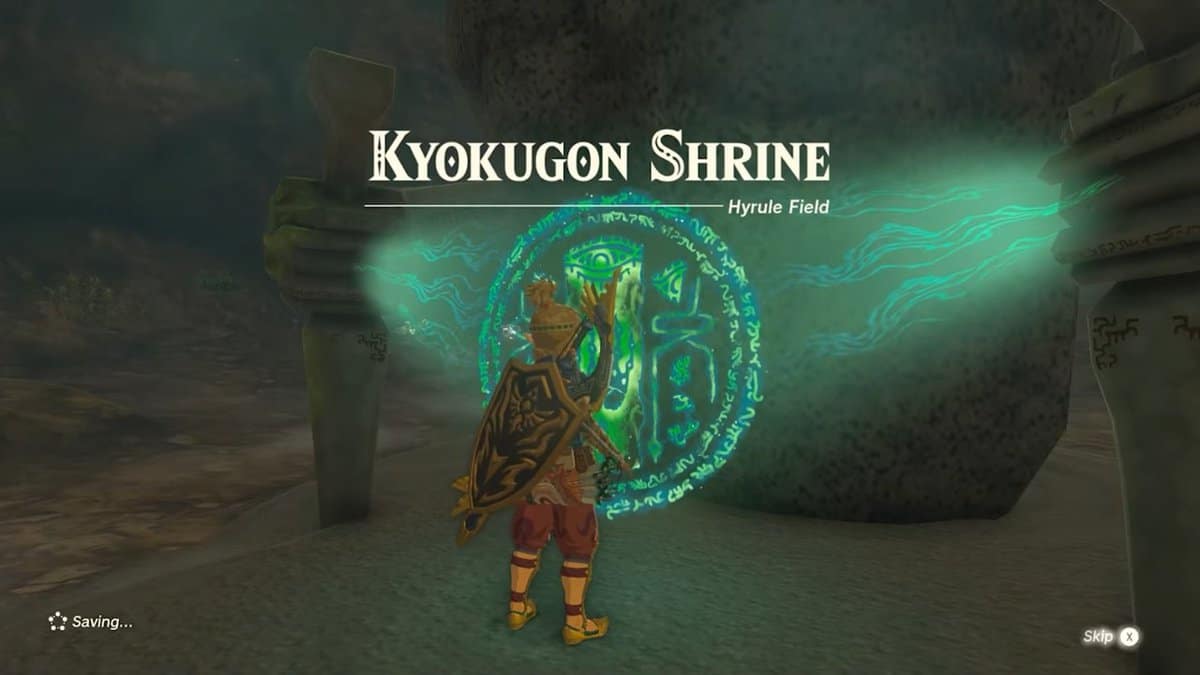
Kyokugon Shrine in Zelda: Tears of the Kingdom offers a puzzle that requires you to pay close attention to your surroundings. While not being crazy difficult, if you miss the hint to look at the roof, this shrine can pose a massive challenge.
In this guide, we will help you find this well-hidden shrine and solve it without going crazy. We strongly recommend completing Yunobo of Goron City’s main quest before attempting Kyokugon Shrine in Zelda: Tears of the Kingdom.
Kyokugon Shrine Location in Zelda: TotK
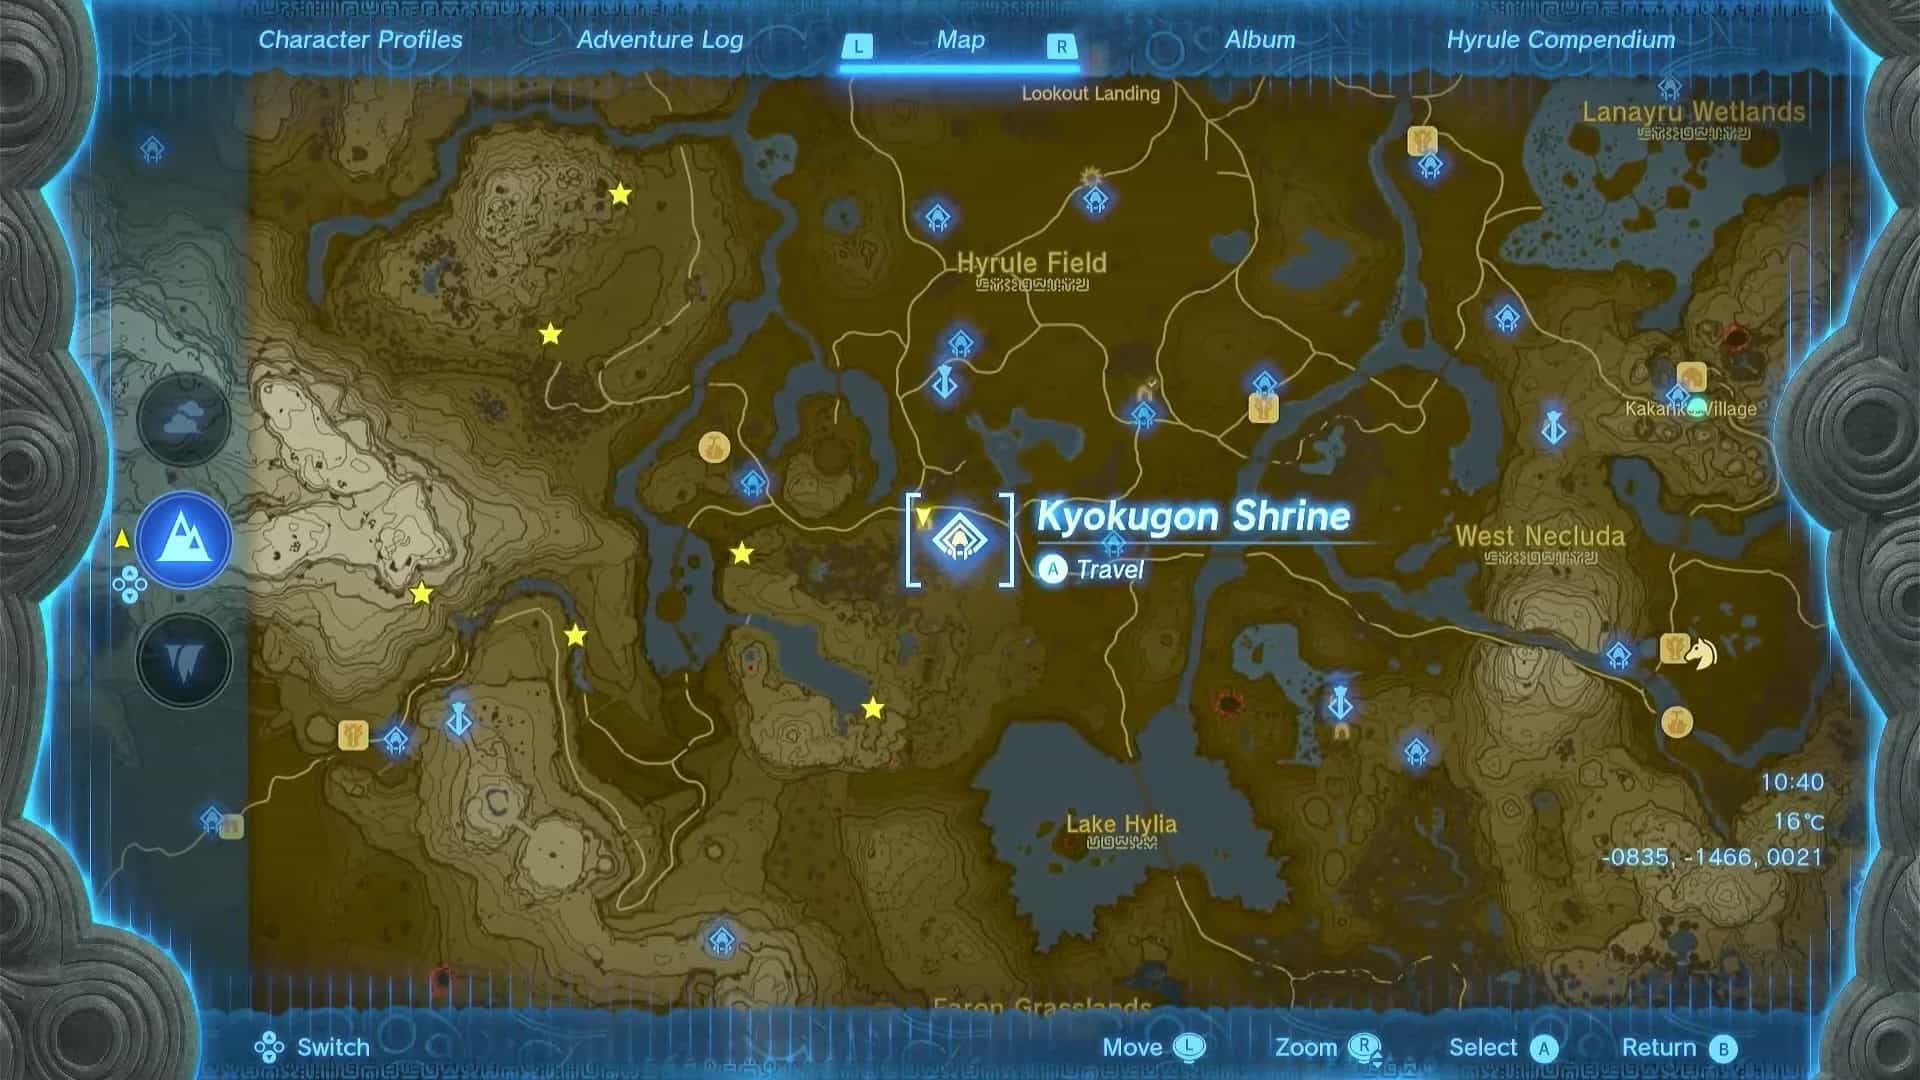
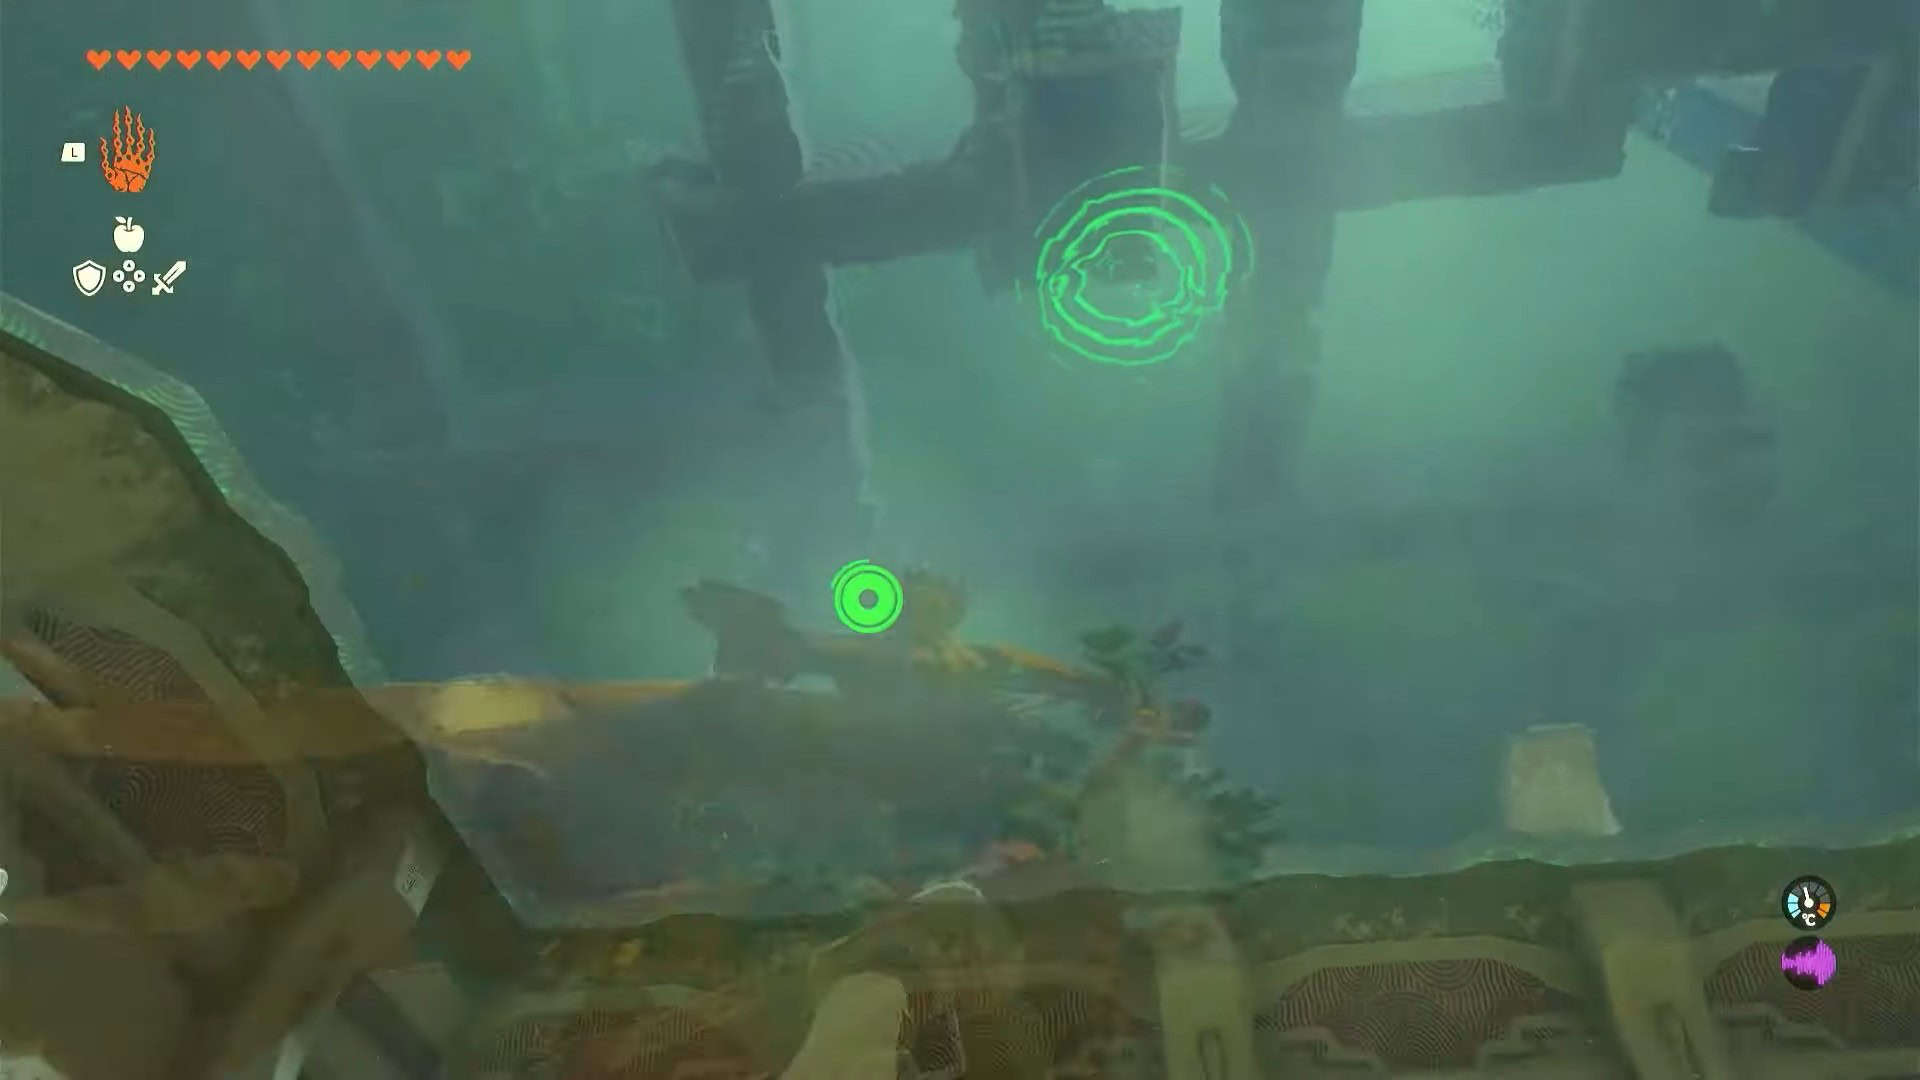
Kyokugon Shrine is inside Great Plateau Foothill Cave (-0835, -1466, 0021) which is in the southern region of Hyrule Field. The nearest Skyview tower is Hyrule Field Skyview Tower to the north.
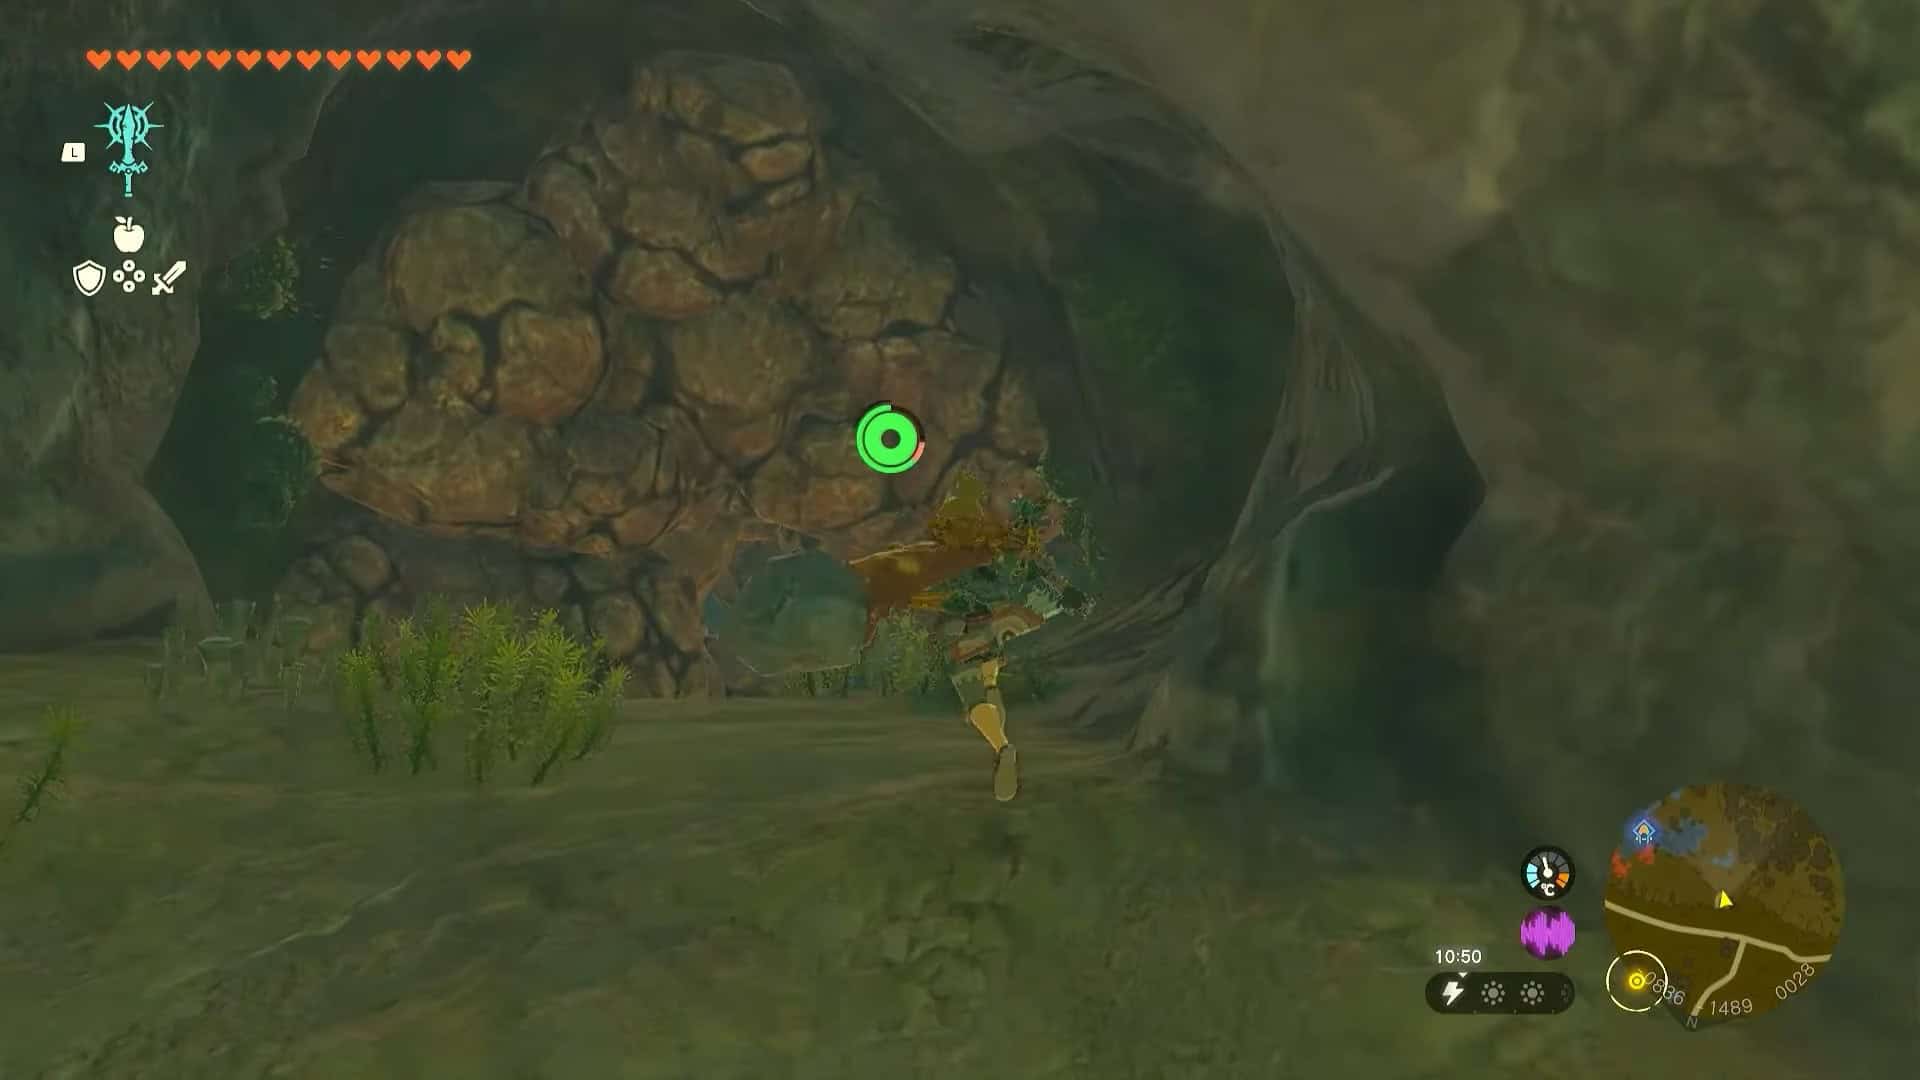
The entrance of the cave is blocked by brown boulders which you can destroy with bombs or hammer weapons. However, the shrine is hidden behind blue/black boulders which can only be destroyed by either Bomb arrows (Arrows + Bomb Flowers) or Yunobo’s Charge ability.
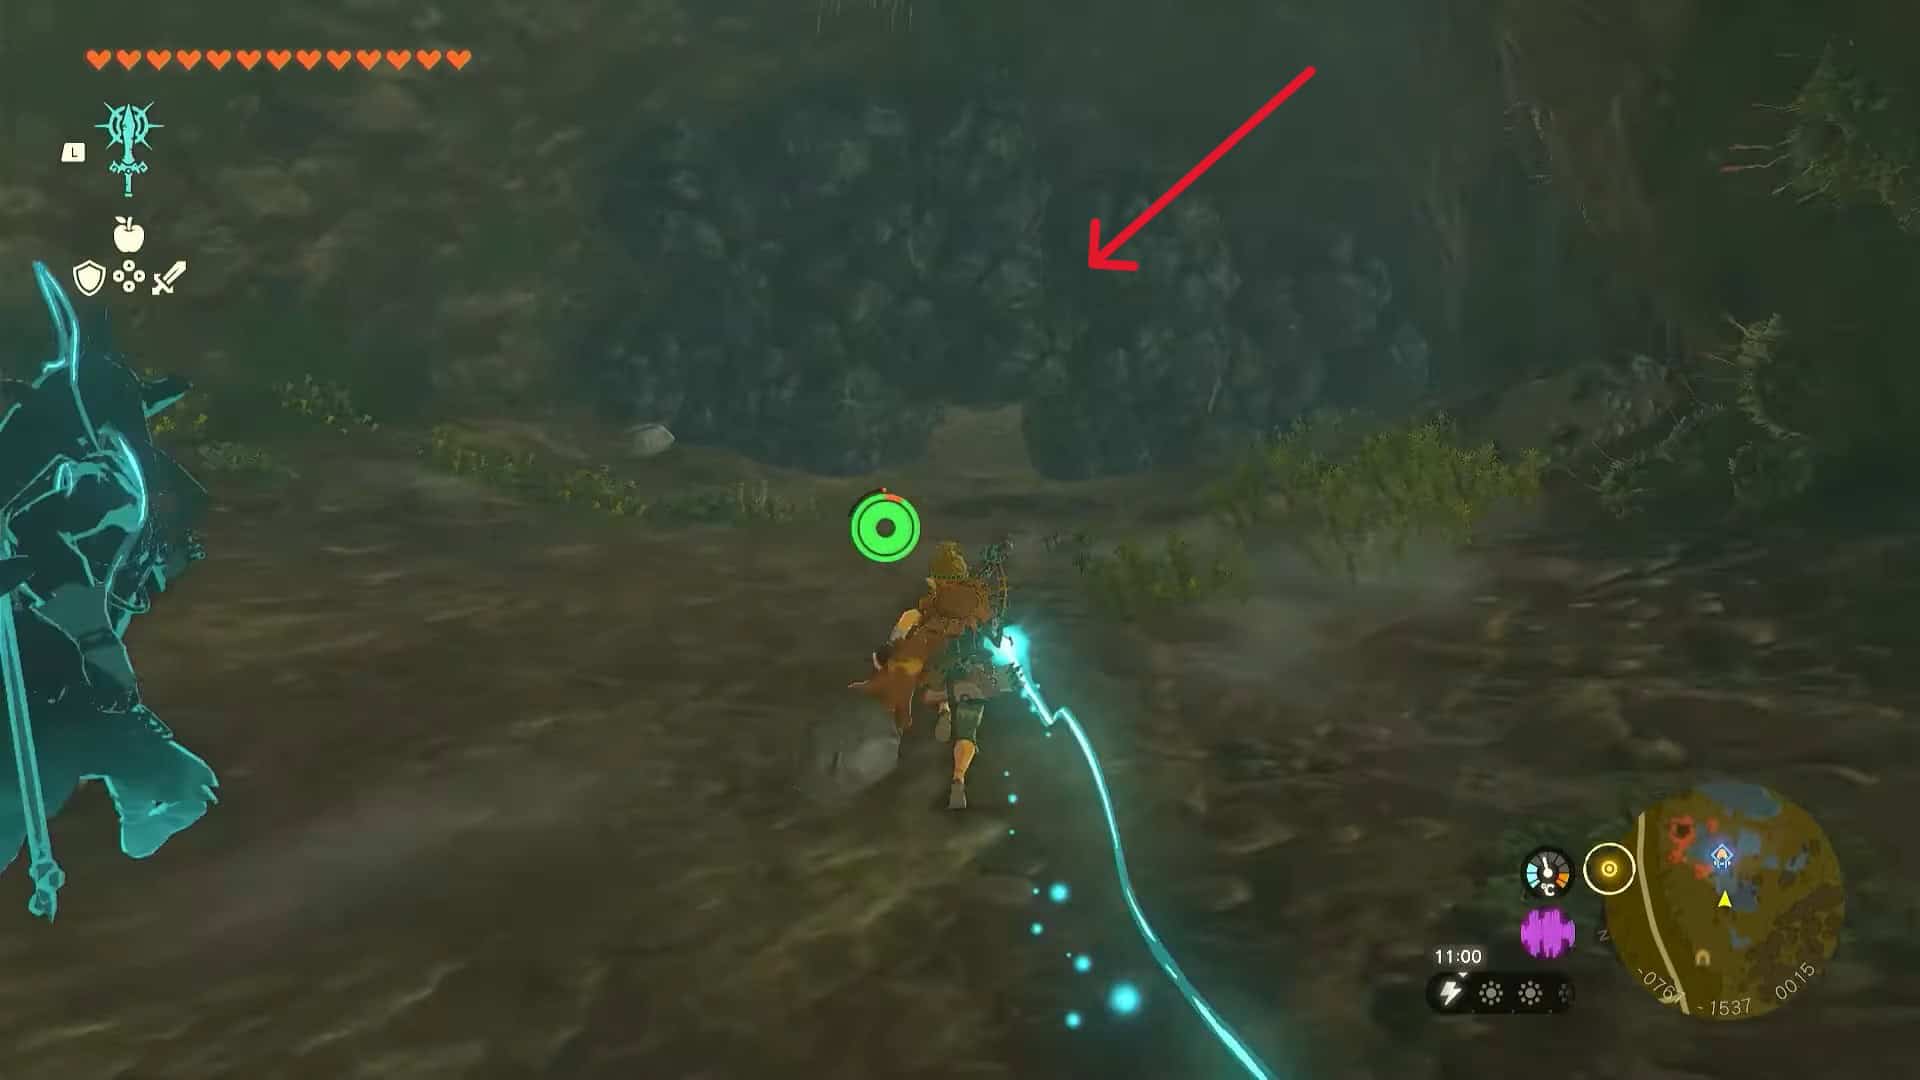
Once you enter the cave, keep going straight to follow the shrine sensor. Destroy all boulders in your path to locate Kyokugon Shrine at (-0707, -1550, 0006).
Kyokugon Shrine Walkthrough
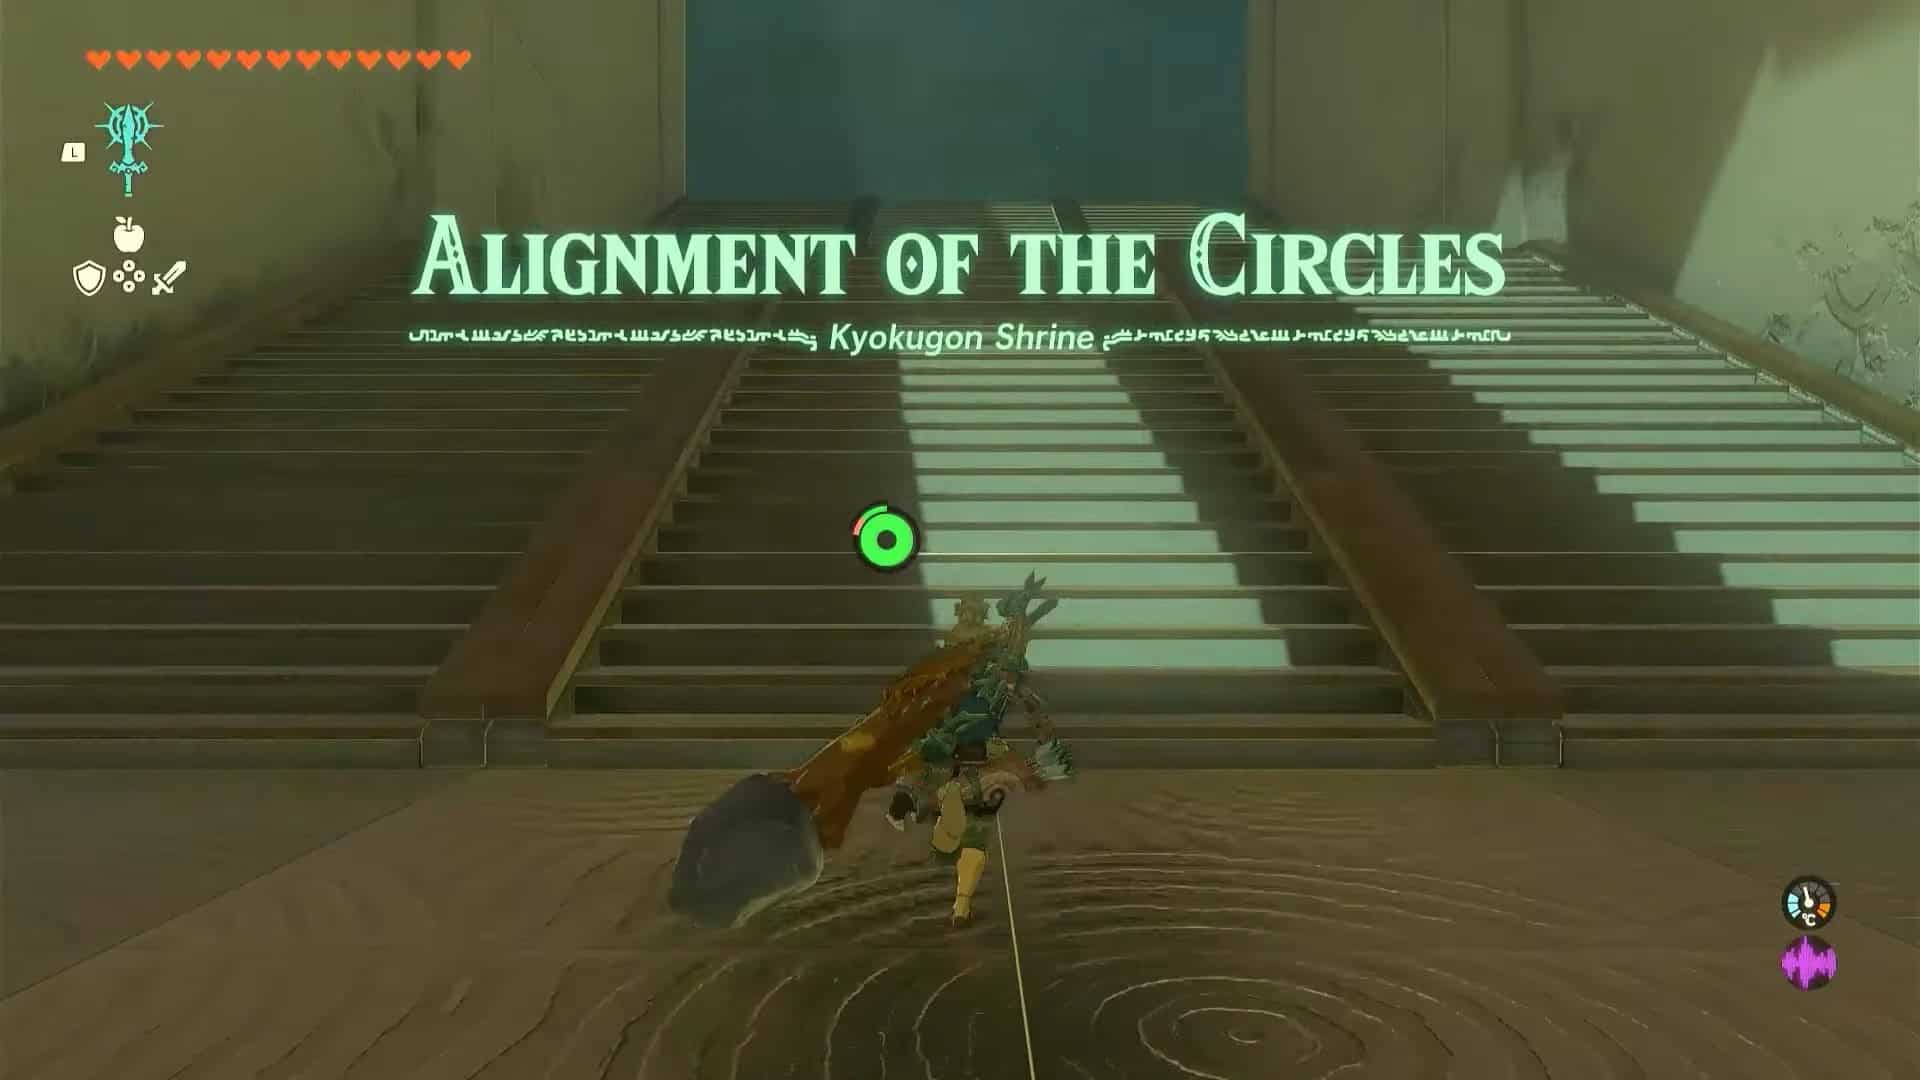
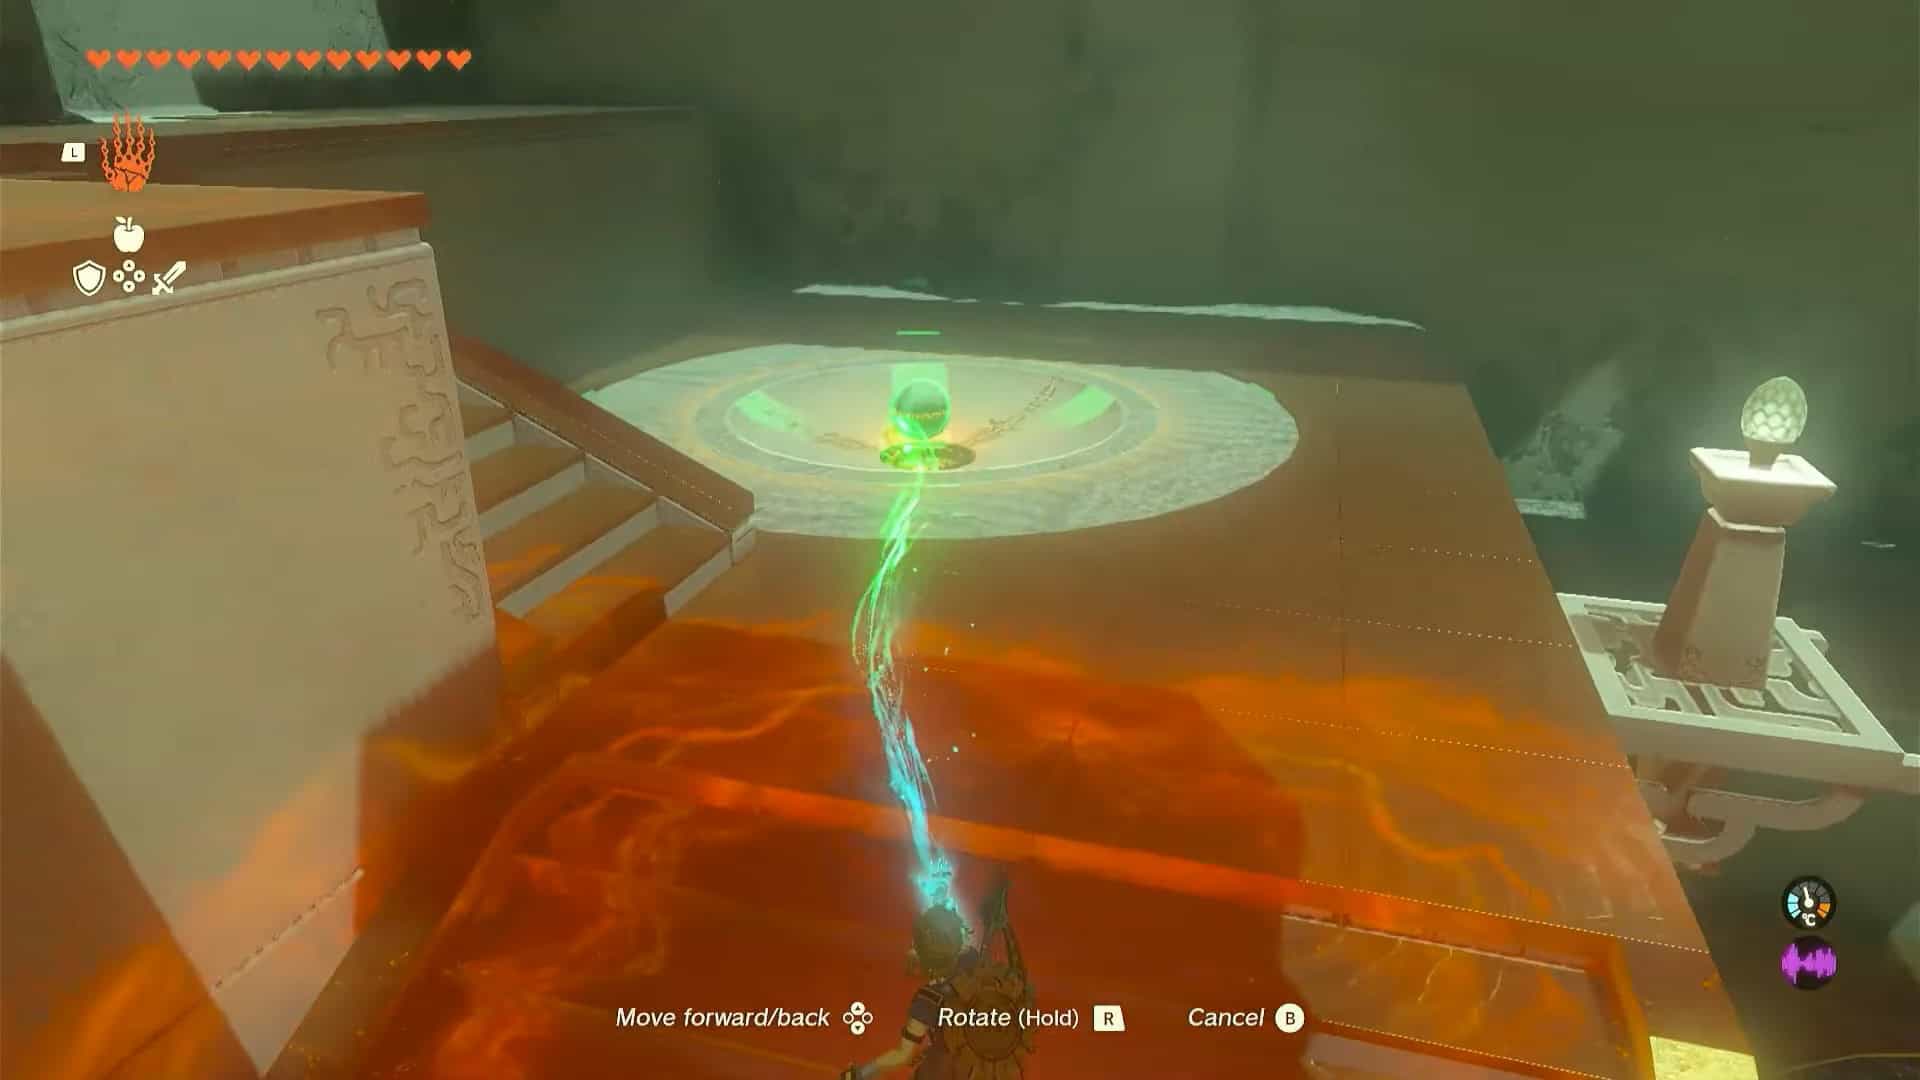
As you enter Kyokugon shrine in Zelda: Tears of the Kingdom, you will be presented with the Alignment of the Circles trial. The purpose of this trial is to place four spheres inside the correct receptacles.
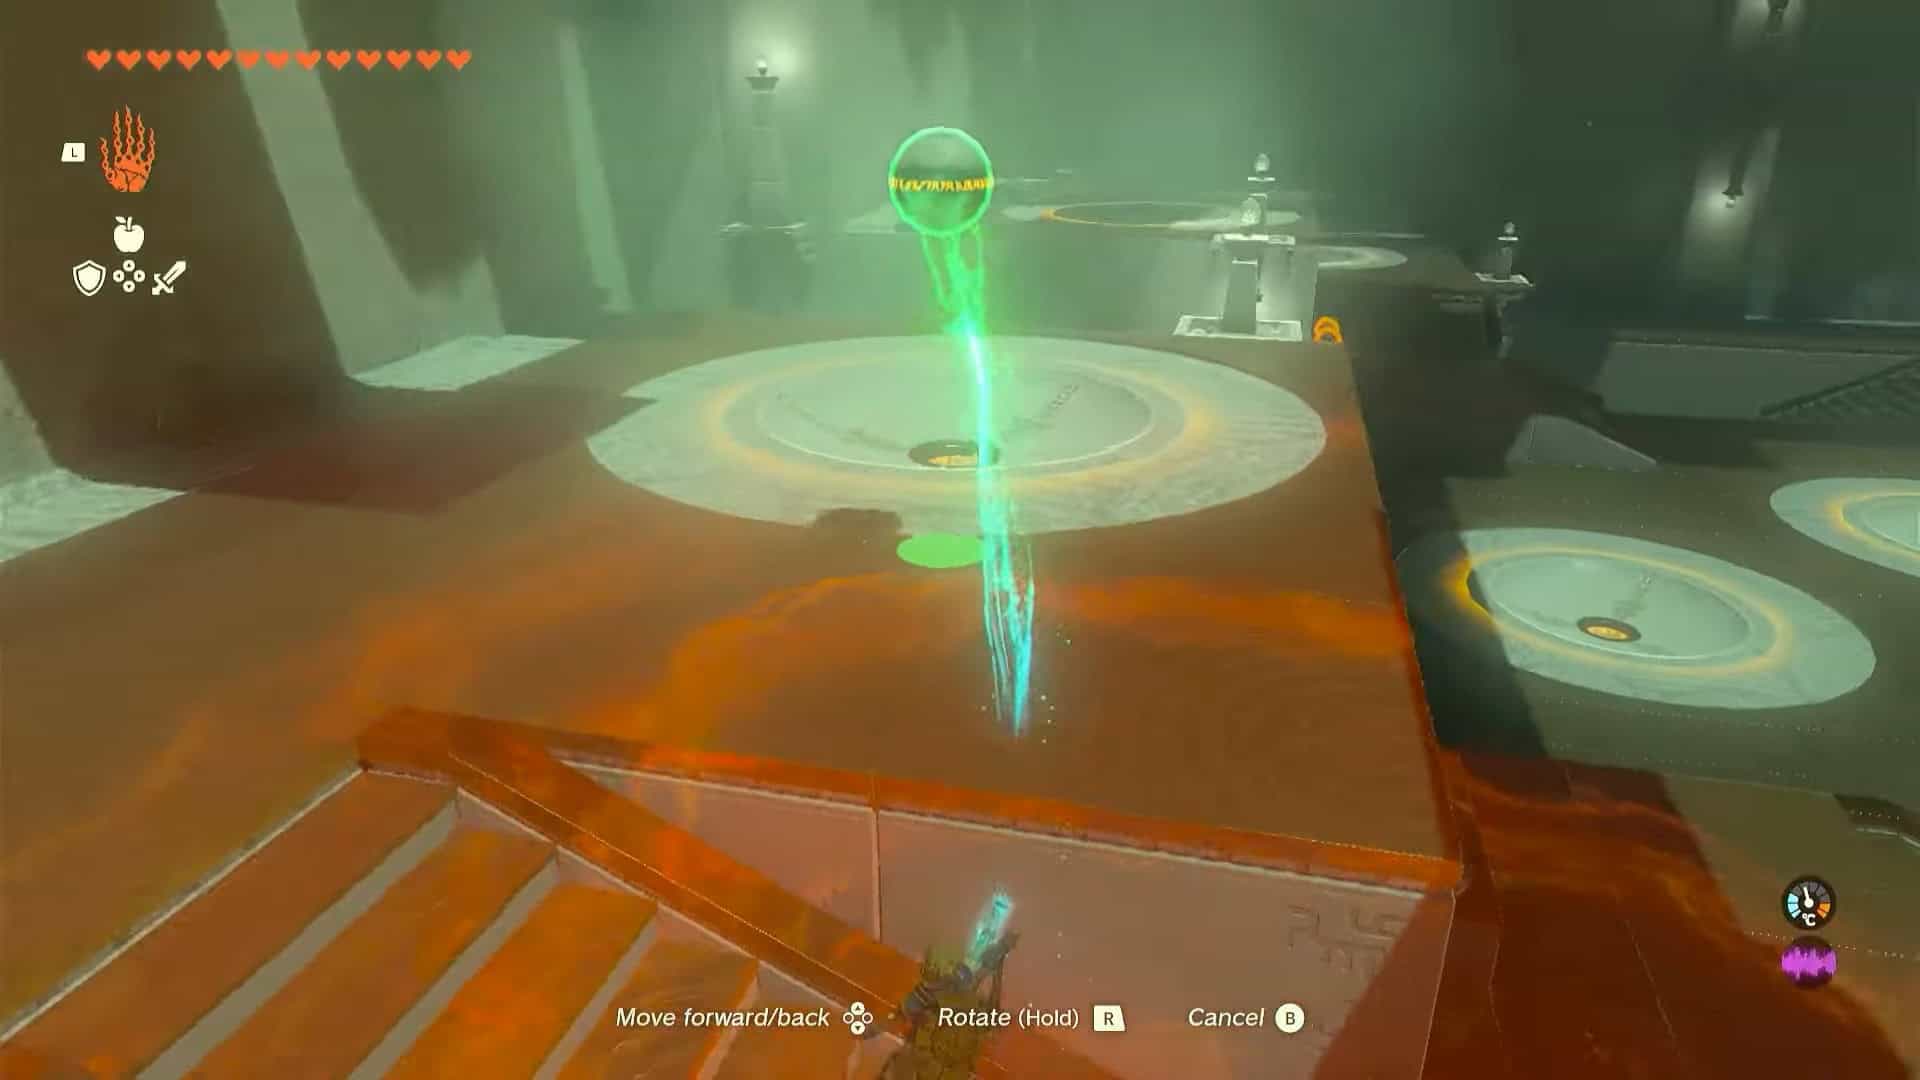
There are 10 receptacles in Kyokugon Shrine. Four in the middle, three to the left (bottom, center, and top), and three to the right (same configuration as left). Look at the roof to see the green circles above the receptacles which you need to target.

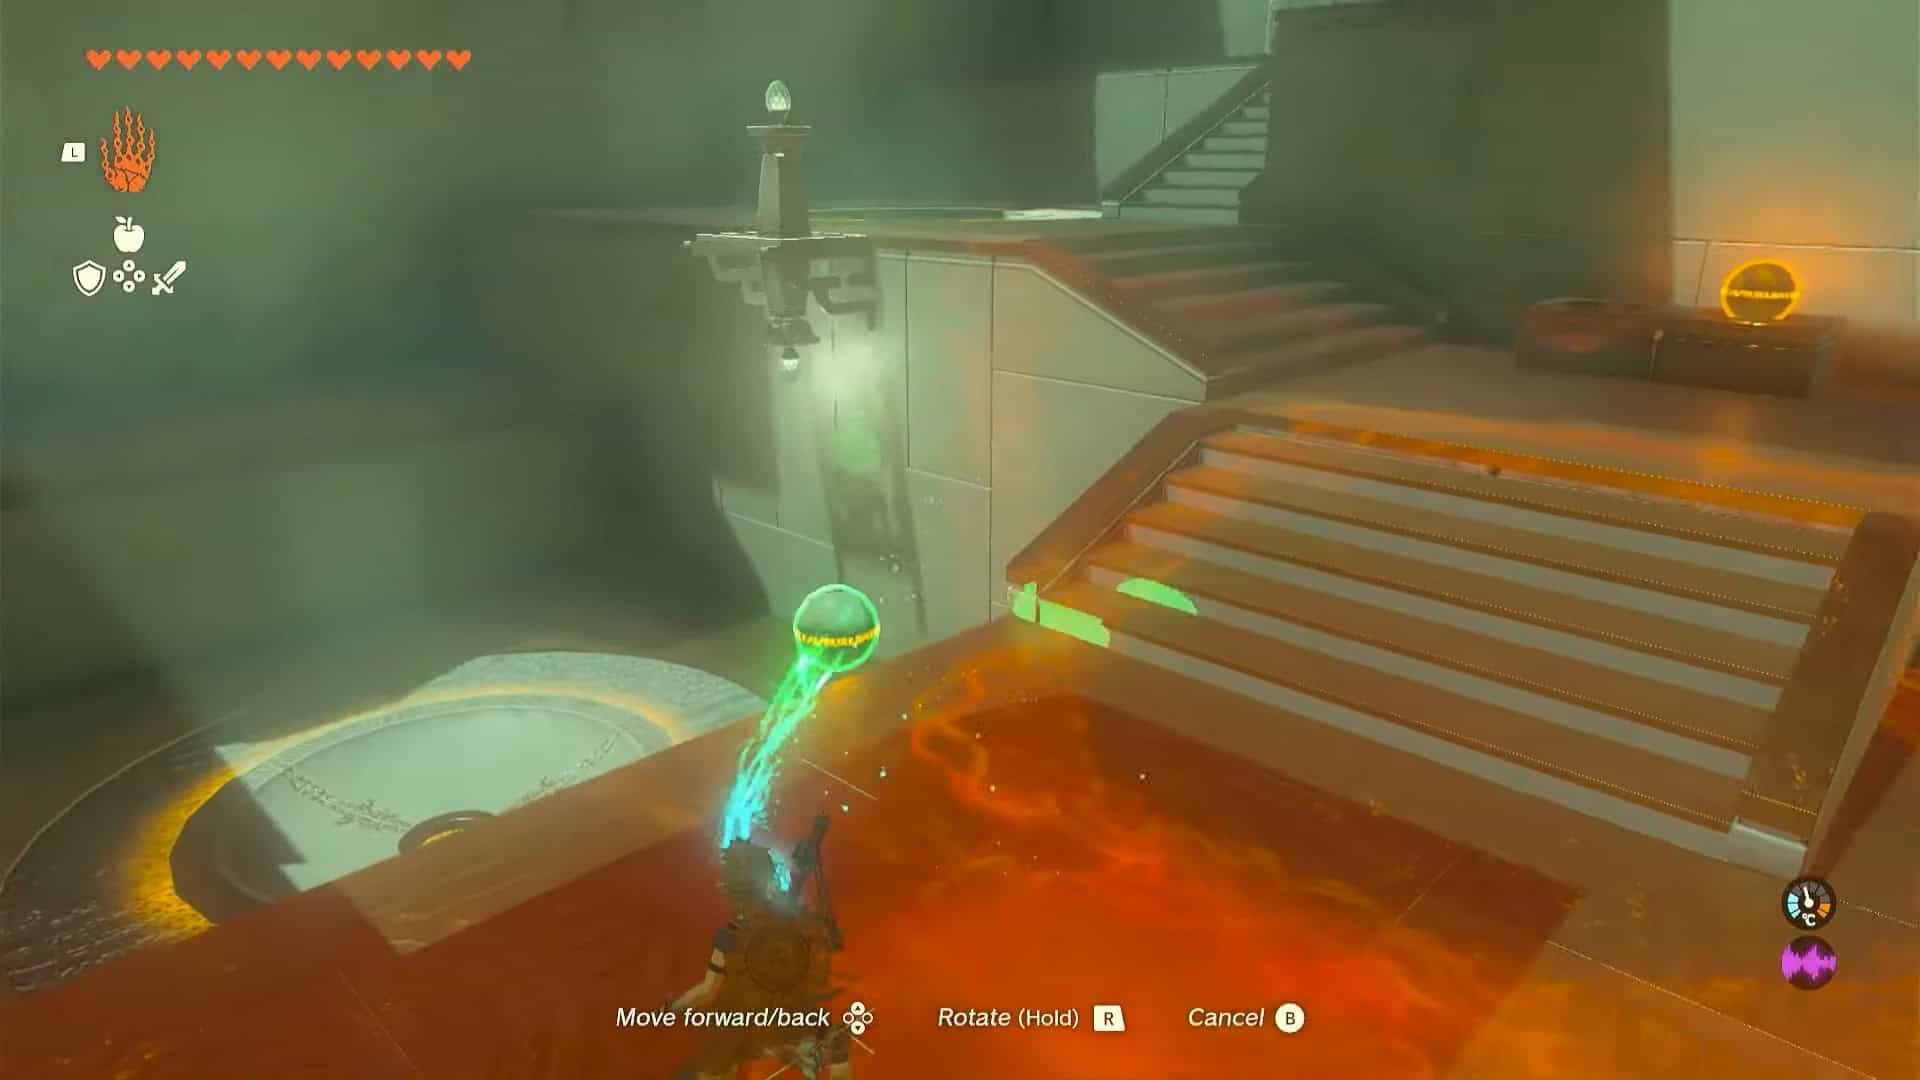
1. First go to the left and pick the first ball. Place it inside the bottom left receptacle.
2. Pick the second ball on the left and place it inside the top left receptacle.
3. Pick up the ball on the right and place it inside the middle right receptacle.
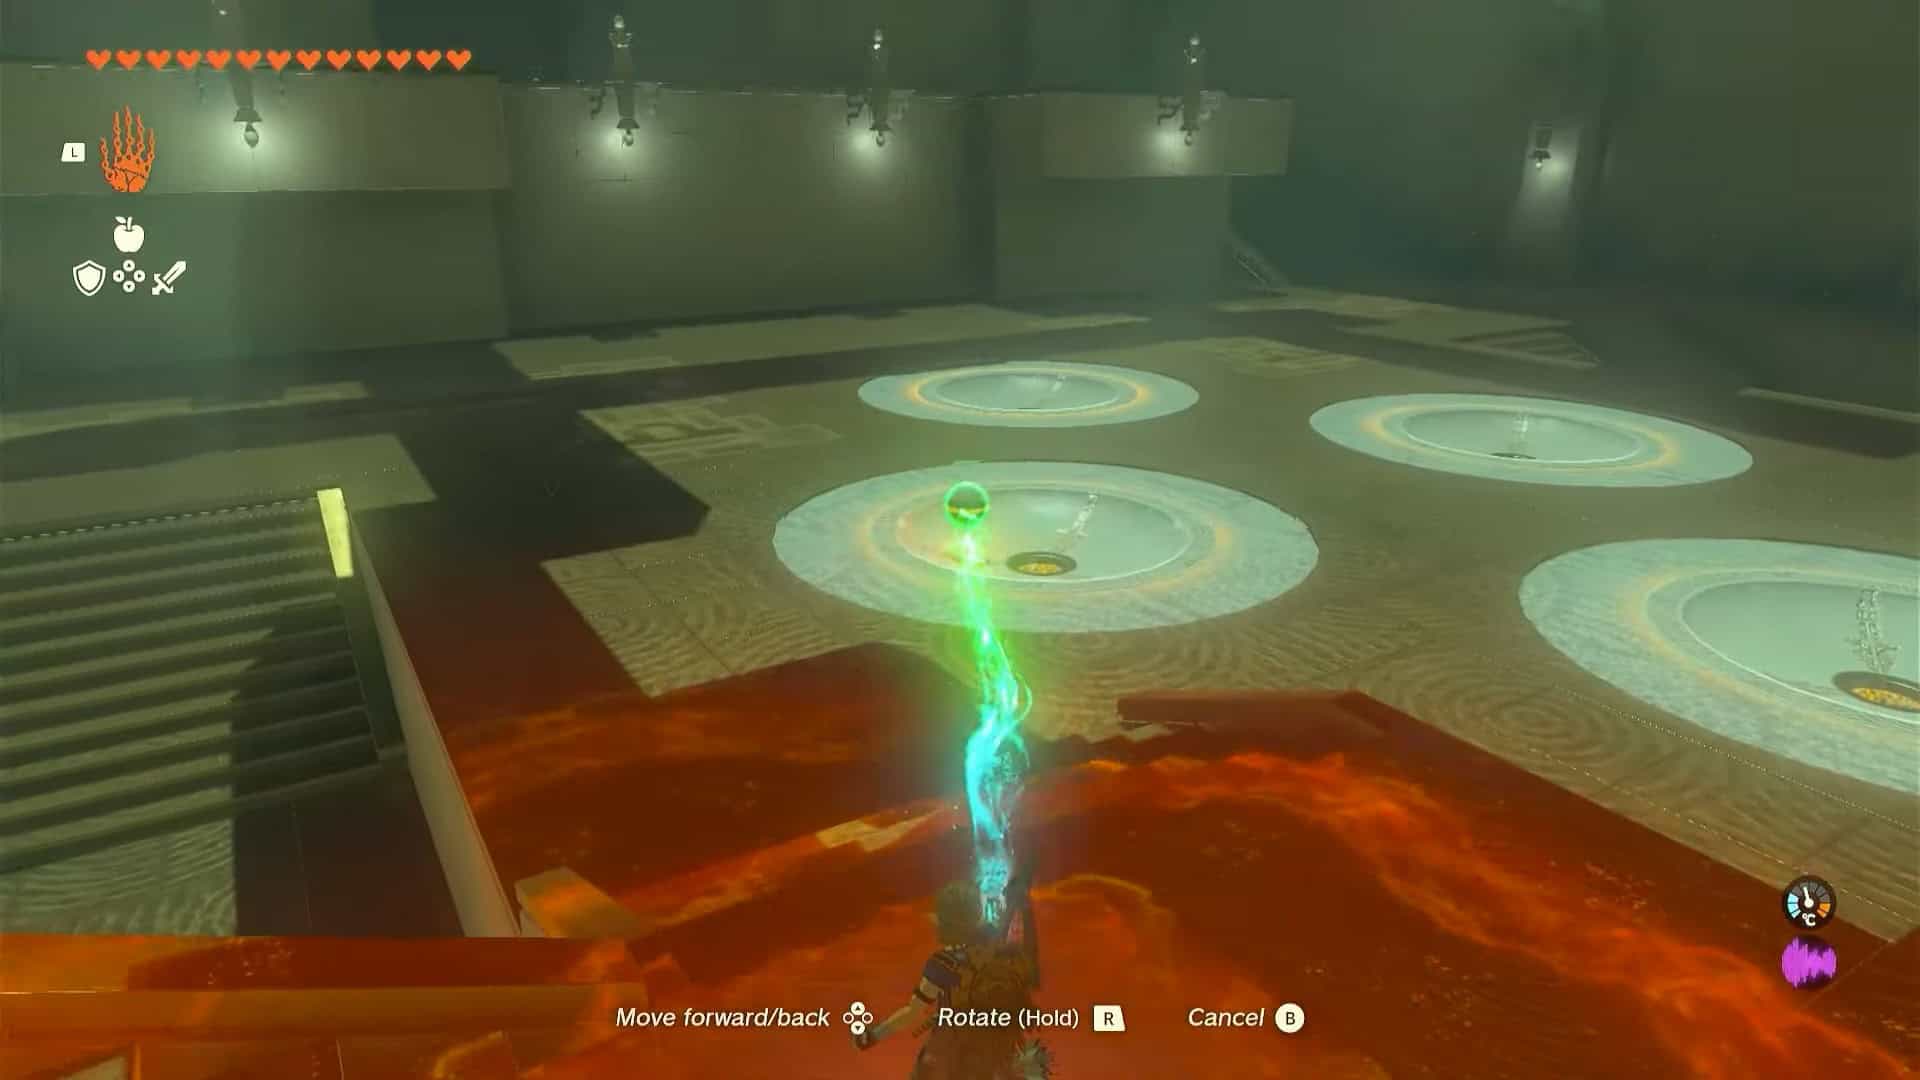
4. Finally, the last sphere will go into the right receptacle in the center (there are four receptacles together).
5. This will solve the Alignment of the Circles puzzle and open the door to the altar room.
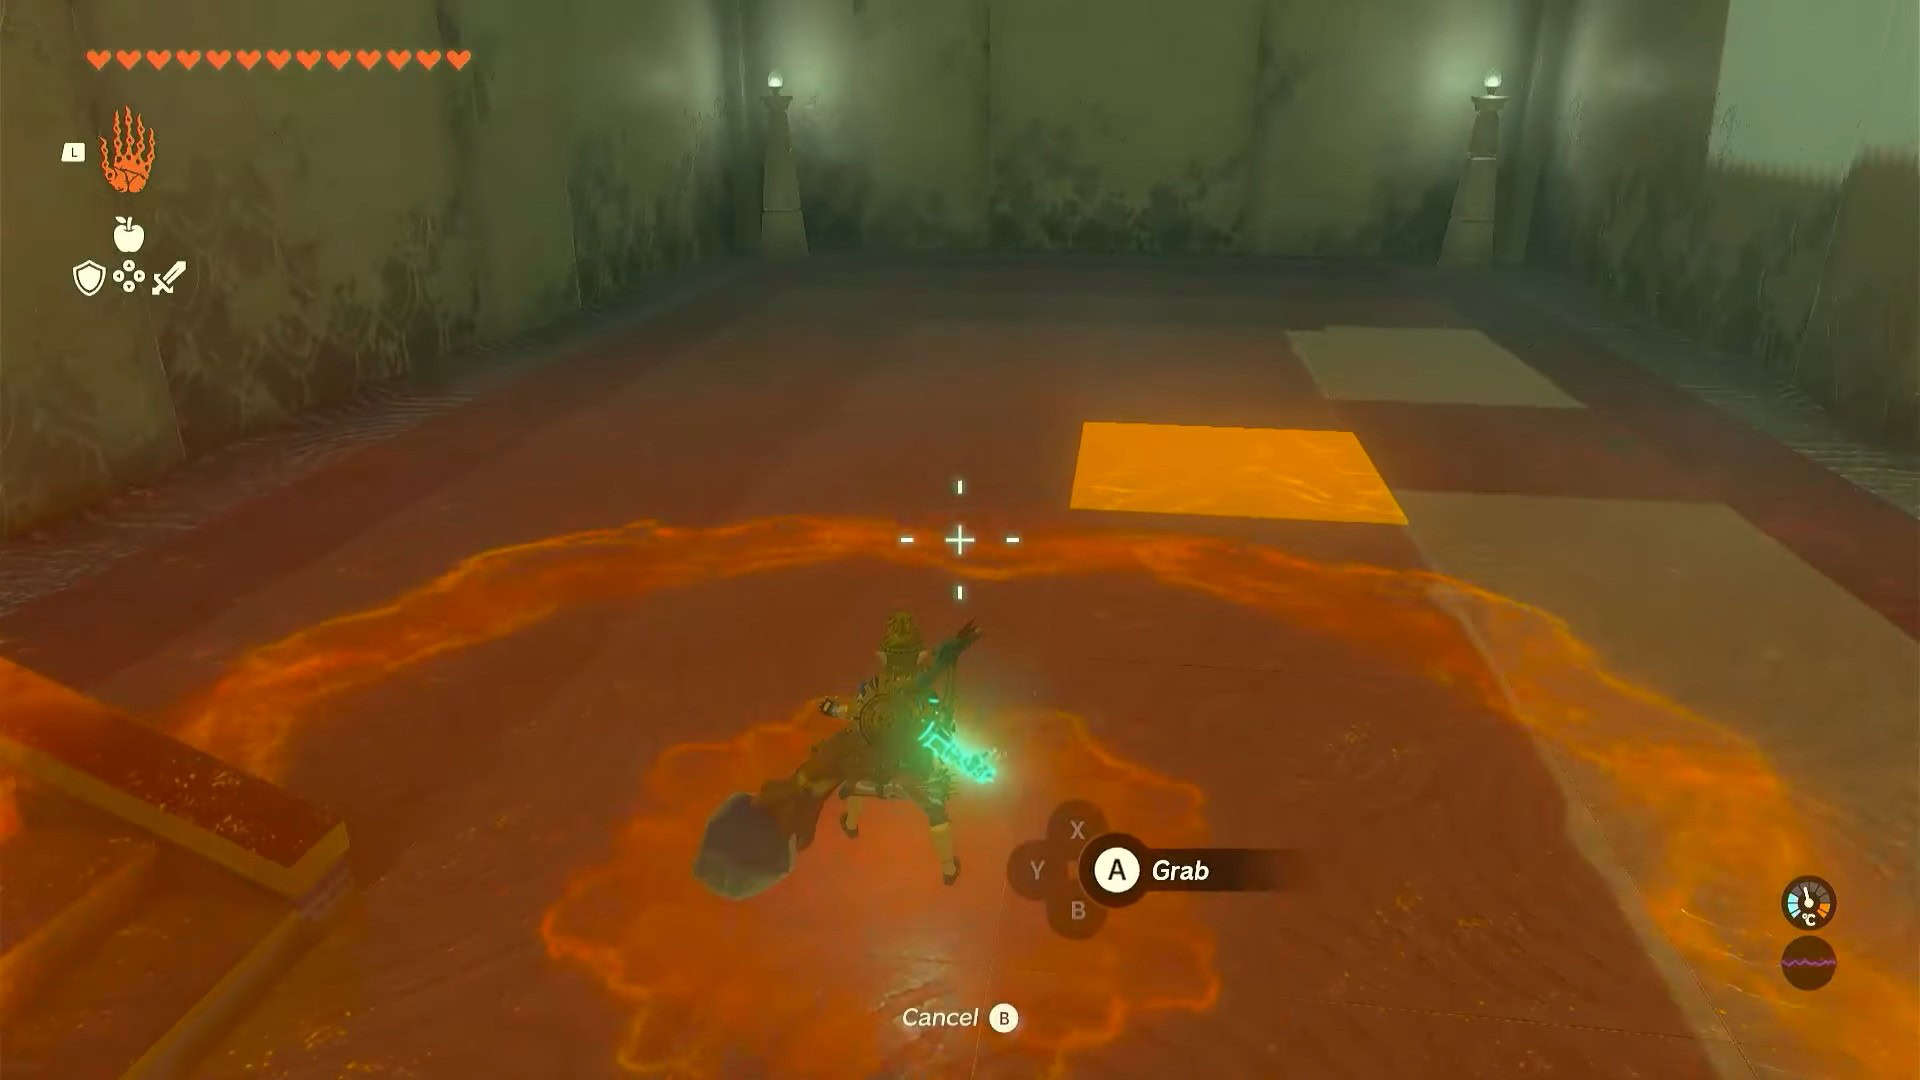
6. Enter the altar room and turn left. Use Ultrahand ability to locate a removable tile on the floor. Pick it up to find a hidden receptacle.
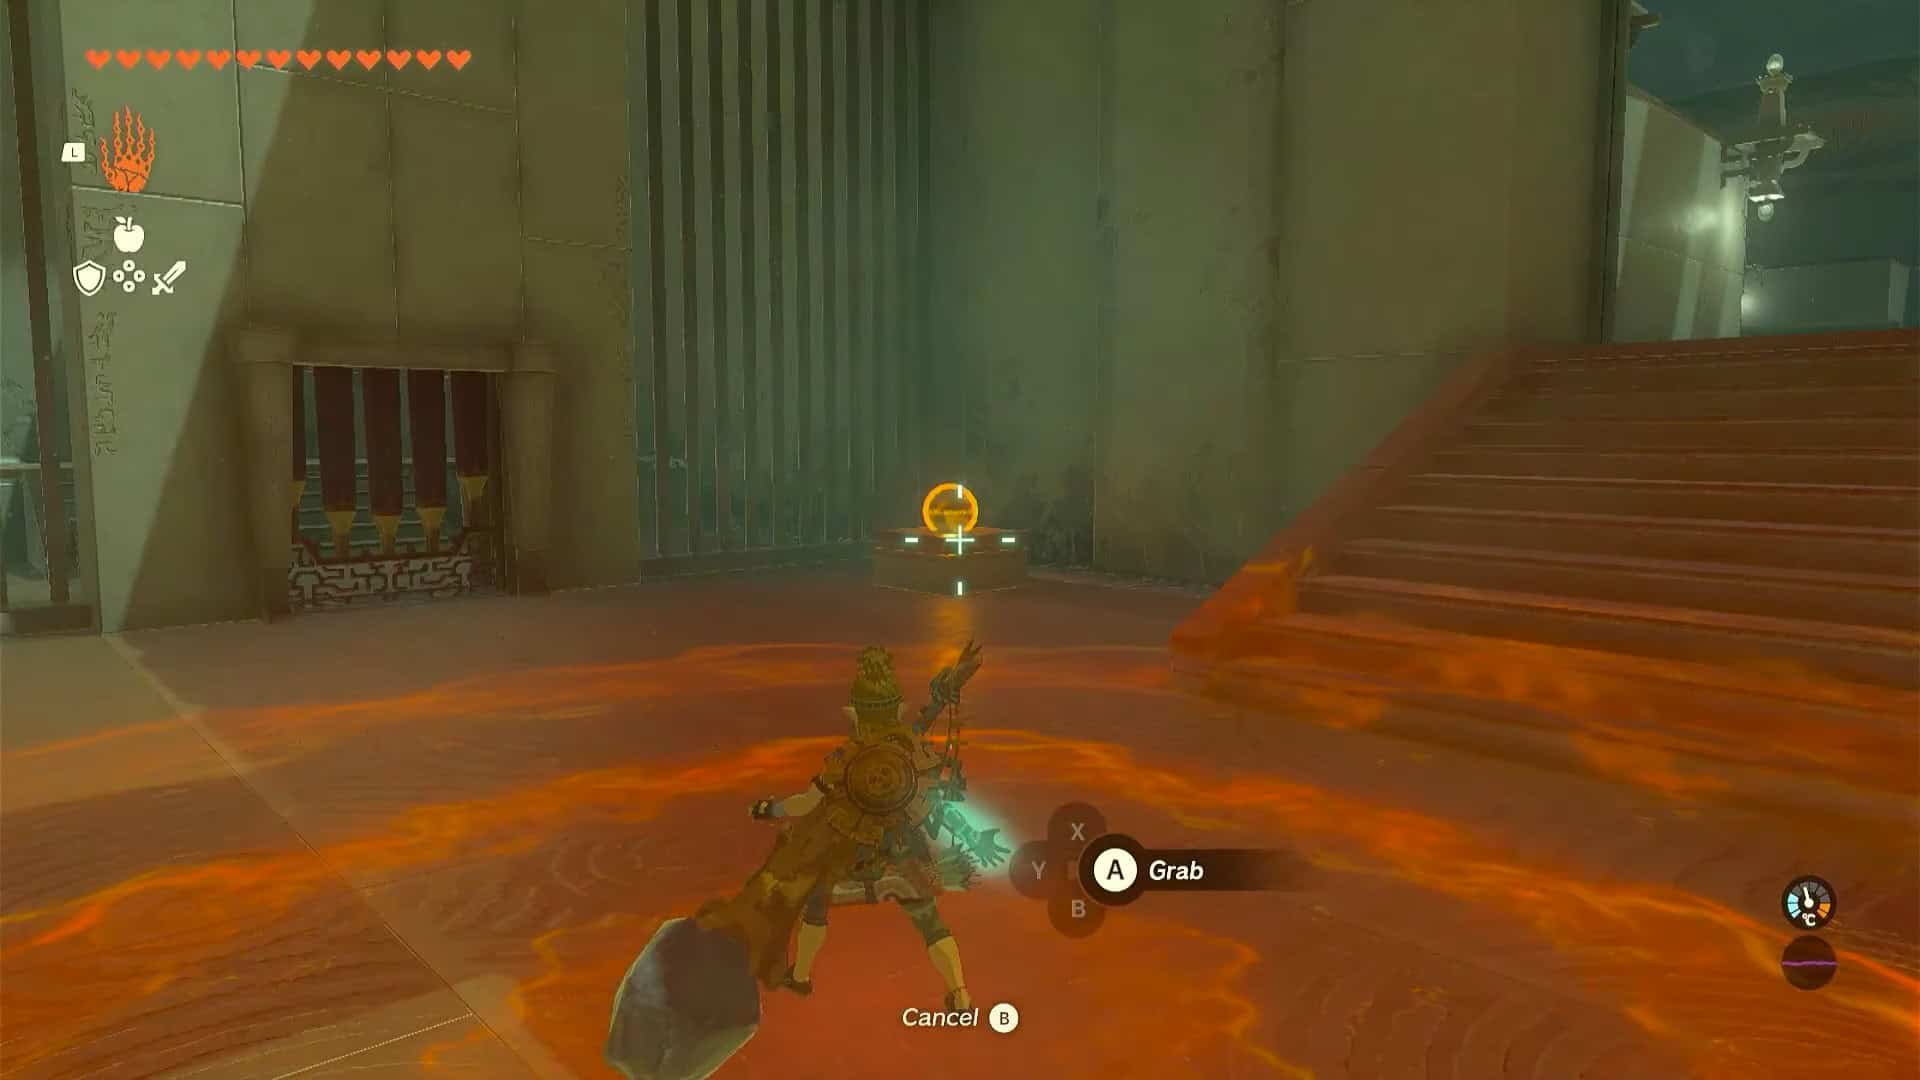
7. Pick up the ball from the right side of the altar’s entrance and place it inside the hidden receptacle. This will open the door of the room housing the treasure chest.
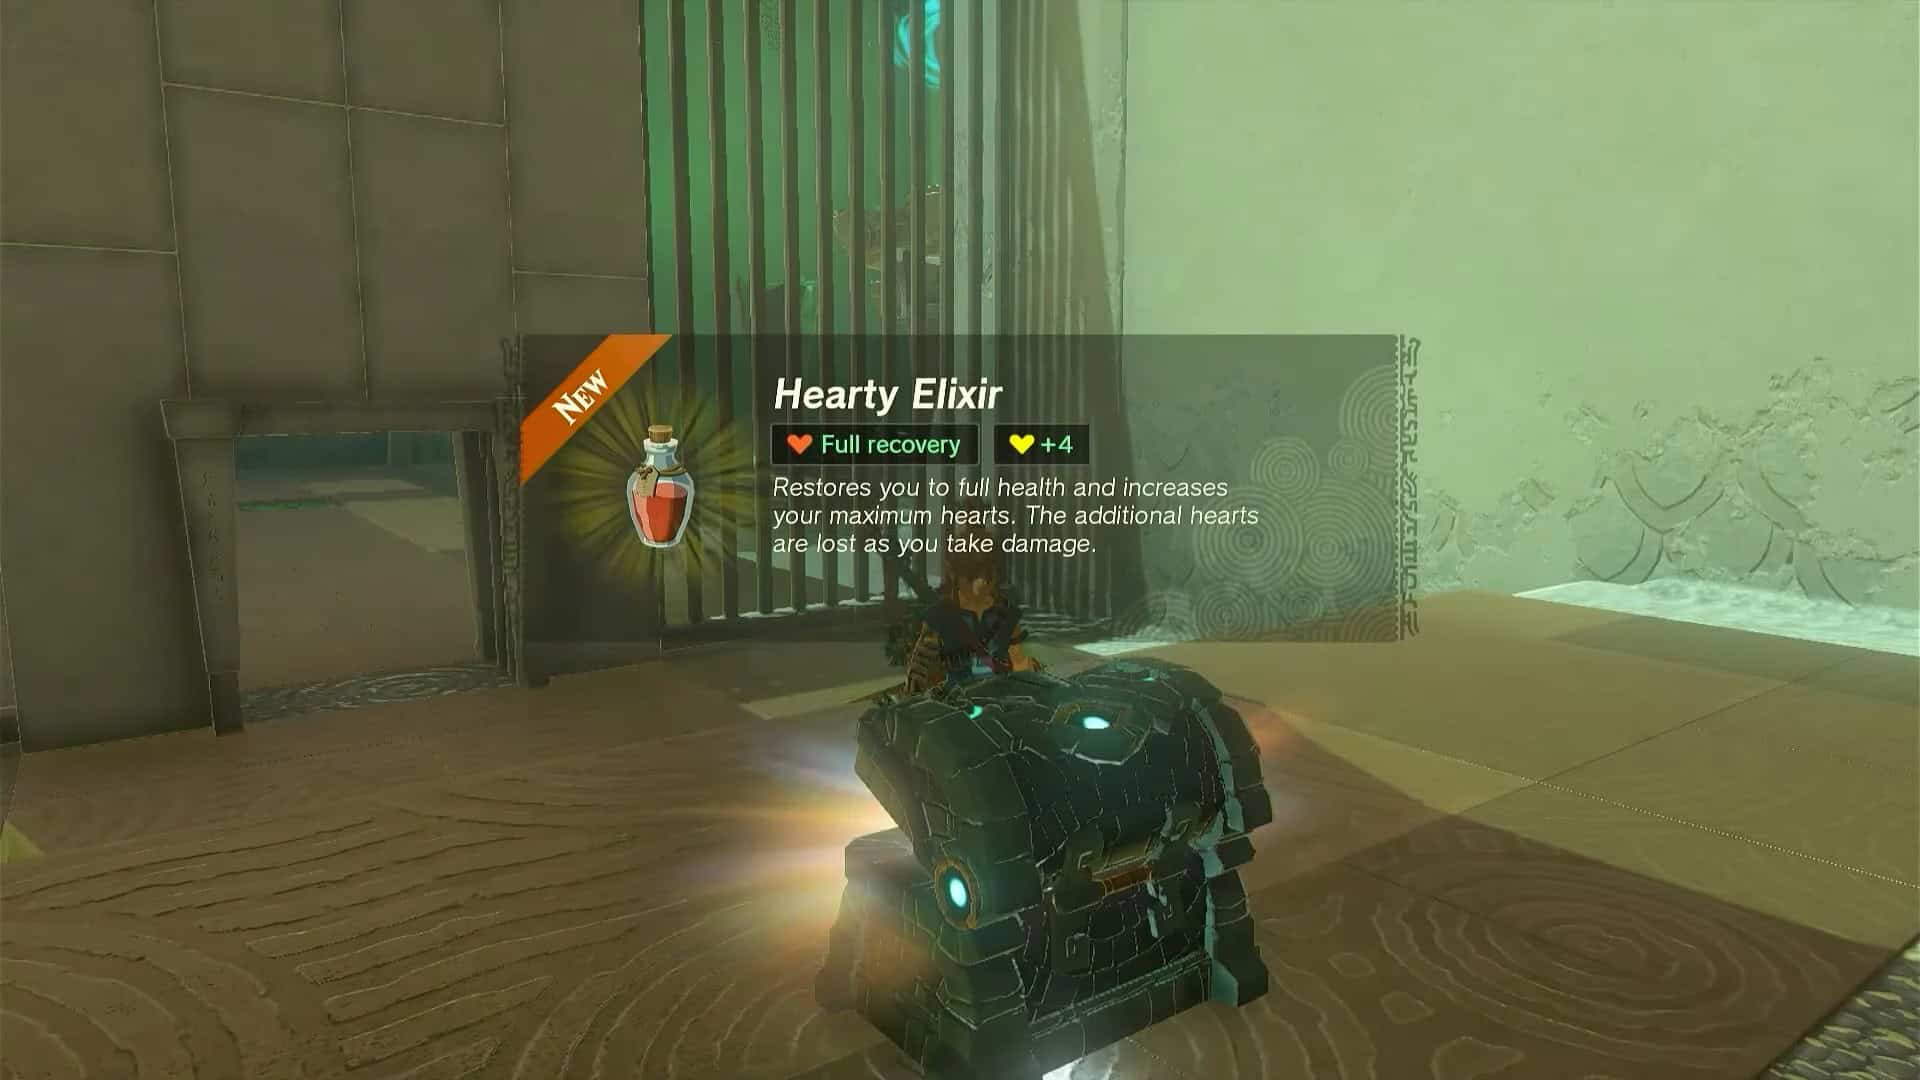
8. Open the treasure chest to obtain a Hearty Elixir. Interact with Rauru and Sonia’s statues to earn a Light of Blessing and complete Kyokugon Shrine in Zelda: Tears of the Kingdom.