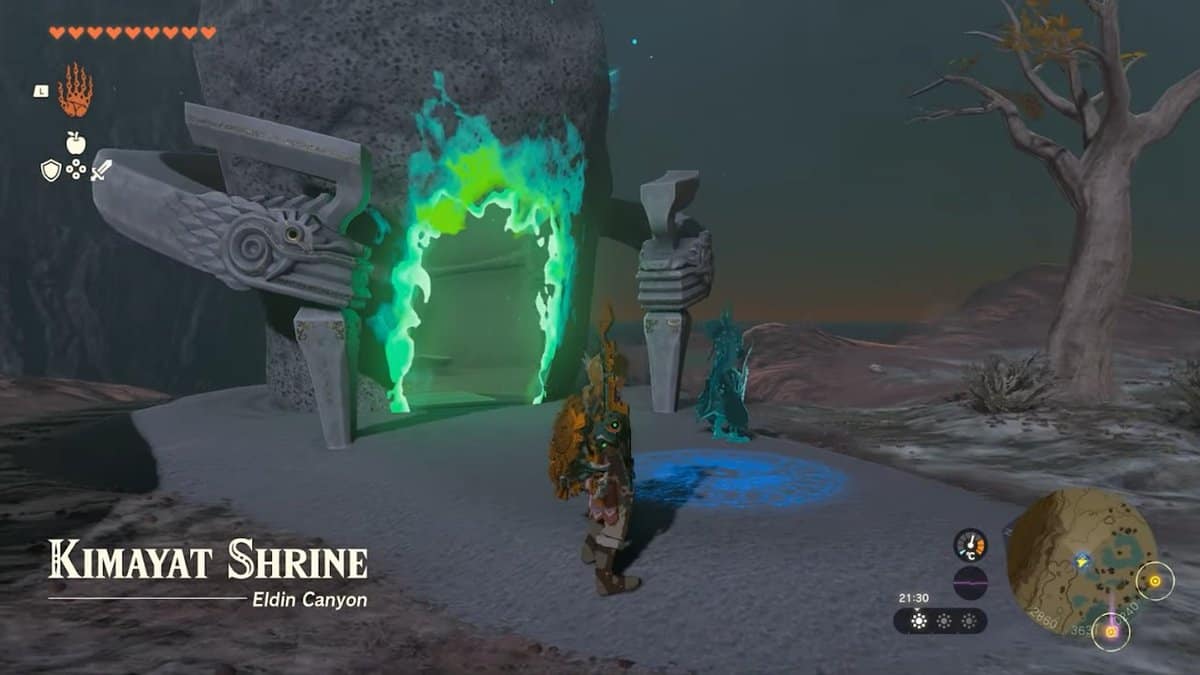
Of all the Zelda: Tears of the Kingdom Shrines locations, the Kimayat Shrine is probably one of the most fun ones to solve – and one with an excellent reward in store. This Shrine puts you up with a Proving Grounds trial, where you must fight a couple of monsters with a given set of weapons.
Though this may seem simple enough, solving the puzzle requires a lot of time and effort. That said, we will discuss how to solve the Kimayat Shrine Puzzle in Zelda: Tears of the Kingdom. However, before that, let us look at where you can find it in detail.
Kimayat Shrine Location in Zelda: TotK
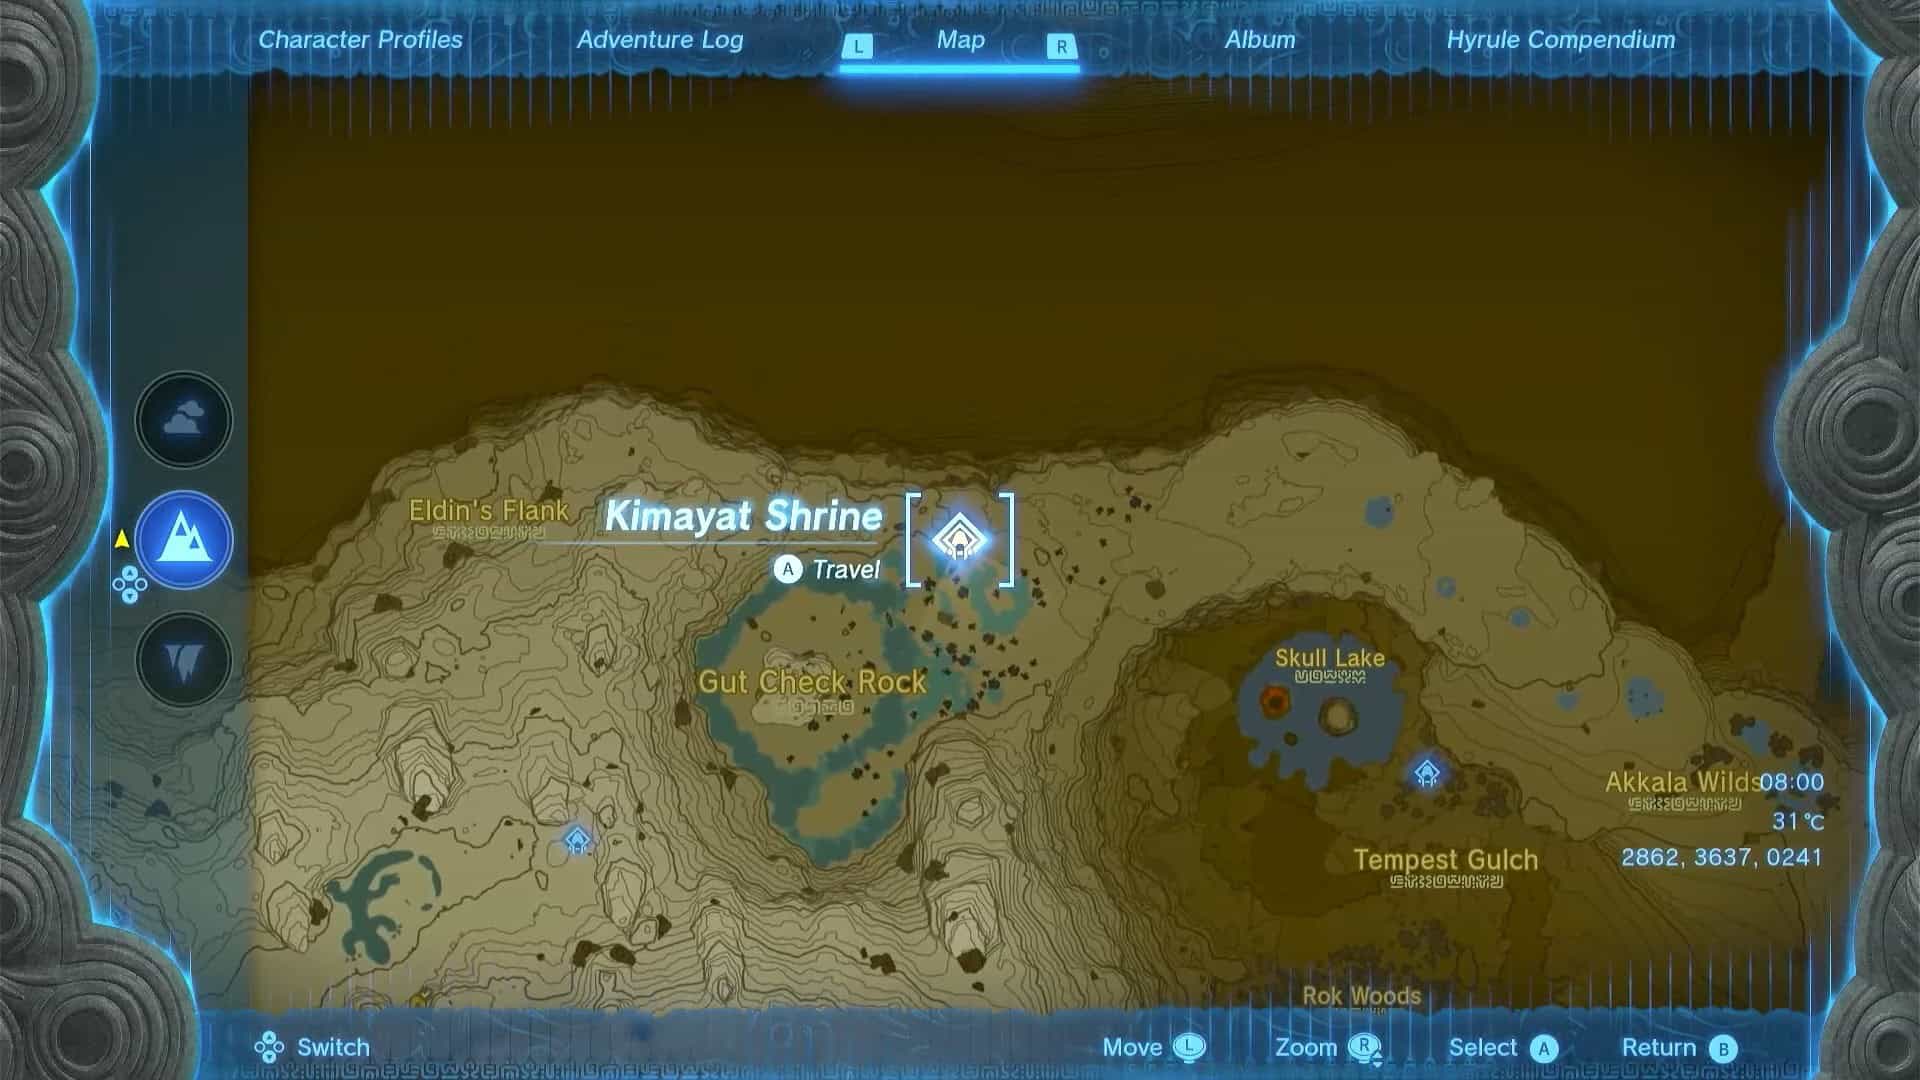
Kimayat Shrine is present at the northern edge of the Hyrule map, northeast of the Eldin Region. It is to the North of Gut Check Rock and Northwest of Skull Island.
Its exact coordinates are (2862, 3637, 0241).
This location is in the water bodies north of Death Mountain but is nearest to where you can find Dinraal, Fire Dragon, which is located just northeast of it.
Kimayat Shrine Walkthrough
Kimayat Shrine is another combat shrine where you must defeat all enemies by using the resources provided by the shrine. You can’t use any armor, weapons, shields, or zonai devices that you own.
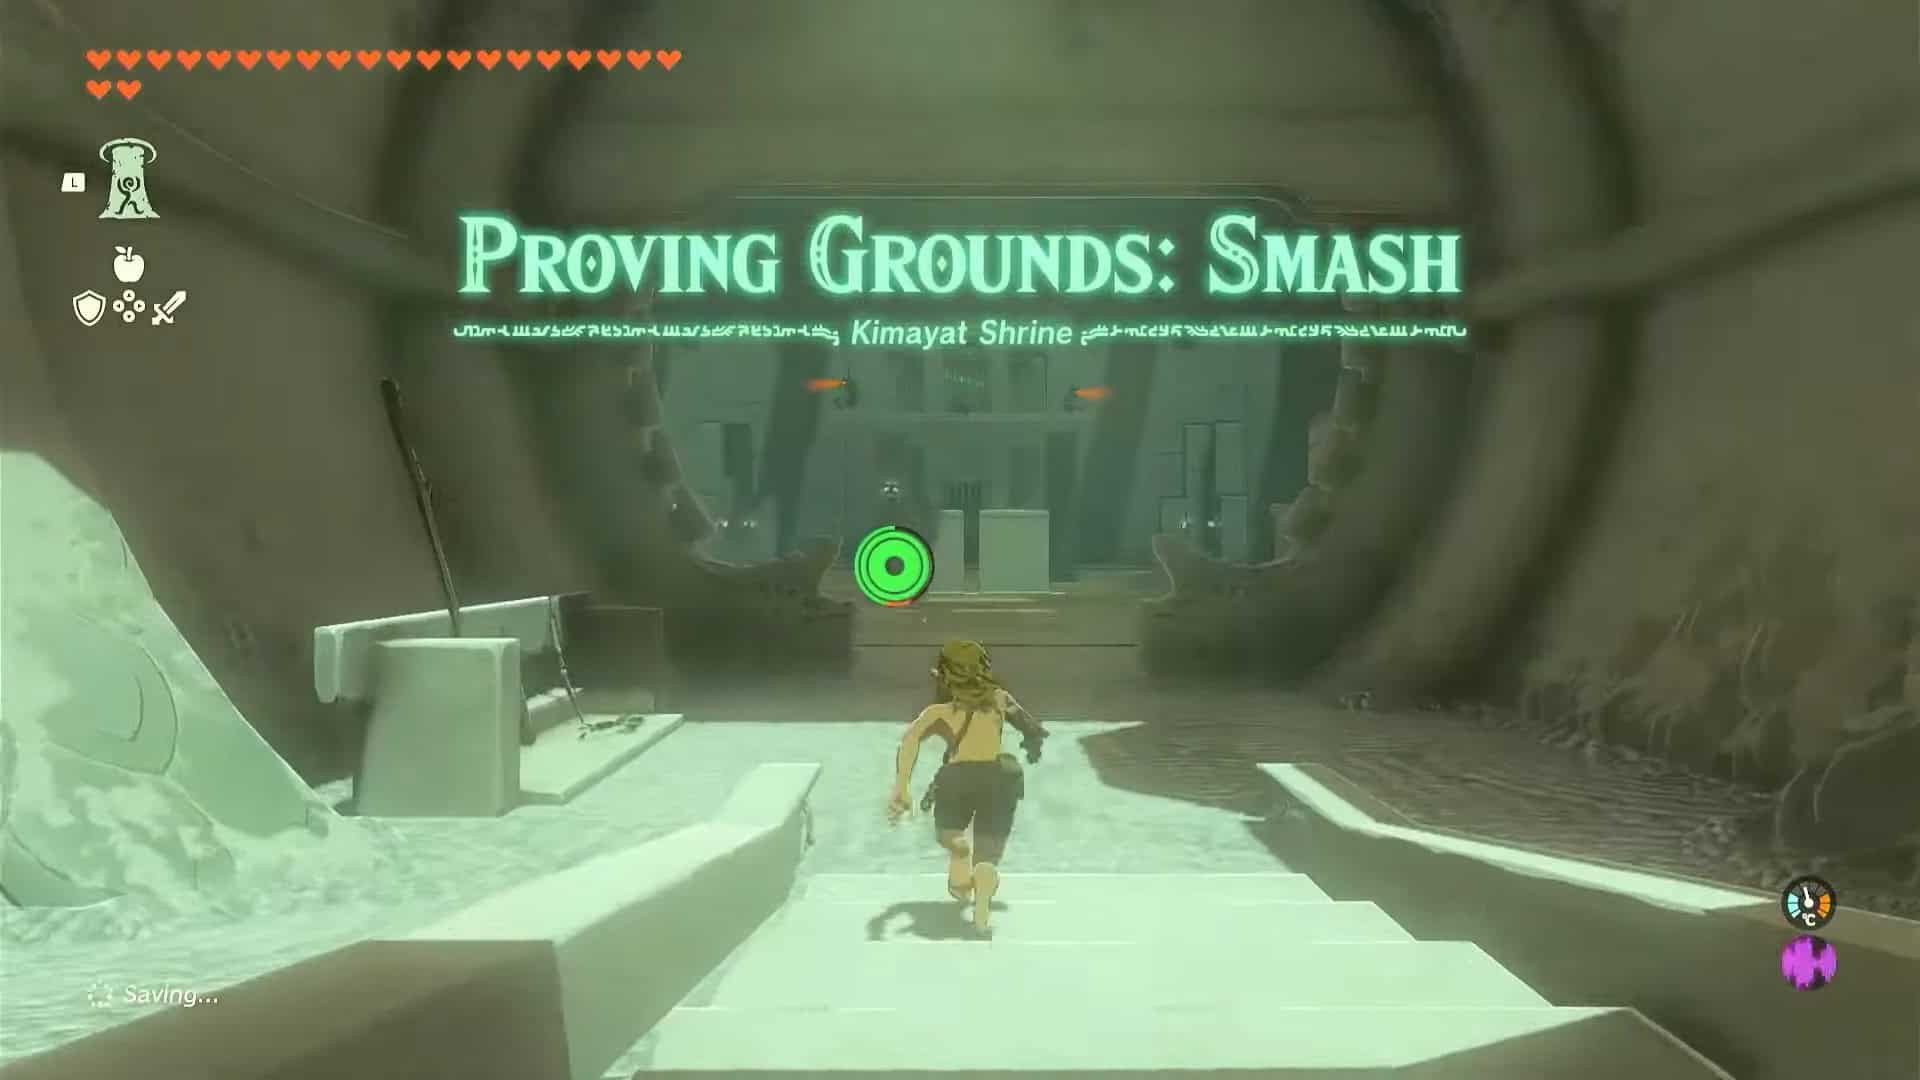
Once you enter the shrine, you will be given the trial known as Proving Grounds: Smash. Go straight and pick up some weapons and a shield from the left side near the entrance.
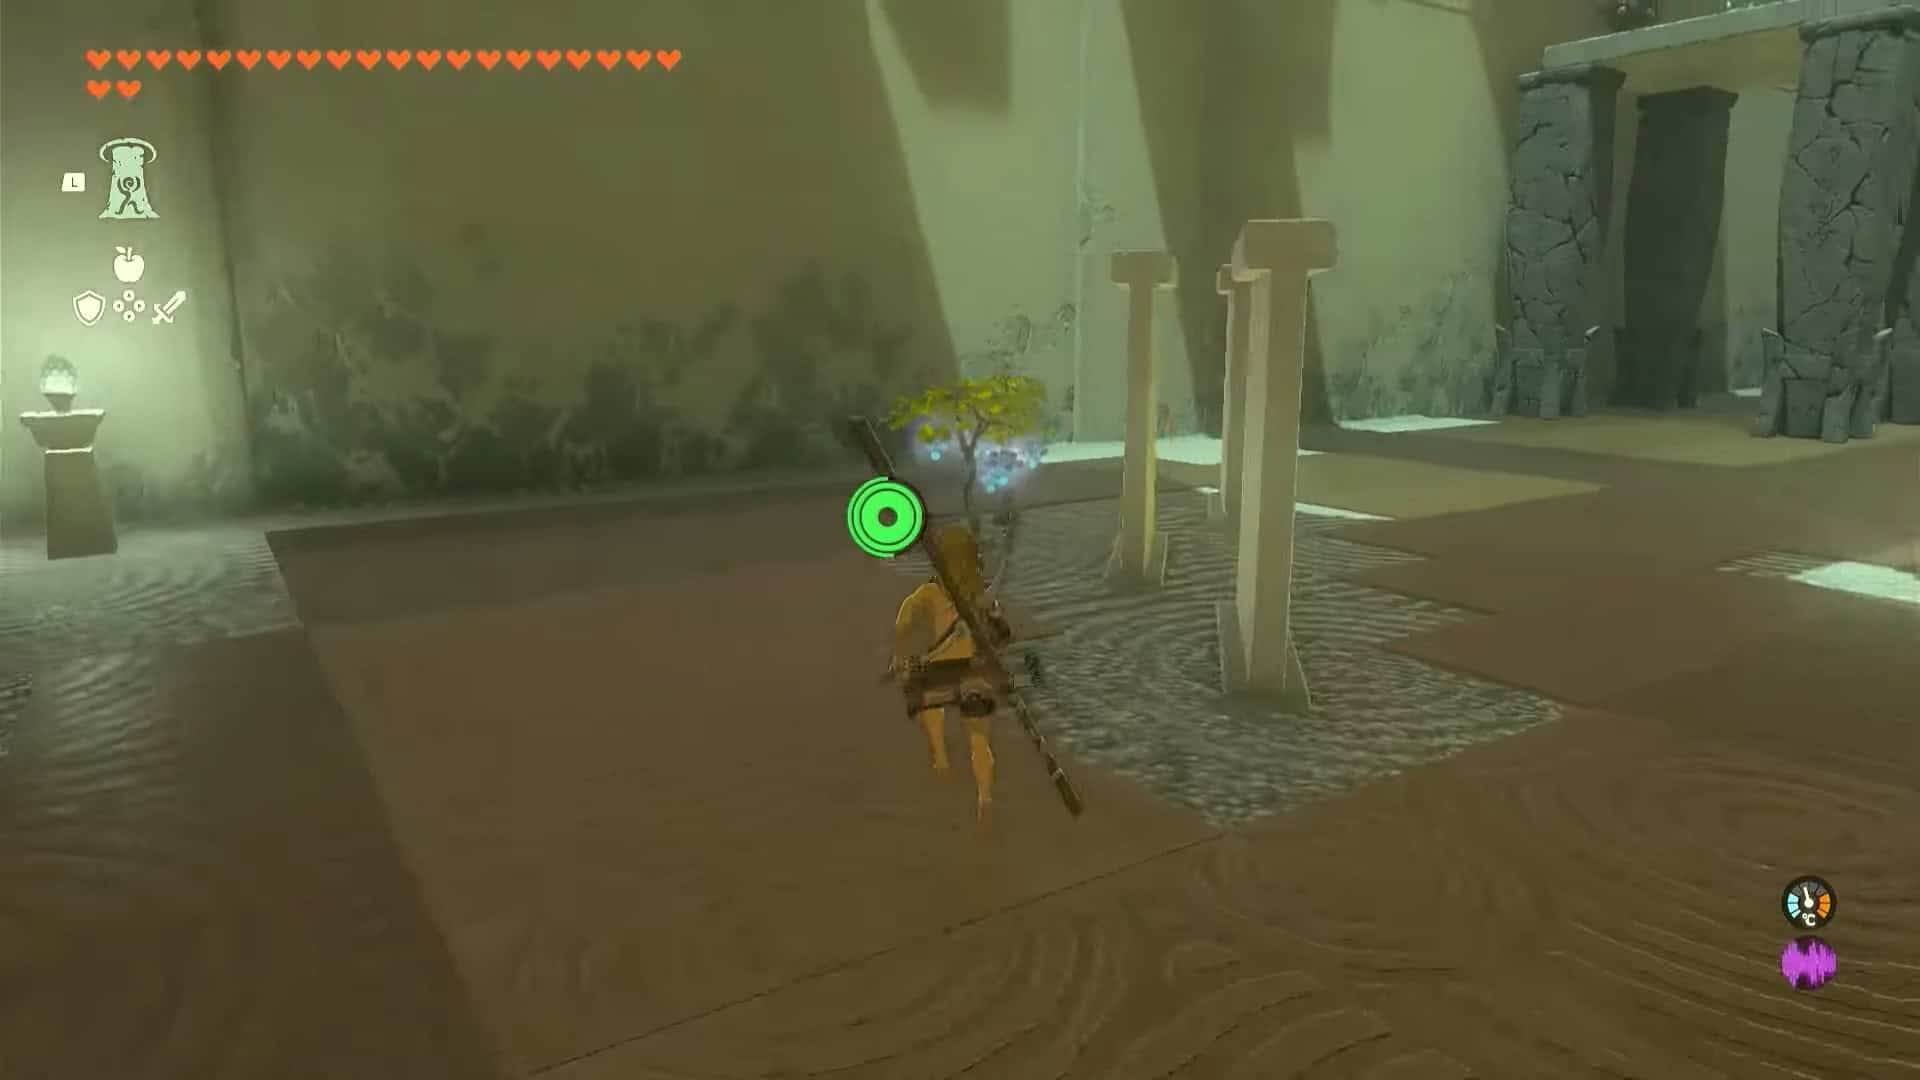
1. From the entrance turn left to find a tree with some Ice Fruit. Take them as they will come in handy to create ice arrows.
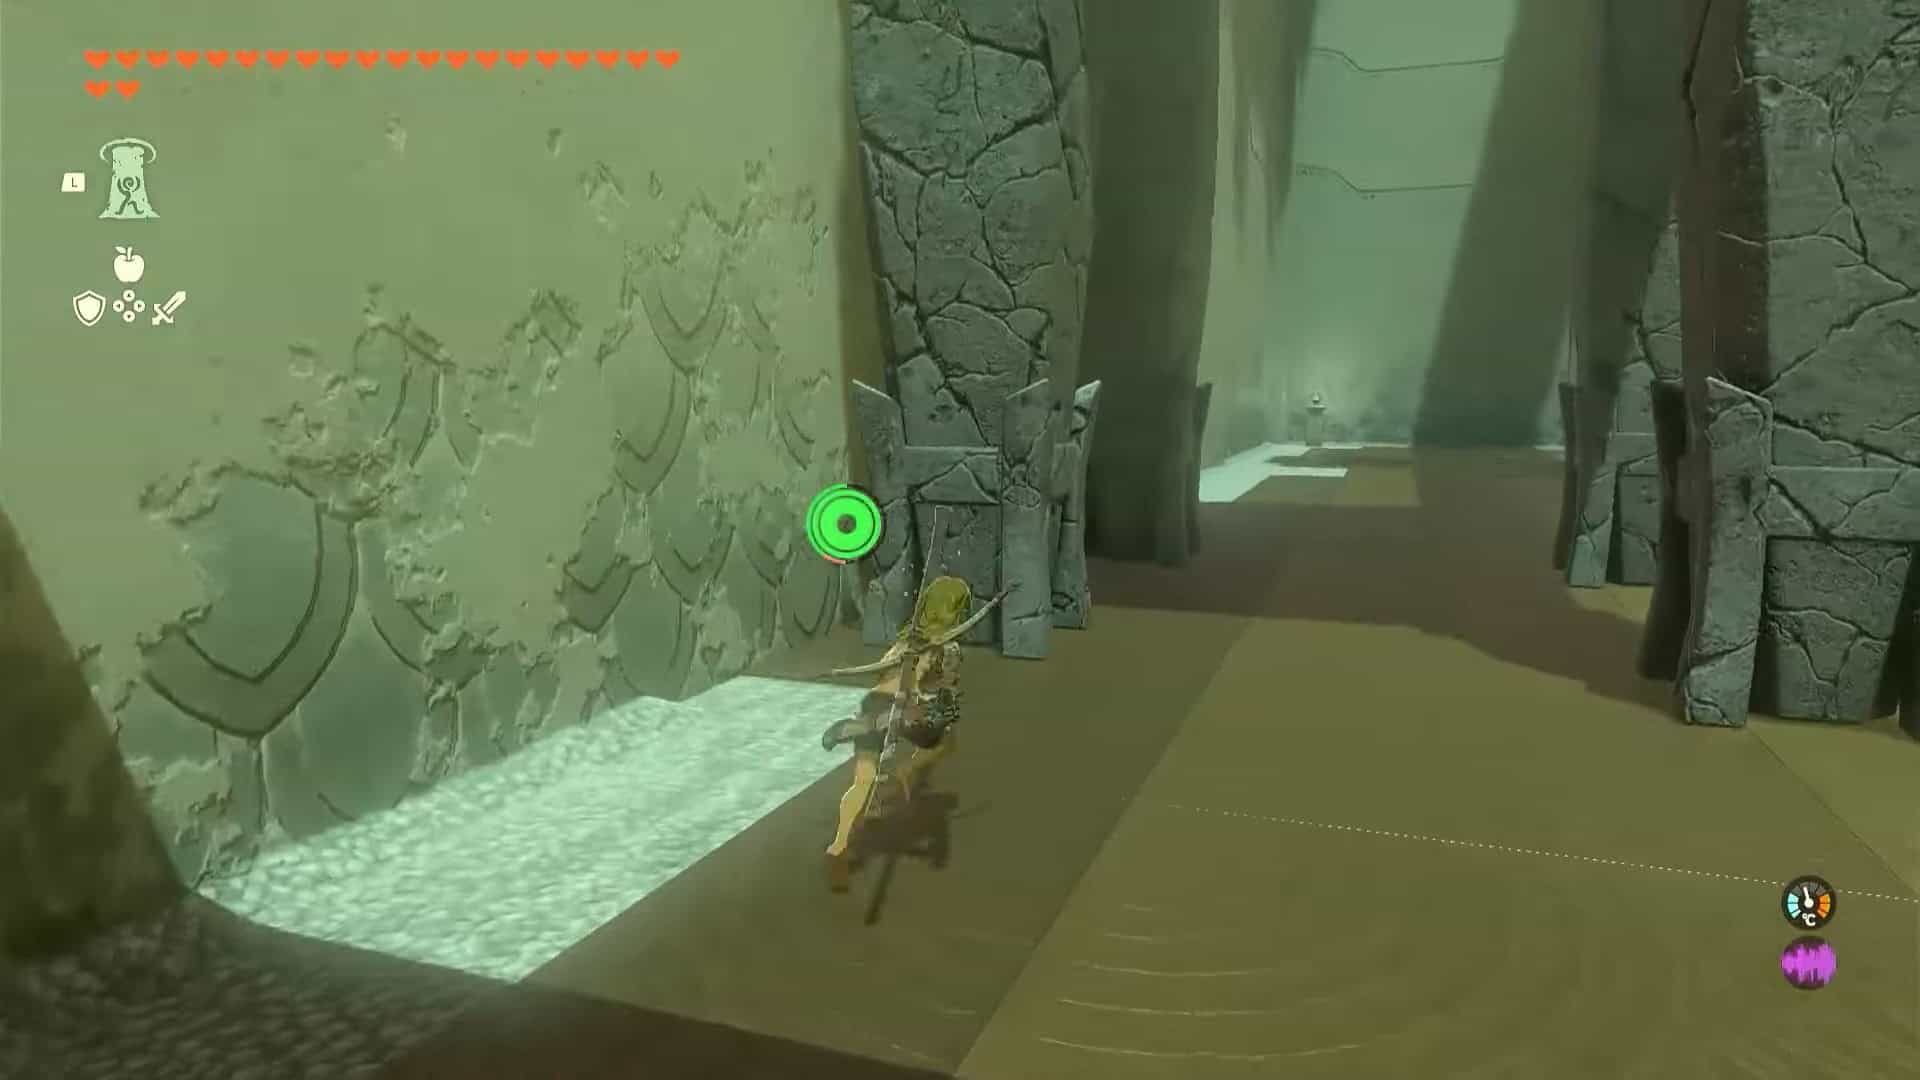
2. In the same area, there is a platform with four breakable pillars. Use Ascend to reach its top.
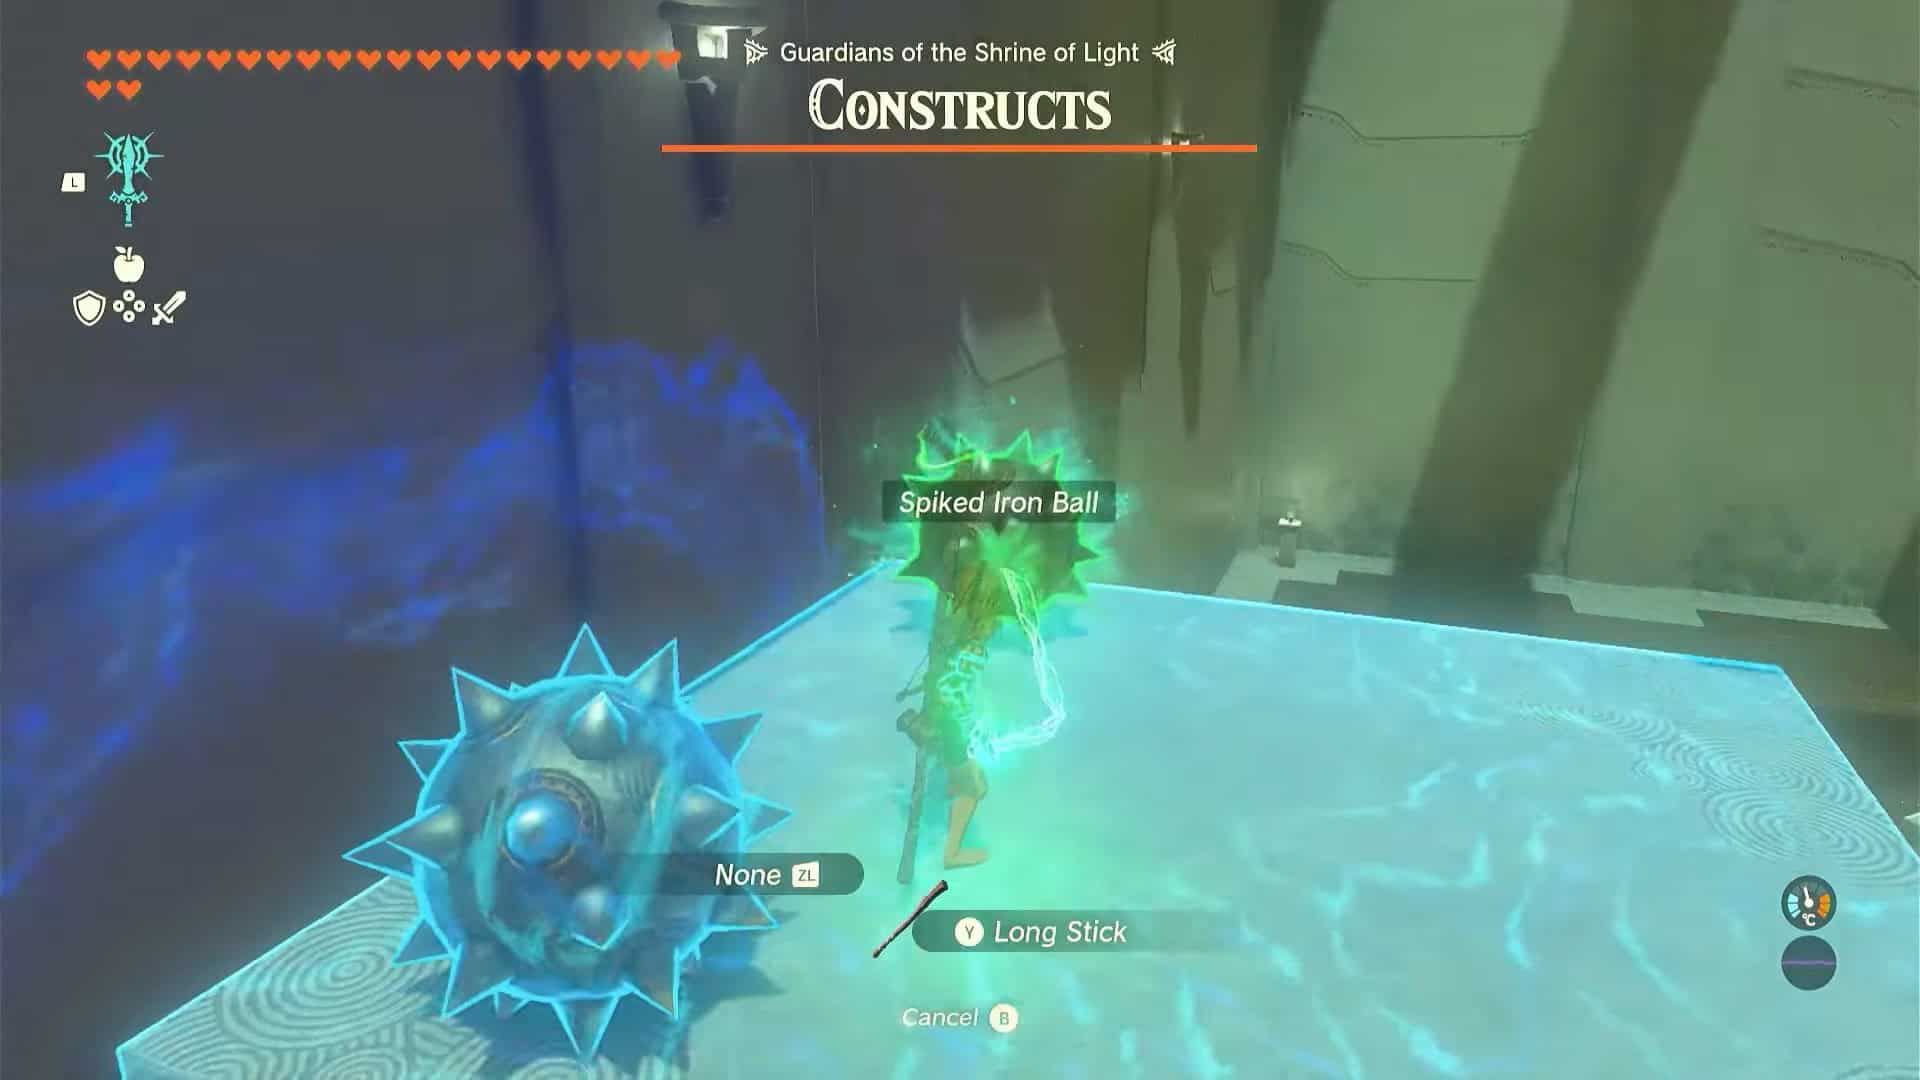
3. Use the Fuse ability to attach a spiked iron ball to your weapon. This weapon will now serve as a hammer that can be used to smash breakable walls easily.

4. Now use this weapon to fight the constructs on the ground. There are three of them.
5. Pick their body parts and weapons to create better weapons in case you run out of your hammers.
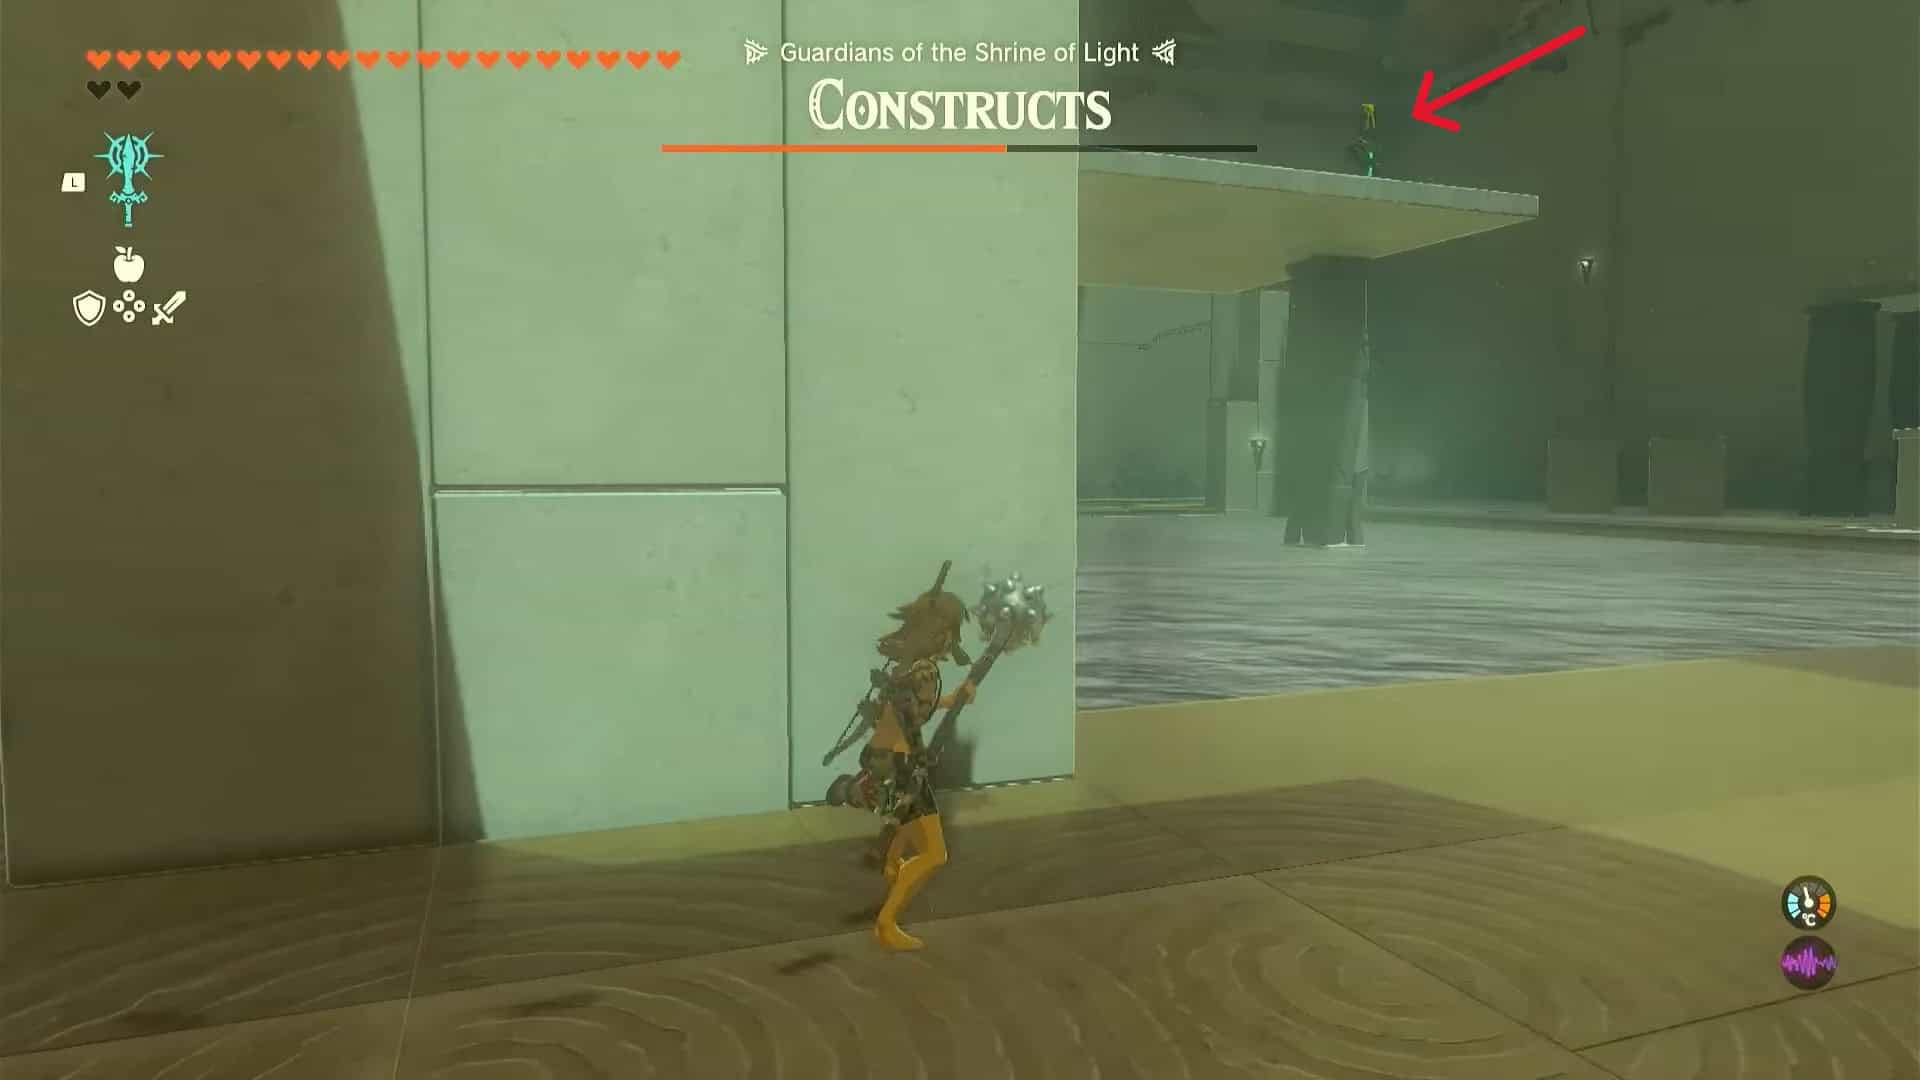
6. There is a platform in the middle of the pond. You can’t reach it without creating a platform below it.
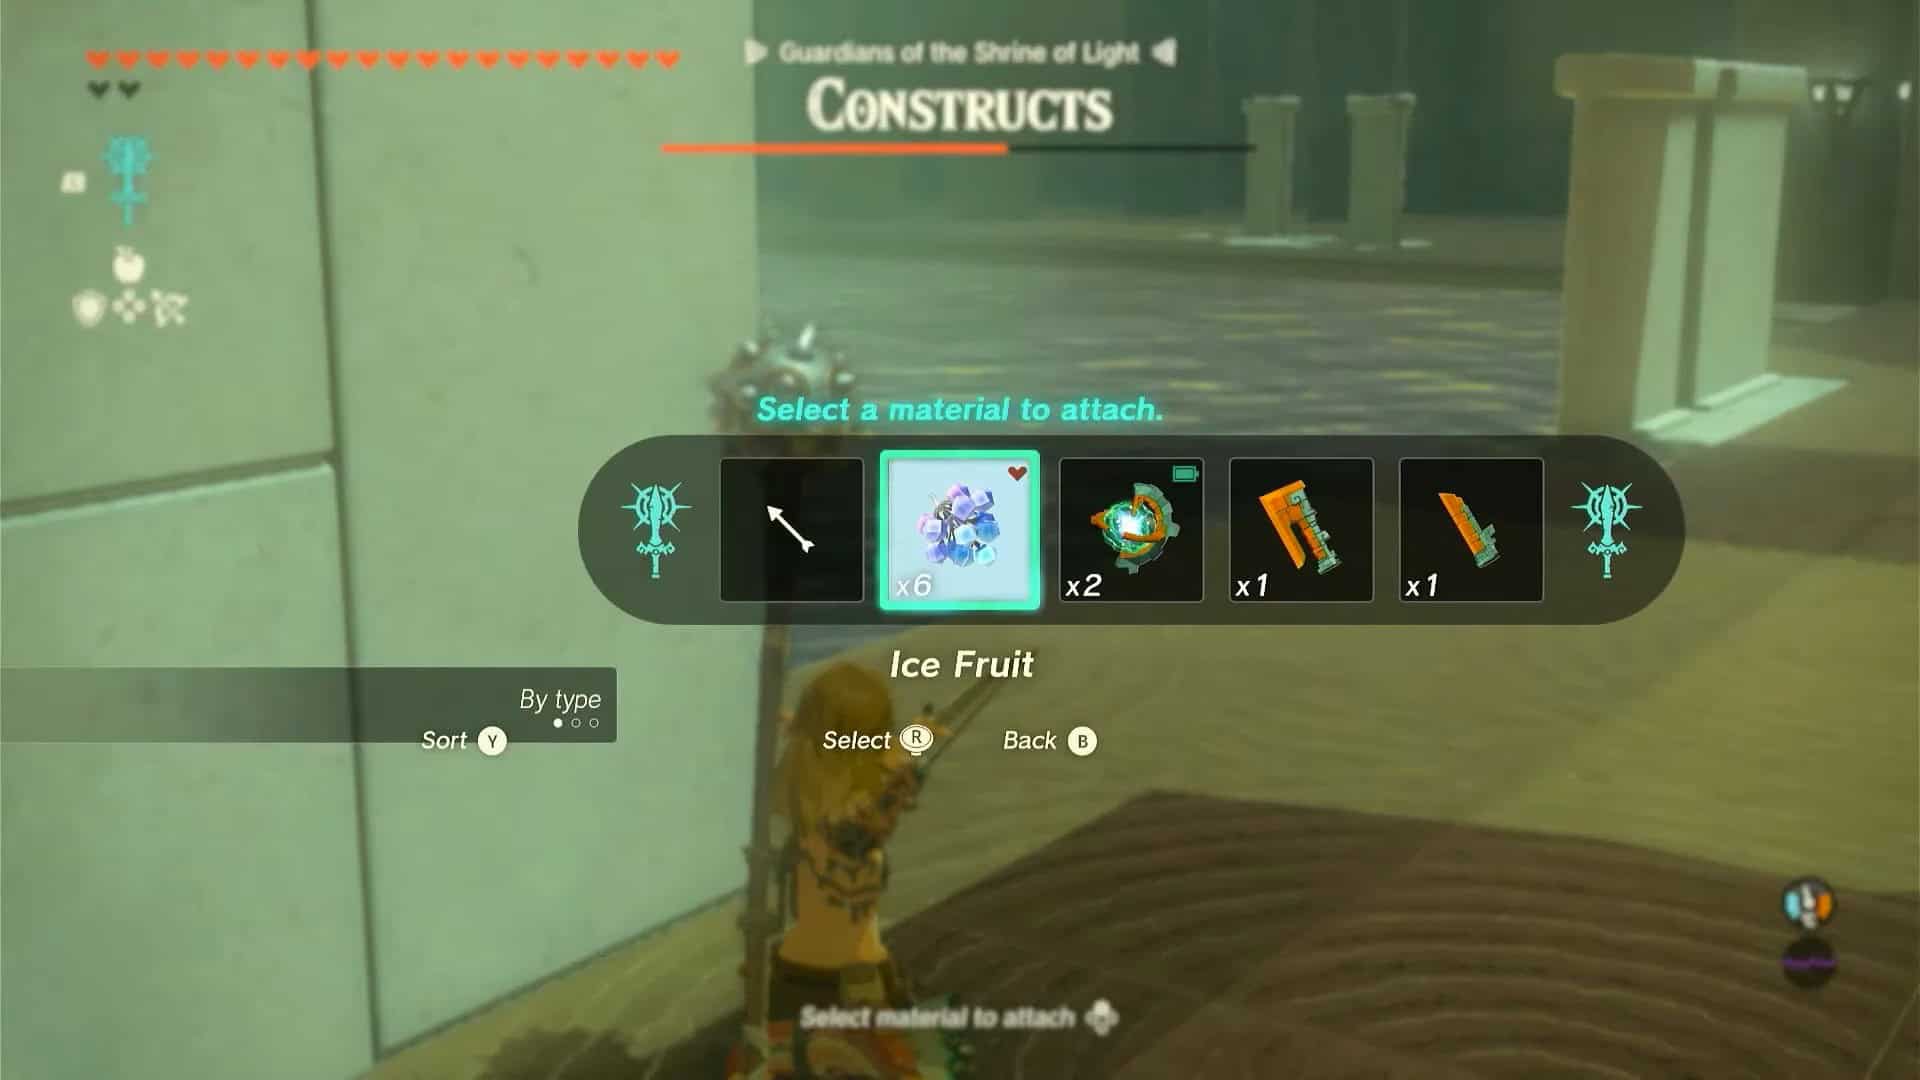
7. Take out your bow and fuse an ice fruit to it. With your ice arrow, hit the water exactly below the platform. This will create a block of ice that you can climb on.
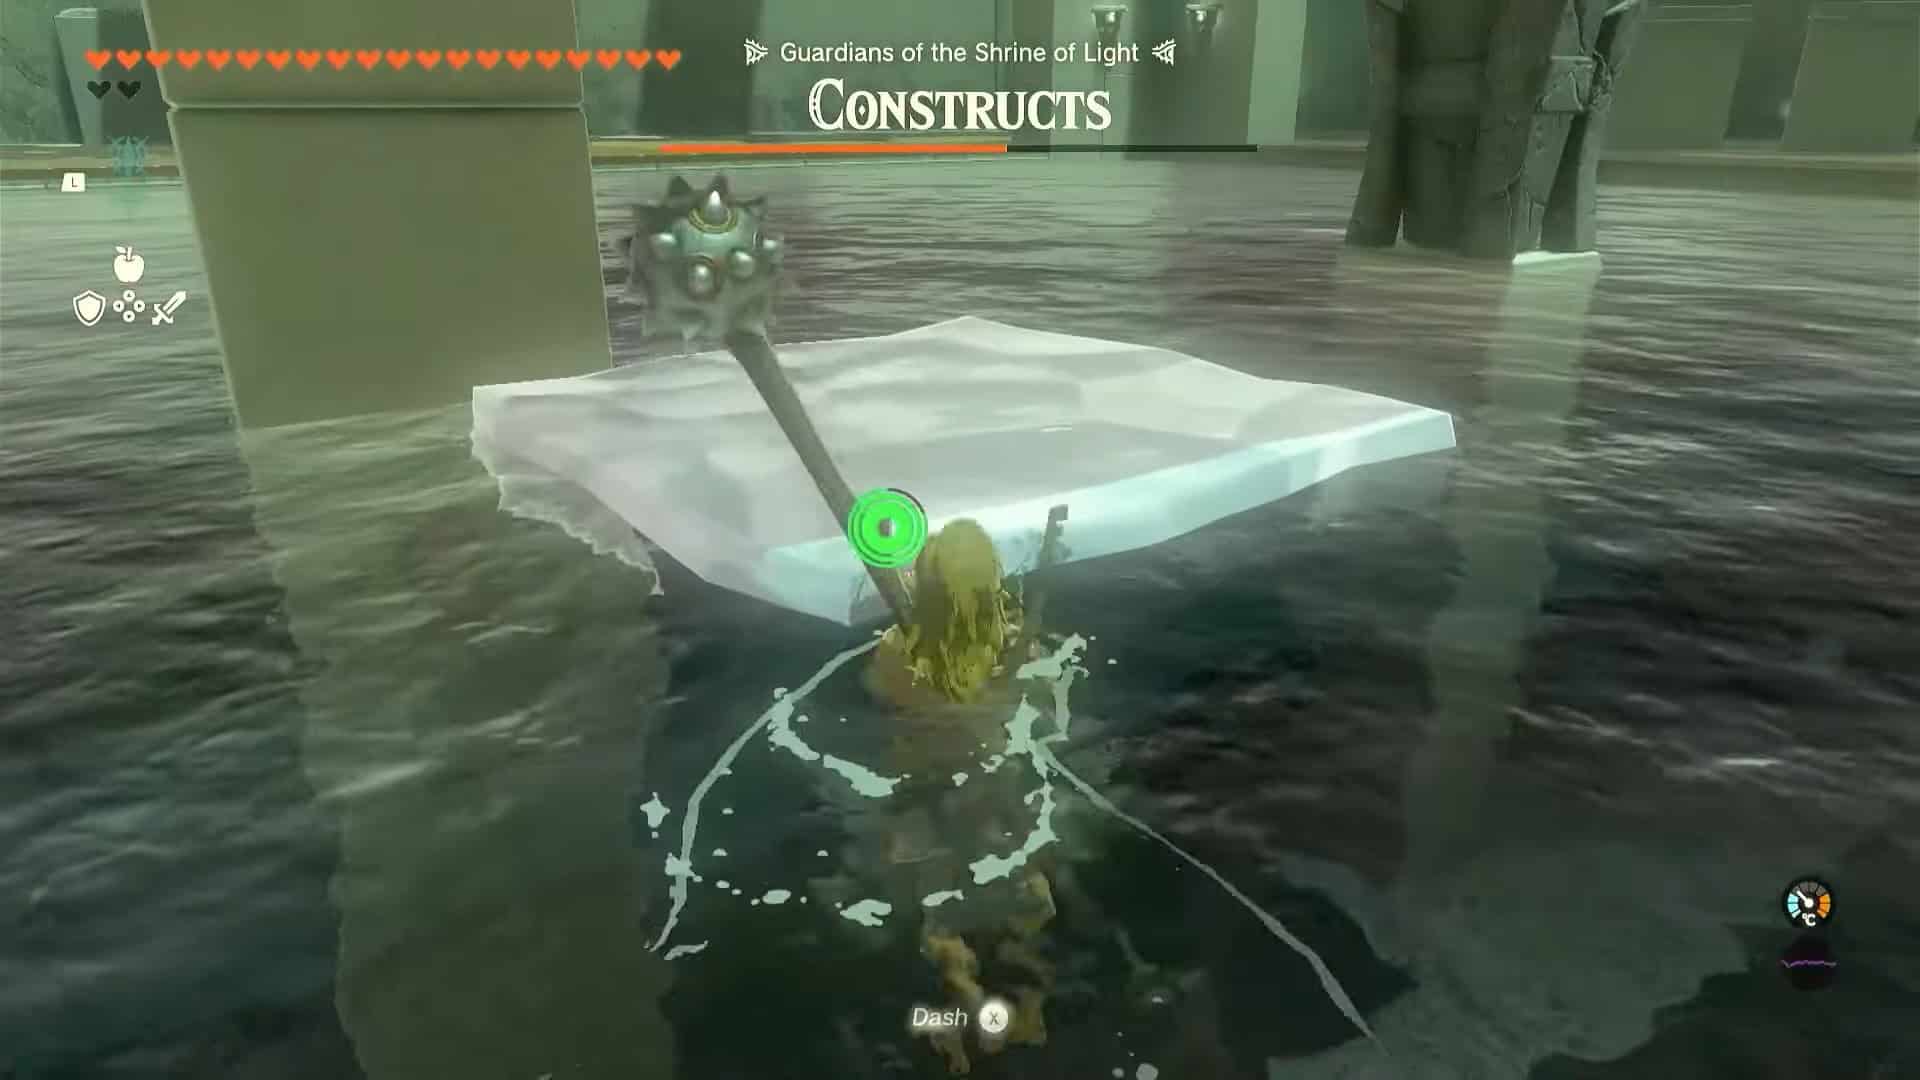
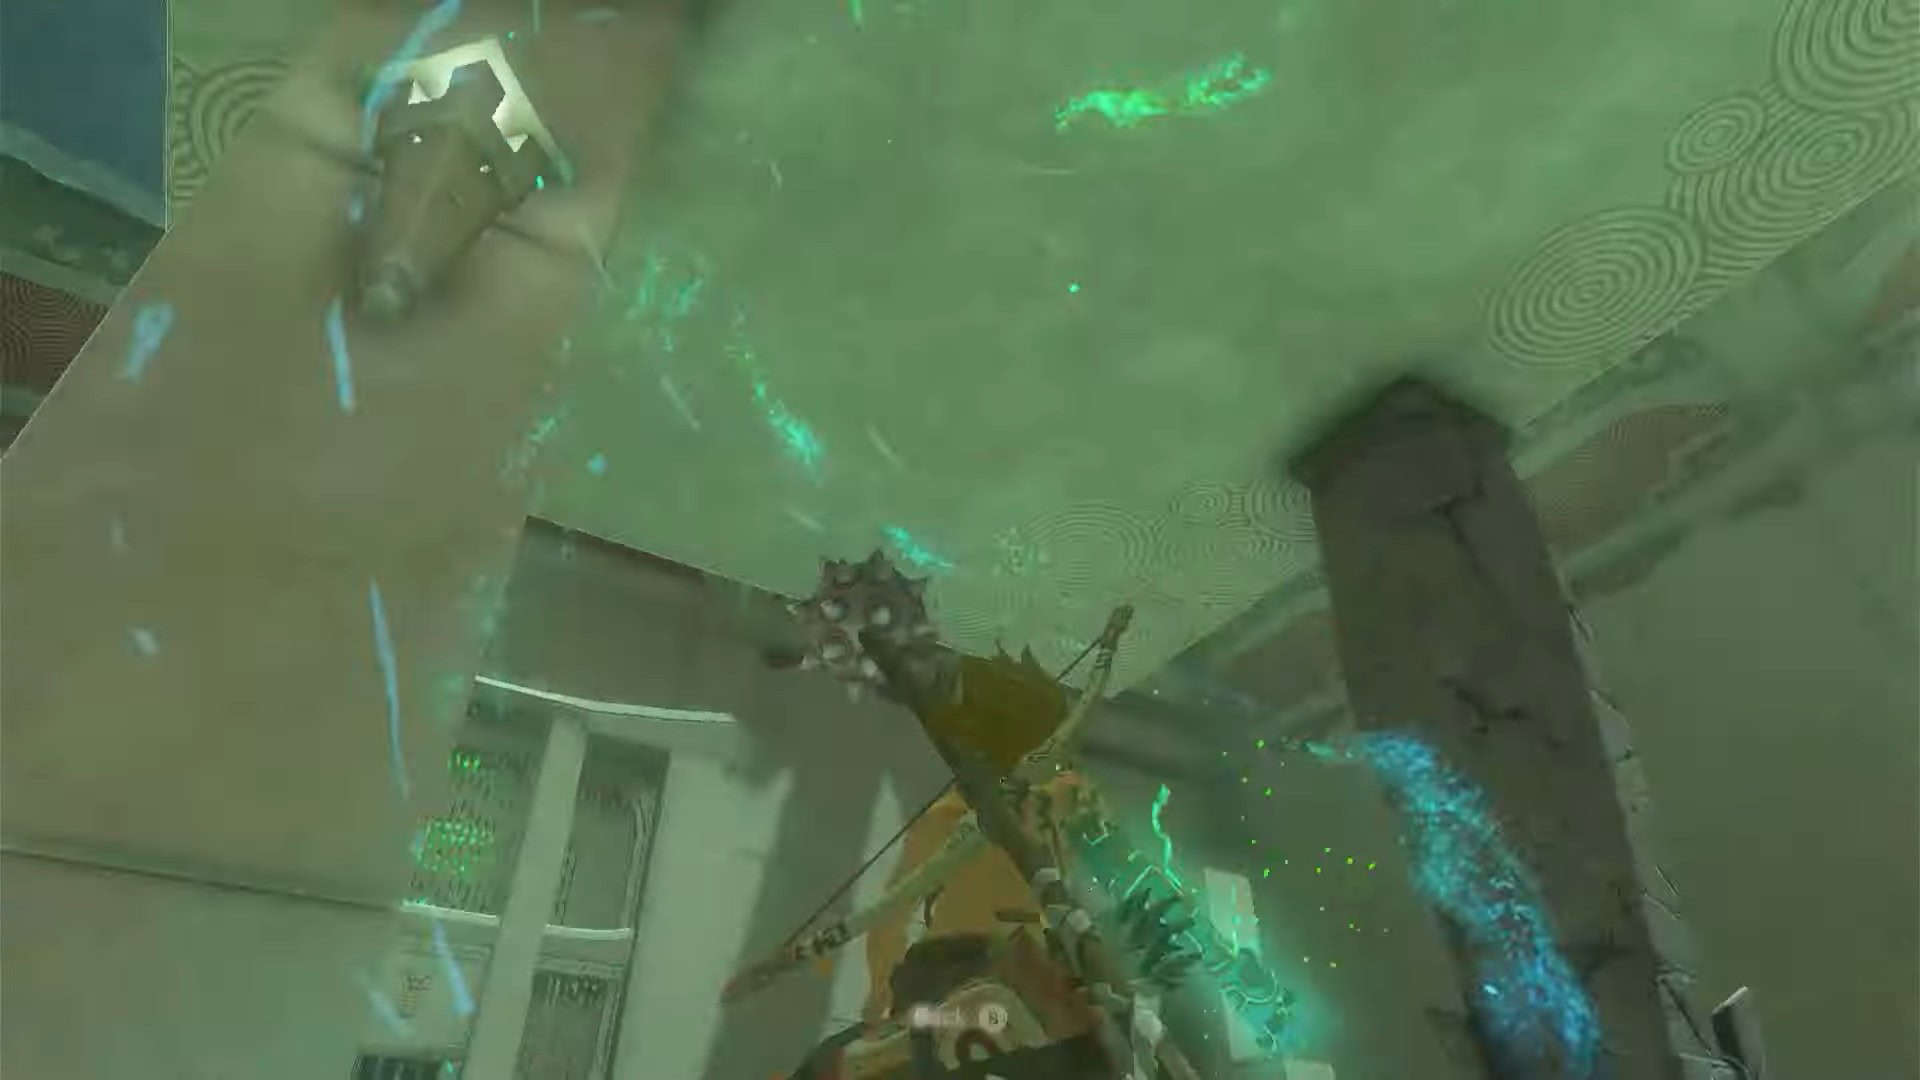
8. Once on the ice block, use Ascend to reach the top of the platform with construct enemies.
9. Defeat these enemies and collect their parts. This will complete the trial as all enemies will be down at this point.
10. All your gear items will be returned and the door to the inner sanctum will open.
11. Glide towards the door and open the treasure chest inside to collect Captain III Reaper.
12. Interact with Rauru and Sonia’s statues to complete Kimayat Shrine in Zelda: Tears of the Kingdom and obtain a Light of Blessing as a reward.